Pumpkin Spice Scones
 What to do when you have a ton of pumpkin puree leftover from making pumpkin pie? Make pumpkin spice scones, and have a happy breakfast-time for the rest of the week! Sounds like a plan.
We're getting snow, guys. The first snowfall of the year is upon us, and I don't actually think I'm ready for it. I mean, I'm a cold weather person for SURE, but you actually have to ease me into it! You can't just spring potentially six inches of snow on me like it's no big deal. First, a beautiful dusting. Then, an inch or two. Then, a beautiful blanket just in time for Christmas. THAT'S how it's supposed to go. Ah,well. We'll get it right next year.
At any rate, one of the nicer things about terrible weather is the comforting heat of the oven, and obviously the baked reward that emerges from it. And these scones? Great reward.
First of all, anything with pumpkin in it gets a big ol' stamp of approval from me no matter what. But to have it in a wedge, drizzled with deliciously-sweet spiced glaze, is extra special. Perfect for your coffee. Perfect for your life.
For those of us that love pumpkin bread, these scones will be right up your alley. Generally, scones are more on the biscuit side, but the moisture from the pumpkin puree actually shakes things up...in a good way. What you get with these is a crispy-on-the-edge, moist-in-the-middle combination that is totally divine. Just make sure to keep a close watch on these little guys--- too long in the oven and they'll dry out a little too much, losing what I think makes them so great.
If you're looking for a quick and DELICIOUS way to 1) make breakfast 2) use up precious pumpkin, these are totally the way to go.
Now, go. Go make them.
PUMPKIN SPICE SCONES
What You'll Need:
For the scones:
- 1 3/4 cups all-purpose flour
- 1/3 cup sugar
- 2 teaspoons baking powder
- 1/2 teaspoon baking soda
- 1/4 teaspoon salt
- 1 teaspoon cinnamon
- 1/8 teaspoon ground cloves
- 1/8 teaspoon ground ginger
- 1/8 teaspoon nutmeg
- 1/4 cup very cold unsalted butter, cut into 1/2 inch cubes
- 1/2 cup pumpkin puree
- 2 tablespoons buttermilk
- 1 large egg, room temperature
- 1 teaspoon vanilla extract
For the glaze:
- 1 cup powdered sugar, sifted
- 1/4 teaspoon cinnamon
- 1 1/2 tablespoons milk
- 1 tablespoon unsalted butter, melted
- 1 tablespoon vanilla extract
DIRECTIONS
Preheat the oven to 400 degrees F. Line a baking sheet with parchment paper. Set aside.
Whisk together the flour, sugar, baking powder, baking soda, salt, and all the spices in a large bowl. Add your cubed butter into the bowl and, using either your fingers or a pastry cutter, cut in the butter until the mixture resembles a coarse meal. Set aside.
In a smaller bowl, whisk together the pumpkin, buttermilk, egg, and vanilla extract until well combined. Fold your wet ingredients into the bowl with your dry ingredients until just incorporated.
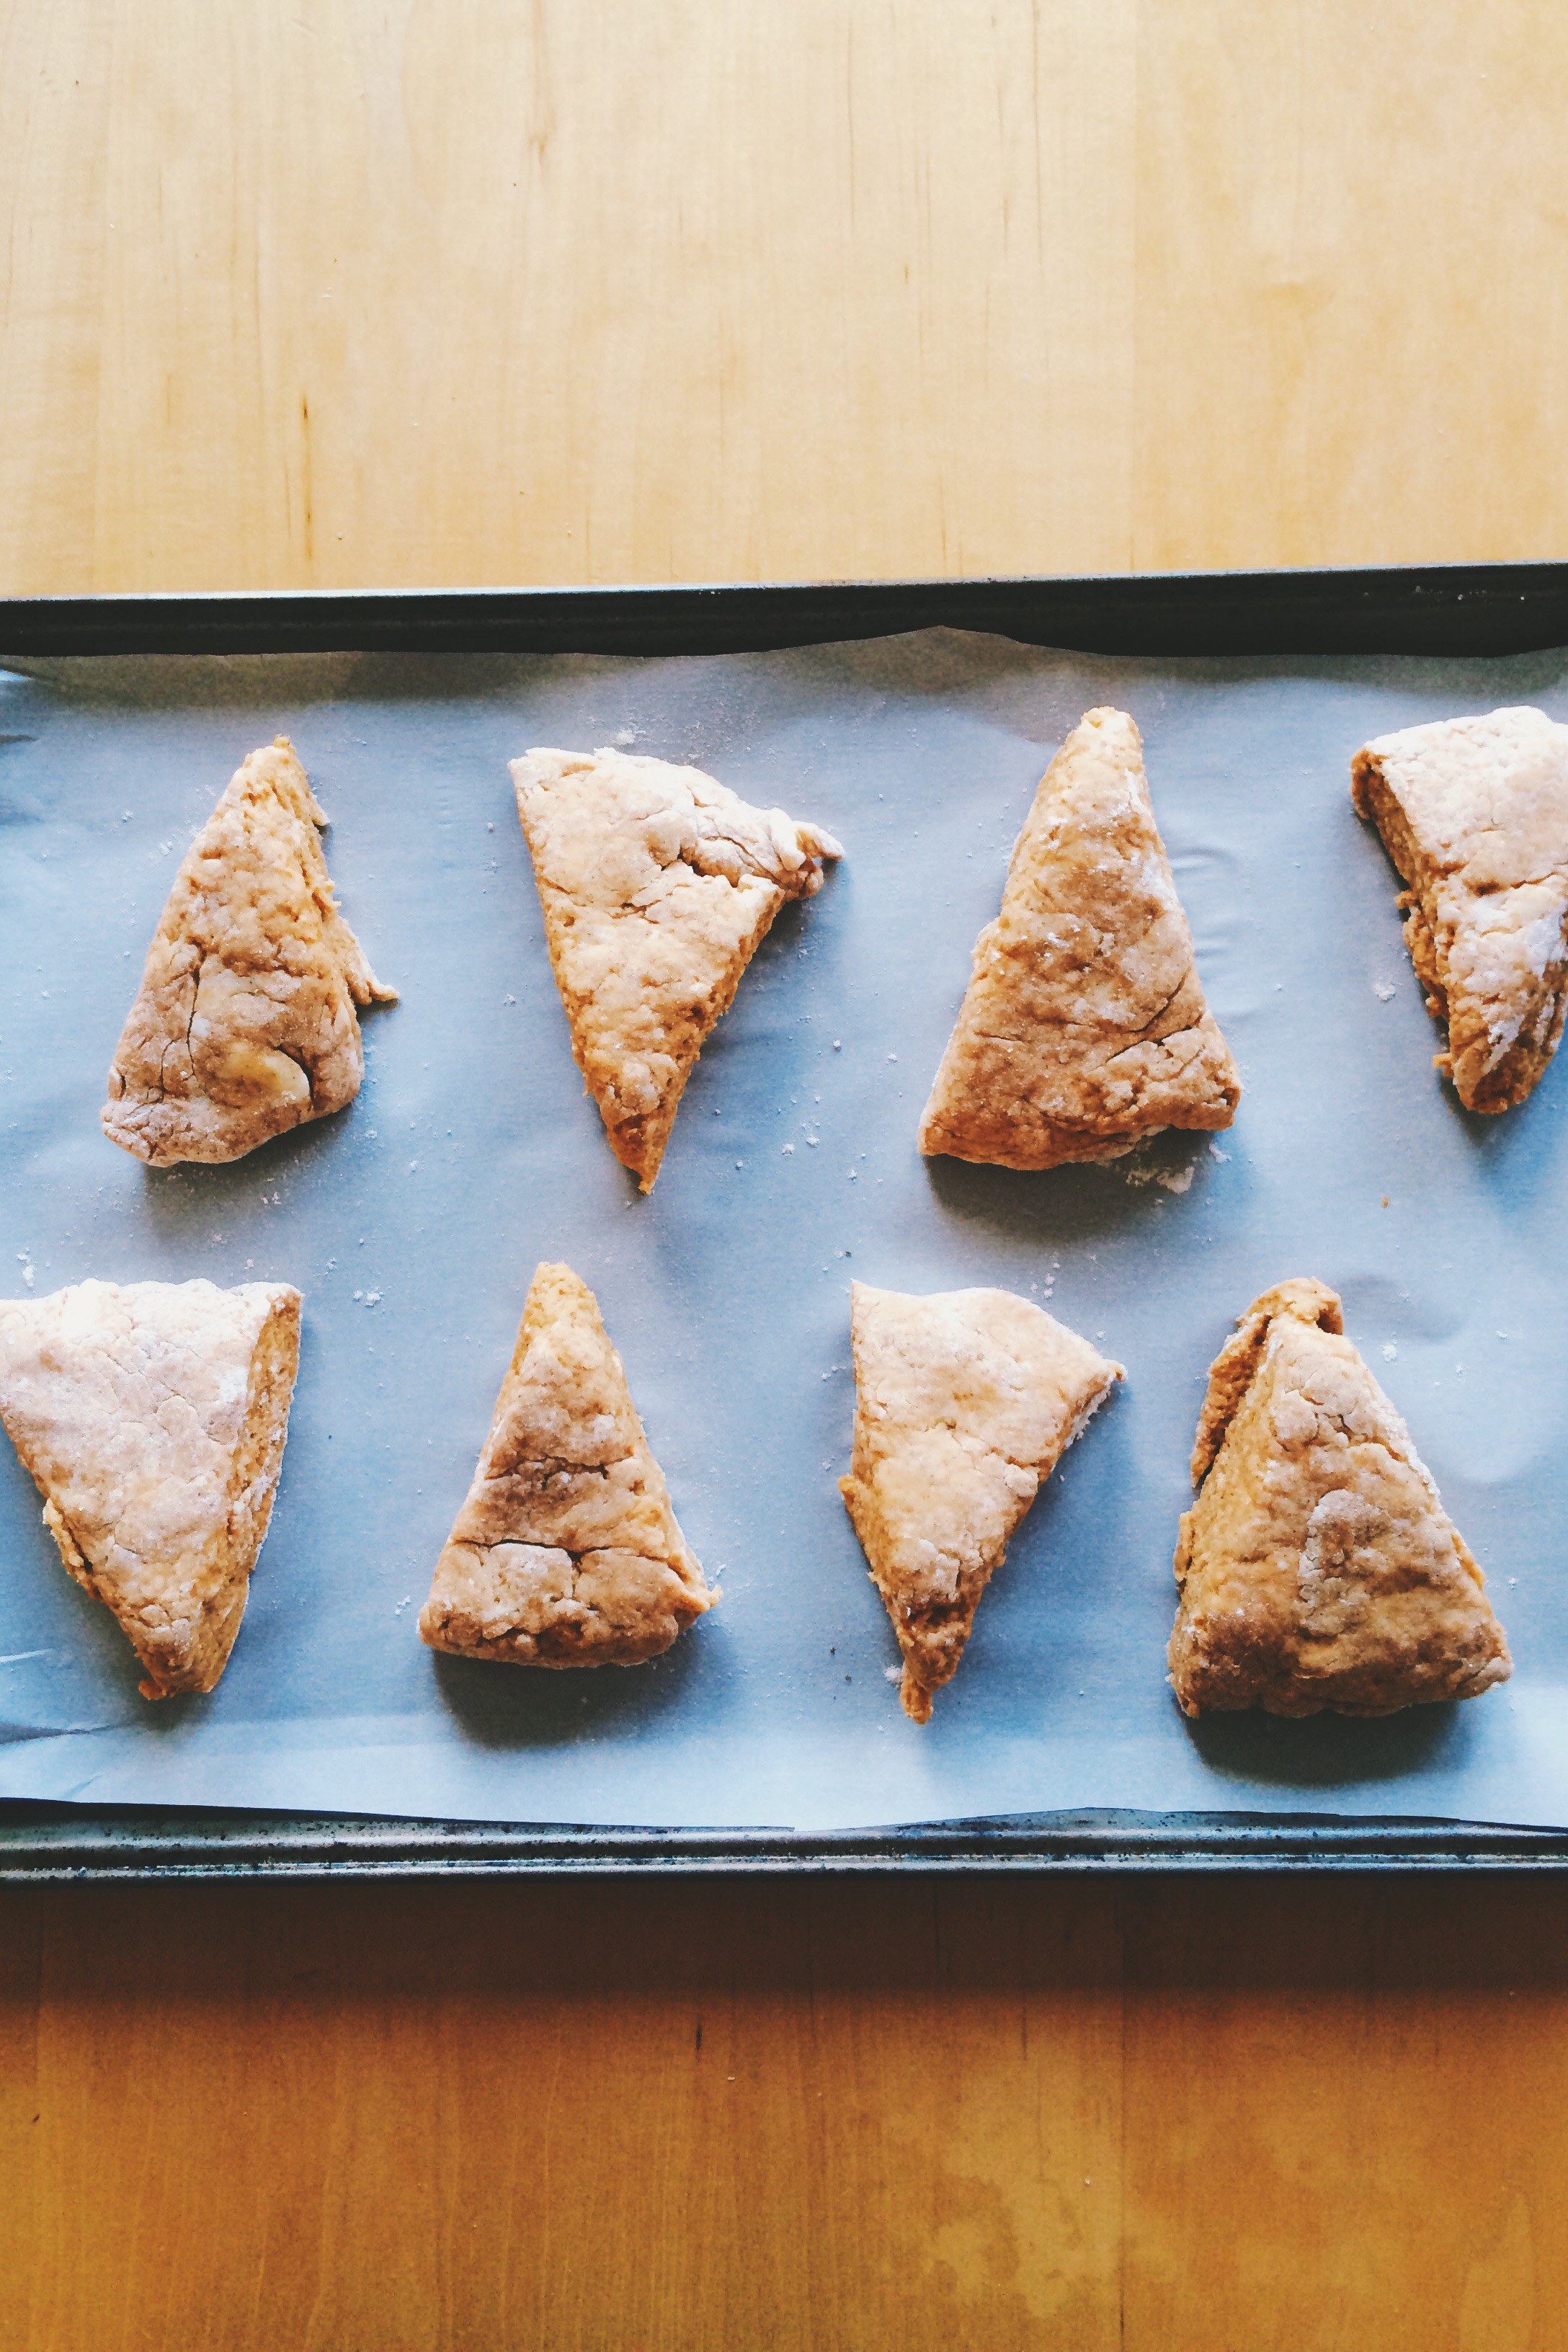
Using a floured wooden spoon, or a floured bench scraper, scrape the mixture out onto a a lightly floured surface. Using floured fingers, carefully pat the dough into a roughly-8 inch circle. Then, using either a floured knife, or floured bench scraper, cut the circle into eight equal wedges. Once your wedges are formed, transfer each to your prepared baking sheet. If you'd like, use a dry pastry brush to brush off any excess dough.
Bake until golden, about 15-17 minutes. Keep a close eye on them so they don't burn. Once out of the oven, let cool for two minutes on the baking sheet before transferring to a wire rack to cool.
While They're Cooling, Let's Make the Glaze!
Combine the sugar, cinnamon, milk, butter, and vanilla extract in a small bowl.
Final Step! Glaze Those Scones!
Place a baking sheet lined with wax paper under your wire cooling rack to catch any drippings. Add glaze to your scones in any design you'd like. Dip them in, or drizzle glaze over each top using a spoon. It's totally up to you! Once glazed, let set for at least 20 minutes.
To store: If you're not eating the scones the day you make them, store them unglazed in an airtight container for up to 2 days ahead of time, and glaze just before you're ready to serve.
SOURCE: Adapted slightly from Tutti Dolci


