Pumpkin Spice Scones

What to do when you have a ton of pumpkin puree leftover from making pumpkin pie? Make pumpkin spice scones, and have a happy breakfast-time for the rest of the week! Sounds like a plan.

We're getting snow, guys. The first snowfall of the year is upon us, and I don't actually think I'm ready for it. I mean, I'm a cold weather person for SURE, but you actually have to ease me into it! You can't just spring potentially six inches of snow on me like it's no big deal. First, a beautiful dusting. Then, an inch or two. Then, a beautiful blanket just in time for Christmas. THAT'S how it's supposed to go. Ah,well. We'll get it right next year.

At any rate, one of the nicer things about terrible weather is the comforting heat of the oven, and obviously the baked reward that emerges from it. And these scones? Great reward.

First of all, anything with pumpkin in it gets a big ol' stamp of approval from me no matter what. But to have it in a wedge, drizzled with deliciously-sweet spiced glaze, is extra special. Perfect for your coffee. Perfect for your life.

For those of us that love pumpkin bread, these scones will be right up your alley. Generally, scones are more on the biscuit side, but the moisture from the pumpkin puree actually shakes things up...in a good way. What you get with these is a crispy-on-the-edge, moist-in-the-middle combination that is totally divine. Just make sure to keep a close watch on these little guys--- too long in the oven and they'll dry out a little too much, losing what I think makes them so great.

If you're looking for a quick and DELICIOUS way to 1) make breakfast 2) use up precious pumpkin, these are totally the way to go.

Now, go. Go make them.

PUMPKIN SPICE SCONES

What You'll Need:

For the scones:

  • 1 3/4 cups all-purpose flour
  • 1/3 cup sugar
  • 2 teaspoons baking powder
  • 1/2 teaspoon baking soda
  • 1/4 teaspoon salt
  • 1 teaspoon cinnamon
  • 1/8 teaspoon ground cloves
  • 1/8 teaspoon ground ginger
  • 1/8 teaspoon nutmeg
  • 1/4 cup very cold unsalted butter, cut into 1/2 inch cubes
  • 1/2 cup pumpkin puree
  • 2 tablespoons buttermilk
  • 1 large egg, room temperature
  • 1 teaspoon vanilla extract

For the glaze:

  • 1 cup powdered sugar, sifted
  • 1/4 teaspoon cinnamon
  • 1 1/2 tablespoons milk
  • 1 tablespoon unsalted butter, melted
  • 1 tablespoon vanilla extract

DIRECTIONS

Preheat the oven to 400 degrees F. Line a baking sheet with parchment paper. Set aside.

Whisk together the flour, sugar, baking powder, baking soda, salt, and all the spices in a large bowl. Add your cubed butter into the bowl and, using either your fingers or a pastry cutter, cut in the butter until the mixture resembles a coarse meal. Set aside.

In a smaller bowl, whisk together the pumpkin, buttermilk, egg, and vanilla extract until well combined. Fold your wet ingredients into the bowl with your dry ingredients until just incorporated.

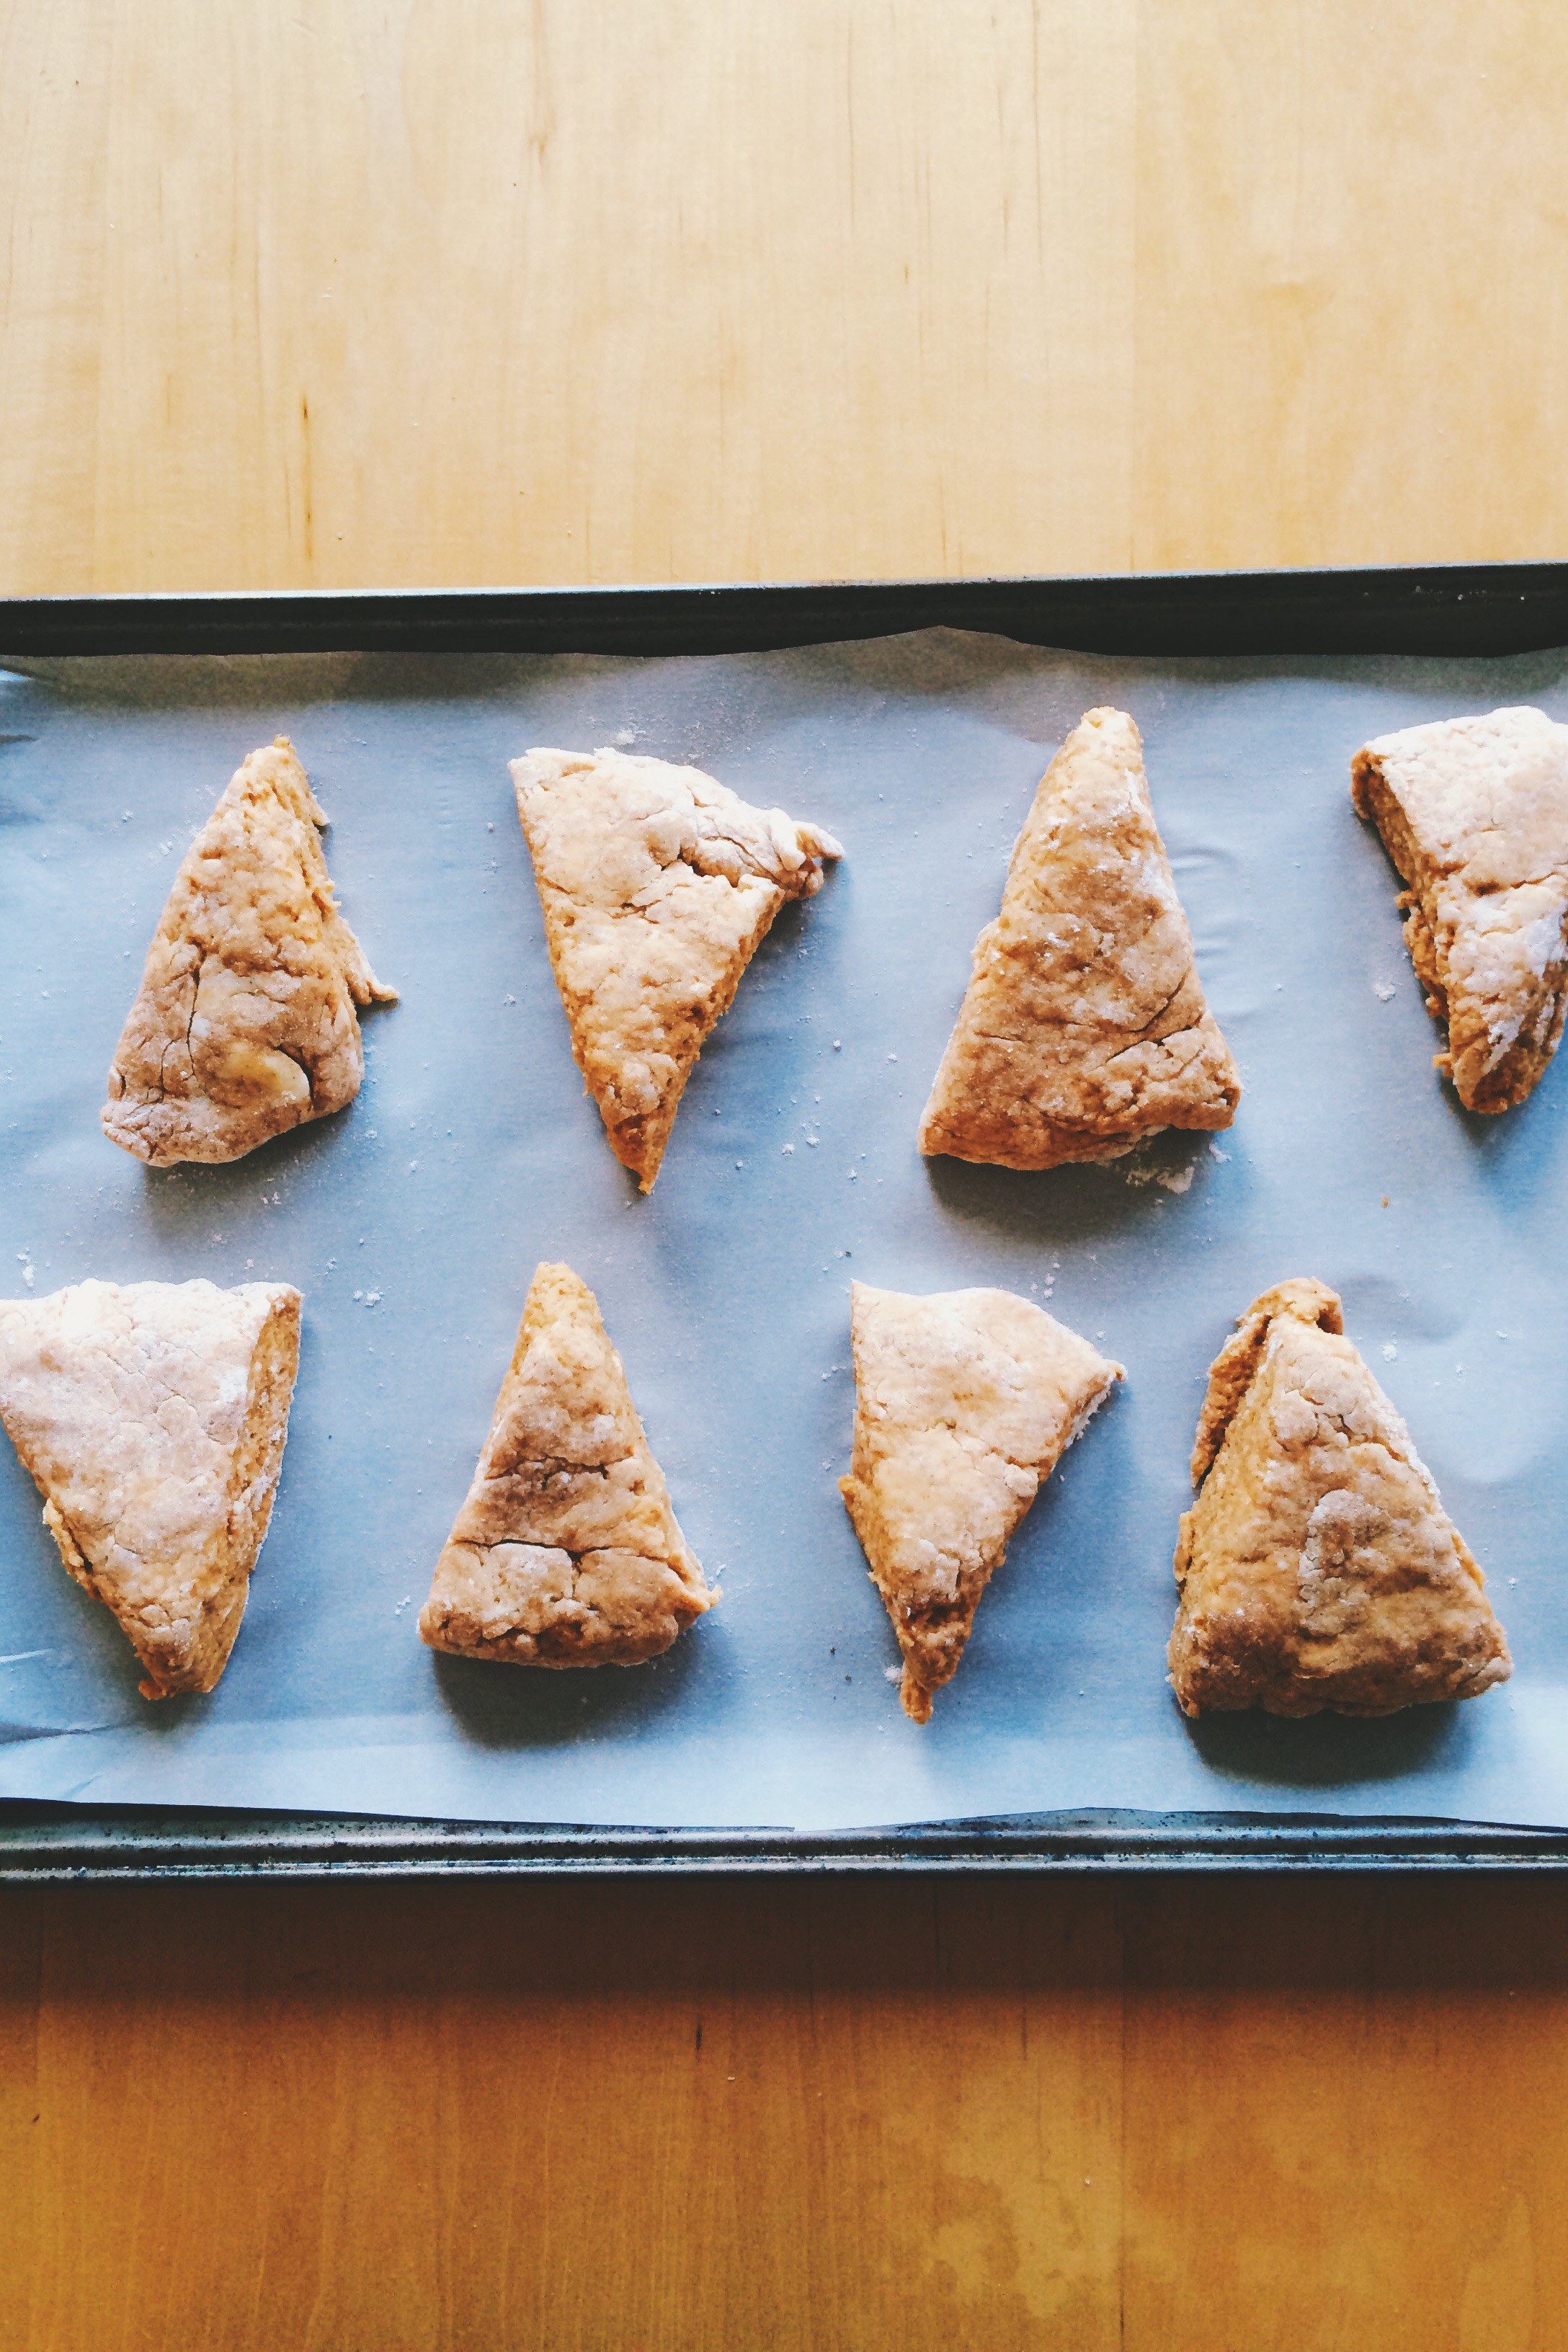
Using a floured wooden spoon, or a floured bench scraper, scrape the mixture out onto a a lightly floured surface. Using floured fingers, carefully pat the dough into a roughly-8 inch circle. Then, using either a floured knife, or floured bench scraper, cut the circle into eight equal wedges. Once your wedges are formed, transfer each to your prepared baking sheet. If you'd like, use a dry pastry brush to brush off any excess dough.

Bake until golden, about 15-17 minutes. Keep a close eye on them so they don't burn. Once out of the oven, let cool for two minutes on the baking sheet before transferring to a wire rack to cool.

While They're Cooling, Let's Make the Glaze!

Combine the sugar, cinnamon, milk, butter, and vanilla extract in a small bowl.

Final Step! Glaze Those Scones!

Place a baking sheet lined with wax paper under your wire cooling rack to catch any drippings. Add glaze to your scones in any design you'd like. Dip them in, or drizzle glaze over each top using a spoon. It's totally up to you! Once glazed, let set for at least 20 minutes.

To store: If you're not eating the scones the day you make them, store them unglazed in an airtight container for up to 2 days ahead of time, and  glaze just before you're ready to serve.


SOURCE: Adapted slightly from Tutti Dolci 

Double Apple + Pear Pie

So, I've given this a lot of thought and, in ten years time, I want to be referred to as The Pie Queen.  I know it's a lofty goal, but we all need dreams, right? I've had visions lately of winning state fairs, and a beyond giant wedding pie. Or a cake disguised as a pie. I'm still working out the details.

There's just something about pie that puts me in the best mood. More than anything else I bake, pie really makes me feel like I've actually put tangible love into something to give to others. Do you ever feel like that? And apple pie is just so classic. If we try hard enough, maybe making one will speed up Fall a little bit, for what is Fall without apple pie? Just a season when everything dies, that's what.

Now, let's talk about adding a pear to your apple pie. Never in a million trillion years would I have thought of doing it, and now I can't believe that it isn't the norm. It's genius. Not only does adding a pear bring more complexity to an already pretty complex pie (due to the use of two different kinds of apples), but in the words of Pie School's author, Kate Lebo, "Your guests won't be able to tell where the flavor is coming from." You get to have a secret, and isn't that always fun? (Unless it's peanuts. Nut allergies aren't so fun. Best to let the cat out of the bag when it comes to peanuts.)

My suggestion with this pie is that you make it a hundred times before Fall and Winter are over. And if that seems like too many times, I don't know why we're friends in the first place.

Double Apple-Pear pie is at its best when served warm, and preferably with your favorite hot drink.    Throw in a scoop of freshly-made vanilla bean ice cream for good measure. Mmmm. Be right back, gonna go make one.


DOUBLE APPLE + PEAR PIE

What You'll Need:

  • Super Flaky Pie Crust
  • 3 Granny Smith apples, peeled, cored, and thinly sliced
  • 2 Golden Delicious apples, peeled, cored, and thinly sliced
  • 1 Bartlett pear, peeled,cored, and thinly sliced
  • Juice of 1/2 lemon (1 to 2 tablespoons)
  • 3/4 cup granulated sugar
  • 1/2 teaspoon ground cinnamon
  • 1/4 teaspoon ground nutmeg
  • Generous pinch of salt
  • 3 tablespoons AP flour
  • 2 tablespoons chilled unsalted butter, cut into small pieces
  • Egg white wash (1 egg white, beaten, mixed with one teaspoon water)
  • Demerara sugar for sprinkling

Directions

Make your pie crust. Chill overnight.

Roll out the bottom crust and place it in a 9 inch pie dish. Trim the edges, then refrigerate while you make the filling.

Preheat the oven to 425 degrees F.

Put your apple and pear slices in a bowl, and squeeze the lemon juice evenly on top to prevent browning. Stir in the granulated sugar, cinnamon, nutmeg, and salt. This would be a good time to taste and adjust your flavors as needed. Once you've got your filling just right, add the flour and set the filling aside.

Take your bottom crust out of the refrigerator, and set aside. Roll out your top crust.

Using a slotted spoon, place the apple-pear filling in the bottom crust, gently pressing down to make sure there's enough room for all the filling. It may not look like it will all fit, but trust me it will. Pour the liquid from the filling evenly over the apples, then dot the filling with the cut up pieces of unsalted butter.

Carefully drape the top crust over your bottom crust, then trim and crimp the edges. Make sure to cut generous slits over the top crust so that there is plenty of space for steam to escape. Brush the crust with the egg white wash, then sprinkle generously with Demerara sugar.

Bake the pie in the middle of the oven for 15-20 minutes, until the crust is blond and blistered. Rotate the pie front to back, then reduce the oven temperature to 375 degrees F. Bake for an additional 35-45 minutes, until the crust is deeply golden brown and the juices are bubbling.

Cool on a wire rack for at least two hours. Serve warm.

To store: Keep the pie loosely wrapped on the counter for up to 3 days.


SOURCE: Pie School: Lessons in Fruit, Flour, and Butter

Fall Mornings

photo-8  

Don't you just love Fall? Sure, everything's dying, the chilly wind might be a little much to take first thing in the morning, and you're just creeping closer and closer to snow everywhere, all the time. But I don't mind. I adore sweater weather and sometimes find myself counting down the days in the summer when the heat and humidity (and constant re-applying of sunscreen) makes me a little cranky, and also very, very burned. I've never been one for warm weather. Give me a cool, sunny 70 degrees and we're good. Give me a balmy 90, and we can't talk because I'll be inside hugging an air conditioner like a long lost friend.

Fall means the start of lots of things. When I was a student, it meant going back to school and seeing how people had changed in just three months. It meant going on a Back-to-School shopping spree at Target and pretending you were a contestant on one of those grocery store game shows from the 90s (Fill up the cart! Fill up the cart!). Now, it means the beginning of Holiday Season, and all that comes with it. I'll admit that it is often disconcerting to see Santa Claus in late August, but it's wonderful to see him still greeting me in December. Sure, it might be a little too soon to start playing a holiday record here or there, but one will never get tired of hearing Ella Fitzgerald sing "Sleigh Ride" no matter what time of year it is.

For me, Fall means the door has been opened to the holidays I live for. I don't mind the extra jacket because it means I'm well on the way to spending time with relatives far away, and eating my weight in cookies, cakes, pies, etc. You will never eat enough pumpkin-apple-cinnamon-spice ANYTHING, and that, my friends, is an actual Fall fact of life.

So, bring on the chilly weather! I'll just put on thicker socks.


P.S. HAPPY HALLOWEEN WEEK!

singature gray

Making My Dad's Favorite: Pecan Pie

DSCN0415 Thanksgiving is all about tradition, whether it be old or new. And while I was planning on starting a new tradition at my house (one that included delicious pumpkin pie because there is literally nothing better in this entire world), I was overruled by a standing pie tradition: Southern-style Pecan Pie.

Apparently it's been a staple at our table since I was born, but I never noticed because my grandmothers have been making stellar sweet potato pies, and caramel pies with homemade icings for as long as I can remember. But this year, I spent Thanksgiving with just my immediate family in Wisconsin, and there could only be room for one dessert. And while I was hoping that dessert would be delicious, fall-appropriate pumpkin pie, a dad that only periodically ventured into the kitchen (probably to stay out of the crossfire of my mother and I both being in the kitchen), had other plans. But it's fine, because  when you love to bake, it doesn't always really matter what it is.

DSCN0424And anyway, I was just happy that I:

1) Finally got to contribute to the Thanksgiving Meal

2) Got to practice my pie-making skills!

Fact: a homemade pie crust always tastes better. It just does. Store-bought pie crusts are okay, but there is just no comparison when you taste the love (and butter!!!) that goes into a crust made especially for that pie, completely from scratch. And I have to say: for this being only the third time that I've made the pie crust, things went pretty smoothly.

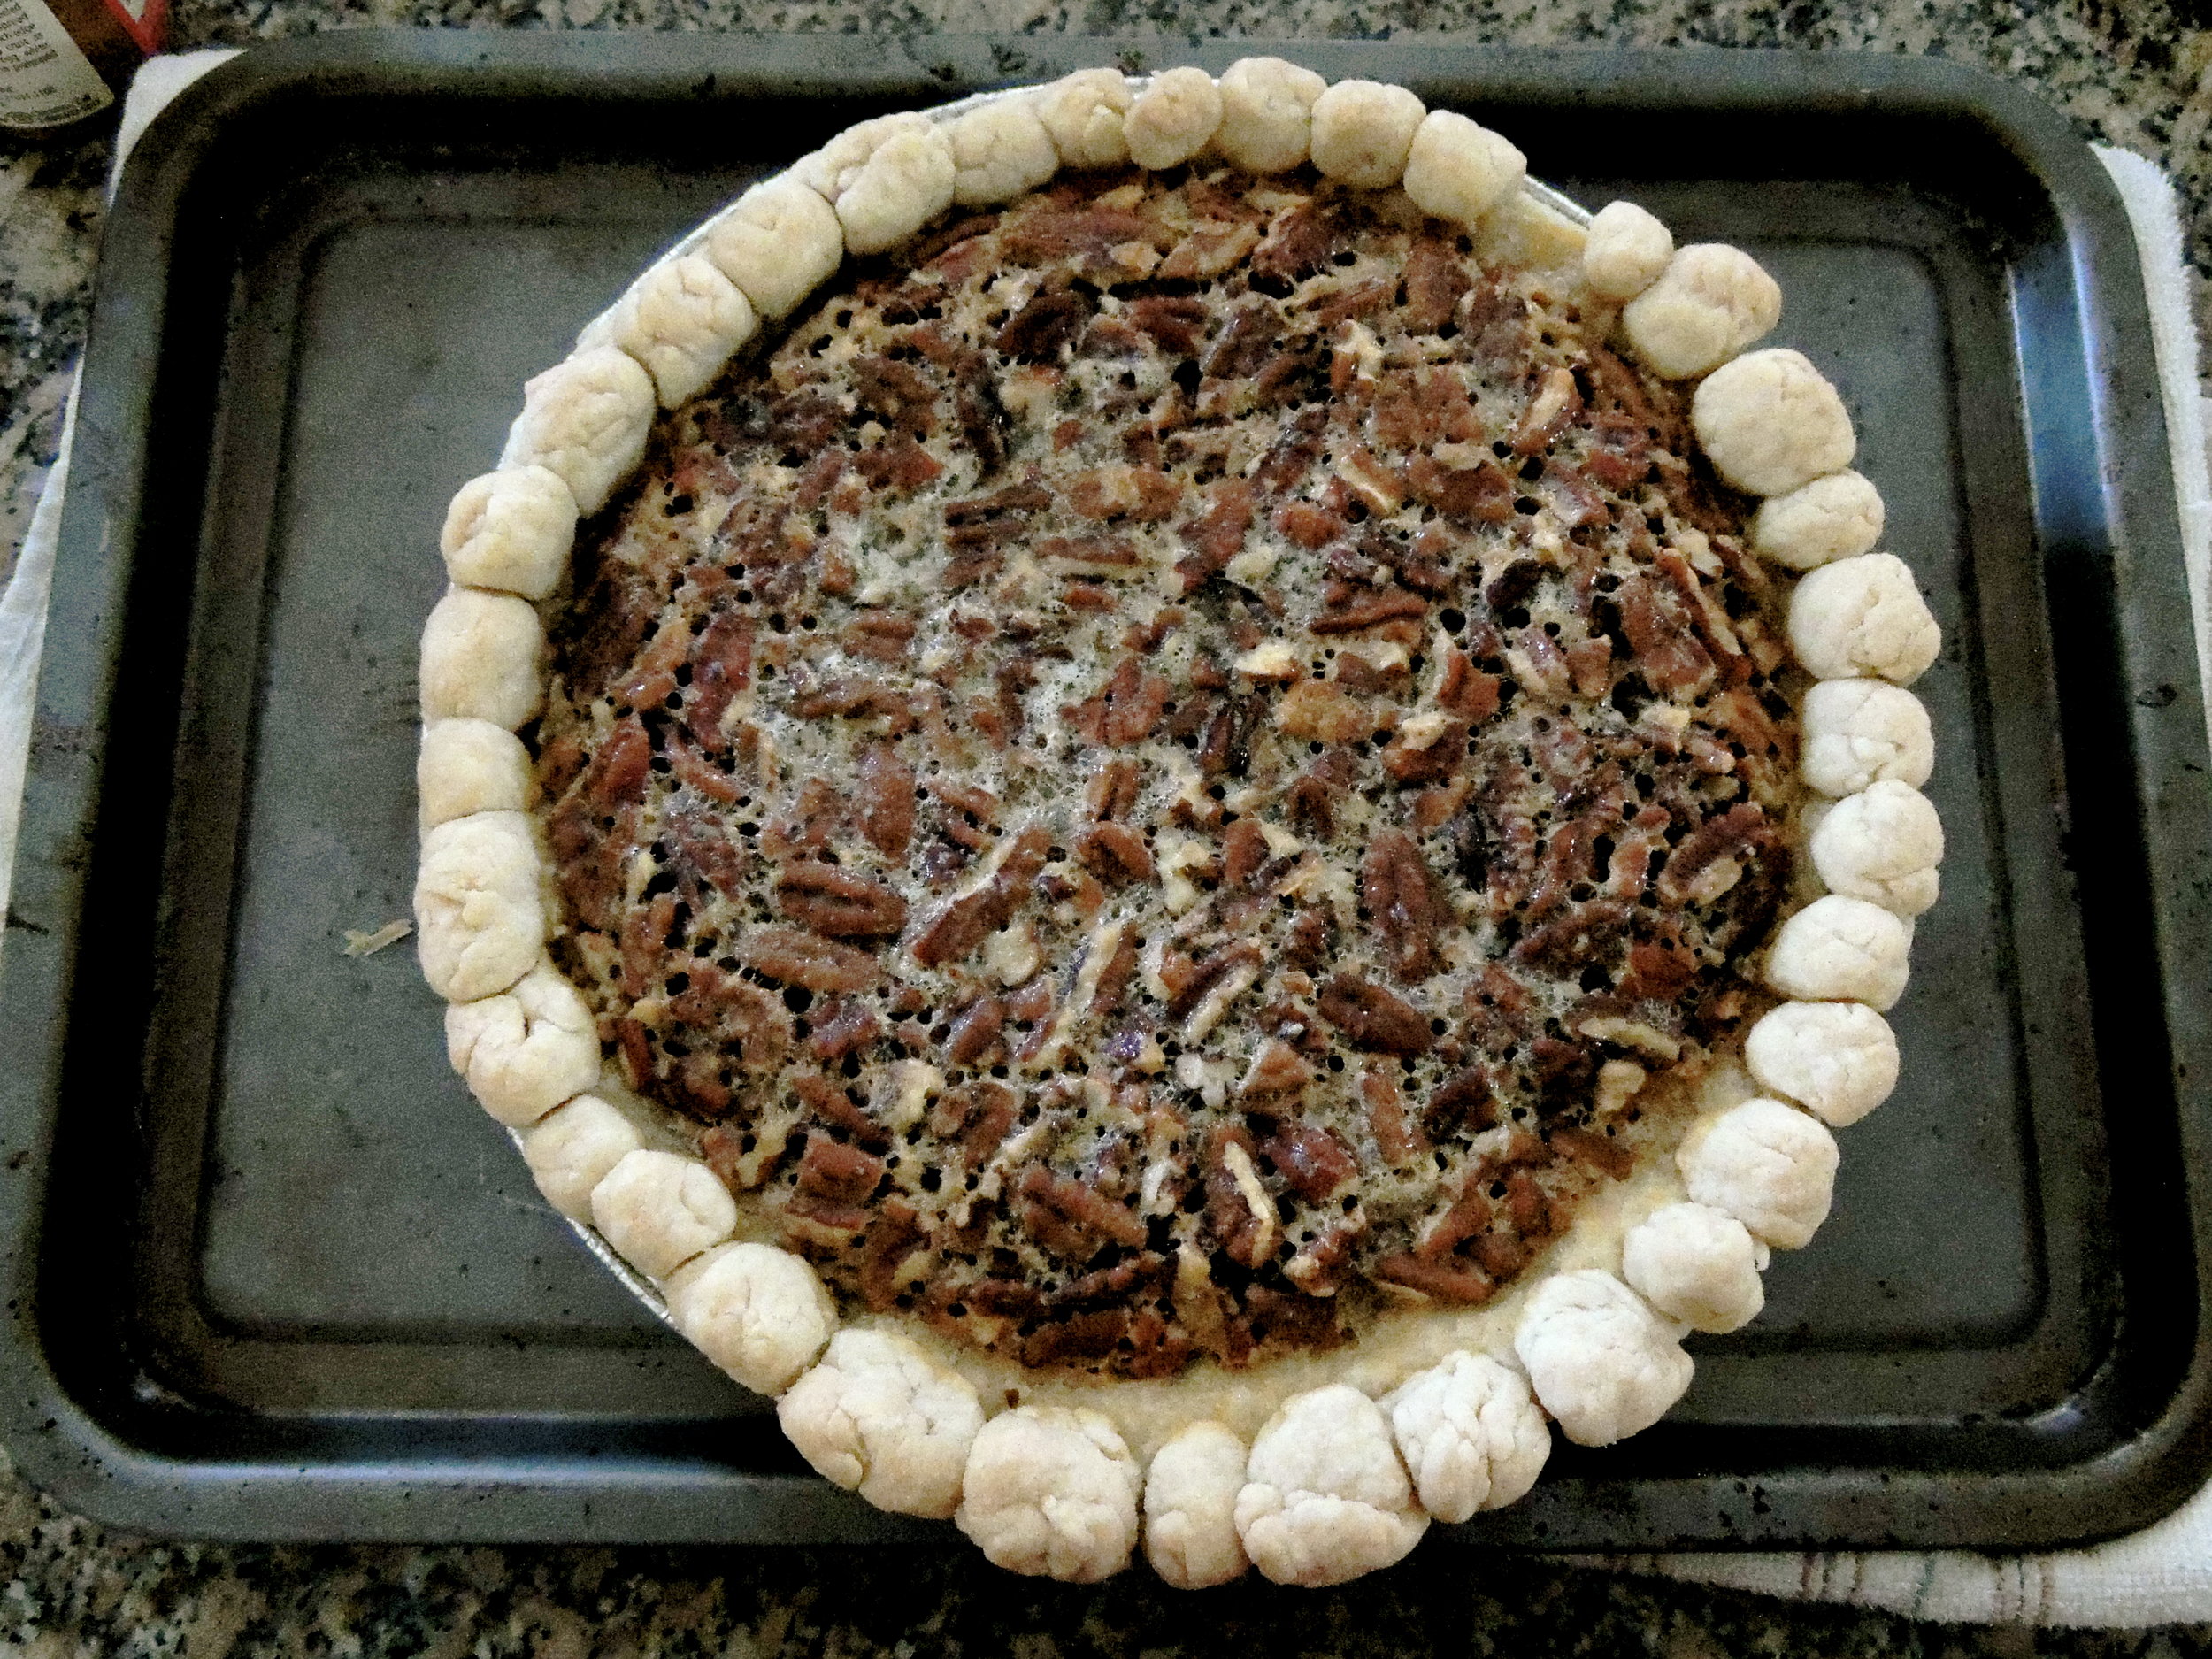
Joy the Baker first taught me how to make a pie crust (and my first pie). Instead of rolling out the dough, she uses a "press-in" technique where she presses the dough into the pie plate. It's incredibly easy, and eliminates a few steps. But in the rest of my pie cookbooks, it's essential that you roll out the dough, then use the rolling pin as a tool to get it into the pie plate. And you know, the people on Food Network always make it look so insanely easy. Like, the dough always perfectly rolls up onto the rolling pin, and they simply and gracefully place the delicate crust into the plate. Well, I'm here to tell you that it's not that easy, I dropped the pie crust into the plate very ungracefully, and I actually had to flip a section of it that refused to stay on its side of the plate. But I made it without having to take it out and re-roll it, and all was well in the kitchen.

DSCN0427This time around, I even got to take a stab at decorating the crust, something I hadn't tried before. And I loved it! Sure, the balls were all different sizes, and I left fingerprints in the dough, but isn't that what makes homemade crusts charming? Store-bought crusts lack a certain something, and I think that something is charm and character. Maybe even a little personality. That pie crust is totally unique, and I never, ever, will buy a store-bought crust again.

Okay, apparently this post has turned into a love letter for homemade pie crusts...sorry, I'm not sorry.DSCN0430

Pecan Pie is actually really easy to make. You just mix the butter and the sugar together, then literally throw the rest of the ingredients in the mixing bowl, and you're done.

And this pie was a big hit, if I do say so myself.

PECAN PIE:

What You'll Need:

  • 1/2 cup sugar
  • 2 tablespoons butter
  • 3 eggs, beaten
  • 1/4 teaspoon salt
  • 1 teaspoon vanilla
  • 1 cup light corn syrup
  • 1 tablespoon  flour
  • 1 cup pecans
  • 1 unbaked 9 inch pie crust (Preferably homemade!)

-Preheat oven to 350 degrees F

-Cream sugar and butter

-Add remaining ingredients

-Bake for 40 minutes

Each recipe serves 6-8 people

SOURCE: Recipes from Miss Daisy's

I hope you all had a fantastic holiday, and that you're recovering from your food comas well!!

singature gray

Learning How to Get to Nature Valley

DSCN0373I love granola bars. Love, love, love them. You can find them in my lunch bag as my 3:00 snack, my purse (to stave off the hungry and angry "Bear," that I become when I go shopping), and sometimes as a cereal substitute when I've run out of Cheerios. But stocking up on granola bars can get expensive (unless you're an Extreme Couponer. Seriously, I've been marathoning this show on Netflix, and I CANNOT get over how much these people save on their shopping trips. It's very tempting, but I have neither the time, nor the basement full of floor-to-ceiling shelving units it takes.). And while I'll never quit buying my Nature Valley bars cold turkey, I thought it best to at least give my wallet a rest, and learn to make them on my own for a while. Enter this recipe: Pumpkin Granola Bars. Maybe I chose this recipe because I  can't get enough of Pumpkin...Or maybe it's  because I had a can in the fridge with the perfect amount left...Who knows, it's a mystery of life! (It's because I had a can of pumpkin left. Mystery solved.)

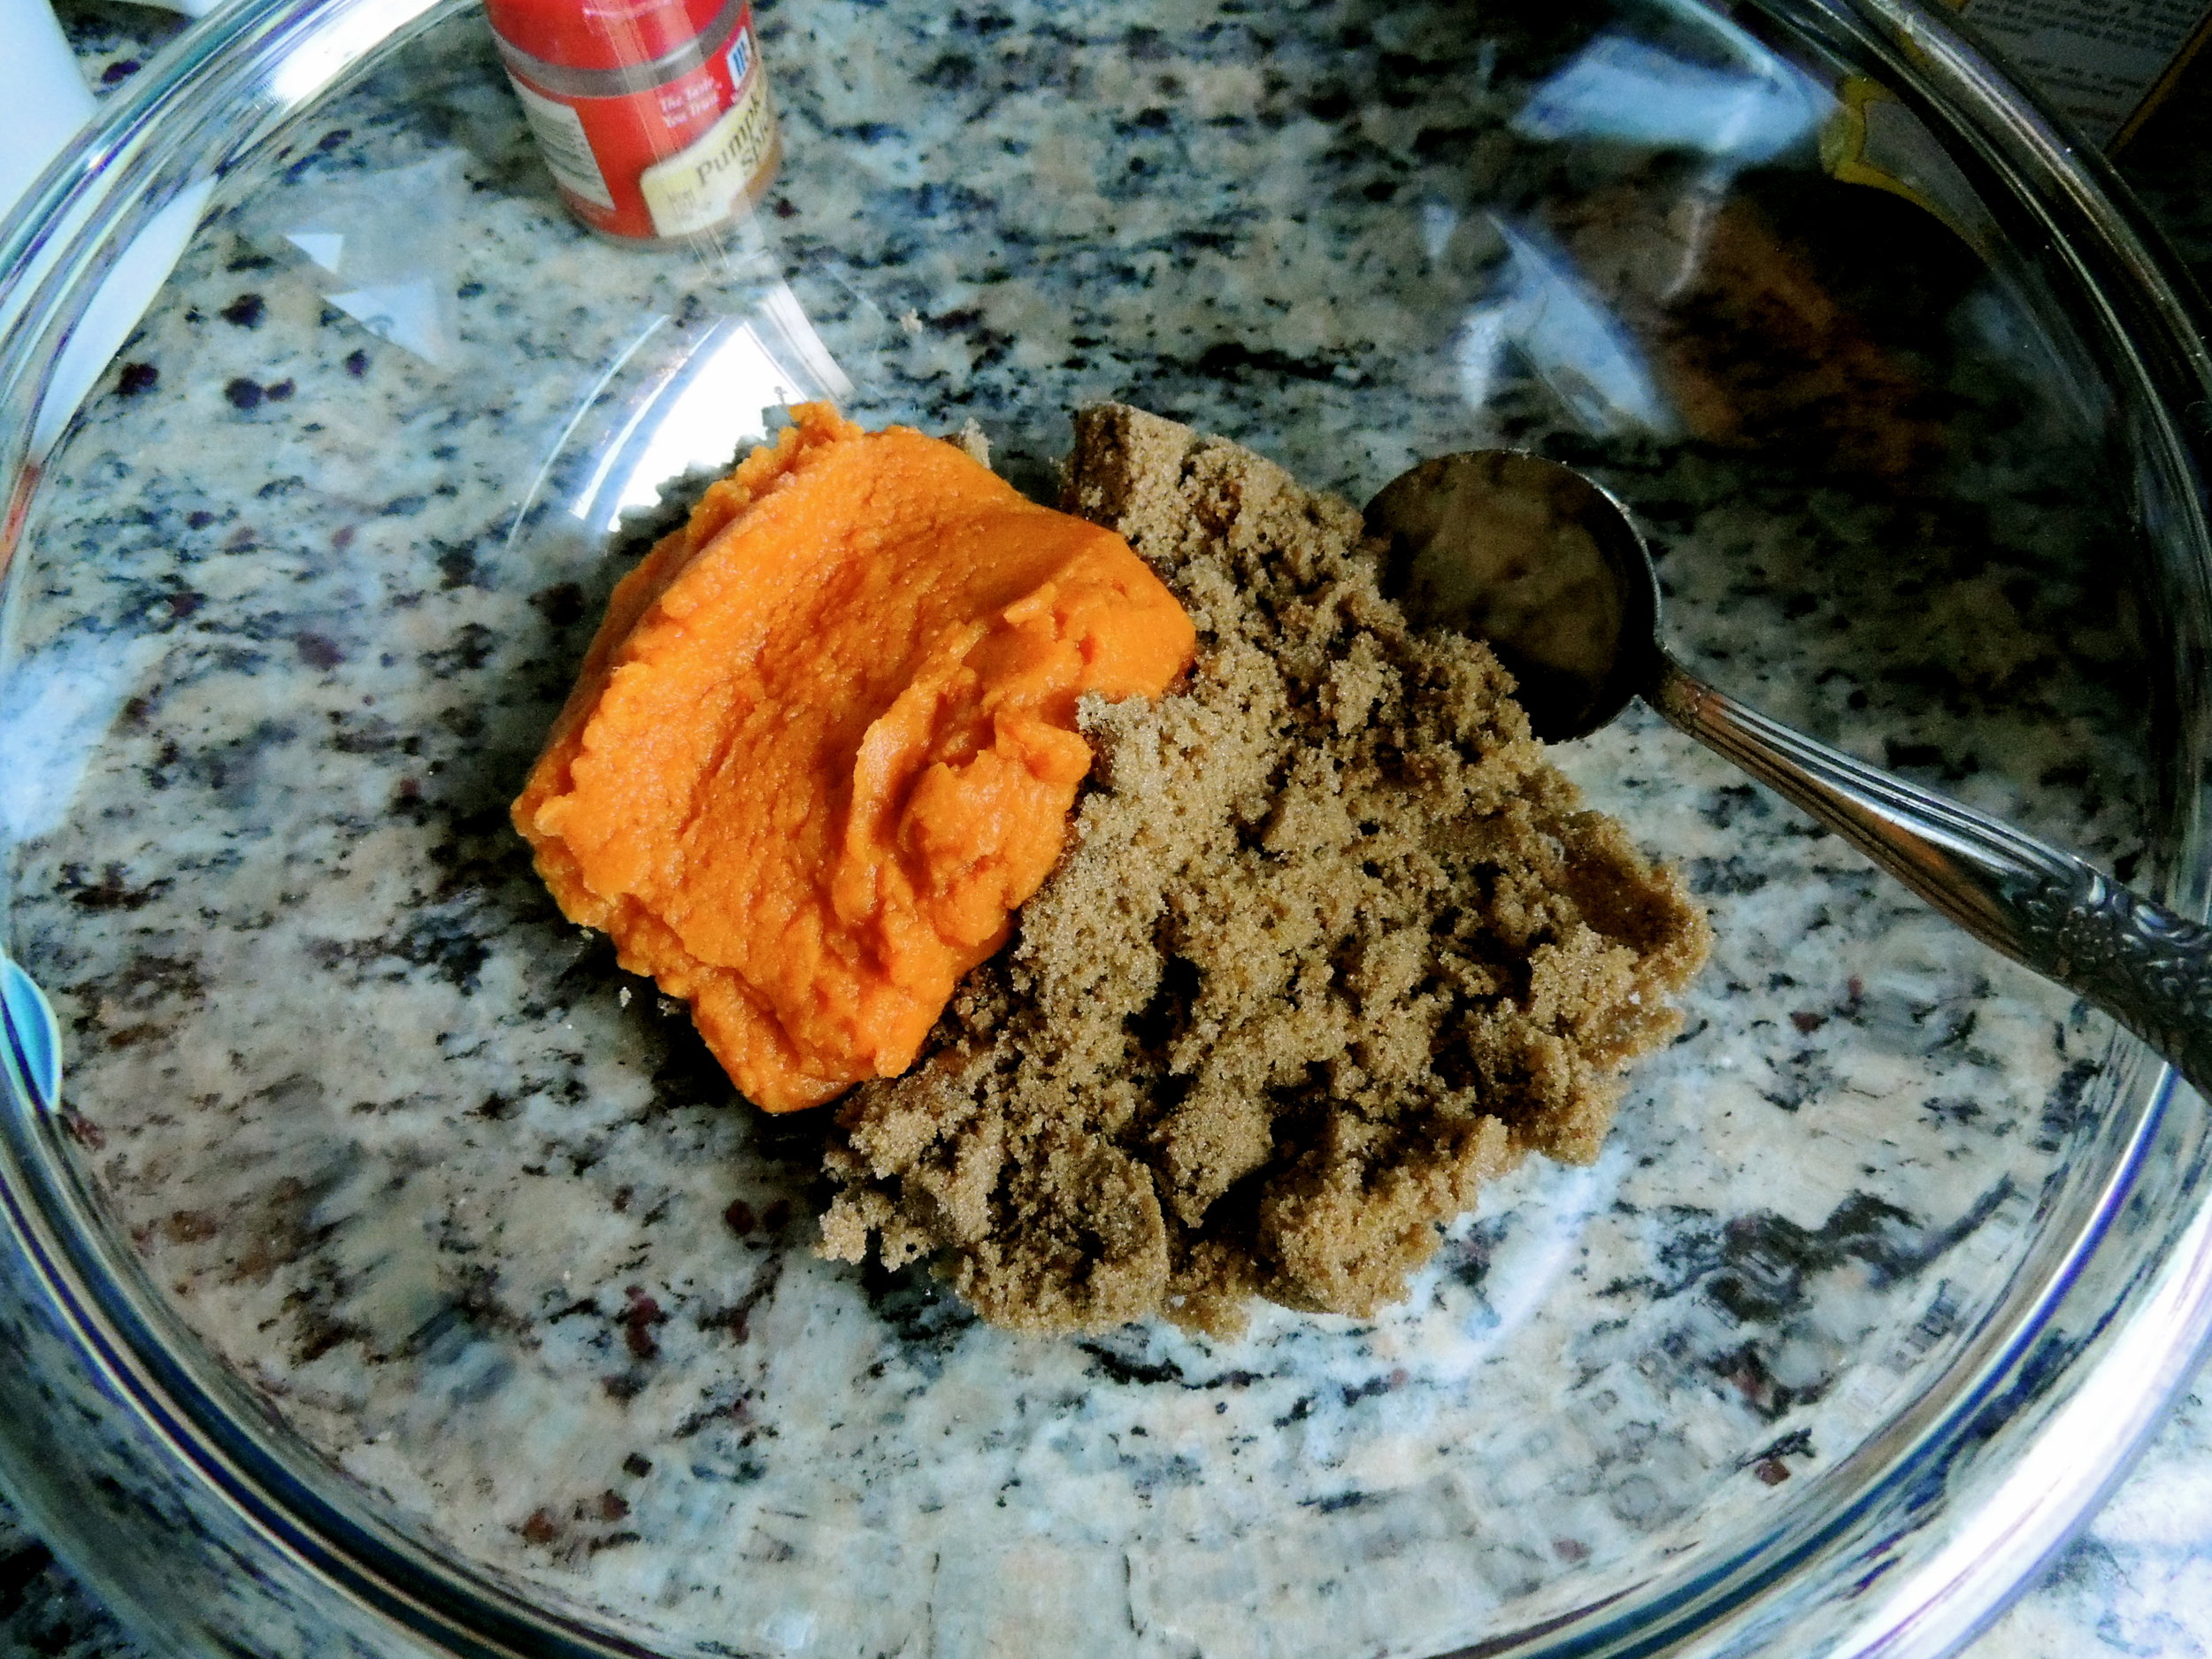
DSCN0364About a month back, our grocery store was having a sale on those big bags of Domino Brown sugar that I couldn't pass up. And in the moment, I was too BLINDED BY A GOOD DEAL, to read the label, and picked up two bags of DARK Brown Sugar, instead of LIGHT Brown Sugar. But by the time I set to work on making these granola bars, and realized my mistake, I had neither the strength, nor desire to walk the 2 minutes back over to the grocery store to buy a box. And anyway, I think my local grocery store is starting to see a little too much of me. So, I decided to substitute dark brown sugar instead, and see what happened. Not bad, I gotta say it.

DSCN0374 DSCN0379It was really interesting to learn some of the elements that go into granola bars. I'm not exactly sure what I thought it was that was holding them together, but I didn't realize what a huge part honey plays. It's the glue that binds the whole operation together and without it, you've got mushy, uncooked oatmeal with pieces of fruit in it. Also interesting, this recipe called for 1/4 cup applesauce. It helps keep some of the moisture during baking, and it makes all the difference.

DSCN0386I liked that this recipe called for white chocolate chips for three reasons:

1. White chocolate chips were on sale today for $0.79

2. I don't think I've ever baked with white chocolate before.

3. I like white chocolate a lot. White Chocolate + Granola Mix= A really great idea!

And while the chocolate chip pieces melt away, their memory, and taste, are not forgotten. They add such a special sweetness to the mixture.

DSCN0389I could not stop eating this once it was finished. As a result, I don't really have granola "bars" per se, but instead granola "chunks" or granola "weirdly shaped, unevenly sized pieces." No regrets, it's not for sharing. The only person that will be appreciating this first batch is me, and my taste buds are in no way picky when it comes to presentation.

These granola bars are delicious, were easy to make, and now probably a new staple in my pantry. But bakers beware: this granola is addicting, so keep your wit's about you!

Give it a try!

PUMPKIN GRANOLA BARS:

What You'll Need:

  • 3 cups old fashioned oats
  • 2 teaspoons pumpkin pie spice
  • 1/2 teaspoon salt
  • 3/4 cup packed light brown sugar (or try dark brown sugarIt made things a lot sweeter!)
  • 1/2 cup pumpkin puree
  • 1/4 cup applesauce
  • 1/4 cup honey
  • 1 teaspoon vanilla extract
  • 1/2 cup dried cranberries
  • 1/2 cup white chocolate chips

To Make:

Preheat oven to 350° F. Line a baking sheet (9x9 is suggested, but I think my sheet is 9x11, and it turned out fine. Use what you have!) with foil allowing for 1 inch to hang on the sides of the pan. Spray foil with Pam, or another non-stick cooking spray, and set aside.

In a large bowl, combine oats, pumpkin pie spice, and salt. Set aside.

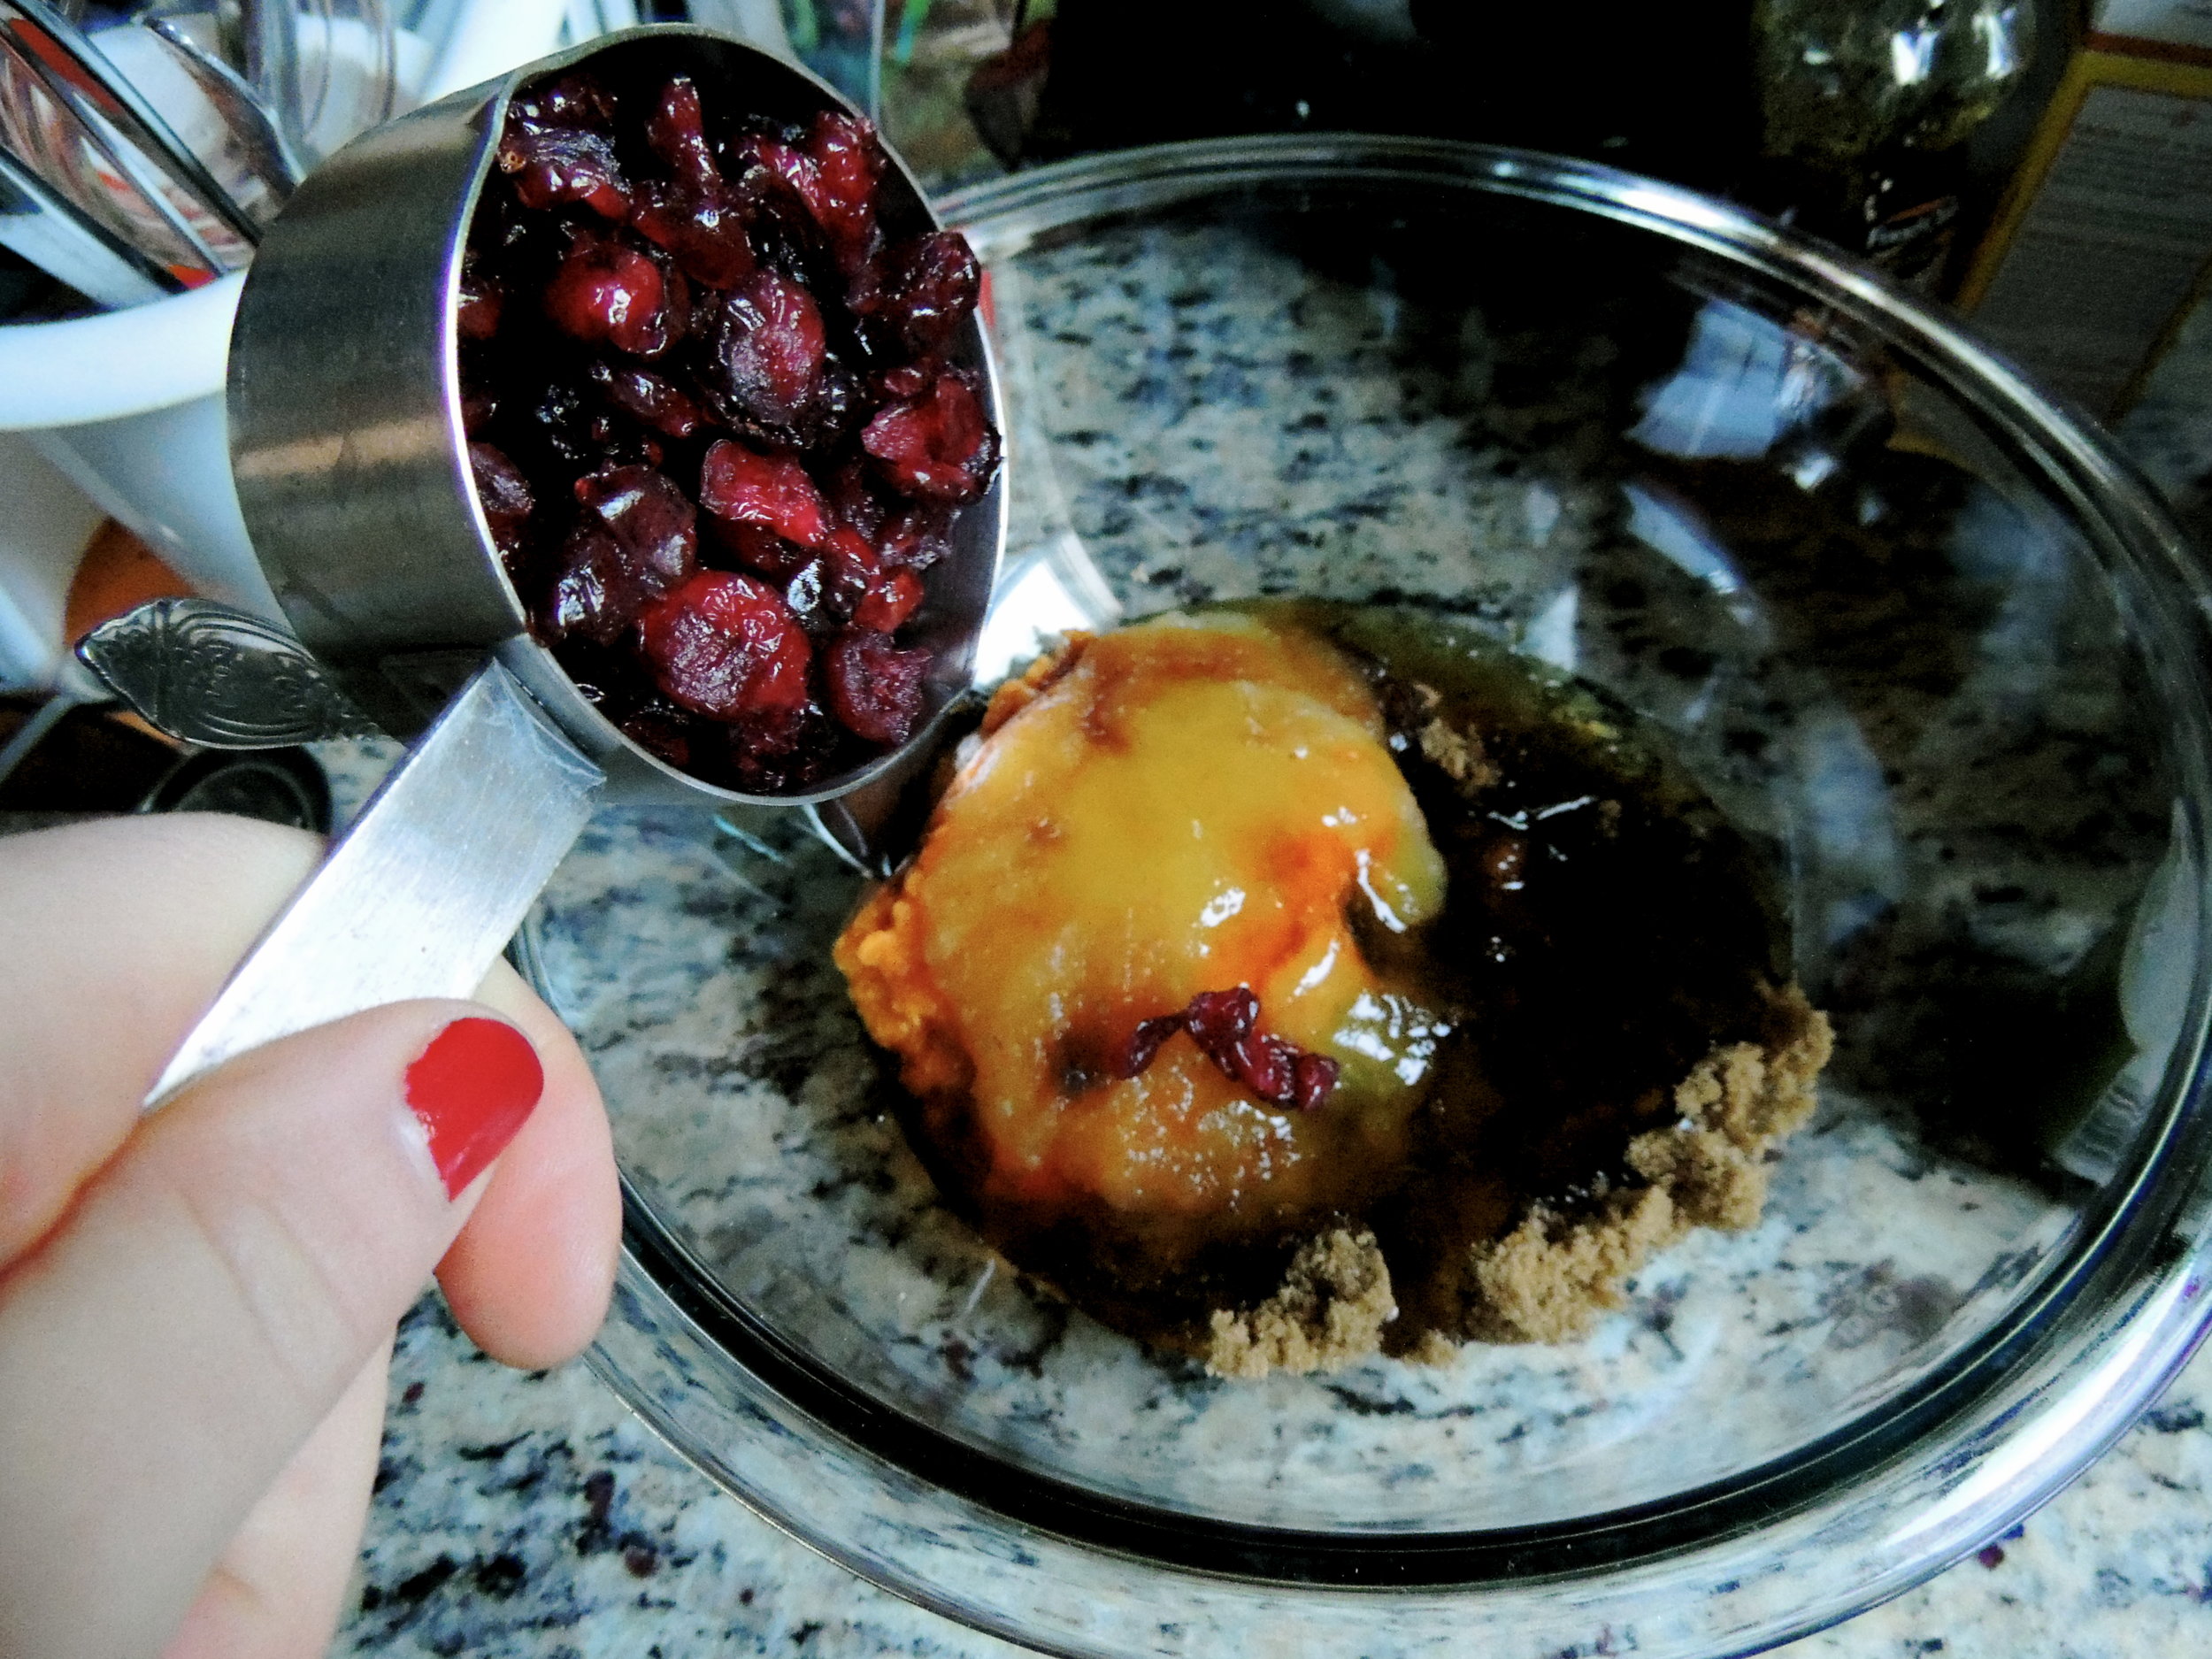
3. In a medium bowl, whisk together the brown sugar, pumpkin puree, applesauce, honey, and vanilla extract until smooth. Pour over oats and stir until oats are moistened. Stir in the cranberries and white chocolate chips.

4. Evenly press oat mixture onto the prepared baking sheet. Bake for 35-40 minutes, or until golden brown. Be sure not to under bake. Transfer to a cooling rack to cool completely.

5. Use a sharp knife to cut into bars. (Or just, eat it while you're impatiently waiting for it to cool, and make it into fun, unexpected shapes of granola like I did! Yeah!)

Source: Very minimally adapted from My Baking Addiction

Happy baking!

singature gray

Making it My Own: Pumpkin Oatmeal Raisin Cookies

DSCN0308 The story really began on Sunday, when my friend Grace and I decided to hit up the neighborhood bakery, after completely stuffing ourselves at brunch. No regrets, the weekends are the days that I feast. My neighborhood has the CUTEST bakery with tons of handwritten signs everywhere, and a really great pastry selection. What I had in mind for a post-brunch treat was a cannoli because hey, if you're going to have dessert after essentially having dessert, you have to go all out. But these days, I leave cannolis to the experts in the North End, and no where else. Instead, I locked eyes on (well, eye to baked good) a pumpkin raisin cookie. It just so happens that a few days before, I'd heard talk of a pumpkin aatmeal raisin cookie, and I'd been dying to try one ever since. But when I asked the salesperson if the cookie had oats, she shook her head "no," and sort of looked at me quizzically. Well, whatever, there was nothing else in the bakery I wanted more than that cookie, so I paid, and we left. And, I have to say it: I was super disappointed. I mean, I ate the whole thing obviously, but every bite was a reminder that I may have chosen the wrong thing at the bakery. It was missing one very important element: oats.

Honestly, think about it: had there been no pumpkin, it would have just been a raisin cookie. WHO EATS PLAIN RAISIN COOKIES? It's oatmeal raisin, or nothing. So as I took my last bite, I looked over at Grace and said, "I think I'm going to remake this cookie."

So I did.

DSCN0307

I started my baking adventure like I always do: running furiously to the store in search of ingredients that I definetly should have collected before I decided to start baking. And I often embarrass myself once I get there. This particular time, after going up and down two aisles twice looking for raisins, I finally found someone that worked there, who told me to go to Produce. And after looking in Produce for .2 seconds, I decided to ask for help. Now, let me just preface this by saying that my trip to the store yesterday was the first time I'd been out all day, so I was still adjusting to being around other people, and also speaking out loud. Here was my interaction with the (pretty cute, by the way) salesperson in Produce:

Me: Excuse me, could you tell me where the grapes are?

SP: Grapes? Sure they're just------

Me:  OH NOPE. SORRY, I meant raisins! Ha, y'know like OLD GRAPES? HAHA

SP: ...Um. Okay, yeah, they're over here. Follow me...

Me: Yep. okay then...

So yeah, THAT happened. Nevertheless, I got my raisins. And I set to work!

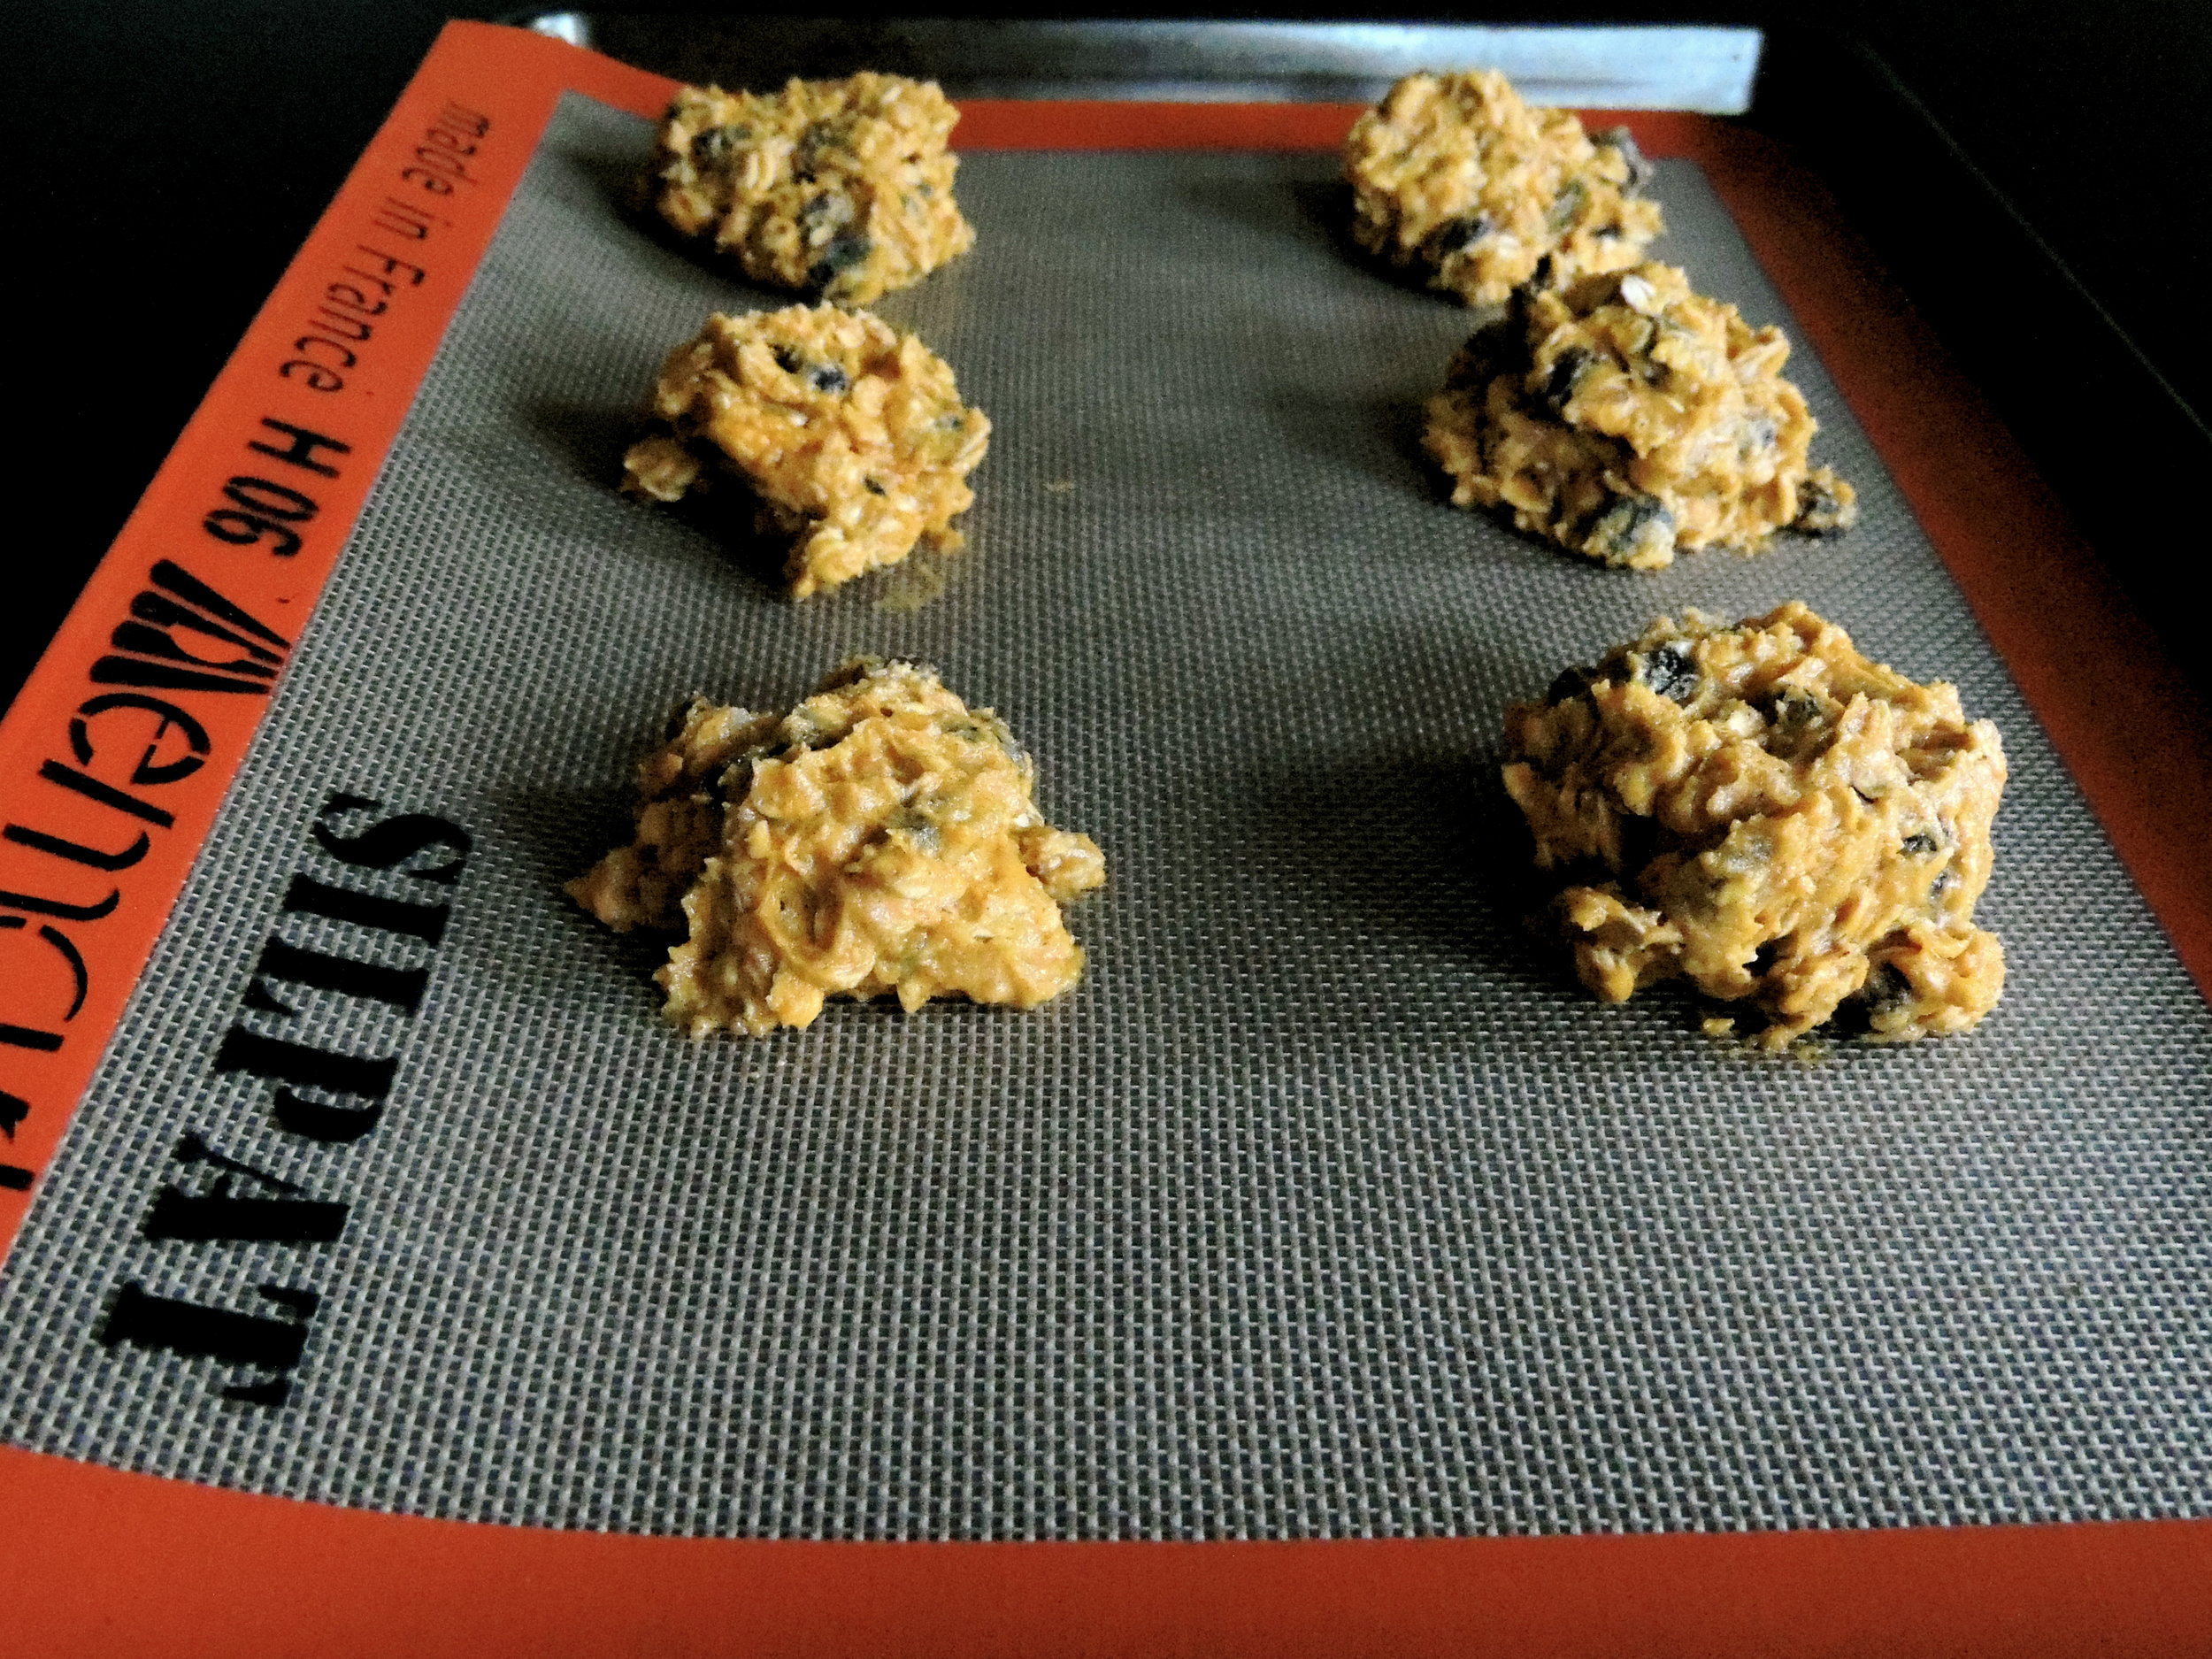
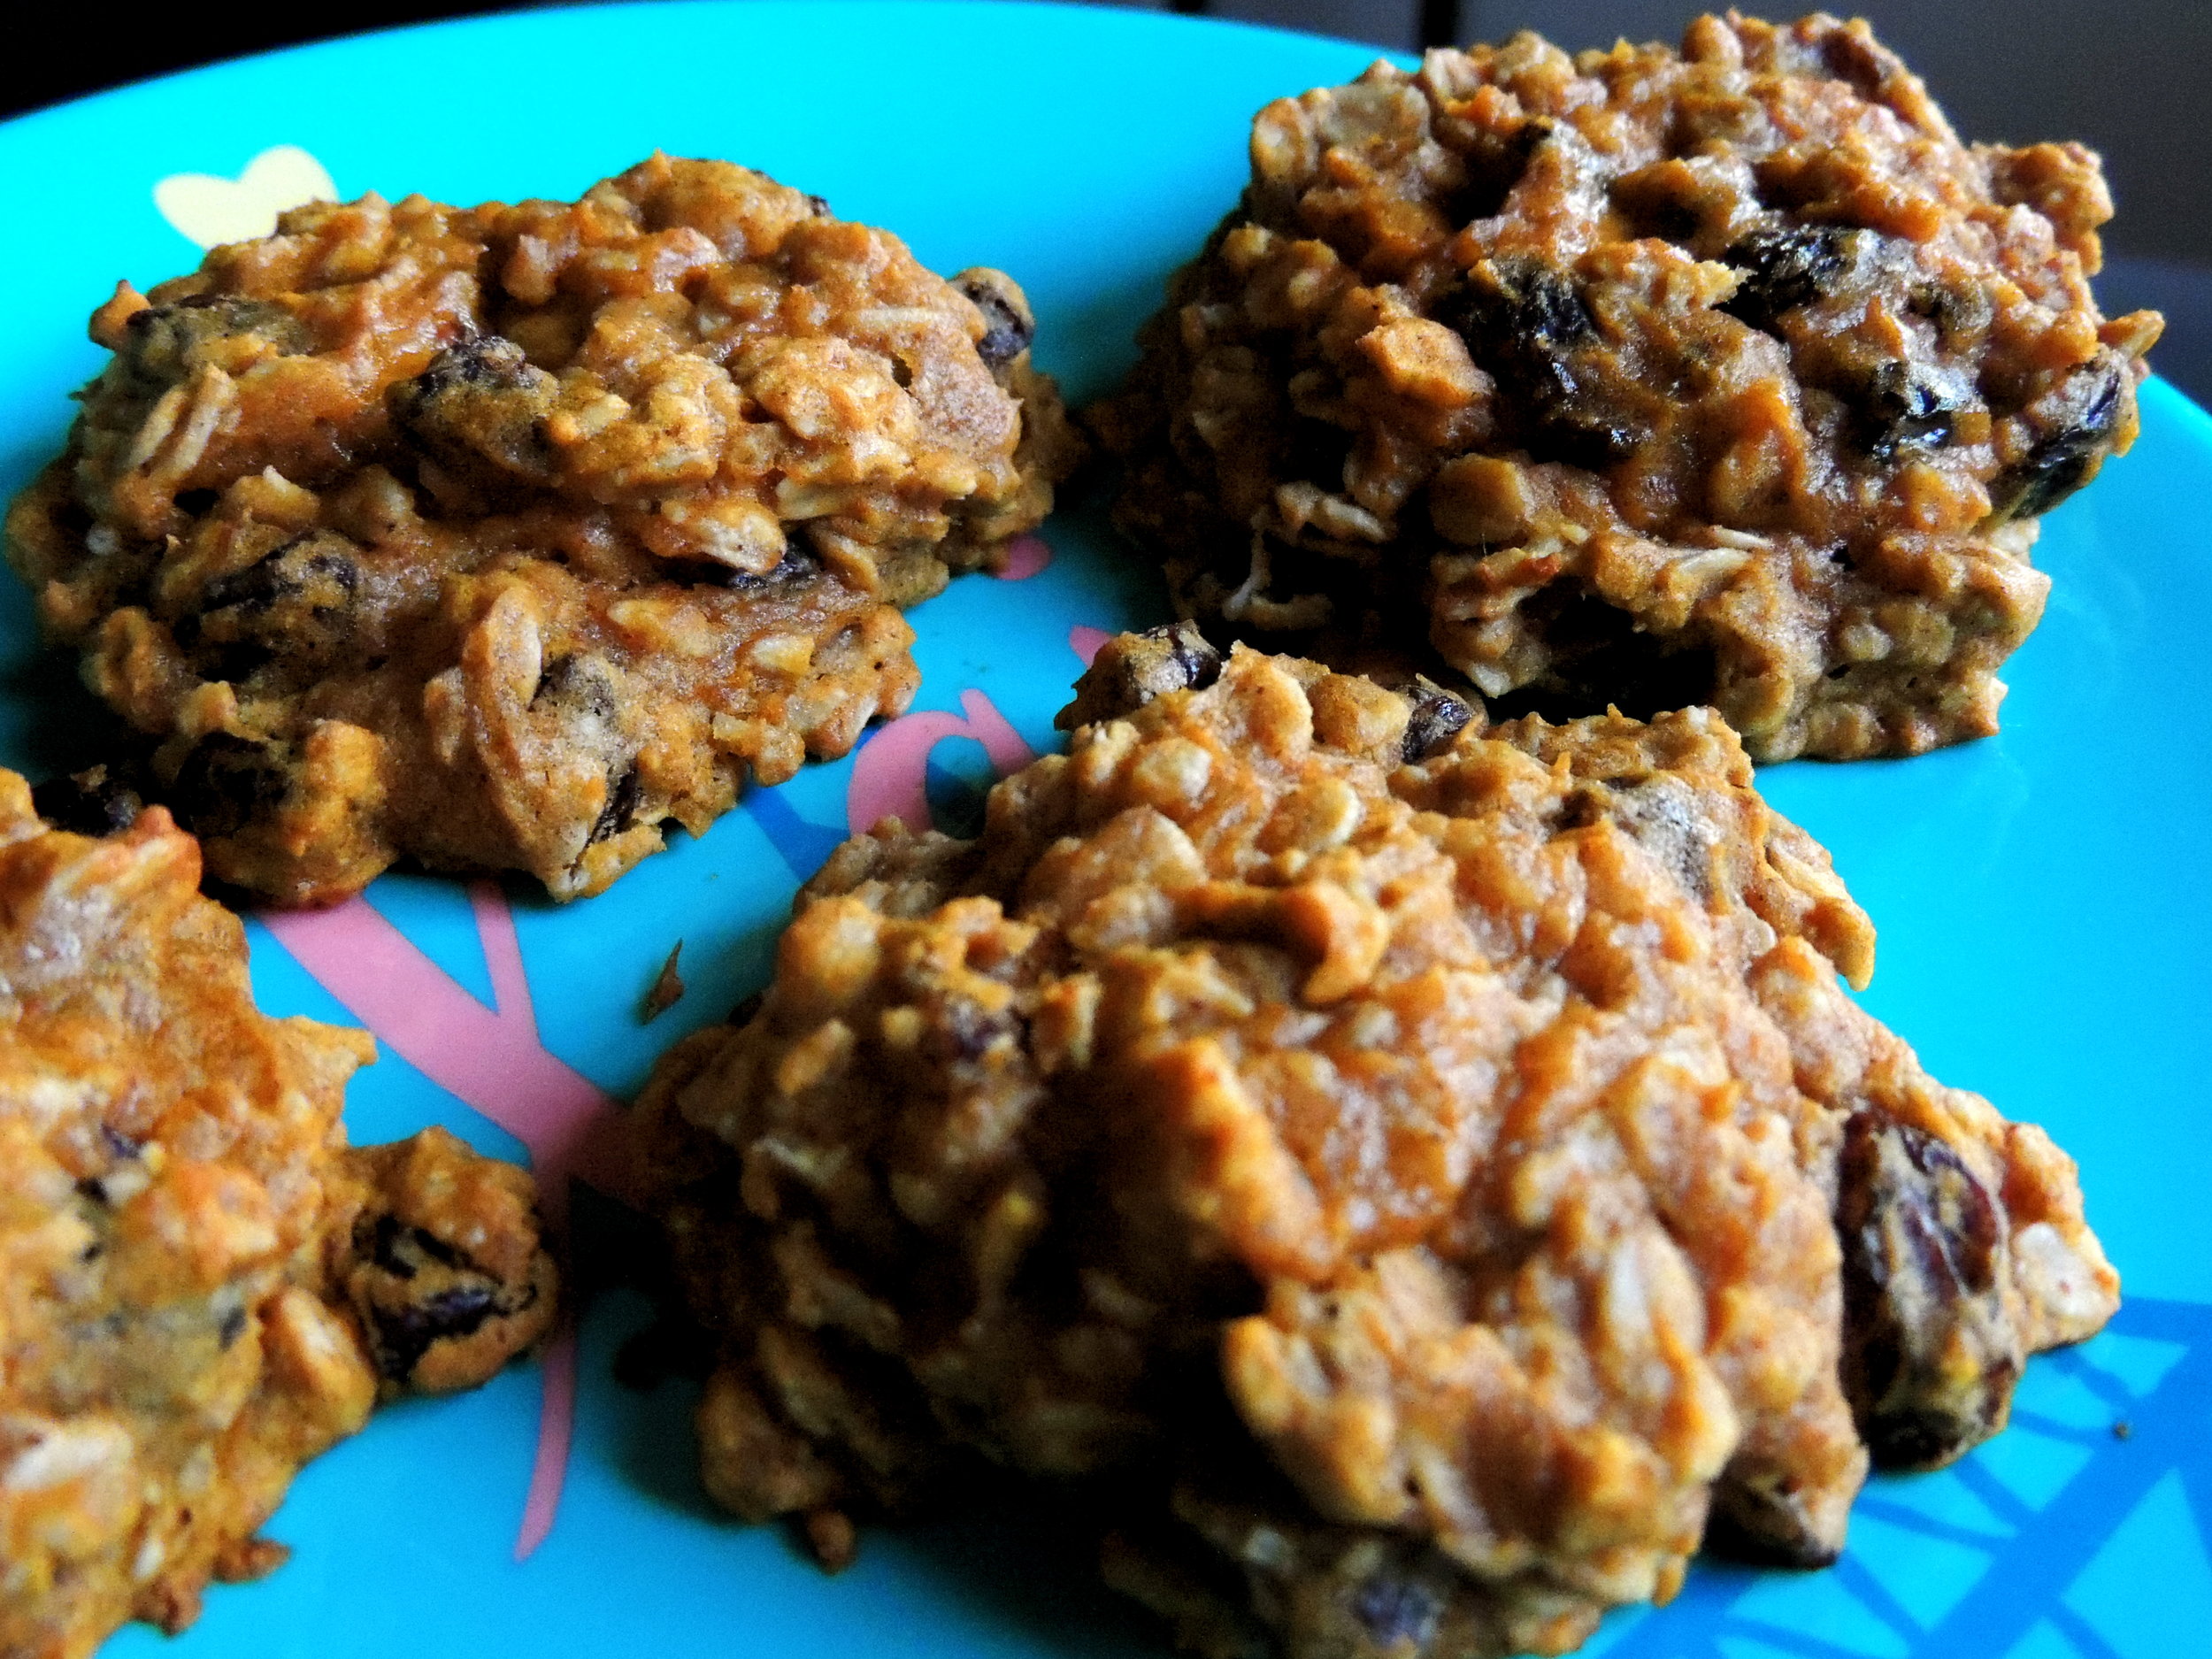
DSCN0316A few hours later, I had warm, chewy, Pumpkin Oatmeal Raisin cookies. And better than the bakery's cookies by a mile, if I do say so myself.

DSCN0329

DSCN0340I'm taking these little pieces of Fall goodness to work with me so that my Official Recipe Tasters (aka my co-workers and roommates) can give me the final word. I'm going to share this recipe, I promise!

HAPPY THURSDAY, GUYS! The weekend's almost here!

singature gray

OFFICIALLY BAKING SEASON

Finally that time of year where it's getting a little too cold to be outside for long stretches of time, but not too cold to play in the leaves...and eventually snow. Did I hear correctly that Vermont is getting their first snowfall of the year this weekend? If so, good luck, Vermont! We've got a little warmth left here in Boston.  

But as the cold starts to unpack it's belongings for the 4+ months ahead, now is a good time to start making a list of every single thing that I want to bake. You would not believe the amount of recipes I save to my "Bookmarks" everyday, and that's where most of them stay. I save so many that I forget they exist! Well, that's all about to change. And I need your help!


Are there any recipes that you just can't live without?? I'd love to know! Then, we can make it together and giggle a bunch while we pretend that we're not going to have another piece, cookie, bite, etc, but we totally do!


NEW RECIPES. ANNNNDDDDDD....GO!

When You're in the Mood for Cheesecake...

On Tuesday, my works chums and I were shooting the breeze for a little while, and decided that as a way to bond, we should have a little workday get-together. Mind you, we wouldn't leave our desks, and we wouldn't stop working, but we would share a little something. And because I have a massive sweet tooth,  I volunteered to provide that little something. What that "little something" would be, was going to be a surprise of course; for them mostly, but for me as well. Even though I had quickly volunteered, I had no idea what to make at first. And really, when I set out to bake something, I hardly ever do.

I was surfing Tumblr the next morning when it came to me: Chocolate Chip Cookie Dough Cheesecake. It was like the Heavens had opened up, and placed it on my dashboard. And I looooove when that happens. When I have no idea what I'm doing, and then BAM! There it is. That sort of thing happens with other parts of my life as well: songwriting, books to read, and of course, what to watch on Netflix. So many choices, sometimes I need a little guidance.

So off I went to the store, ingredient list in hand, and the chill of Fall finally in the air, followed by a giant gust of cold wind, followed by me ever wondering why I would wish cold weather upon anyone. I ran into Roche Brothers and emerged 20 minutes later with all the fixins' to make me a cheesecake!

LOOK HOW MANY CHOCOLATE CHIPS THERE ARE. Ughh. It took everything I had not to eat every bit of this as I slowly rolled them into dough balls and placed them on a carefully parchment-papered cookie sheet. Side note: the cookie dough portion of this recipe is glorious in that, there are no eggs. And you know what that means: no salmonella! WHICH MEANS, you can make these cookie dough balls at a separate time, and place them into your classic vanilla ice cream! It's brilliant, and a great way to spice up a classic, but sometimes boring, ice cream flavor. Or, you know, you can just eat them as is. (There is no shame in that, believe me. I did it.)

FINALLY FINISHED and ready for the oven!

And after fully cooling, and taking all night to get its beauty rest...

DSCN0217

This little baby was born, and ready to be devoured.  Sadly, it cracked. But that did NOT stop it from being one of the tastiest treats ever produced in Sydney's Kitchen.

My workmates, who I'm pretty sure had forgotten about my promised treat, were throughly surprised and delighted. We each had a piece, rubbed our bellies because that is a LOT of sweetness on one plate, drank like, a gallon of water each, then went back for seconds.

Cheesecake is always a great way to cheer up a rather gloomy, windy, Thursday.

What You'll Need:

Cookie Dough:
  • ½ cup butter, softened
  • ½ cup sugar
  • ½ cup packed light brown sugar
  • 2 tablespoons milk
  • 2 teaspoons vanilla extract
  • 1 cup all-purpose flour
  • 1/4 teaspoon salt
  • 1 cup mini chocolate chips
  • Set aside an additional 1 cup mini chocolate chips to fold into the batter with the cookie dough balls
Crust:
  • 4 tablespoons butter, melted
  • 2 1/2 cups graham cracker crumbs or chocolate cookie crumbs (like Oreos) I used crushed up (I spent 20 minutes!) Nilla wafers! It gives it a little something extra!
Filling:
  • 4 (8-ounce) blocks cream cheese, softened to room temperature
  • 1 cup sugar
  • 4 large eggs
  • 1 teaspoon all-purpose flour
  • 1 teaspoon vanilla
  • 1 cup sour cream
For the recipe, click here!
HAPPY BAKING!!
singature gray