Loving Linguine

My family has never been into pasta. I, on the other hand, have always been into pasta. Pasta and I have a long, beautiful history filled with different kinds of sauces, a ton of cheese (I am from the Midwest after all), and every kind of dipping bread imaginable on the side. But as much as I've always loved it, I've only just started making it for myself. And I must admit: preparing a good bowl of pasta takes time, and a lot of perfecting.I'm not totally there yet, but at least I've learned that once you've got the water boiling, you TURN DOWN THE STOVE. (I learned that the hard way, and how fast it takes for water to boil up, and then OVER a pot.) Last night, after two hours (when I thought it would only take maybe one, tops) I enjoyed my third attempt at a complicated pasta dish. The first two were both Pasta Carbonara. The first try I had help, the second, I accomplished all on my own. Both successes, and last night, I can proudly say, was another great and delicious...SUCCESS.

The audience I had the pleasure of cooking for (i.e. my parents) requested meat with their linguine; something that wasn't included in the recipe. So I bought a few pieces of chicken breast, cubed them, seasoned them, then sauteed them on the stove for 15 minutes total. Meat covered.

Then onto the main dish...

linguine lemonTHIS, ladies and gentleman, is the most fragrant bowl of pasta to date. Lemon juice, lemon zest, olive oil, FRESHLY GRATED parmesan cheese, a dash or two of heavy whipping cream, and a few fresh sprigs of basil. Drizzle a little more olive oil on top, grate some more cheese (HONESTLY, IS THERE EVER ENOUGH CHEESE? The answer is "no."), and you've got yourself a yummy pasta dish!

Not a tummy was empty last night, and I WILL be making this again.

What You'll Need:

  • 1 pound spaghetti or linguine
  • Salt
  • 3 lemons
  • 1/4 cup extra virgin olive oil , plus additional for serving
  • 1/4 cup heavy cream
  • 1 ounce finely grated Parmesan cheese (about 1/2 cup), plus additional for serving
  • Ground black pepper
  • Small handful fresh basil or arugula (what I used, deliciously, in a pinch) leaves, shredded

Find the recipe here!


HAPPY COOKING!

singature gray


Chicken Parm!

I am, it must be said, a baker by nature. BUT I"M TRYING TO CHANGE! I'm trying to become more versatile, I'm trying to become...the ultimate home chef... And I need some practice yet, but I'm getting there you guys, I'm getting there.

This week has been all about cooking, and it's going well so far! The one thing I've always loved about break: more time to do the things you wish you could, but you choose sleep over instead.  This Monday, I made DELICIOUS (Not to toot my own horn but...) Chicken Parmesan with lemon on the side!

Before bake

I hate meat. Don't get me wrong, it's not in the way that you think; I just really hate handling raw meat. One day, I'll be smart enough to remember to buy gloves so that handling raw food isn't an issue. But until that day comes, handling meat will be considered the worst.

It is absolutely INSANE how easy it is to make these tasty little cutlets! The recipe called for three small chicken breasts, but we couldn't find any. instead, we bought breast strips and I gotta tell ya: it worked so much better! It was easier to dip these in the individual ingredients, and  the cooking time was cut in half! Something interesting to note about this recipe: it called for Panko (Japanese breadcrumbs), which added a little extra crunchiness.Cooking time including preparation was probably about an hour total, and it was SO GOOD.

Chicken Parm

These parmesan chicken cutlets were PERFECT for a quick dinner, and so easy to make. And if you're like me, you'll appreciate that these babies can be breaded up to 3 months in advance.

What You'll Need:

  • 3/4 cup all-purpose flour
  • 2 large eggs
  • 1 1/2 cups panko (Japanese breadcrumbs)
  • 1/4 cup grated Parmesan
  • 1 tablespoon mustard powder
  • Kosher salt, freshly ground pepper
  • 4 small skinless, boneless chicken cutlets (about 1 1/2 pounds total), pounded to 1/4-inch thickness
  • 8 tablespoons olive oil, divided
  • 1 lemon, halved

Find the recipe here!

HAPPY COOKING!

singature gray

The Time I Tried (and Failed) to Make Sweet Potato Cupcakes

DSCN0056 You guys I tried. I really, really tried.

Every weekend I make it a point to bake. I love to bake. (You know this, you follow me.) So there I was, just like every weekend, perusing my hundreds of recipes that I've collected online when suddenly, I found it: a recipe for light and fluffy sweet potato cupcakes. I knew I had to make them.

So I make my grocery list, I go to the store, and already I run into a problem: It's winter, and canned sweet potato is no longer available. No matter, we have a blender, so I grab three yams, and I go on my way.

Something I wish I had known before I tried to puree my own vegetables:

YOU HAVE TO COOK THEM FIRST.

Given the fact that my love for cooking is admittedly still in its early stages, this little kitchen trick is one I'd never learned. So there I was, adding water to a blender and pureeing those yams like there was no tomorrow. And puree them I did...kind of.

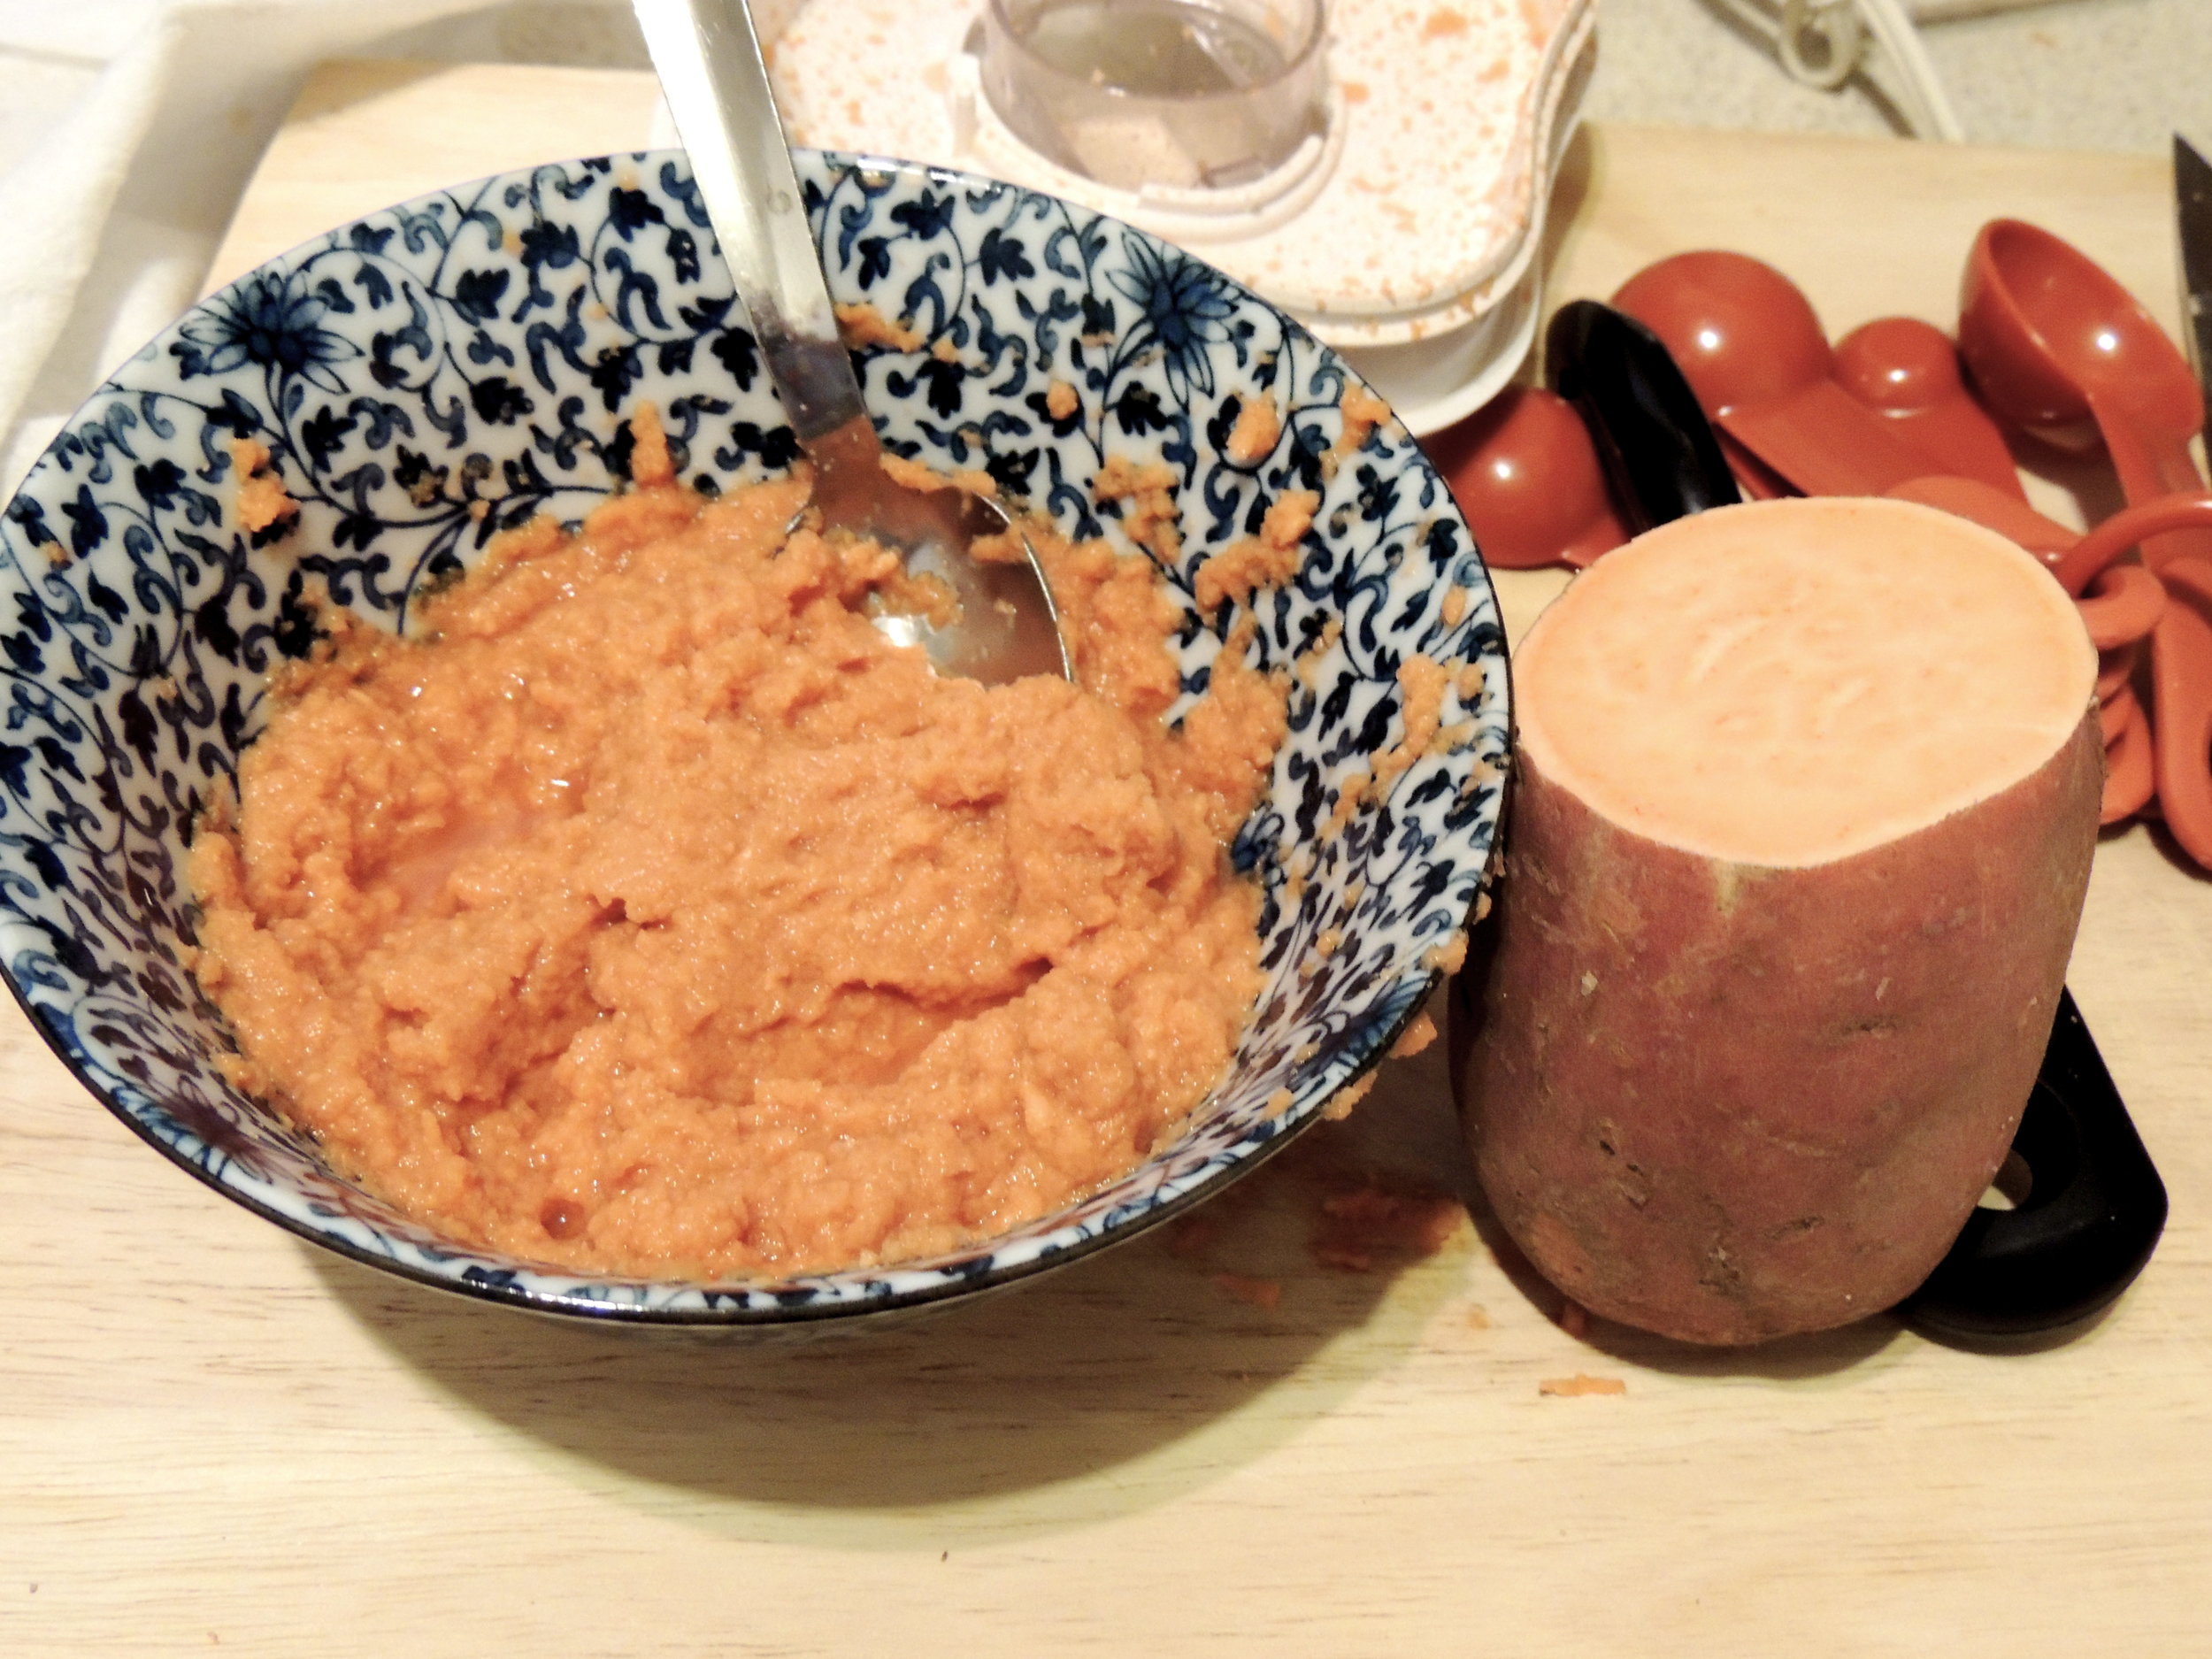
DSCN0057So as you can see, my should-be smooth puree was a tad bit on the chunky side. But not one to give up, (ESPECIALLY SINCE I HAD ALREADY PURCHASED YAMS TO PROVE I COULD MAKE THESE BABIES.) I forged on ahead. The cupcakes might have a little texture to them, but they were going to be great, I just knew it.

Then arose the next problem...in the form of buttermilk. Now, I don't know if you're like me, but I never find a use for buttermilk. I'll buy it for a recipe, then never, ever use it again. Then a friend of mine mentioned a way to make my own, and being a huge lover of DIY, I jumped on that!

"Just add a tablespoon of vinegar, fill up the rest with milk, and let it sit for a while," she said. Okay, easy enough.

Just to be sure, I looked up a few recipes confirming exactly what she'd told me, with just one speed bump: one recipe said 5-10 minutes, and one said 15, but the rest was right.

DSCN0060

I decided to wait ten minutes. The recipe said that I should see it curd, but I didn't. I figured that since I'd done it all right, that it was buttermilk, and forged ahead. OH BOY was that possibly the biggest mistake.

DSCN0061


My cupcake mixture ended up being far too watery for the average cupcake, but as I put it in I thought, "Hey, no big deal. You've never made sweet potato cupcakes, and maybe this is just their way." Wrong. So wrong.

DSCN0062Into the oven my babies went. Uncooked is how they returned to me.

The funny thing was: cooked on the bottom and top they were, but mushy in the middle as well. I just couldn't understand it! What had I done so wrong? What had I done to deserve such a tragedy? How could they smell just like Thanksgiving, but a watery one at best? And then it hit me like a sack of yams: the "buttermilk." 

Of course. I never let it curd, and this was my result. I felt defeated and a little sad: everything I'd made up until this point had turned out fabulously, and then this.

So now, if you've made it this far, you may be saying to yourself, "What's the point?"

The point, my beautiful or handsome reader, is that even though this experience got me down, even though I totally failed, I still carried on. I still looked up recipes the nest weekend, and I'm still happy.


This blog serves as a documentation of my journey as a cook, but it also serves as a way to share. I know there are other future cooks and bakers out there that want to do more, but are too afraid they'll fail. And let me tell you: you might. I did, and still do. But that's half the fun isn't it? Failing is part of learning, and learning is an everyday occurrence for even the best cooks.


Keep at it. Always cook. Always bake. Always do it with a smile on your face.


singature gray


Learning the Language of Latkes

For three weeks I've had one dish on my mind: latkes. So what is a latke you ask? For those who don't know, here's an official definition:

Noun
(in Jewish cooking) A pancake, esp. one made with grated potato.

Now here's my (unofficial) definition:

Noun

Circular potato pancake of deliciousness. 

I am officially on break for a month, thus: the perfect time to start cookin'! And boy, was this dish an easy blast!

Here we go!

DSCF0471

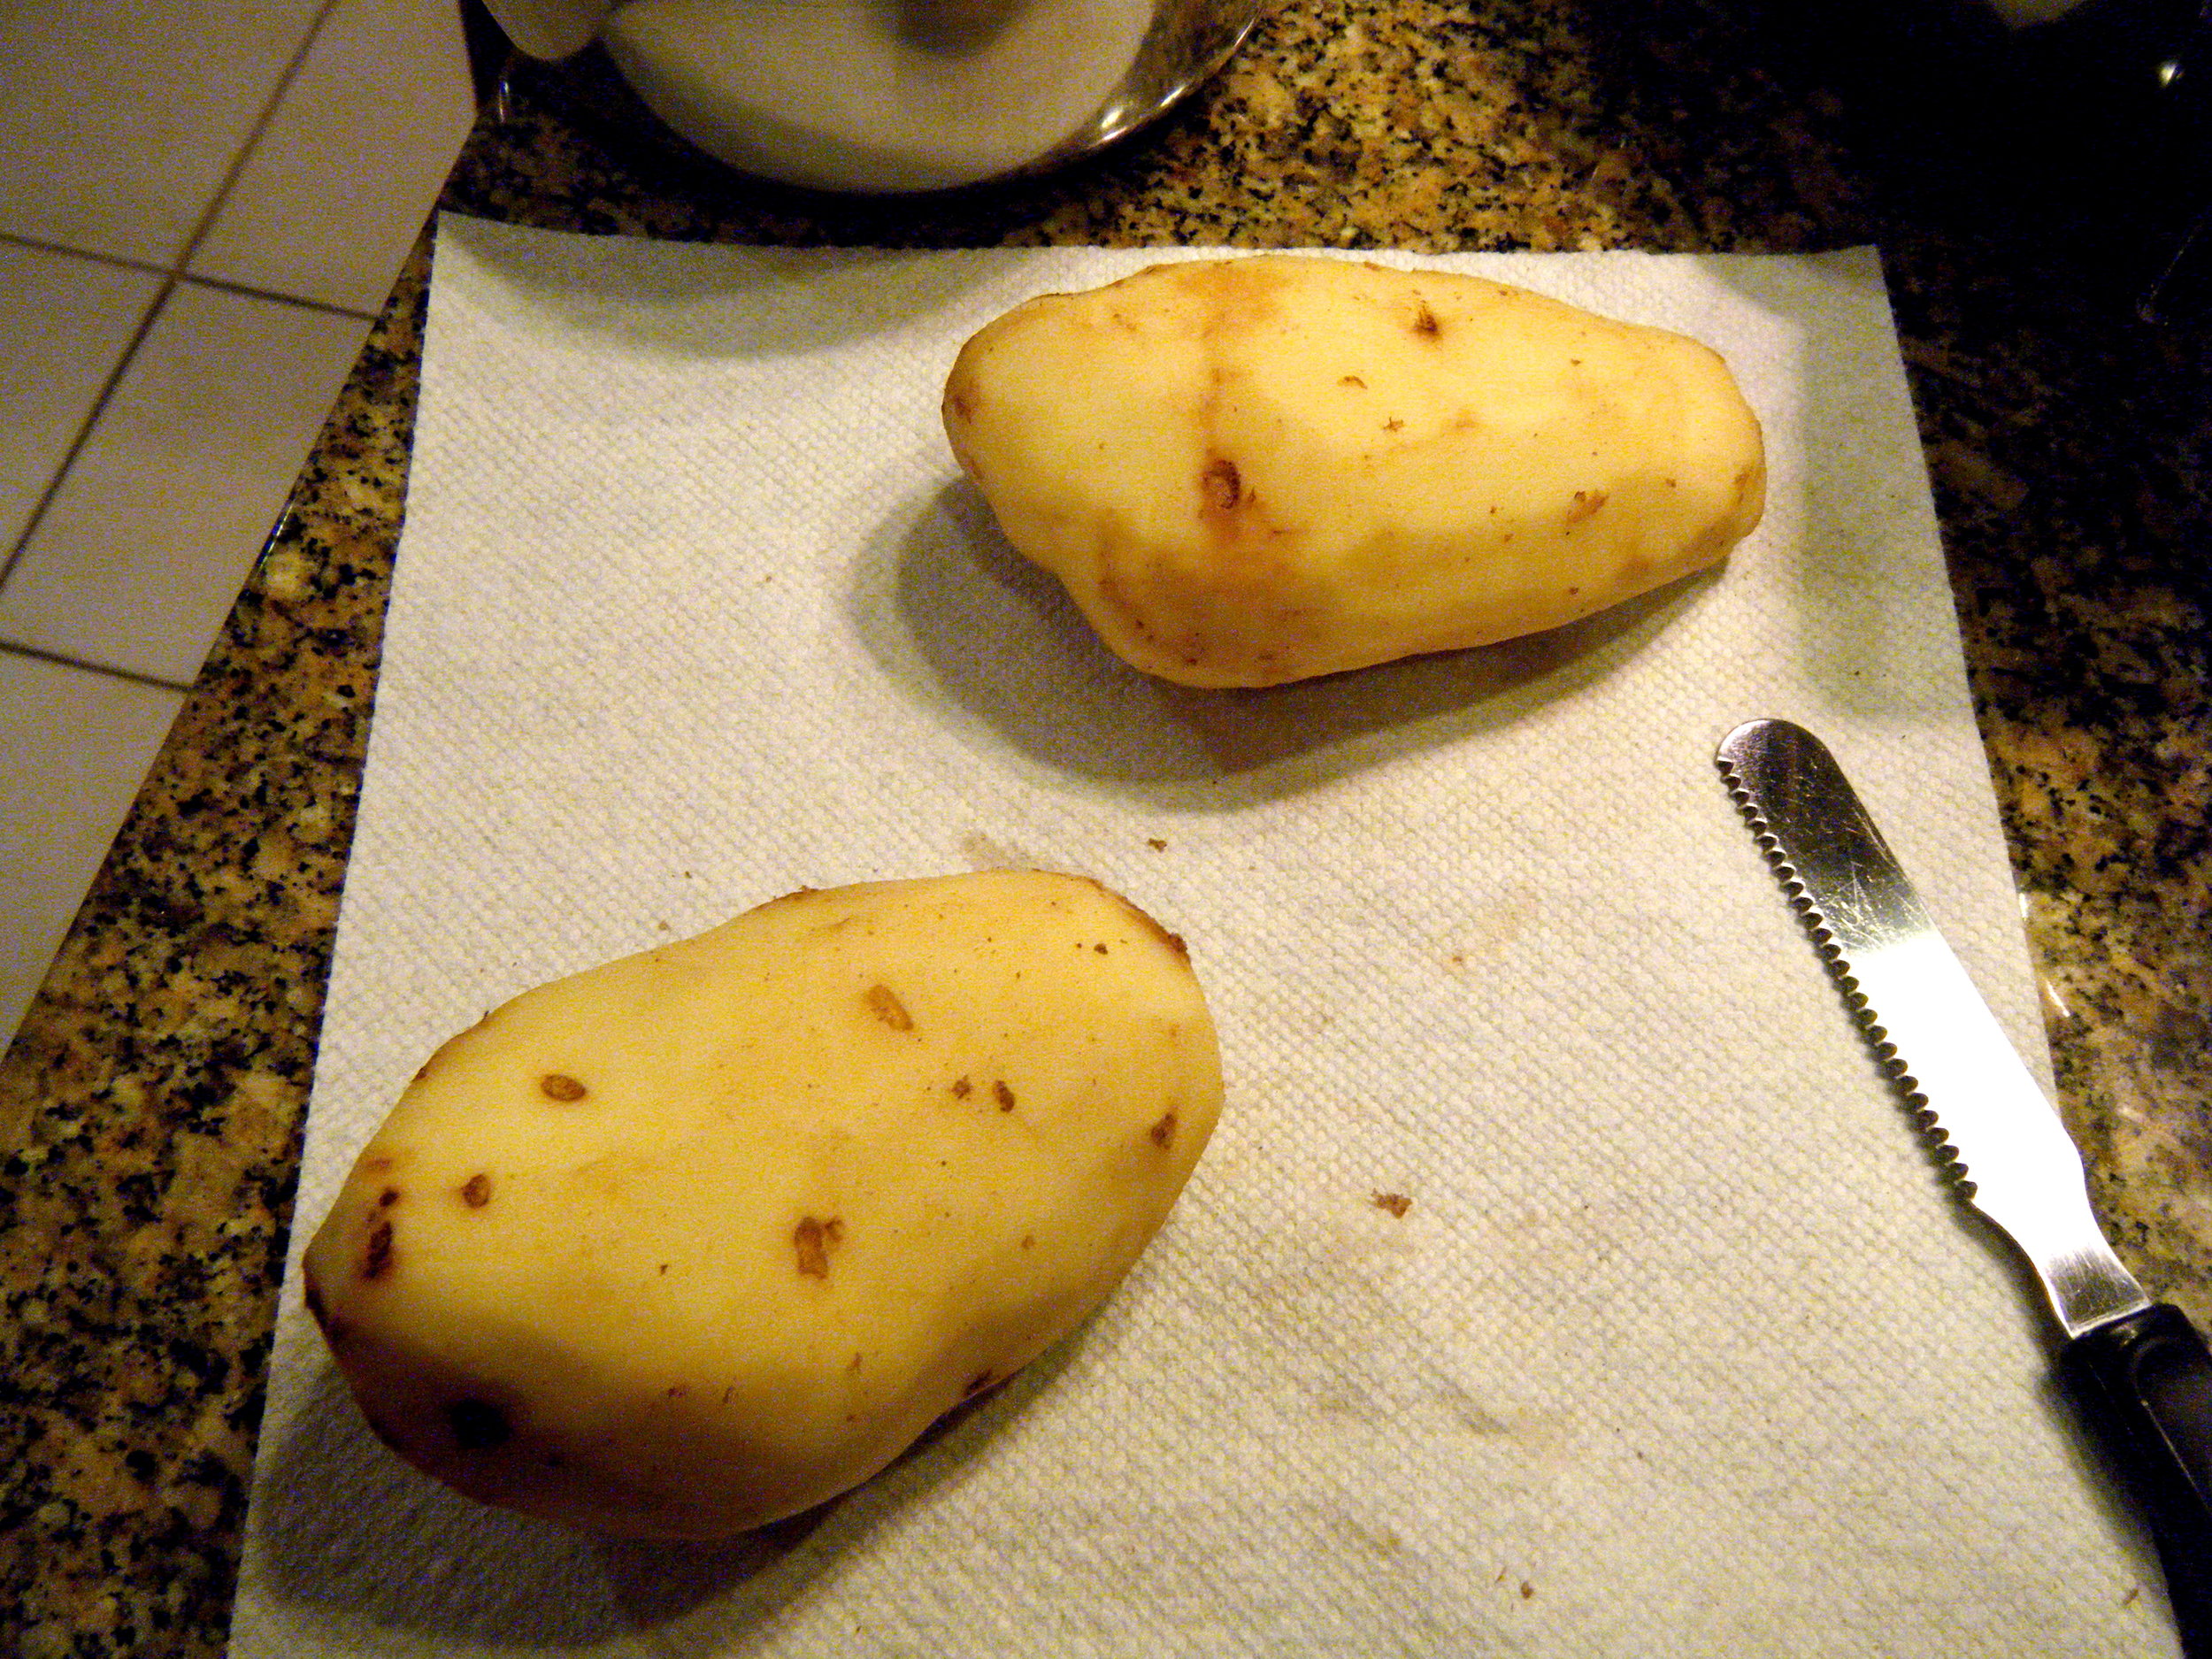
It took me absolute ages to peel these potatoes, but I made it happen! A good vegetable peeler is an essential tool for the kitchen. Without it, I would have used that knife, and I'd probably still be peeling. (Okay, honestly, the peeler probably just saved me 10-15 minutes tops.  Still!)

DSCF0472

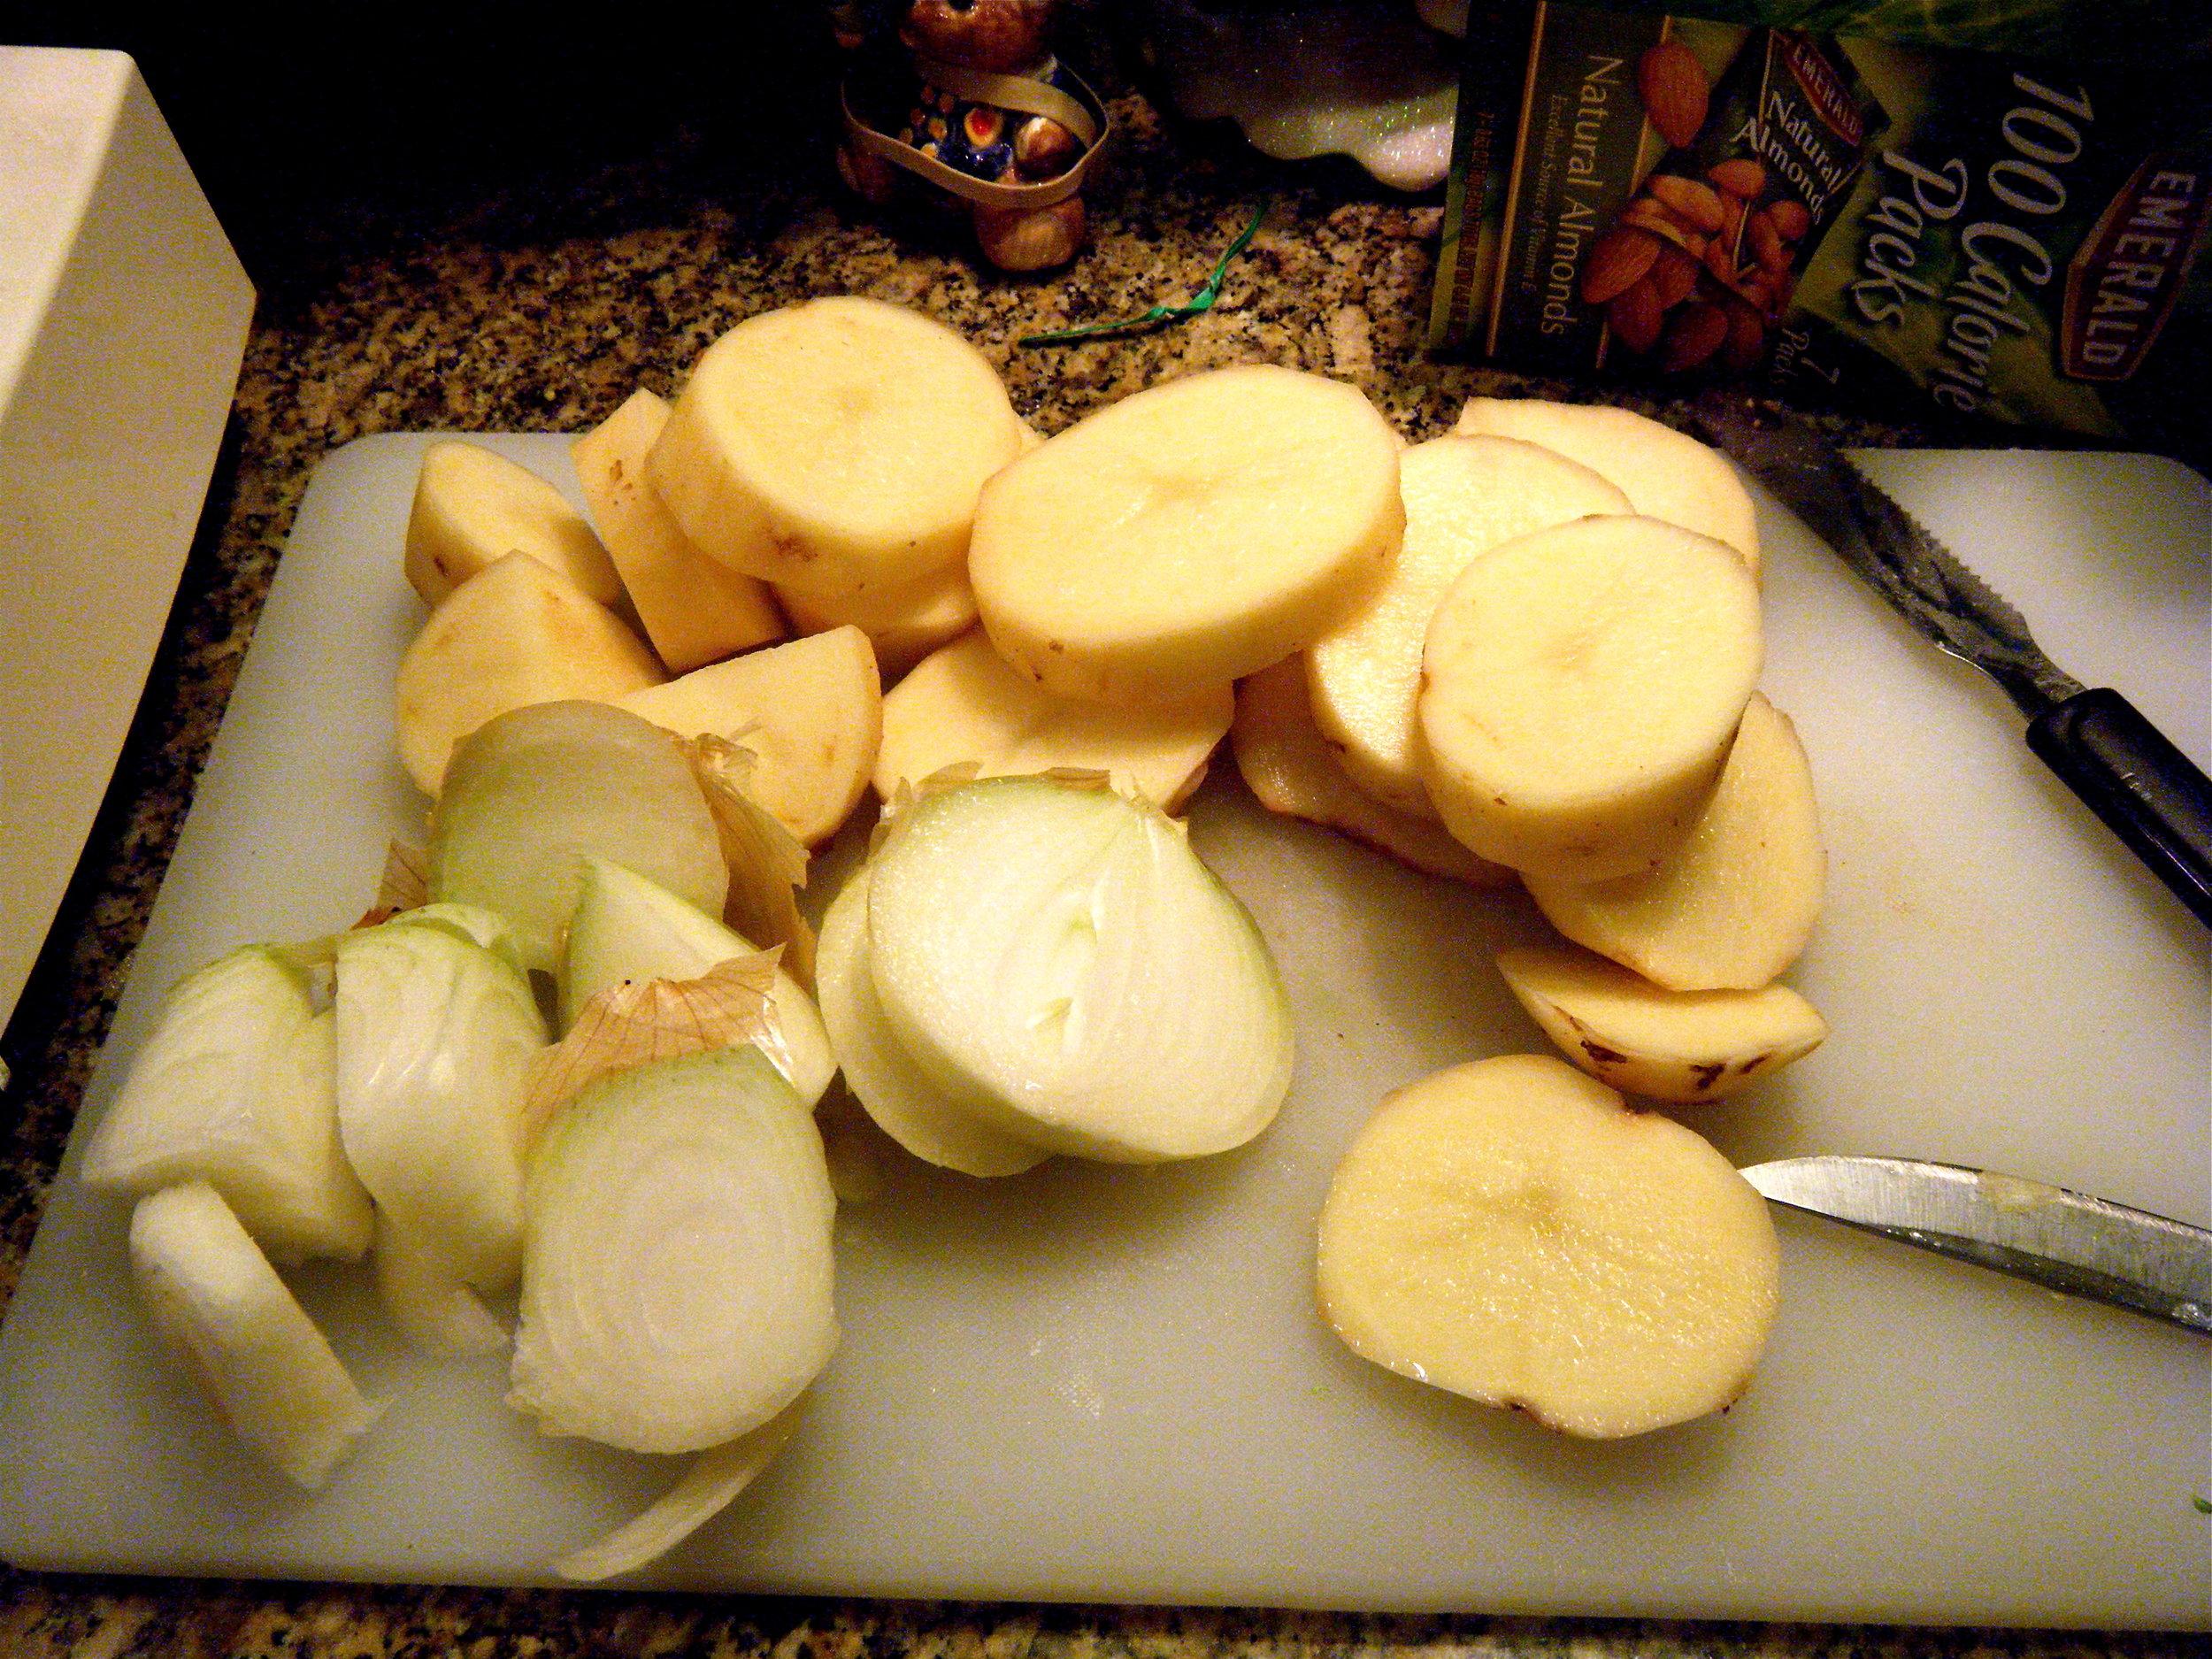
Next, in order to fit the onions and potatoes into the food processor for shredding, I had to cut them up into little pieces. I'm happy to announce that the onions did not sting my eyes, as they usually do. I don't normally have access to food processors at my apartment, so using one definitely saved me some time. If you've got one, use it. Some recipes call for graters, which I'm sure work fine, but if you're planning on making latkes for a dinner party, or planning on having leftovers, a food processor is the way to go.

DSCF0477

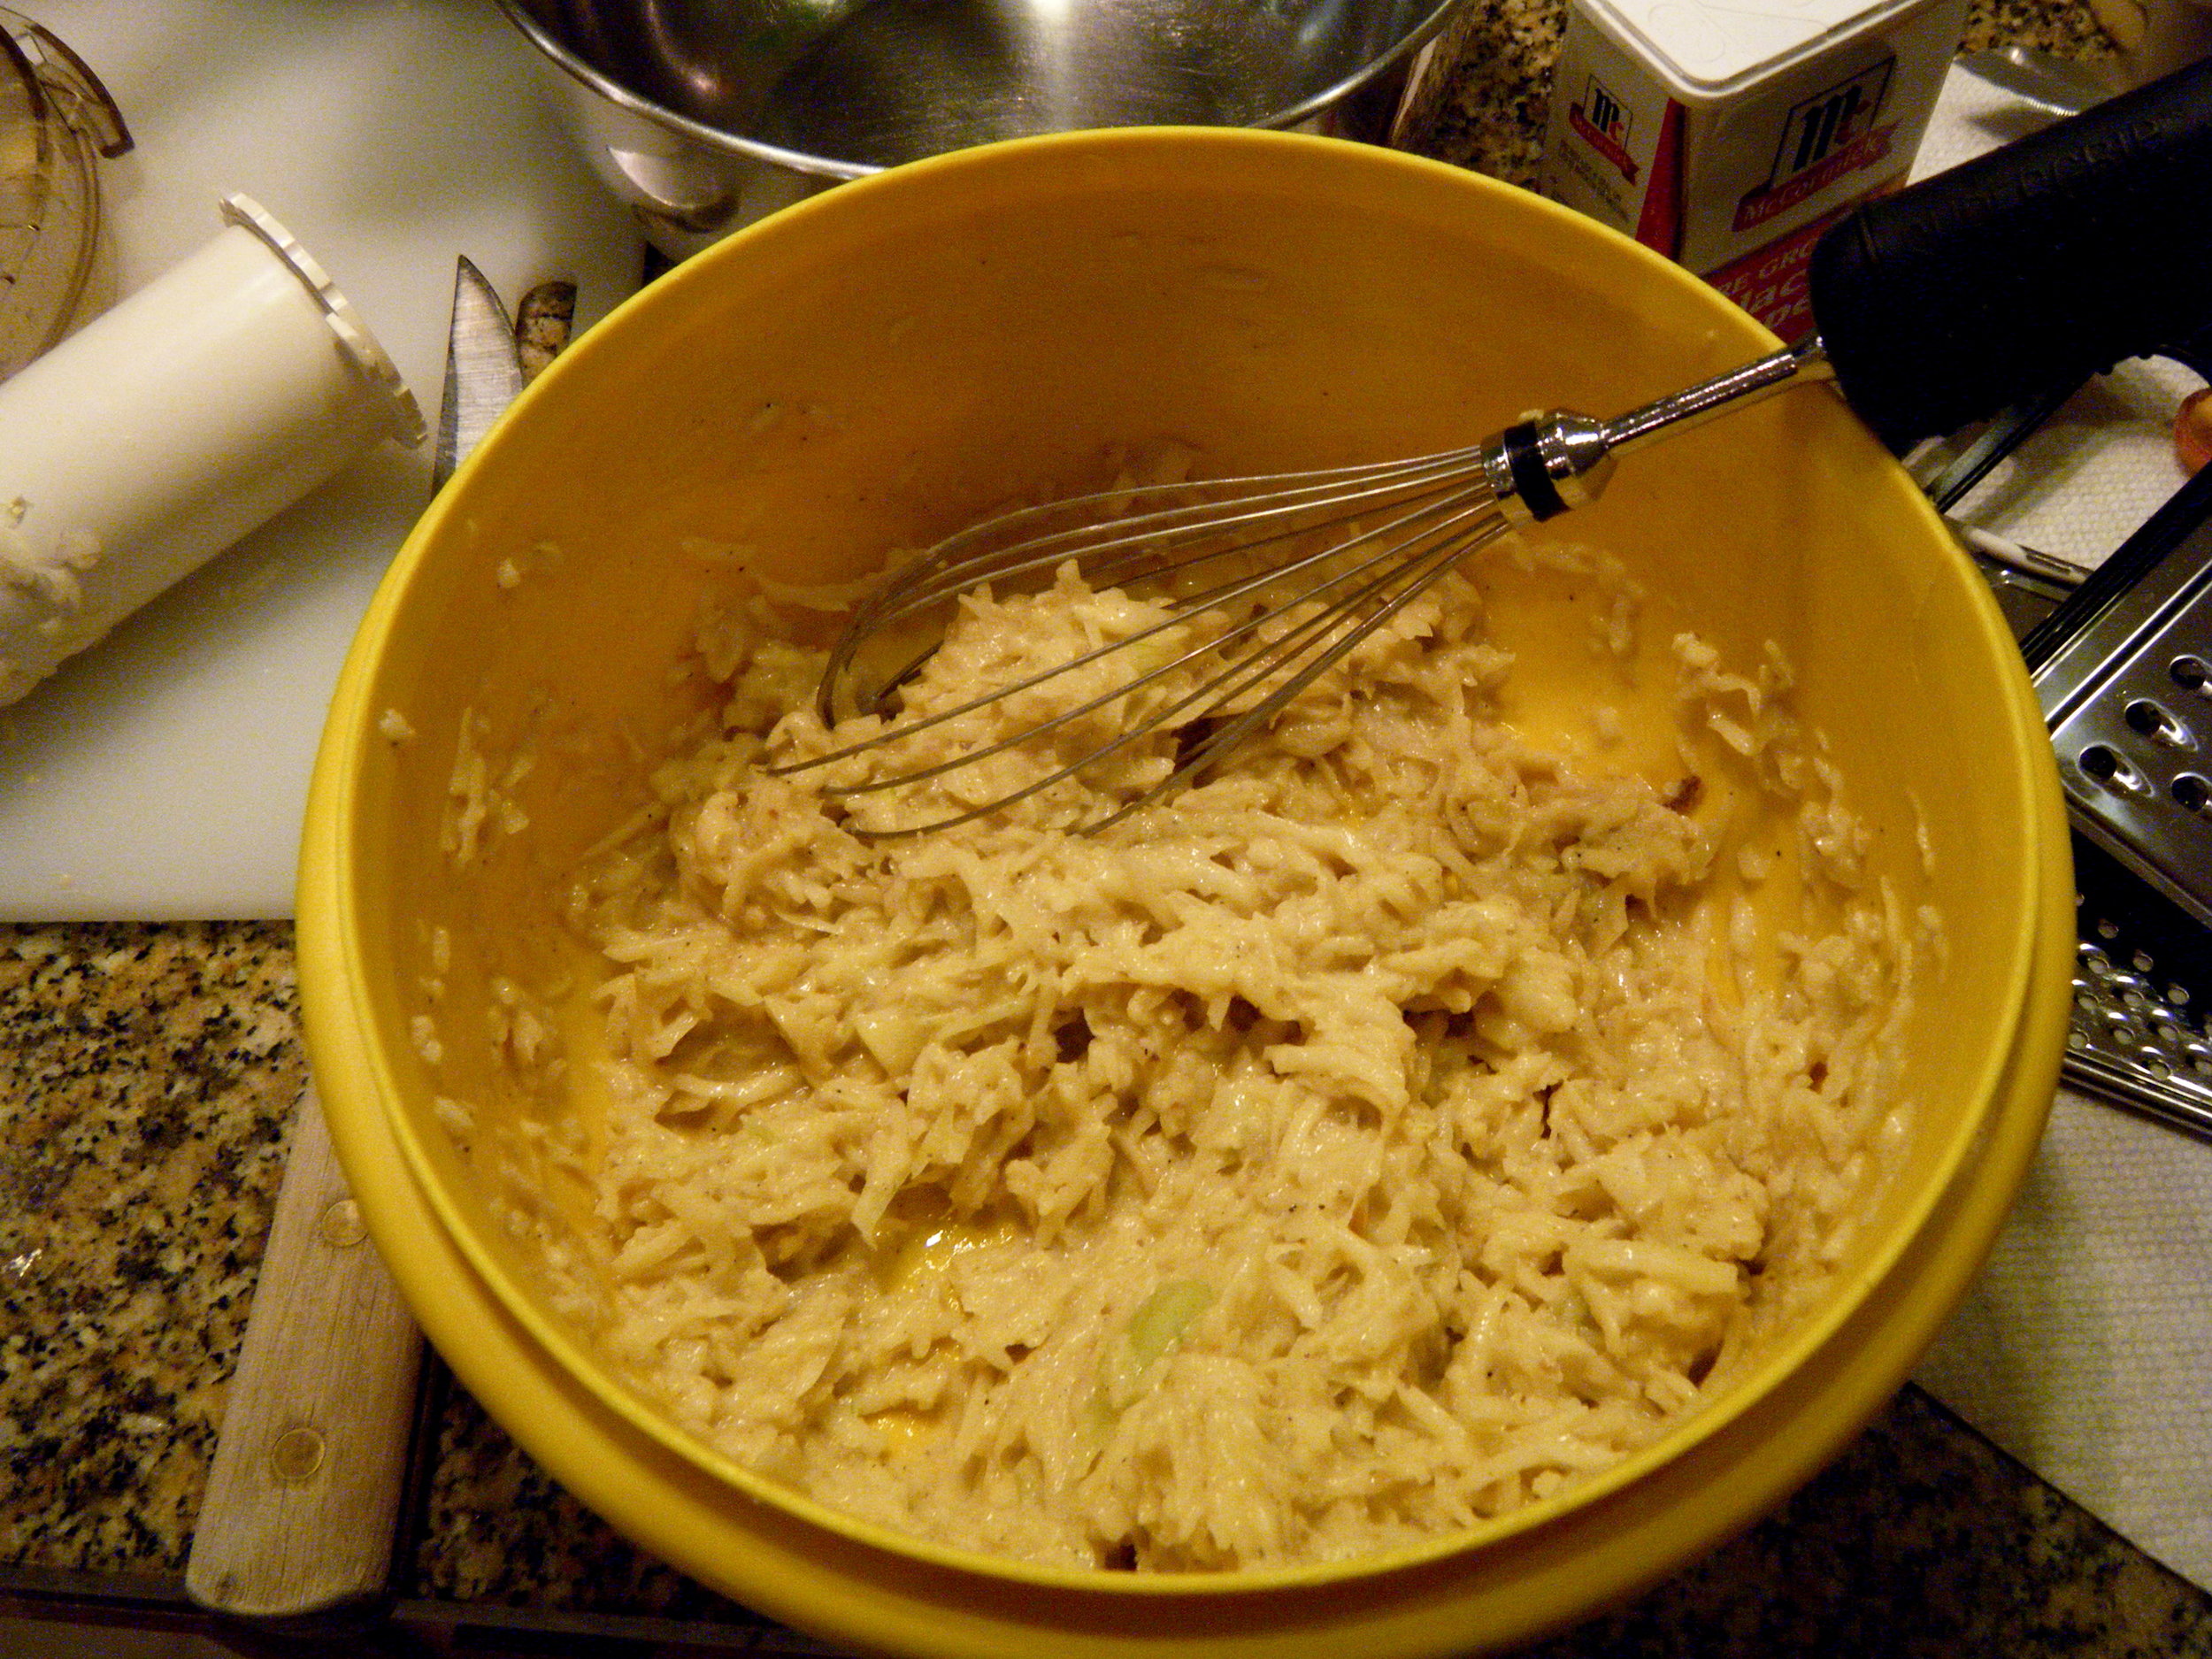
The recipe calls for 1/4 cup flour, 1 teaspoon salt, 1/4 teaspoon pepper, and one large egg, but since I used two potatoes, I ended up doubling the recipe. Adding the freshly shredded and drained potato/onion mixture to the...well, mix, I whisked it all together until everything was coated.

DSCF0478

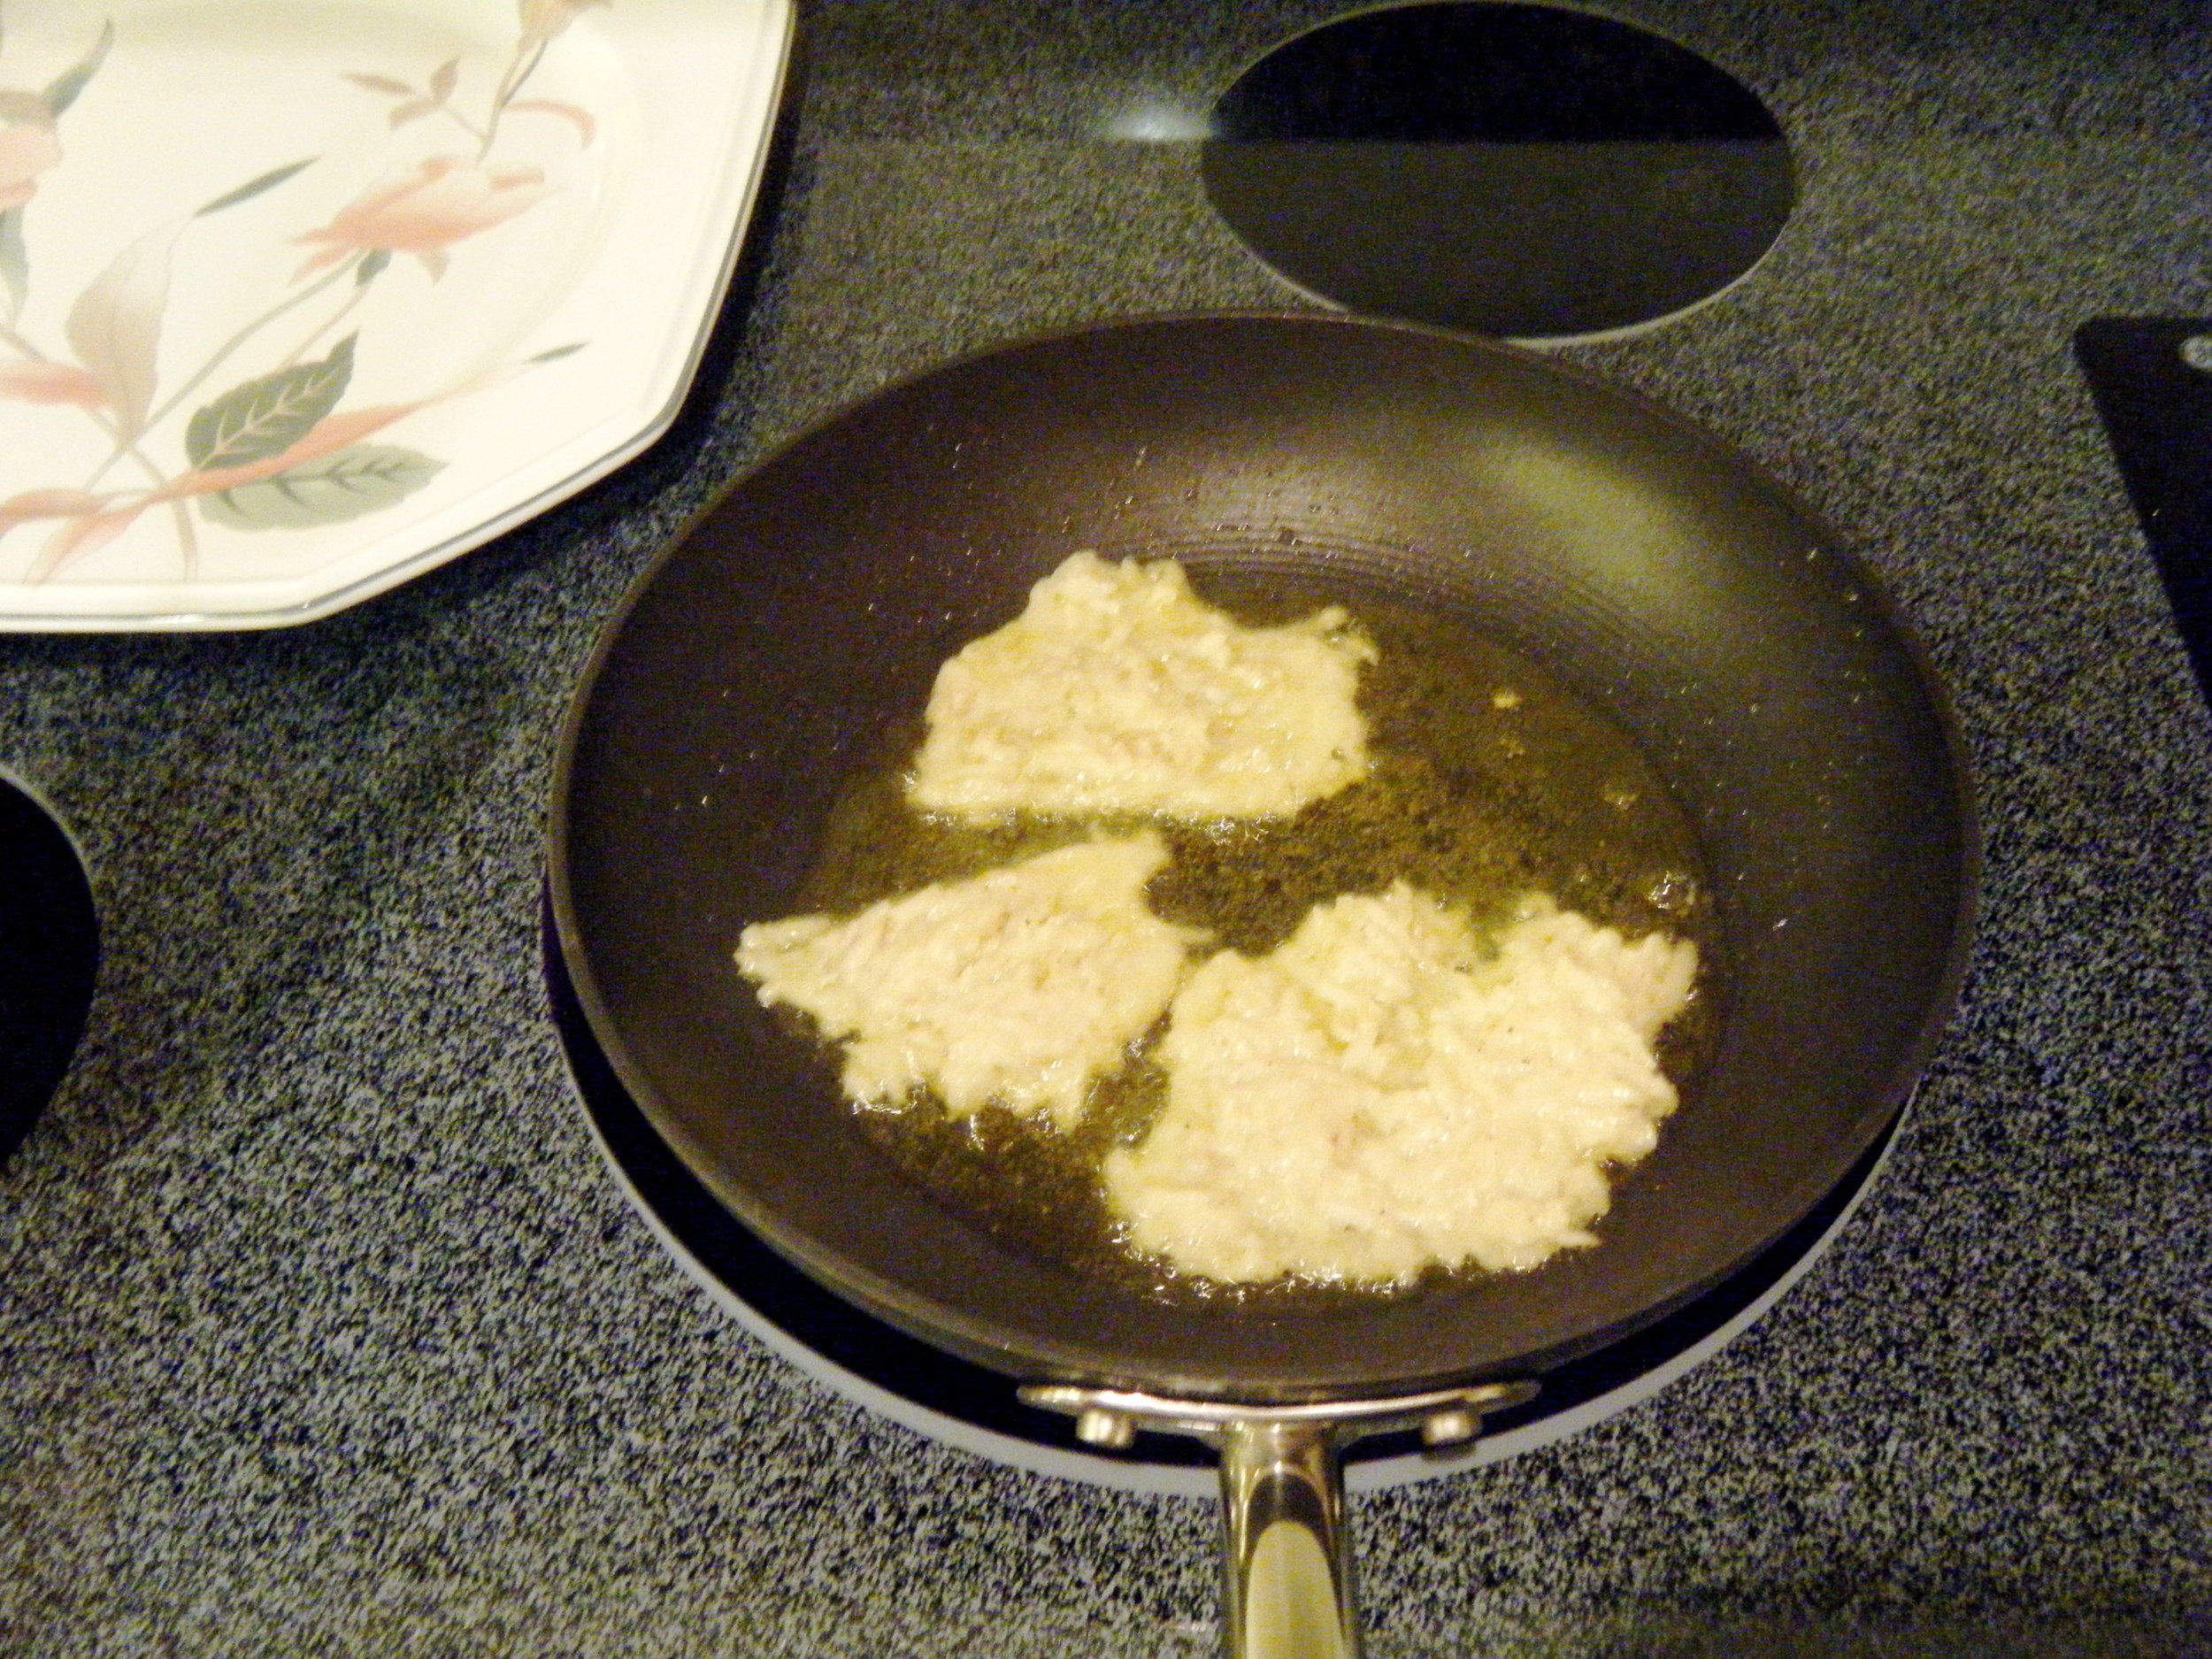
Latke time! Here's what I learned:

1. When the recipe tells you to scoop a mere teaspoon of latke mix into a pan, do it. I decided to take spoonfuls because I wanted bigger cakes, but that was a MISTAKE. They cooked slower than I wanted, and I just didn't feel in control at all.

2. Although the recipe called for peanut oil, I found that extra virgin olive oil does the trick nicely as well.

3. You'll have to use more oil than what the recipe suggests.

DSCF0479

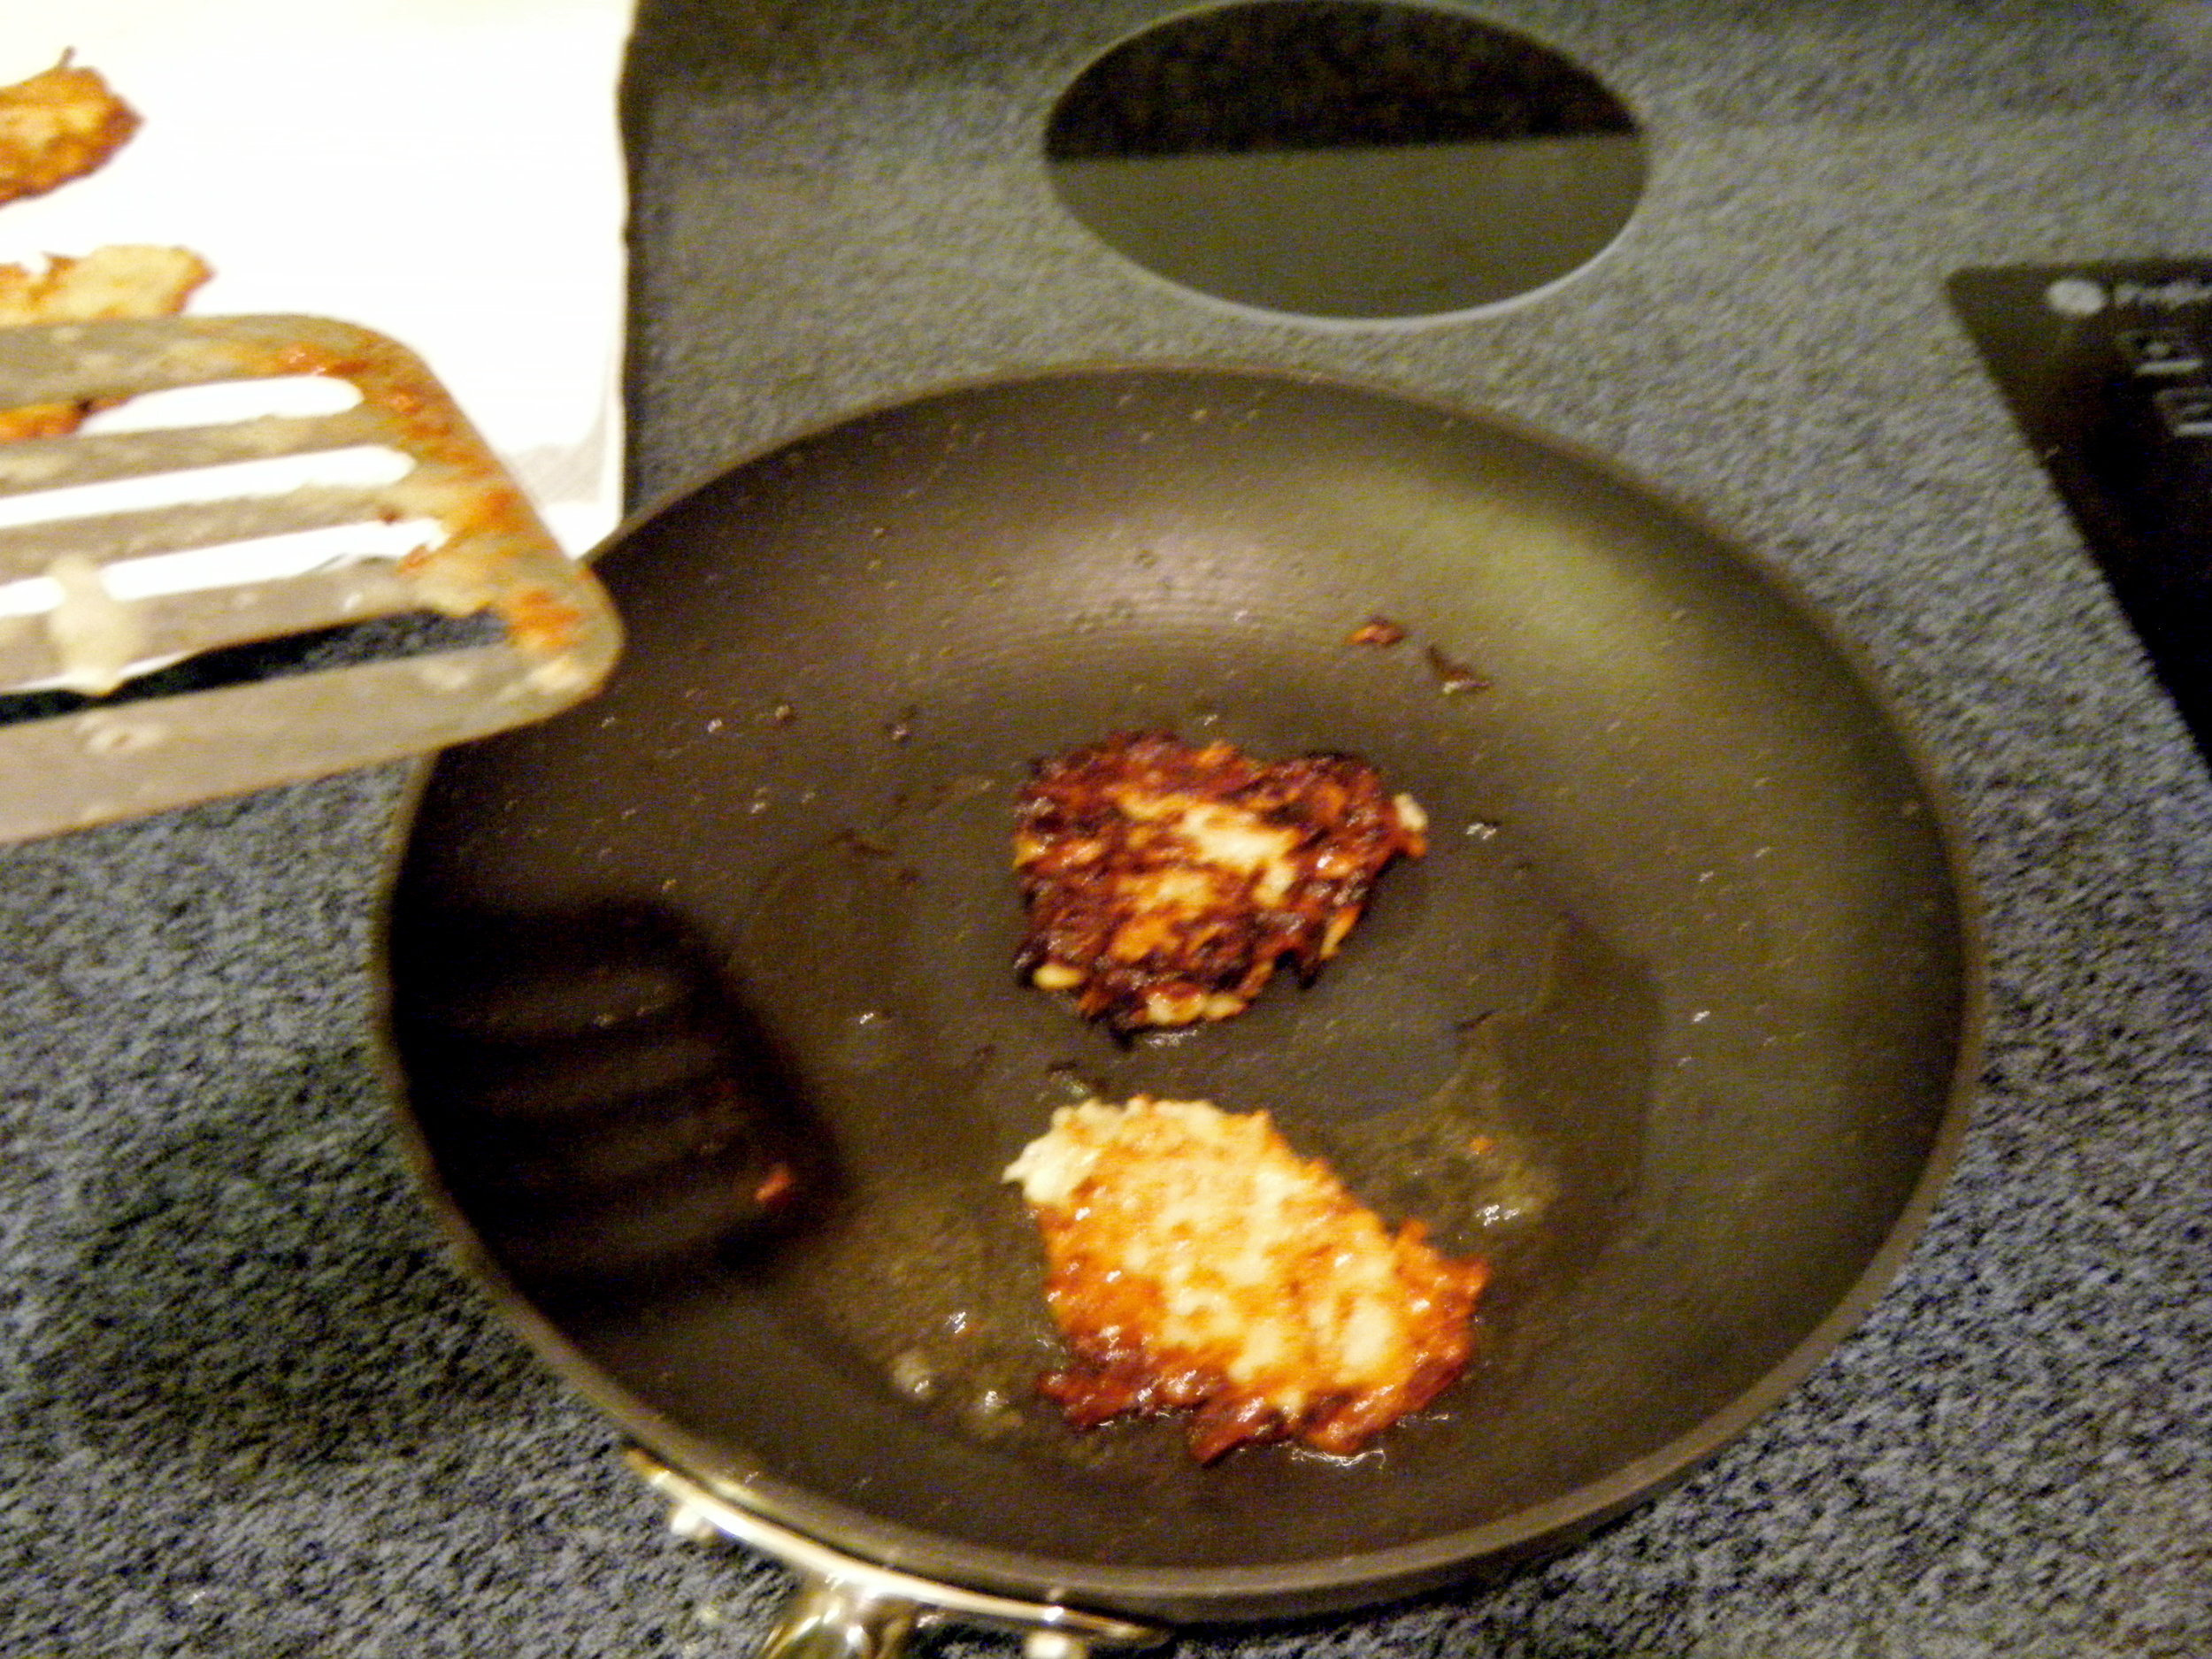
Here, I finally started to get the hang of it. (Notice that I heeded the recipe's advice and lessened my spooning size. )

DSCF0480

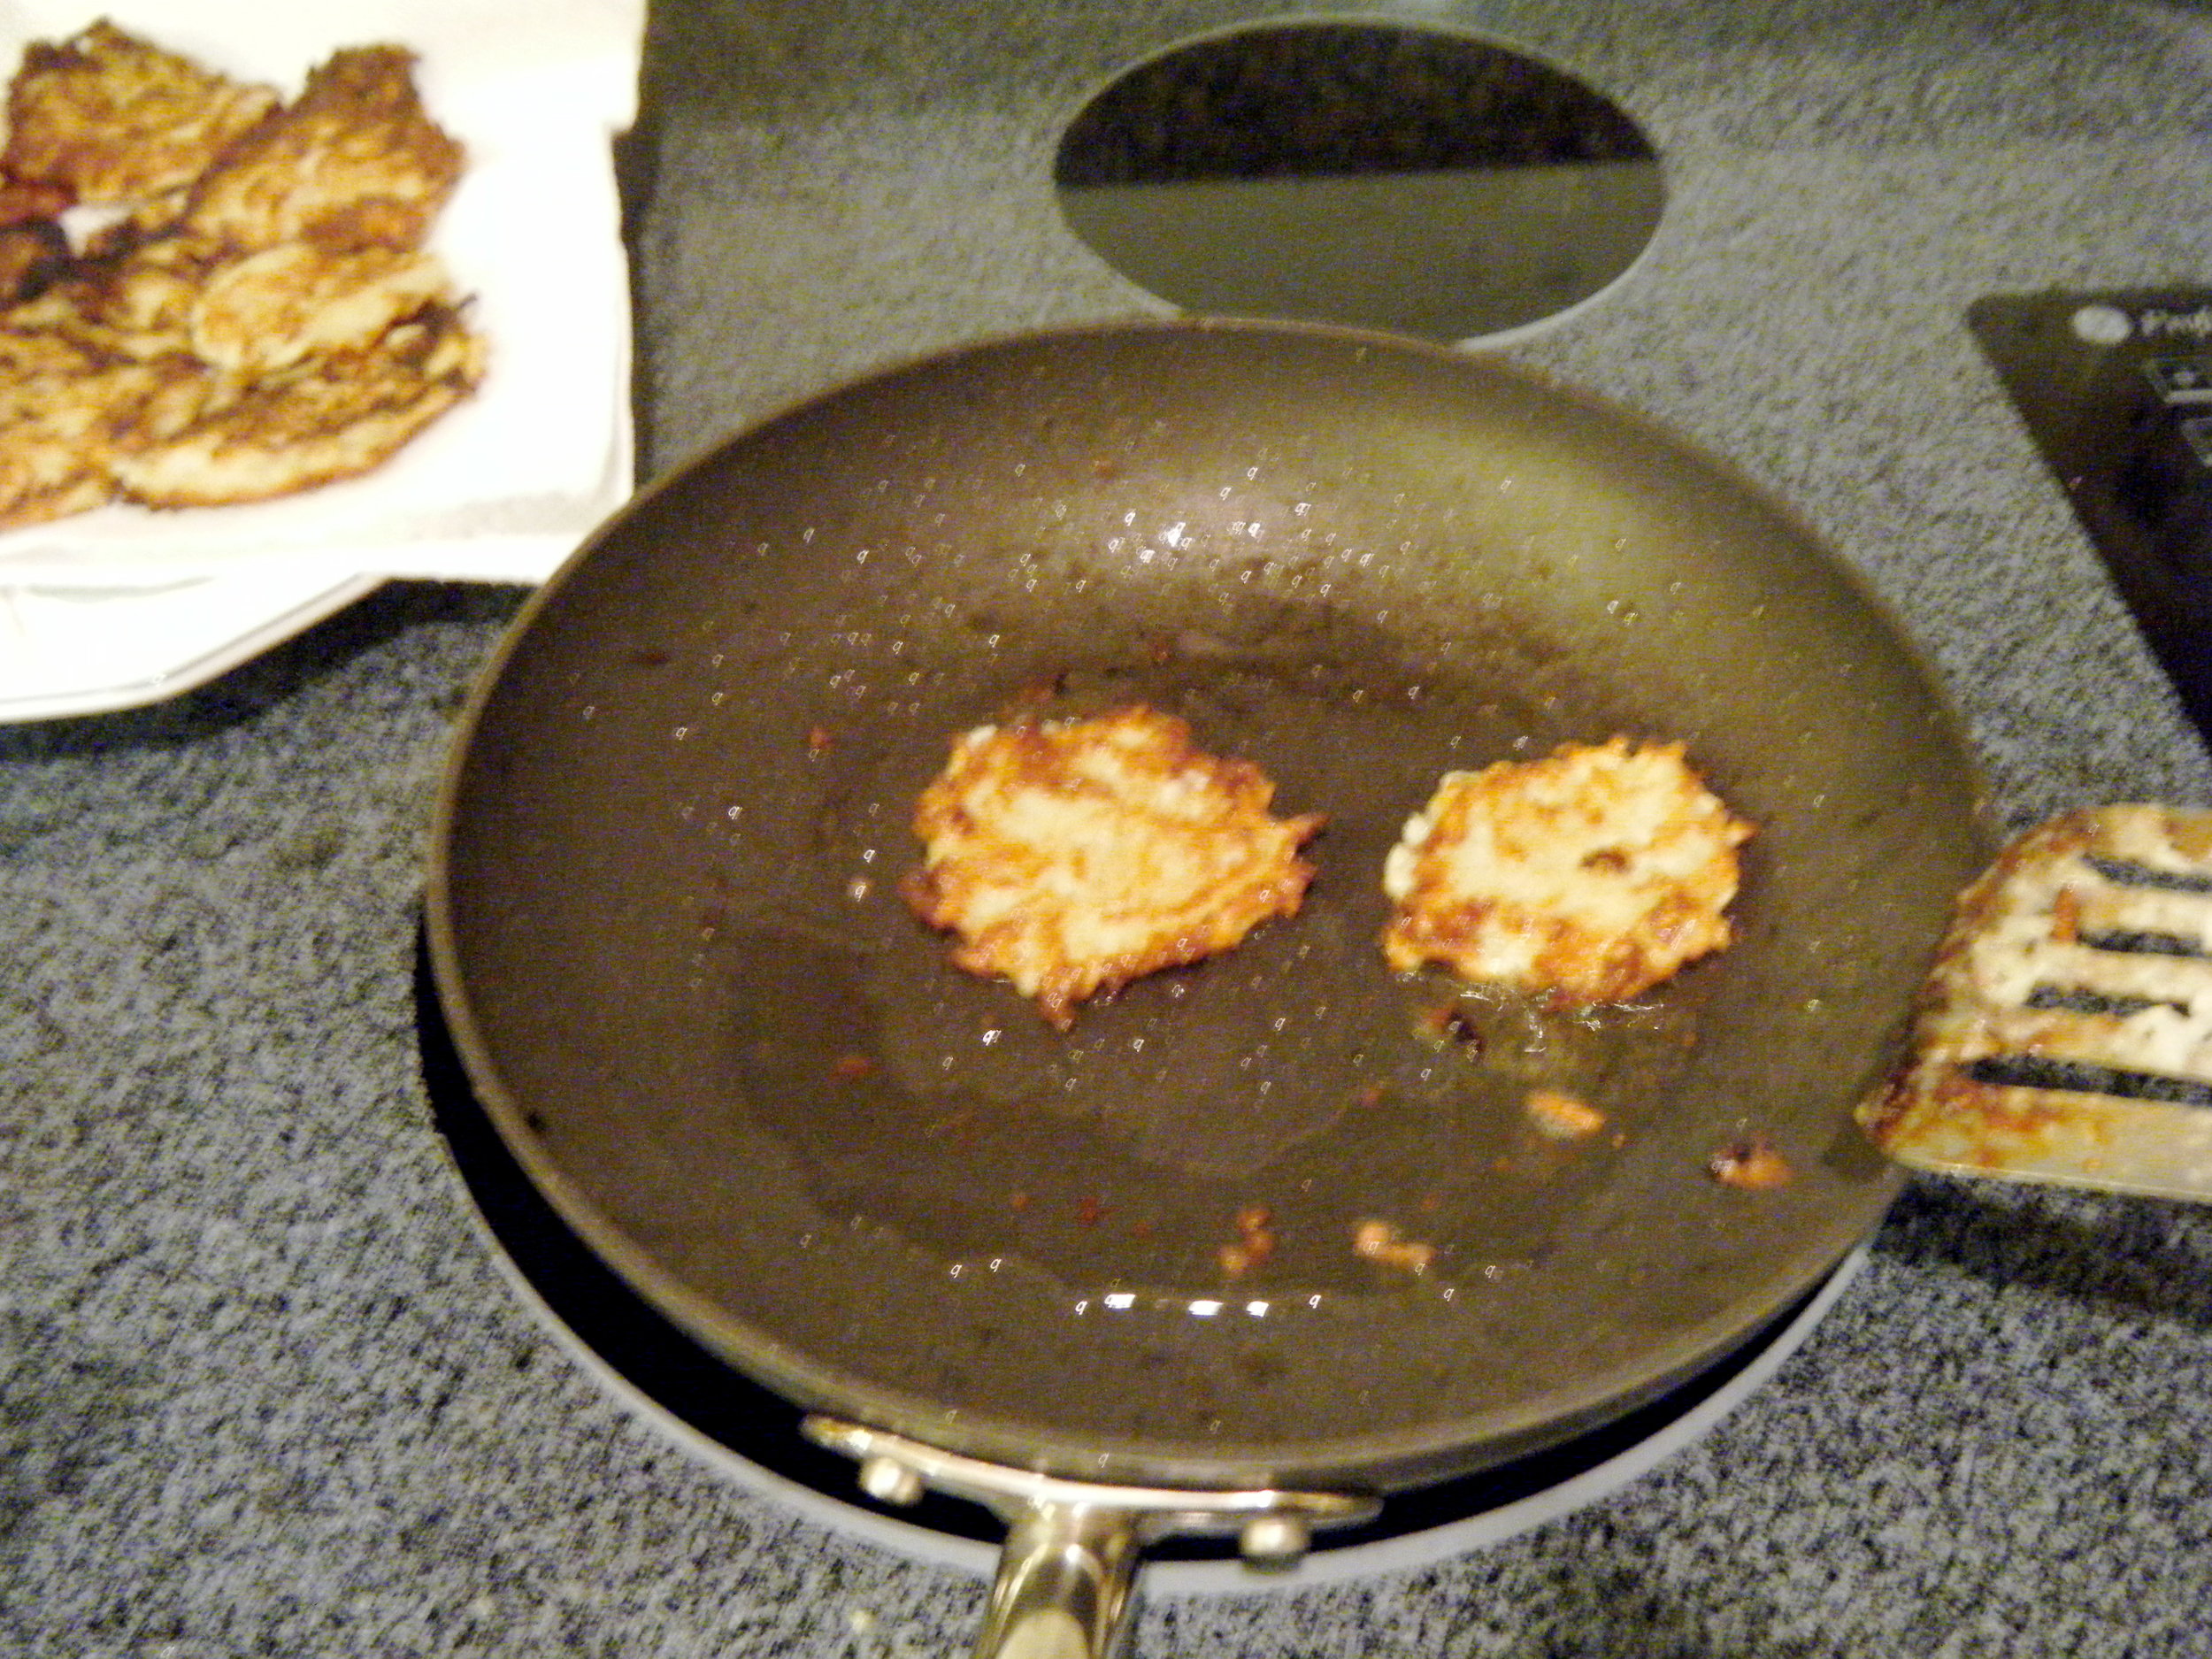
FINALLY, FINALLY I got it! Perfect size, good crispness. What I learned:

1. YOU MUST WATCH THESE CAREFULLY. These cakes are much smaller, and significantly thinner, so they crisp before you know it. One minute is a pretty solid amount of time, but every cake crisps differently.

2. If you've got an electric stove like I've got at home, the heat should be at about 6. If you've got a gas stove like I've got at my apartment, 5 or 6 is probably a good, safe place to remain.

DSCF0481

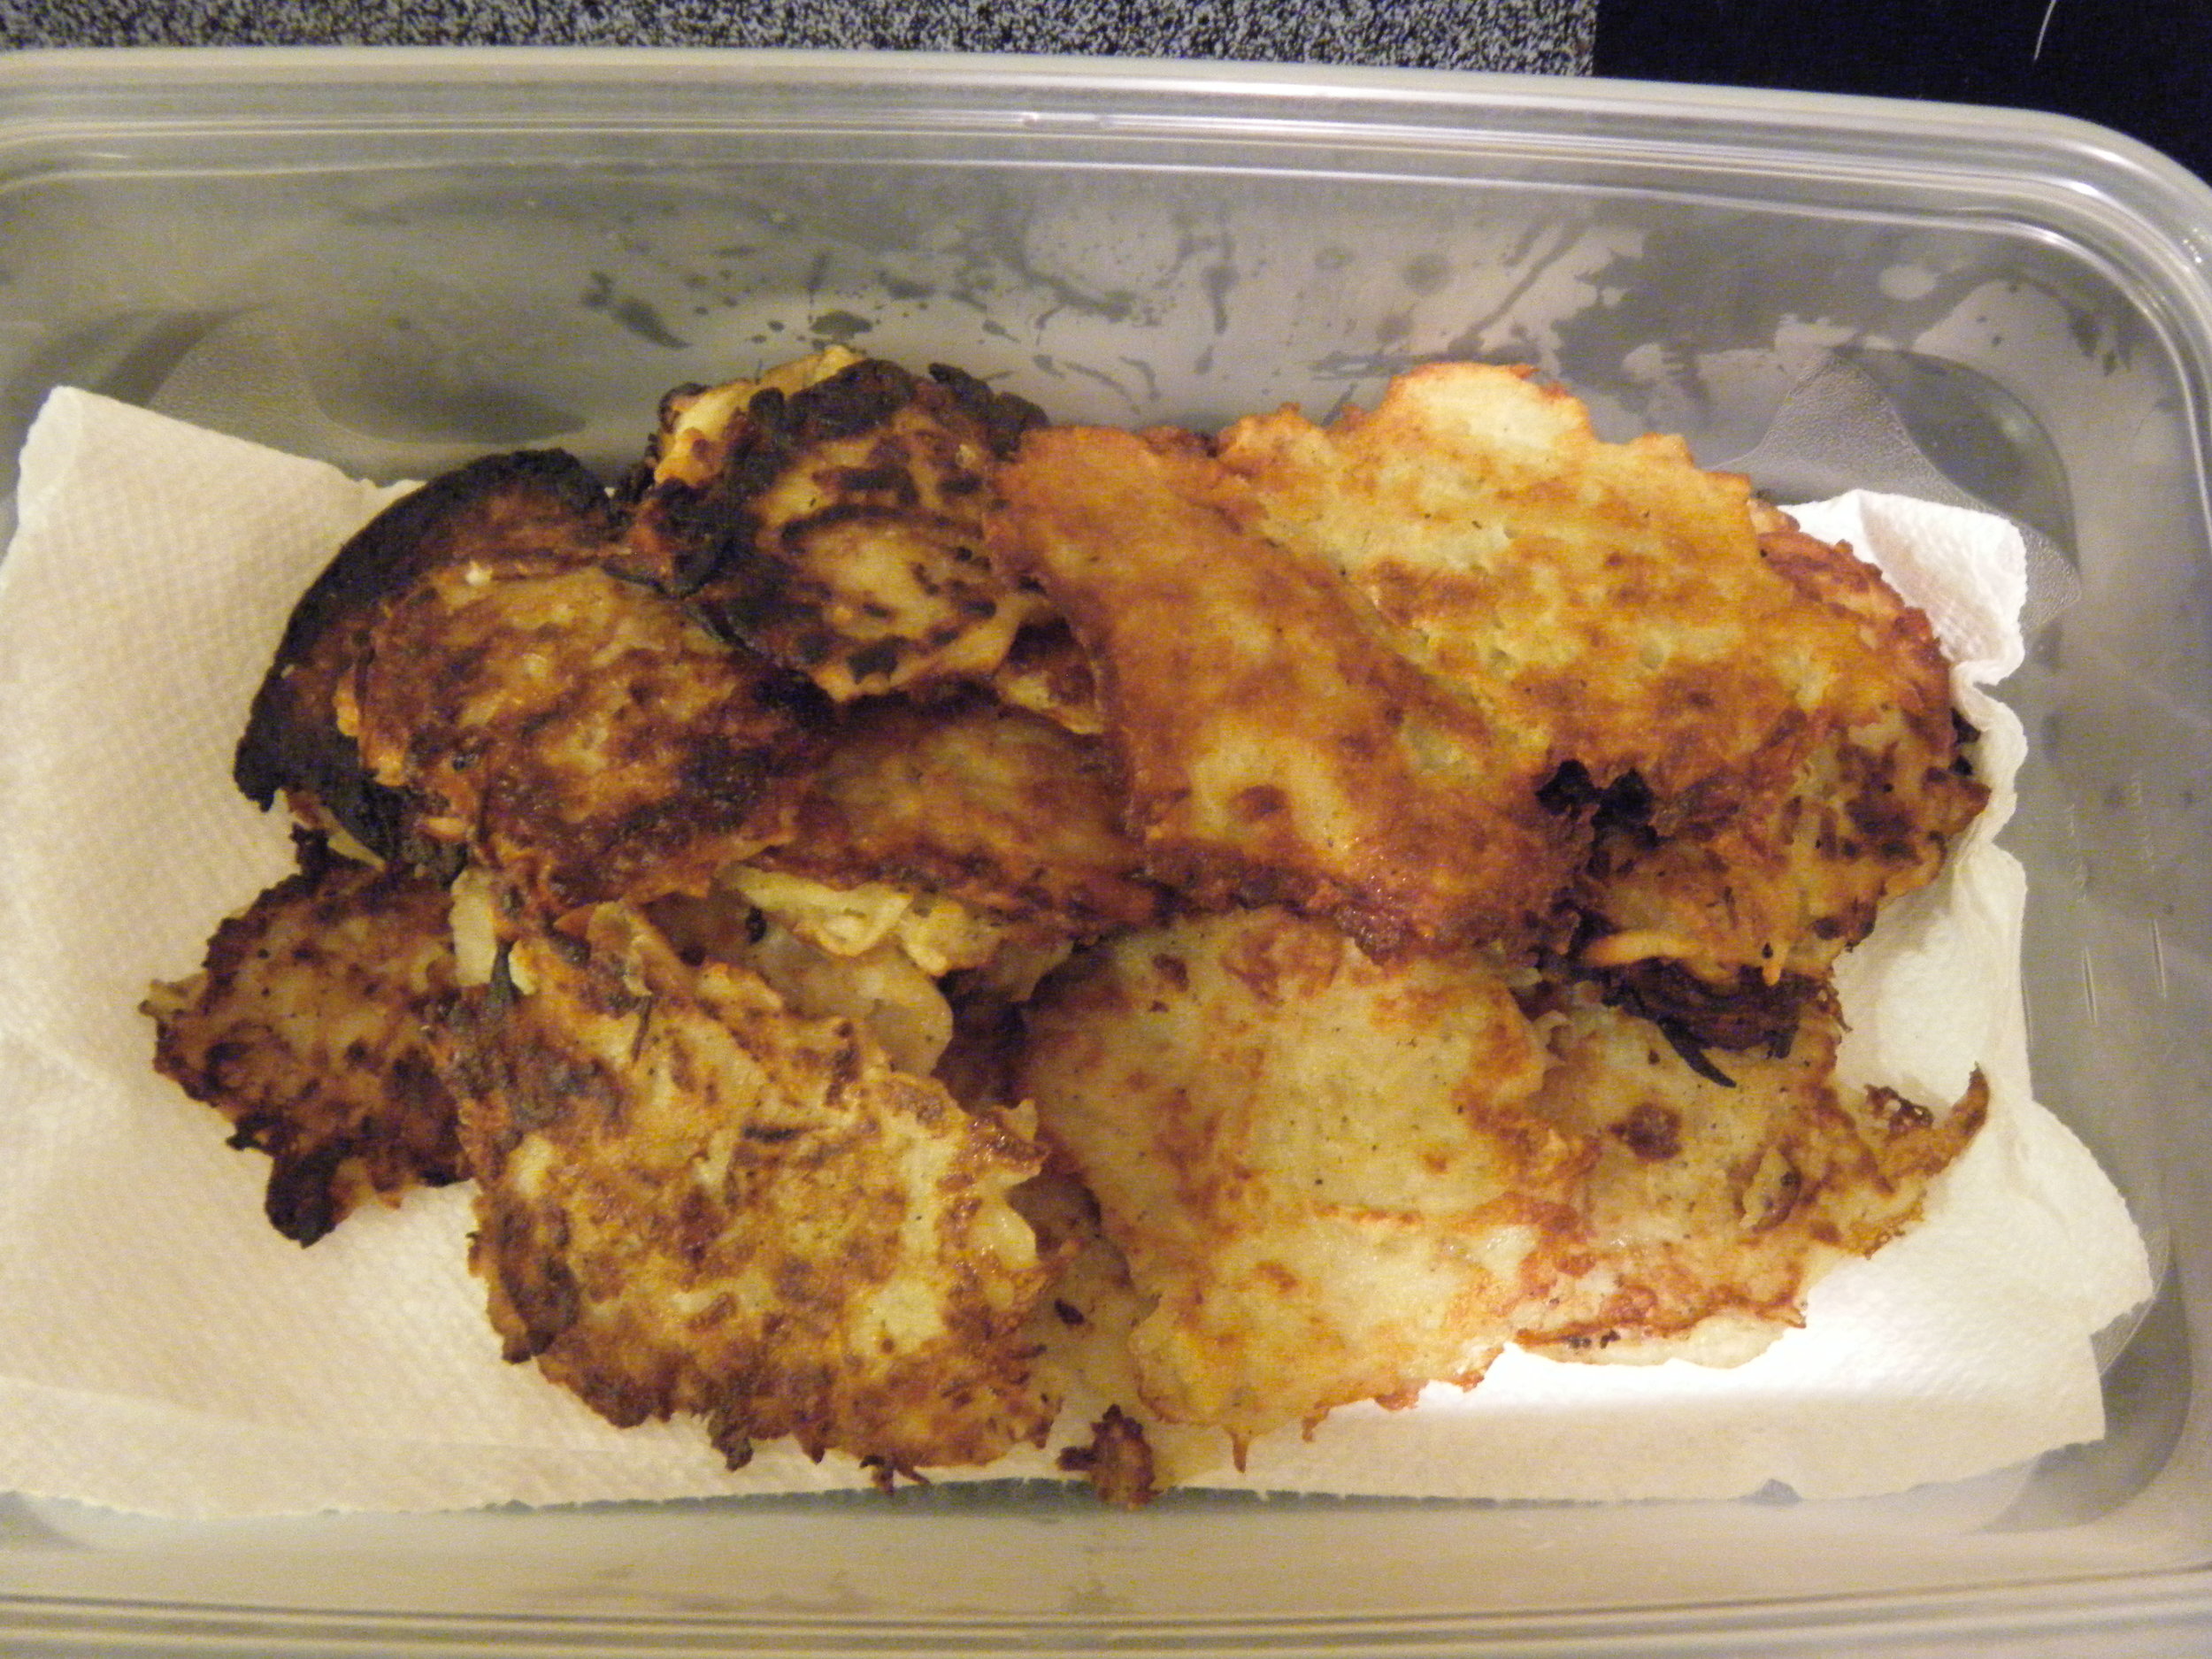
Into the tupperware they go, ready to be eaten tomorrow for dinner!!

Doubling the recipe made a TON, and this is a great food item to make in advance, and they're great re-heated. What's also great is that these aren't just for dinner parties! Potato pancakes can be enjoyed at breakfast, or as hor d'oeuvres with some yummy topping combinations!

Oh! And here's the recipe from Smitten Kitchen!

1 large baking potato (1 pound), peeled 1 small onion (4 ounces), peeled 1/4 cup all-purpose flour 1 large egg, lightly beaten 1 teaspoon salt 1/4 teaspoon freshly ground pepper Peanut oil, for frying

In a food processor or on a box grater, coarsely shred the potato and onion. For longer strands, lay the potato sideways in the chute of your food processor. Transfer to a colander or wrap in a cheesecloth sling, and squeeze as dry as possible. Let stand for 2 minutes, then squeeze dry again.

In a large bowl, whisk the flour, egg, salt and pepper together. Stir in the potato onion mixture until all pieces are evenly coated.

In a medium skillet, heat 2 tablespoons of vegetable oil until shimmering. Drop packed teaspoons of the potato mixture into the skillet and flatten them with the back of a spoon. Cook the latkes over moderately high heat until the edges are golden, about 1 1/2 minutes; flip and cook until golden on the bottom, about 1 minute. Drain on paper towels. Repeat with the remaining potato mixture, adding more oil to the skillet as needed.

Happy Cooking!!

singature gray