Baked Feta, Tomato, and Spinach Pasta

Recipe: Baked Feta, Tomato, and Spinach Pasta - Seasoned with Sydney blog

If you spend even half as much time as I do on the Internet every day, then you’ve probably seen the latest (and most delicious-looking) trend to hit social media: drizzling blocks of feta cheese and loose tomatoes with wonderful, generous glugs of extra virgin olive and baking them at moderately-high heat until the tomatoes have ripened to the point of almost bursting, and the cheese has gotten so soft that when mixed with pasta, it melts like a dream. The original recipe was developed two years ago by Finnish food blogger Jenni Häyrinen, but it wasn’t until this year, thanks to TikTok, that it went super viral. In fact, the recipe got so huge that Finland actually had a brief but significant shortage of feta cheese nationwide! I’ve seen countless videos floating around Youtube and Instagram in the last two weeks, and though I tend to be extremely particular when it comes to jumping on the latest trends, I knew this was one I desperately had to try.

Recipe: Baked Feta, Tomato, and Spinach Pasta

In all the videos I watched, the basic breakdown of the dish was this: drizzle the feta and tomatoes with olive oil, season with black pepper, and sprinkle a liberal amount of oregano (usually fresh) on top. Roast everything in the oven, then mix in cooked pasta. It just doesn’t get any simpler - or more hands-off - than that.

The final product looked amazing every time, but I wanted to take things up a notch. What other seasonings would go well with salty cheese, sweet tomatoes, and earthy olive oil? Then it hit me: za’atar, my favorite Middle Eastern spice blend that consists of sesame, thyme, marjoram, oregano, and sumac! Oregano, a key ingredient in the original recipe, would still be present, and joined by some other stellar spices blended together in perfect harmony. And because I sometimes need to trick myself into eating vegetables: I threw in some spinach, too! When it came to pasta, I wanted to keep things pretty simple. In some videos, I saw cavatappi being used. In others, classic macaroni. But there was something about a small, long pasta shape that appealed to me, so I went with penne rigate.

The result was, and I’m not exaggerating, one of the best pasta dishes I have EVER had. This Baked Feta, Tomato, and Spinach Pasta is earthy from the za’atar, slightly sweet from the roasted tomatoes, and perfectly creamy, briny, and a little tangy from the baked feta. Though the spinach takes a backseat to the other flavors, just a few minutes of being tossed into the still-warm pasta makes it pleasantly tender and a great supporting character to the main act. And the best part is, dinner was ready in 35 minutes, with very little clean-up at the end.

Internet trends come and go at the speed of light, but this Baked Feta, Tomato, and Spinach Pasta was born from a social media moment that I know is here to stay!

Baked Feta, Tomato, and Spinach Pasta

What You’ll Need:

  • 1 pint grape tomatoes

  • One 8 oz block of feta cheese

  • Extra virgin olive oil

  • Za’atar

  • Freshly ground black pepper

  • Salt

  • 16 oz penne rigate pasta

  • 3 oz baby spinach

Directions

Preheat the oven to 375 degrees Fahrenheit.

Place the feta cheese and tomatoes in a 9x13 inch baking dish. Drizzle the feta and tomatoes liberally with extra-virgin olive oil, za’atar, and freshly ground black pepper. Bake in the oven for 35 minutes.

While the feta and tomatoes are in the oven, cook the pasta in a heavy-bottomed pot filled with well-salted boiling water (the water should taste like the ocean). Follow package instructions for al dente. Just before the pasta is done, reserve 1 cup of pasta water. Drain the pasta.

As soon as the feta and tomatoes are out of the oven, add the pasta, spinach, and 1/4 cup of the reserved pasta water to the baking dish and stir until the ingredients are well-combined. Add more freshly ground black pepper to taste. Serve warm.

TO STORE: Pasta can be kept in an airtight container in the refrigerator for up to 1 week.

Chocolate Chai Truffles

Recipe: Chai Spice Truffles - Seasoned with Sydney blog

I’m not that into Valentine’s Day, and I can’t decide if it’s because there’s just way too much pressure to not be single, or because I’ve never had a particularly good one. The worst Valentine’s Day, by far, was the spring semester of my sophomore year of college when a guy I’d been seeing for a while decided for the both of us that we were going to bypass the holiday altogether; it was just going to be a regular Tuesday. The only problem with that? He forgot to fill me in on it. So there I was the night before, burning a CD filled with happy songs (a few of them my own), and carefully cutting out a homemade card with a track listing on the back. We hadn’t been dating that long, so I knew to avoid the “L” word at all costs, but I thought a nice little gift would let him know that he was appreciated.

Since our colleges were within walking distance of each other, we had plenty of opportunities to spend time together. Twice a week, we had a standing coffee date at a new shop right downtown, and as luck would have it, that fateful V-Day happened to fall on one of them. I couldn’t wait to see him, and even got my hopes up that maybe, even though we hadn’t talked about how we were going to handle the holiday, he’d surprise me, too. And boy, was I surprised. The look on this guy’s face when I gave him the card and CD would make anyone beg the floor to open up wide and swallow them whole. “I…didn’t think we were doing anything special today,” he said, with a voice filled with gentle caution generally reserved for calming spooked horses. “I’m sorry, I didn’t get you anything.” And because we were freshly an item, I tried with all my might to brush off my utter embarrassment, and act like his gift was just one of MANY I was handing out that day, and that the playlist HADN”T taken me a full hour to curate because I wanted to get the flow just right. I think I mumbled something about how it was totally fine, then tried to finish my piping-hot coffee as quickly as possible without completely eviscerating my taste buds.

So did this incident sour Valentine’s Day for me forever? Not really. I don’t blame him for what happened - we were brand new, young, and in the end, not emotionally mature enough to properly communicate. And in case you’re wondering whatever happened to our dear friend, the Valentine’s Day Dodger, I heard he got married a few years ago and had a kid. So all’s well that ends well.

At any rate, Valentine’s Day isn’t all bad. The new movies and books that come out around this time are usually heartwarming, and It’s one of the biggest days of the year to celebrate everything sweet. I can’t think of anything sweeter than making homemade Chocolate Chai Truffles.

Recipe: Homemade Chai Spice Truffles - Seasoned with Sydney blog

Making truffles might seem intimidating at first. For quite some time, I believed that it took a certain amount of mastery before you could even attempt such a delicious and professional-looking act of confectionery, but it’s just not true! When it all boils down, chocolate truffles consist of just two things: heavy cream, and pure chocolate. Put those two together in the correct ratio, give your mixture plenty of time to set, and you’ve got yourself the perfect, chocolate-y canvas for whatever decorations your heart desires. And while simple chocolate truffles are amazing on their own, why not take it up a notch? I love chocolate, and I love chai, so let’s put them together!

Recipe: Homemade Chai Spice Truffles - Seasoned with Sydney blog

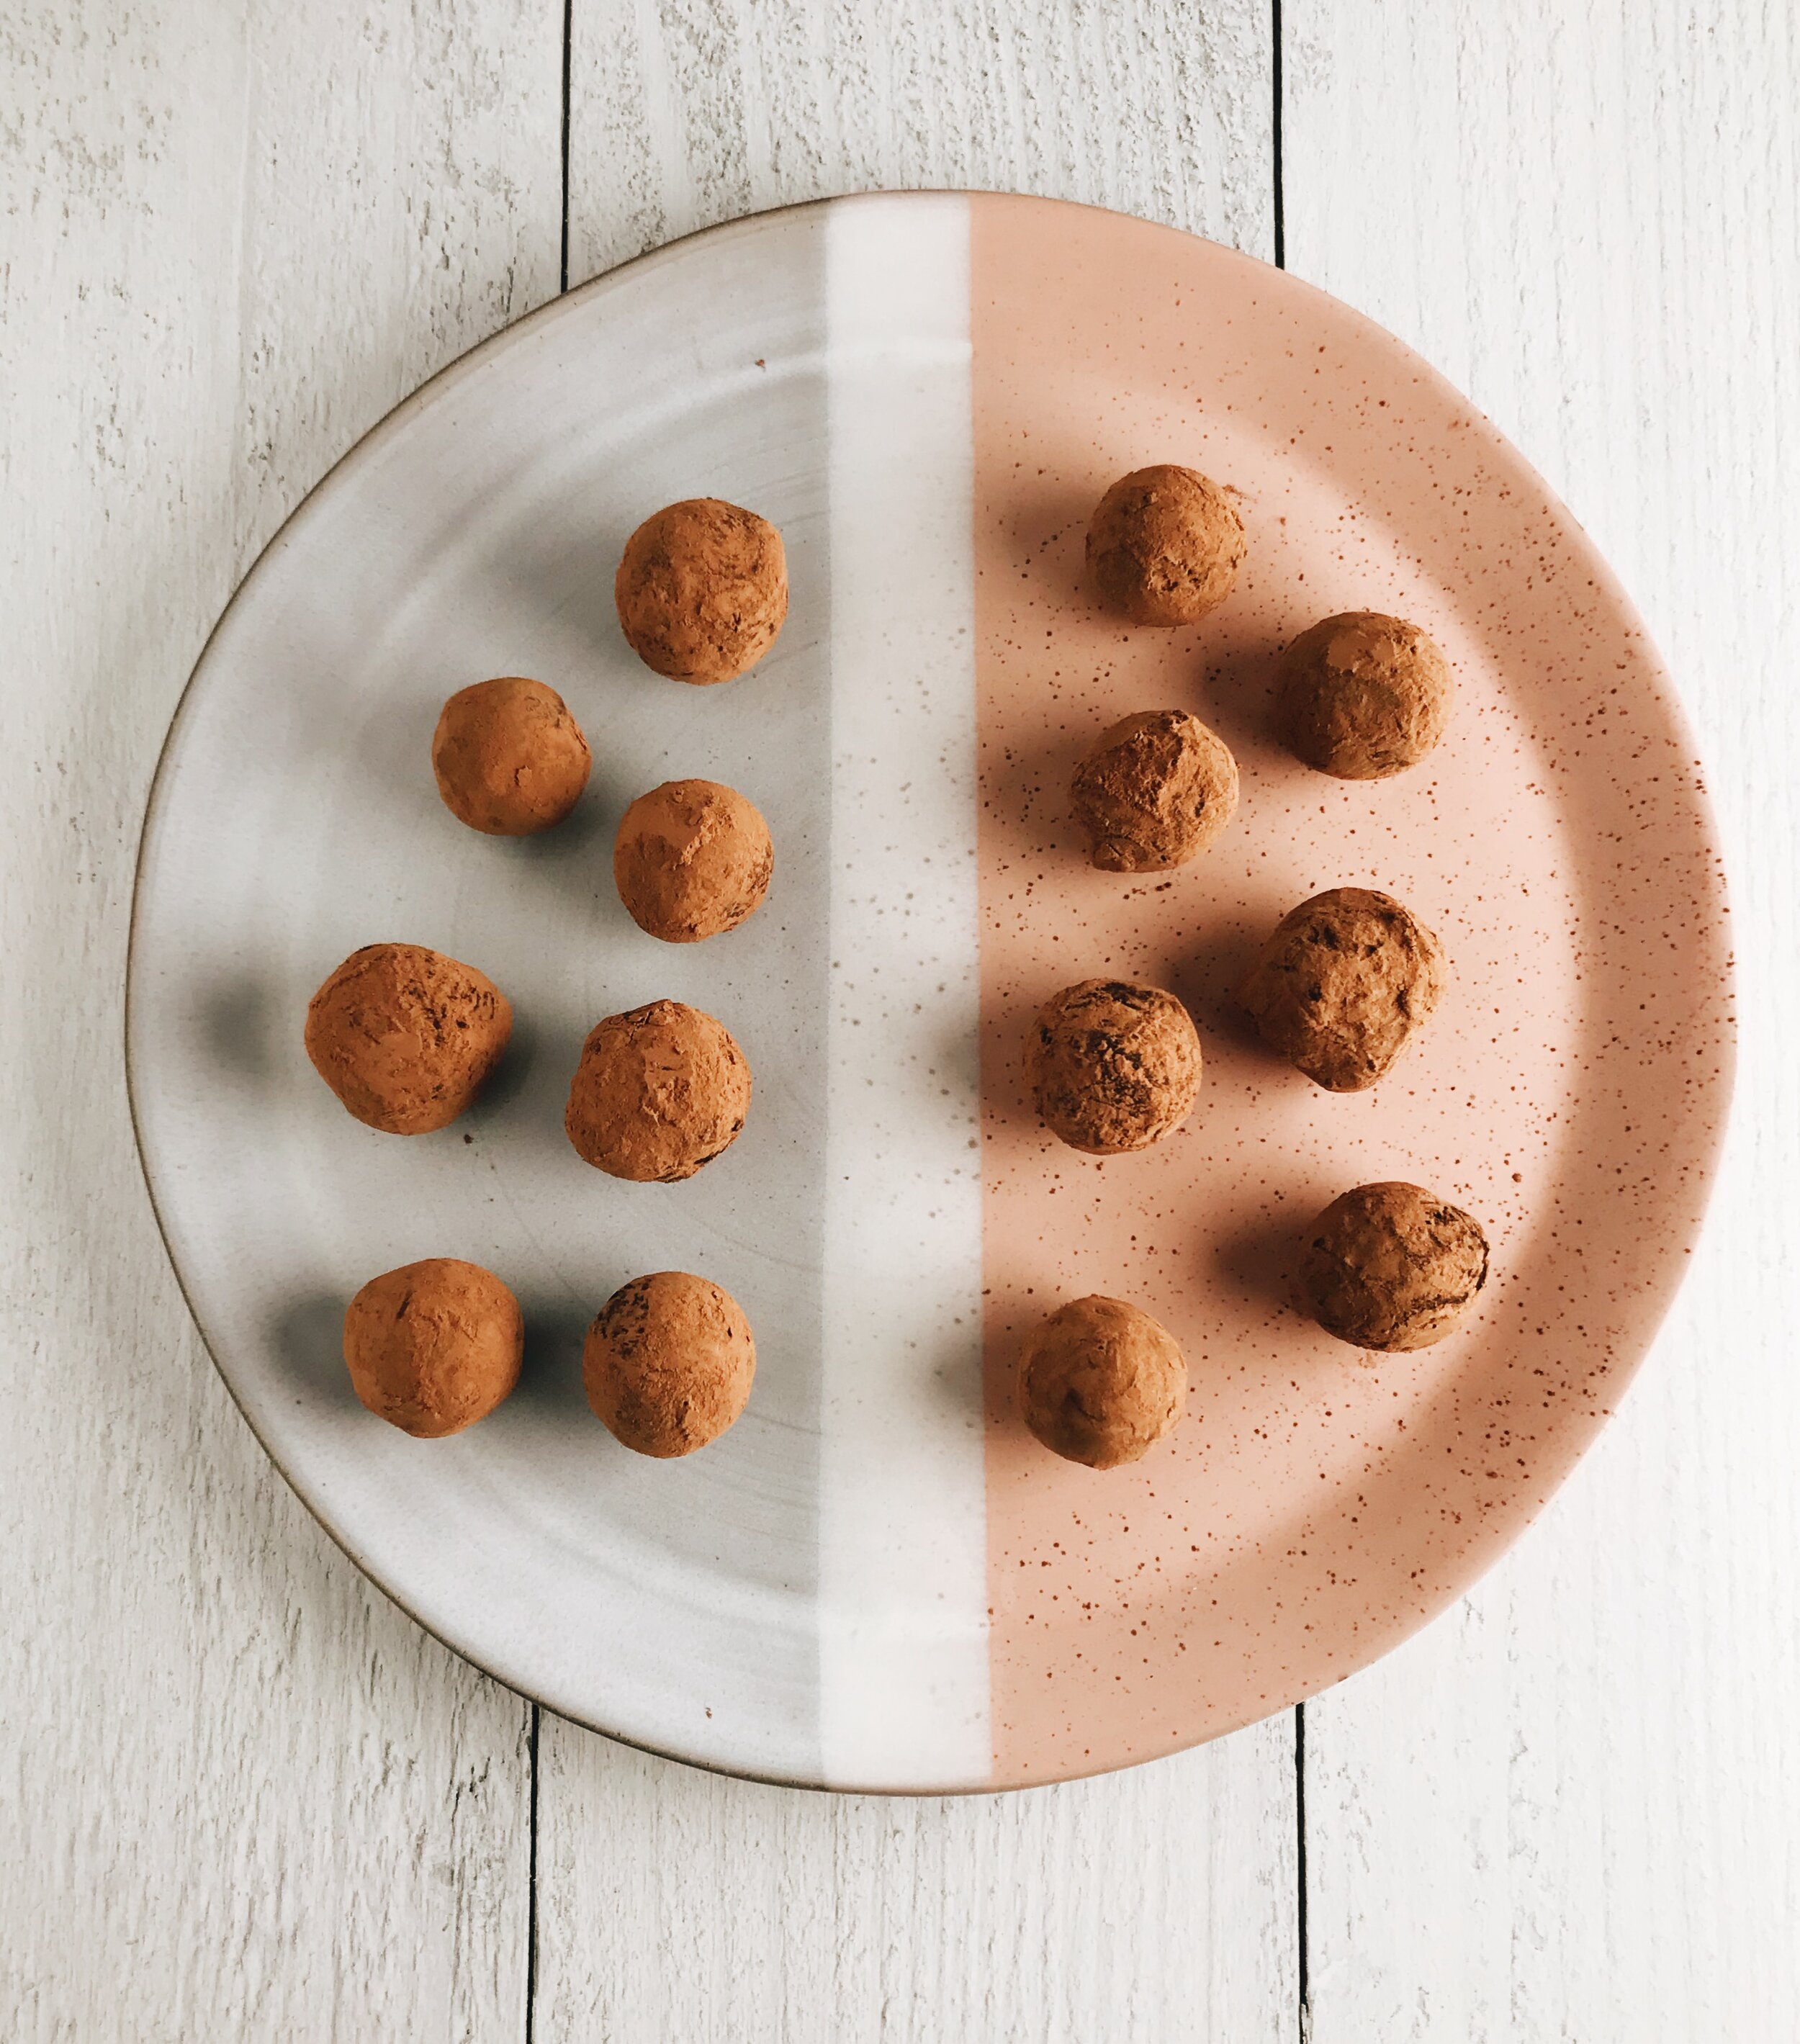
These Chocolate Chai Truffles are by far some of my favorite things to make. They’re incredibly chocolate-forward with floral, spicy notes of star anise, black tea, cardamom, and cinnamon, finished beautifully with just a hint of sea salt. These feel perfectly weighted in the hand, but aren’t so solid that when you bite into them, you break your teeth. Quite the opposite actually! Each bite melts in the mouth into nothing but decadent creaminess, making it totally impossible to have just one.

Whether you’re celebrating Valentine’s Day with a long-term partner, a virtual Zoom date, or just yourself, these Chocolate Chai Truffles guarantee that the day will be nothing but sweet (and a little pleasantly spicy)!

Chocolate Chai Truffles

What You’ll Need:

  • 8 oz (two 4 oz bars, NOT chocolate chips) semi-sweet chocolate, finely chopped

  • 10 cardamom pods

  • 5 whole star anise pieces

  • 2 cinnamon sticks

  • 5 chai tea bags

  • 2/3 cup heavy cream

  • 1/4 teaspoon fine sea salt

  • 1/2 cup unsweetened coca powder

Directions:

Place the chocolate in a medium, heatproof bowl. Set aside.

Using a mortar and pestle, or the side of a knife, gently crush the cardamom pods. Place the cardamom pods, star anise, cinnamon sticks, and heavy cream in a small saucepan. Set the saucepan over medium-low heat, and bring the cream to a simmer (be careful not to burn the cream).

Take the saucepan off the heat, add the tea bags, then cover the saucepan and let it sit for 10 minutes.

Remove the tea bags, then place the saucepan over medium-low heat again and bring the cream back up to a simmer. Remove from heat and strain the cream into the bowl with the chocolate. Discard the spices.

Let the cream and chocolate sit in the bowl for three minutes until the chocolate has softened, then slowly begin to whisk the chocolate and cream together, starting in the center and working your way to the edges of the bowl. Whisk until completely smooth. Add the sea salt, then whisk to combine. You’ve just made ganache!

Place a sheet of plastic wrap directly on top of the ganache, making sure no air can come through, then chill the ganache in the refrigerator for 2-3 hours until it has set.

Just before you’re ready to roll your truffles, place a piece of parchment paper on a cookie sheet and set aside. Next, fill a small bowl with the unsweetened cocoa powder.

Remove the plastic wrap from on top of your ganache and discard. Using a melon baller the size of a teaspoon, a teaspoon cookie scoop, or an actual teaspoon measuring spoon, roll two teaspoons of the ganache at a time, then mold, shape, and roll them together until you have a smooth truffle. Roll the truffle in the coca powder, then place on the cookie sheet. Repeat this process until you have run out of ganache. You should have about 20 truffles at the end.

Transfer the cookie sheet to the refrigerator and let the truffles set for at least 1 hour.

TO STORE: Truffles can be kept in an airtight storage container in the refrigerator for one week.
Hot Cross Buns

Hiiiiiiiiiiiii, how was your Easter??  Mine was epic and uplifting, and full of food. Simply the best.

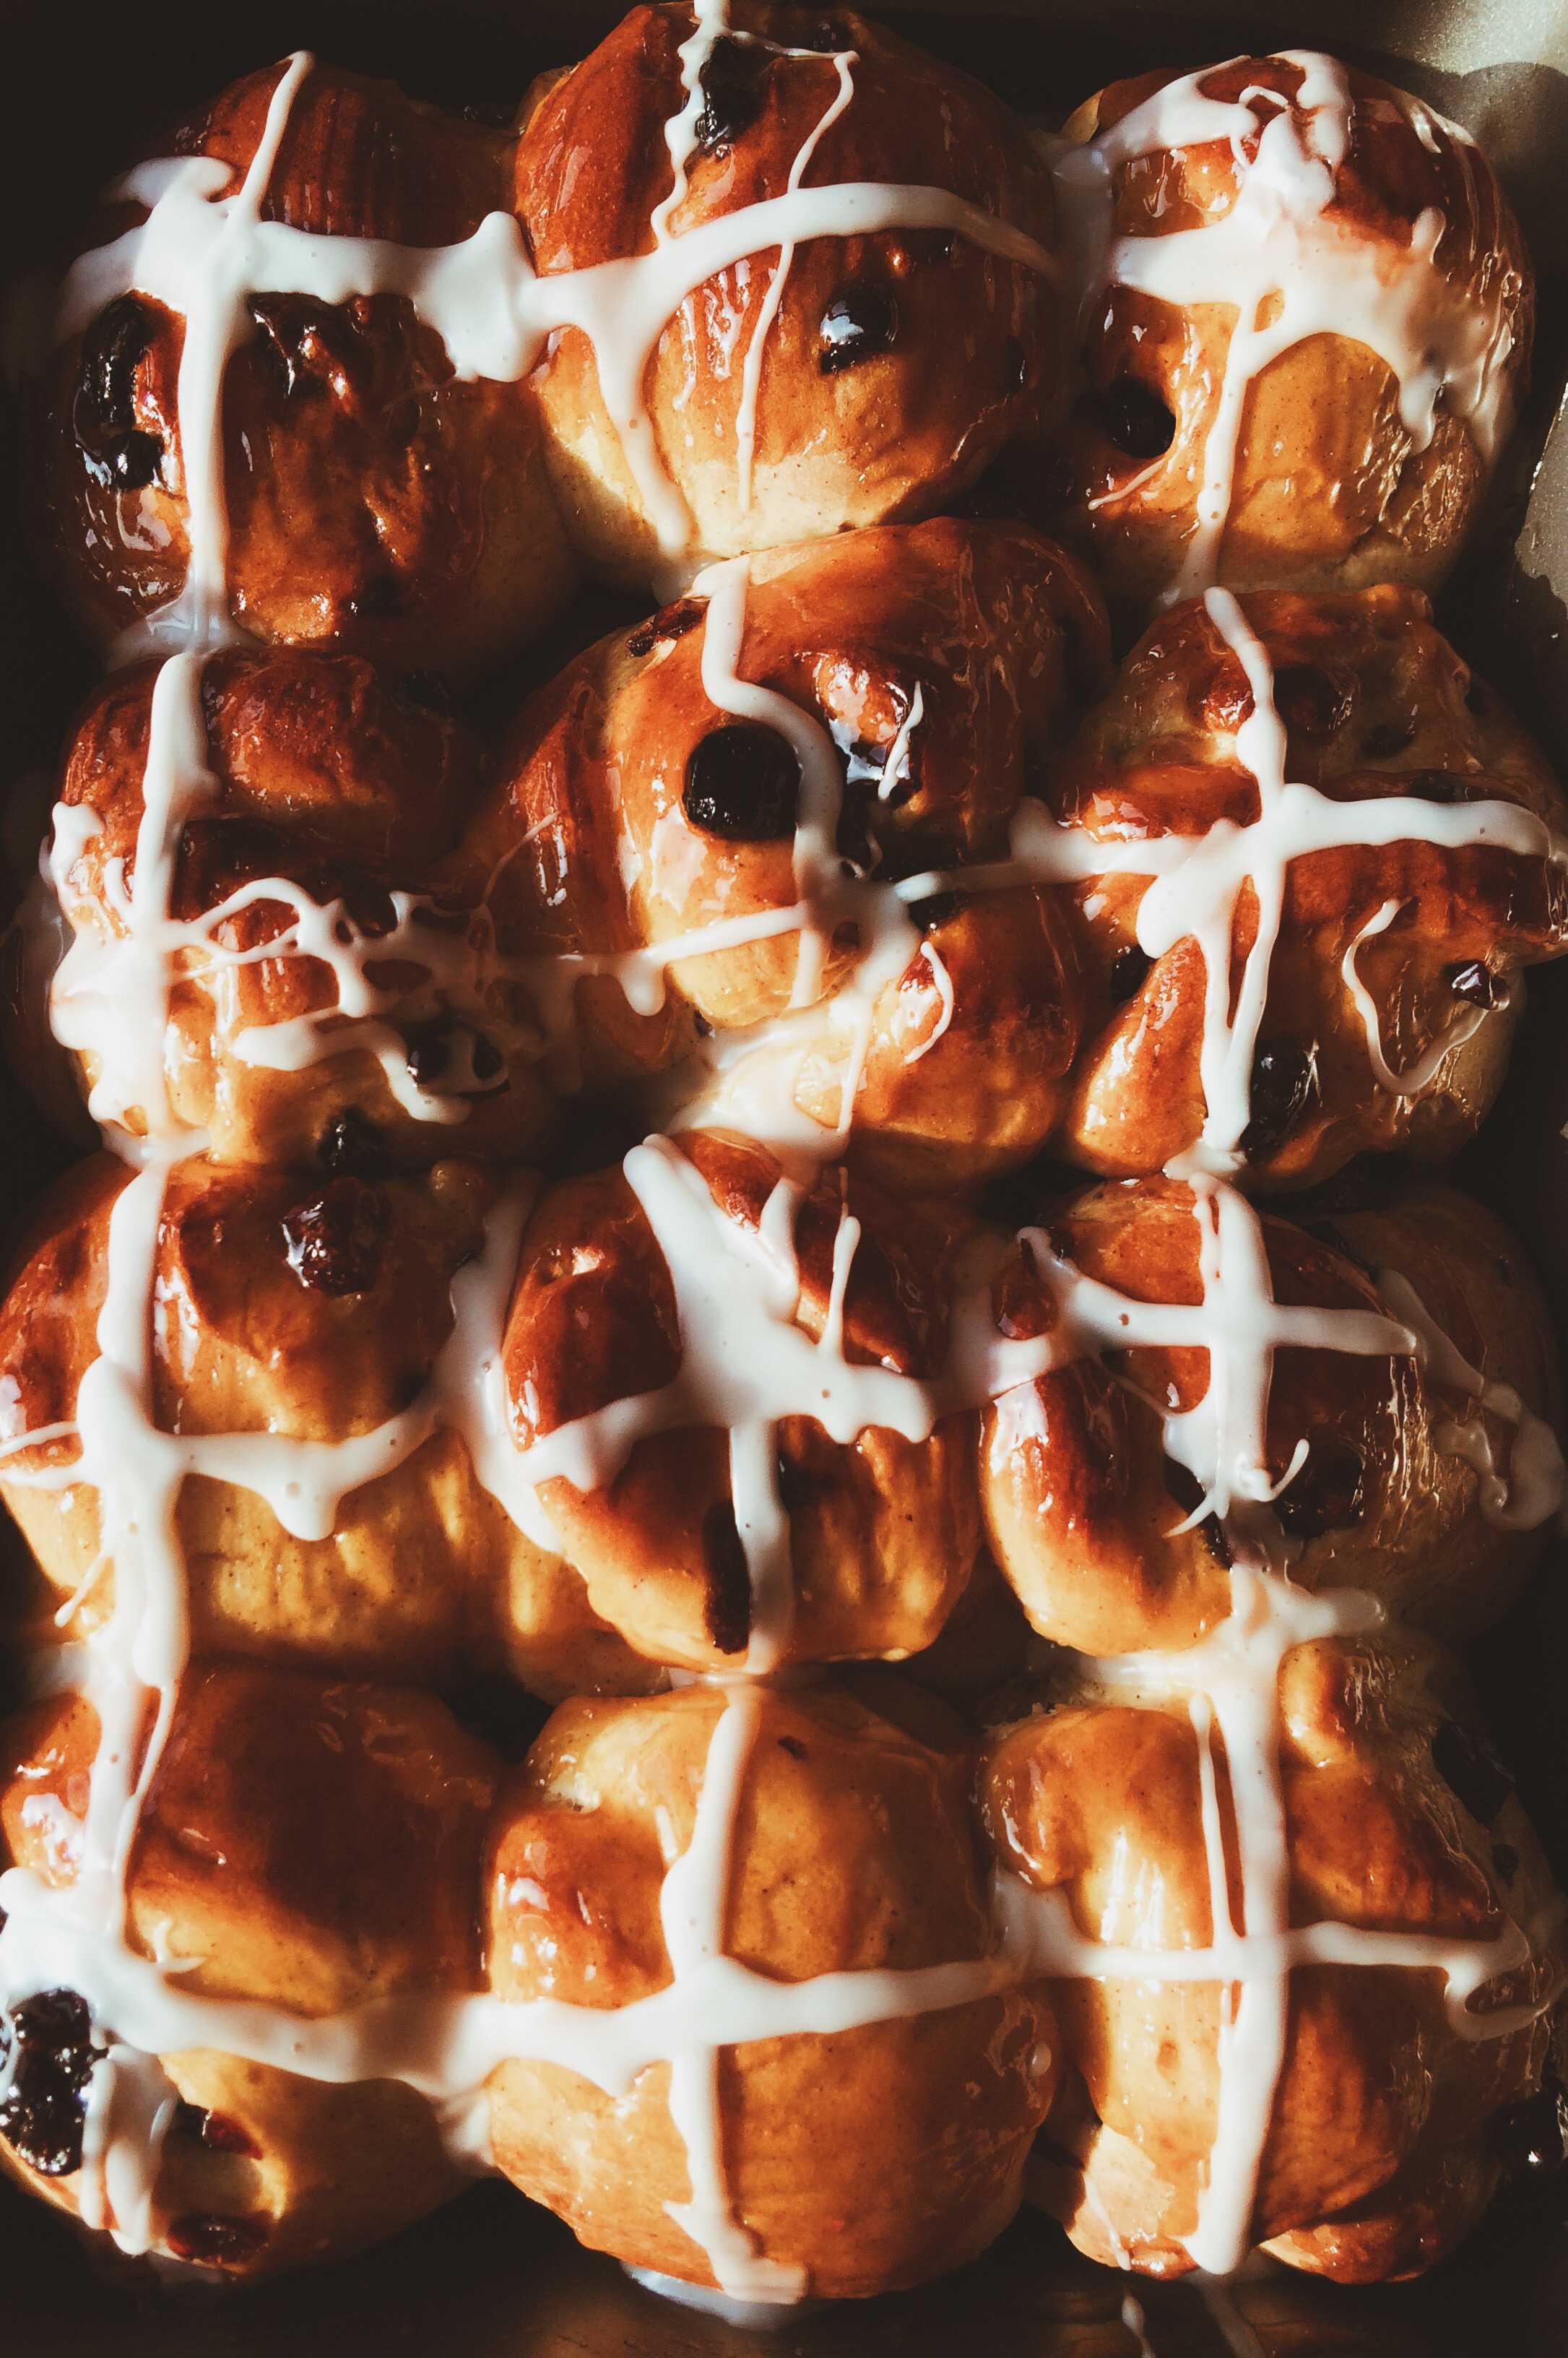
Have you ever had hot cross buns? This was my first year. Before that, my only knowledge of them began and ended with the song of the same name that I was forced to learn on the recorder in 7th grade. That was it. (Fun fact: I haven't picked up the recorder since.) But when you're young, it's almost a necessity that you start your own traditions and/or jump on holiday-specific bandwagons, so here we are. And I have to tell you: I can't believe I've lived my life up until now without hot cross buns. I mean, it's crazy. I can honestly say, in the four years that I have been baking, hot cross buns are the best things to ever come out of my oven. BY. FAR. Easter Sunday's breakfast was just EXCELLENT, you guys.

Best served warm, these buns are yeasty, squishy, icing-topped perfection. Traditionally, hot cross buns are filled with dried fruit like raisins, currants, cherries, or dates, but my grocery store was serisouly lacking in the traditional dried mixed fruit bags. What I found instead was a mix of dried strawberries, blueberries, cherries, and cranberries, and I LOVED that combination when paired with the warmed apricot jam and blend of cardamom and cinnamon spices. And while I enjoyed the little bursts of strawberries I got, next time 'round, I'll try to make my own fruit mix because the cardamom-cinnamon was practically begging for raisins. Either way, fruit in yeast rolls just WORKS.

You may see these most often on Easter, but something tells me these would work extremely well around Christmas time...or just all-year-round in general.


It's never too late for Hot Cross Buns.


Find the recipe HERE from Bon Appetit! 


Heart-Shaped Jammy Sammy Cookies

I know February 14th is long-gone, but I subscribe to Valentine's Day-cutesienss 365 days out of the year.

By the way, how was your Valentine's Day? Mine was surprisingly fun this year, which has freed me from the cycle of weird/awkward/disastrous scenes of Valentine's Day past. I volunteered at the an annual Sweetheart Dinner (last year I made this French Silk Pie), and had a BLAST. There were several courses involved, and no time to take a breath as we were each cooking over our respective dishes (I was on dessert duty but got roped into making seafood Alfredo once we got there). Lots of "behind"-s, and "this is ready to go out!"-s, and "We need more ginger ale for the punch!"-s were thrown out, and it reminded me of how much I love being in a busy kitchen. I live for that hustle and bustle sometimes. I mean, I've never dried so many dishes, or continuously scrubbed the same countertops so many times in my entire life, but MAN was it worth it. It was a really classy affair.

Would you like to know the best bit? These cookies were a BIG HIT!

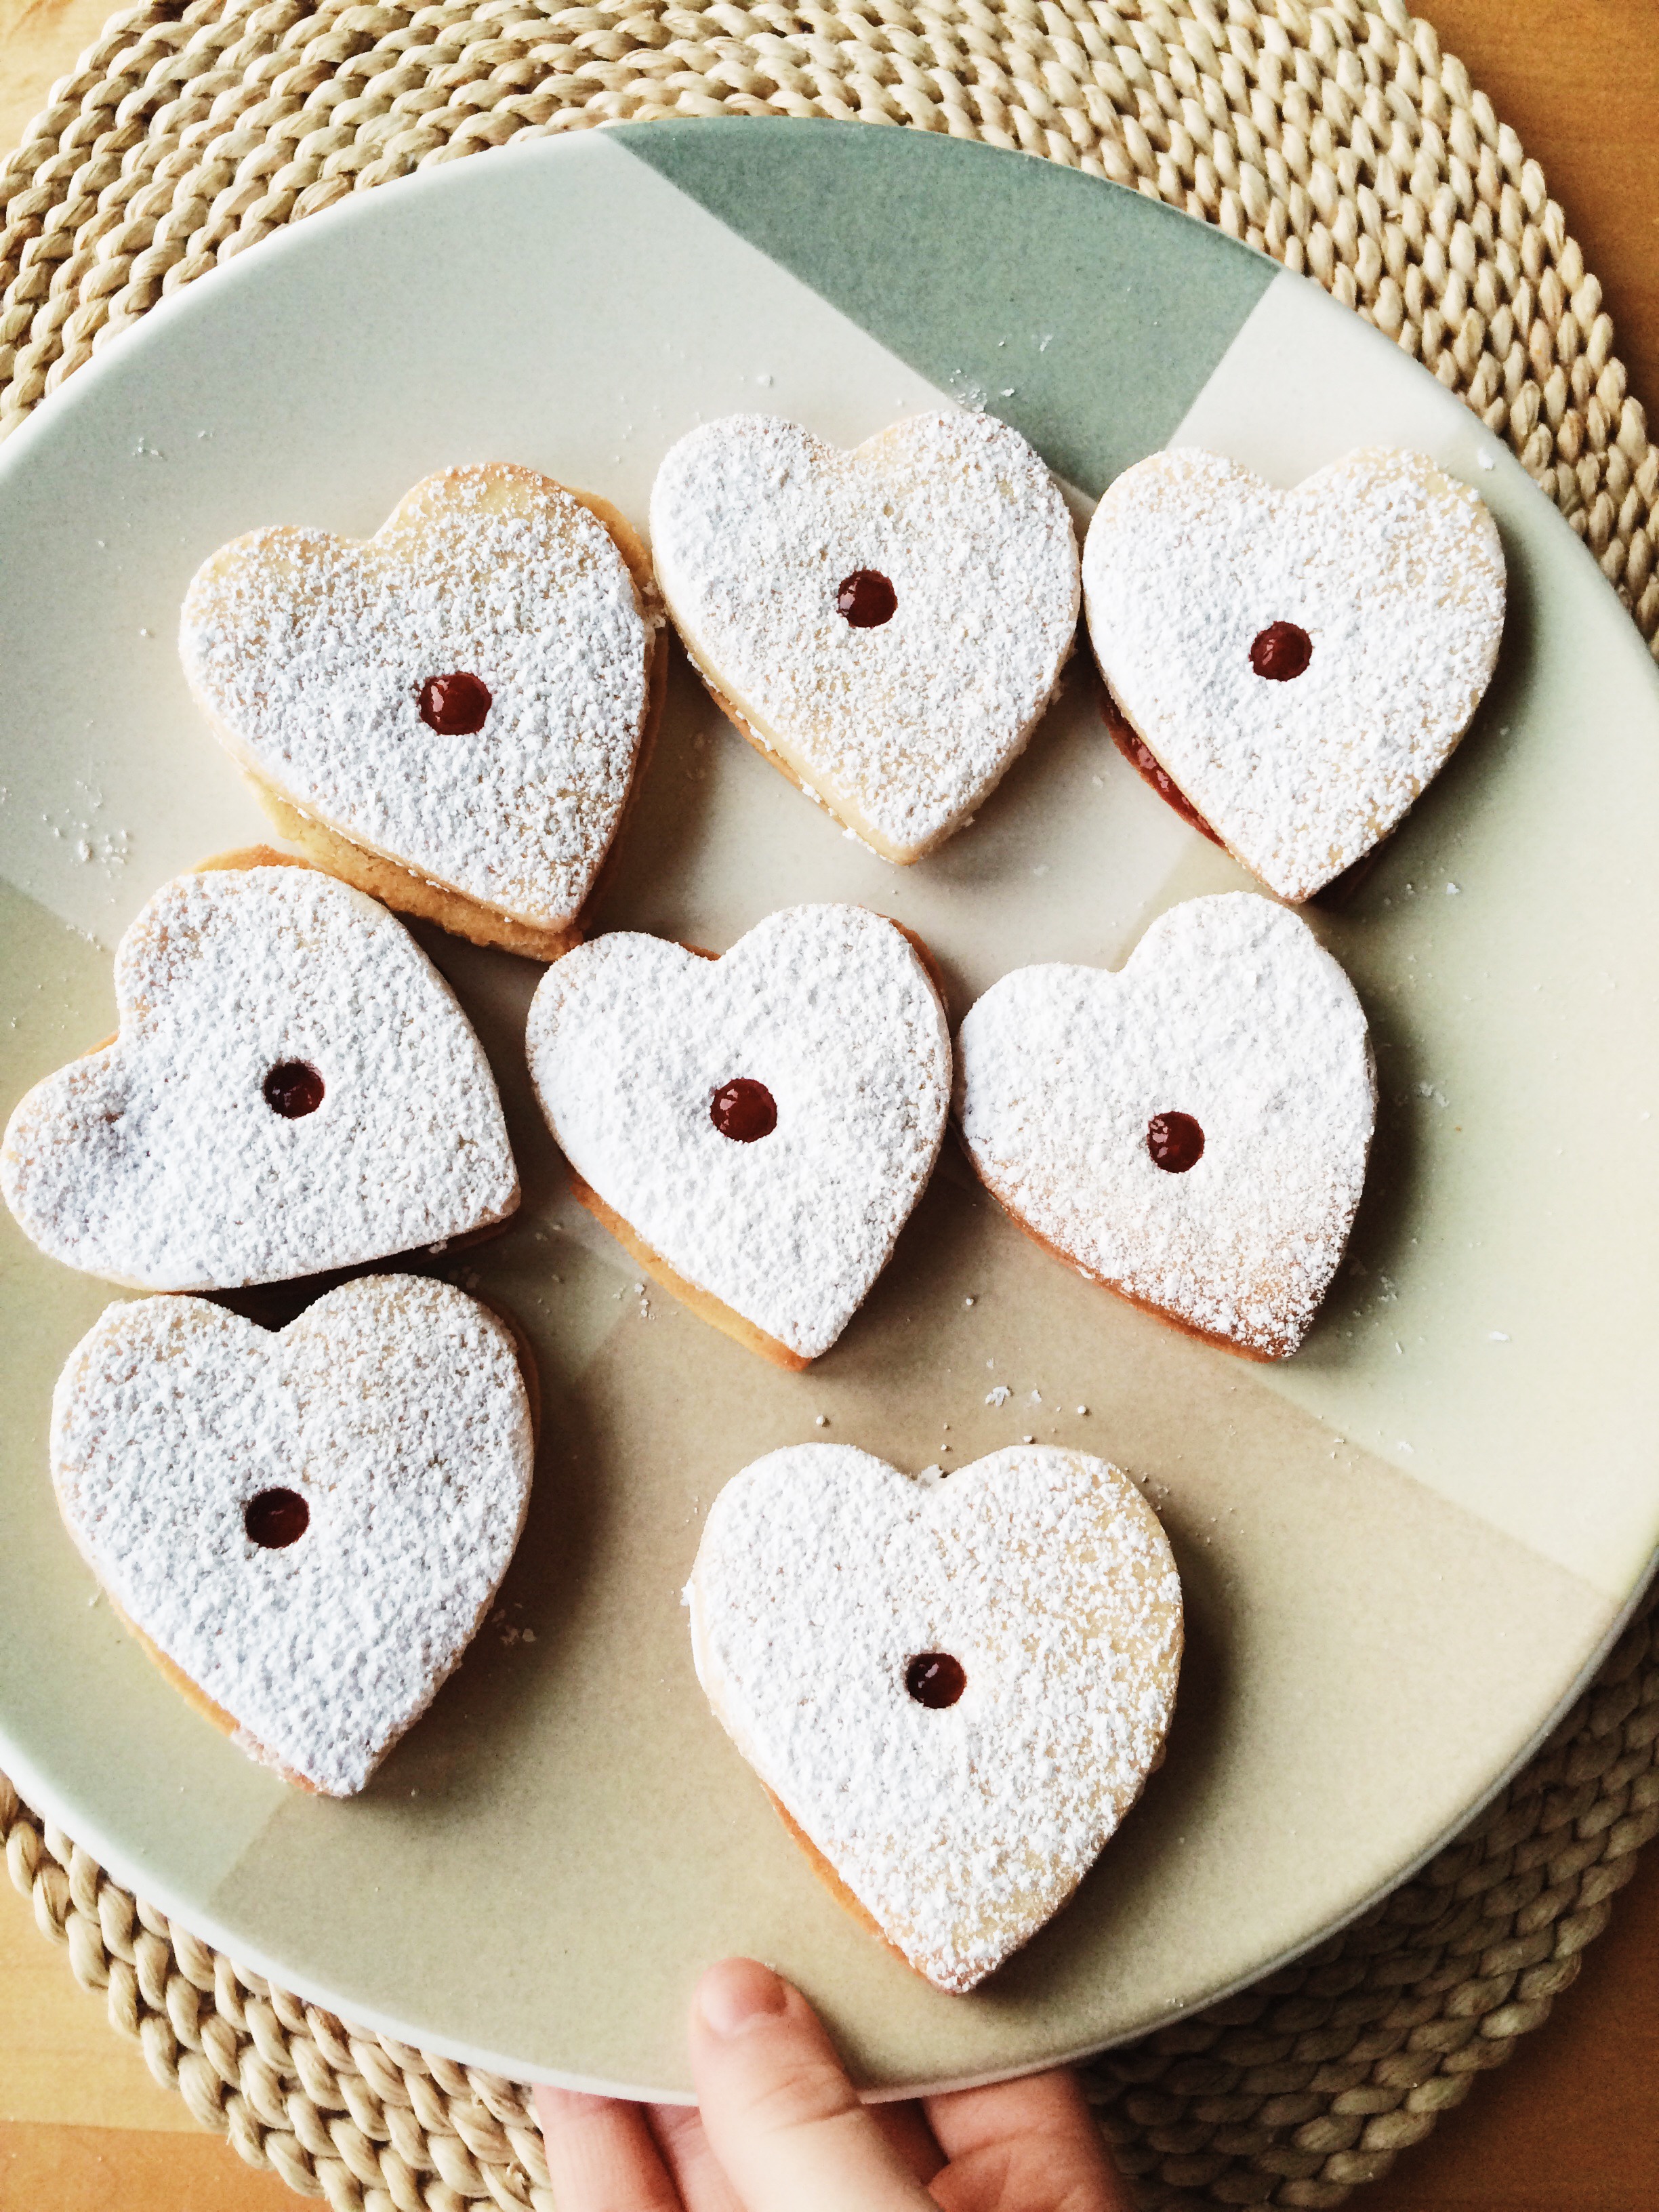
"Jammy Sammie Cookies" is just the name that I wrote to be cute/slightly annoying. You're probably more familiar with the name "Linzer," because of the filling and shape cut out of the center. I generally see Linzer cookies the most during the Holiday Season, but if you ask me, the cookie cutout + filling pairing should be a yearlong affair. And what goes better with a heart shape on Valentine's Day than fresh strawberry jam? Red is like the official unofficial color of V-Day, so the filling of these cookies were required to match accordingly.

Quick question: how do you feel about homemade jam? Me? I'm all about it. I feel like there's nothing that makes me feel cozier than when I'm making jam from scratch. Sure, it takes way less time to just pick a jar off the shelf at your local grocery store, but when you make it yourself you: A) Know exactly what has gone into it, and B) MADE. IT. YOURSELF. Helloooooooo! It's (relatively) fast, (totally) easy, (unbelievably) fresh, and you know it's always made with love.

Now pair that sweet, sweet jam with some deliciously soft shortbread plus a liberal sprinkling of powdered sugar for good measure, and you've got the stuff of dreams, kids. What could be better?

Since you'll definitely have jam left over after filling the cookies, might I make a few suggestions as to what to use it on?

  1. Biscuits
  2. Scones
  3. Toast
  4. Fingers dipped in
  5. By the spoonful
  6. etc. etc.

And let's just quickly talk about the versatility of these cookies, shall we? Yes, they were made for February 14th, but they can go wayyy beyond that. We're talkin' tea parties, birthday parties, bridal showers, picnics, breakfasts, coffee breaks, dates, etc. etc. Cookie hearts filled with homemade jam never go out of season.

It's a beautiful thing.


HEART-SHAPED JAMMY SAMMY COOKIES

What You’ll Need:

For the shortbread:

2 sticks unsalted butter, at room temperature

1 cup granulated sugar

1/4 teaspoon salt

1 large egg + 1 large egg yolk, room temperature

1 teaspoon vanilla extract

2 1/2 cups all-purpose flour

Powdered sugar for sprinkling

For the jam:

32 oz (two 16 oz containers) strawberries

1/2 cup + 1 tablespoon  brown sugar

Pinch of salt

Zest of 1 whole lemon + juice of half a lemon


DIRECTIONS:

First, let’s make the shortbread cookie dough:

 In the bowl of a stand mixer fitted with the paddle attachment (or a hand mixer, or a wooden spoon), add the butter, sugar, and salt and beat until light and fluffy, about 3-5 minutes. Add the egg and egg yolk one at a time, making sure each addition is well combined. Next, add the vanilla extract. Add the flour in three batches, making sure each addition is well combined (but don’t over-mix), before adding more flour. When necessary, scrape down the sides of the bowl using a rubber spatula.

Once your dough has just come together, lay your dough out on a plastic sheet, then divide it in half. Wrap each half tightly in plastic wrap, then shape to form discs. Refrigerate the discs for at least one hour, but best is overnight.

Ok, dough’s done, now let’s make the jam:

Rinse strawberries before using, and let drain completely before getting started.

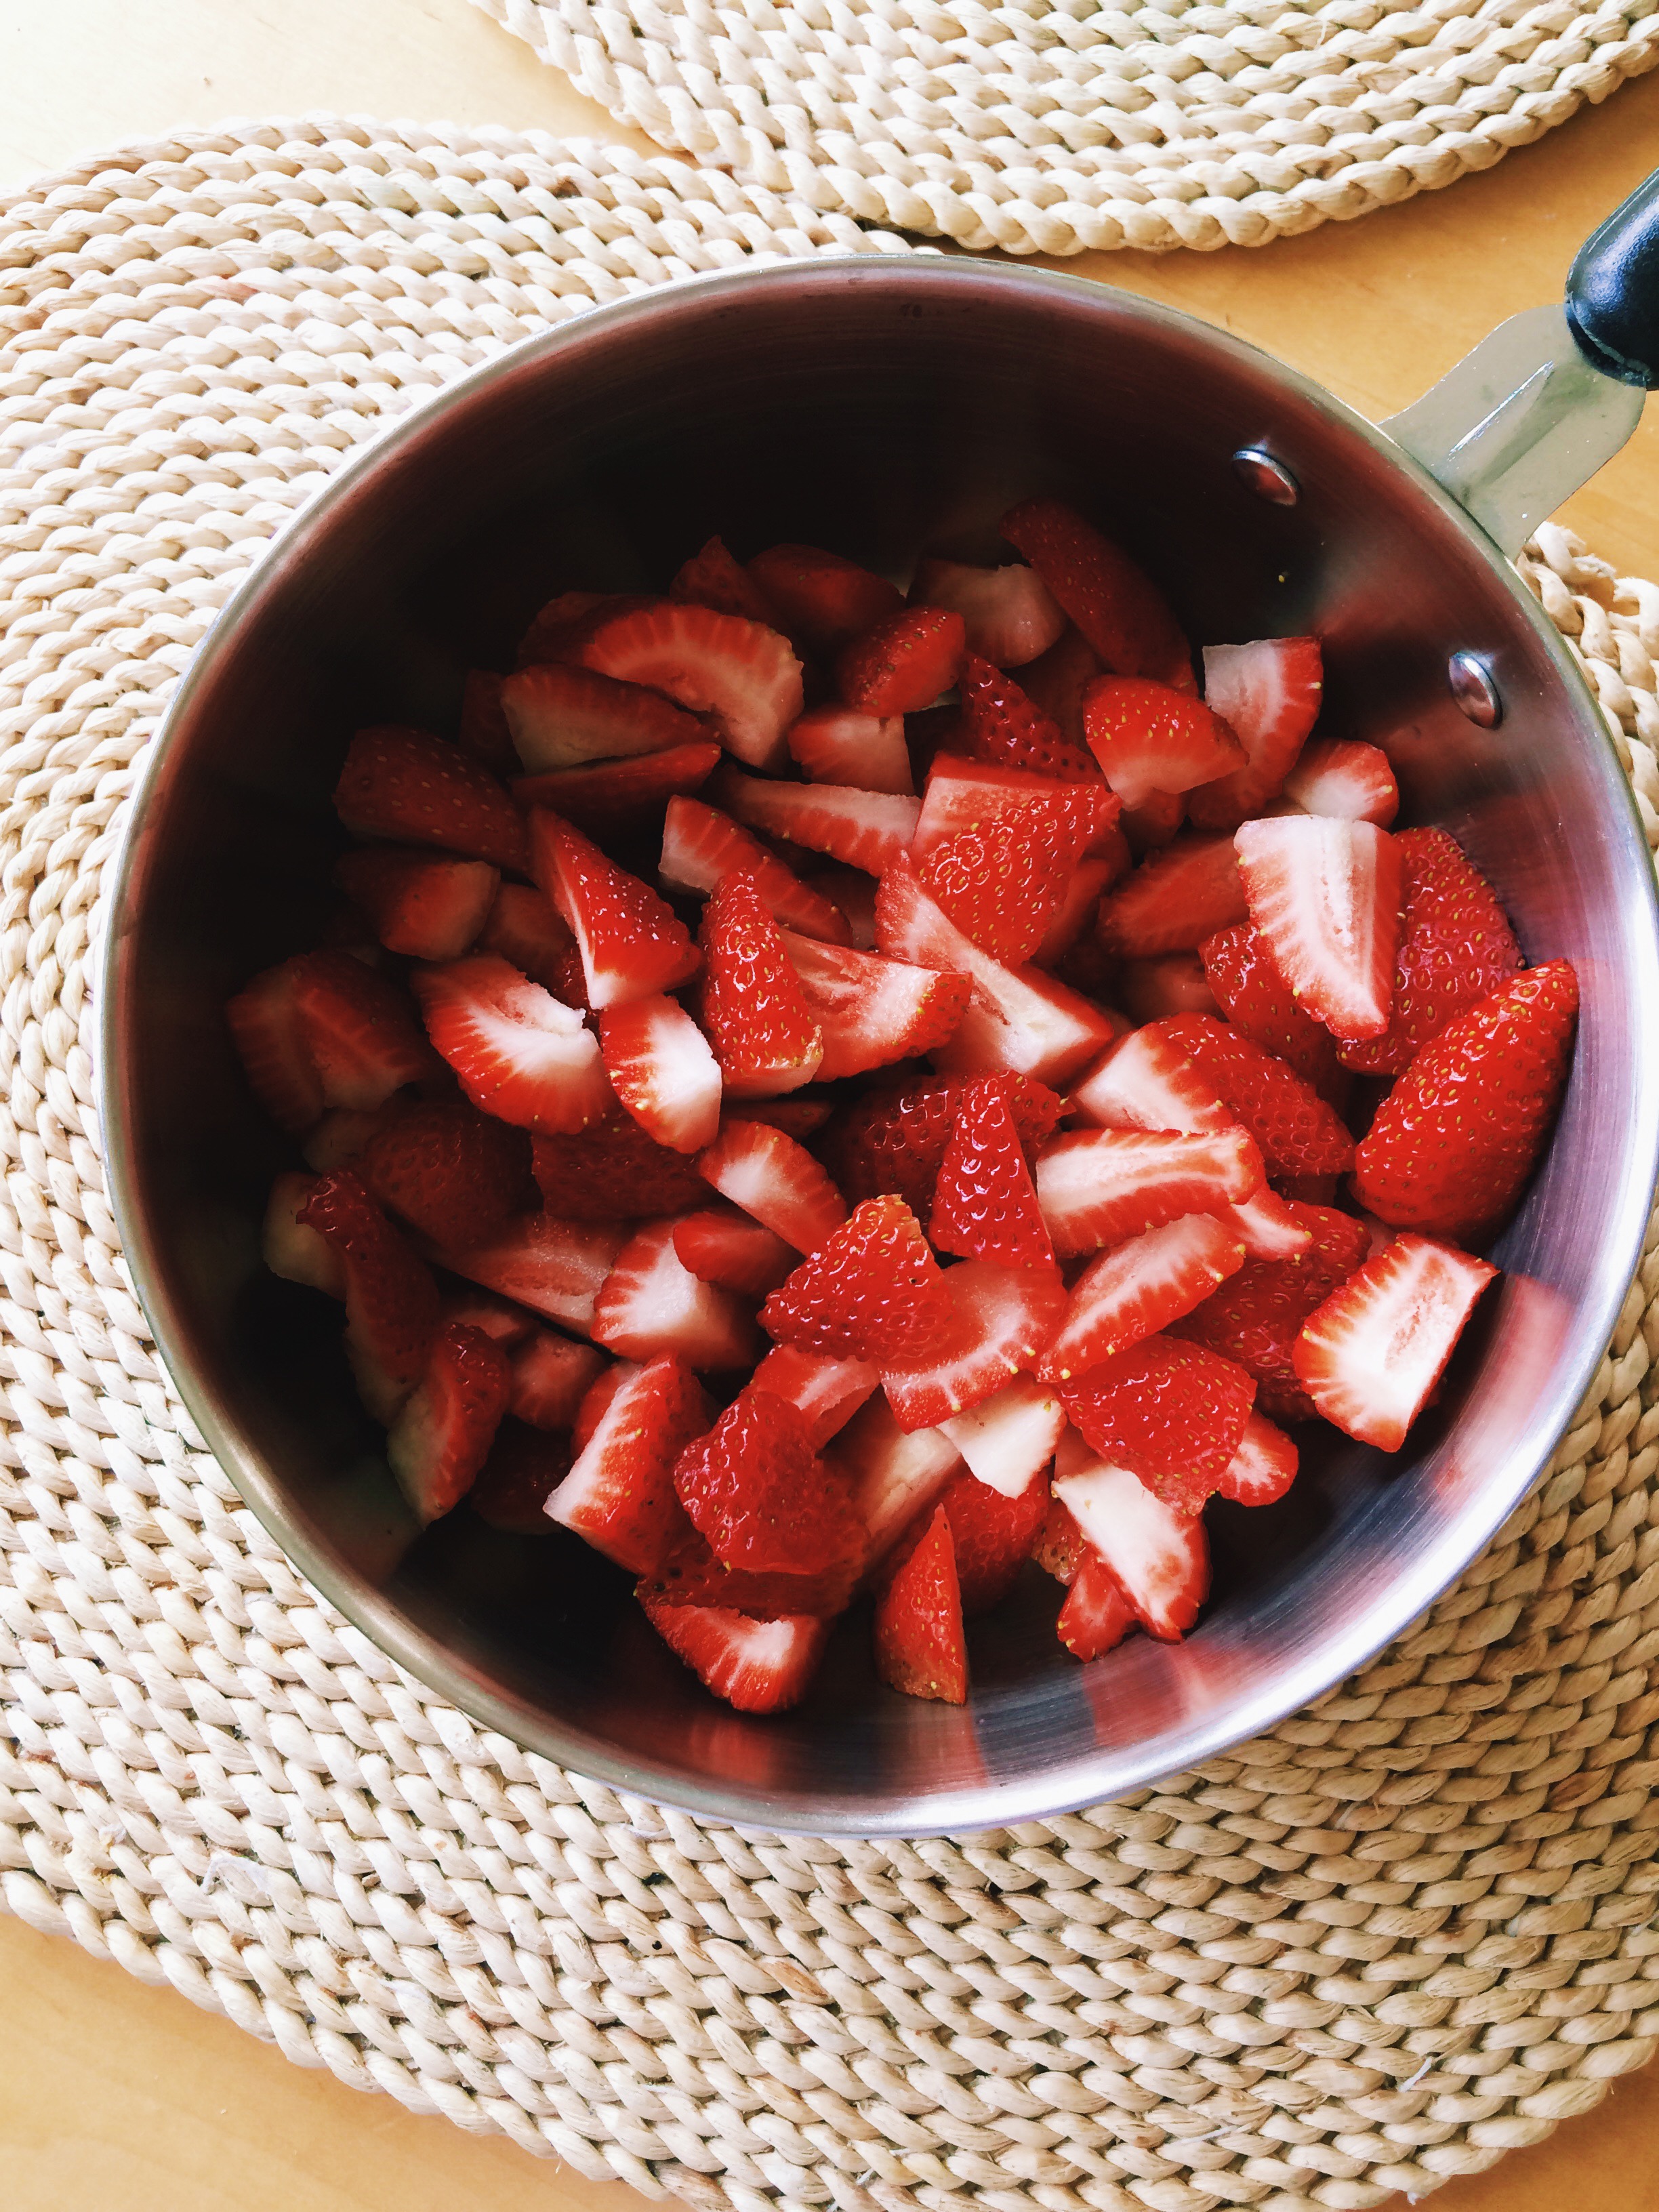
Once your strawberries have been washed, hull each strawberry, then cut into quarters. Place all of your cut up strawberries in a medium sauce pan. Next, add your brown sugar, pinch of salt, lemon zest, and lemon juice. Using a potato masher (or the back of a wooden spoon), muddle all of your ingredients together, making sure that the berries’ juices are starting to release, and your sugar and salt have started to dissolve.

Cook your fruit compote, stirring frequently, over medium-high heat until your jam has thickened, and it passes the line test (a line can be drawn down the center of the spoon without the juices running); On my stove, that takes about 30-35 minutes. Along the way, make sure to give your jam a few taste tests, and adjust the flavors to your liking. The mixture will bubble quite a bit and juice may jump out of the pan occasionally, so watch out for that!

When your jam has come together, take it off the heat and let it cool completely before transferring it to a mason jar or tupperware container.

This jam will last for several weeks refrigerated.

VERY IMPORTANT: DO NOT leave the stove whilst you’re making your jam. One minute it can still be too runny, then the next you’re cleaning burnt strawberry syrup out of the pan until your arms fall off. Trust me. Stay put. Keep stirring.

Ok, my dough has rested. Time to make some cookies!

Preheat the oven to 375 degrees F, and line two baking sheets with parchment paper. Set aside.

Remove the first disc of dough and let sit on a counter for ten minutes; this allows it to come to room temperature, thus making it much easier to roll out.

Liberally flour a rolling pin and work surface.

Roll the cookie dough out to a 1/8 inch thickness, then, using a floured heart-shaped cookie cutter, cut out shapes. Transfer the hearts to the cookie sheets lined with parchment paper, about 1-inch apart. Stamp a hole out of the center of half the cookies using the tip of a circle piping tip. Repeat the process with any remaining scraps, and with the second disc of dough.

Bake the cookies one sheet at a time for 7-10 minutes (depending on your oven),  or until the cookies have started to lightly brown around the edges. Allow the cookies to cool for five minutes on the baking sheet before transferring them to wire racks to cool completely.

Transfer the cookies with the holes cut out of the center to one of the cool baking sheets (keep the parchment paper on). Sprinkle a generous amount of powdered sugar over them using a sifter, mesh strainer, or powdered sugar shaker. (Aren’t you glad you have the parchment paper now to catch the excess sugar?) Flip the bottom cookies (no holes in them) over so that the underside is facing you, then apply about a teaspoon of jam right in the center of each. Place the tops on, then lightly press down so that you create a sandwich. The jam should spread evenly to the edges and through the center hole without overflowing. Enjoy!

To Store: Refrigerate in an airtight container for up to a week.


SOURCE: Adapted from A Cozy Kitchen

Cappuccino-Chocolate Sandwich Cookies

I have a question for all the Martha Stewart fans out there: Are you watching Martha Bakes?? If not, go. GO RIGHT NOW. GO SET YOUR DVR! I'll wait here.

OK, did you do it? Good. You won't regret it.

You know what's so rare? Baking shows without all the bells and whistles. Shows these days so are heavily edited for "drama," and condensed so much that you don't really feel like you could belong in that world. When I tune into a baking/cooking show, I want to feel like I'm actually in your kitchen as you TEACH ME SOMETHING! I don't want to be dazzled if it means that whatever has dazzled me is so unattainable that I shouldn't even bother to try. That's why I love Martha Bakes. Martha gets down to the nitty gritty. Whatever she makes, she makes in full. And yeah, there is a bit of "TV Magic"; sometimes what she's just made is already baked, but for the most part, the step--by-step, no matter how long it takes, is there. It's perfect. It's attainable.

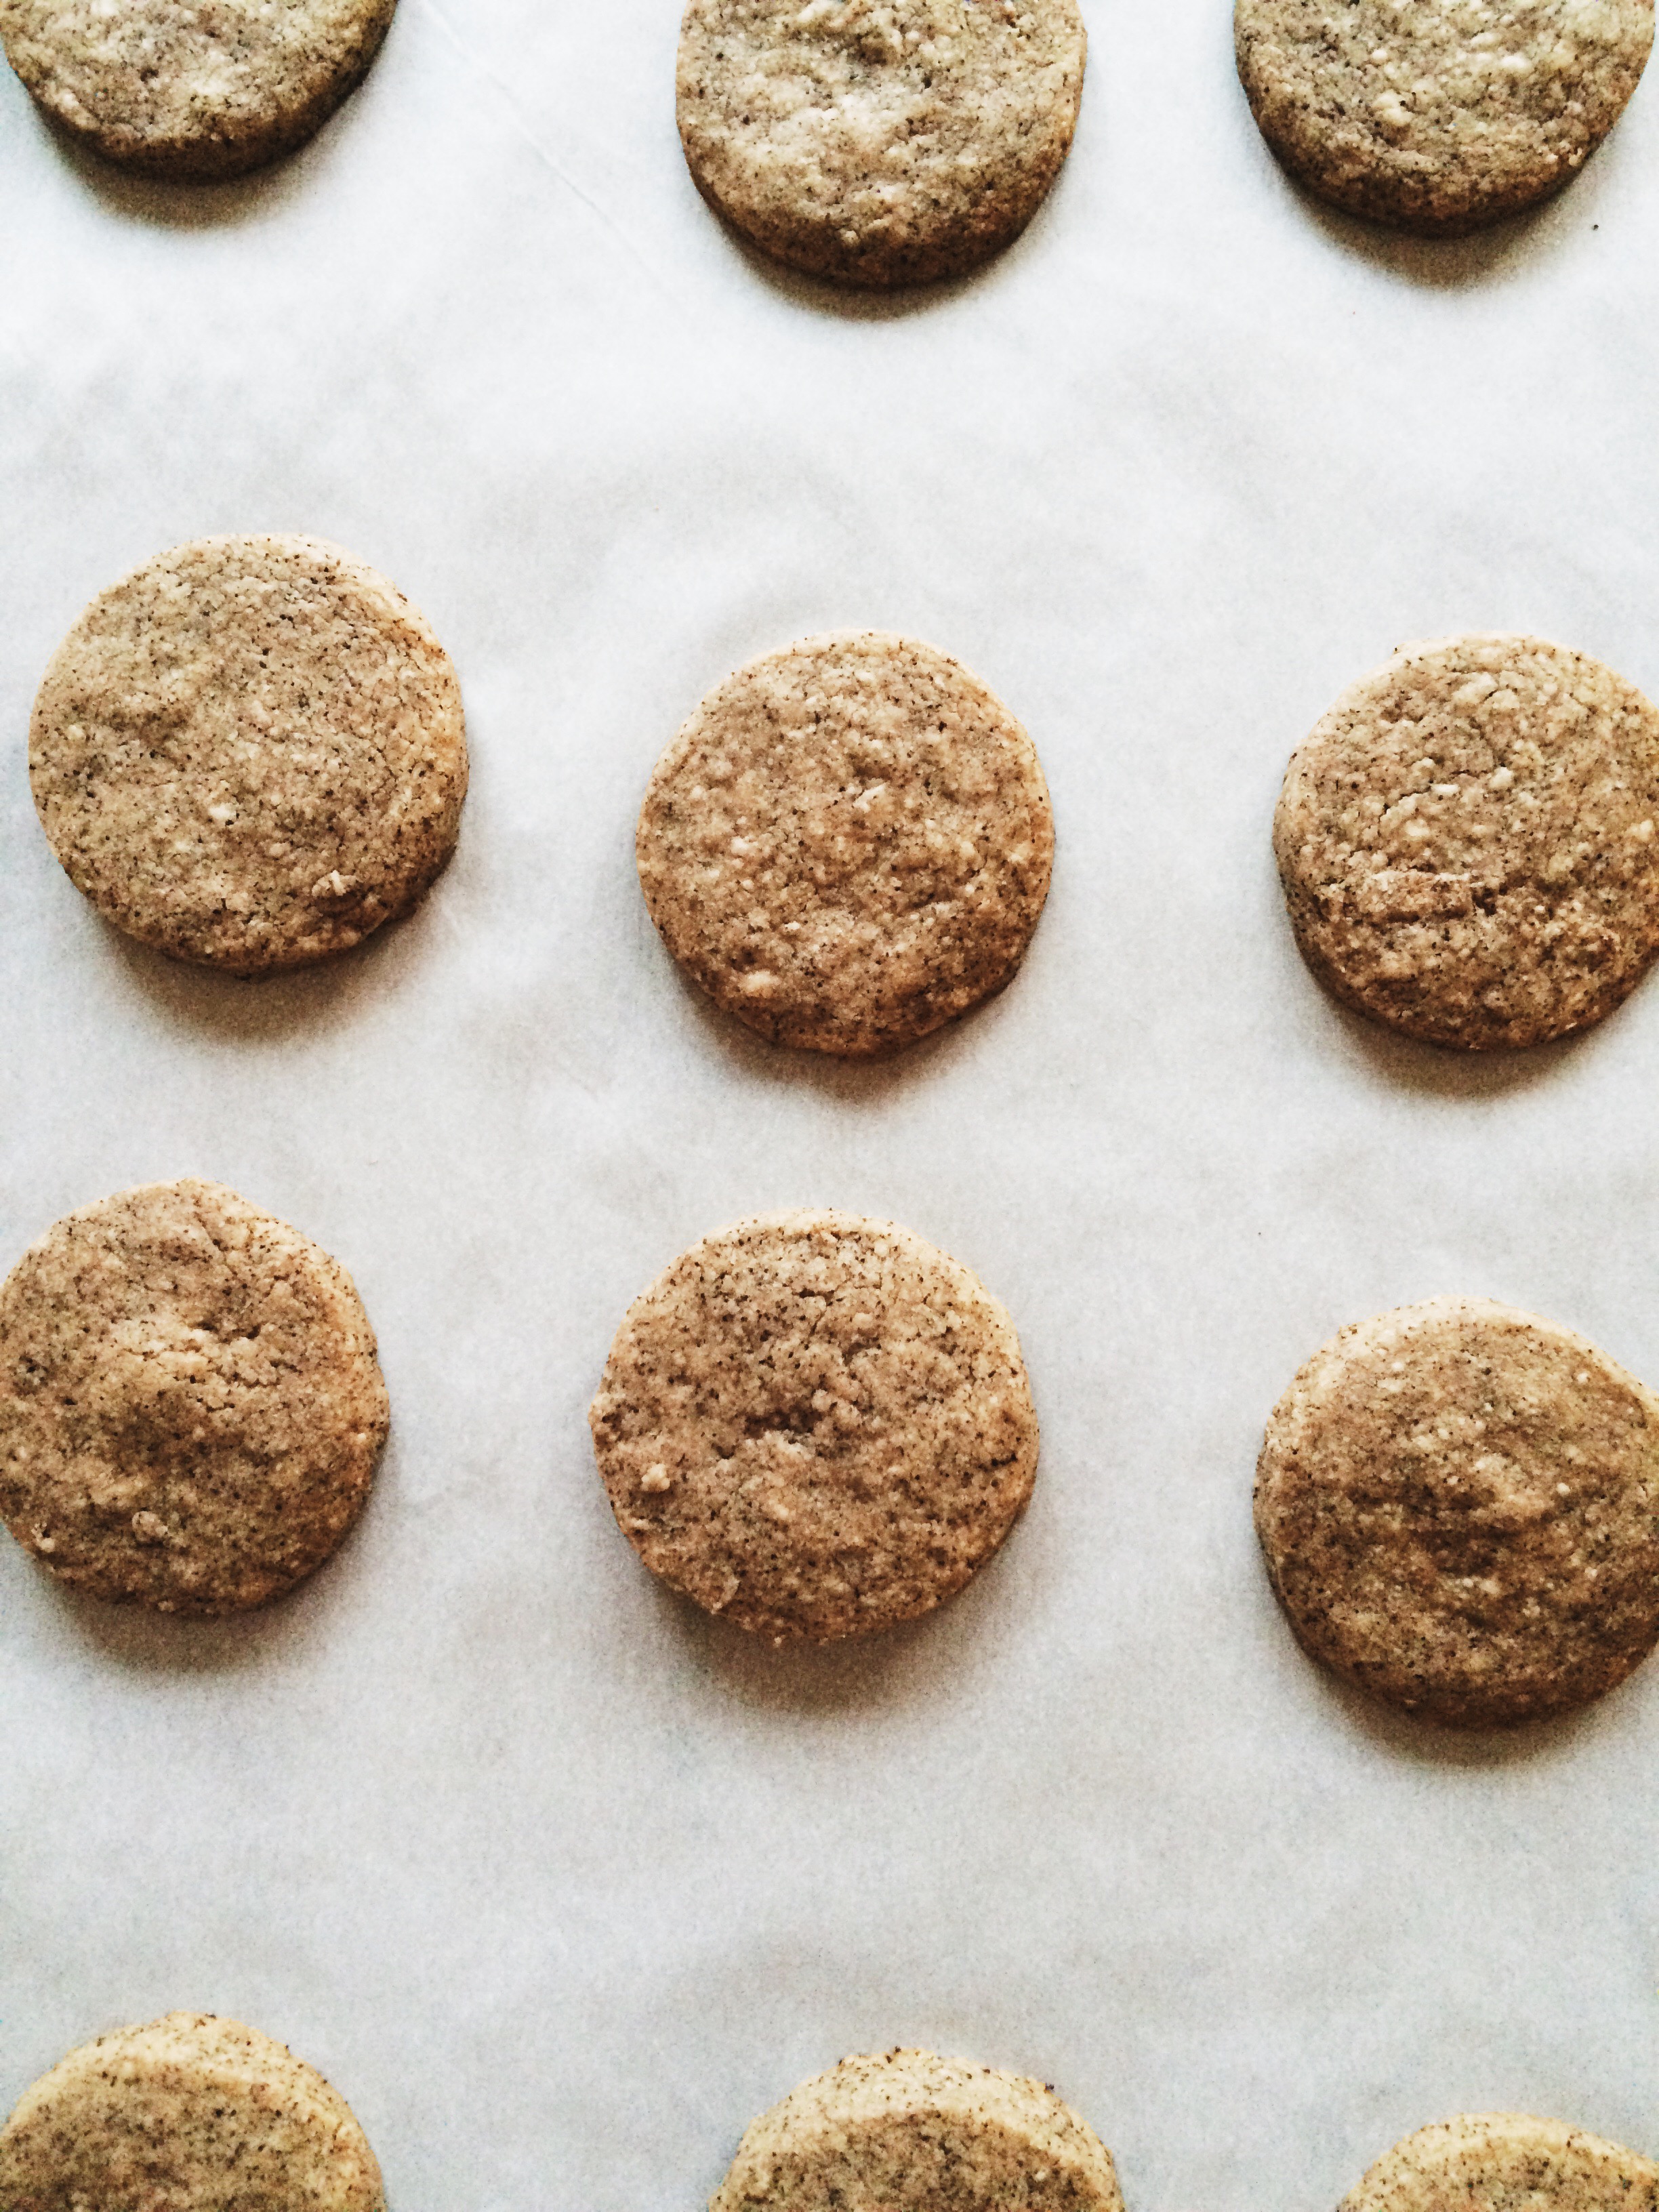
This week, while going through the collection of MBs on my DVR, I discovered that Martha had done an episode entirely dedicated to coffee. Yes and yes. I was completely on board. She made cakes, she made ice cream, she made pie. It was all quite divine. But what really caught my eye (and I'll be honest: for all the thousands of hours spent watching cooking and baking shows, I hardly ever make anything from the episodes I've watched), was the cappuccino-chocolate sandwich cookies. They were cute and little, so deliciously chocolatey-looking, and a seemingly easy project to take on on a whim. I have an entire mason jar full of ground espresso beans, and I've been looking for ways to lighten the load a little bit. These sandwich cookies did very nicely indeed.

Processed with VSCOcam with s2 preset

You know, it's funny, I feel like a person who can really take or leave coffee. I have friends who have to have it first thing in the morning, and truly treat it like gold. To me, it's nice, but it holds very little significance in my life. (That significance is reserved for Mexican Coca-Cola I think.) But there are times when I positively NEED the taste of coffee as soon as possible. Usually that comes in the form of an emergency trip to a local coffeehouse, but I think it's good to broaden one's horizons to solid forms of coffee as well. And BOY are these cookies  the jolt of caffeine you need to brighten up your day.

Having one of these cookies is like having a quick cup of espresso with a dash of cream. But instead of those sweet little cups, you have a sweet and chocolately three-bite cookie. The dough alone had me breathing deeply, so when it came time to taste-test, OBVIOUSLY I was on cloud nine. I couldn't stop nibbling for ages, so you KNOW the final result was going to be delicious.

The taste of coffee is very present, but not overwhelming. The balance of the two chocolates just enhances the overall pleasure of the ground espresso. And the chocolate cream? OHHHHHHHH so good. Buttery and choclately, and addictive. And since there are two whopping tablespoons of straight-up ground espresso beans in the cookie part, plus a little more  in the chocolate drizzle, I think you can safely swap out that third cup of coffee for one or two of these lil guys.

If you couldn't tell by now, Sydney is allllllll about these cookies. I bounced off the walls and I loved it.

I think you'll love these, too.


CAPPUCCINO-CHOCOLATE SANDWICH COOKIES

What You'll Need:

  • 1 1/3 cups heavy cream
  • 10 oz milk chocolate, finely chopped (I only had chocolate chips, so if that's what you have, use it!)
  • 1 1/3 cups all-purpose flour
  • 2 tablespoons finely ground espresso beans
  • 1/4 teaspoon coarse kosher salt
  • 12 tablespoons (1 1/2 sticks) unsalted butter, softened at room temperature
  • 1/2 cup confectioner's sugar
  • 1 teaspoon vanilla extract
  • 2 oz bittersweet chocolate, for drizzling + 1/8 teaspoon finely ground espresso beans

DIRECTIONS

First, let's make the chocolate ganache filling

Bring heavy cream to a simmer in a small saucepan, then pour over milk chocolate in a bowl. Stir until smooth and there are no lumps left. Place a sheet of plastic wrap directly onto the surface (placing the plastic wrap directly on top prevents it from developing a skin), then let it set in the refrigerator for 4 hours, or overnight.

While the ganache is setting, let's make the cookie dough

In a medium bowl, whisk together the flour, espresso, and salt. Set aside.

In the bowl of a mixer with the paddle attached, beat together butter and sugar on medium-high speed until pale and fluffy, about 5 minutes. Make sure to scrape down the sides of the bowl, Next, add the vanilla.

Add flour mixture to the mixer in two additions, and mix on medium-high speed until the dough JUST comes tougher. Do not over mix. Turn out dough onto a sheet of plastic wrap, and form a disc. Once the disc is formed, tightly wrap it in plastic. Place in the refrigerator for at least 30 minutes. Alternatively, you can freeze the dough for 15-20 minutes if you're running a little short on time.

OK, everything's set, so we should bake the cookies!

Preheat the oven to 350 degrees F, and line two baking sheets with parchment paper.

Take the dough out of the refrigerator, and let come to room temperature for about 10 minutes. Once the dough has softened a bit at room temperature, place it between two sheets of parchment paper, and roll out to about 1/8 inch thickness. Using a floured 2-inch cookie cutter, cut out rounds, then transfer them to the lined cookie sheets, placing them about 1/2 inch apart. Re-roll the scraps, and repeat the process. (Note: If the dough gets too soft, wrap it in plastic wrap, then throw it back in the fridge for 5-10 minutes or so.)

Freeze your cookies for 10 minutes to make sure they keep their shape in the oven.

Bake until your cookies are set, but not browned, about 7-9 minutes depending on your oven. Once out of the oven, let cool for 5 minutes on the baking sheets, then transfer the cookies to a wire rack to cool completely.

While your cookies are cooling, it's time to whip some ganache! 

Whisk the chilled ganache filling by hand until soft peaks have formed, about 20 minutes. It might be hard to do at first, but with a little elbow grease, you can whip this heavy cream mixture by hand! YOU CAN DO IT! (Or, you can totally use a mixer if you want.)

Alright, time to put it all together

Transfer the mixture to a pipping bag fitted with a 1/4 inch round piping tip (OR, transfer to a plastic bag with the end snipped off). Turn half of the cookies over so that the bottoms of the cookies are facing you, then pipe about 2 teaspoons  of mixture on top of each. Place the other half of the cookies on top to create sandwiches.

Melt the drizzle chocolate!

Melt the 2 ox of bittersweet chocolate, then mix in the 1/8 teaspoon of espresso. Using a spoon (or another small plastic bag) drizzle chocolate over each cookie sandwich in any pattern you'd like! Let chocolate drizzle set for about 10 minutes. Enjoy!

To store: Place cookies in a single layer in an airtight container for up to 5 days.

SOURCE: Adapted from Martha Stewart via Martha Bakes 

Quiche Lorraine

A while back, Williams-Sonoma was having a fantastic sale that I considered would be a crime not to participate in. Why scour the website daily if I'm not going to end up getting anything when the times comes to get it at a discounted rate (and with free shipping no less)? So, there I was, browsing the baking section when there IT was: a beautiful, french tart pan. Up until that point I could only bookmark all the tart recipes I came across and wonder, what if? But now, now was the time to take action, so in went the pan into my cart, with all the tart possibilities finally becoming attainable. And then it arrived and I said, "It's way too nice to use. Better save it for a special occasion. Back in the box you go!"

That was months ago.

Honestly, that always happens. I pine over something for what seems like forever, to the point where it's the only thing I can search for, and then I get it, and I deem it way too nice to use. "I NEED AN OCCASION TO BREAK IT IN," I'll insist. But then no occasion is ever good enough, so whatever it is waits and waits to be used. But that has to change, so I made Quiche Lorraine.

I love this tart pan, and I'm so excited that the first thing I decided to make was Quiche Lorraine for dinner. It's so good, and so simple to make. Plus, it can be served or cold depending on the setting. It may be getting a little chillier outside, but we've still got some warmish days in the forecast that are pretty perfect for a picnic. Trust me, take it from someone who lives in the Midwest, these are the golden weather days. Soon all we'll have is snow piles and distant memories of when the temperature was a steamy 50 degrees. And if given the choice to eat outside while the trees are beautiful hues of yellow, red, and orange, you take it.

Here's something that broke from tradition: I used pancetta instead of lardons. One because I love pancetta and will take any excuse to use it, and two, because lardons in 5 oz containers are a little hard to get my hands on around here. And as it turns out, pancetta really, really works. It still gives you the salty, crispiness that lardons give you, but it doesn't overpower. I may have to alter the salt levels in the egg mix, but I think it really all comes down to personal preference.

And remember: Quiche Lorraine is just egg, heavy cream, bacon, and a little salt and pepper. If you add anything else, it's no longer Quiche Lorraine. Still delicious, but no longer Quiche Lorraine.


QUICHE LORRAINE

What You'll Need:

For the Pastry

  • 6 tablespoons butter, softened and at room temperature
  • 1 teaspoon sugar
  • A pinch of salt
  • 1 1/2 cups AP flour
  • 2 eggs, separated
  • Cup of ice water

For the Quiche Filling

  • 5 oz pancetta (or lardons if you're lucky enough to find it!)
  • 4 eggs and 2 egg yolks
  • 1 1/4 cups heavy cream
  • 1 tsp salt
  • Black pepper to taste

First, Make the Pastry:

Using a wooden spoon, beat together the butter, sugar and salt in a medium bowl until smooth. Mix in the flour, followed by  the egg yolks, and 2 tablespoons of ice water. Mix together until a smooth ball forms, only kneading the dough as much as necessary to bring it together. If the dough seems a bit dry, you can add more water, but be careful not to make the dough too wet.

Once the dough has come together, wrap in plastic wrap and chill overnight. (If you don't have the time, make sure to at least let it chill for an hour. )

When It's Time for Quiche:

Preheat the oven to 350 degrees F.

When you are ready to roll out the dough, take it out of the fridge and let it rest on the countertop for at least 30 minutes to make it easier to work with. Roll out the pastry dough between two even sheets of parchment paper until it is 1/4 inch thick, and use it to carefully line your tart pan. If you have any extra pastry dough, use it to patch up any cracks. Brush the sides  and pastry base with the leftover egg whites. Pop your tart pan back into the refrigerator while you prepare the filling.

To make the filling, fry the pancetta in a frying pan until golden brown and crispy, then, using a slotted spoon, transfer to a plate lined with paper towels to drain off any excess grease.

In a bowl, lightly beat the egg and egg yolks, then add the heavy cream, then the seasoning. Beat again until everything is mixed together well.

Remove the tart pan from the fridge, then scatter the cooled pancetta all around in the pastry shell. Next, pour in the egg mixture.

CAREFULLY transfer the quiche to the oven (I placed it on a baking sheet both for stability, and to catch any overflows), and bake for 30-45 minutes, depending on your oven. MAKE SURE to keep an eye on it so that it doesn't stay too long in the oven and crack. A perfect quiche has a golden brown top, and is set. No  one wants cracked quiche.

This quiche can be served warm or cold.

SOURCE:  Adapted slightly from The Little Paris Kitchen: 120 Simple but Classic French Recipes, by Rachel Khoo

Follow my blog with Bloglovin

Double Apple + Pear Pie

So, I've given this a lot of thought and, in ten years time, I want to be referred to as The Pie Queen.  I know it's a lofty goal, but we all need dreams, right? I've had visions lately of winning state fairs, and a beyond giant wedding pie. Or a cake disguised as a pie. I'm still working out the details.

There's just something about pie that puts me in the best mood. More than anything else I bake, pie really makes me feel like I've actually put tangible love into something to give to others. Do you ever feel like that? And apple pie is just so classic. If we try hard enough, maybe making one will speed up Fall a little bit, for what is Fall without apple pie? Just a season when everything dies, that's what.

Now, let's talk about adding a pear to your apple pie. Never in a million trillion years would I have thought of doing it, and now I can't believe that it isn't the norm. It's genius. Not only does adding a pear bring more complexity to an already pretty complex pie (due to the use of two different kinds of apples), but in the words of Pie School's author, Kate Lebo, "Your guests won't be able to tell where the flavor is coming from." You get to have a secret, and isn't that always fun? (Unless it's peanuts. Nut allergies aren't so fun. Best to let the cat out of the bag when it comes to peanuts.)

My suggestion with this pie is that you make it a hundred times before Fall and Winter are over. And if that seems like too many times, I don't know why we're friends in the first place.

Double Apple-Pear pie is at its best when served warm, and preferably with your favorite hot drink.    Throw in a scoop of freshly-made vanilla bean ice cream for good measure. Mmmm. Be right back, gonna go make one.


DOUBLE APPLE + PEAR PIE

What You'll Need:

  • Super Flaky Pie Crust
  • 3 Granny Smith apples, peeled, cored, and thinly sliced
  • 2 Golden Delicious apples, peeled, cored, and thinly sliced
  • 1 Bartlett pear, peeled,cored, and thinly sliced
  • Juice of 1/2 lemon (1 to 2 tablespoons)
  • 3/4 cup granulated sugar
  • 1/2 teaspoon ground cinnamon
  • 1/4 teaspoon ground nutmeg
  • Generous pinch of salt
  • 3 tablespoons AP flour
  • 2 tablespoons chilled unsalted butter, cut into small pieces
  • Egg white wash (1 egg white, beaten, mixed with one teaspoon water)
  • Demerara sugar for sprinkling

Directions

Make your pie crust. Chill overnight.

Roll out the bottom crust and place it in a 9 inch pie dish. Trim the edges, then refrigerate while you make the filling.

Preheat the oven to 425 degrees F.

Put your apple and pear slices in a bowl, and squeeze the lemon juice evenly on top to prevent browning. Stir in the granulated sugar, cinnamon, nutmeg, and salt. This would be a good time to taste and adjust your flavors as needed. Once you've got your filling just right, add the flour and set the filling aside.

Take your bottom crust out of the refrigerator, and set aside. Roll out your top crust.

Using a slotted spoon, place the apple-pear filling in the bottom crust, gently pressing down to make sure there's enough room for all the filling. It may not look like it will all fit, but trust me it will. Pour the liquid from the filling evenly over the apples, then dot the filling with the cut up pieces of unsalted butter.

Carefully drape the top crust over your bottom crust, then trim and crimp the edges. Make sure to cut generous slits over the top crust so that there is plenty of space for steam to escape. Brush the crust with the egg white wash, then sprinkle generously with Demerara sugar.

Bake the pie in the middle of the oven for 15-20 minutes, until the crust is blond and blistered. Rotate the pie front to back, then reduce the oven temperature to 375 degrees F. Bake for an additional 35-45 minutes, until the crust is deeply golden brown and the juices are bubbling.

Cool on a wire rack for at least two hours. Serve warm.

To store: Keep the pie loosely wrapped on the counter for up to 3 days.


SOURCE: Pie School: Lessons in Fruit, Flour, and Butter

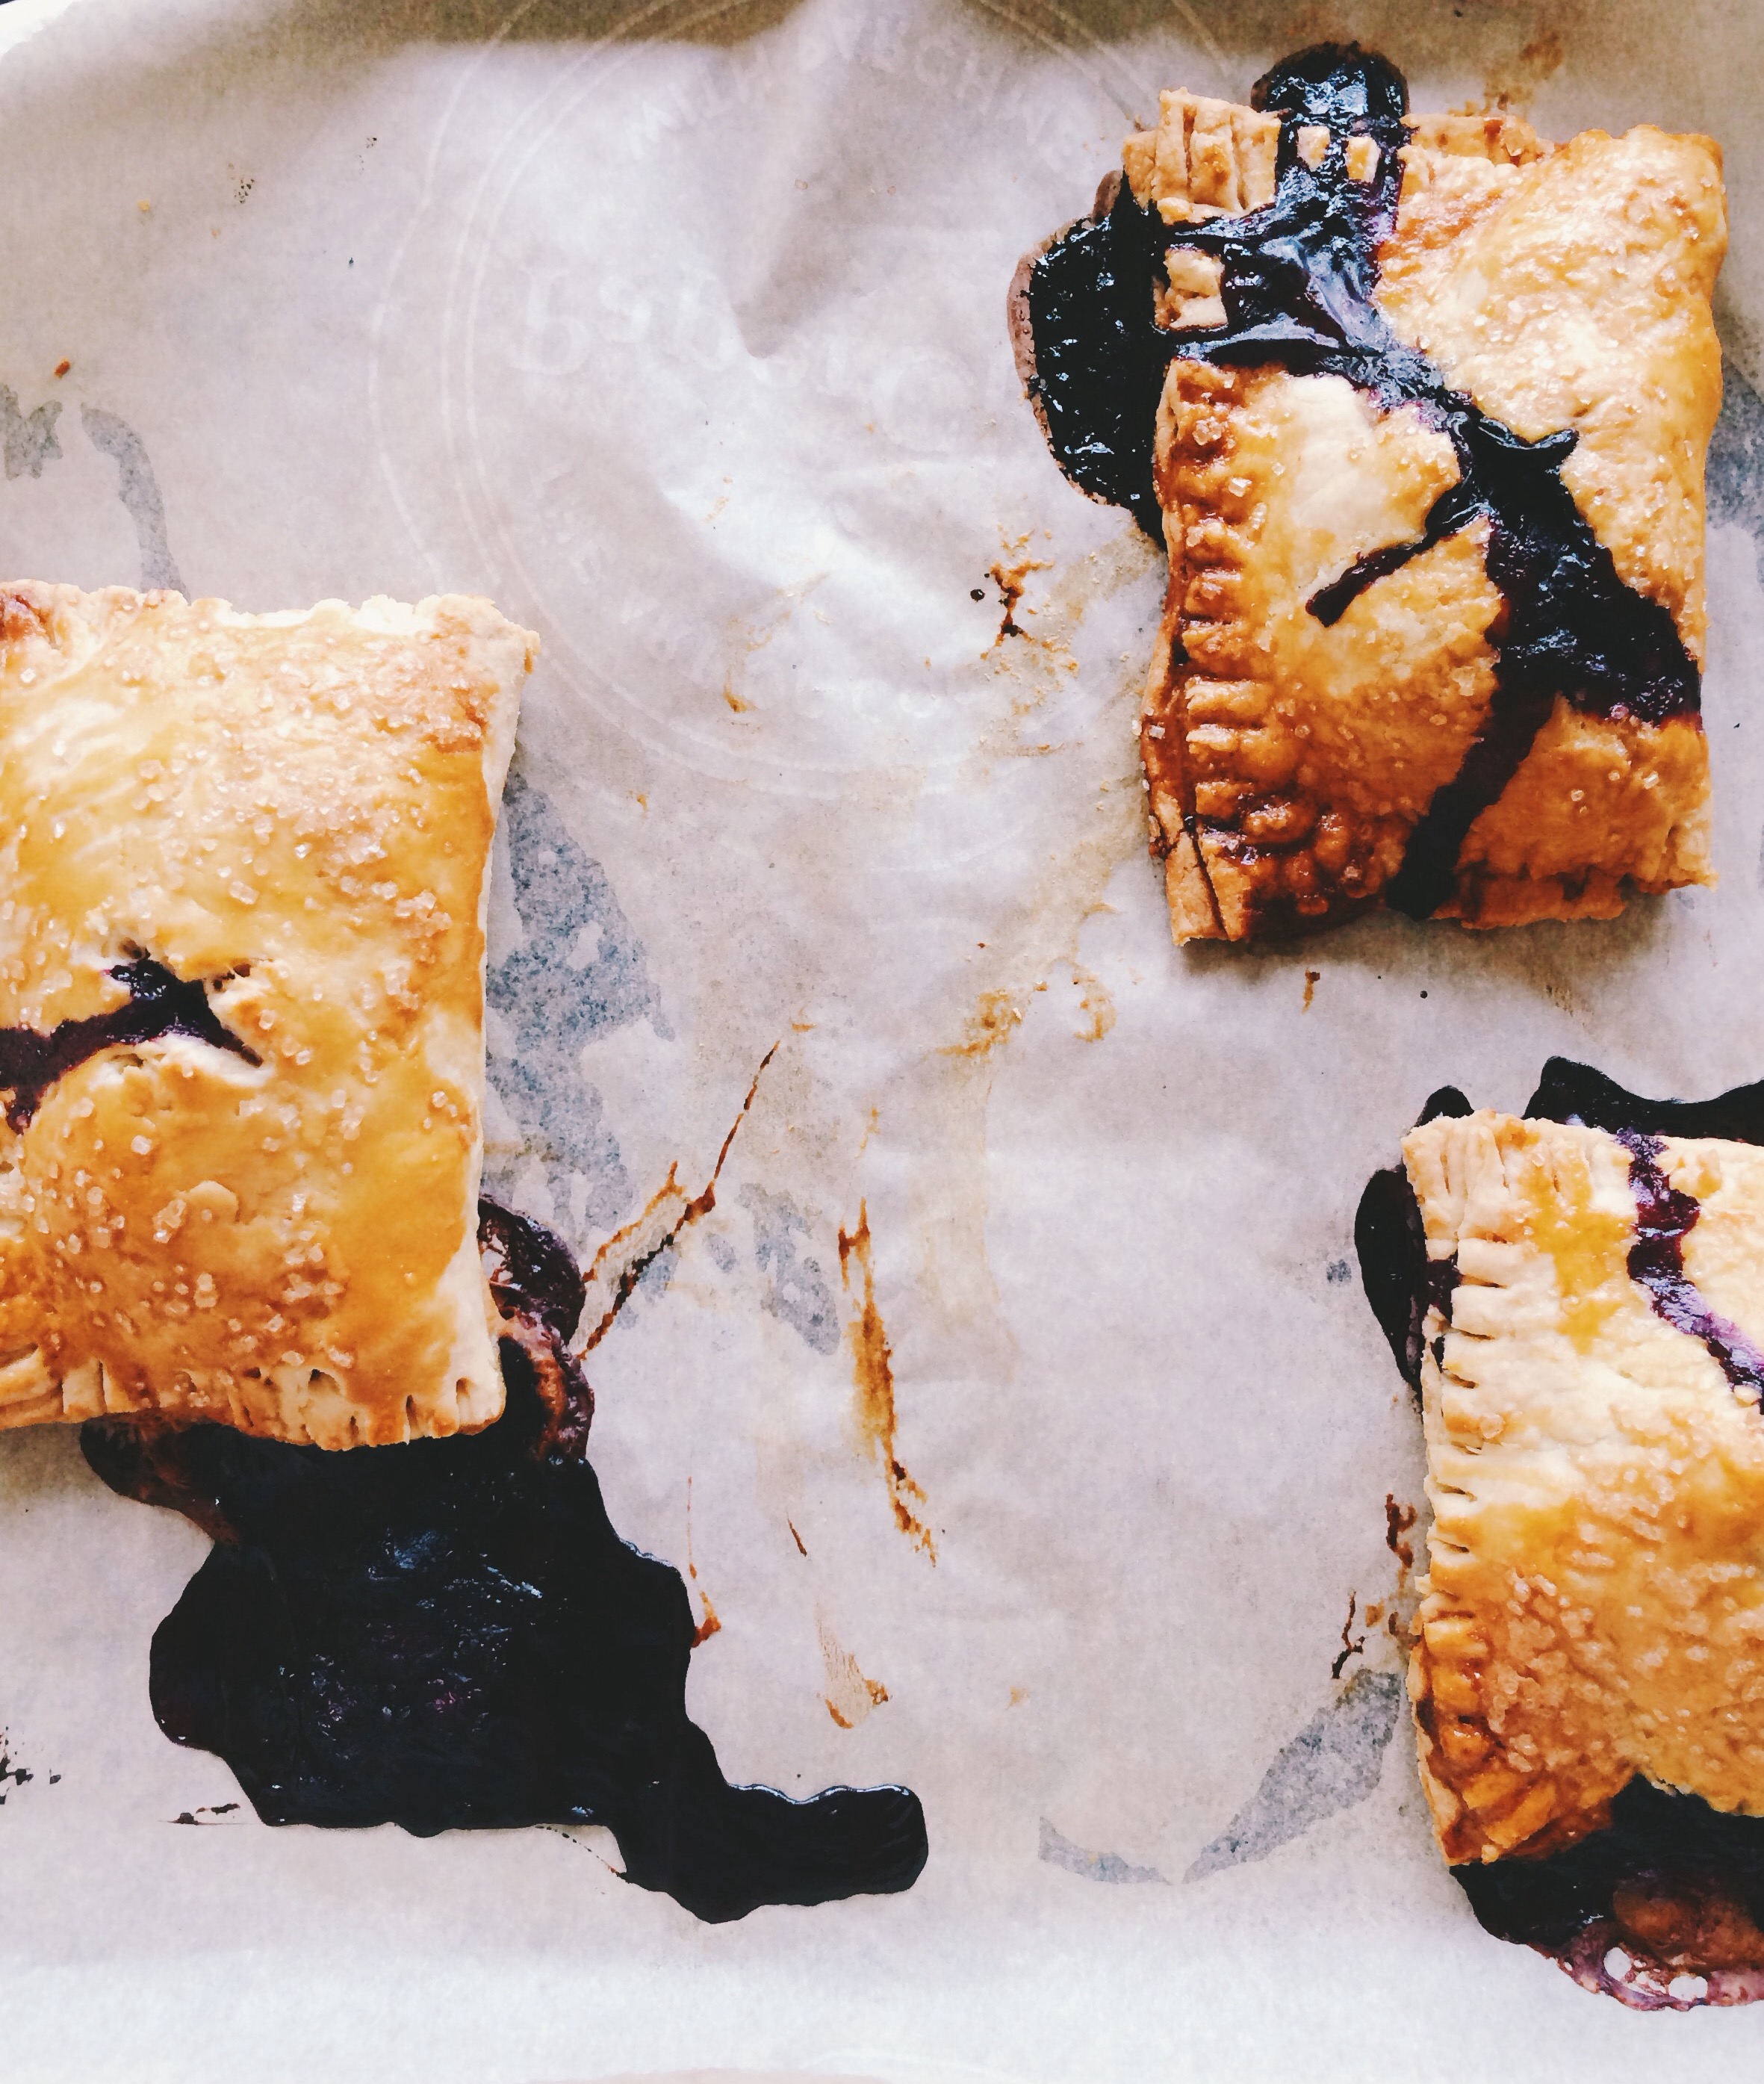
Meyer Lemon-Blueberry Hand Pies


Finally, FINALLY our local grocer has stepped up their produce game and brought me something I've been wanting for months: Meyer lemons. And, while we're at it, the best blueberries I've seen all summer. Without hesitation, I plopped two of each into the cart with no immediate plan, but complete intent to make something spectacular with my purchases. I've learned my lesson too many times before; if you see it, get it, because you may never see it again. And that rings pretty true since I stopped by the store again, and those New Zealand Meyer lemons were nowhere to be seen. Maybe I didn't look around enough. Or maybe they just disappeared as quickly as they'd appeared.

At any rate, it occurred to be that the possibilities were pretty endless for my blueberry-lemon pairing, but if I really wanted to get good at making pies then I ought to make one. For once though, I just wasn't interested in a regular 9-inch pie. Instead, I wanted something with a lot more mobility, and something that could be picnic-ready if/when the occasion arose. So, I went with hand pies. I'm a gal on-the-go, and expect my pies to accommodate that!

If you're wondering how my pie skills are coming along, the quick answer is: slowly, but surely. As simple as it seems to make a pie, no matter the form, it takes a lot of practice. I still struggle with gathering dough to form the disks, which should be so simple, but it gives me so much trouble. And sometimes I handle the dough wayyyy too much, but I'm working on it. I sense a lot of practice pies in my future, and what on earth could be better than that?

Meyer Lemons are a special fruit indeed. To me they're sort of like, if a mandarin orange and the brightest lemon ever, had a baby. They're slightly sweeter than your average lemon, and bring a very unique type of citrus note to any dish you make. And since citrus and blueberries go hand-in-hand. they make these flaky, buttery hand pies a wonderful treat for any time of the day. And the most beautiful part of it all is that you can serve them warm, or pack them up in a basket and serve at room temperature.

It's always nice to have an any-time dessert literally in the palm of your hand.

You can find the recipe here at BonAppetit.com! <------ This recipe calls for a regular lemon, but a Meyer lemon works so beautifully!

CAN YOU BELIEVE IT'S AUGUST ALREADY??


Blackberry Cobbler

blackberry cobbler 1 Hi, we're embracing seasonality now. It was a GREAT week at the market for produce, and to celebrate, I decided to put a bunch of sugar and fruit into a bowl together, then throw it in a pan. Maybe it's a pie. Most definitely, it's a cobbler.

I'd never made cobbler before this, but I've eaten plenty. Most notably was an unbelievable peach cobbler with the most heavenly blend of spices the world has ever seen. I'm STILL trying to figure it out ten years later, and of course the excellent baker who introduced me to the best peach cobbler ever, is nowhere to be found. Inspired by this, and also still on my "variations of pie" kick, I decided to embrace the beautiful blackberries practically screaming at me to take them home, and cook them at high temperatures. So into the basket they went.

blackberry cobbler2

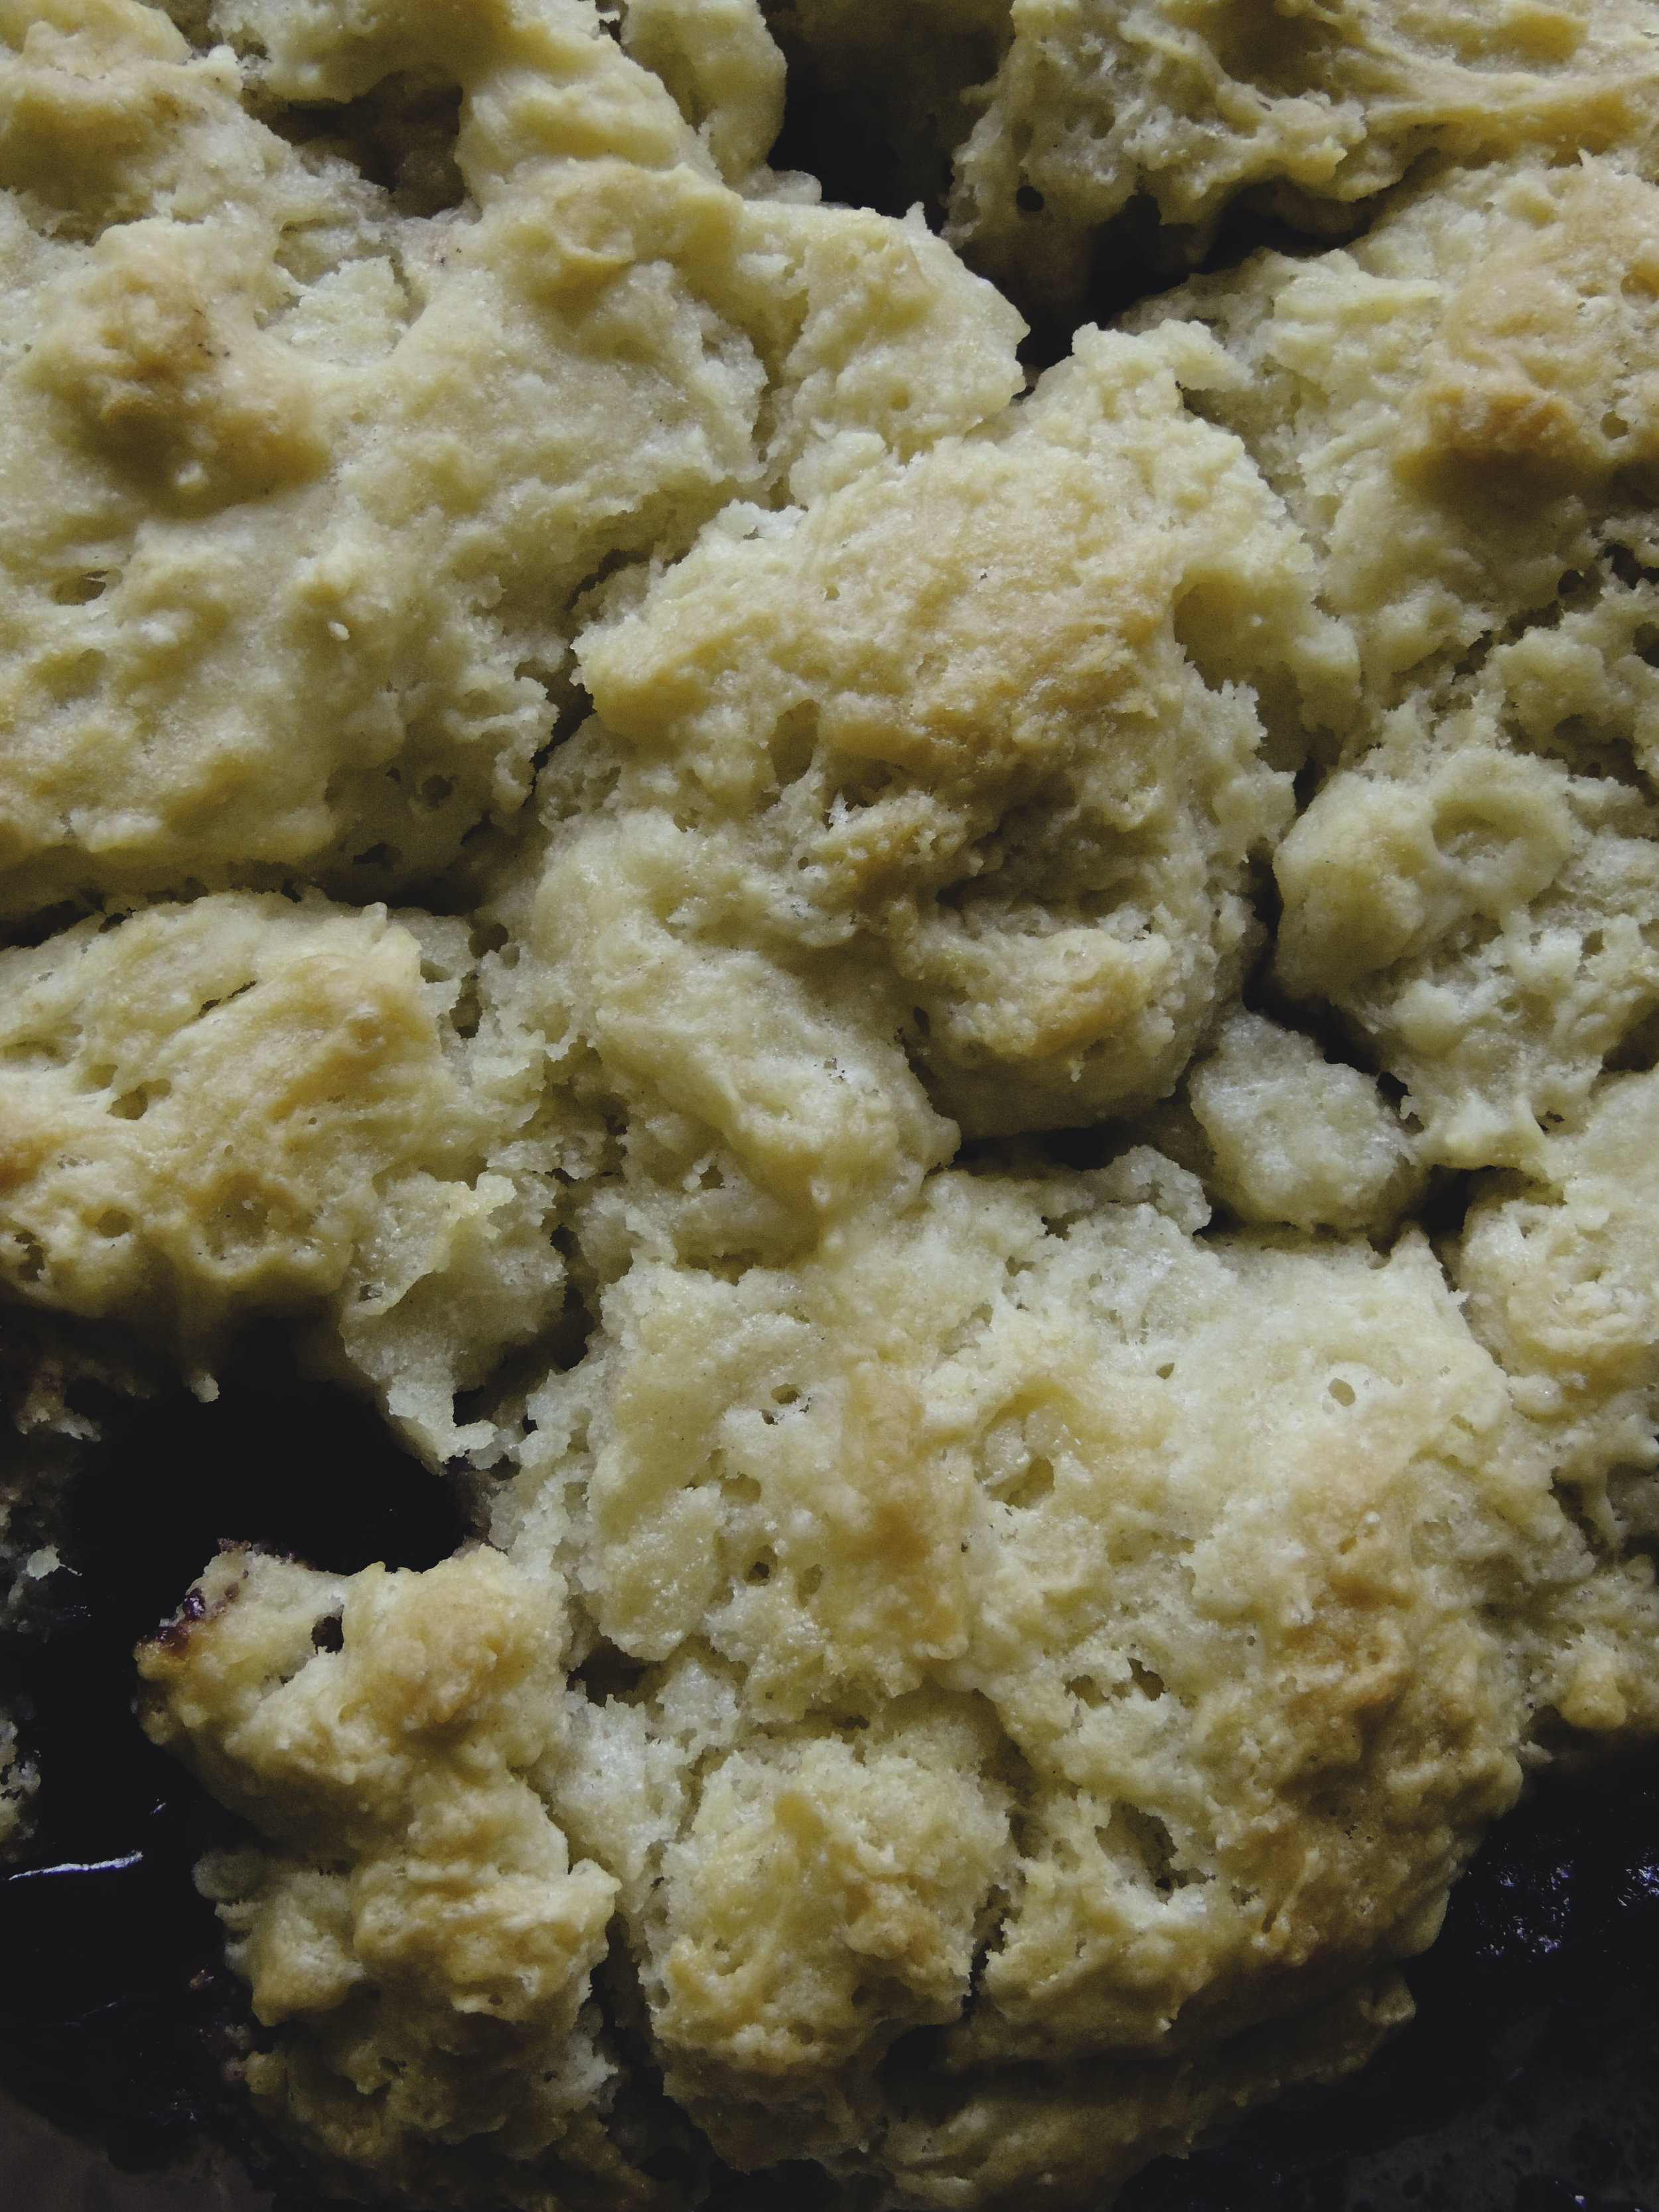
My favorite thing about cobblers is how unbelievably easy they are to make. Honestly, so easy. Your filling gets mixed with a few ingredients, and then you let it rest covered for 15 minutes. Then, you make a biscuit mixture using just a few ingredients. Once everything is done, and you've buttered your pan, you spoon in your filling, then  your mixture on top, pour (CAREFULLY! It spills!) a couple tablespoons of melted butter on top to give it that beautiful brown color, and you pop it in the oven. Perhaps the only complicated part of the recipe, and I mean comparatively speaking, is that you must keep up with the baking time because your cobbler will bake at two different temperatures before it's finished. The hardest part? This is pretty important: you must, and I mean you MUST let your cobbler cool completely. I know, I know, it'll be hard, but you've just got to. Your filling needs time to set, and really solidify its flavors. Letting it cool will be like the caterpillar finally emerging from its cocoon as a beautiful butterfly. The pie is a butterfly. Give it time to look and taste beautiful.

blackberrycobbler3

We must also take a brief moment to not only talk about the topping, but to really appreciate it. It's not crumbly like you may be accustomed to. It's more like a biscuit, and therefore sooo much better. If you've ever enjoyed freshly baked biscuits with a generous smearing of freshly made jam, then this cobbler is for you. It's buttery, it's flaky, it's DELICIOUS. It's soft, and SO GOOD with that sweet-but-not-too-sweet blackberry filling. It all just works. And honestly, if you ask me, this cobbler show-stopper is even better the next day.

Hey, don't you have a cobbler to make?


BLACKBERRY COBBLER

What You'll Need:

FILLING:

  • 4 1/2 half-pints of blackberries (6 ounces each)
  • 1 cup granulated sugar
  • 1/4 cup cornstarch
  • 2 tablespoons all-purpose flour
  • 1 teaspoon ground cinnamon

TOPPING

  • 1 cup all-purpose flour
  • 1 teaspoon baking powder
  • 1/4 teaspoon baking soda
  • 1/4 teaspoon fine sea salt
  • 3 tablespoons unsalted butter, cubed
  • 3/4 cup buttermilk
  • 3 tablespoons unsalted butter, melted

DIRECTIONS:

First Things First:

-Butter a 9-inch pie pan really well. Set aside

-Preheat the oven to 425 degrees F.

Okay, Now Let's Make the Filling:

-Combine the blackberries, sugar, cornstarch, flour, and ground cinnamon in a medium-sized bowl. Carefully stir together until all the dry ingredients are well-mixed, and the berries are well-coated.

-Cover with cling wrap, and let rest for 15 minutes.

That's Done. Shall We Make the Topping?

-Combine the flour, baking powder, baking soda,  and fine sea salt in a medium-sized bowl.

-Using a pastry cutter, fork, or even your hands ( I've been using my hands a lot more lately!) quickly cut the butter cubes into the mixture until it is crumbly, and you've got pieces that are pea-sixzed or smaller.

-Make a well in the center of your mixture. Slowly pour the buttermilk into the center, and use a large spoon to gently mix it all together until all the dry ingredients are just combined. Your topping will look very wet at this point, but that's just what we want.

-This is a good time to melt the extra 3 tablespoons of unsalted butter.

Now Let's Put it all Together! 

-Spoon your blackberry mixture evenly into the prepared pie pan.

-Using a large spoon, dollop about three tablespoons of the biscuit mixture into mounds all around the surface of your blackberry mixture. This doesn't have to be an exact science (Goodness knows mine did not completely turn out the same size), just make sure your mounds of biscuit topping have been evenly distributed all across the top; we want everyone to get plenty of topping on their plates!

-Carefully pour your melted butter all across the top of your biscuit topping so that you'll get a nice, even brown color when it bakes. Be EXTRA CAREFUL because that melted butter is sneaky and will slide right off of the pie and onto the countertop. It's not fun to clean up.

-Bake your pie at 425 degrees F for 15 minutes, then reduce the heat to 350 degrees F for an additional 30 minutes.

-Cool for at LEAST 1 hour, though I think the longer you let it cool and rest, the better.

Serve with either your favorite vanilla ice cream, or some delicious homemade whipped cream. ENJOY.


SOURCE: A Year of Pies: A Seasonal Tour of Home Baked Pies

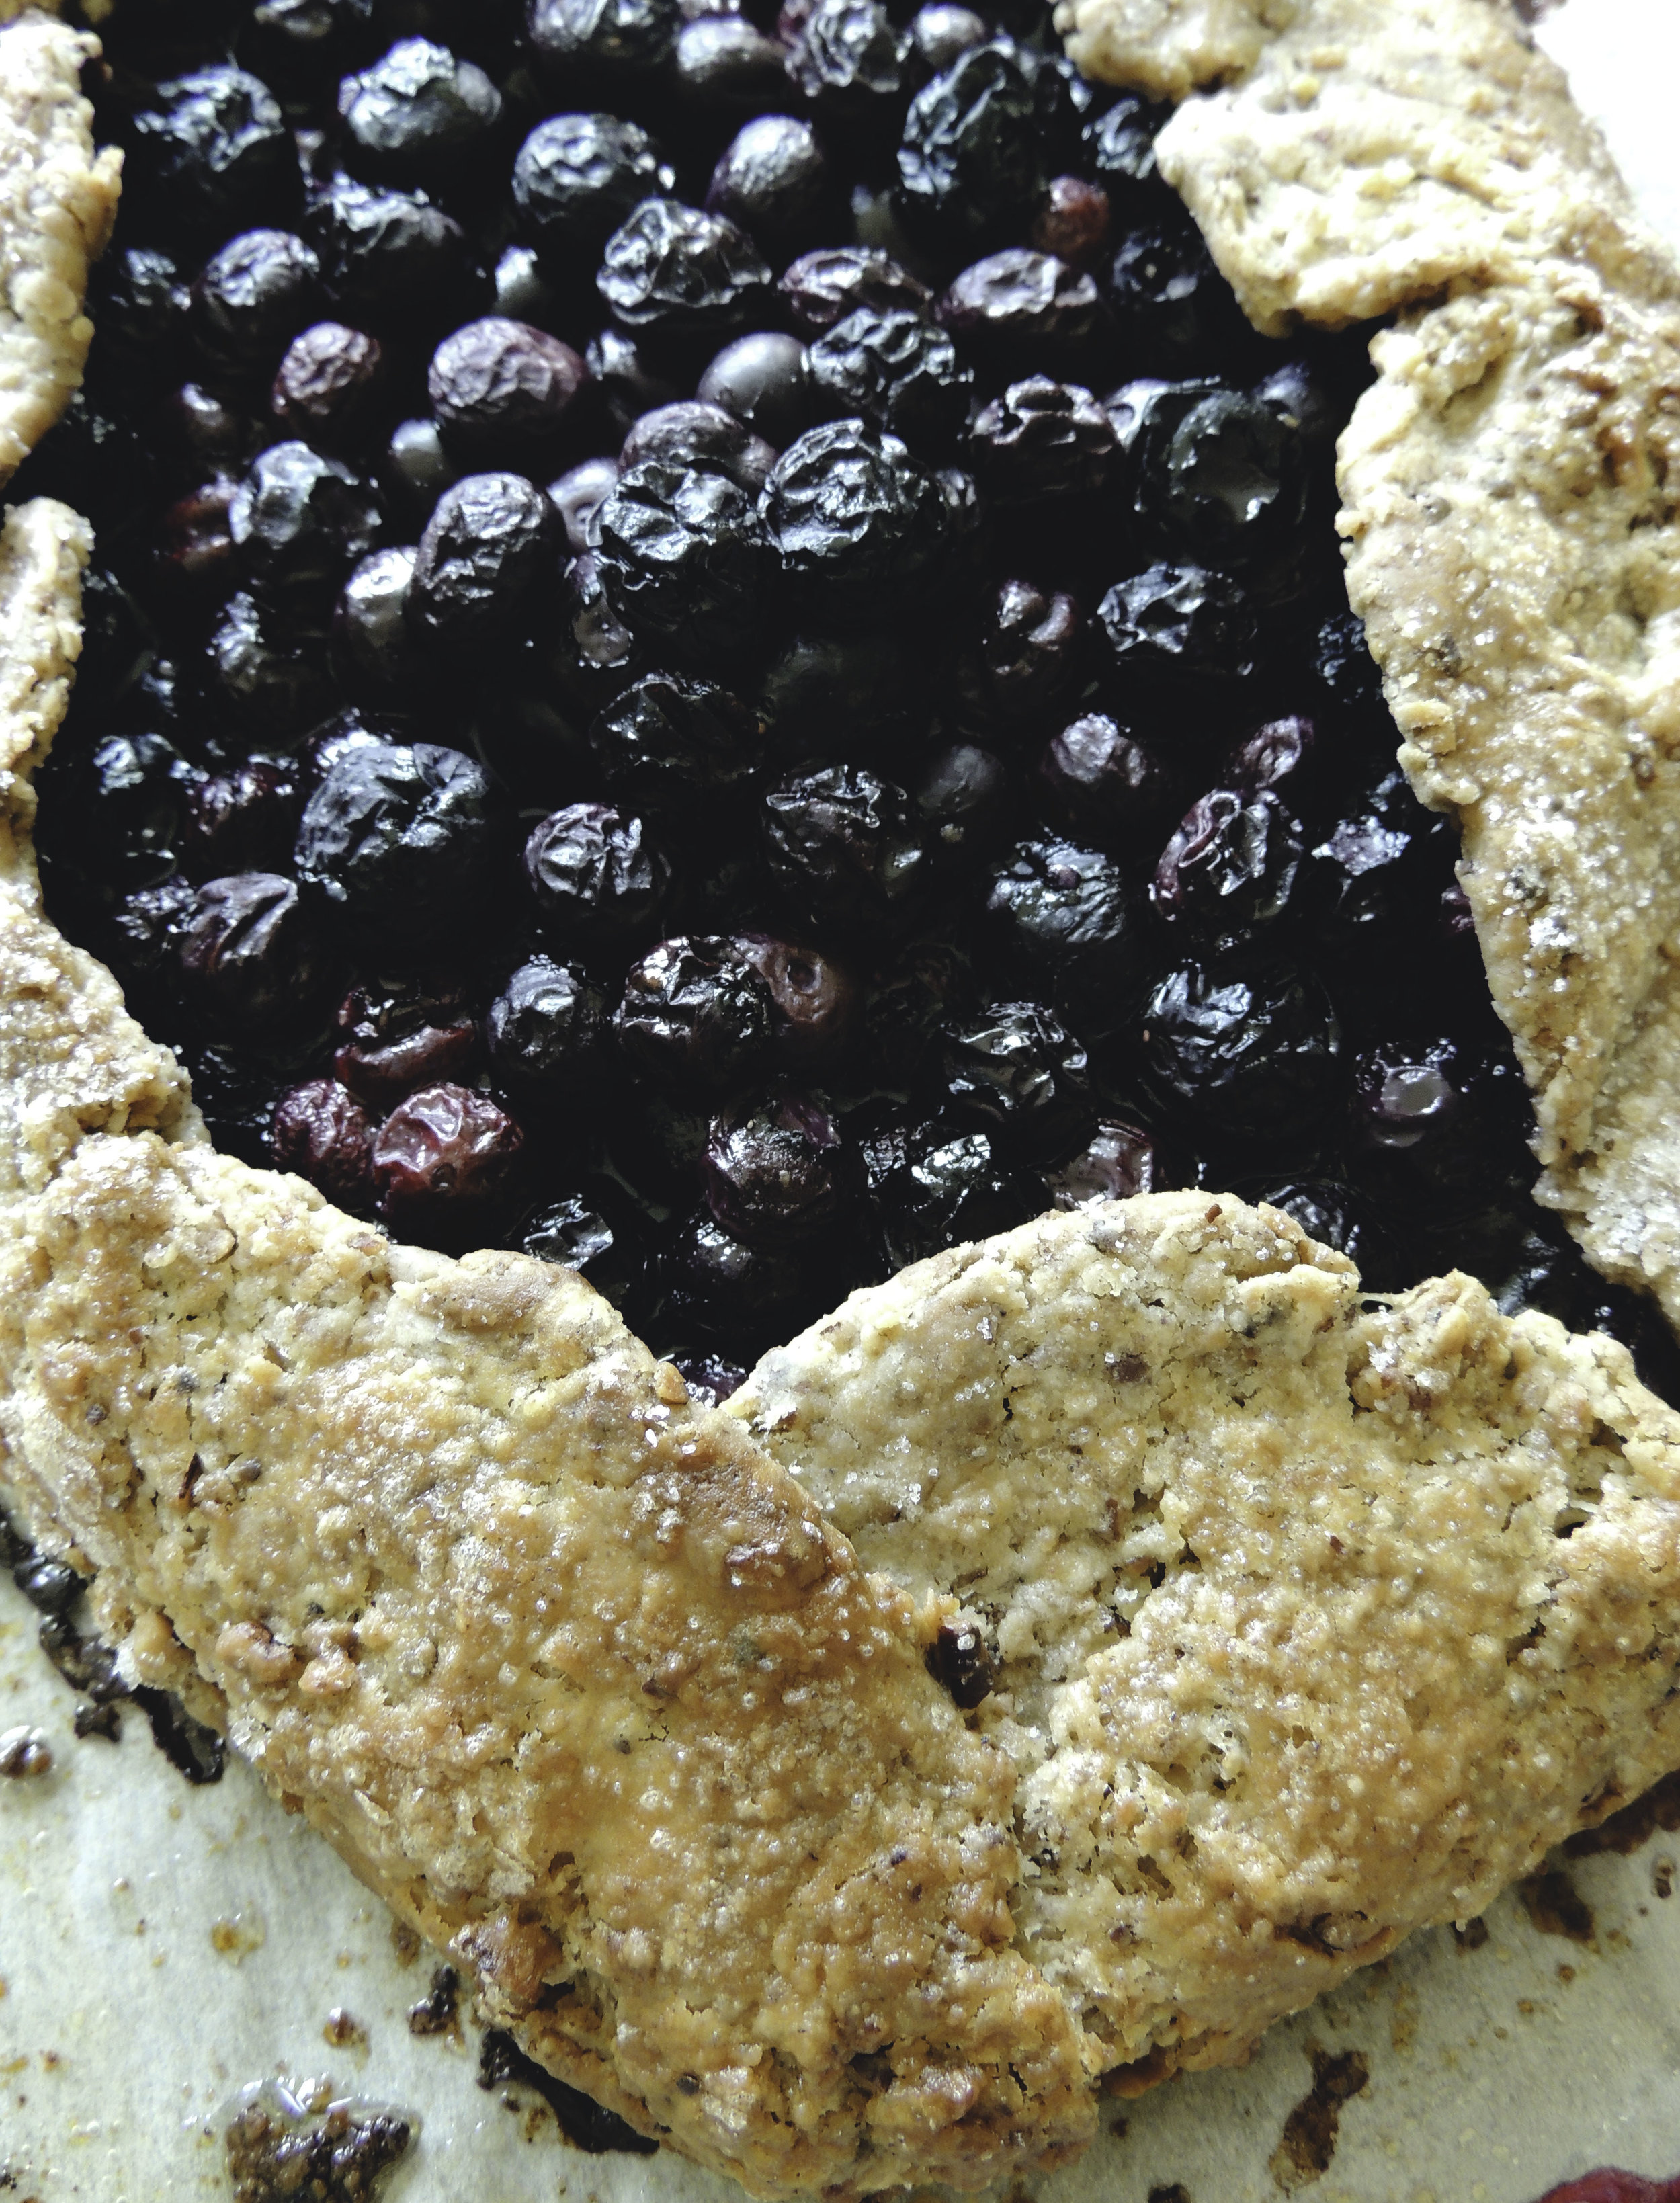
Blueberry-Pecan Galette

blueberry-pecan3 My new obsession? Pies. I am SO into pies right now.  It's not even that I love eating them (though that's obviously always a bonus); it's so much more than that. When making pie dough, you're able to set aside that pastry blender, and just dig in with your hands. It's direct contact with the thing you're creating, and it just doesn't get more personal and literally hand-made than that. A fresh, flaky, all-butter pie crust is a blank canvas, and the possibilities are truly endless. The idea of filling it with ANYTHING is just so exciting to me.

I might love pie, but that, doesn't  mean that I'm particularly good at it...yet. See, that's actually the funny thing about pie: it's not as easy to make as it looks. You've got a lot working against you; butter melting in the dough because you're handling it too much. Adding too much, or even too LITTLE, water to your pie crust. Overworking the dough. UNDERworking the dough. Filling spilling over the sides while it's baking. Honestly, the possibilities of pies to make are endless, and the possibilities of things going wrong when making said pie are also, yes, endless. But you must be brave, little baker. Be brave. Don't apologize. Make your pie with confidence. And, if you're still feeling a little iffy, take a step back, and make a galette.

blueberry-pecan 1

The beauty of the galette is: the more rustic, the better. If you're just so-so at pie decoration, you've got nothing to worry about. All you need is your favorite fruit filling, a little heavy cream, some sugar to sprinkle, and some expert edge-folding abilities. That's it. You just roll out your crust, pop it on your baking sheet, add your filling, brush on your heavy cream to give it that deep, beautiful browned crust, sprinkle a little sugar, and pop it in the oven. It's the perfect anytime almost-pie.

Now, you could go with a classic all-butter crust, but why do that when you can make things a little more interesting with pecan? Toasting whole pecans in the oven for 15 minutes before crushing them brings an extra level of flavor, and gives the crust a little texture that pairs well with the softness of the blueberries when baked. Pair this galette with a scoop of your favorite vanilla bean ice cream, or some homemade whipped cream (I put mine in the freezer!) and totally go to town.

So, we've done sweet. What do you say we try a savory galette next time?

blueberry-pecan4


BLUEBERRY-PECAN GALETTE

What You'll Need:

  • 1/2 cup pecans
  • 1 cup plus 2 tablespoons all-purpose flour
  • 2 teaspoons sugar
  • 1/2 teaspoon kosher salt
  • 1/4 teaspoon ground cinnamon
  • 1/2 cup (1 stick) chilled unsalted butter, cut into cubes
  • 12 ounces blueberries (about 2 cups)
  • 1 tablespoon cornstarch
  • 1 1/2 teaspoons lemon juice
  • 1/4 cup sugar, plus more for sprinkling
  • 2 tablespoons milk or heavy cream

Find the recipe on Bon Appetit!