Homemade Everything Bagel Seasoning

everything bagel seasoning, seasoned with sydney

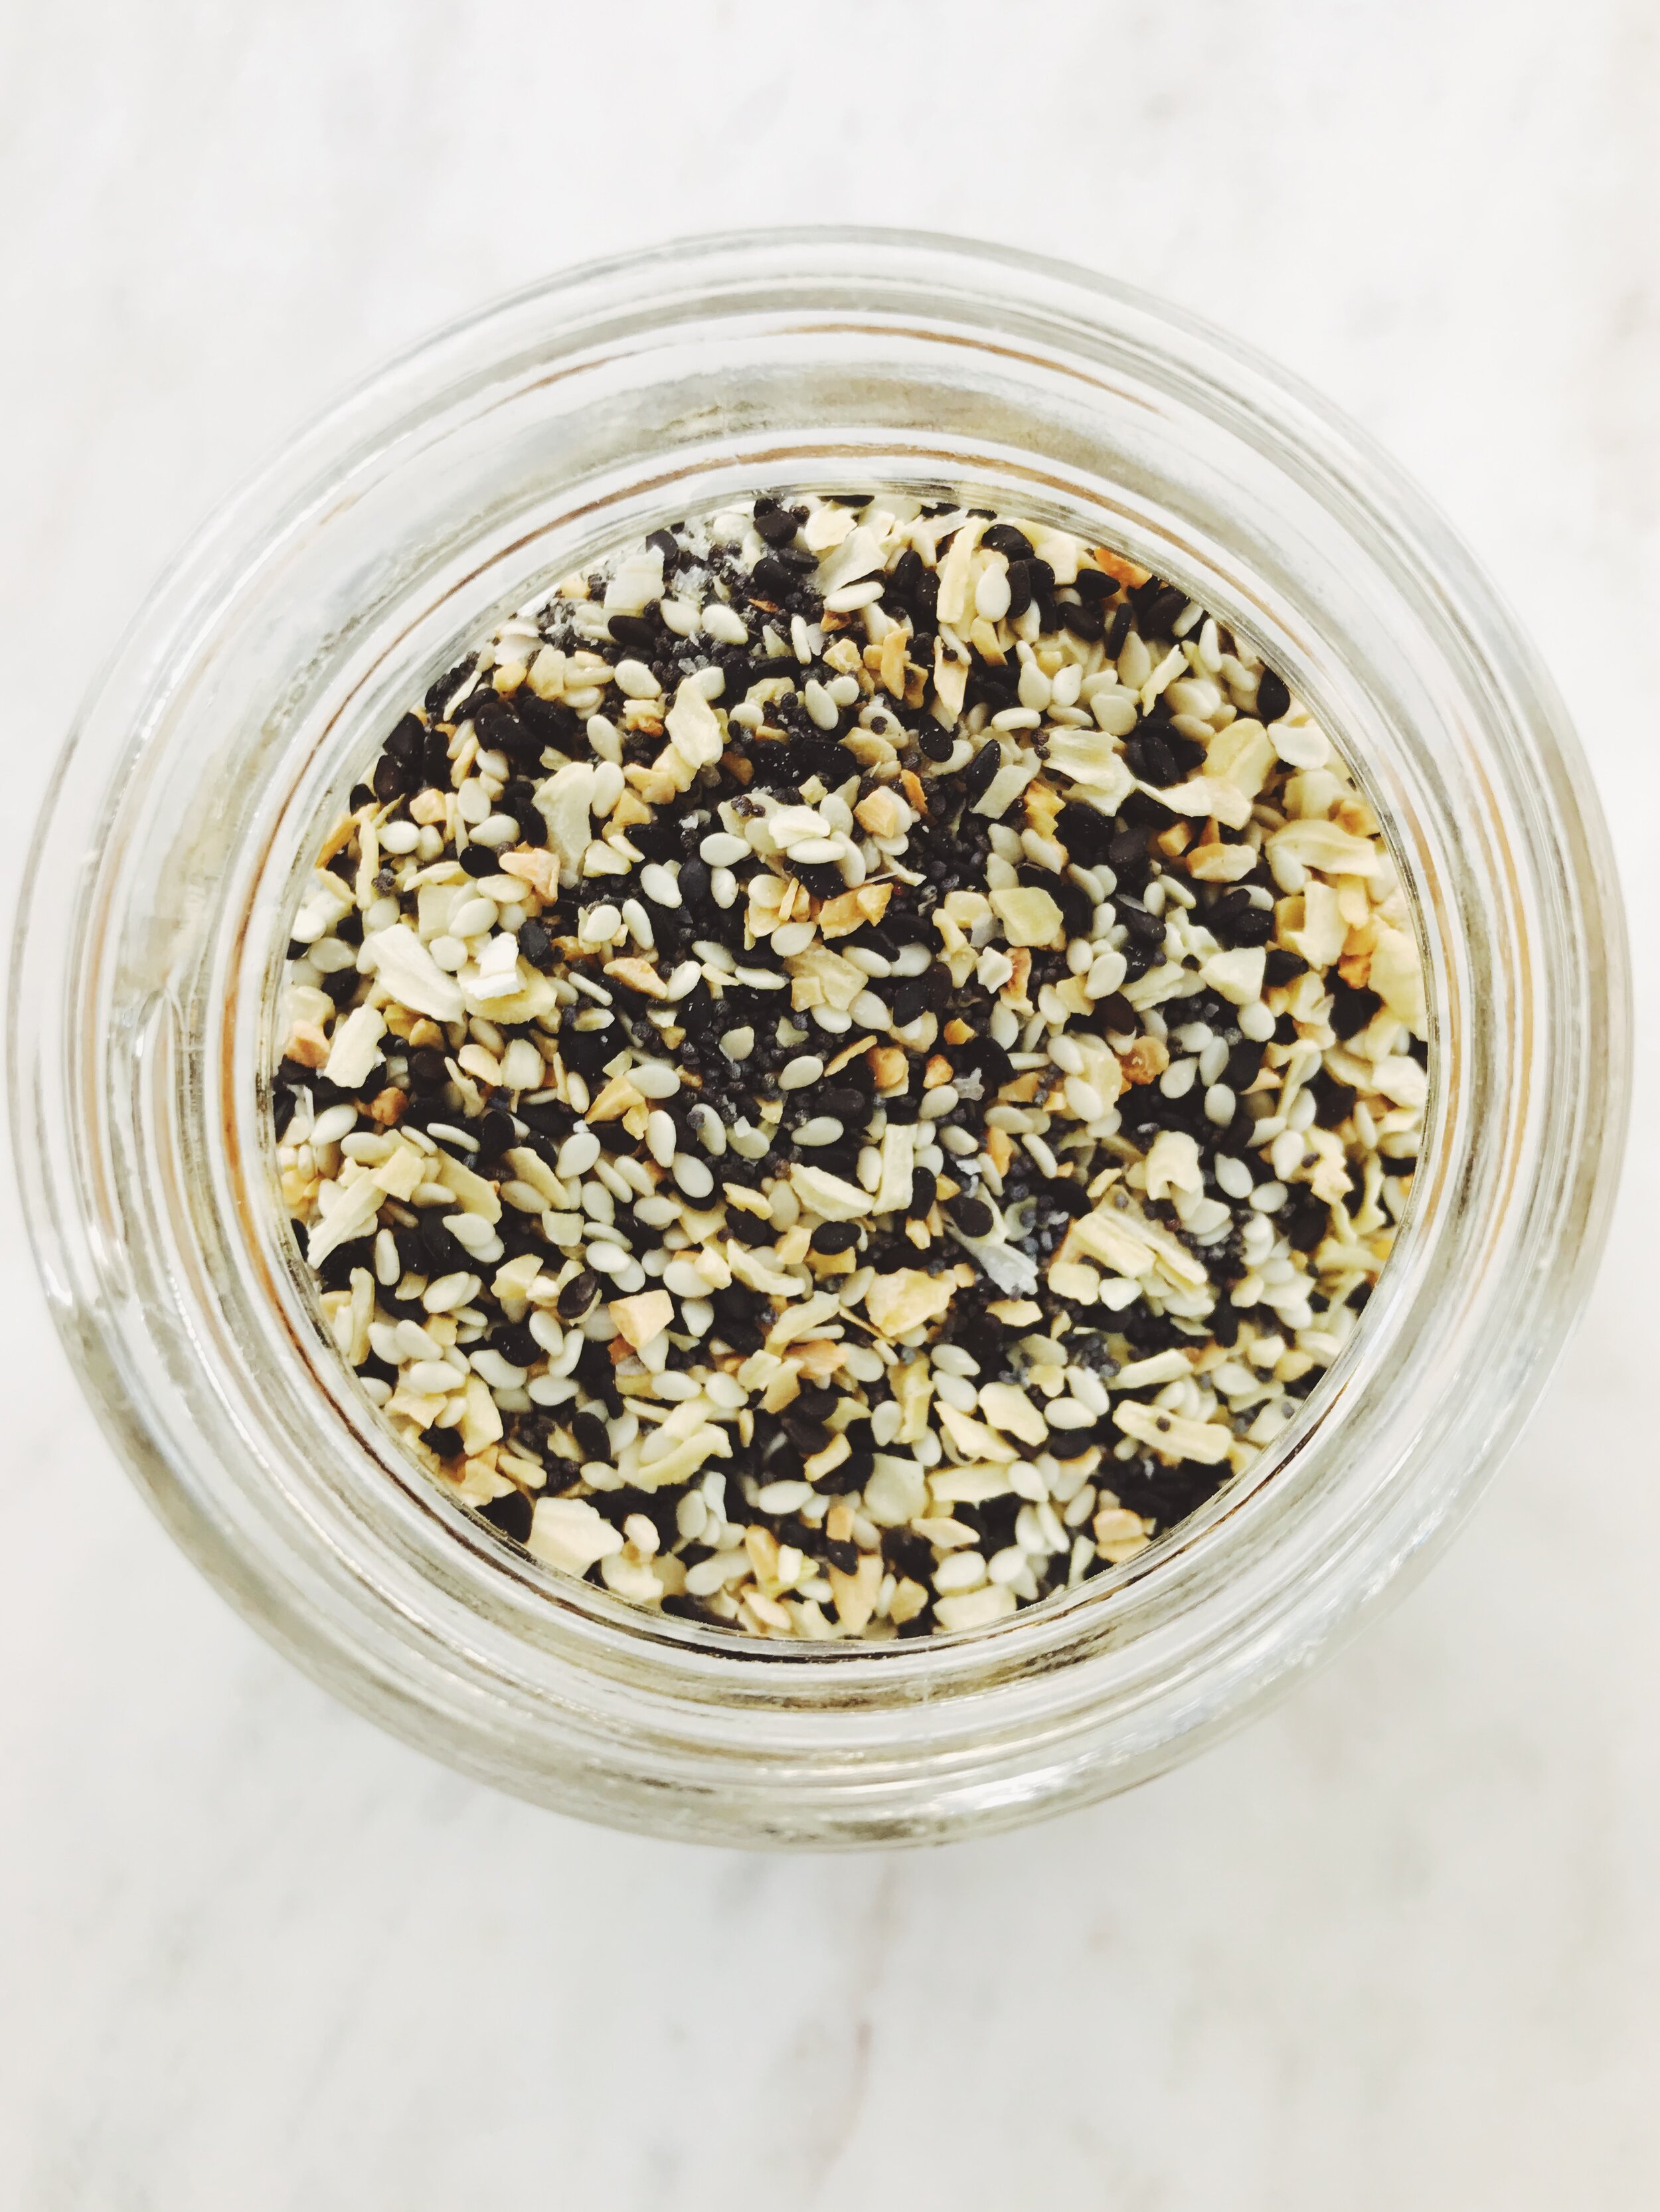
Ah, Everything Bagel Seasoning: the splendid combination of salt, crunch, and umami mixed into one. Perfect for sprinkling on homemade bagels, fried eggs, avocado toast, and even by the occasional spoonful directly into your mouth - the possibilities are truly endless, and that’s a beautiful thing.

everything bagel seasoning, overhead picture - seasoned with sydney

Throughout the years I’ve seen countless brands getting into the Everything Bagel Seasoning game, from Trader Joe’s to McCormick. While it’s been a fan favorite flavoring mix for decades, Everything Bagel Seasoning has grown in popularity recently thanks in part to food world superstars like Molly Yeh and Gaby Dalkin, who frequently incorporate it into their recipes. Dalkin even partnered with Williams-Sonoma to come out with her own line of Everything Bagel Seasoning.

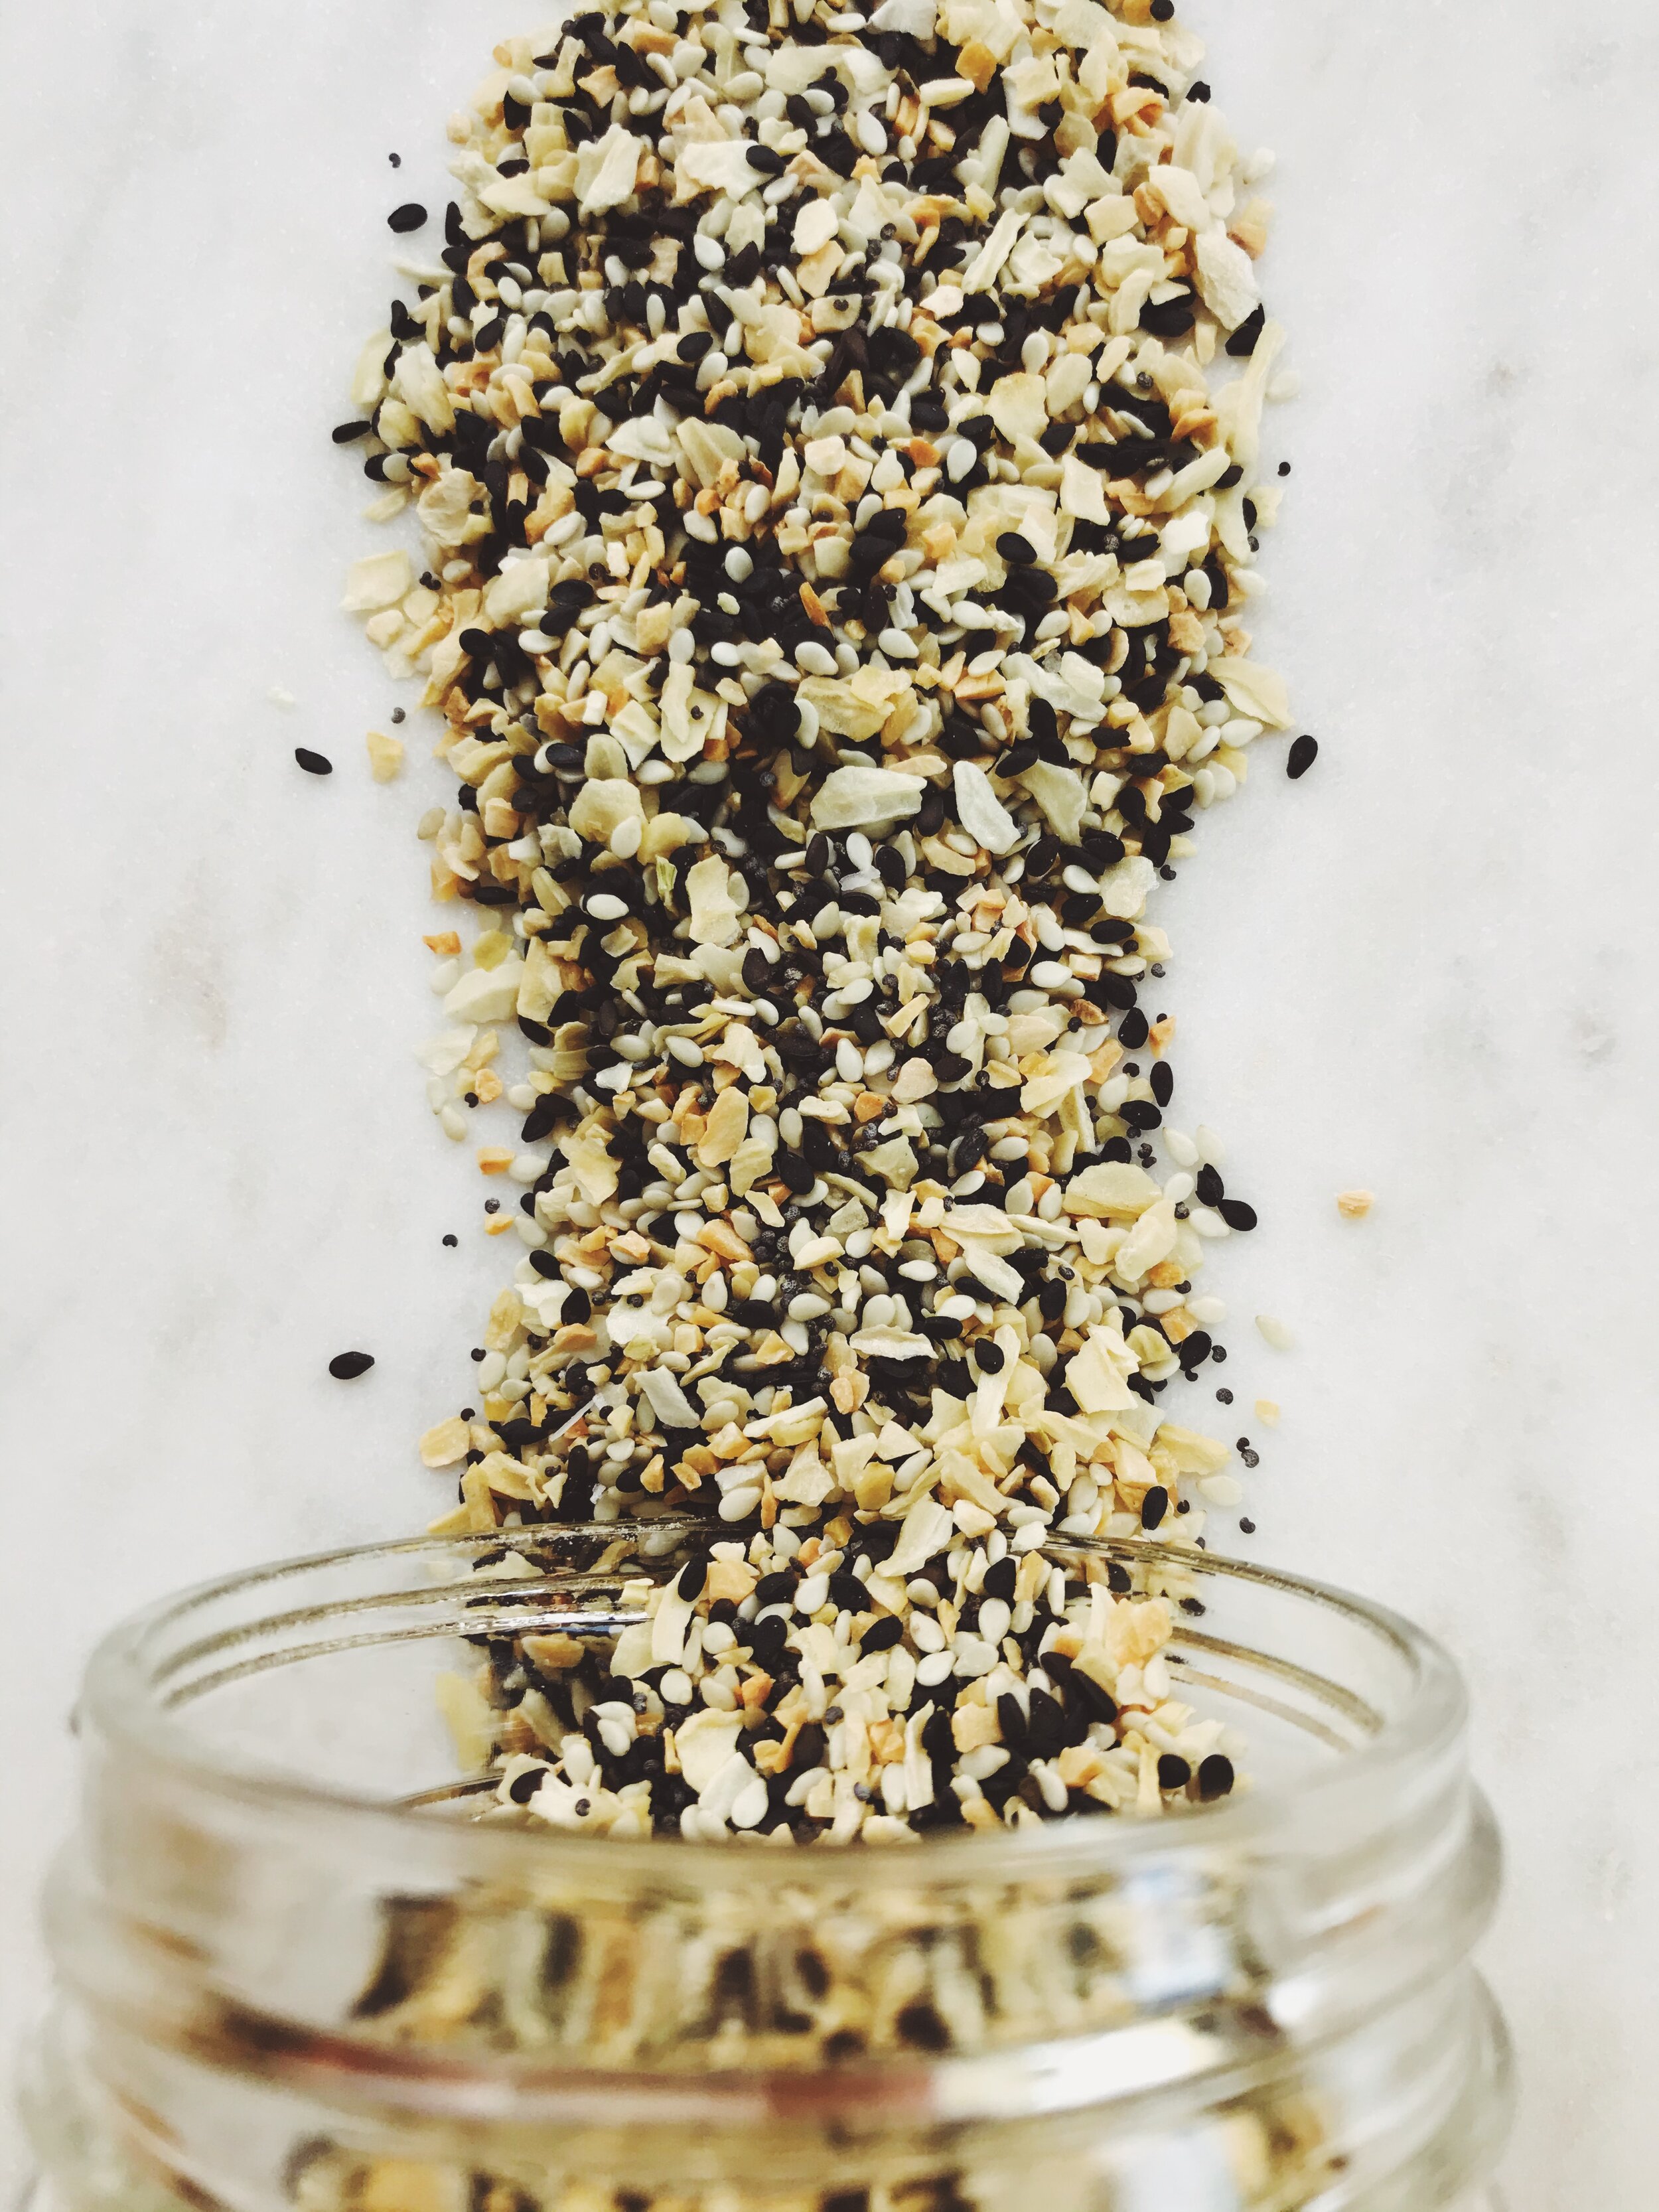
everything bagel seasoning spread out - seasoned with sydney

So with so many pre-made options on the market located practically everywhere, you might be wondering: why make your own?

My answer? As with countless other things in life, homemade is always the best. Not only will you get to control the proportions (fancy a little more minced garlic or want an enhanced crunchiness with extra sesame seeds?), you’ll also get the sense of accomplishment that only comes from creating something from nothing using your own hands - and with this being an incredibly low-stakes DIY endeavor, the payoff I’d say is pretty high!

So go ahead, grab your favorite spice jar and the ingredients and get to work creating a magical combination that will take your favorite dishes to the next level. You’ll be glad you did!

EVERYTHING BAGEL SEASONING

Everything Bagel Seasoning - Seasoned with Sydney

What You’ll Need:

  • 1 tablespoon poppy seeds, plus more

  • 1 tablespoon black sesame seeds, plus more

  • 1 tablespoon white sesame seeds, plus more

  • 1 tablespoon dried minced garlic, plus more

  • 1 tablespoon dried minced onion, plus more

  • 1 teaspoon coarse kosher salt, plus more

DIRECTIONS

In a small mixing bowl, combine the poppy seeds, black sesame seeds, white sesame seeds, minced garlic, minced onion, and coarse kosher salt. Mix well.

Transfer the combined mixture to your preferred spice storage container such as a spice jar or another small, airtight container.

Repeat the process until the storage jar has reached capacity.

To store: Store in a dry place. Mixture should last for several months.

*Use this as a guide and don’t be afraid to add or subtract based on your preferences. The beauty of adding “everything” is you get to decide just what “everything” means to you!

Peach Jam

How can we let Summer pass us by without celebrating one of it's many gifts: peaches? Seems like an opportunity that just can't be missed if you ask me. Now, there are many different directions that we could go in with our little round friends that are only in season for a hot (really hot, like 90-degree-weather kind of hot) second. Ice cream, shortcake, scone, sangria. But I decided to do what my heart was telling me to do; make jam. And what baby wants, baby gets. My heart is the baby in this scenario...Or maybe it's my stomach?

Let's move on.

Some people prefer to make their jam with granulated sugar, but I tend to prefer light brown. To me, it brings a warmth and more nuanced flavor than just white sugar. It helps to sweeten whatever berry or stone fruit that you've decided to make into a jam, while also giving more of a depth of flavor. This go-round, I also decided to add a little splash of vanilla. But, you should only do this if you're truly a die-hard vanilla fan as it is a flavor that refuses to stay subtle. I happen to love it, but the choice is yours and yours alone.

Of course, one very vital ingredient when making jam, whatever kind you choose, must be lemon. Not lemon extract, but fresh lemon juice, plus the zest. What lemon does is not only brighten the other flavors in your delectable compote, but also cuts through some of the sweetness with a little kick of acidity. Without lemon, your jam could become cloyingly sweet, and no matter how big of a sweet tooth you have, there is actually such a thing as something being too sweet. I learned that the hard way.

Processed with VSCO with s2 preset

I've said it before, and I will say it forever: I am at my utter best when making jam. Perhaps it's that it fills the home with such warm and sweet aromas that linger for hours. Or maybe it's because it's the closest I ever feel to my ancestors, the ones who lived in the real country in Tennessee, who knew the value of hard work, who foraged and canned not because it was on trend, but because it's just what was done. I feel like my great-grandmother is with me somehow when I'm standing over a bubbling pot, guiding me along, and introducing me to the Tennessee side of me. I call her Country Sydney, and I only get to see her when the sun's out and I'm frolicking outside in a field in a pair of wellies. I like Country Sydney  And I think my great-grandmother would, too.

Great Granny Tiny, this peach jam is for you.


PEACH JAM 

What You'll Need:

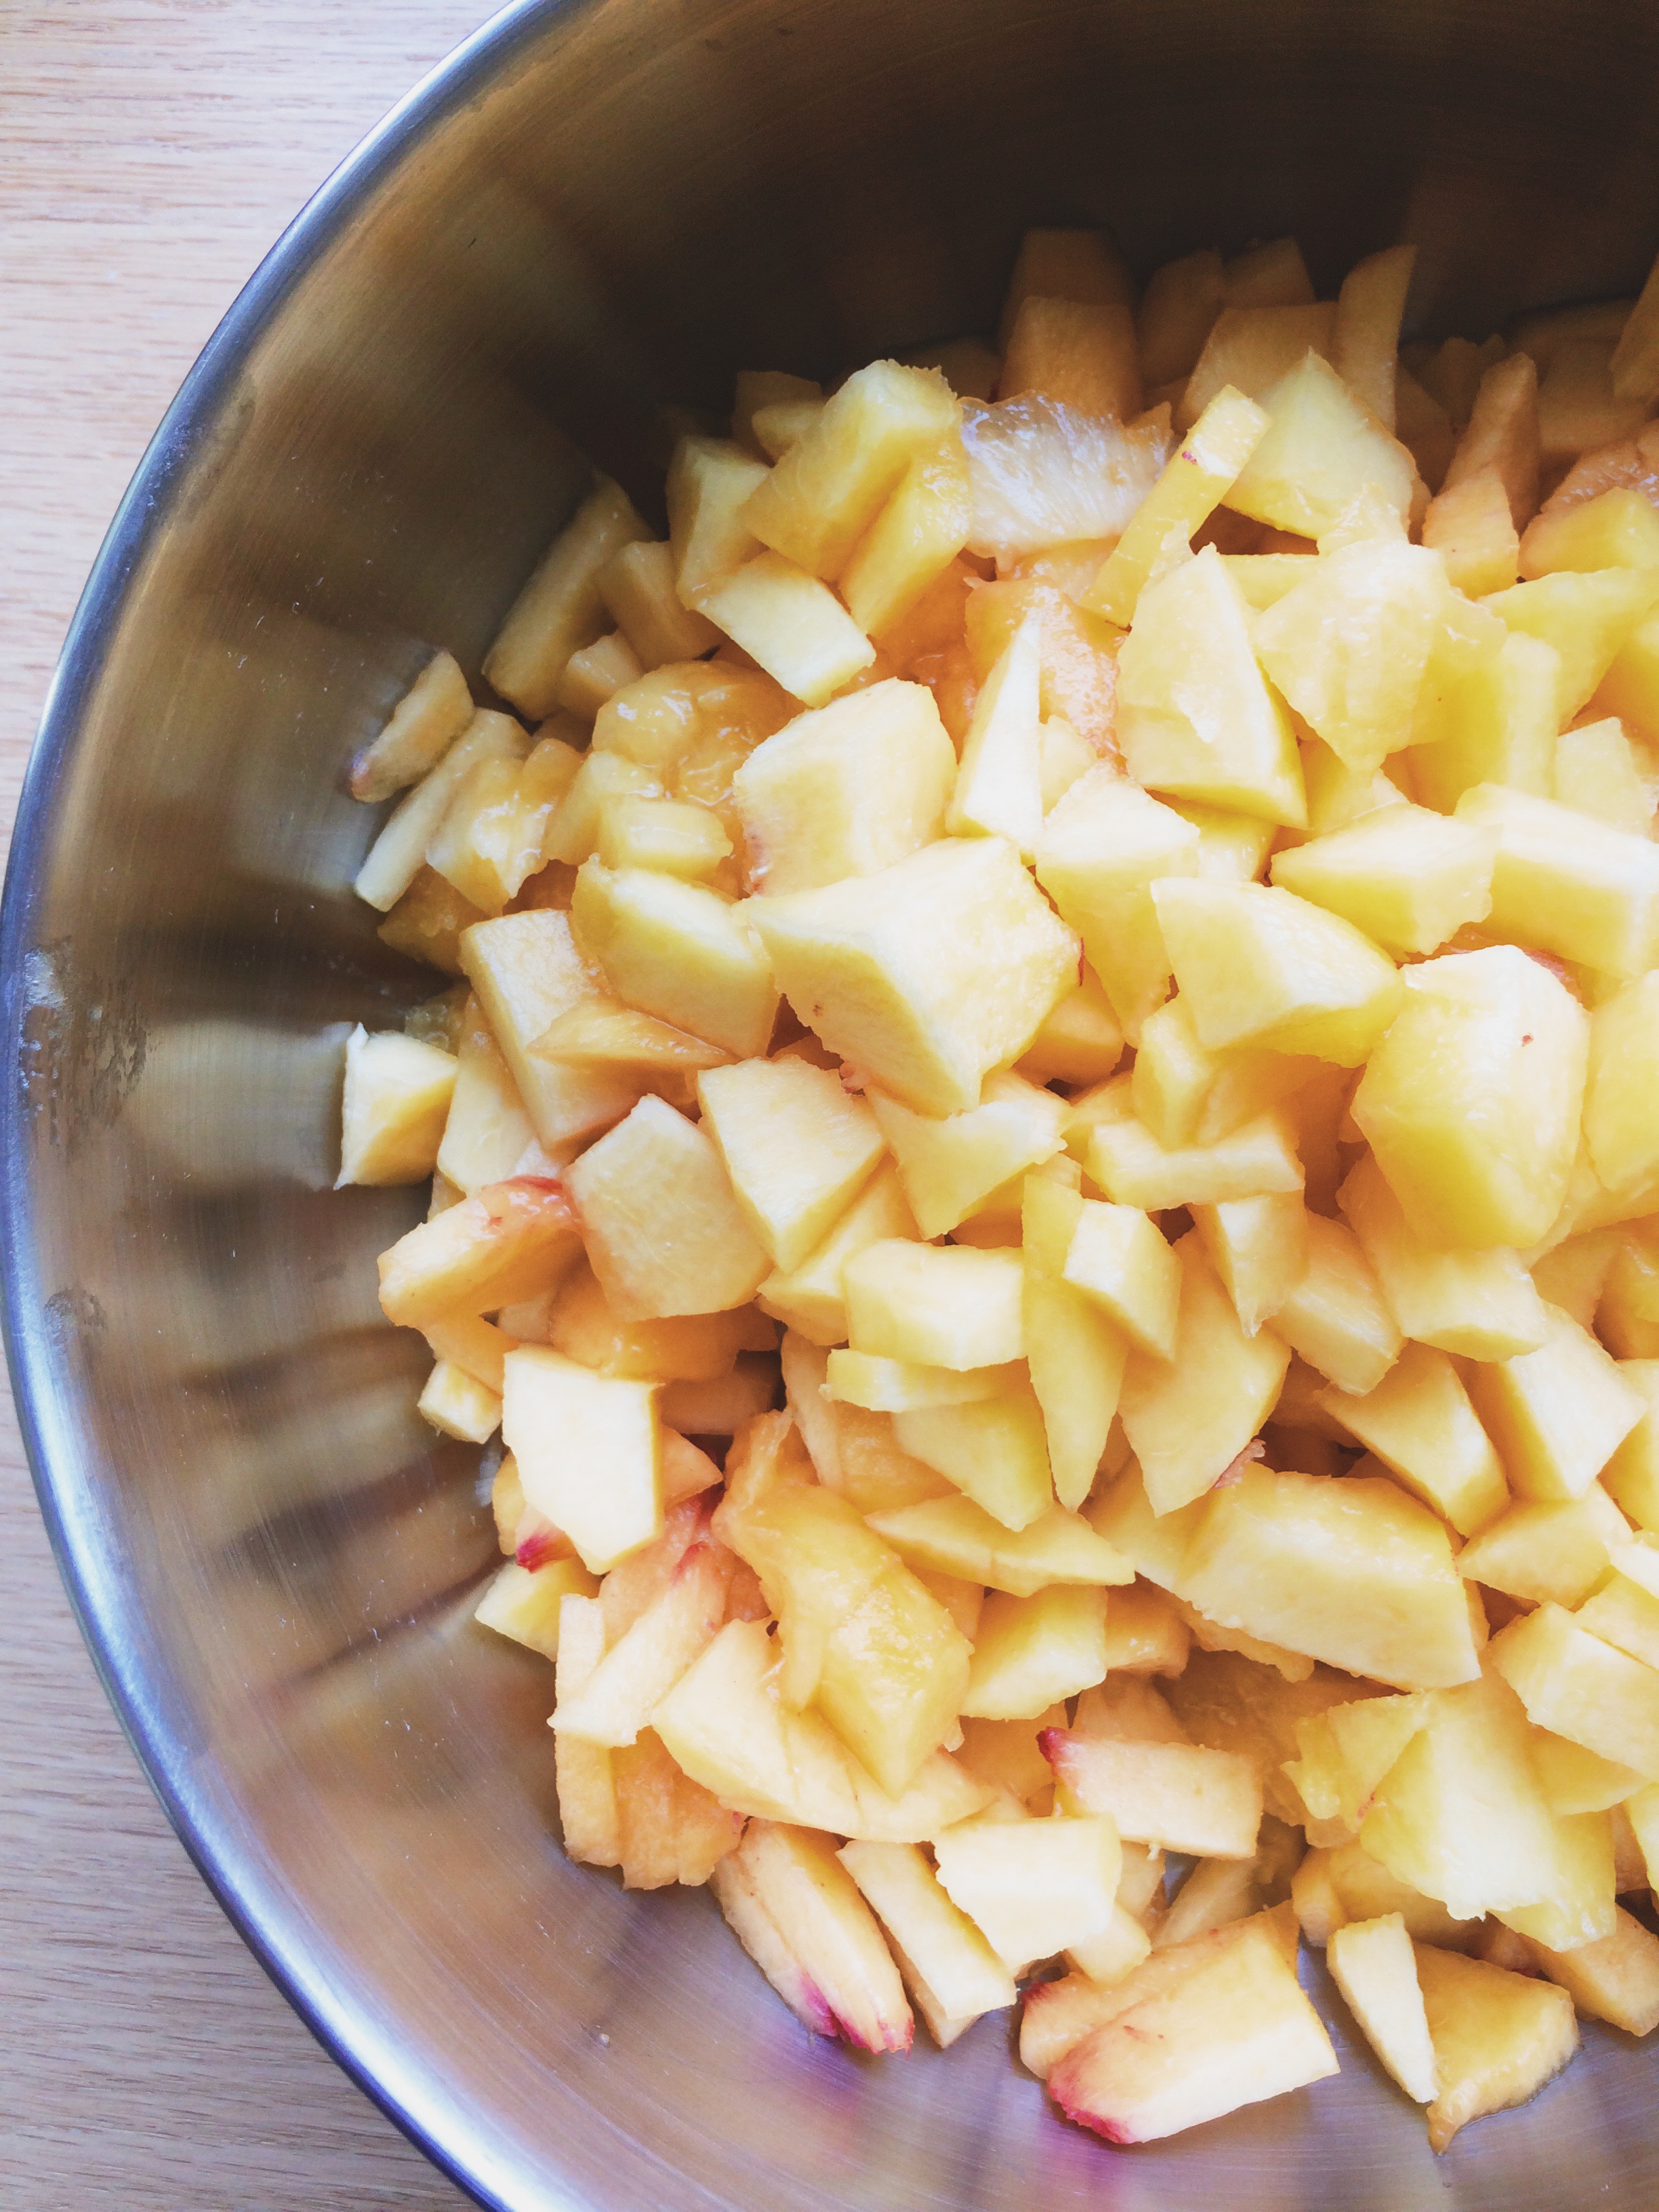
  • 6 peaches, peeled, pitted, diced
  • 1 cup (at least) brown sugar
  • Zest of 1 lemon, plus juice of (AT LEAST) half
  • Splash of vanilla, optional
  • Pinch of salt

DIRECTIONS

Add peaches, brown sugar, lemon zest, juice of half of a lemon, vanilla (if using), and pinch of salt to a medium sauce pan. Stir to combine.

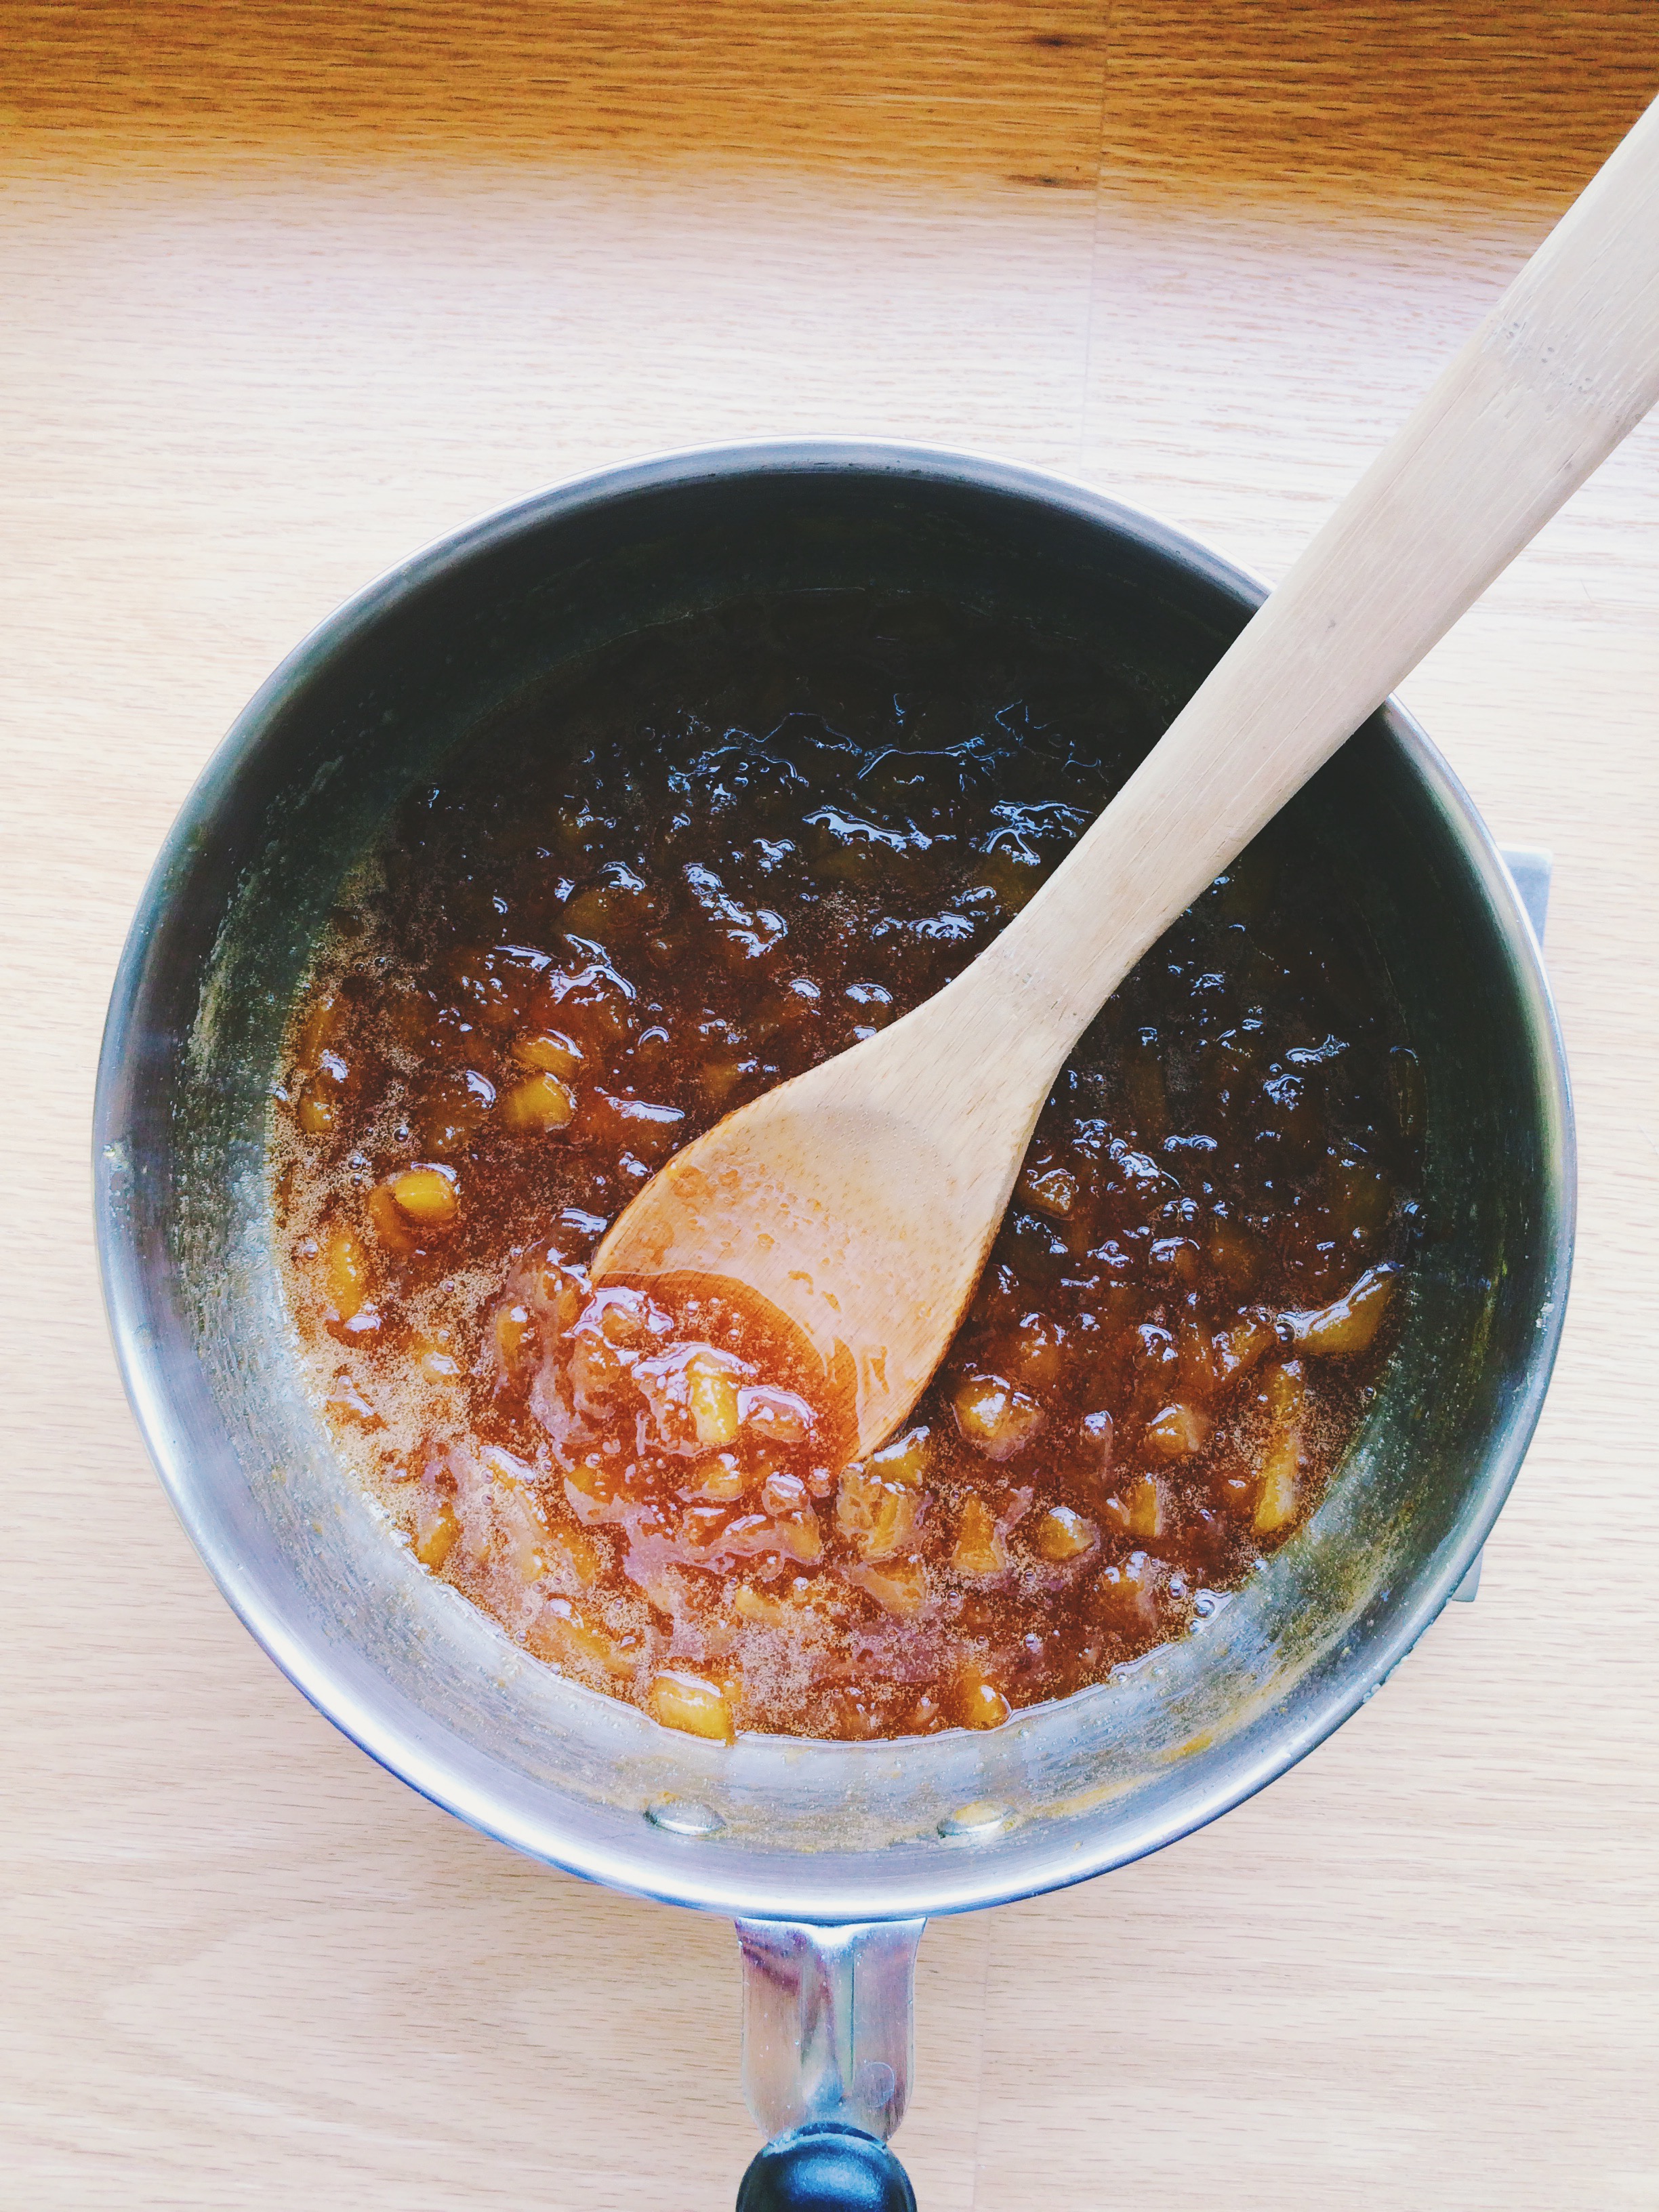
Cook the pan over medium-high heat, stirring frequently with a wooden spoon so that the sugar starts to dissolve, and the peaches begin to release their juices. Occasionally, mash the peaches with the back of your spoon to flatten them.  As the mixture starts to heat up, it will start bubbling rather vigorously, and maybe even spit up at your arm while you're stirring. Do not be alarmed. This is par for the course when you are creating delicious magic. DO NOT leave your jam at any time during this stage as it can go from fruit to burnt-beyond-belief in very, very little time.

Along the way, make sure to taste test. If the mixture is too sweet, add the other half of the lemon juice. If it's not sweet enough, add sugar by the teaspoon until it's sweet enough to your liking. (I tend to think that it's better to start off with less and add a little more, rather than start off with too much and not be able to fix it.)

Cooking time should be around 30-50 minutes depending on your stove. What to look for when seeing if your jam is done is whether or not it coats the back of the spoon. CAREFULLY draw a vertical line down the back. Has it left a defined line while the rest of your spoon is still coated with a thick jam? Yes? Congratulations, you've just passed the "line" test. Also, YOU HAVE PEACH JAM.

It's important to note that I prefer my jams on the "chunkier" side  because I like the differences in texture. If you are the same way, make sure that while there are still some little chunks of peaches, those chunks are completely soft. If you just want straight-up smooth jam, you can run it through a fine mesh sieve when it has cooled.

Once your jam has reached it's final stage, take it off the heat and let it cool in the saucepan before transferring to a clean mason jar. Store in the refrigerator.

The jam should keep in the refrigerator for several weeks.

How to Make Chicken Stock Without a Recipe (But There's a Recipe!)

Remember that time, just a month ago, when everyone was in awe of the warm weather outside and we thought, "Aw, man. I kind of miss the snow, and that delicious nip of cold in the air..." HOW WRONG WE WERE! I haven't seen the ground in two weeks, and I have an industrial-sized bottle of lotion by my side practically 24/7. But I suppose it could be worse. It could be 2 degrees F outside. OH WAIT. ALSO HAPPENING. Someone wake me when Spring gets here.

I will say this: when I have nowhere to go, there is nothing prettier or more serene than the wintery wonderland I see out my window. It's so peaceful, and so beautiful. It makes the cold almost worth. Almost.

But Midwestern winters aren't all bad; freezing temperatures give me the chance to catch up on all the domestic projects that I keep writing down on my never-ending list. One big one? Making homemade chicken stock!

It's 2016, people. Let's start making our own.

I go through a lot of chicken stock at my house. I use it for burrito bowls and soups, mostly, and I definitely get tired of running to the store all the time to pick up multiple containers. It's so incredibly easy to make at home, PLUS, you're not wasting a thing! All you need is a rotisserie chicken from the grocery store (you can use the meat in sandwiches, salads, on nachos, in soups, etc. etc.) and some of your favorite vegetables and herb seasonings. It's so simple, so economical, and VERY TASTY.

The fun part about making your own chicken stock is that you get to modify it to your particular tastes. If you like things a little spicier, kick it up a notch with a teensy bit of cayenne (a lot goes a long way). If you hate celery, leave it out! And homemade stock is an especially fun thing to make when you have a ton of leftover veggies and nothing to put them in. Waste not, want not.

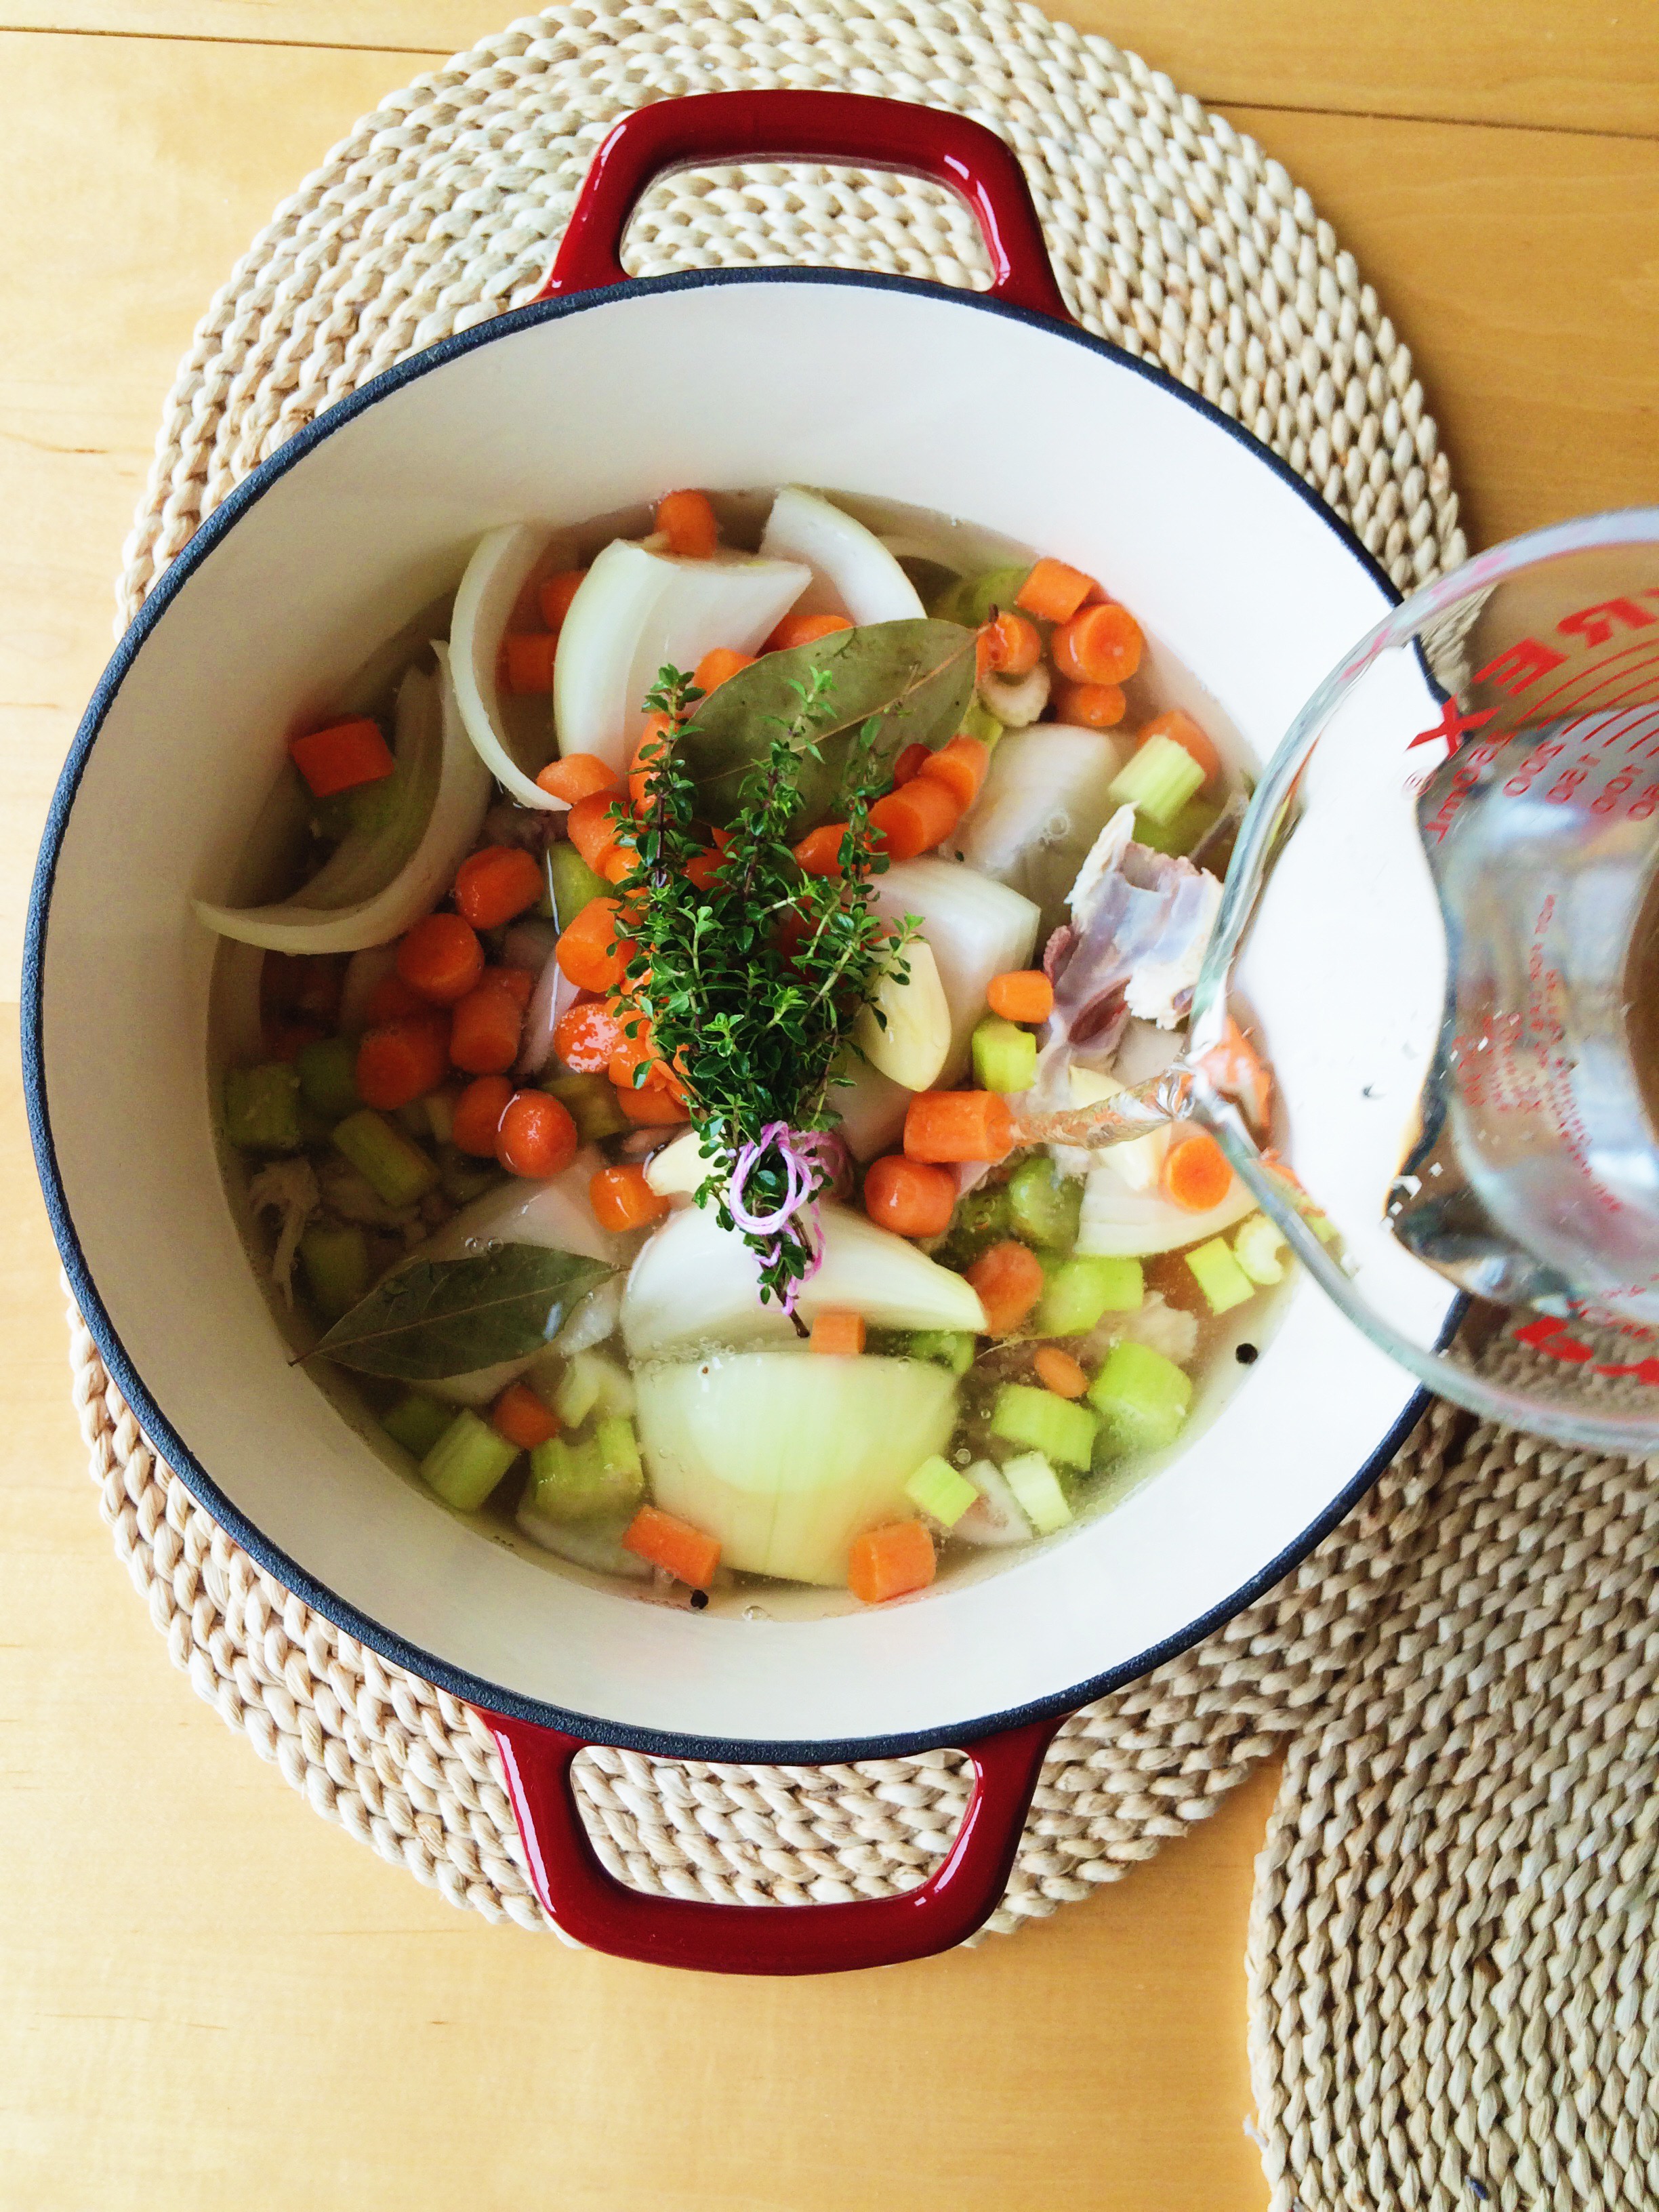
Your main ingredients are: a chicken carcass cut into pieces, water, salt, and pepper. After that, it's up to you! Once you've put the ingredients you like into the pot, fill it with water so that everything is covered by about 1-2 inches, bring it to a boil, then let it simmer for three hours. If at any point you start to see the water level get a little low, simply add more! And that's it. Once your stock is done, skim off any film that's reached the top with a slotted spoon, strain the stock into a large bowl, and discard all the solids. (Here's a tip: When I'm using fresh herbs, I like to tie them all together with a little kitchen twine. That way, once it's time to strain, I can easily fish them out. ) Make sure your stock is completely cool, then separate it evenly into Mason or Weck jars. If you have plans to use it within a week, pop some stock in the fridge. If you've got future plans, pop your jars in the freezer. It lasts indefinitely. Just make sure to defrost it in the refrigerator overnight before you use it!

And there you have it. You can totally make homemade stock without a recipe! But if you're looking for a little guidance, scroll down for what I put in mine.

Everything's better homemade.


HOMEMADE CHICKEN STOCK

What You'll Need:

  • 1 chicken carcass, broken into pieces
  • 2 whole onions, quartered
  • 8+ baby carrots, chopped
  • 5 celery sticks, chopped
  • 3 whole garlic cloves, peeled
  • 1/2 teaspoon whole black peppercorns
  • 2 bay leaves
  • 4+ sprigs of fresh thyme, tied together with kitchen twine
  • Pinch of salt

DIRECTIONS

In the bottom of a pot that is at least 4 quarts, place the broken-up chicken carcass, onions, baby carrots, celery sticks, garlic cloves, peppercorns, bay leaves, thyme, and salt. Make sure that everything is evenly distributed.

Fill the pot with water until all of the contents are covered by at least 1-2 inches of water.Place the pot over medium-high heat, and bring to a boil. Reduce the heat to low, then let simmer for 3 hours. The stock will occasionally bubble, and the contents may shift a little bit. If the water starts to reduce, add more. You want to make sure that everything is fully submersed in water at all times.

Using a slotted spoon, collect and discard any foam or film on the top of  the stock, then strain the stock into a large bowl. Throw away all of the solid pieces that have landed in the strainer. Let the stock cool completely before transferring it evenly into Mason or Weck jars. If you're planning to use the stock within a week, store it in the refrigerator. If not, it will freeze indefinitely. Once you're ready to use it, simply let the frozen stock defrost in the refrigerator overnight.

Hey, you just made chicken stock. 'Grats.


SOURCE: Adapted from The Kitchn Cookbook

Gluten Free Spiced Pumpkin Pie

K, we should probably start talking about Thanksgiving now, no? And what's better to talk about when we talk about Thanksgiving, than the true table staple? Pumpkin Pie. My favorite.

There's a debate every year in which the people in my family argue the importance of double P. Some people love it, some people hate it. Maybe it's the texture? I'm not really sure. All I know is there better be a silky Pumpkin Pie with hand-whipped cream on the table on the last Thursday of every November, or someone's in trouble. And if I have to be the one to make it, then so be it. At least I'll sleep well knowing that I already have my dessert plate mapped out for maximum consumption. But lately I've been thinking about my gluten-intolerant friends: what do they do when a flaky all-butter crust (my go-to for every pie), or a sweet and buttery graham cracker crust is not an option?

Last weekend we attended a Ladies' Day event in Milwaukee which my mother helped plan, and I volunteered to bake. Everything was going great, meal-plan wise until I was informed that there were gluten allergies and thus, the desserts must be completely gluten-free. I quickly assured her that it wouldn't be a problem, but I'll be honest: I was nervous. Despite the fact that I have a best friend who is gluten-intolerant, whenever food is involved, it's usually someone else making it and I don't have to worry about it. I made her flour-less chocolate cake once (it was DIVINE), but that was it.

Would I really have to buy new flours and ingredients that I probably would never use again? Or worse, use BOXED CAKE MIX?

I shudder to think. (Hi, I'm dramatic.)

Luckily, I was flipping through the pages of the November 2015 issue of Martha Stewart Living and came across the answer to all of my problems: Gluten-Free Pumpkin Pie! I was ecstatic of course. One, because you know how much I love pie and use any excuse to make it. And two, because I could use ingredients I have on hand absolutely all the time! I ran it by the committee, was told that I would have to make three, and was sent on my way.

I may have spent seven hours in the kitchen, but there's nothing I love more than making pie.

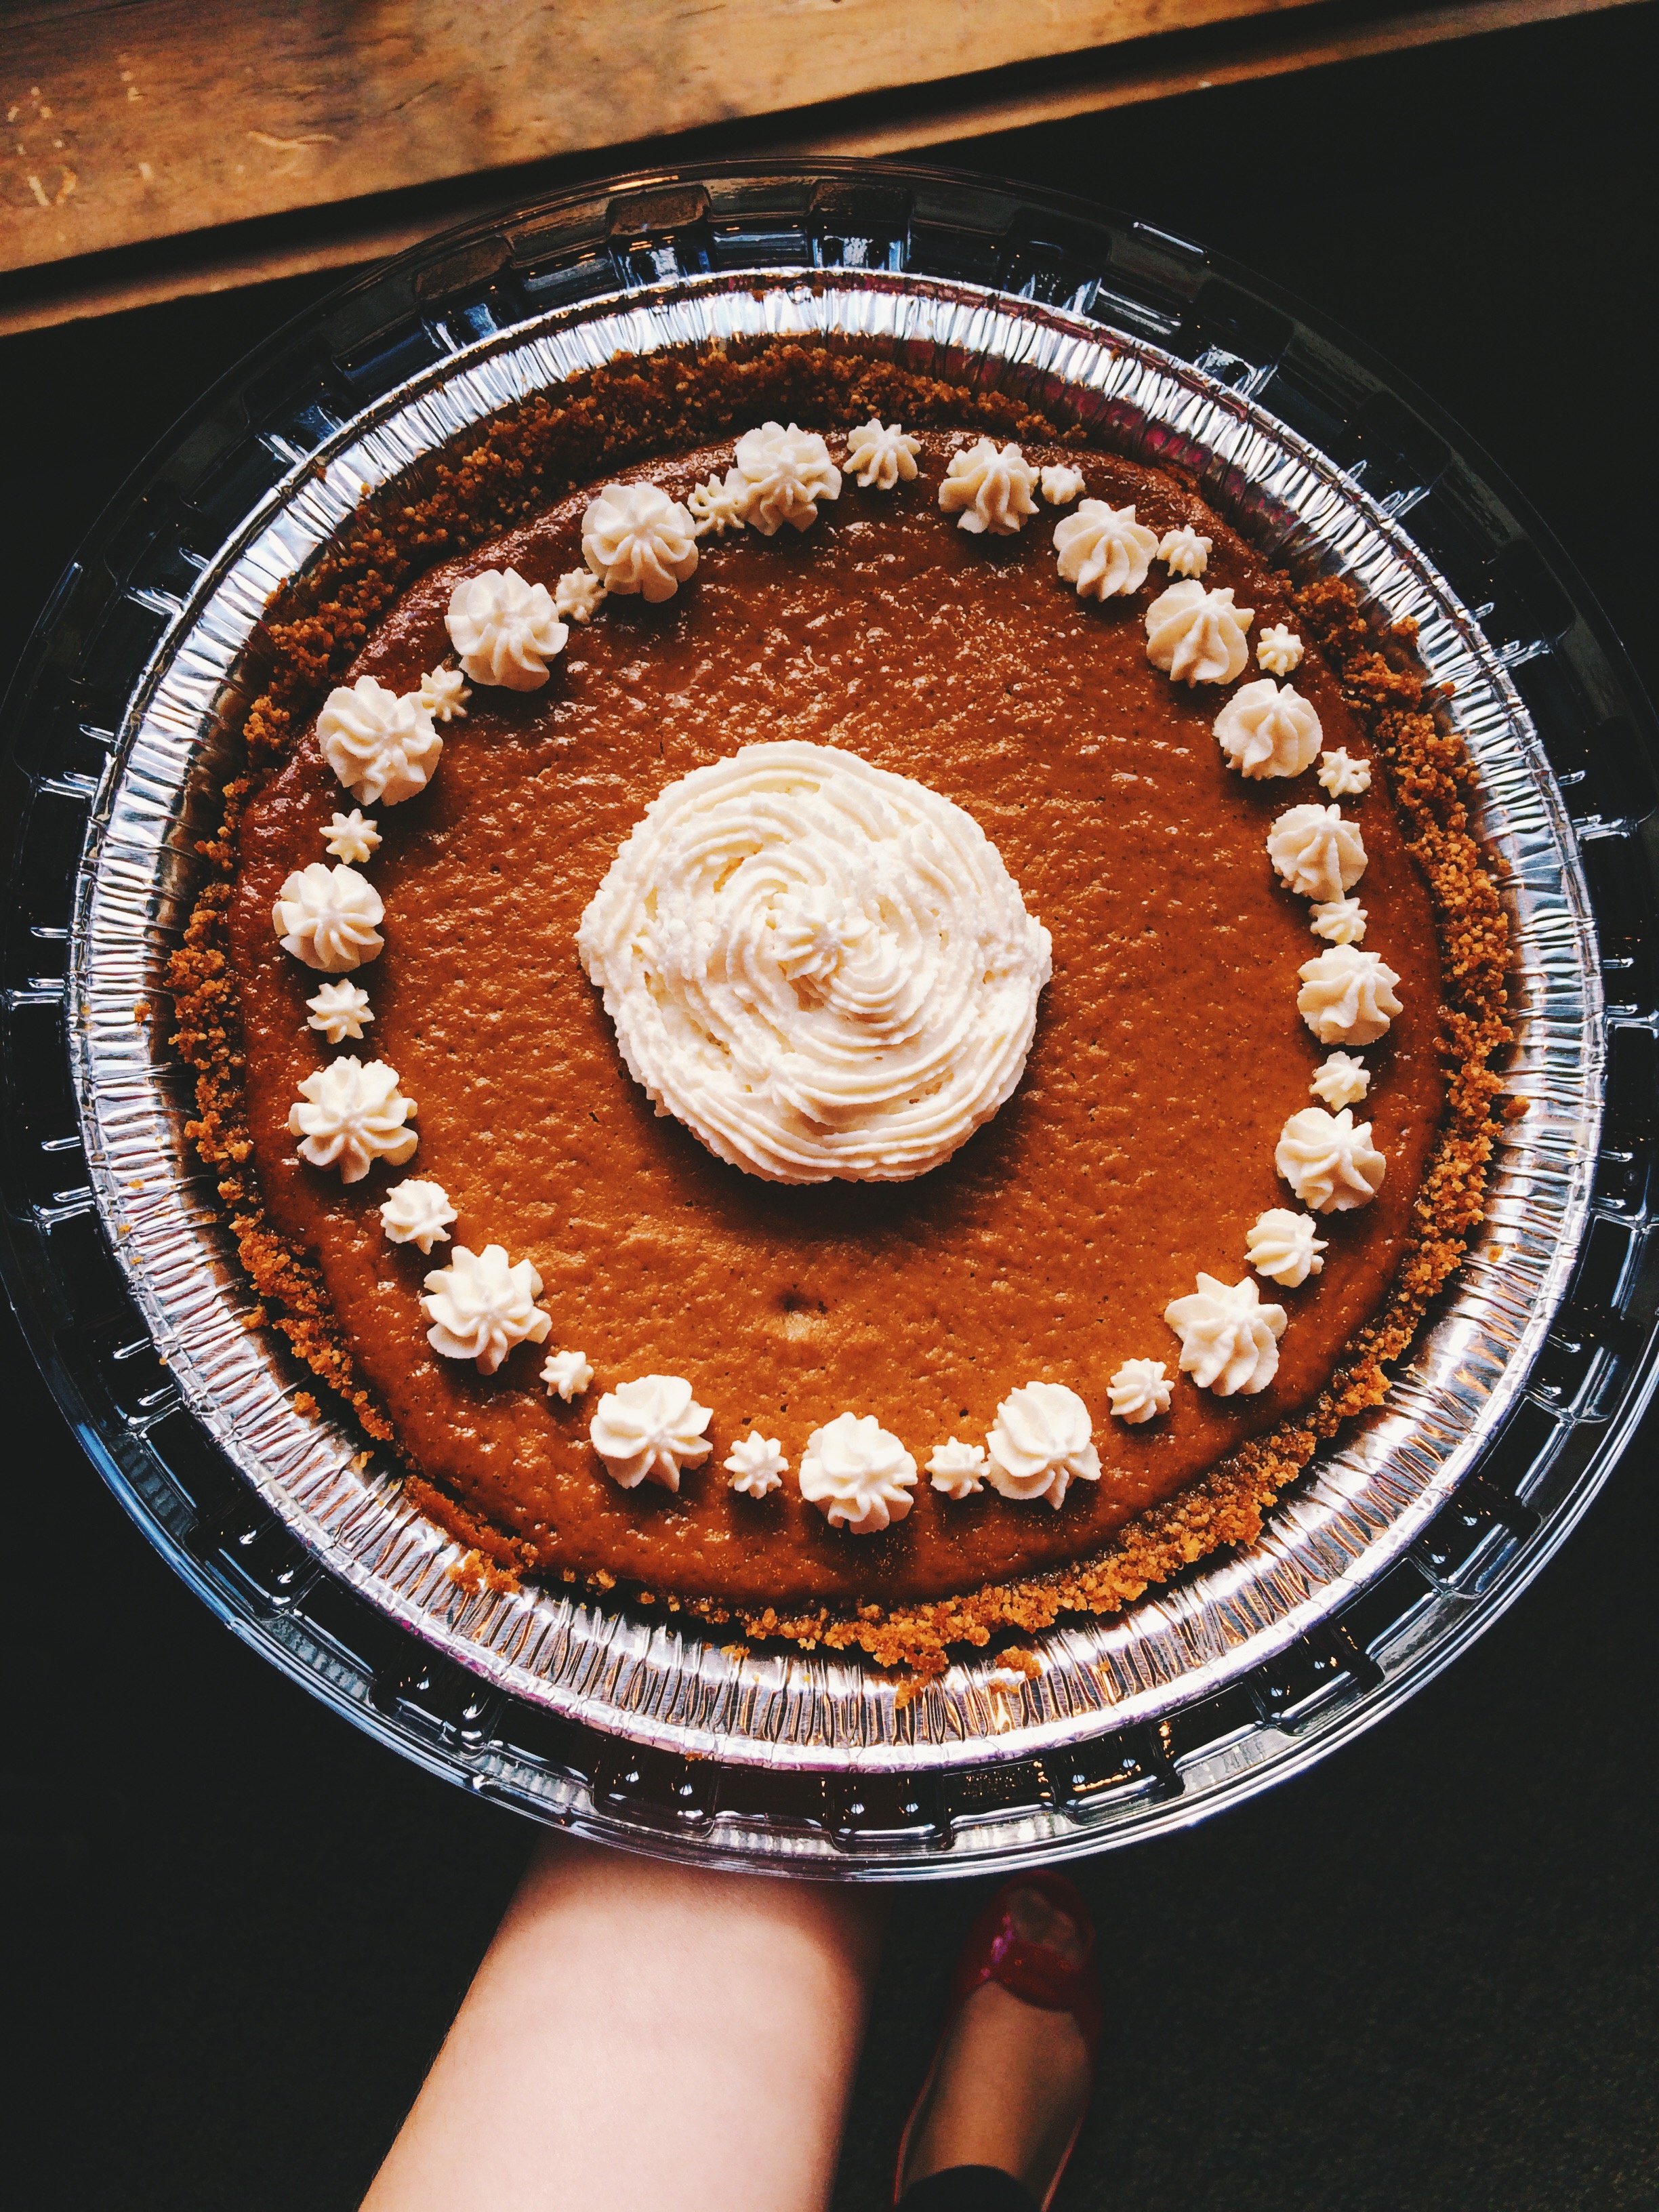
Now, what makes this pie GF you may ask? The CRUST! Three cups of Rice Chex (naturally and wonderfully GF), butter, brown sugar, and a little salt. Pulse those together in a food processor (I have a baby one that holds 4 cups), then spread into a pie plate, and bake it for 12 minutes to set. It's SUPER EASY, and CRAZY DELICIOUS. That brown sugar caramelizes in the oven, making the crust buttery and sweet with a hint of a crunch still. And pair that with the sweet pumpkin-y custard that is the filling, plus  the homemade whipped cream that was carefully piped onto the top, and it's just perfect.

I tell ya, it was a total hit amongst the gluten-lovers and gluten-intolerant alike, for we could all stuff our faces with pie in harmony.

Make it for Thanksgiving, make it forever.


GLUTEN-FREE SPICED PUMPKIN PIE 

What You'll Need:

Pie Crust:

  • 3 cups Rice Chex
  • 5 tablespoons unsalted butter, melted
  • 5 tablespoons packed light-brown sugar
  • 1/4 teaspoon coarse salt (I used coarse kosher salt)

Spiced Pumpkin Pie:

  • 1 1/2 cups unsweetened pumpkin puree
  • 3 large eggs, room temperature
  • 3/4 cup packed light-brown sugar
  • 1 tablespoon cornstarch
  • 1/2 teaspoon coarse salt (I used coarse kosher salt)
  • 1 teaspoon ground cinnamon
  • 1/4 teaspoon grated nutmeg
  • 1 cup whole milk

DIRECTIONS

First, let's make the pie crust:

Preheat the oven to 375 degrees

Pulse together the cereal in a food processor until finely ground. Then add the melted butter, brown sugar, and salt. Pulse until well combined.

Press the crust mixture evenly into the bottom and up the sides of a 9-inch pie pan. Bake until golden brown about 12 minutes. Set on a wire rack to cool completely.

OKAY, PIE TIME!

Reduce the oven temperature to 325 degrees F.

In a large bowl, whisk together the pumpkin puree and eggs.

In a smaller bowl, stir together the sugar, cornstarch, salt, cinnamon, and nutmeg. Transfer the dry ingredients into the bowl with the pumpkin-egg mixture, and mix until well combined. Then, whisk in the milk.

Place your cooled pie pan on a rimmed baking sheet to reduce the chance of your filling spilling out on the way to the oven. CAREFULLY pour filling into the center of the crust for more even spreading. DO NOT OVERFILL. You may have some filling leftover, and that's okay! You do not want an overflow in the oven, trust me.

Transfer your pie on the baking sheet to the oven and bake until filling is just set, ABOUT 50-55 minutes, but KEEP AN EYE ON IT. If a custard-based pie (like this one) is over-baked, it will crack, and no one wants that. (But if it does crack, you can always cover it with whipped cream, so don't fret.)

Set on a wire rack to cool completely.

Once cooled, pipe or spread on some homemade whipped cream if you're into it, and transfer pie to the fridge to chill before serving.

(MAKE AHEAD: This pie can be made up to 2 days ahead of time. KEEP REFRIGERATED.)

SOURCE: Slightly adapted from Martha Stewart Living

Food 52's Quick Blueberry Jam

Jam1 I think I spoke too soon about Spring. My bad. Historically, when I've made decorations of Spring, and thrown my winter coat into the closet abyss until the next season, that was usually that. I may shiver a bit, but there's usually no turning back. This year, not so much. No sooner had I stopped wearing stockings with my sneakers again that it snowed. Mind you it was a just dusting, but there was snow on the ground again, and a frost in the air that was totally and completely unwanted. Usually I relish in the sound of freshly fallen snow under my boots, but not when those boots were meant to be tucked away in exchange for attractive flats and sandals. Thankfully, it's already melting. Melt faster!

At any rate, despite the fact that I've had to put up with the winter coat for the time being, I've decided to ignore these winter-like conditions where it counts: in my heart. And to that effect, I've continued on in my quest to re-introduce warm weather fruits back into the kitchen any way I can. And I'm still on a blueberry kick. So, this week I've made Food 52's Quick Blueberry Jam. And it was, by all accounts, a real JAM to make....I LIKE PUNS, SUE ME.

Jam2

Jam has been on my extended To-Make List for several years now, but I hadn't gotten around to doing it, nor did I have all the proper accouterments it takes to effectively get the job done. While I still have long-term plans to fill my life and the lives of my loved ones with all the jams you could possibly imagine, until I have all the tools of the trade, this wonderful and easy quick jam is going to do very nicely in the meantime.

Quick Blueberry Jam Goes Well: on toast, rolls, biscuits, crackers, spoons, fingers, straight out of the pan, etc.etc. etc.

What You'll Need:

  • 1 cup fresh or frozen blueberries (if using frozen, make sure that they have completely thawed and come to room temperature)
  • 1/3 cup granulated sugar
  • 1/16 teaspoon kosher salt
  • 1/2 teaspoon lemon zest
  • 1 teaspoon lemon juice (I used upwards of 2 tablespoons, but I like a little bit more lemon with blueberries)
  • 2 tablespoons water

Directions:

Add all ingredients to a medium-sized pan.

Turn the heat to medium, and bring the mixture to a boil, stirring occasionally. As soon as it has come to a boil, turn the heat down to a simmer. The fruit will start to release its juices, and soften.

Cook up to 30 minutes (though I did a few minutes longer). The longer it simmers, the smoother the result at the end.

Store in fridge, and eat within a week.

Note: Because I upped the lemon juice, I also had to adjust the sugar by a few tablespoons, and add a dash more salt. Make sure to alter this to your taste preferences. ABT= Always be tasting. Think it needs a pinch more salt? Go for it! Want a little more acidity? Squeeze it in. It's your jam after all!

SOURCE: Food 52 via Phyllis Grant 

Let's Go on a Trip

I'm off to New York for the Fourth of July Weekend, and to say I'm excited would be...like the grossest understatement in the history of understatements. Five (almost six!) years in Boston, and I have not once ventured to NYCGoing to The Big Apple used to be the big trip of the summer for my family, but the last time I stepped foot in that beautiful city was all the way back in 2004. Needless to say, I am long overdue. Here are some of the things I'd like to bring with me for the big adventure! Screen Shot 2014-06-29 at 8.14.20 PM

Merona Stripe Weekender Duffle Handbag // River Island Ora Sunglasses // Revlon ColorBurst Lacquer Balm in "Provocative" // San Diego Hat Company Striped Sun Hat // Where'd You Go, Bernadette: A Novel // Cath Kidston Set of 2 Provence Rose Travel Laundry Bags


singature gray

Guacamole: A Game Day Essential

DSCN0459 College Bowls and the Playoffs are in full swing, and I'm PUMPED. The Wisconsin Badgers play in the Capitol One Bowl tomorrow, and THE PACKERS MADE THE PLAYOFFS. It's been a fantastic week so far.

There are two things that you need when watching football: Hope (and lots of it sometimes!), and good food. And what is more essential for a fun game--watching experience than a bowl of fresh, homemade guacamole? It is an absolute staple in my household, and I think it should be a staple in yours! I've been working on the perfect guacamole recipe for a while and, according my father, mouth full of guac, "Oh yeah, this is it. Don't change a THING," I may have found a winner!

DSCN0462

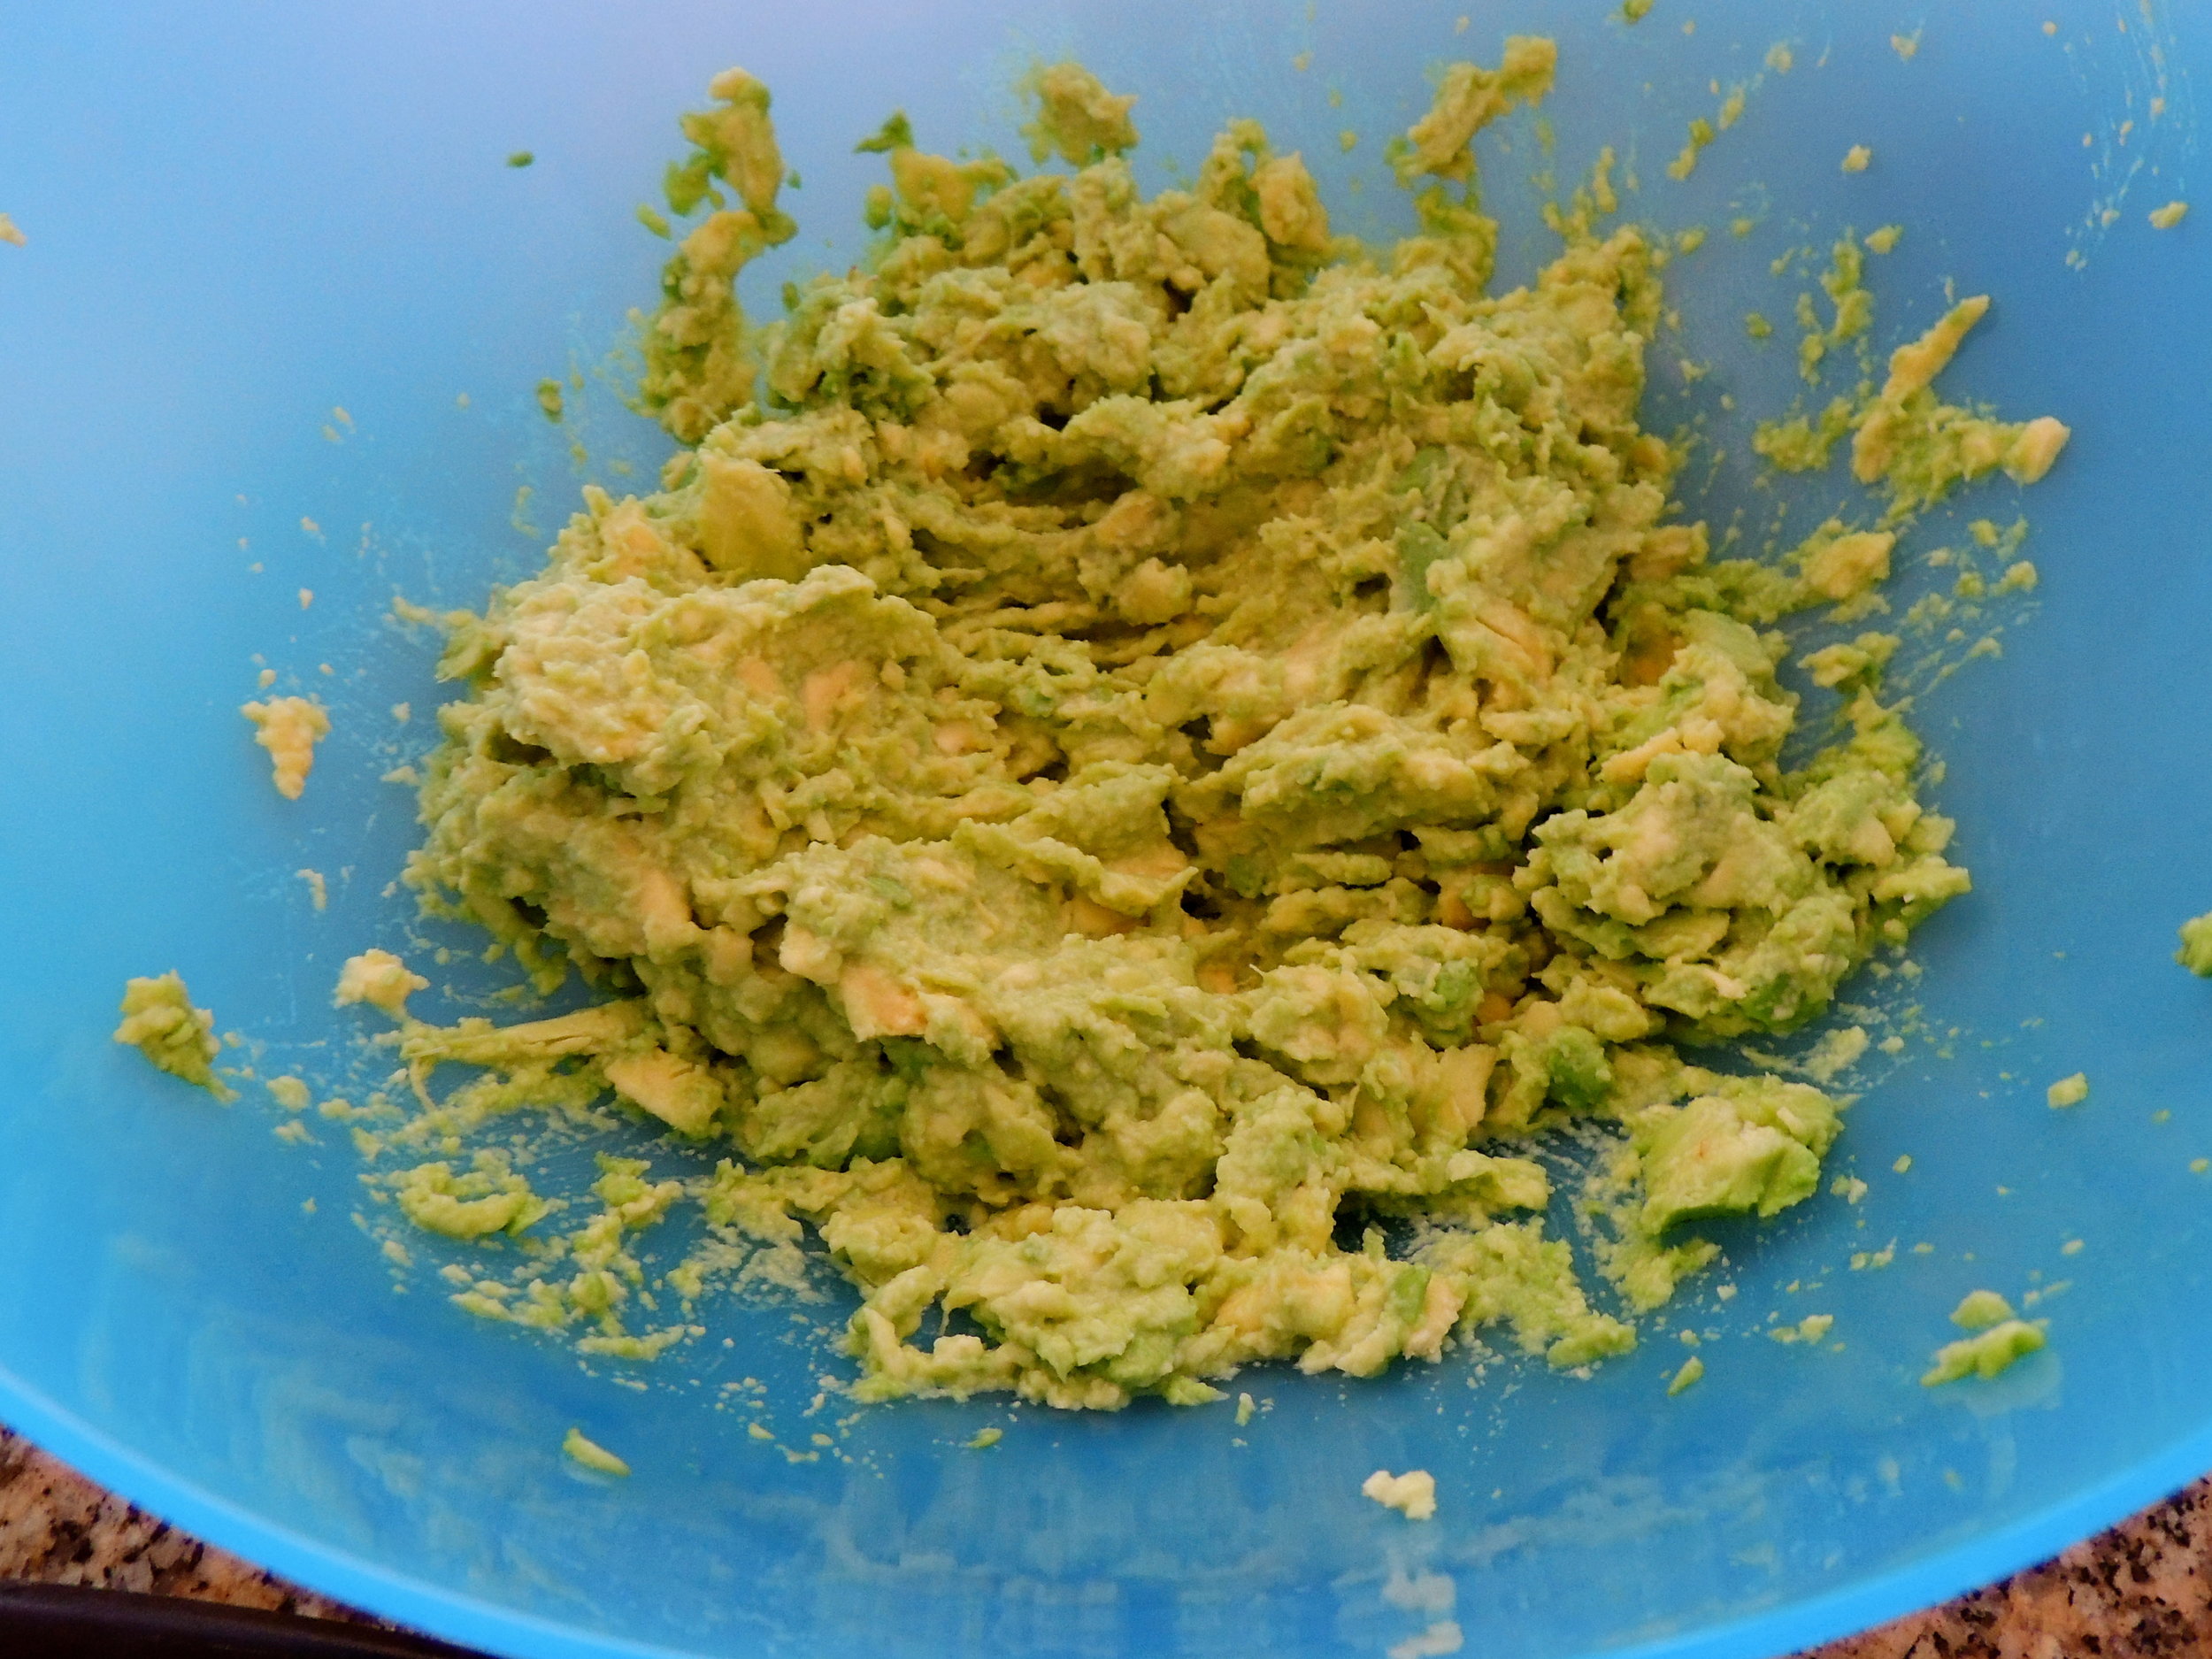
Now, if you're fancy and have a pestle to grind up your ingredients, more power to you! But for me, it's all about the forks, baby. (Until I get a pestle. Then I'm jumping ship.) It takes time to properly mash up guacamole to the consistency that you'd like, but once you've got your rhythm, it's smooth sailing. 

There is one very important thing to remember when making guacamole:

There is never a wrong way to make it.

Some people make it a little spicier, some people use red onions, some use yellow, some add carrots, some think that's a crazy idea. But there's never a wrong way. With avocado as your anchor, many things taste amazing together. Add a little cilantro, a squirt of lime juice, and you're on your way.

DSCN0465

So...LADIES AND GENTLEMAN, I GIVE YOU: Sydney's very first original recipe!

May your bowl overfloweth with guacamole for all eternity.

Sydney's GAMEDAY GUACAMOLE

What You'll Need:

  • 2 Avocados (I used jumbo)
  • 2 cloves garlic, minced
  • About 1/4 cup red onions, diced
  • 1 tomato (your choice of tomato!)
  • The juice and zest of one lime
  • Cilantro (I used about a teaspoon of Cilantro, chopped)
  • Coarse Sea Salt to taste

DIRECTIONS 

Split, then remove contents of two avocados. Mash to desired consistency in a large bowl, using forks.

Mince two cloves of garlic, add to the mixture.

Cut one red onion in half, then in thirds. Dice until you've got just about 1/4 cup. Do the same to your tomato. Add to mixture.

Split one lime in half, then squeeze the juice out of each half into the mixture. Once each half has been firmly squeezed, zest them, and add to the mixture.

Chop up the leaves of your cilantro. I used about a teaspoon, but do what you feel! A little cilantro can go a long way. Add to the mixture.

Sprinkle coarse sea salt into the mixture. Once again, do what you feel! Sea salt helps to bring out the other flavors, so add as little, or as much as you want!

HAPPY NEW YEAR!!

GO BADGERS.

singature gray


Learning How to Get to Nature Valley

DSCN0373I love granola bars. Love, love, love them. You can find them in my lunch bag as my 3:00 snack, my purse (to stave off the hungry and angry "Bear," that I become when I go shopping), and sometimes as a cereal substitute when I've run out of Cheerios. But stocking up on granola bars can get expensive (unless you're an Extreme Couponer. Seriously, I've been marathoning this show on Netflix, and I CANNOT get over how much these people save on their shopping trips. It's very tempting, but I have neither the time, nor the basement full of floor-to-ceiling shelving units it takes.). And while I'll never quit buying my Nature Valley bars cold turkey, I thought it best to at least give my wallet a rest, and learn to make them on my own for a while. Enter this recipe: Pumpkin Granola Bars. Maybe I chose this recipe because I  can't get enough of Pumpkin...Or maybe it's  because I had a can in the fridge with the perfect amount left...Who knows, it's a mystery of life! (It's because I had a can of pumpkin left. Mystery solved.)

DSCN0364About a month back, our grocery store was having a sale on those big bags of Domino Brown sugar that I couldn't pass up. And in the moment, I was too BLINDED BY A GOOD DEAL, to read the label, and picked up two bags of DARK Brown Sugar, instead of LIGHT Brown Sugar. But by the time I set to work on making these granola bars, and realized my mistake, I had neither the strength, nor desire to walk the 2 minutes back over to the grocery store to buy a box. And anyway, I think my local grocery store is starting to see a little too much of me. So, I decided to substitute dark brown sugar instead, and see what happened. Not bad, I gotta say it.

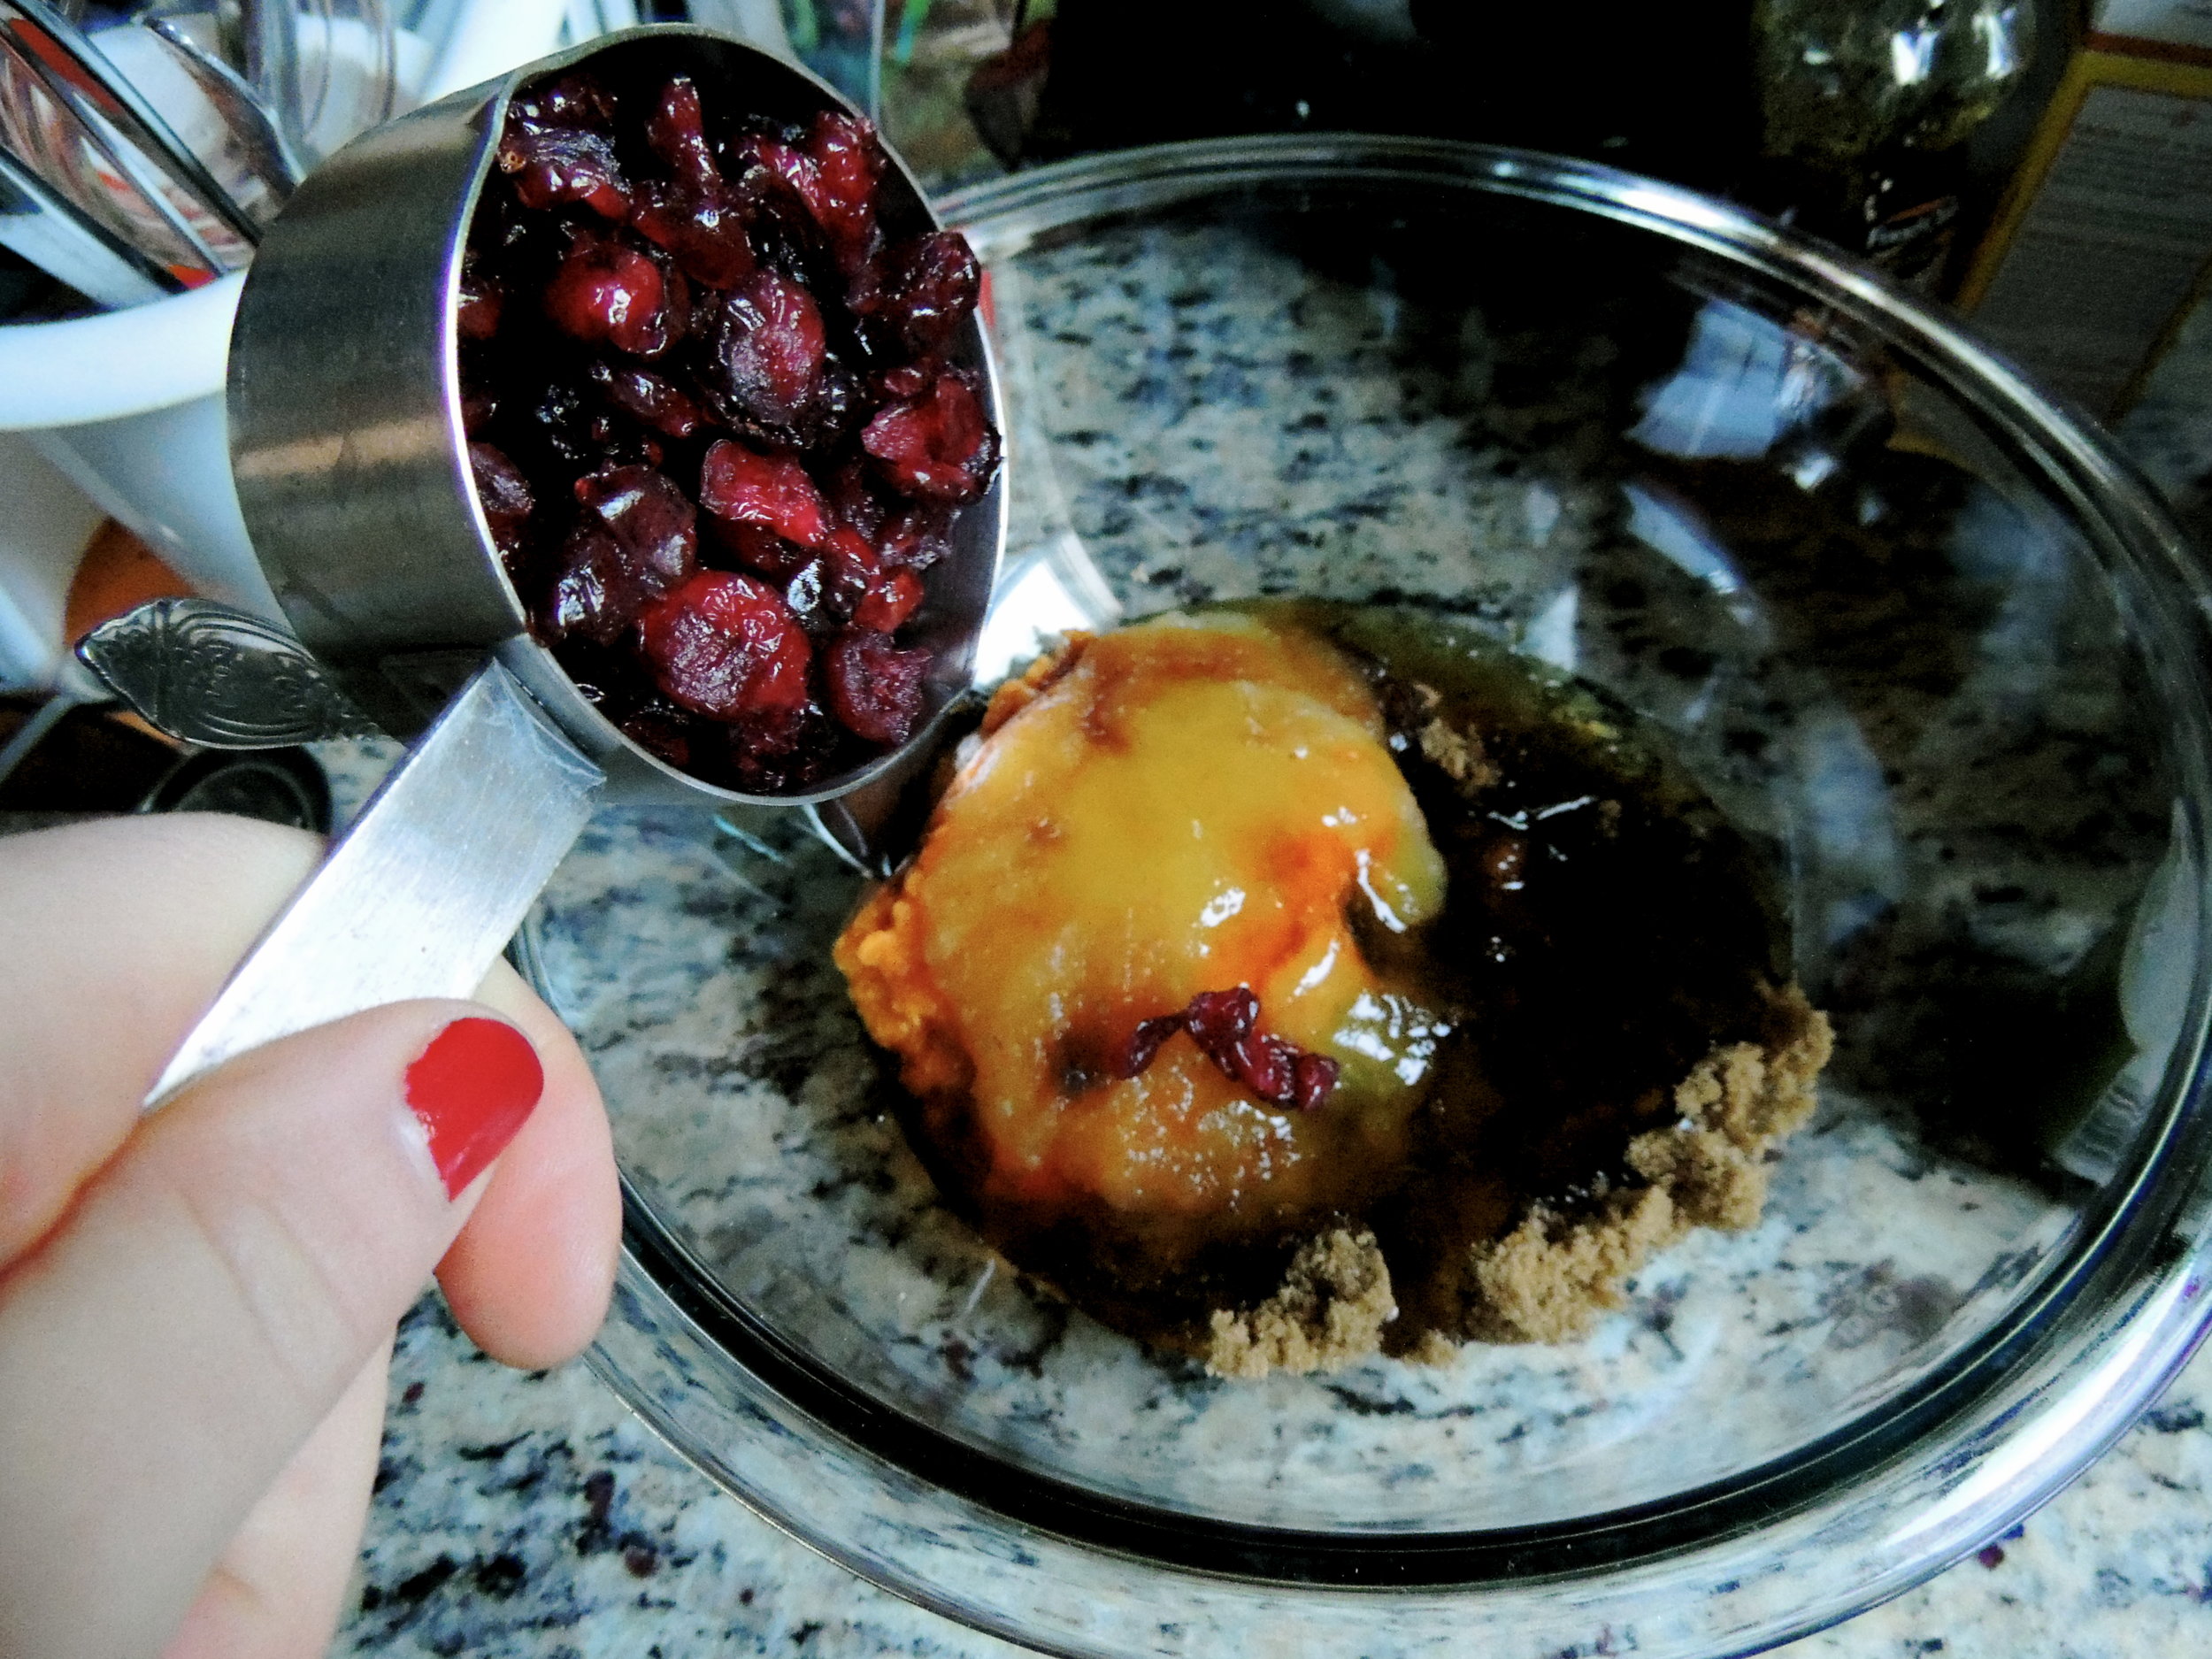
DSCN0374 DSCN0379It was really interesting to learn some of the elements that go into granola bars. I'm not exactly sure what I thought it was that was holding them together, but I didn't realize what a huge part honey plays. It's the glue that binds the whole operation together and without it, you've got mushy, uncooked oatmeal with pieces of fruit in it. Also interesting, this recipe called for 1/4 cup applesauce. It helps keep some of the moisture during baking, and it makes all the difference.

DSCN0386I liked that this recipe called for white chocolate chips for three reasons:

1. White chocolate chips were on sale today for $0.79

2. I don't think I've ever baked with white chocolate before.

3. I like white chocolate a lot. White Chocolate + Granola Mix= A really great idea!

And while the chocolate chip pieces melt away, their memory, and taste, are not forgotten. They add such a special sweetness to the mixture.

DSCN0389I could not stop eating this once it was finished. As a result, I don't really have granola "bars" per se, but instead granola "chunks" or granola "weirdly shaped, unevenly sized pieces." No regrets, it's not for sharing. The only person that will be appreciating this first batch is me, and my taste buds are in no way picky when it comes to presentation.

These granola bars are delicious, were easy to make, and now probably a new staple in my pantry. But bakers beware: this granola is addicting, so keep your wit's about you!

Give it a try!

PUMPKIN GRANOLA BARS:

What You'll Need:

  • 3 cups old fashioned oats
  • 2 teaspoons pumpkin pie spice
  • 1/2 teaspoon salt
  • 3/4 cup packed light brown sugar (or try dark brown sugarIt made things a lot sweeter!)
  • 1/2 cup pumpkin puree
  • 1/4 cup applesauce
  • 1/4 cup honey
  • 1 teaspoon vanilla extract
  • 1/2 cup dried cranberries
  • 1/2 cup white chocolate chips

To Make:

Preheat oven to 350° F. Line a baking sheet (9x9 is suggested, but I think my sheet is 9x11, and it turned out fine. Use what you have!) with foil allowing for 1 inch to hang on the sides of the pan. Spray foil with Pam, or another non-stick cooking spray, and set aside.

In a large bowl, combine oats, pumpkin pie spice, and salt. Set aside.

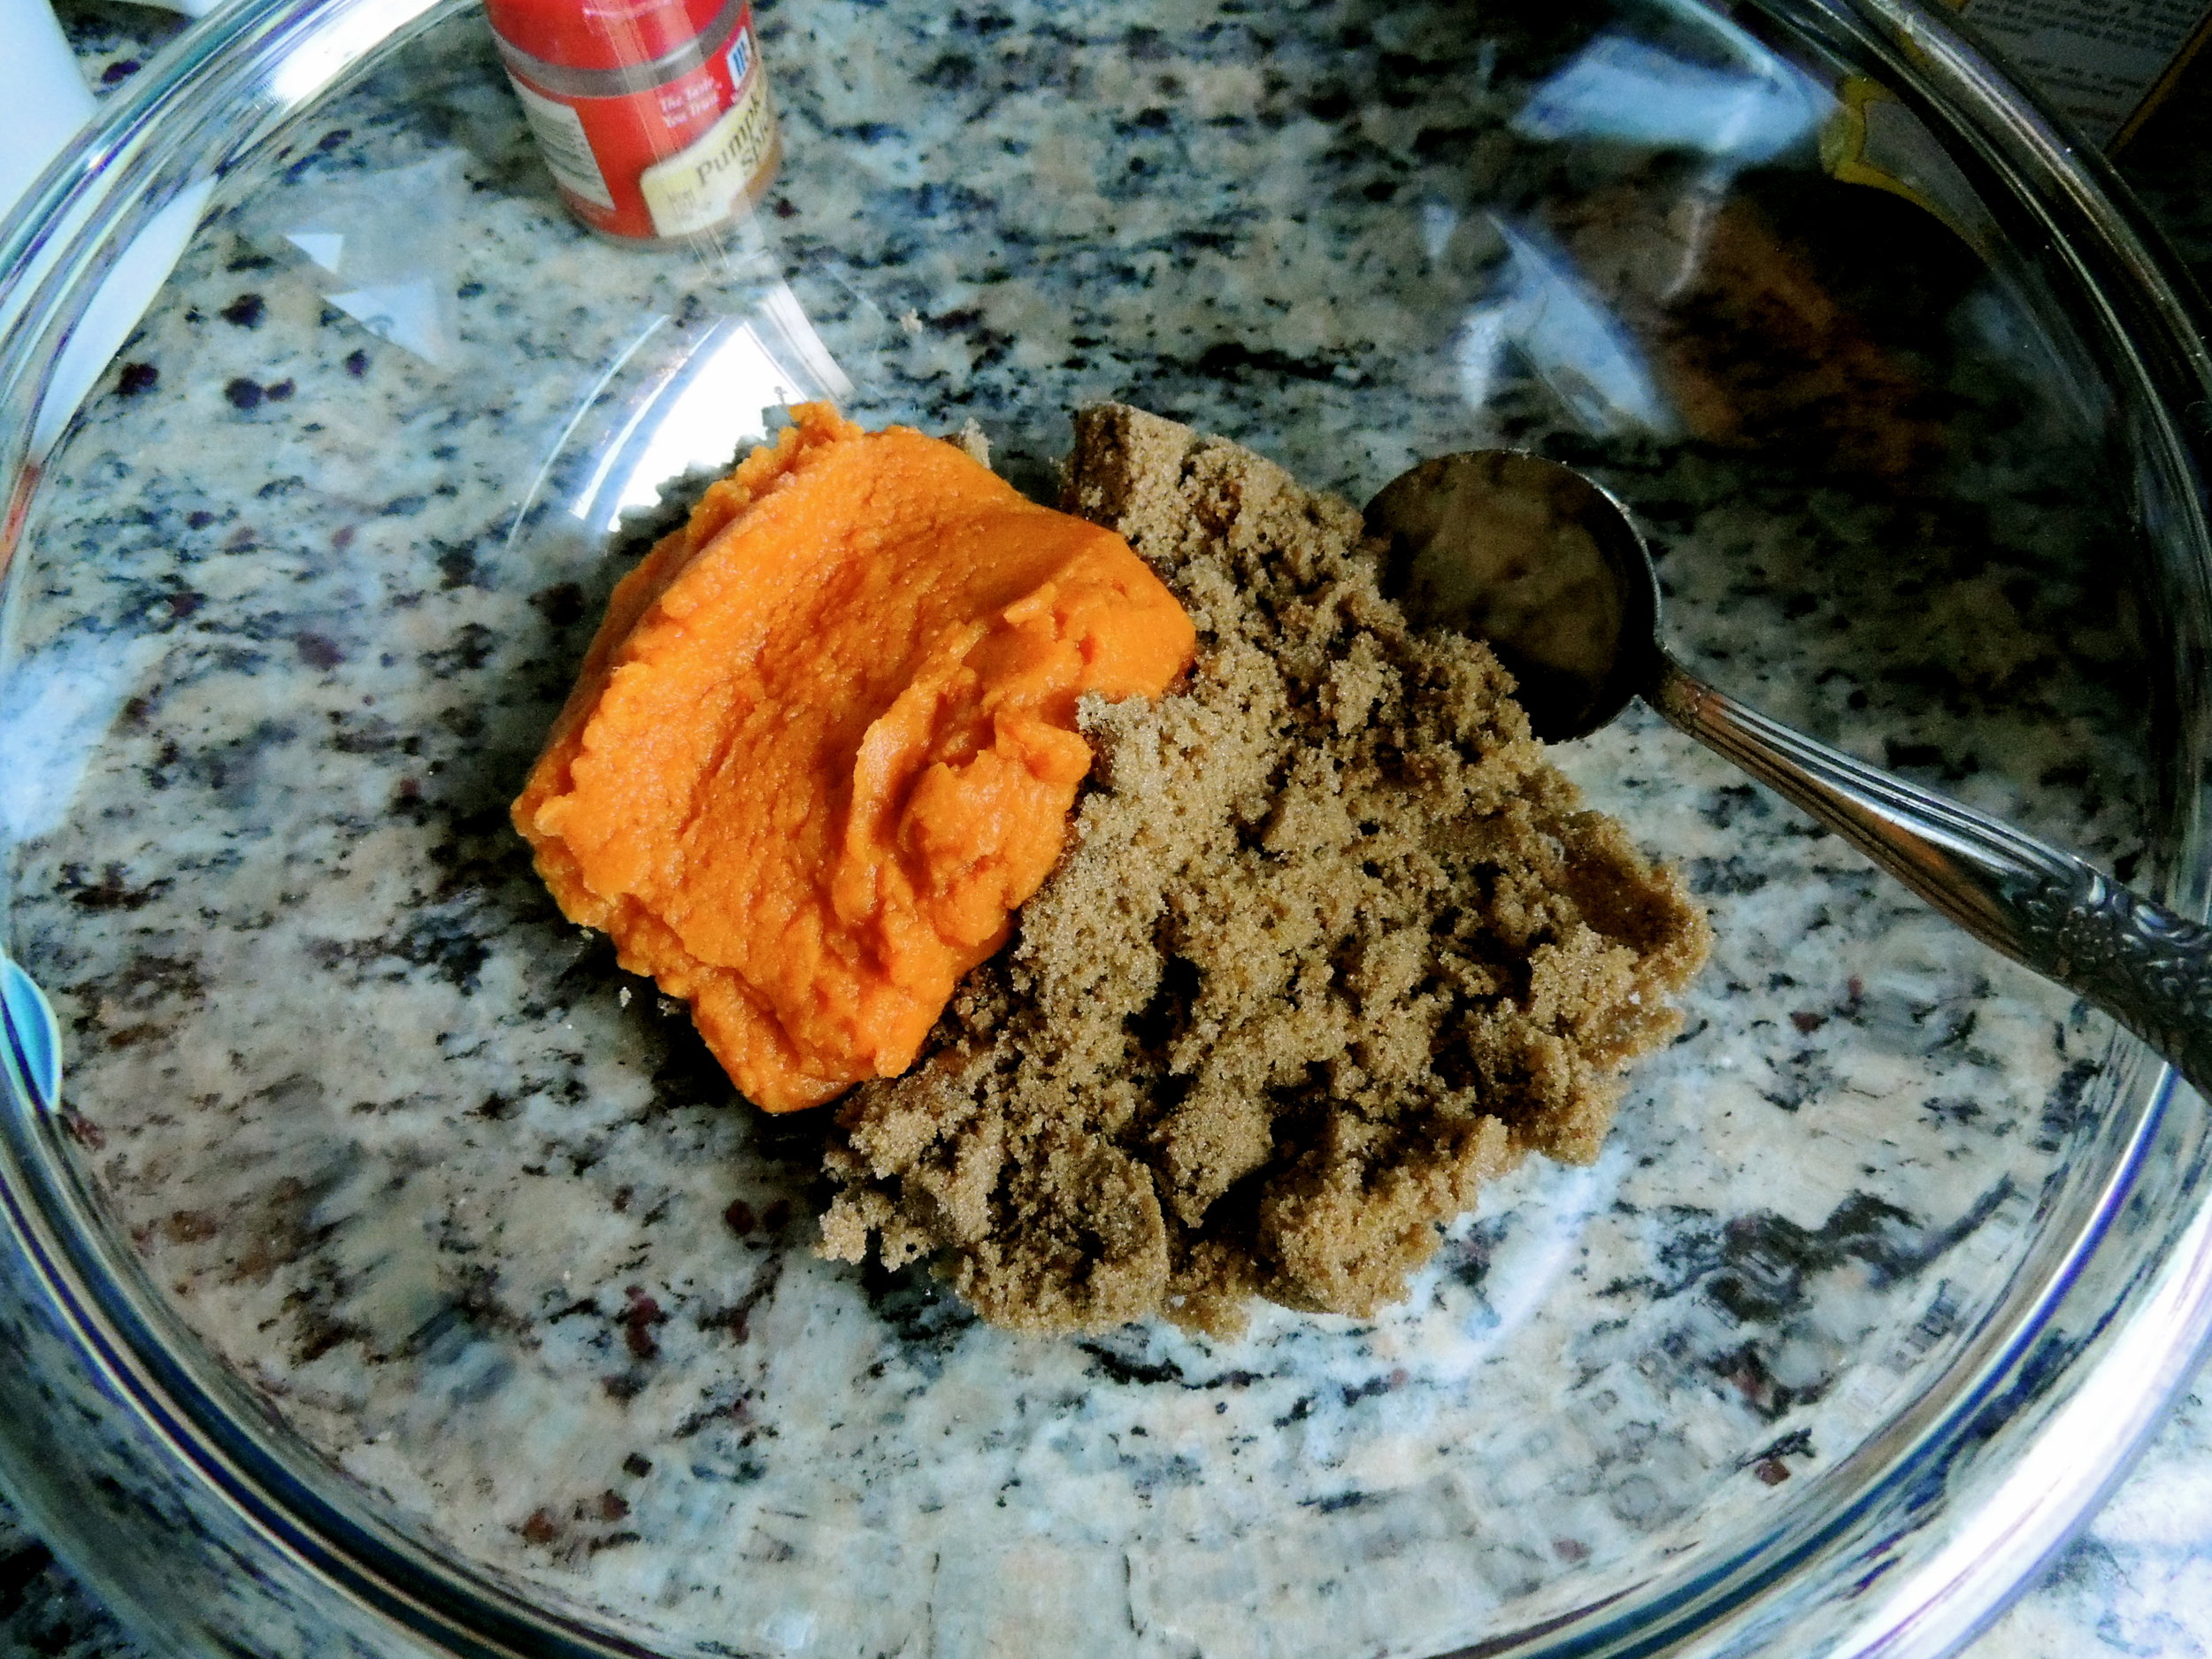
3. In a medium bowl, whisk together the brown sugar, pumpkin puree, applesauce, honey, and vanilla extract until smooth. Pour over oats and stir until oats are moistened. Stir in the cranberries and white chocolate chips.

4. Evenly press oat mixture onto the prepared baking sheet. Bake for 35-40 minutes, or until golden brown. Be sure not to under bake. Transfer to a cooling rack to cool completely.

5. Use a sharp knife to cut into bars. (Or just, eat it while you're impatiently waiting for it to cool, and make it into fun, unexpected shapes of granola like I did! Yeah!)

Source: Very minimally adapted from My Baking Addiction

Happy baking!

singature gray