Homemade Everything Bagel Seasoning

everything bagel seasoning, seasoned with sydney

Ah, Everything Bagel Seasoning: the splendid combination of salt, crunch, and umami mixed into one. Perfect for sprinkling on homemade bagels, fried eggs, avocado toast, and even by the occasional spoonful directly into your mouth - the possibilities are truly endless, and that’s a beautiful thing.

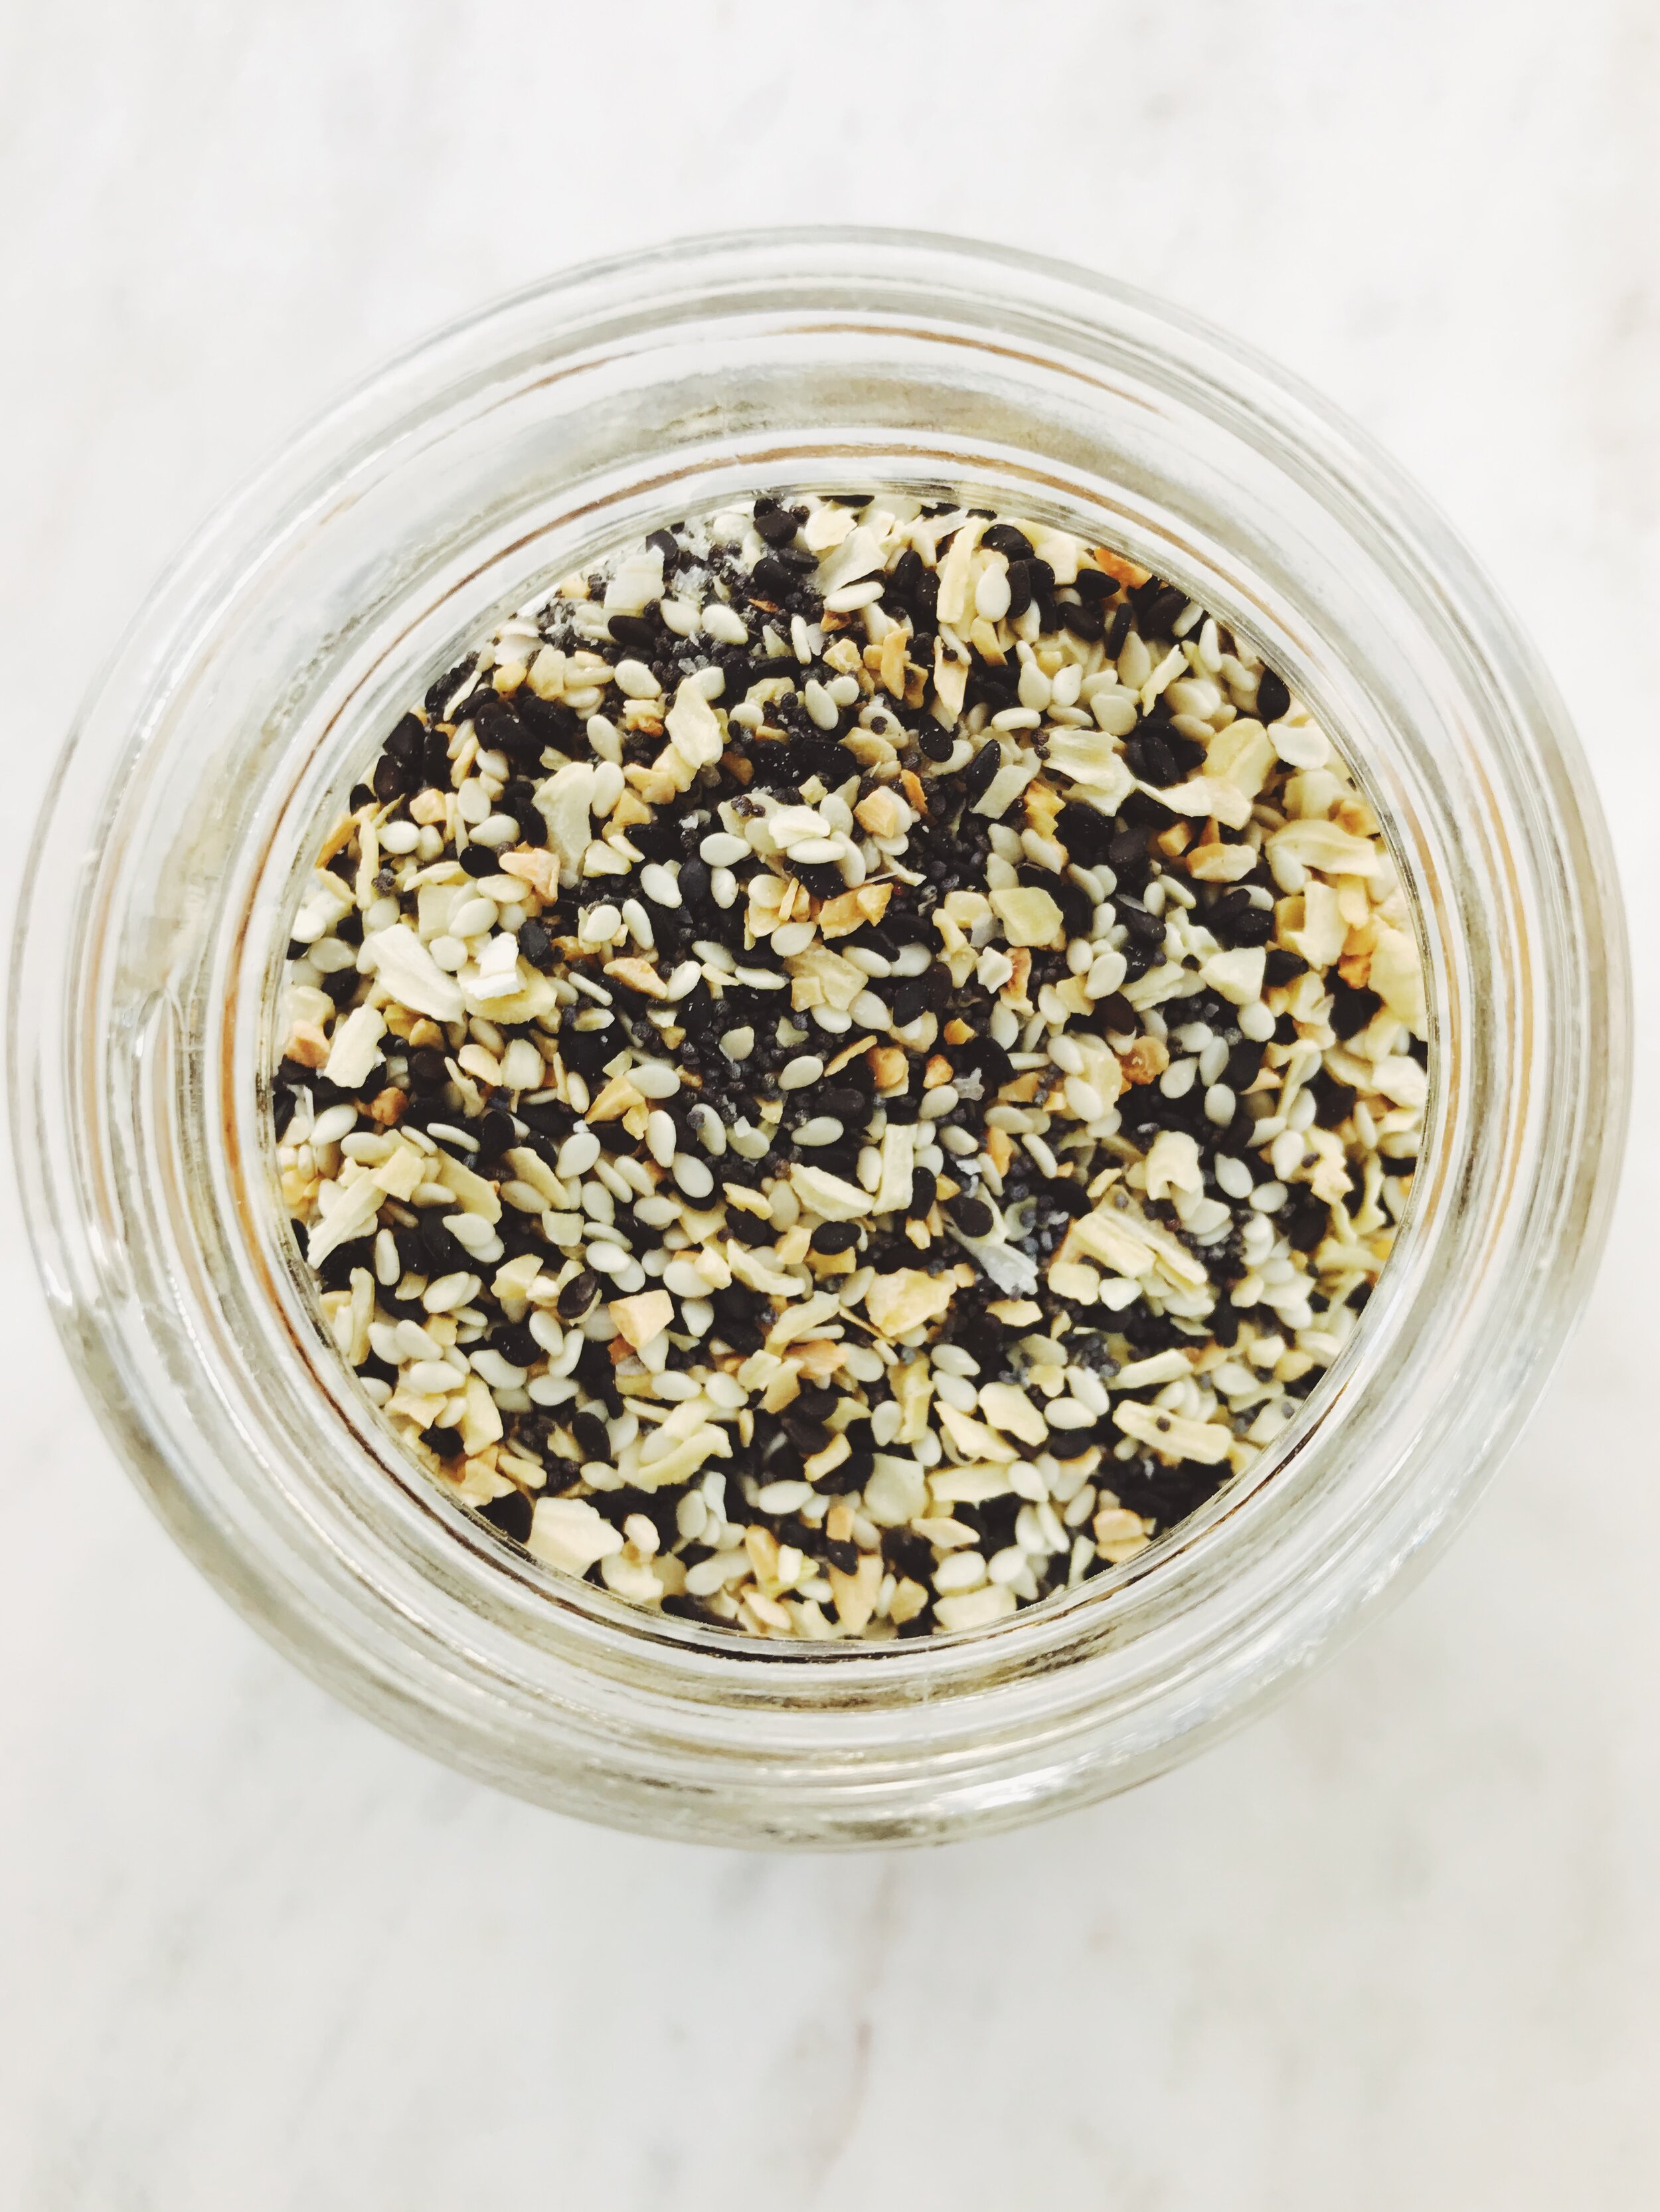
everything bagel seasoning, overhead picture - seasoned with sydney

Throughout the years I’ve seen countless brands getting into the Everything Bagel Seasoning game, from Trader Joe’s to McCormick. While it’s been a fan favorite flavoring mix for decades, Everything Bagel Seasoning has grown in popularity recently thanks in part to food world superstars like Molly Yeh and Gaby Dalkin, who frequently incorporate it into their recipes. Dalkin even partnered with Williams-Sonoma to come out with her own line of Everything Bagel Seasoning.

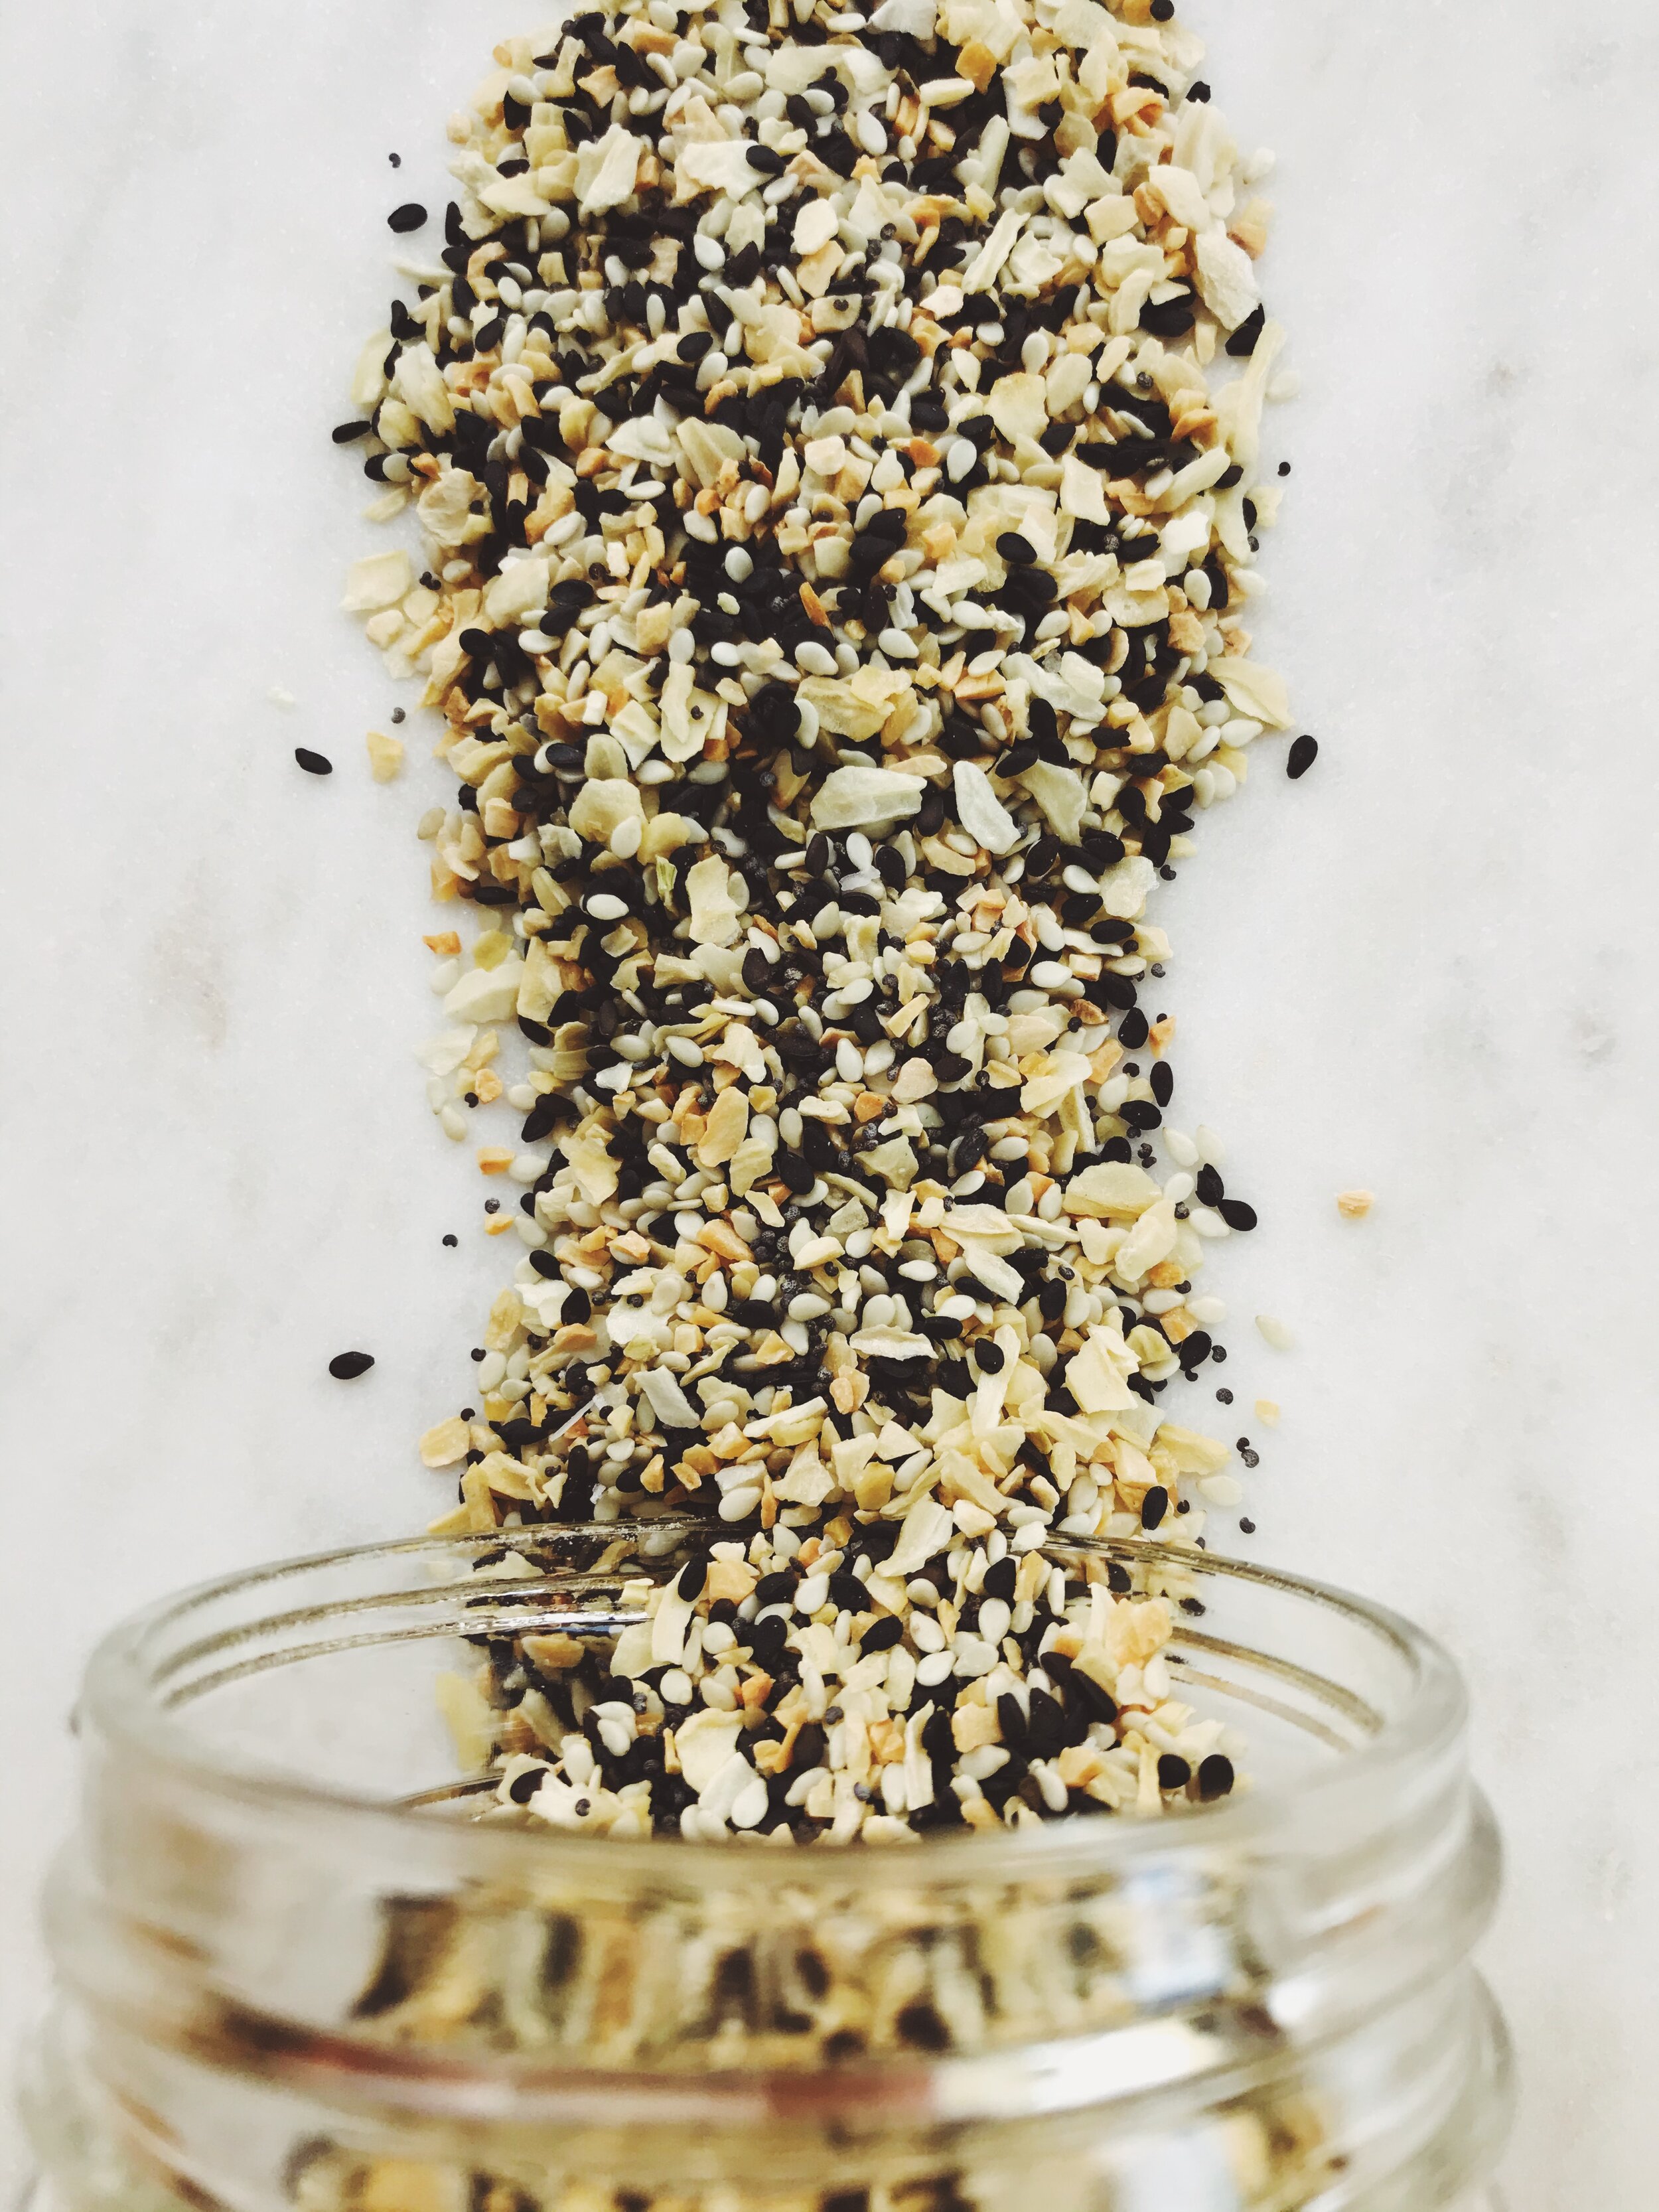
everything bagel seasoning spread out - seasoned with sydney

So with so many pre-made options on the market located practically everywhere, you might be wondering: why make your own?

My answer? As with countless other things in life, homemade is always the best. Not only will you get to control the proportions (fancy a little more minced garlic or want an enhanced crunchiness with extra sesame seeds?), you’ll also get the sense of accomplishment that only comes from creating something from nothing using your own hands - and with this being an incredibly low-stakes DIY endeavor, the payoff I’d say is pretty high!

So go ahead, grab your favorite spice jar and the ingredients and get to work creating a magical combination that will take your favorite dishes to the next level. You’ll be glad you did!

EVERYTHING BAGEL SEASONING

Everything Bagel Seasoning - Seasoned with Sydney

What You’ll Need:

  • 1 tablespoon poppy seeds, plus more

  • 1 tablespoon black sesame seeds, plus more

  • 1 tablespoon white sesame seeds, plus more

  • 1 tablespoon dried minced garlic, plus more

  • 1 tablespoon dried minced onion, plus more

  • 1 teaspoon coarse kosher salt, plus more

DIRECTIONS

In a small mixing bowl, combine the poppy seeds, black sesame seeds, white sesame seeds, minced garlic, minced onion, and coarse kosher salt. Mix well.

Transfer the combined mixture to your preferred spice storage container such as a spice jar or another small, airtight container.

Repeat the process until the storage jar has reached capacity.

To store: Store in a dry place. Mixture should last for several months.

*Use this as a guide and don’t be afraid to add or subtract based on your preferences. The beauty of adding “everything” is you get to decide just what “everything” means to you!

NYT Blueberry Muffins

SINCE THE DAWN OF TIME (...the early 1990s...) blueberry muffins have been a staple in my life. They're the go-to treat when I'm in an airport and want something sweet in a hurry. They're my pick-me-up when I have them on-hand and I've had a rough day. They've been in the Special Sunday Breakfast rotation at my house for two whole decades. They're just the epitome of classic baked goods in my book.

Before I became a baker and didn't truly know what a difference home-baking could make in a person's life, my go-to if I wanted blueberry muffins was the store-bought boxed mix. You know which one I'm talking about, don't you? The one with a  cellophane  bag full of flour mix and chemicals, and a slim tin can full of tiny, preserved blueberries swimming in syrup. Then you just had to add a few eggs and a cup of milk, and you were on your way. At the time, those muffins, always served still-warm from the oven and a bit crispy (if not a little dry to be honest) on the outsides tasted great, but it hasn't been until I was the age and stage that I am now that I realized I could've been having it so much better all this time.  Don't get me wrong; those mixes definitely have their place...somewhere, but, my friend, fresh is always best. Sure, it may take a little longer to measure out all the ingredients when you're making blueberry muffins from scratch, but really, how much time are you actually  saving by using boxed cake mix? Not as much as you think.

Despite the fact that blueberry muffins are such a classic, there are perhaps dozens of ways that you can prepare them. And believe me, as someone who has had her fair share of muffins, I've also tried a fair share of those recipes. One particular favorite of mine (and incidentally one of the first recipes I EVER tried) comes from Joy the Baker. She doesn't stray too far from the standard, but she takes things up a notch in her recipe with the inclusion of melted brown butter instead of regular-old softened and unsalted. It brings a sort of nuttiness and depth of flavor that I just absolutely love.

And while that recipe is definitely wayy up there on "Sydney's Favorite Baked Goods, Blueberry Muffin Category" list, something inside me was desperately seeking a recipe that stayed within tradition. If I'm going to have that perfect cup of coffee early on a Sunday morning, with the window shades opened and the glow of dawn seeping in, I want to capture that moment just-so. I want that feeling of being in a coffeehouse somewhere where they serve you cafe treats exactly the way they were intended to be served and consumed: no muss, no fuss, just something that tastes phenomenal. Enter: the New York Times Blueberry Muffins.

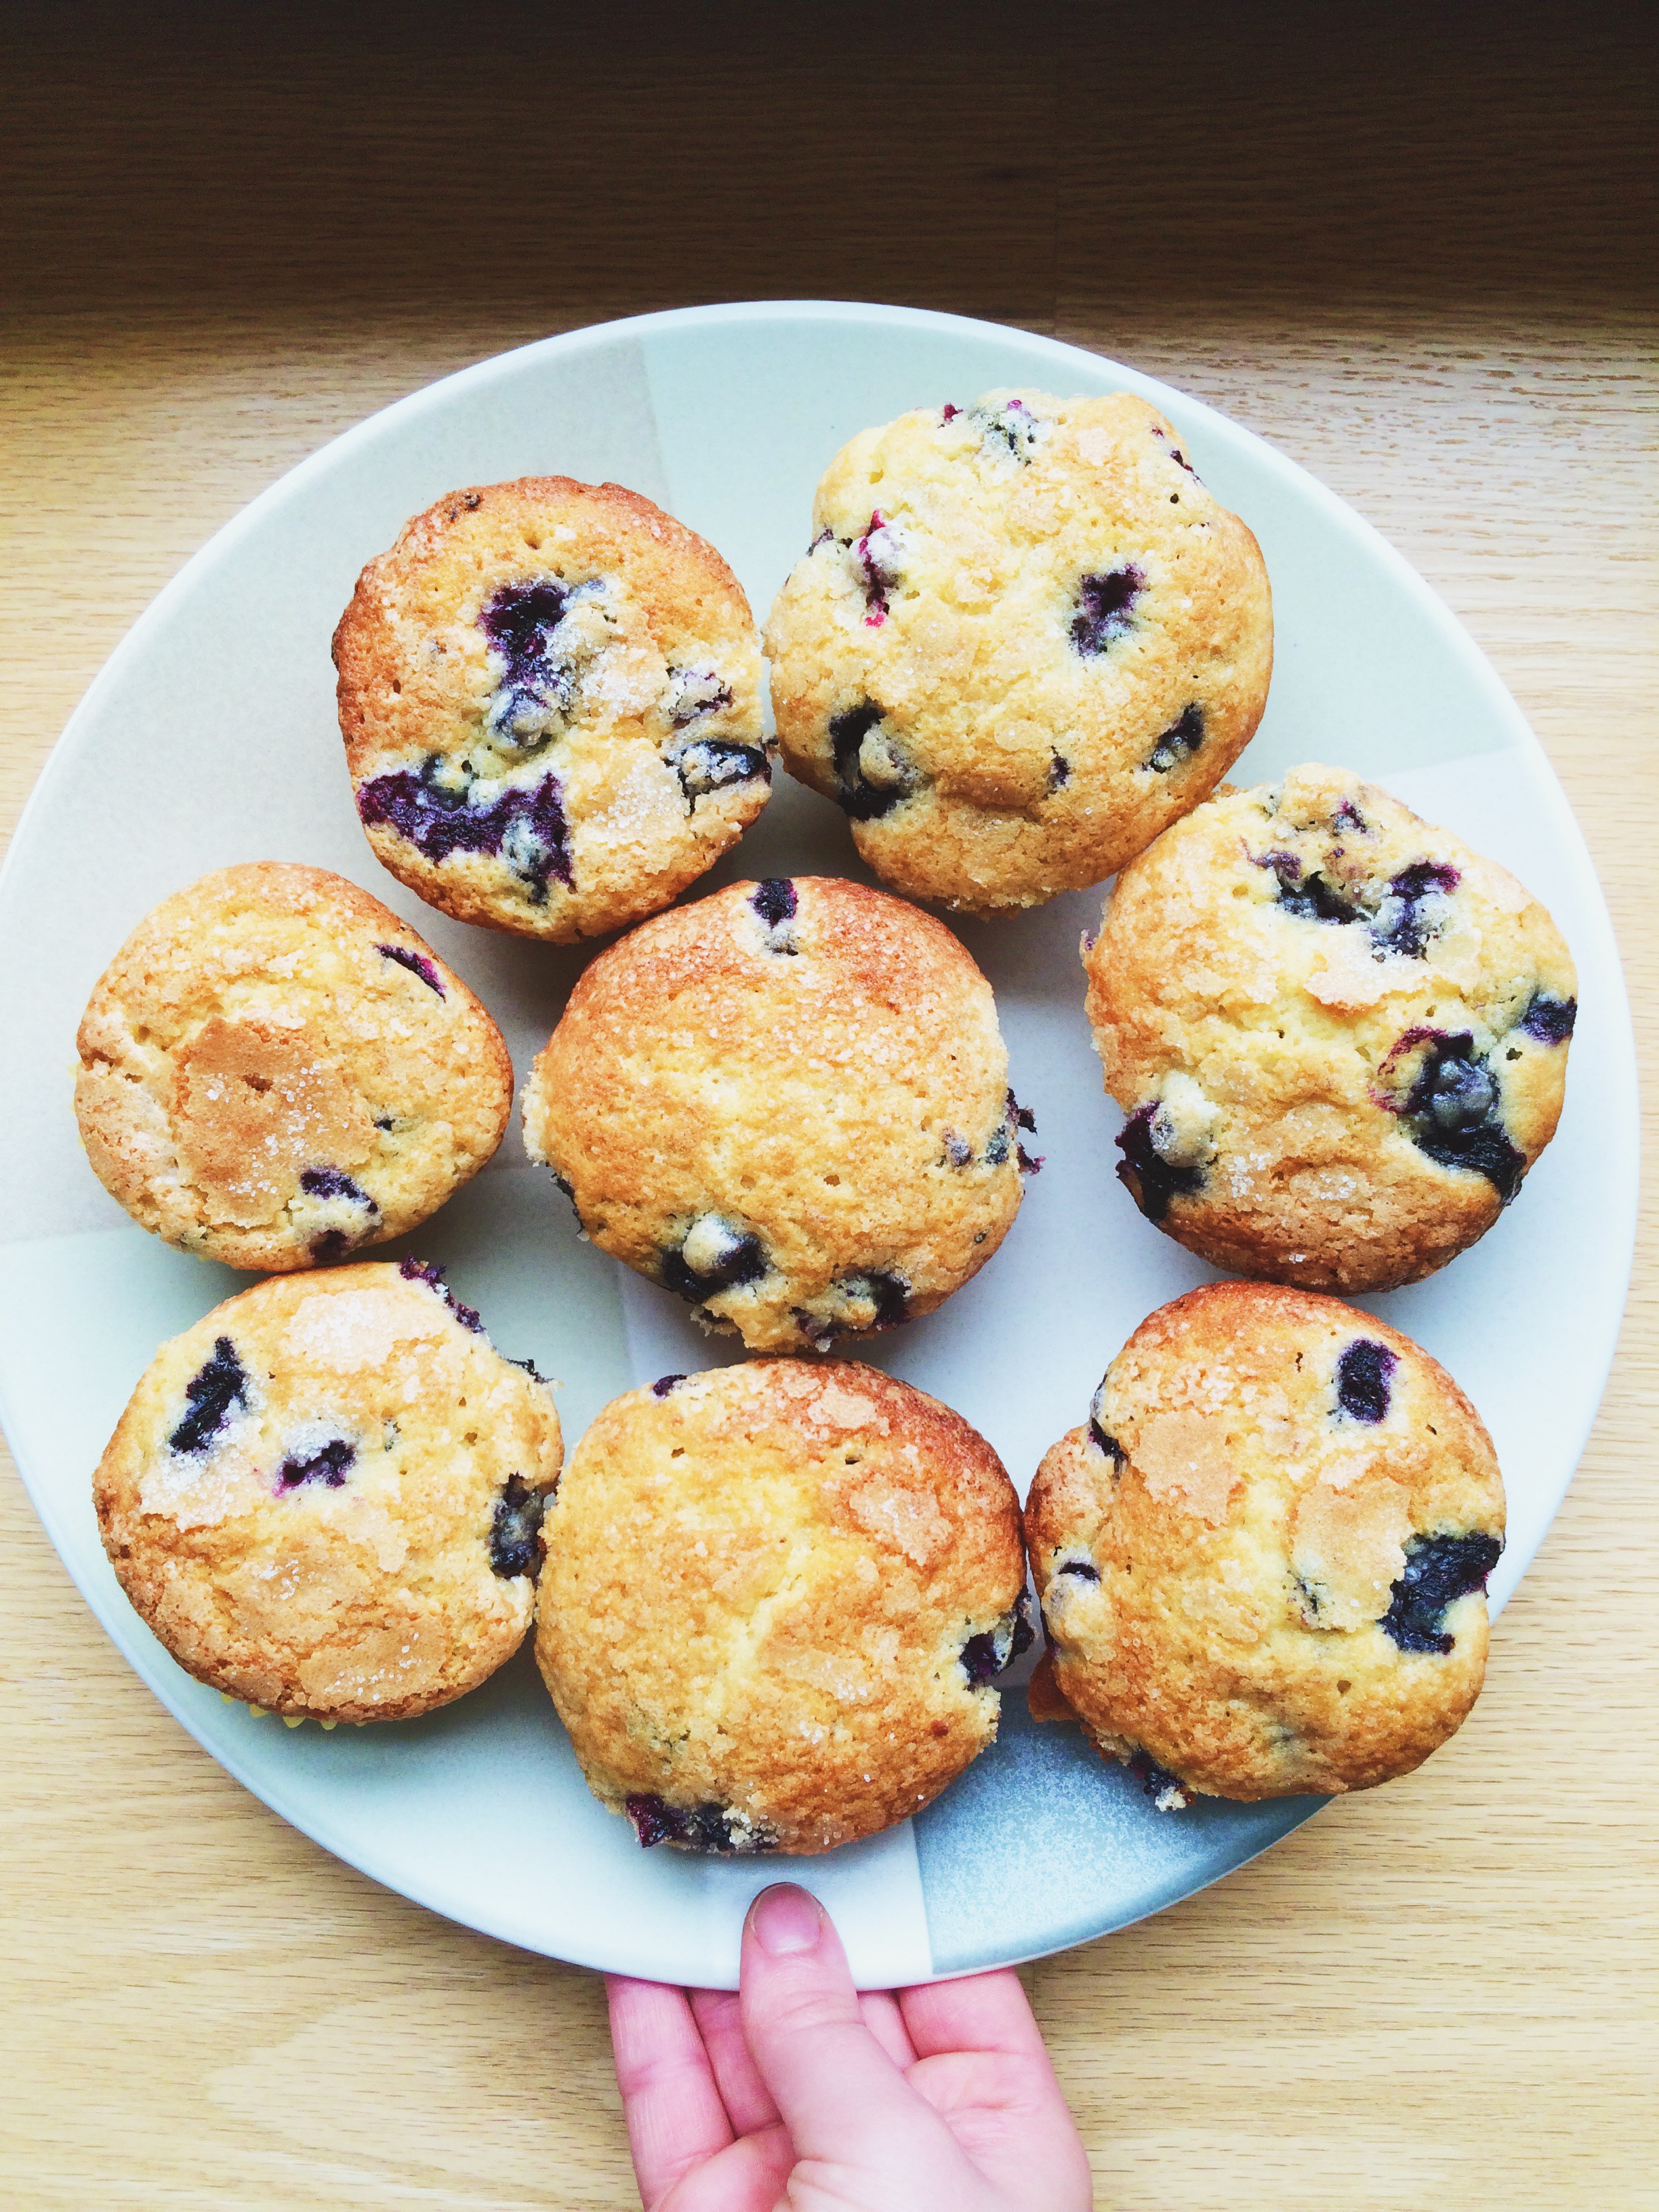
These muffins are the perfect celebration of summer blueberries (although, frozen and thawed blueberries will work perfectly well when it's off-season). It calls for two cups, which means that all twelve of these muffins are packed with plump antioxidant-rich blueberries just waiting to burst when you bite into them. And as much as I love a good crispy, crumbly topping made out of flour, sugar, and butter, sometimes a little coarse sugar will also do the trick of adding a bit of texture quite nicely.

Hey, blueberry muffins are a classic for a reason.


NYT BLUEBERRY MUFFINS

What You'll Need:

  • 1/2 cup butter, softened (I've been really into Irish butter lately! Have you heard about Kerrygold?)
  • 1 1/4 cups sugar
  • 2 eggs
  • 1 teaspoon vanilla extract
  • 2 cups flour
  • 2 teaspoons baking powder
  • 1/2 cup milk
  • 2 cups blueberries, washed, drained, and picked over
  • 3 teaspoons sugar

(Baker's Note: Some of the commenters suggested that the blueberries should be rolled in a bit of flour before being added to the batter to prevent them from sinking while baking. I tried it, and it's definitely something to consider!)


Find the recipe HERE from the New York Times!

Peach Jam

How can we let Summer pass us by without celebrating one of it's many gifts: peaches? Seems like an opportunity that just can't be missed if you ask me. Now, there are many different directions that we could go in with our little round friends that are only in season for a hot (really hot, like 90-degree-weather kind of hot) second. Ice cream, shortcake, scone, sangria. But I decided to do what my heart was telling me to do; make jam. And what baby wants, baby gets. My heart is the baby in this scenario...Or maybe it's my stomach?

Let's move on.

Some people prefer to make their jam with granulated sugar, but I tend to prefer light brown. To me, it brings a warmth and more nuanced flavor than just white sugar. It helps to sweeten whatever berry or stone fruit that you've decided to make into a jam, while also giving more of a depth of flavor. This go-round, I also decided to add a little splash of vanilla. But, you should only do this if you're truly a die-hard vanilla fan as it is a flavor that refuses to stay subtle. I happen to love it, but the choice is yours and yours alone.

Of course, one very vital ingredient when making jam, whatever kind you choose, must be lemon. Not lemon extract, but fresh lemon juice, plus the zest. What lemon does is not only brighten the other flavors in your delectable compote, but also cuts through some of the sweetness with a little kick of acidity. Without lemon, your jam could become cloyingly sweet, and no matter how big of a sweet tooth you have, there is actually such a thing as something being too sweet. I learned that the hard way.

Processed with VSCO with s2 preset

I've said it before, and I will say it forever: I am at my utter best when making jam. Perhaps it's that it fills the home with such warm and sweet aromas that linger for hours. Or maybe it's because it's the closest I ever feel to my ancestors, the ones who lived in the real country in Tennessee, who knew the value of hard work, who foraged and canned not because it was on trend, but because it's just what was done. I feel like my great-grandmother is with me somehow when I'm standing over a bubbling pot, guiding me along, and introducing me to the Tennessee side of me. I call her Country Sydney, and I only get to see her when the sun's out and I'm frolicking outside in a field in a pair of wellies. I like Country Sydney  And I think my great-grandmother would, too.

Great Granny Tiny, this peach jam is for you.


PEACH JAM 

What You'll Need:

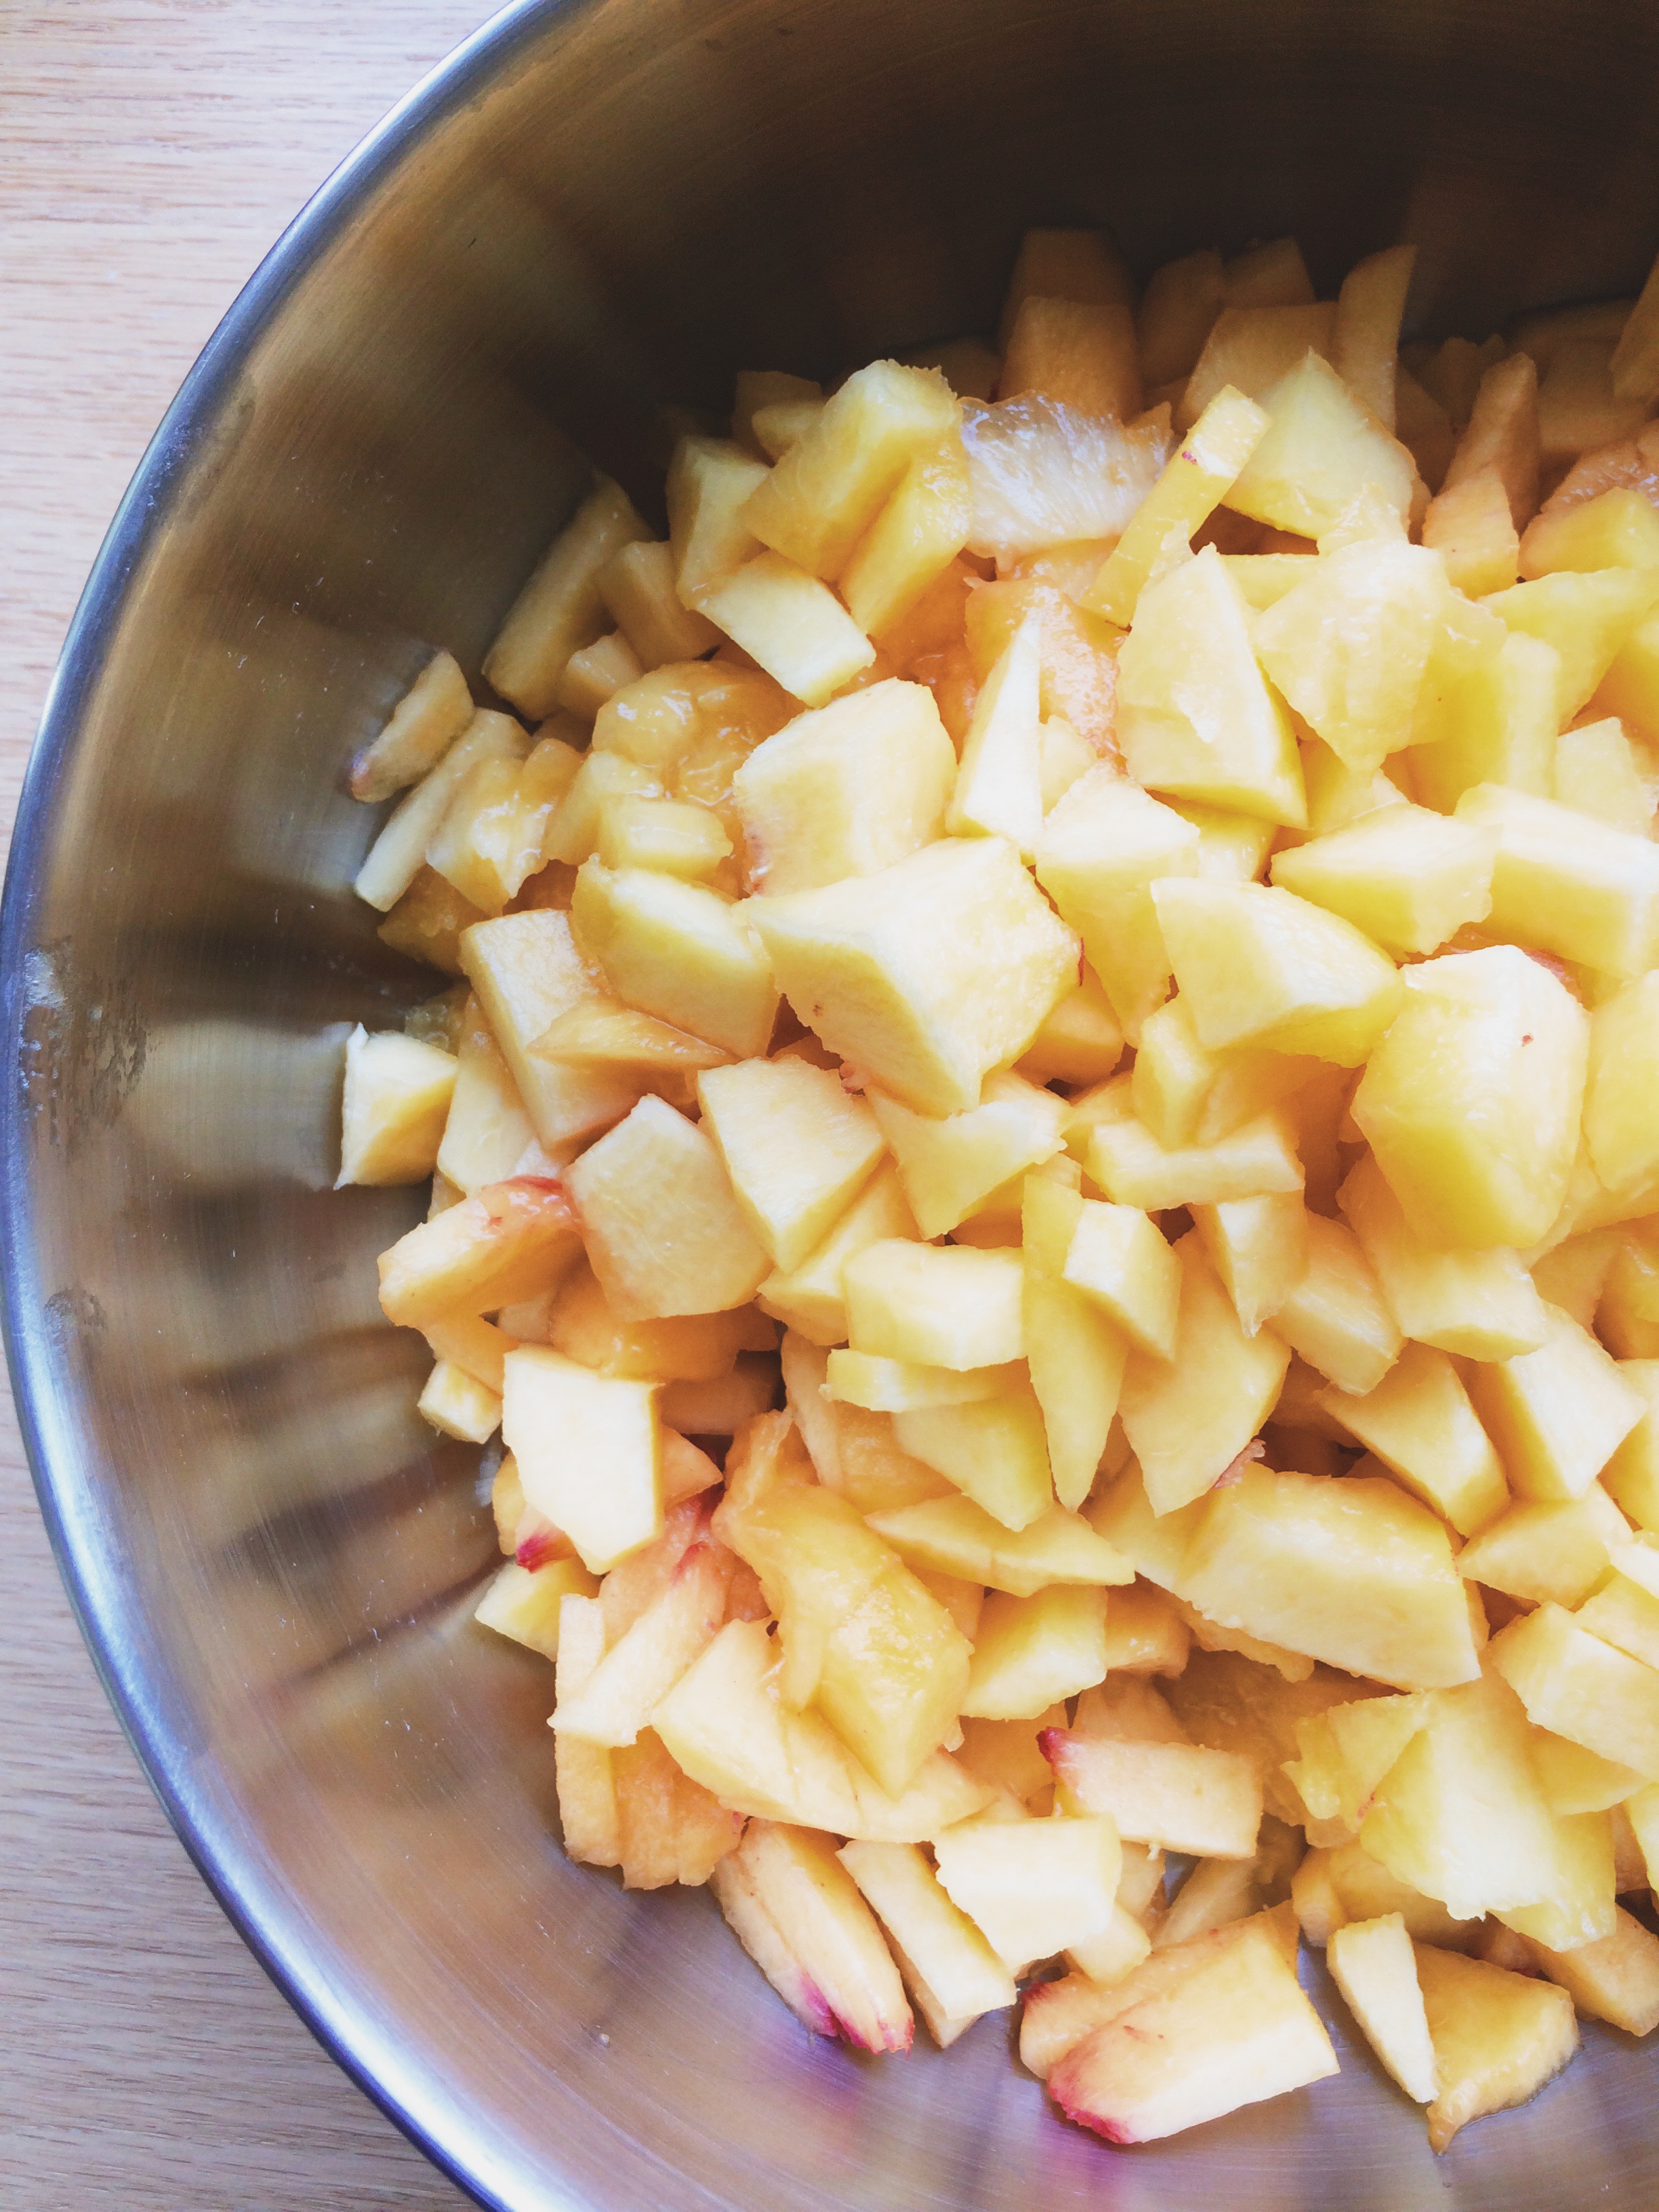
  • 6 peaches, peeled, pitted, diced
  • 1 cup (at least) brown sugar
  • Zest of 1 lemon, plus juice of (AT LEAST) half
  • Splash of vanilla, optional
  • Pinch of salt

DIRECTIONS

Add peaches, brown sugar, lemon zest, juice of half of a lemon, vanilla (if using), and pinch of salt to a medium sauce pan. Stir to combine.

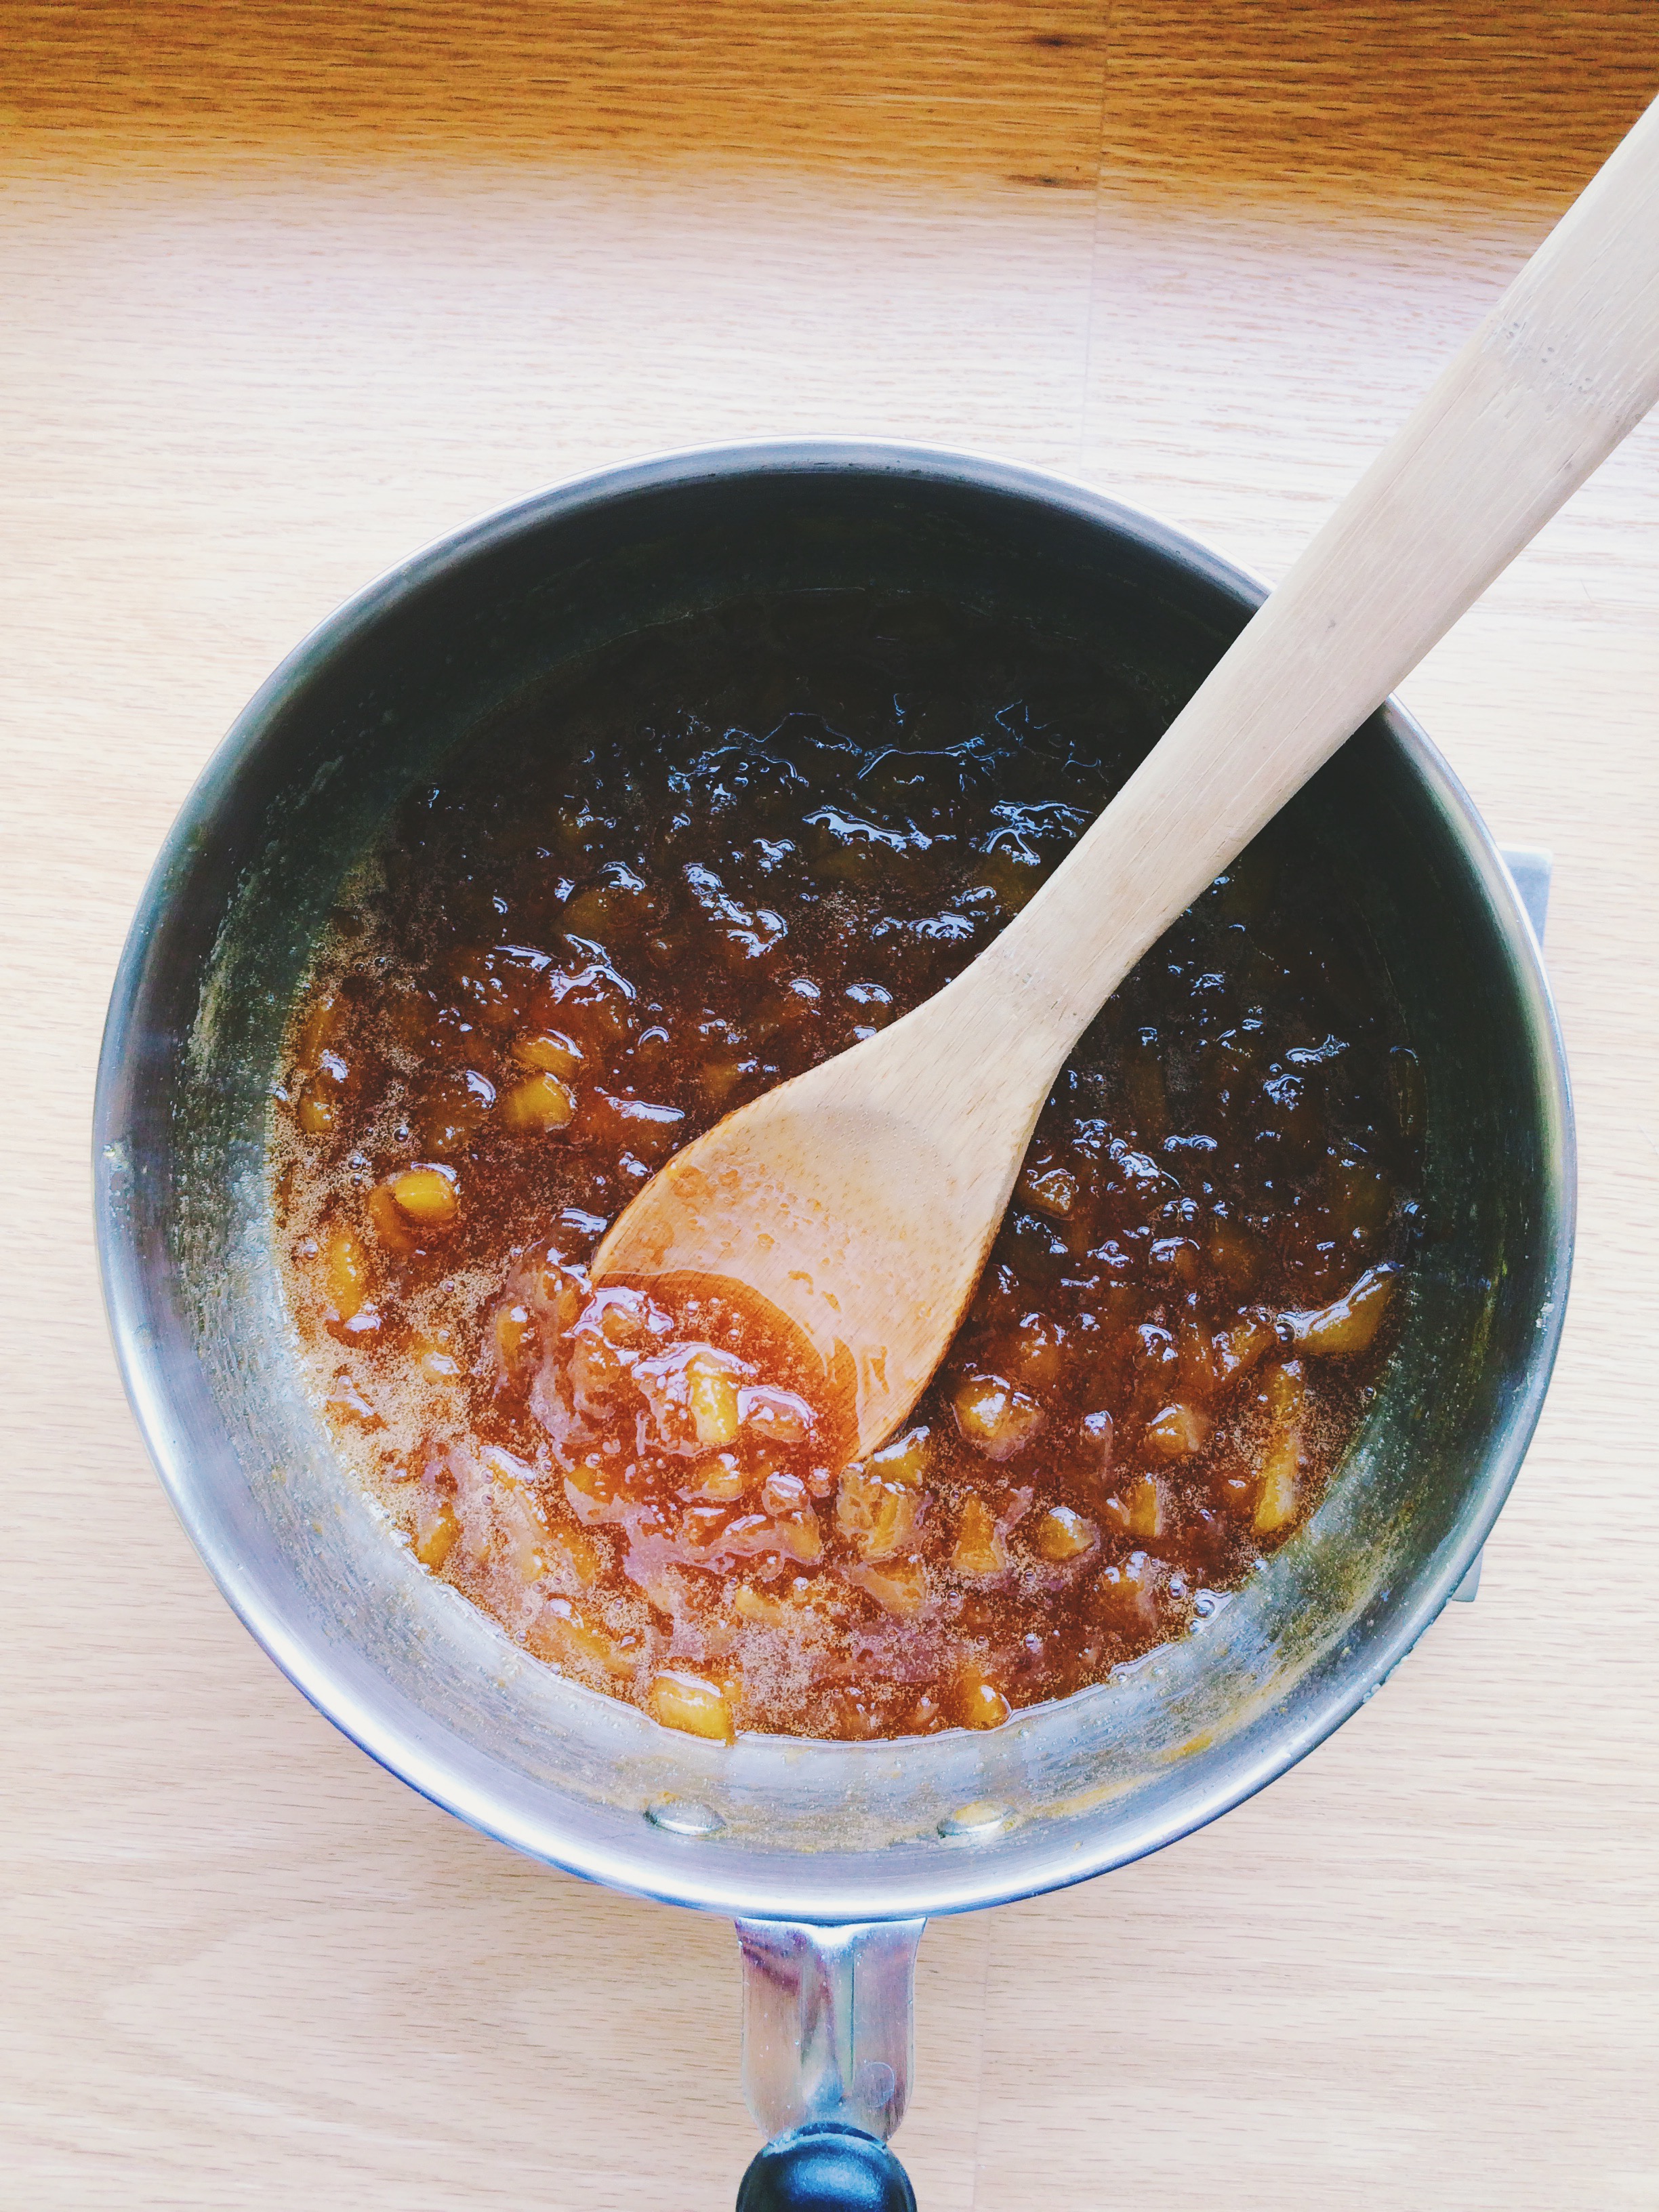
Cook the pan over medium-high heat, stirring frequently with a wooden spoon so that the sugar starts to dissolve, and the peaches begin to release their juices. Occasionally, mash the peaches with the back of your spoon to flatten them.  As the mixture starts to heat up, it will start bubbling rather vigorously, and maybe even spit up at your arm while you're stirring. Do not be alarmed. This is par for the course when you are creating delicious magic. DO NOT leave your jam at any time during this stage as it can go from fruit to burnt-beyond-belief in very, very little time.

Along the way, make sure to taste test. If the mixture is too sweet, add the other half of the lemon juice. If it's not sweet enough, add sugar by the teaspoon until it's sweet enough to your liking. (I tend to think that it's better to start off with less and add a little more, rather than start off with too much and not be able to fix it.)

Cooking time should be around 30-50 minutes depending on your stove. What to look for when seeing if your jam is done is whether or not it coats the back of the spoon. CAREFULLY draw a vertical line down the back. Has it left a defined line while the rest of your spoon is still coated with a thick jam? Yes? Congratulations, you've just passed the "line" test. Also, YOU HAVE PEACH JAM.

It's important to note that I prefer my jams on the "chunkier" side  because I like the differences in texture. If you are the same way, make sure that while there are still some little chunks of peaches, those chunks are completely soft. If you just want straight-up smooth jam, you can run it through a fine mesh sieve when it has cooled.

Once your jam has reached it's final stage, take it off the heat and let it cool in the saucepan before transferring to a clean mason jar. Store in the refrigerator.

The jam should keep in the refrigerator for several weeks.

Coffee Stracciatella

For my birthday last year, I decided that the gift that I wanted to give myself the most was an ice cream maker. I love ice cream. I love how versatile it is. I love how it can be eaten a million different ways. Most of all, I just loved that there was a (relatively) inexpensive appliance out there that could help me make a treat that I seek out at various life stages (monthly mood swings, breakups, summer giddiness, etc. etc.)

The day it arrived my brain danced with all the different recipes that I could toss into my little white ice cream/gelato/sorbet/frozen yogurt maker, but, like with literally every single new thing I ever buy, I deemed it too nice to use just then and promptly put it back in its box to "rest" until an occasion momentous enough arose for me to finally break it out and use it. Classic Sydney move. My ice cream maker sat new, empty, and alone in its original packaging for 1.3 years.

Finally, friends, an occasion momentous enough arose: I found a recipe, and I wanted ice cream. Groundbreaking stuff, guys.

I am far and away a morning person. Always have been. When I was in college I woke up at 6:30 for my 8 AM classes with a pep in my step whilst my roommates couldn't even utter a syllable without first groggily shoving a mug under the coffe-maker and taking a few sips. But there was one class that even I couldn't wake myself up for and thus had to turn to those beyond delicious frappe drinks that Starbucks sells in grocery stores. My go-to was always "vanilla mocha." Did it totally wake me up? Not really. Was it delicious? Totally!

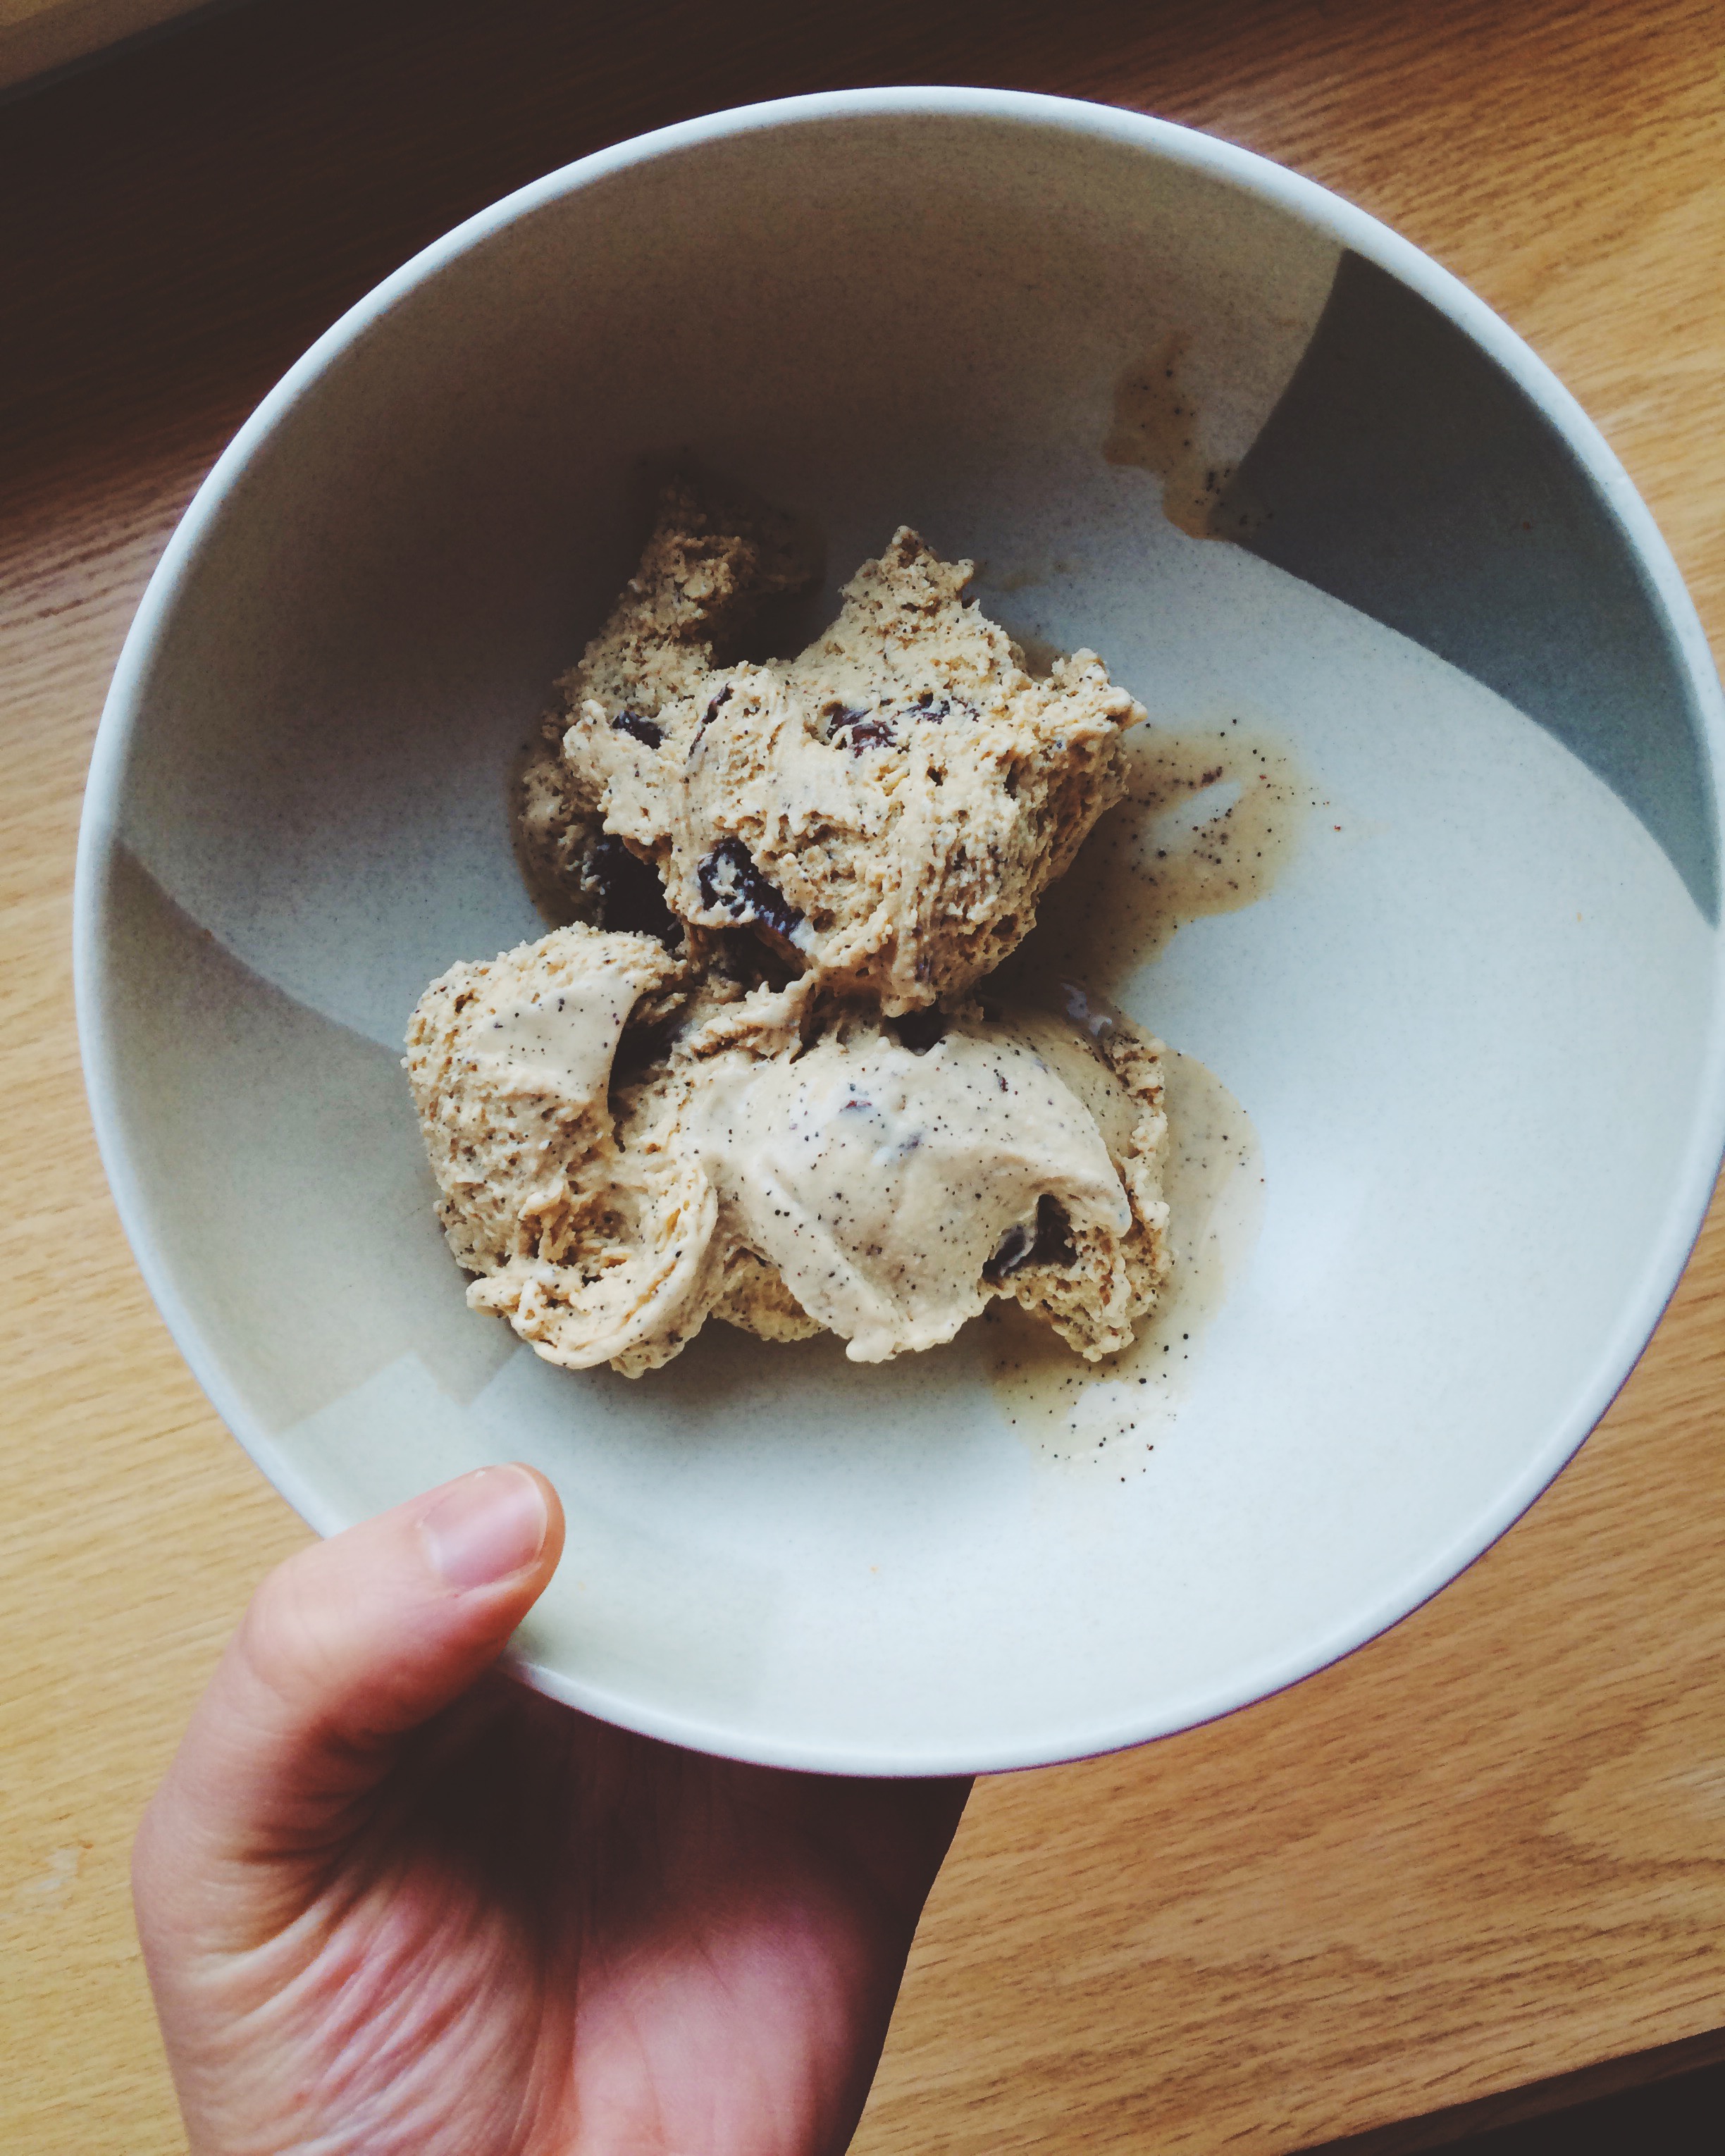
And so, as I spooned this decadent coffee stracciatella into my mouth, all of a sudden the memories of my vanilla mocha frappe days came rushing back. I was there again, in that 8 AM, sipping away at my creamy, milky, choclatey coffee drink which was perfectly cold and perfectly delicious. And it of course makes perfect sense: Stracciatella is milk-based, mixed with heavy cream, sugar, vanilla, and egg yolks. Add in two heaping tablespoons of espresso powder, plus a drizzling of melted bittersweet chocolate (the latter is added whilst the ice cream is churning), and you've got the frozen vanilla mocha treat of dreams. It's rich, creamy, decadent, and so velvety smooth. The coffee flavor is concentrated and completely complimented by the flecks of chocolate that, while being churned, freeze instantly and disperse throughout the entire ice cream. This particular ice cream is special, and I'm so glad it was my first homemade.


Have an ice cream maker? You've GOT to try this coffee stracciatella


COFFEE STRACIATELLA 

What You'll Need:

  • 1 1/2 cups heavy cream
  • 1 cup whole milk
  • Pinch of kosher salt
  • 1/2 cup sugar, divided
  • 1 teaspoon vanilla extract
  • 5 large egg yolks
  • 2 teaspoons instant espresso powder (I like Cafe Bustelo)
  • 3 ounces bittersweet chocolate, melted


DIRECTIONS 

In a medium saucepan, combine the cream, milk, salt, and 1/4 cup sugar. Next add the vanilla extract and stir to combine. Bring your mixture just to a simmer, stirring often to dissolve the sugar. Once the sugar has dissolved, remove from heat.

Whisk egg yolks and the remaining 1/4 cup sugar in a medium bowl until pale, which should take about 2 minutes. Very carefully whisk in about 1/2 cup of the warm cream mixture to temper the eggs, then whisk the yolk mixture into the remaining cream mixture. Cook the mixture over medium heat, stirring constantly, until the mixture is thick enough to coat the back of a wooden spoon. This should take about 2-3 minutes. Remove from heat.

Strain the custard into a medium bowl set over a large bowl of ice water. Next, stir in the espresso powder until dissolved. Let the mixture cool, stirring every so often.

Process your custard in an ice cream maker according to manufacturer's instructions (Make sure to read them VERY carefully!). Once custard is frozen to your desired consistency in the ice cream maker, gradually pour in the melted chocolate (this is best to do when the machine is on, so you won't get any frozen clumps). Process until the ice cream is flecked with chocolate, about 2-3 minutes longer.

At this stage, your ice cream will probably be at soft-serve consistency. If you prefer a harder consistency, go ahead and pop your ice cream into a freezer-safe storage container and into the freezer for another hour or two. The longer you keep it in, the more solid it will become. Enjoy!!


SOURCE: Bon Appetit 

Vanilla Chai Chocolate Truffles

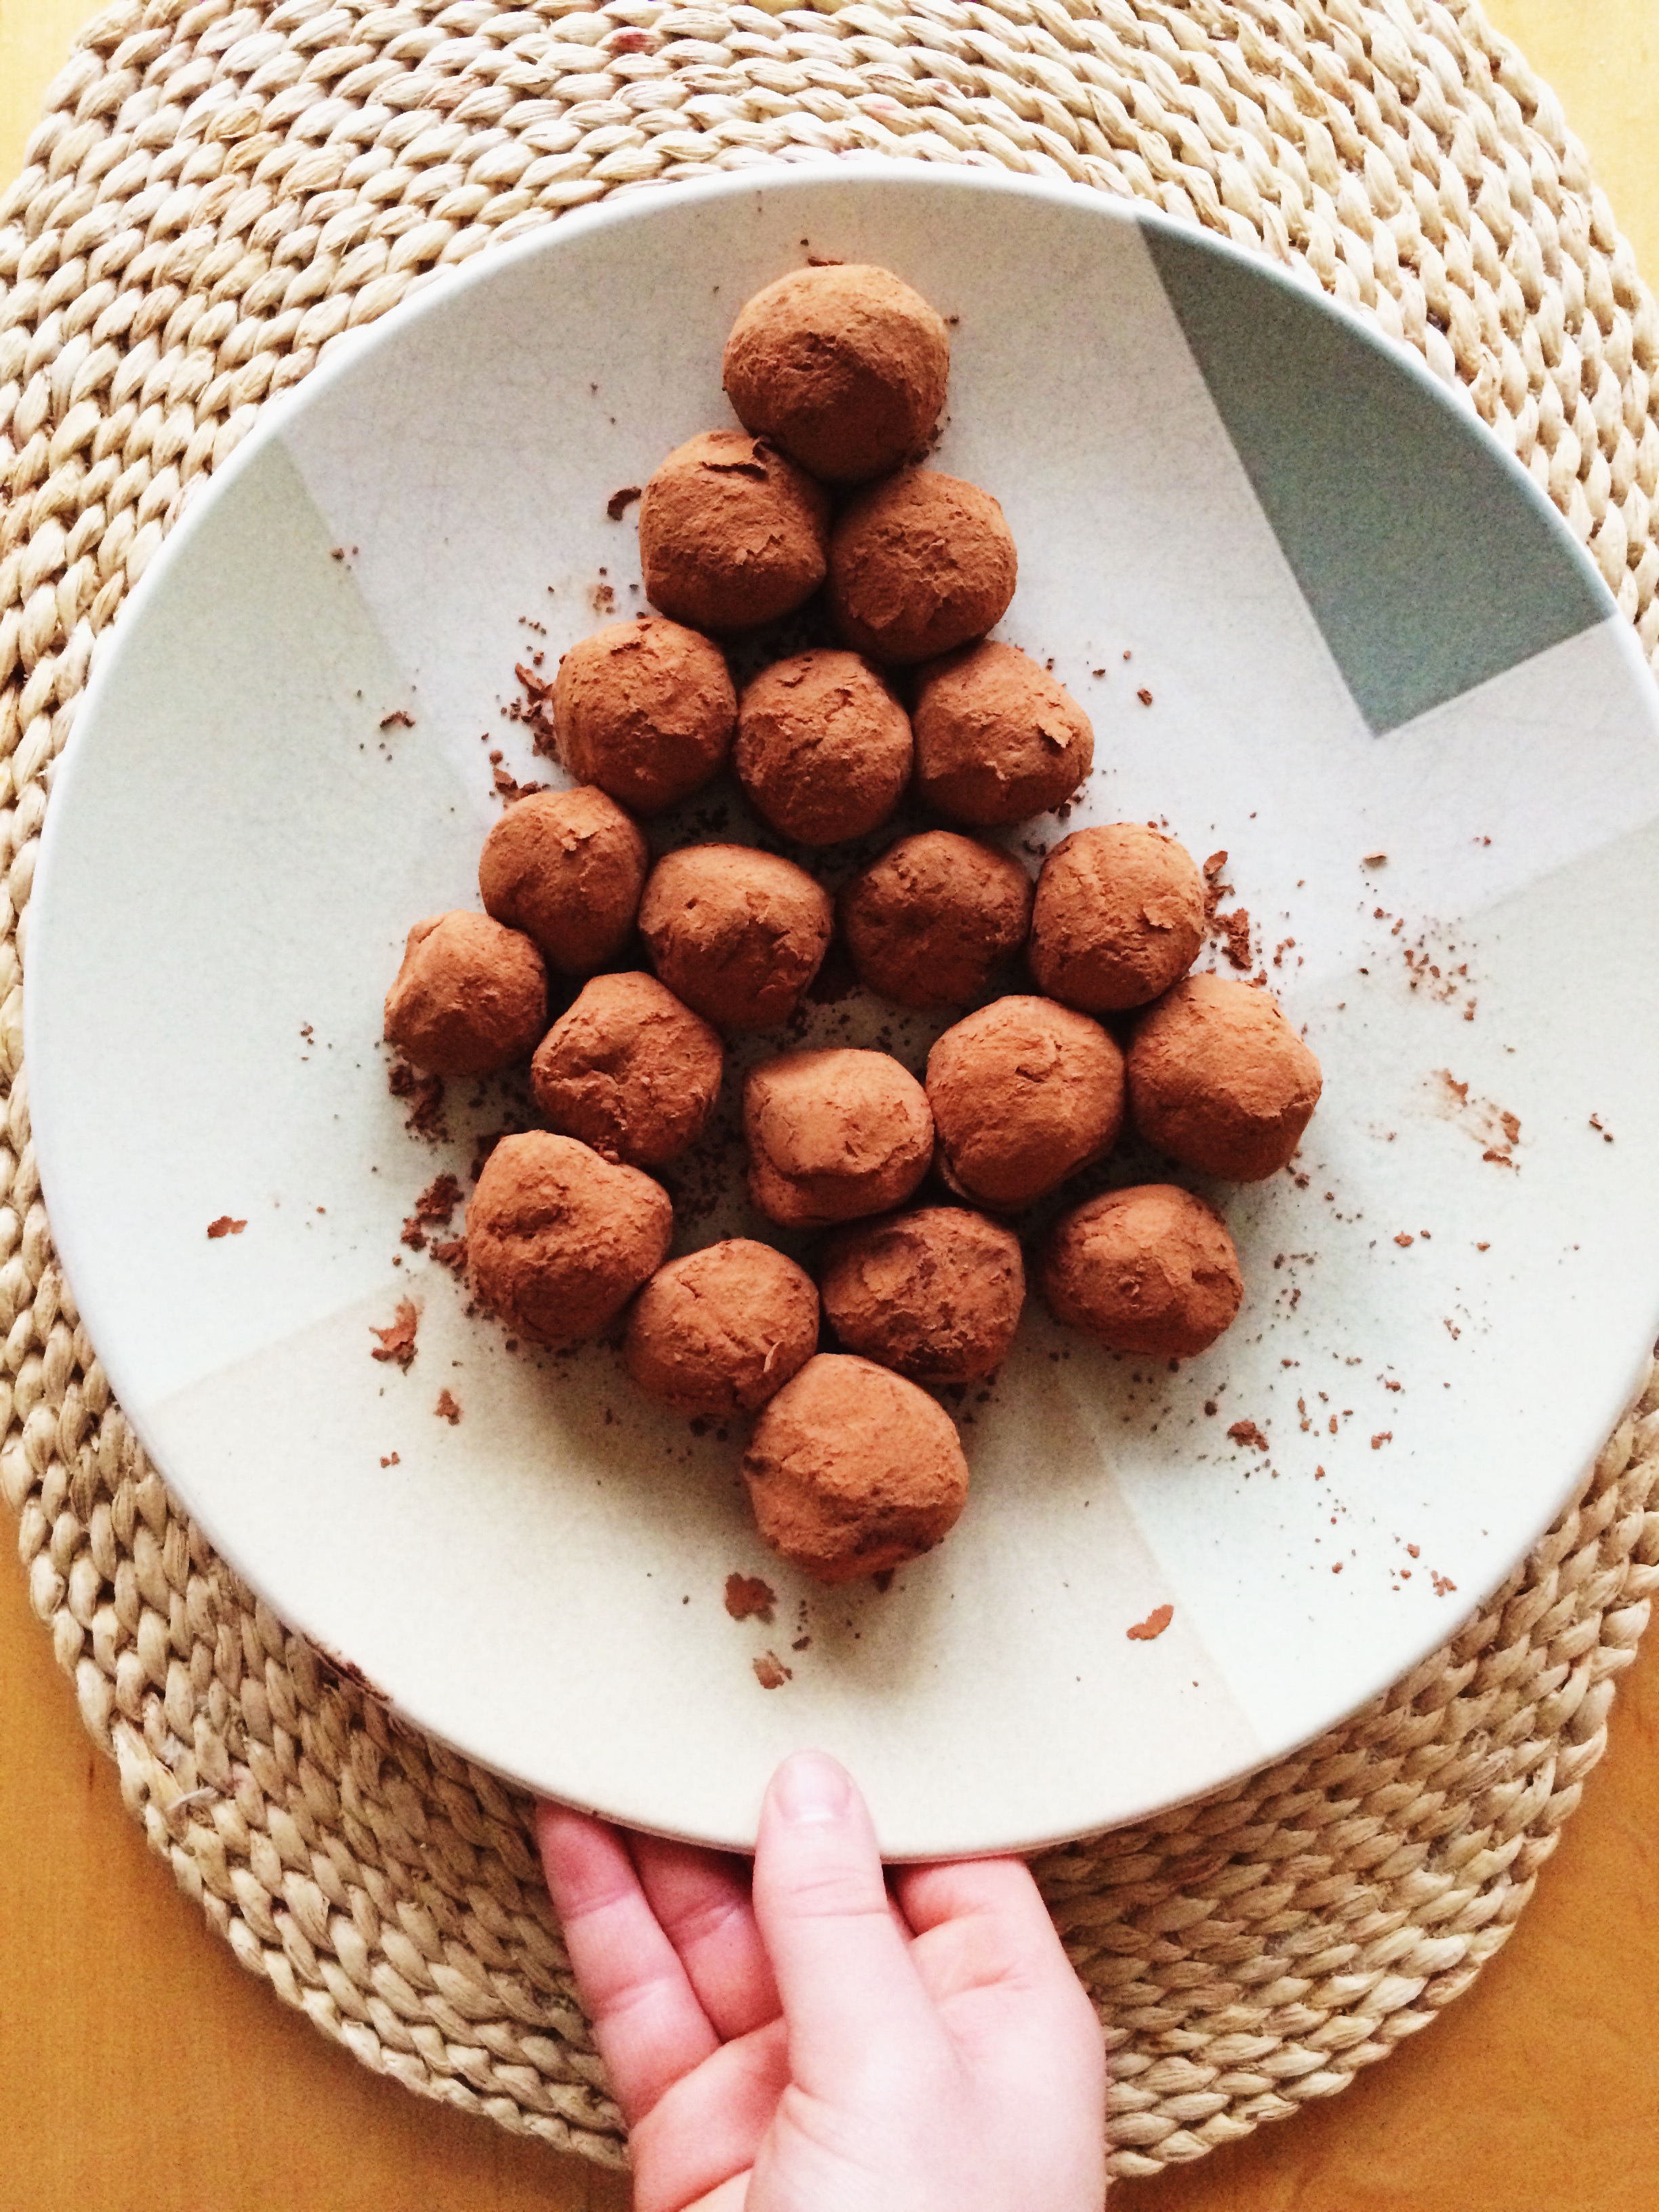
On this episode of "Sydney Makes Easy Things That Impress Her Friends," we're talkin' 'bout chocolate truffles. But not just any regular chocolate truffles, oh no, we're throwing vanilla chai into the mix. Essentially, they're chocolate balls, but doesn't the word "truffle" just make it sound much fancier? Ya, I agree.

The bond that a woman of color has with her hairdresser is one that is sacred, and must be fostered and nurtured. I do this by surprising mine with edible treats at least once a month. And since the hot cross buns that I made a few weeks back were given to family and church members, I decided that my beloved beautician should get something specifically made JUST for her. And like many, many women that I know, she looooooooooves  chocolate. So, I thought, what better treat than just straight-up homemade truffles?

During the holiday season my television basically stays on Food Network and Cooking Channel, and I watched a special episode of Giada at Home in which she made chocolate truffles for some "guests" (more likely the production crew, but ya know, TV magic and all that) who were stopping by for a holiday party. She stepped it up by brewing a bunch of bags chai  in heavy cream, then taking it off the heat and pouring it over chocolate to melt it. Then she stirred it all together until it turned into chocolate ganache, refrigerated it for a few hours until it set, then scooped out the mixture by the tablespoon, rolled it into a ball, coated it in cocoa powder, and then wrapped a little gold leaf around each for a classy touch. They were so cute and elegant, so I logged the recipe away for an occasion when I would really, really want to make them. But when it came time to make these truffles, wouldn't you know it, I didn't have any gold leaf on hand (I'm not workin' with a Food Network budget here), and instead of brewing with classic chai, I decided to switch it up with my favorite bundling of vanilla chai tea bags. Was it a success? Oh yeah. She loved them!

These truffles are perfect for anyone who has a semi-sweet tooth. They've got a bit of an edge to them, with just the hint of sweetness to balance everything out. Basically, you get this intensely rich, deep chocolatey flavor, mixed with the warmth of spices that you find in classic chai, and finished off with the subtle hint of vanilla. The vanilla may just be a gentle whisper, but it definitely won't let you ever forget that it's there.

Best of all, they can be made wayyyy in advance, which works perfectly for me because I can enjoy leftover truffles that didn't fit in the gifted container for weeks to come.

Vanilla Chai Chocolate Truffles: Good for friendship, good for random chocolate cravings.


VANILLA CHAI CHOCOLATE TRUFFLES 

What You'll Need:

  • 1 1/2 cups heavy cream
  • 7 bags vanilla chai tea (I like Bigelow)
  • 1/4 teaspoon salt
  • 9 oz dark chocolate, finely chopped
  • 2/3 cup cocoa powder


DIRECTIONS

Before you begin, tie all of your tea bag strings together in a knot. This makes it much easier to fish them out when you've finished with them.

Pour the heavy cream into a small saucepan, then add your tea bags. Place the pan over medium-low heat, warming the cream slowly; stir occasionally. You'll know when your mixture is heated through when you see little bubbles start to form around the edges of the cream, about 5-7 minutes. Simmer for 3 minutes more, then remove from heat.

Remove the tea bags from the sauce pan. Place the finely chopped chocolate and salt in a medium bowl, then strain the cream mixture over it using a fine-mesh strainer. Let sit for 3 minutes so that the chocolate begins to melt on its own. Slowly whisk the melted chocolate into the cream starting in the center of the bowl, then slowly making your way outwards. Remember to do this slowly and carefully so that the chocolate doesn't seize up! Continue whisking until the mixture is smooth and completely blended. Place a piece of plastic wrap DIRECTLY on top of the ganache, and press down gently to make sure the surface is completely covered.  Let set in the  refrigerator for AT LEAST 3 hours, but the best is overnight. The mixture should be firm by that time, but still easy to work it.

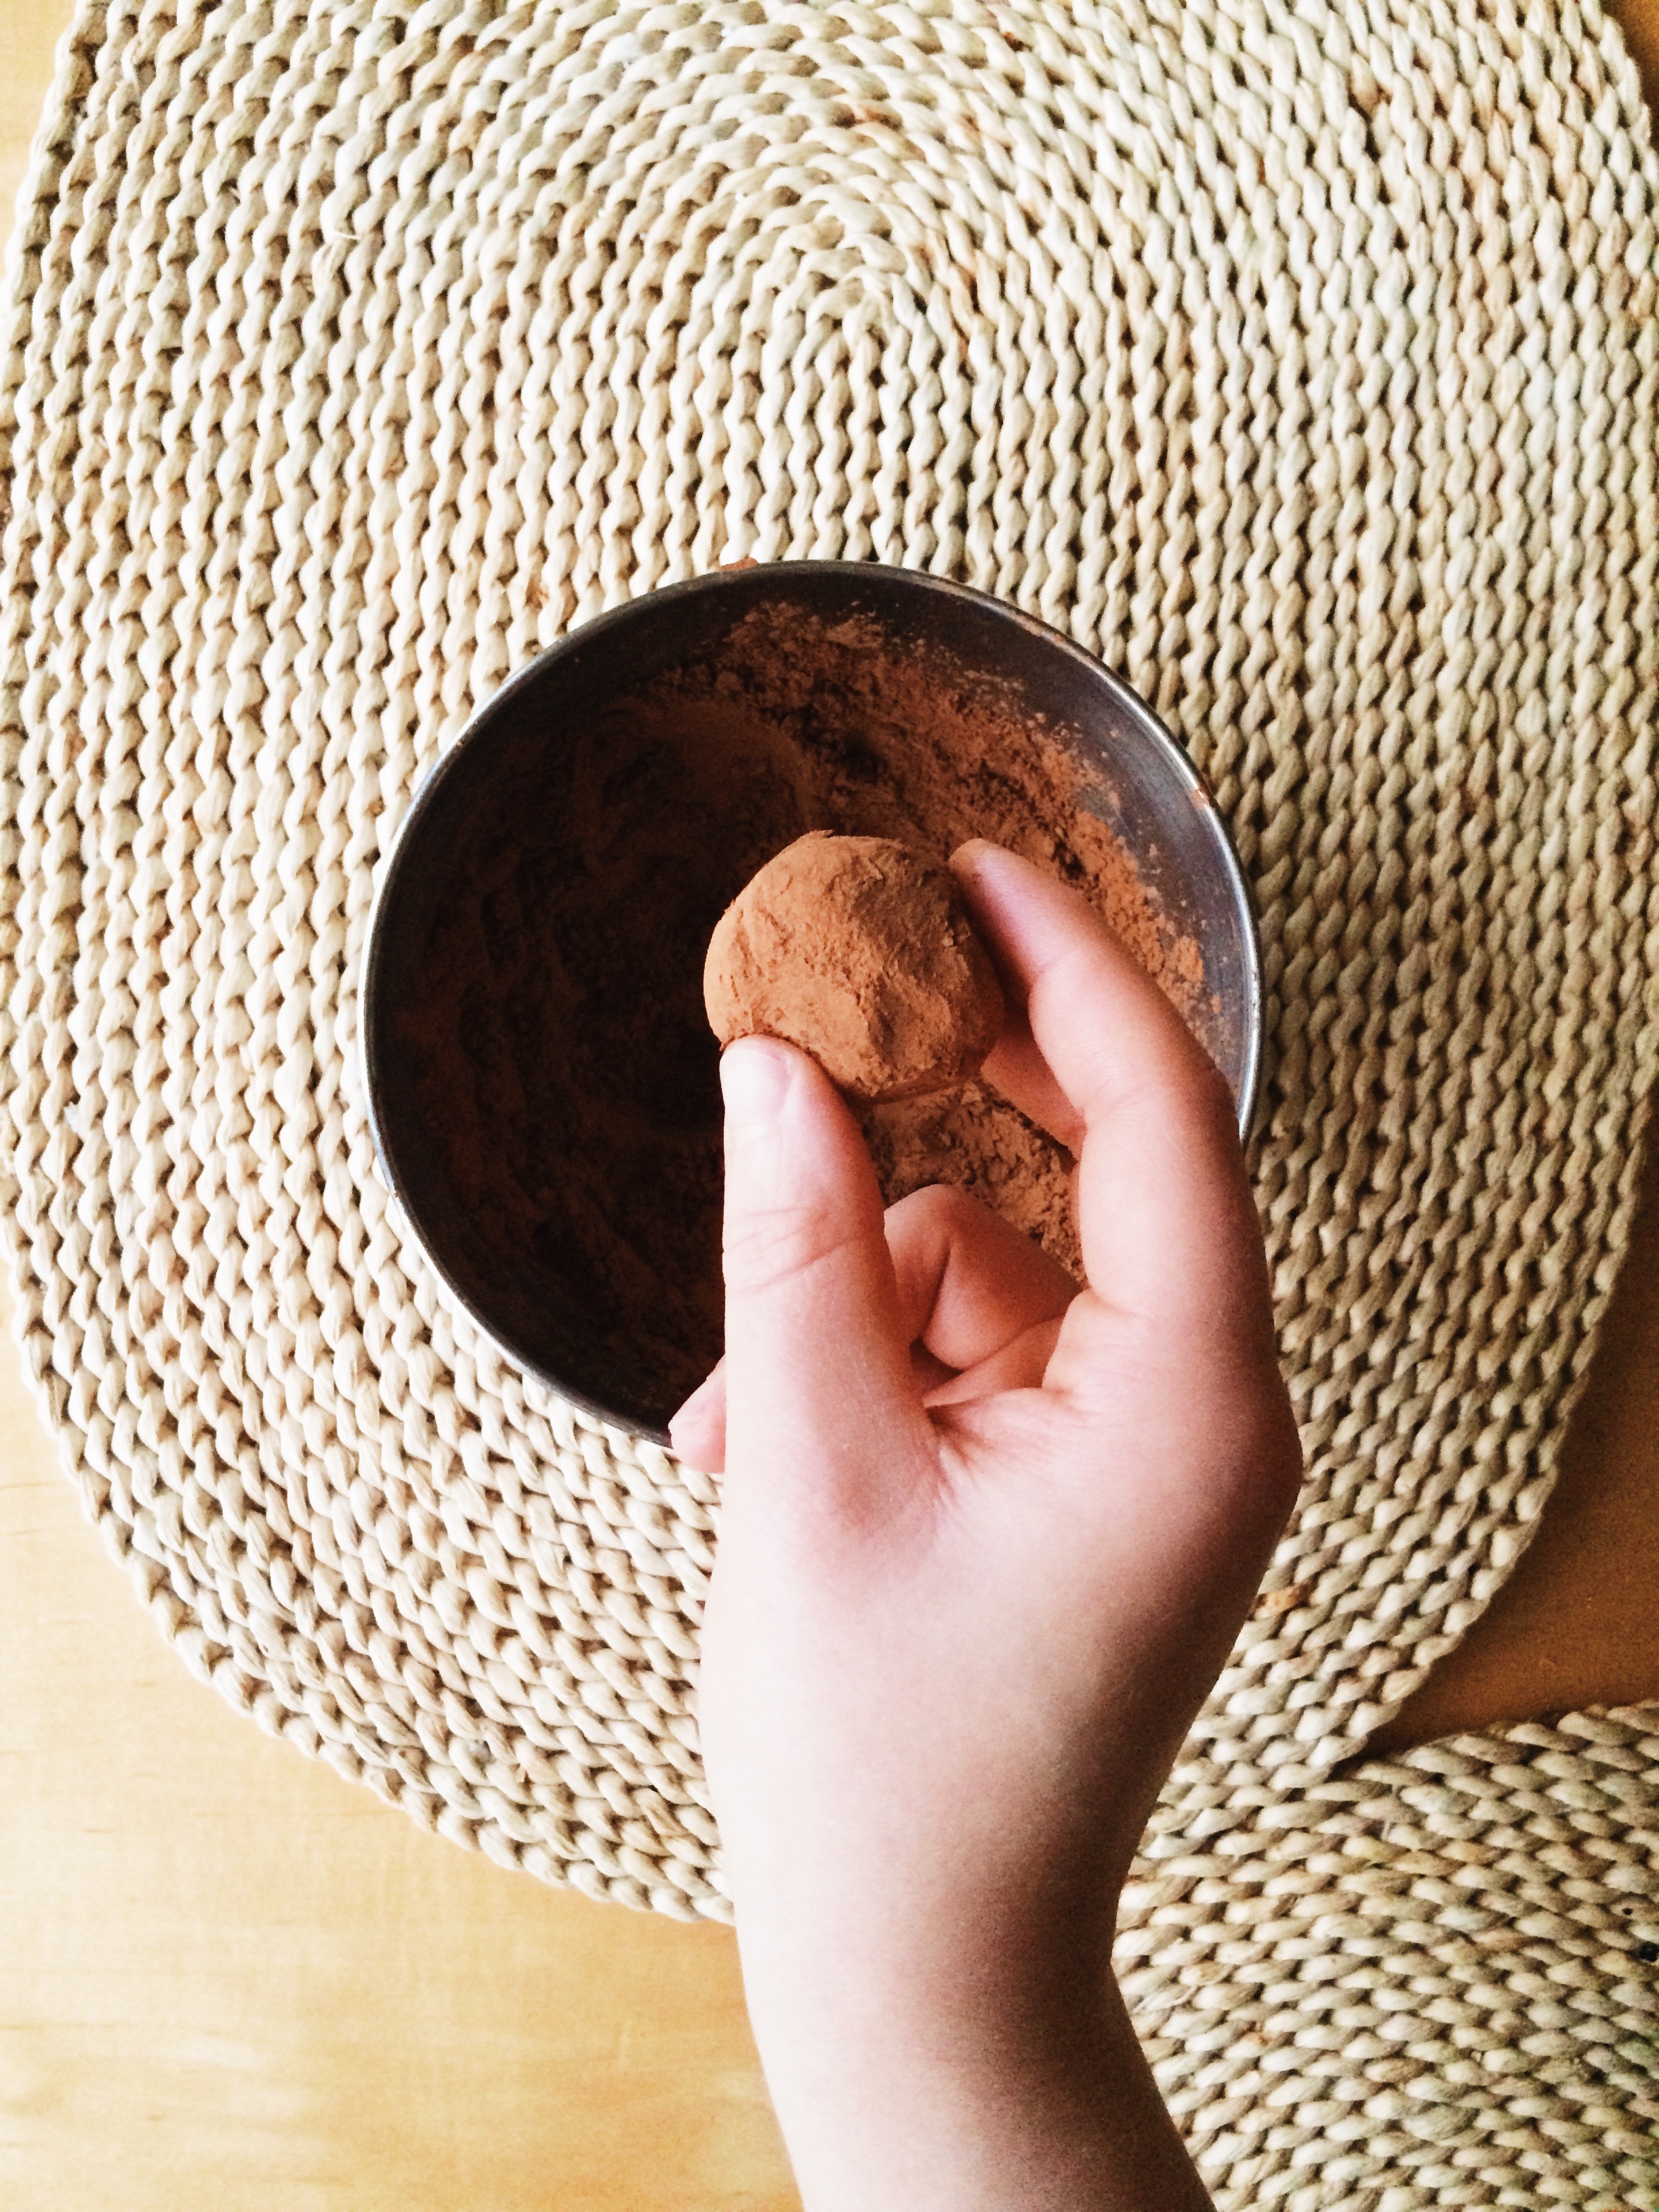
Measure your coca powder, then place in a small, shallow bowl. With a tablespoon cookie scoop (or just a tablespoon measuring spoon), scoop even rounds of ganache into your palm, then very quickly but gently roll into a ball.  Next. roll the ball in the coca powder to coat; gently shake off any excess.. Repeat this process until you've run out of ganache. Place your truffles in an airtight container and refrigerate until you are ready to serve.

Make Ahead: The truffles can be made several weeks ahead of time, kept refrigerated in an airtight container. On the day of serving, roll each in the cocoa powder.


SOURCE: Very, very slightly adapted from Giada De Laurentis 


How to Make Chicken Stock Without a Recipe (But There's a Recipe!)

Remember that time, just a month ago, when everyone was in awe of the warm weather outside and we thought, "Aw, man. I kind of miss the snow, and that delicious nip of cold in the air..." HOW WRONG WE WERE! I haven't seen the ground in two weeks, and I have an industrial-sized bottle of lotion by my side practically 24/7. But I suppose it could be worse. It could be 2 degrees F outside. OH WAIT. ALSO HAPPENING. Someone wake me when Spring gets here.

I will say this: when I have nowhere to go, there is nothing prettier or more serene than the wintery wonderland I see out my window. It's so peaceful, and so beautiful. It makes the cold almost worth. Almost.

But Midwestern winters aren't all bad; freezing temperatures give me the chance to catch up on all the domestic projects that I keep writing down on my never-ending list. One big one? Making homemade chicken stock!

It's 2016, people. Let's start making our own.

I go through a lot of chicken stock at my house. I use it for burrito bowls and soups, mostly, and I definitely get tired of running to the store all the time to pick up multiple containers. It's so incredibly easy to make at home, PLUS, you're not wasting a thing! All you need is a rotisserie chicken from the grocery store (you can use the meat in sandwiches, salads, on nachos, in soups, etc. etc.) and some of your favorite vegetables and herb seasonings. It's so simple, so economical, and VERY TASTY.

The fun part about making your own chicken stock is that you get to modify it to your particular tastes. If you like things a little spicier, kick it up a notch with a teensy bit of cayenne (a lot goes a long way). If you hate celery, leave it out! And homemade stock is an especially fun thing to make when you have a ton of leftover veggies and nothing to put them in. Waste not, want not.

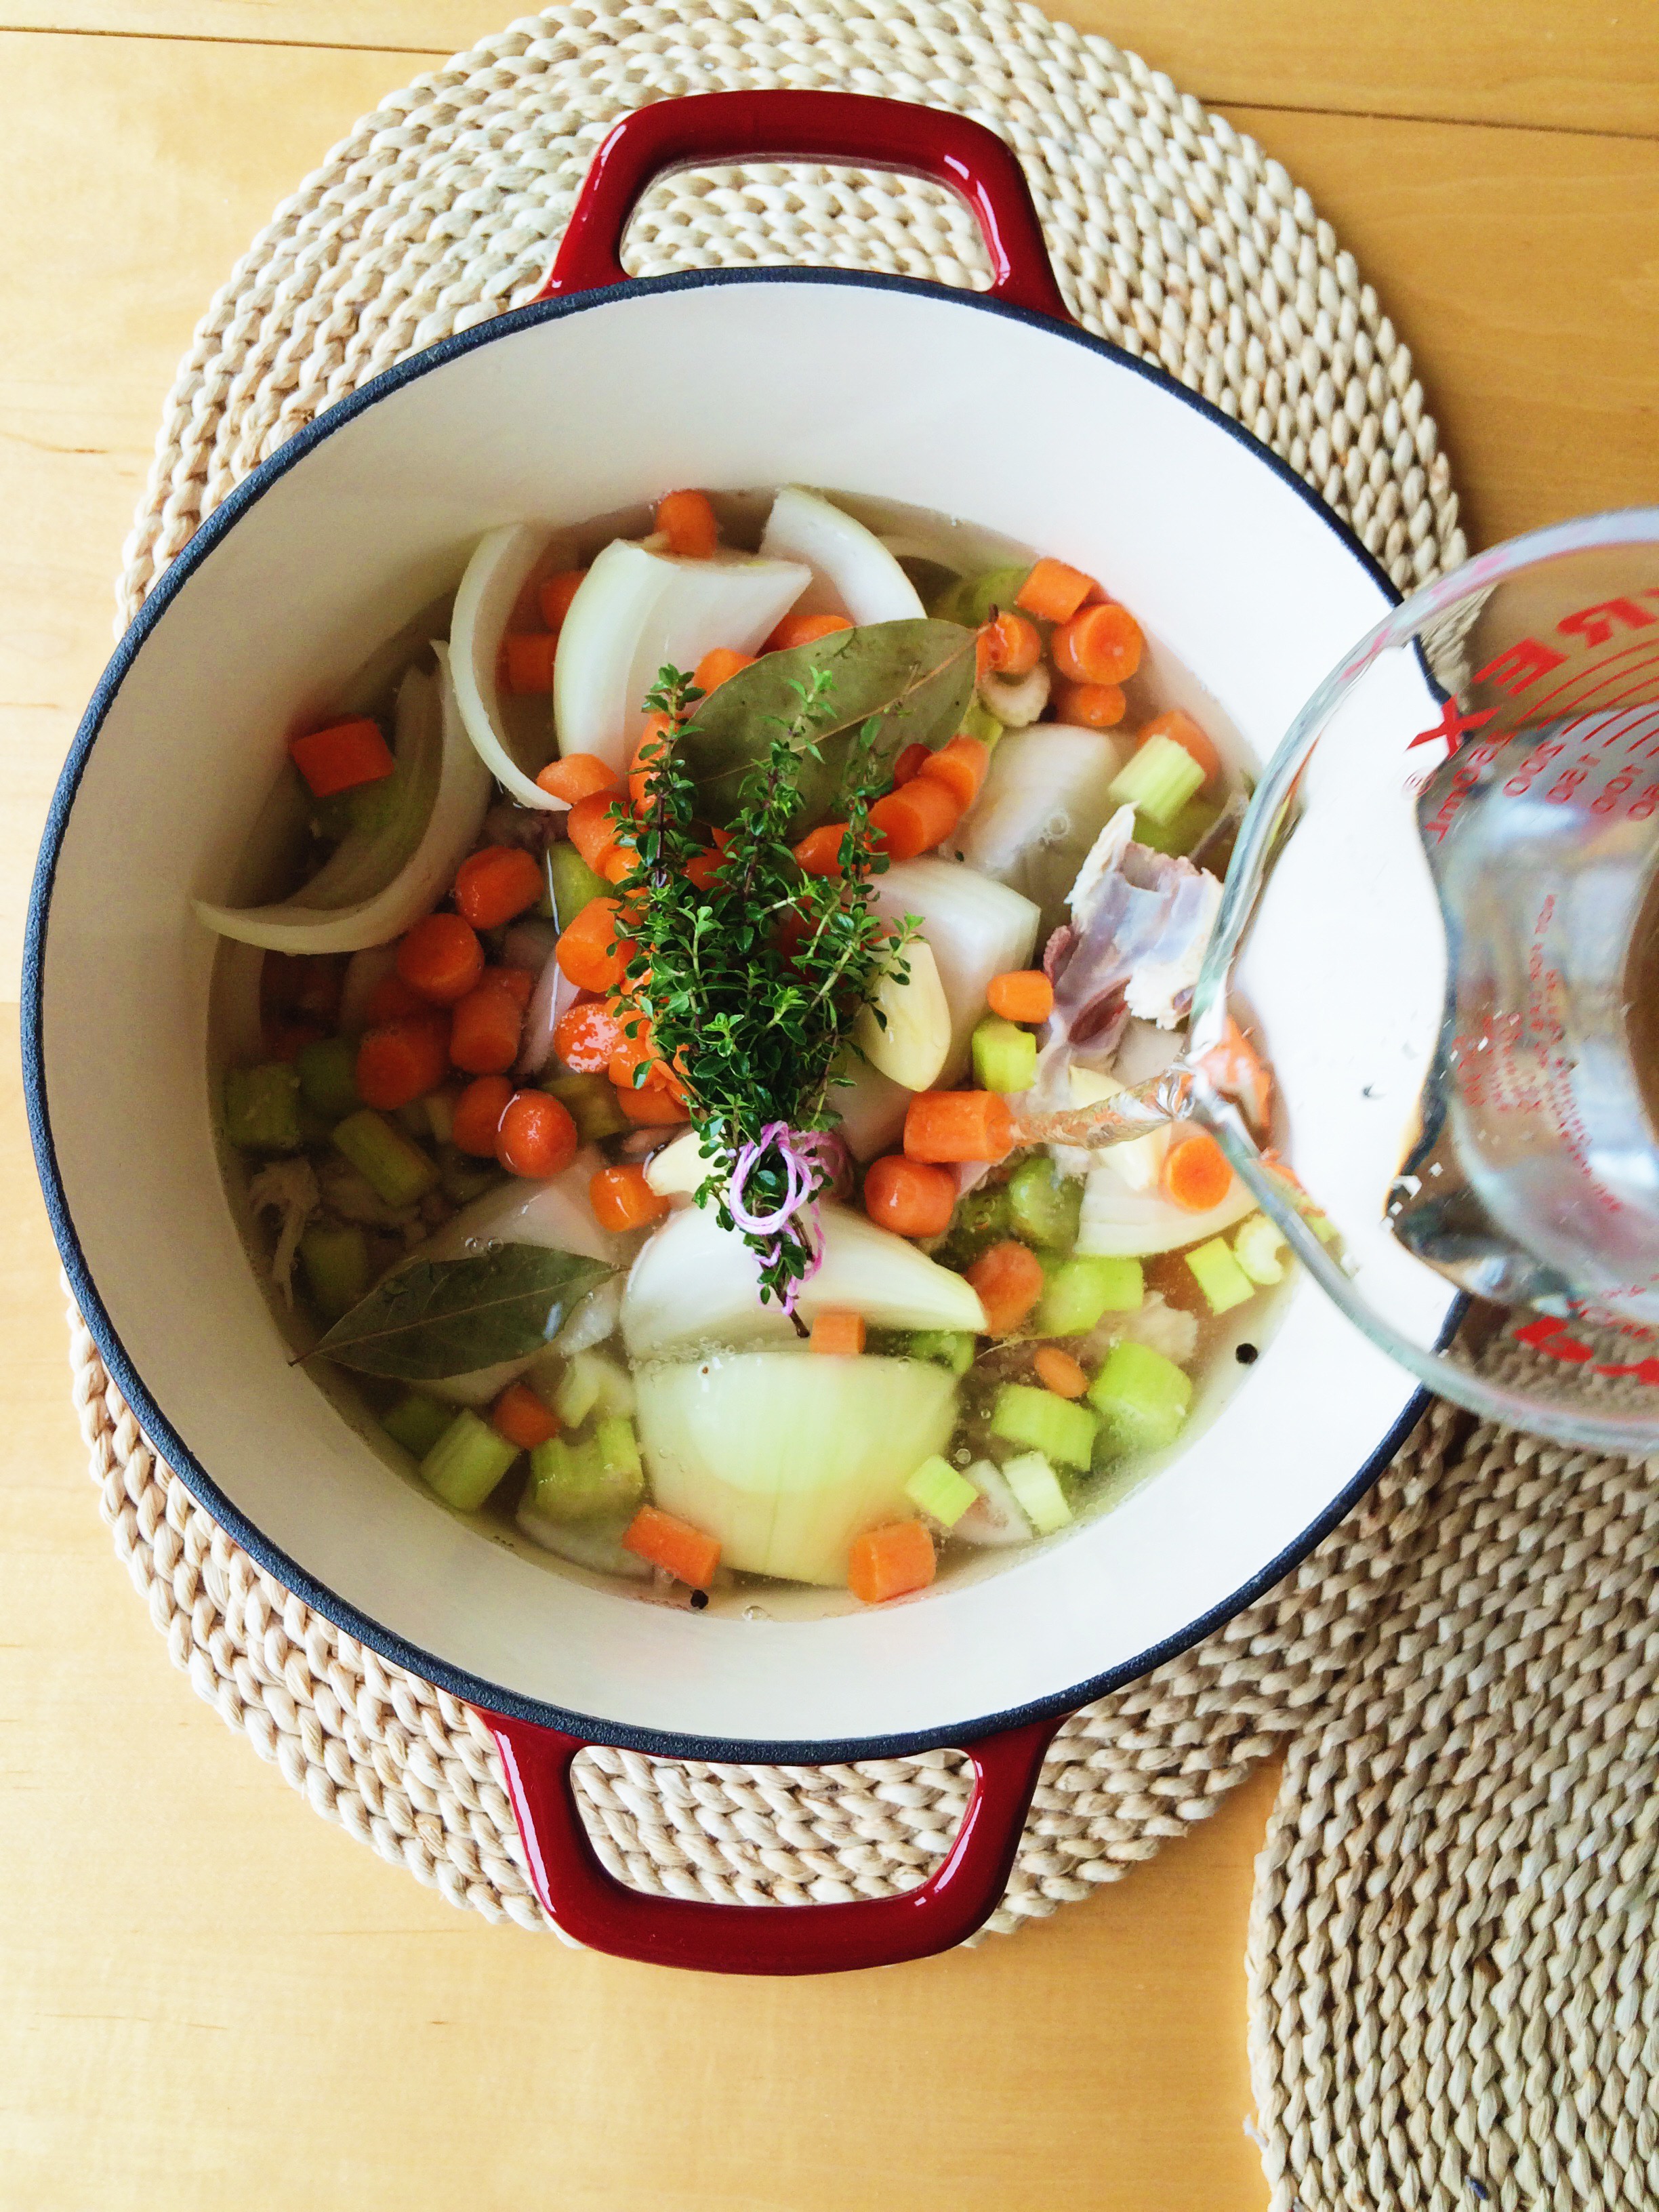
Your main ingredients are: a chicken carcass cut into pieces, water, salt, and pepper. After that, it's up to you! Once you've put the ingredients you like into the pot, fill it with water so that everything is covered by about 1-2 inches, bring it to a boil, then let it simmer for three hours. If at any point you start to see the water level get a little low, simply add more! And that's it. Once your stock is done, skim off any film that's reached the top with a slotted spoon, strain the stock into a large bowl, and discard all the solids. (Here's a tip: When I'm using fresh herbs, I like to tie them all together with a little kitchen twine. That way, once it's time to strain, I can easily fish them out. ) Make sure your stock is completely cool, then separate it evenly into Mason or Weck jars. If you have plans to use it within a week, pop some stock in the fridge. If you've got future plans, pop your jars in the freezer. It lasts indefinitely. Just make sure to defrost it in the refrigerator overnight before you use it!

And there you have it. You can totally make homemade stock without a recipe! But if you're looking for a little guidance, scroll down for what I put in mine.

Everything's better homemade.


HOMEMADE CHICKEN STOCK

What You'll Need:

  • 1 chicken carcass, broken into pieces
  • 2 whole onions, quartered
  • 8+ baby carrots, chopped
  • 5 celery sticks, chopped
  • 3 whole garlic cloves, peeled
  • 1/2 teaspoon whole black peppercorns
  • 2 bay leaves
  • 4+ sprigs of fresh thyme, tied together with kitchen twine
  • Pinch of salt

DIRECTIONS

In the bottom of a pot that is at least 4 quarts, place the broken-up chicken carcass, onions, baby carrots, celery sticks, garlic cloves, peppercorns, bay leaves, thyme, and salt. Make sure that everything is evenly distributed.

Fill the pot with water until all of the contents are covered by at least 1-2 inches of water.Place the pot over medium-high heat, and bring to a boil. Reduce the heat to low, then let simmer for 3 hours. The stock will occasionally bubble, and the contents may shift a little bit. If the water starts to reduce, add more. You want to make sure that everything is fully submersed in water at all times.

Using a slotted spoon, collect and discard any foam or film on the top of  the stock, then strain the stock into a large bowl. Throw away all of the solid pieces that have landed in the strainer. Let the stock cool completely before transferring it evenly into Mason or Weck jars. If you're planning to use the stock within a week, store it in the refrigerator. If not, it will freeze indefinitely. Once you're ready to use it, simply let the frozen stock defrost in the refrigerator overnight.

Hey, you just made chicken stock. 'Grats.


SOURCE: Adapted from The Kitchn Cookbook

Homemade Holidays: Buttery-Cayenne Pecans

Guys, I am DETERMINED, DETERMINED I SAY, to get all of my gifts sorted, made, and mailed BEFORE Christmas this year. No exceptions. So far, I'm definitely on track, but if you're like the me of last year, struggling to think of the perfect edible treat, then you'll really like these pecans.

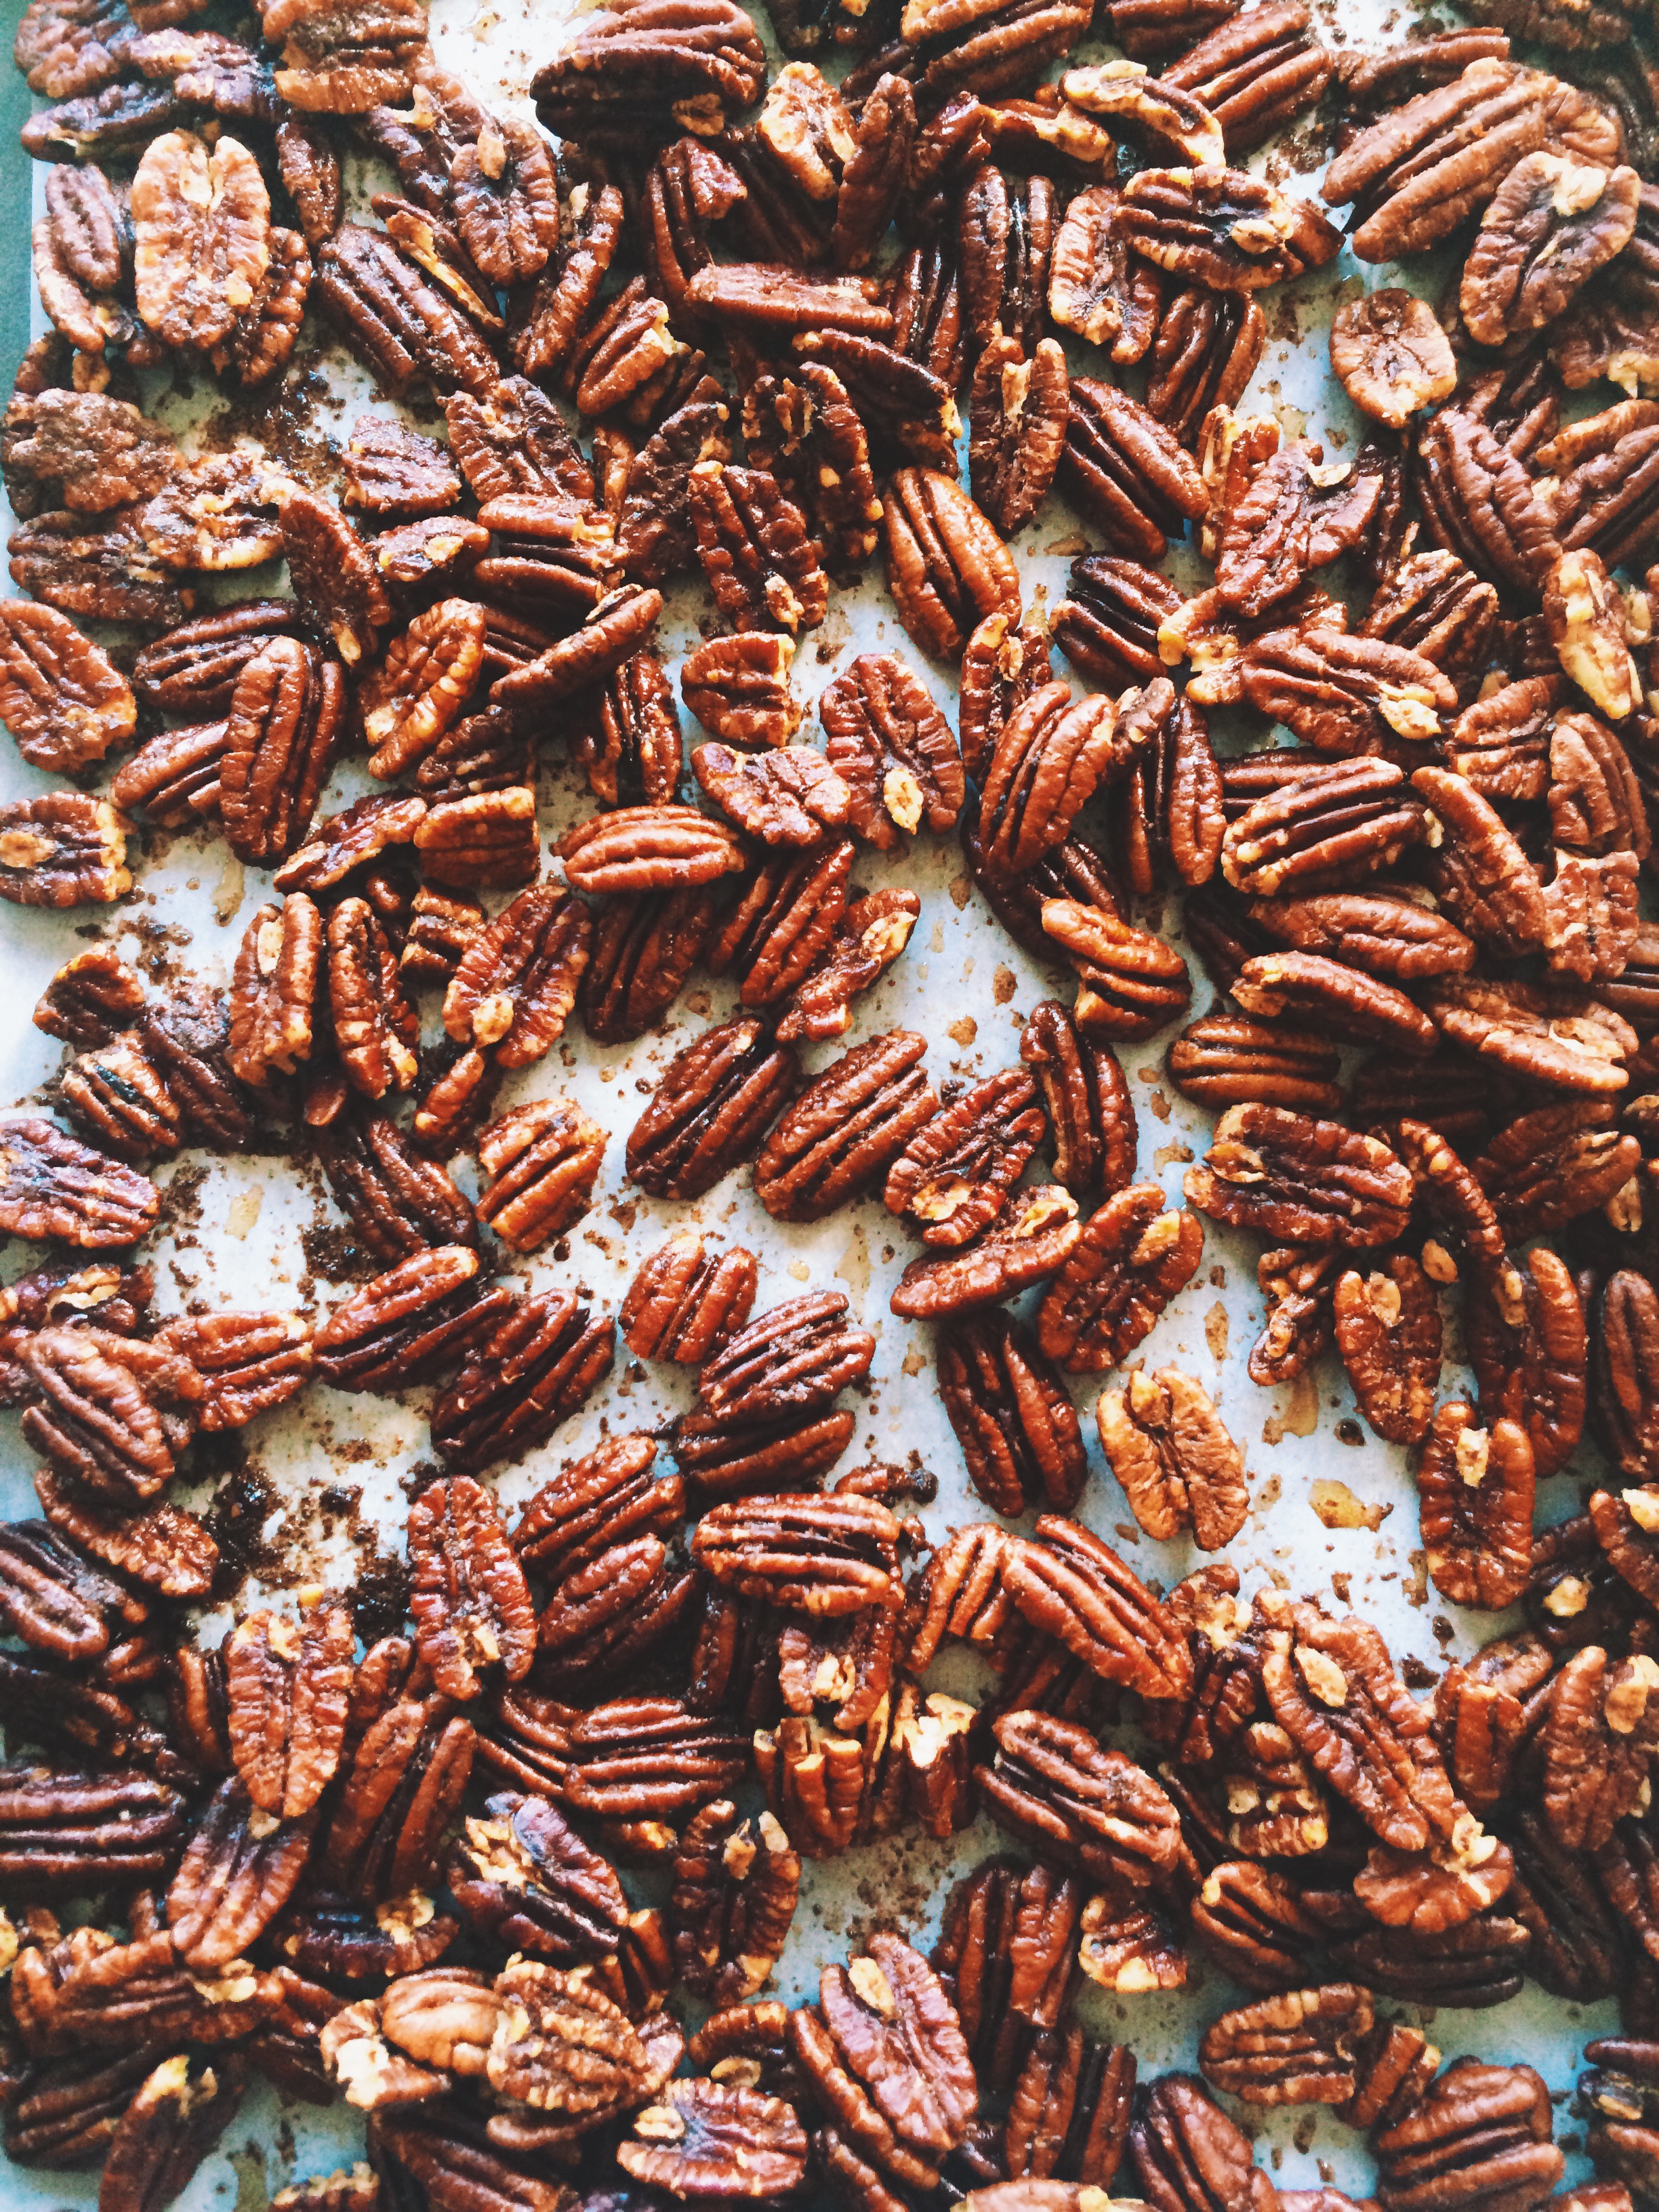
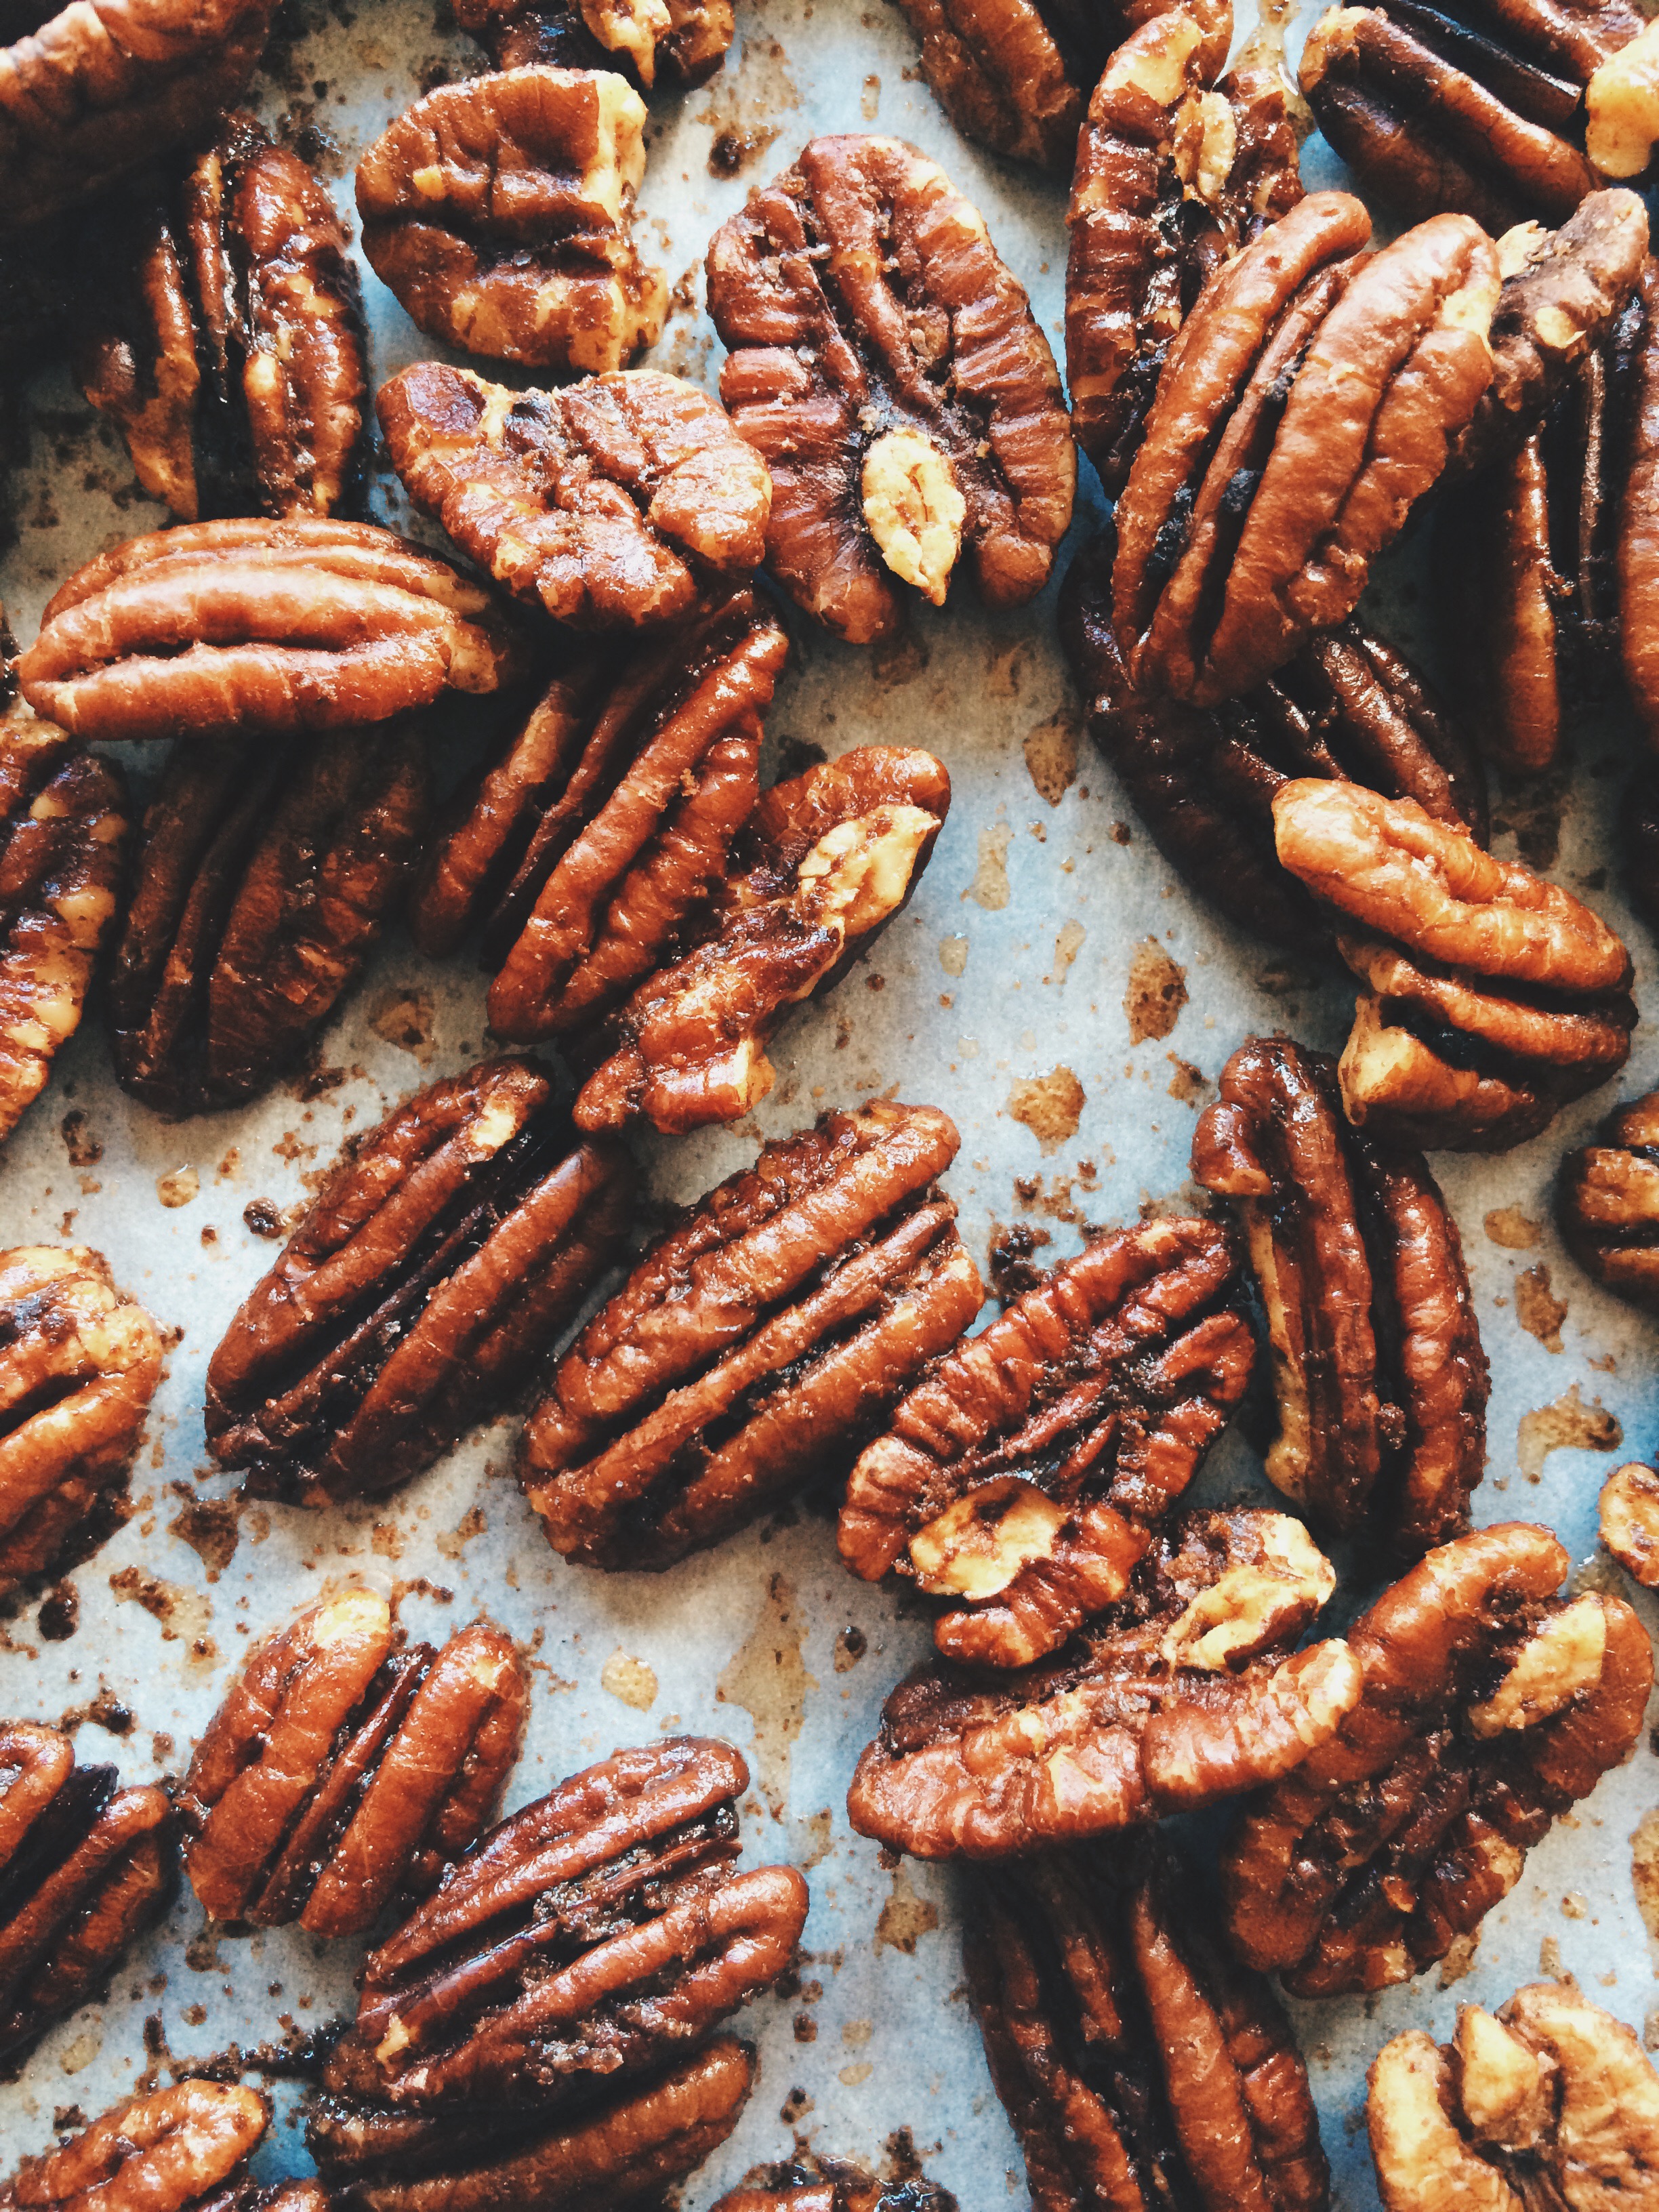
Food is how I express my affection for my loved ones, so finding the perfect gift for each person can be very challenging.. It's hard enough finding the perfect balance of delicious, seemingly complicated (but attainable), and festive. Now try adding mail-friendly on top of that. See? Challenging. Fortunately, I've discovered Bon Appetit's Buttery-Cayenne Pecans, and have found myself taking a big sigh of relief.

Here's what these snack nuts have going for them:

  1. Complex flavor: The heat of the cayenne pepper, mixed with the other spices and generous amount of butter makes these pecans so rich and decadent.
  2. Supremely easy to make: Mix all the ingredients in a bowl, add pecans, stir the pecans around to make sure they're evenly coated, put pecans in the oven. Simple.
  3. Perfect for local and faraway friends alike: All you need is a beautiful and festive airtight container or bag to make sure these little guys remain at peak freshness.

Whether you're new to food-gifting, or you're a seasoned pro who's looking for a fresh take on your signature gift, these buttery-cayenne pecans are sooooo the way to go.

Find the recipe for Buttery-Cayenne Pecans  here!

Quiche Lorraine

A while back, Williams-Sonoma was having a fantastic sale that I considered would be a crime not to participate in. Why scour the website daily if I'm not going to end up getting anything when the times comes to get it at a discounted rate (and with free shipping no less)? So, there I was, browsing the baking section when there IT was: a beautiful, french tart pan. Up until that point I could only bookmark all the tart recipes I came across and wonder, what if? But now, now was the time to take action, so in went the pan into my cart, with all the tart possibilities finally becoming attainable. And then it arrived and I said, "It's way too nice to use. Better save it for a special occasion. Back in the box you go!"

That was months ago.

Honestly, that always happens. I pine over something for what seems like forever, to the point where it's the only thing I can search for, and then I get it, and I deem it way too nice to use. "I NEED AN OCCASION TO BREAK IT IN," I'll insist. But then no occasion is ever good enough, so whatever it is waits and waits to be used. But that has to change, so I made Quiche Lorraine.

I love this tart pan, and I'm so excited that the first thing I decided to make was Quiche Lorraine for dinner. It's so good, and so simple to make. Plus, it can be served or cold depending on the setting. It may be getting a little chillier outside, but we've still got some warmish days in the forecast that are pretty perfect for a picnic. Trust me, take it from someone who lives in the Midwest, these are the golden weather days. Soon all we'll have is snow piles and distant memories of when the temperature was a steamy 50 degrees. And if given the choice to eat outside while the trees are beautiful hues of yellow, red, and orange, you take it.

Here's something that broke from tradition: I used pancetta instead of lardons. One because I love pancetta and will take any excuse to use it, and two, because lardons in 5 oz containers are a little hard to get my hands on around here. And as it turns out, pancetta really, really works. It still gives you the salty, crispiness that lardons give you, but it doesn't overpower. I may have to alter the salt levels in the egg mix, but I think it really all comes down to personal preference.

And remember: Quiche Lorraine is just egg, heavy cream, bacon, and a little salt and pepper. If you add anything else, it's no longer Quiche Lorraine. Still delicious, but no longer Quiche Lorraine.


QUICHE LORRAINE

What You'll Need:

For the Pastry

  • 6 tablespoons butter, softened and at room temperature
  • 1 teaspoon sugar
  • A pinch of salt
  • 1 1/2 cups AP flour
  • 2 eggs, separated
  • Cup of ice water

For the Quiche Filling

  • 5 oz pancetta (or lardons if you're lucky enough to find it!)
  • 4 eggs and 2 egg yolks
  • 1 1/4 cups heavy cream
  • 1 tsp salt
  • Black pepper to taste

First, Make the Pastry:

Using a wooden spoon, beat together the butter, sugar and salt in a medium bowl until smooth. Mix in the flour, followed by  the egg yolks, and 2 tablespoons of ice water. Mix together until a smooth ball forms, only kneading the dough as much as necessary to bring it together. If the dough seems a bit dry, you can add more water, but be careful not to make the dough too wet.

Once the dough has come together, wrap in plastic wrap and chill overnight. (If you don't have the time, make sure to at least let it chill for an hour. )

When It's Time for Quiche:

Preheat the oven to 350 degrees F.

When you are ready to roll out the dough, take it out of the fridge and let it rest on the countertop for at least 30 minutes to make it easier to work with. Roll out the pastry dough between two even sheets of parchment paper until it is 1/4 inch thick, and use it to carefully line your tart pan. If you have any extra pastry dough, use it to patch up any cracks. Brush the sides  and pastry base with the leftover egg whites. Pop your tart pan back into the refrigerator while you prepare the filling.

To make the filling, fry the pancetta in a frying pan until golden brown and crispy, then, using a slotted spoon, transfer to a plate lined with paper towels to drain off any excess grease.

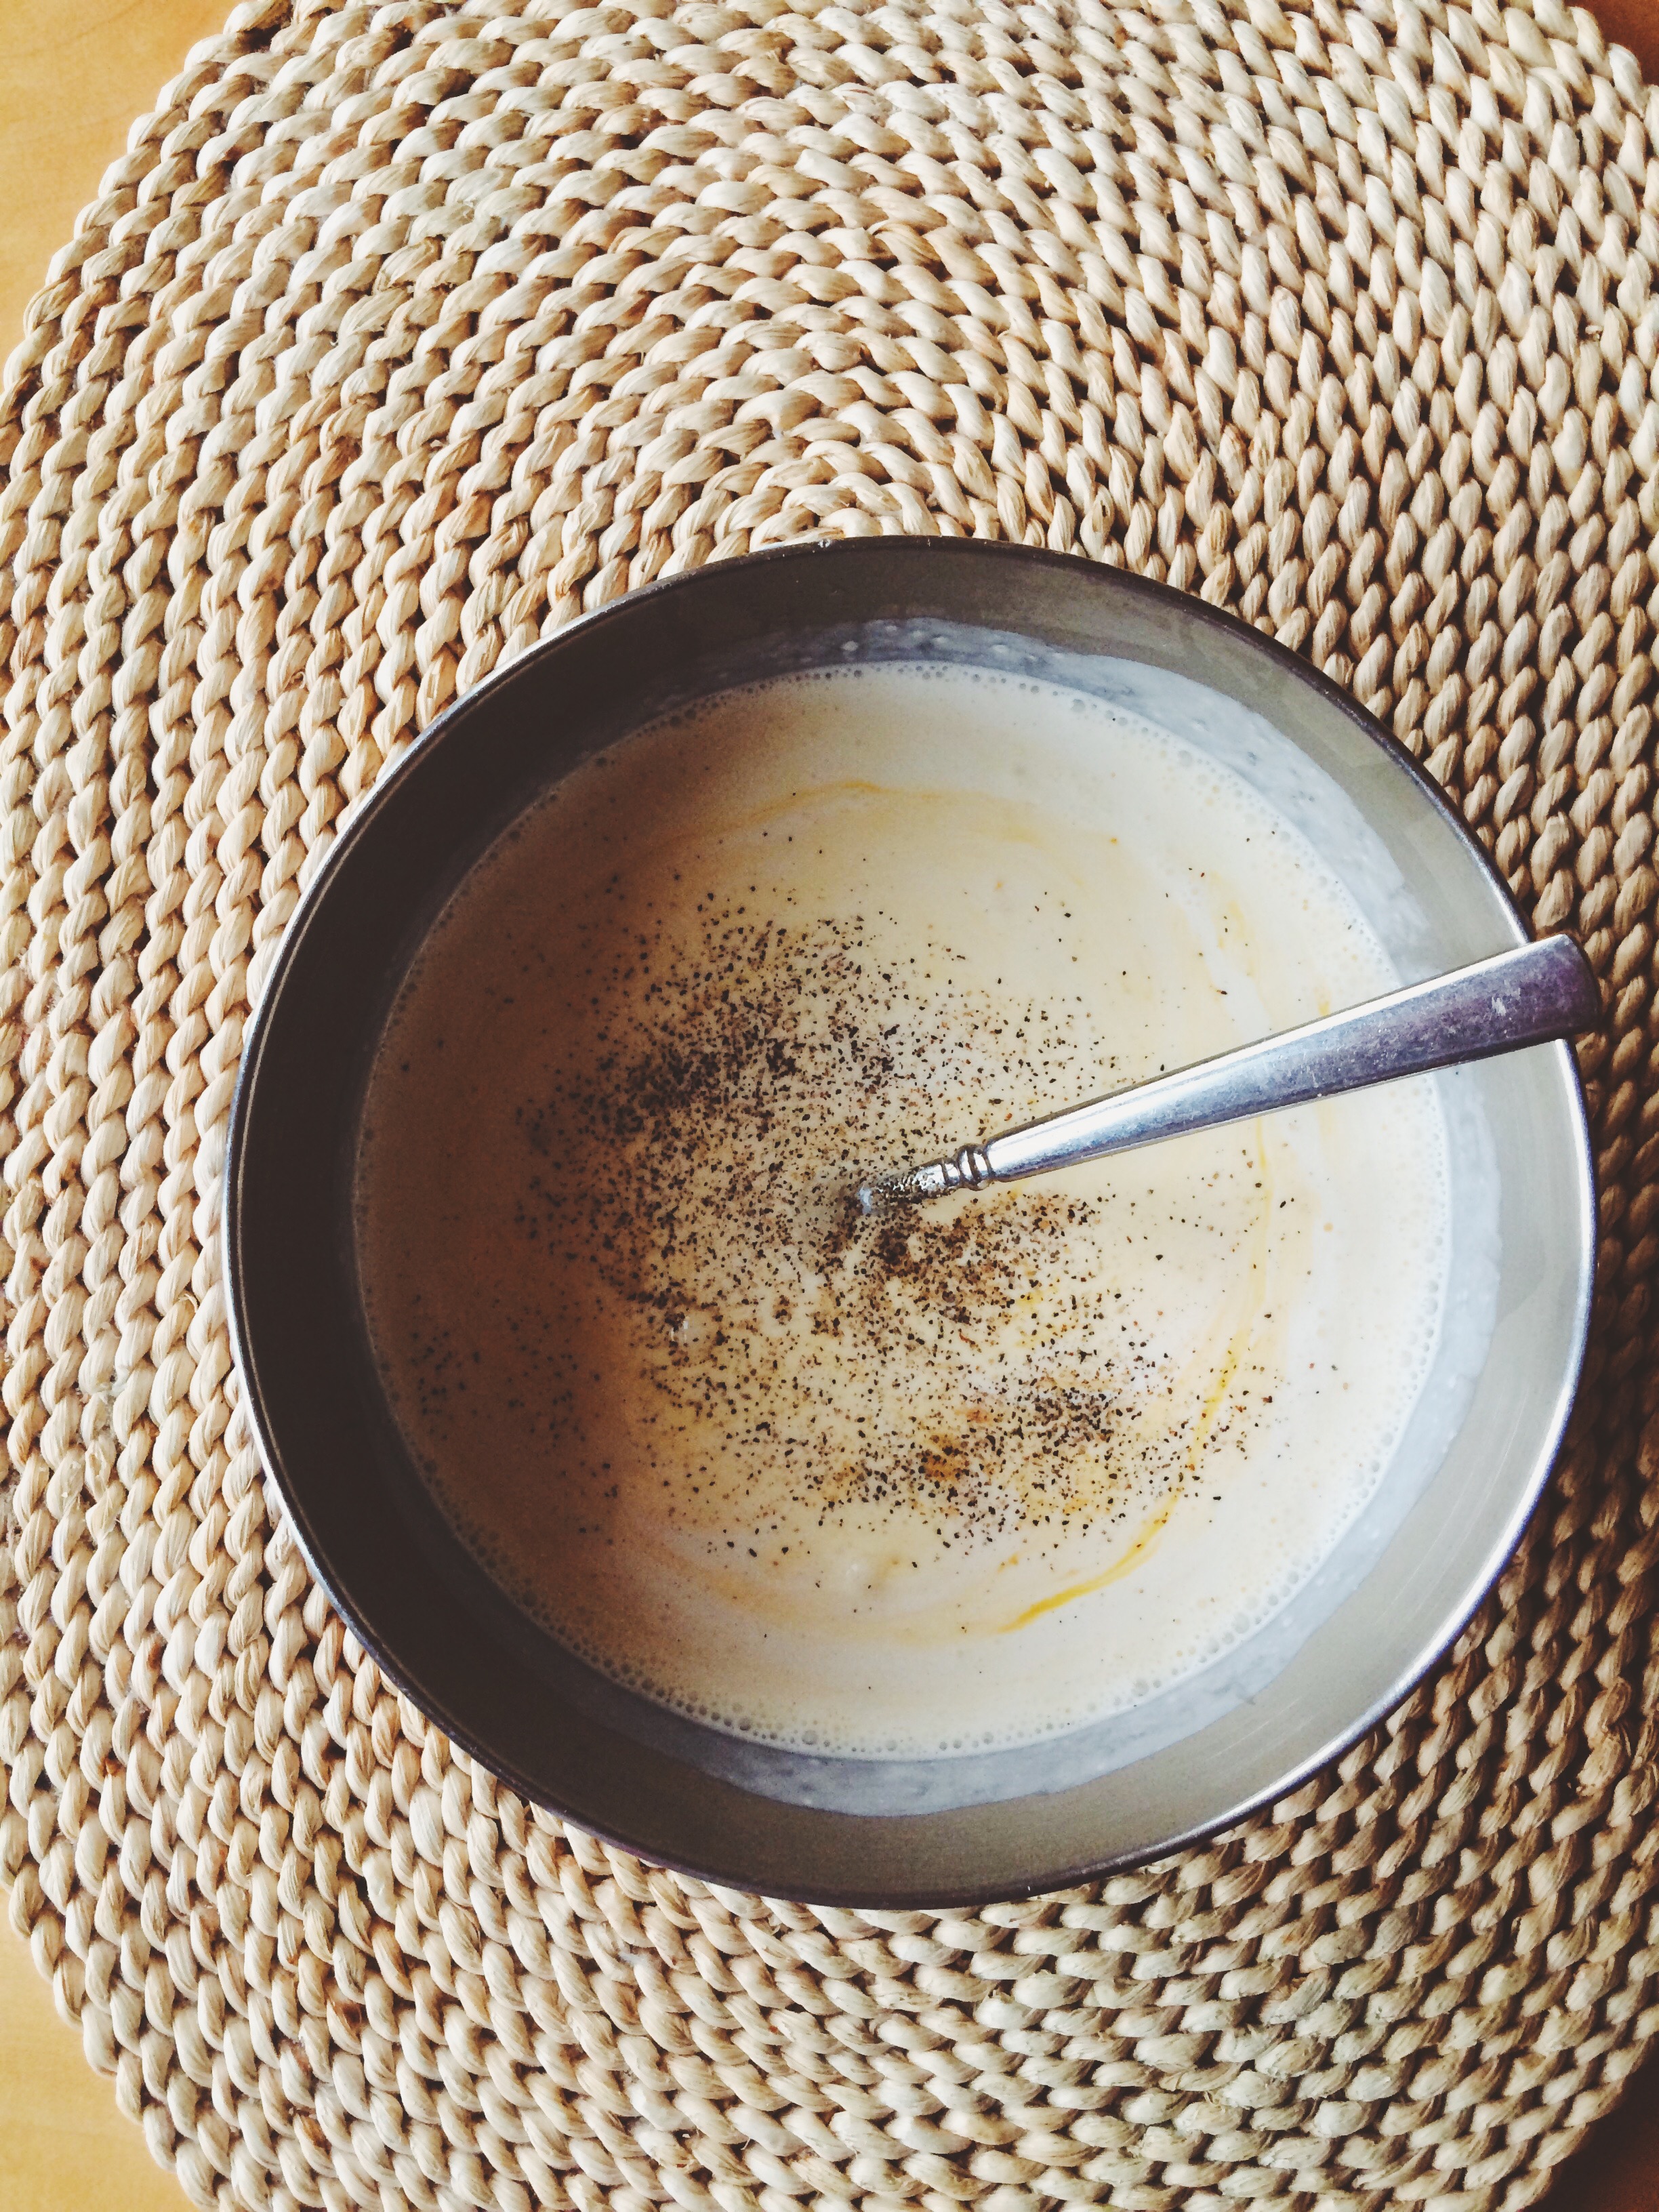
In a bowl, lightly beat the egg and egg yolks, then add the heavy cream, then the seasoning. Beat again until everything is mixed together well.

Remove the tart pan from the fridge, then scatter the cooled pancetta all around in the pastry shell. Next, pour in the egg mixture.

CAREFULLY transfer the quiche to the oven (I placed it on a baking sheet both for stability, and to catch any overflows), and bake for 30-45 minutes, depending on your oven. MAKE SURE to keep an eye on it so that it doesn't stay too long in the oven and crack. A perfect quiche has a golden brown top, and is set. No  one wants cracked quiche.

This quiche can be served warm or cold.

SOURCE:  Adapted slightly from The Little Paris Kitchen: 120 Simple but Classic French Recipes, by Rachel Khoo

Follow my blog with Bloglovin

Fried Green BLTs

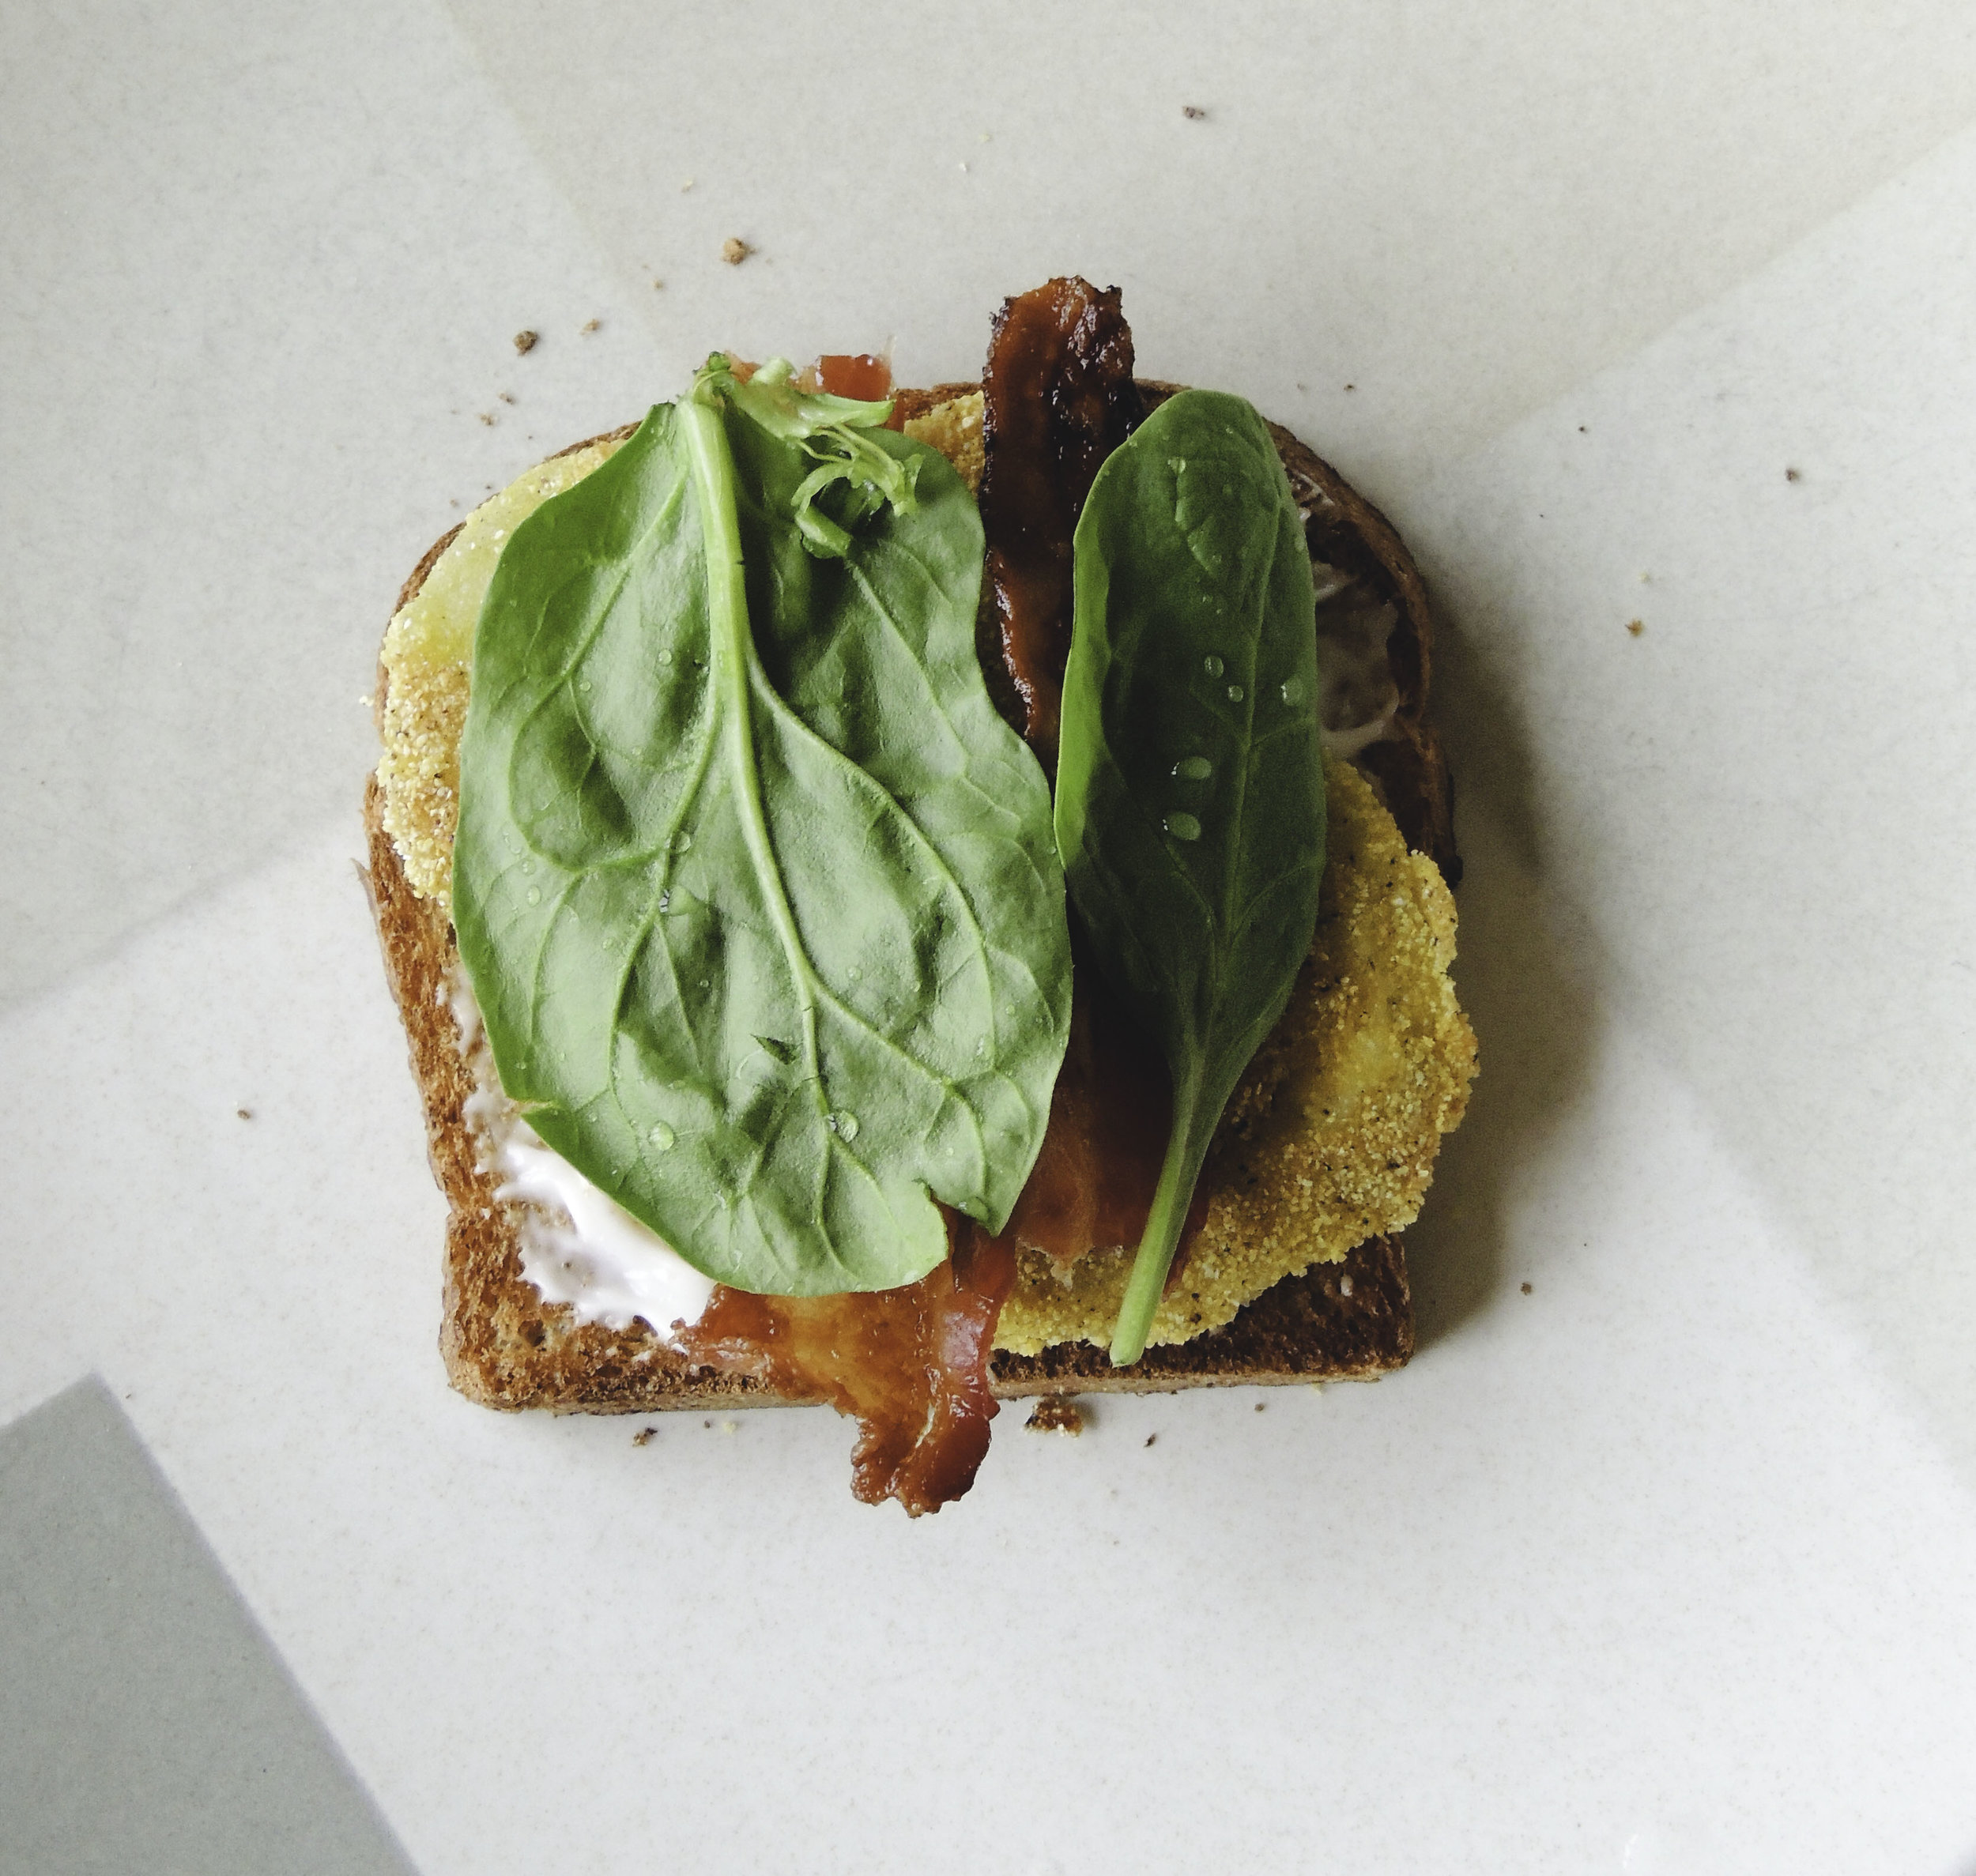
Fried Green BLT2 I think we all love a good BLT. I mean, it's a classic. But have you ever felt like you weren't getting that extra element of crunch? Sure, the bacon is supposed to pull triple duty as the salty, meaty, crunchy component to that sandwich, but still, sometimes you just need more. How about frying the tomatoes? Perfect.

On a particularly pleasant day, it's good to throw on your sun hat and shades, and your perfectly dainty fan to keep the heat at bay, and enjoy a nice, Southern-style sandwich out on the back porch. You're meant to enjoy food in warm weather, and you're most definitely not meant to spend a lot of time in the kitchen preparing it.

These fried green BLTs are not only a super-fast, very fresh lunch option, they're also totally perfect for a spontaneous summer picnic. They hold up and travel very well, and I may just be imagining it, but I think they actually taste ten times better when eaten al fresco. That might just me though.

All you need is an egg, unripe green tomatoes, some cornmeal, a little vegetable oil, some nice crispy bacon, some baby spinach, a little mayo, and fresh thick-sliced bread (don't forget to toast it!), and you've got a totally fresh take on a pretty traditional sammie. Now all you need is a tall glass of ice-cold sweet tea to wash it down, and you've got the perfect summer day. Aaaaaahhhhhhh.

Fried Green BLT


FRIED GREEN BLTs

What You'll Need:

  • 4 slices of bacon
  • 1/2 cup all-purpose flour
  • 1 large egg, beaten
  • 1 tablespoon water
  • 1/2 cup yellow cornmeal
  • Salt
  • Fresh black pepper
  • 1 pound unripe green tomatoes, sliced (Note: I've found that using a serrated knife not only makes it easier to cut the tomatoes, but it also keeps them from getting mashed, releasing too much of their juices, and bruising)
  • Canola or Vegetable oil
  • 8 thick slices of your favorite bread, toasted
  • Mayonnaise
  • Baby spinach or arugula

DIRECTIONS

Preheat the oven to 400 degrees F. Line a rimmed baking sheet with two layers of aluminum foil. Lay your bacon on the foil, and bake for 12-15 minutes, or until it has reached your desired level of crispiness. Once out of the oven, drain your bacon on paper towels.

Fill three separate bowels with flour, your egg and water mixture, and cornmeal. Season the cornmeal with plenty of salt and freshly ground pepper. Dip each tomato slice in the flour, then the egg mixture (shaking gently to remove any excess) and then finally into the cornmeal, making sure that every bit of it is covered. Place the slice on a wax-paper lined platter or plate. Repeat the process until all of your slices are perfectly coated.

In a large skillet, heat 1 tablespoon of vegetable or canola oil until it is shimmering. Add the tomatoes, and cook over medium-high heat, turning once, until golden brown and crispy. This should take about five minutes. Drain your tomatoes on paper towels.

To Assemble:

Lay four slices of toasted  bread on a cutting board, and lightly spread some mayonnaise on each. Next, add at least two slices of tomatoes on top. Next, cut your slices of bacon in half, and add two halves of each on top of the tomatoes. Top with a few spinach leaves.

Now, if you like open-faced sandwiches, then you're done! If you like a classic sandwich, top each with another slice of toasted bread, and cut in half. Enjoy!

SOURCE: Delish

Challah French Toast

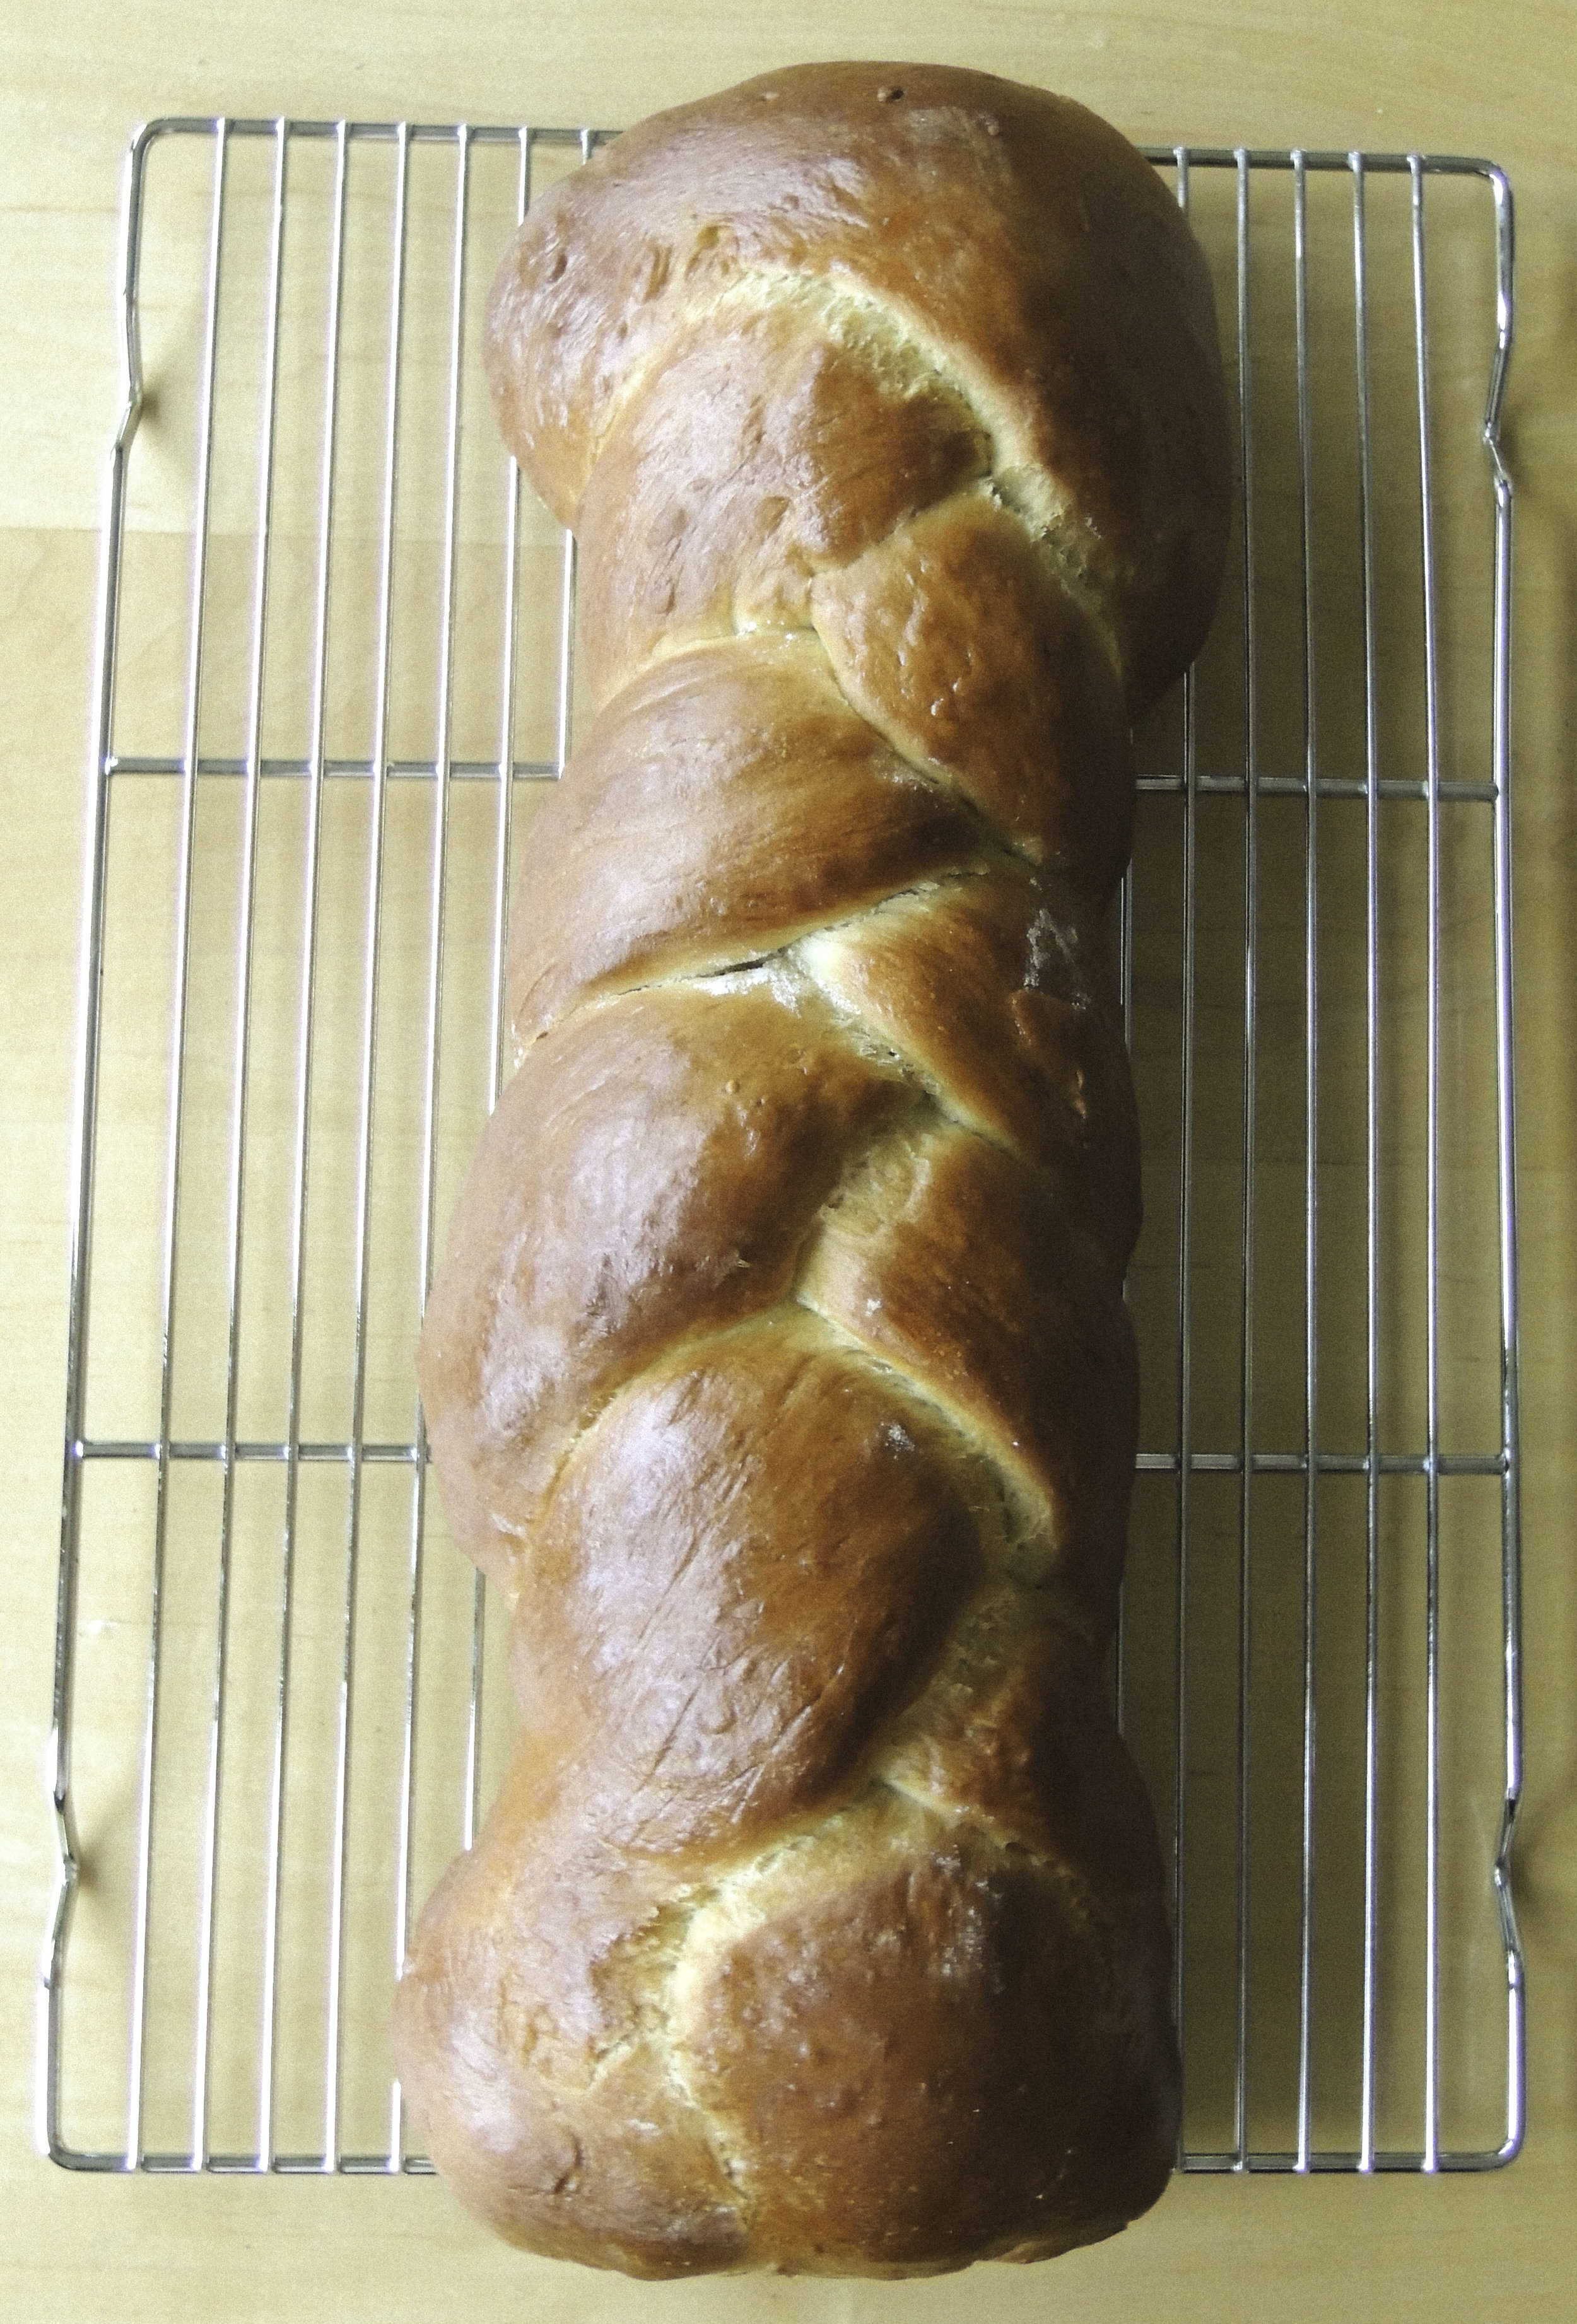
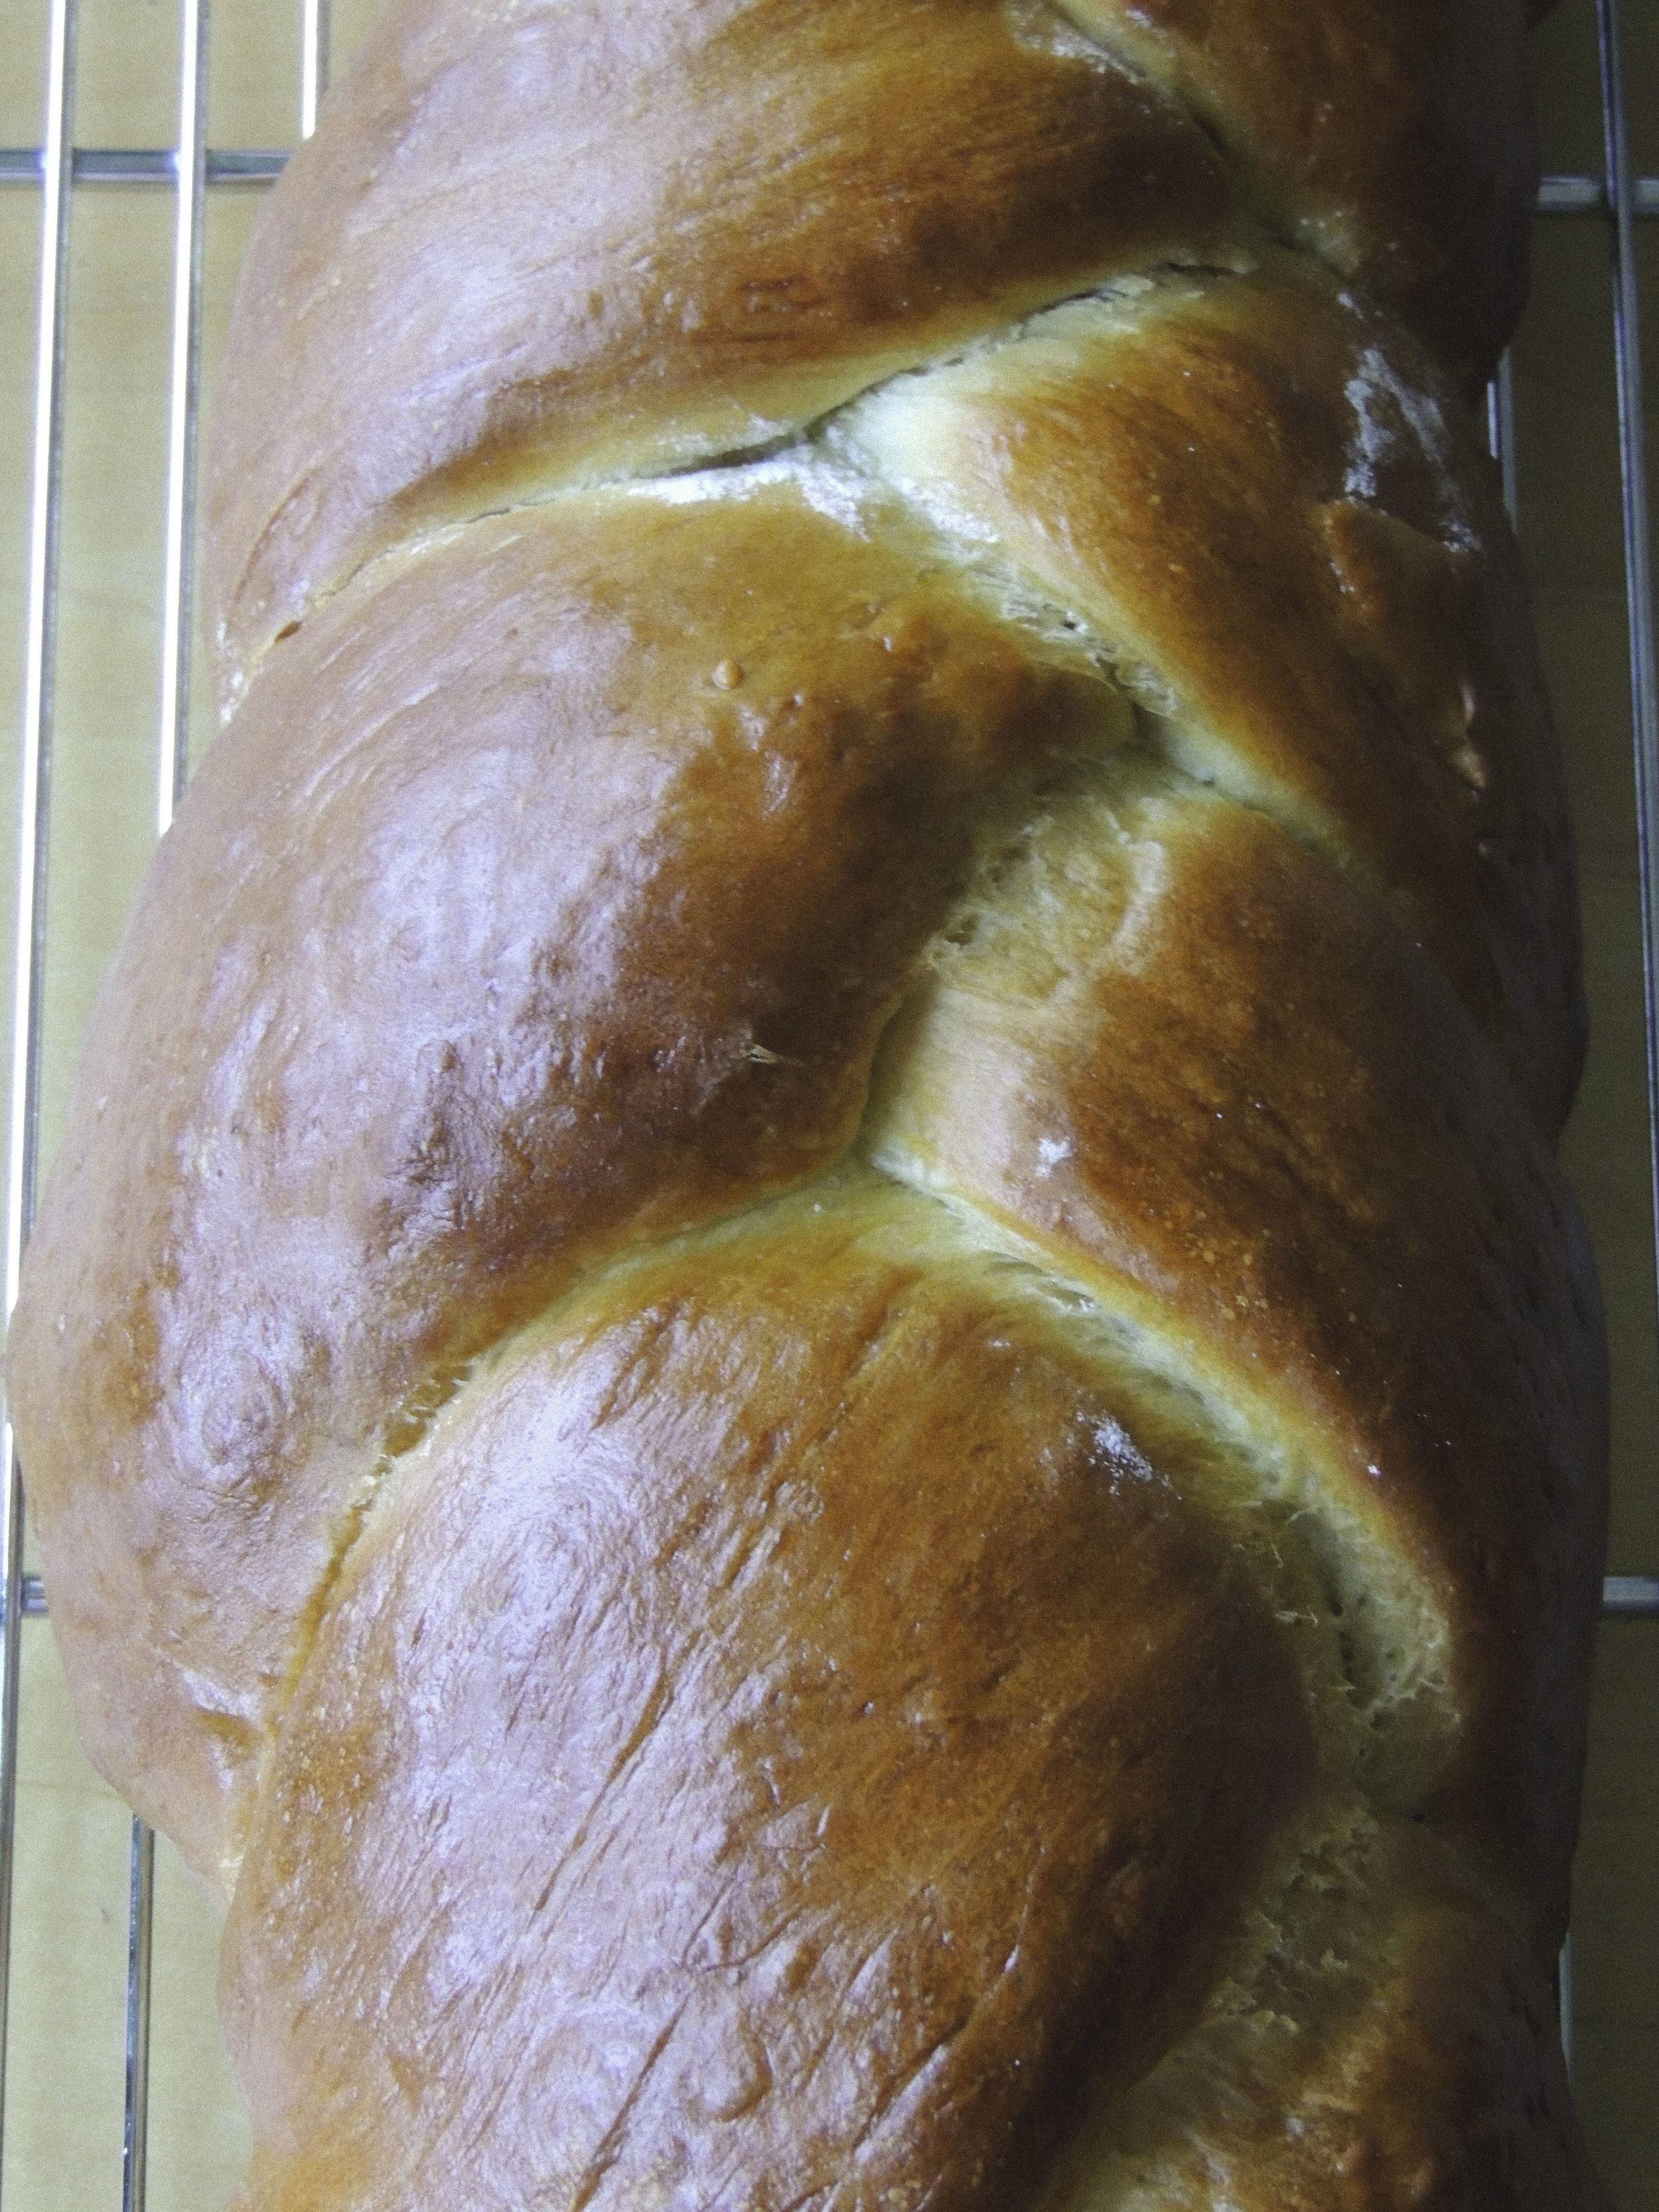
challah bread 1 What to do when you can't find challah bread in literally any of the bakeries in your town? Make your own. You know what they say, "Desperate times call for desperate measures" blah blah blah. The truth of the matter is, I've always wanted to make challah completely on my own, so I didn't mind so much that I couldn't find it anywhere. It meant that it was up to me, and also that I better be extra careful not to mess it up; I had a date with french toast the next morning.

It absolutely must be said that I am a complete novice when it comes to this sweet and super delicious bread, so I'm going to refer you to this stellar tutorial over on The Kitchn. Really easy to follow, and SO USEFUL. I'm totally attempting the six-braid method the next time I make challah. (Hope it goes well.)
challah 2

If making challah bread has taught me anything it's this: make sure you read the recipe three times before you even get your mise en place. I always read a recipe several times, but after making this bread, the point has been driven home. It's not that this is a particularly difficult bread to make per seit's that making challah is very time-consuming. There's a lot of waiting involved. Like, hours of waiting in fact. So when you make this bread, make sure you've got the TIME to do it! This is not something you whip up in an hour. Just be patient, and you'll have a really pleasant reward.

The recipe called for proofing in a warm place with a clean dish towel over the top, but I had no idea where I could put it. I've let dough proof before on the counter, but it didn't rise like I so desperately wanted it to. Not properly proofing challah dough would guarantee disaster, so I decided to ask the internet for help. The advice that I got was SPECTACULAR: place your covered bowl on a higher rack in an oven that is completely OFF. Next, boil some water and pour it into a heatproof bowl. Place the bowl with water in it onto a lower rack, SHUT THE DOOR, and keep it shut! Now you've got your warm place, and you'll end up with a dough that has doubled in size once the time comes to take it out. It's thrilling.

challah 3

RIGHT, so let's get on to the french toast part of this post, shall we? You may be wondering what I did with my challah loaf after it was finished cooling. Well, in order to get the perfect french toast, you need slightly stale bread. In fact, it's imperative.. So, once my challah was finished cooling (and I'd gone through several  episodes of 'Tia Mowry at Home' on Cooking Channel) I simply left it slightly uncovered and went to bed. It worried me a little bit that it might dry out too much, but by the time I was finished in the kitchen that night, there weren't many hours left before it was time to get up and make breakfast. And everything turned out just fine. (Thank goodness.)

In the morning I sliced up eight very healthily-sized slices of challah, mixed up my custard , and set to work.

. So now, let's talk about how obsessed I am with challah french toast. BECAUSE I AM OBSESSED.

challah french toast

French toast is decadent, I mean, there's a reason why its present on every brunch menu that has ever existed. But there is just something so beyond  about whipping up a batch of challah french toast on a quiet weekend morning with a light sprinkling of powdered sugar on top from one of those unnecessary-for-anything-else shakers, and a drizzling of divinely warm maple syrup just waiting to be soaked up. THAT is decadence. Throw in a hot cup of hazelnut roast coffee, and a little bowl of fruit salad (in this case it was strawberry, blueberry, and mango with lemon juice) and we are TALKIN', my friend. That's what weekend mornings are all about. Be warned: this breakfast is incredibly rich, but oh my GOSH is it ever worth it.

And would you like to know the best part? It's made completely form scratch. Who needs a brunch menu?


CHALLAH FRENCH TOAST 

What You'll Need:

  • 3 large eggs
  • 1 cup half-and-half
  • Pinch of salt
  • 1 tablespoon of sugar
  • 8 slices of challah bread 1" thick, cut from a slightly stale loaf
  • 2-3 tablespoons butter
  • Powdered sugar for sprinkling on top, optional
  • Fresh Fruit, optional

Directions:

Place a large skillet (Mine is 12 inches) over medium-low heat.

Whisk the eggs, half-and-half, salt, and sugar in a large baking pan (I used an 11X13 rectangular cake pan) until everything is fully incorporated.

Place four slices of bread into the custard to soak for at least one minute on each side (I ended up doing a little longer, but it's up to you. Make sure it's at least one minute though! )

While the bread is soaking, melt one tablespoon of butter in the skillet. You'll know it's ready when it starts to foam. When it has started to foam, move it around so that it coats the entire bottom of the skillet.

Move your cake pan with the soaking pieces of bread next to the stove so that there will be no dripping.

Lift one piece of bread and very gently shake it to get rid of any excess custard, then gently place it in the skillet. Repeat this process with each piece of bread.

After 1-2 minutes, check under a slice of bread to see if it has turned golden brown. When it has turned golden brown, flip each piece of bread and continue cooking until they're golden brown on the other side. Be sure to keep an eye on the skillet so that your toast doesn't burn.

Place your finished first batch onto a serving plate, and your final four pieces of bread into the custard for soaking on each side. (Should you run out of custard before you've run out of bread, I've found that whisking another egg, some more half-and-half, a little sugar, and a little salt works nicely!) Place another tablespoon of butter into your skillet, wait until it foams, and repeat the process of cooking your french toast. Once all of your pieces of bread have turned deliciously golden brown on both sides, transfer them to your serving plate.

Sprinkle a little powdered sugar on the top if you're into that, heat up some delicious maple syrup, and cut up some fruit to use as a topping if you;d like. Enjoy!!


SOURCE: Adapted SUPER SLIGHTLY from The Kitchn