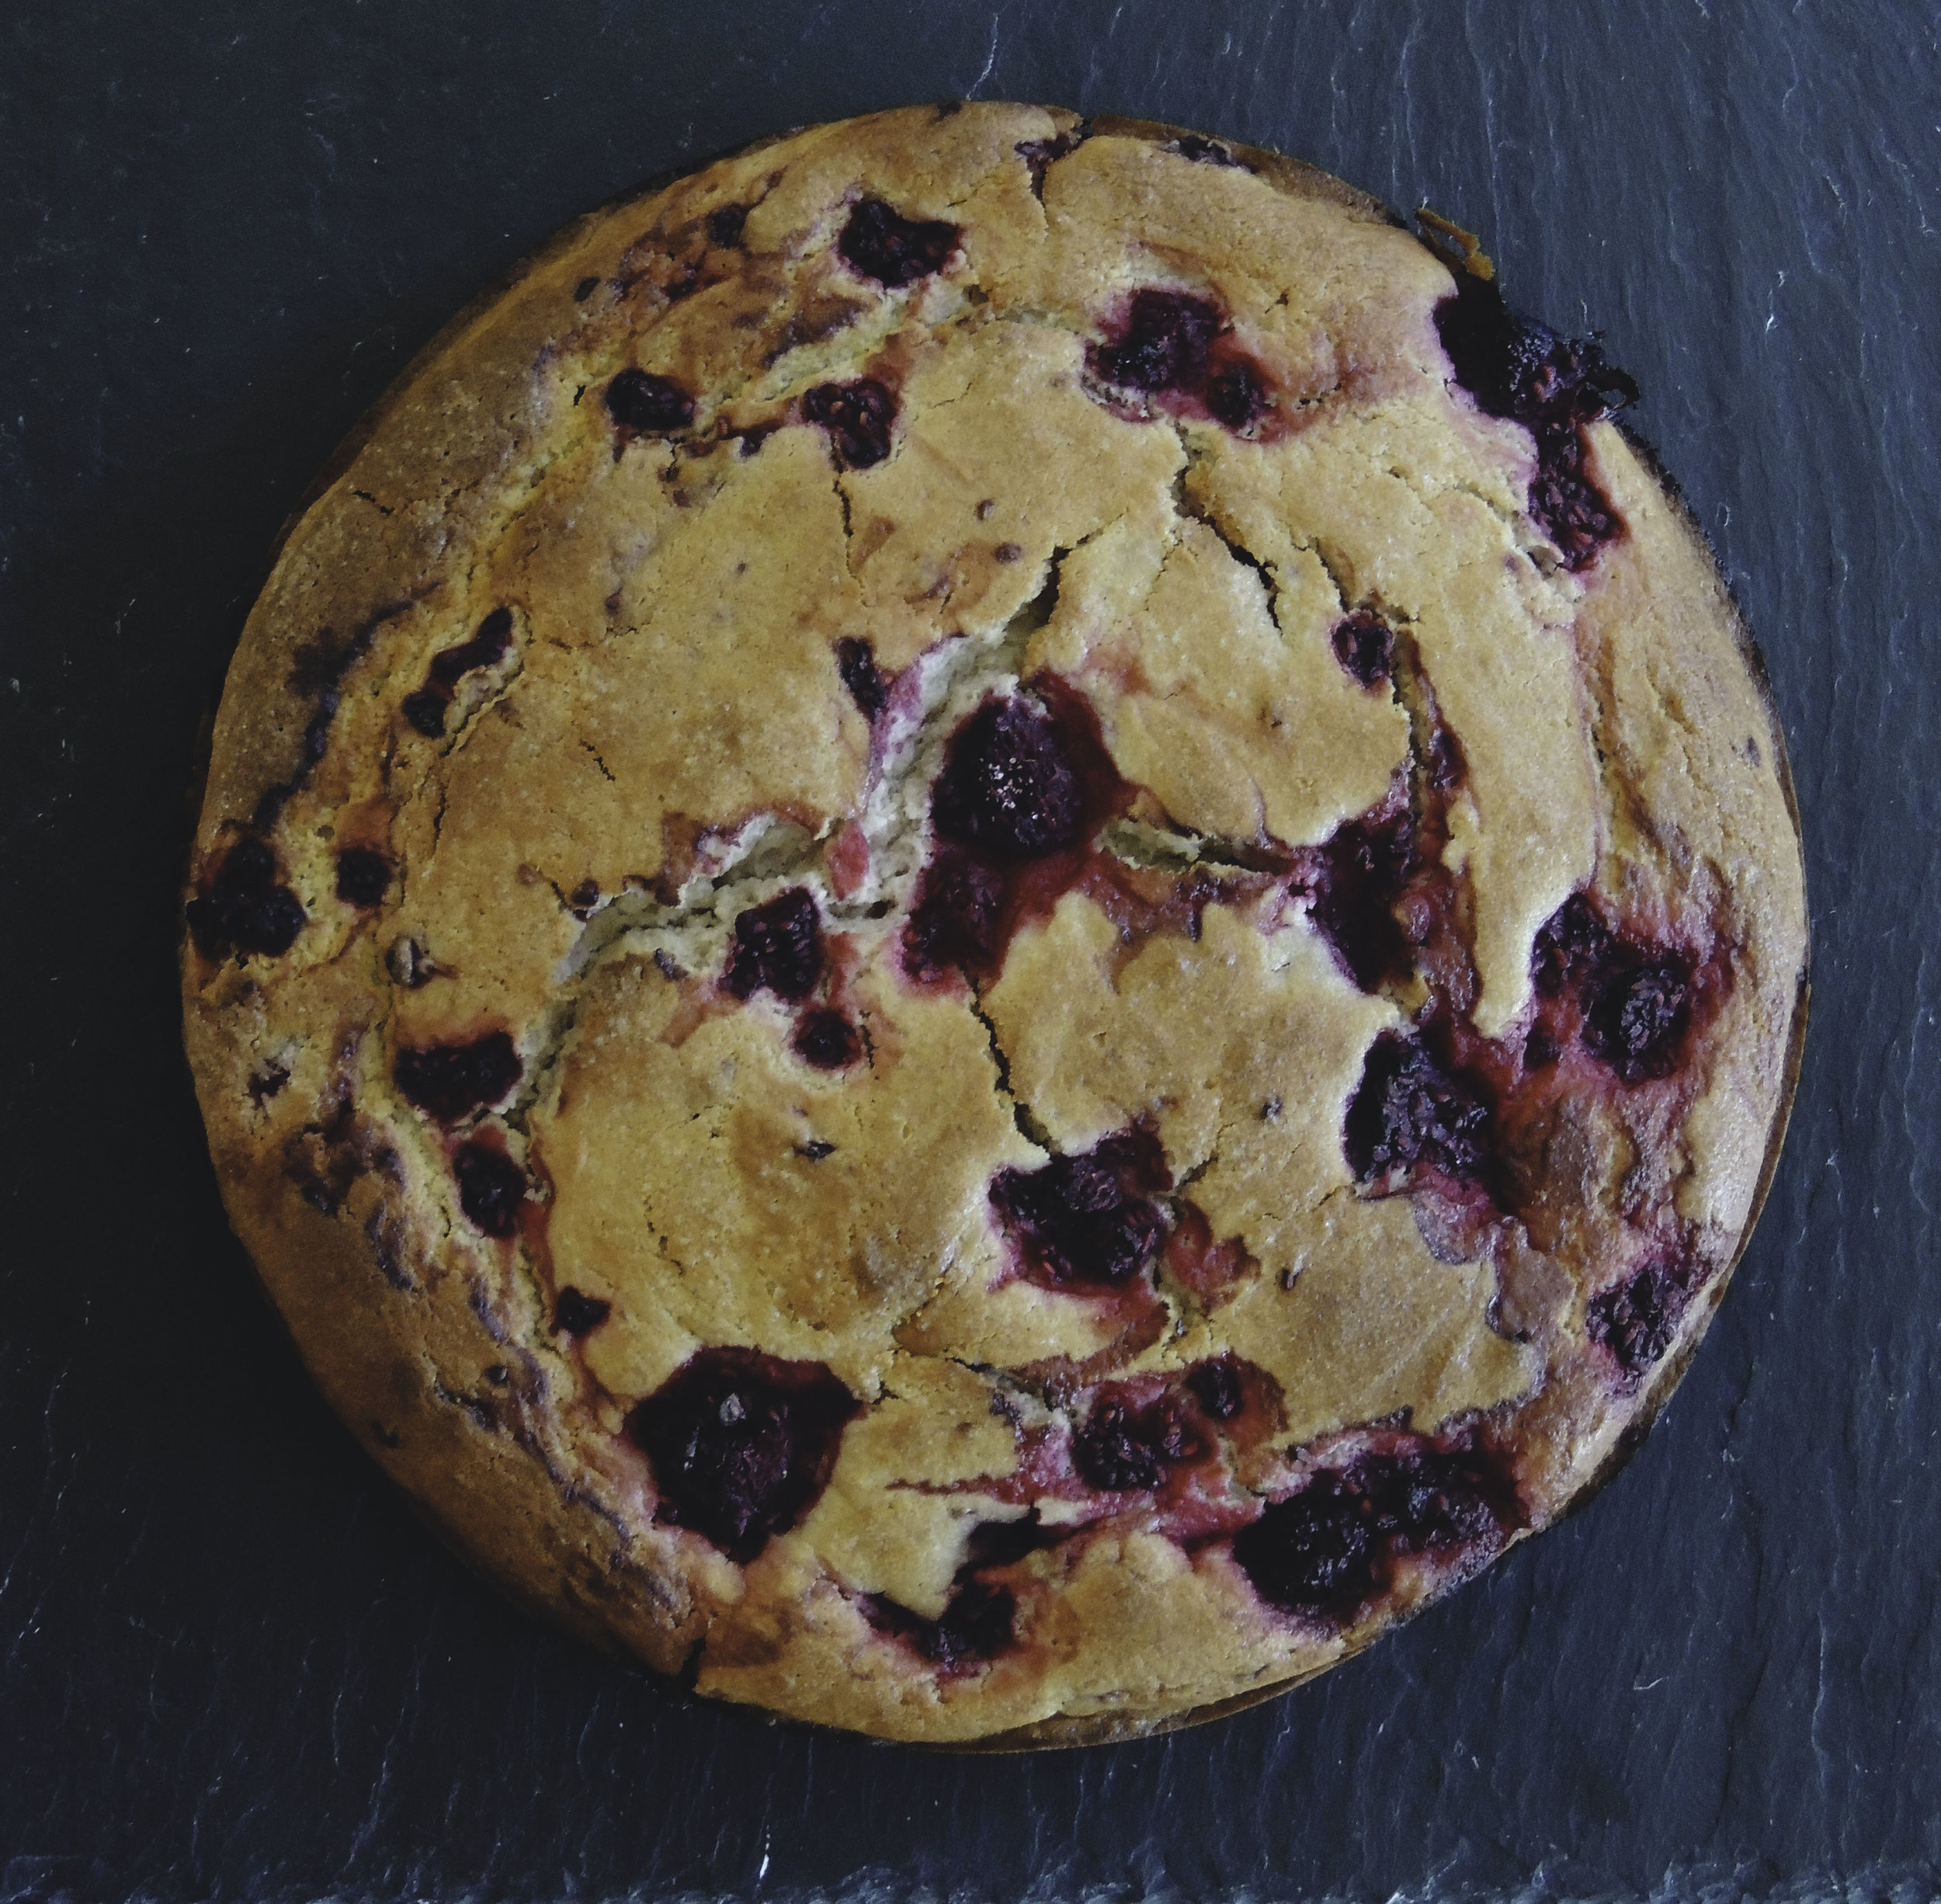
Brown Butter Raspberry-Ricotta Breakfast Cake
 Listen, there comes a time in every young woman's (or man's) life where s/he just has to throw every single thing down, and have cake for breakfast. Okay? You just have to have cake for breakfast sometimes.
Cereal is my breakfast meal of choice. There are occasions where I or a loved one will have the energy to whip up pretty impressive omelets, but those times are pretty rare on the weekdays. And as much as I do actually genuinely enjoy a crunchy spoonful of cornflakes, sometimes all I
 want need first thing is a beyond-moist, tender, fruity-flavor-packed slice of cake. And I want to eat it with my hands. Forks are great, but we don't need 'em!
The selection of fruit at the grocery store is very hit-or-miss, which can be very frustrating as all anyone ever talks about in the food world is "embracing seasonality." It's hard to do that when you're looking at crates full of fuzzy raspberries. The great news is, not only is frozen fruit totally welcome in this cake, it's actually a requirement. Thank goodness for the Frozen Foods section.
So, what makes this cake so moist? FULL FAT RICOTTA CHEESE. Don't you dare get that skim nonsense! We're having cake for breakfast, so let's not torture ourselves by trying to make it healthy, alright? And anyway, you want the cake to be as thick and rich as possible, so whole milk ricotta it is!
And let''s just talk about the brown butter for a second. Ohmygosh I love brown butter. It adds a certain depth to any and everything, and I don't even know what I did with my life before I knew how to do it.
It's just been a really good breakfast (and also dessert) week in this house.
And P.S. This is a GREAT choice for your 4th of July Weekend red-white-and-blue-food-eating festivities!! Fourth of July Breakfast Cake is a thing, right?
BROWN BUTTER RASPBERRY-RICOTTA CAKE
What You'll Need:
- Nonstick cooking oil spray
- 1 stick plus 3 tablespoons unsalted butter
- 1 1/2 cups all-purpose flour
- 1 cup sugar
- 2 teaspoon baking powder
- 3/4 teaspoon kosher salt
- 3 large eggs, room temperature
- 1 1/2 cups ricotta cheese, preferably whole milk
- 1/2 teaspoon vanilla extract
- 1 cup frozen raspberries, divided
- 1 teaspoon lemon juice
- 1 teaspoon of sugar
DIRECTIONS:
Preheat the oven to 350 degrees F.
Line a 9-inch round cake pan with parchment paper, and lightly spray with nonstick cooking oil spray.
To brown the butter:
In a medium saucepan, melt your butter over medium-low heat. After a few minutes, your melted butter will start to crackle and bubble vigorously; those are the milk solids and water evaporating. After 2-3 minutes of the butter crackling, you should start to smell a nutty aroma coming from the pan, and your butter will start to darken in color. DO NOT leave while the butter is browning as it can go from brown to burnt fairly quickly. The bubbling and crackling will eventually subside, and your darkened butter should have little brown bits floating around on the bottom. Take the butter off the heat, and let it cool slightly.
Let's make the cake:
In a large bowl, whisk the flour, sugar, baking powder, and kosher salt. Set aside.
In a medium bowl, whisk the eggs, ricotta, and vanilla extract until combined, then fold them into the dry ingredients until they are just combined.
Fold in the melted butter, then VERY GENTLY fold in 3/4 cup of the raspberries, being very careful not to crush any berries.
In a small bowl, gently toss the remaining 1/4 cup of raspberries with the lemon juice and sugar. If the raspberries seem a little too tart, you can sprinkle in a little more sugar to fit your tastes.
Scrape your cake batter into your prepared pan and scatter the raspberries that you have just tossed with lemon and sugar, over the top. (Get creative with your design!)
Bake your cake until it is golden brown and a toothpick that has been inserted into the center, comes out clean; about 50-60 minutes. (Depending on your oven, your cake may need a little less time, so keep an eye on it when the time gets closer to 50 minutes.)
Let your cake cool for at least 20-30 minutes in the pan, on a wire rack, before unmolding and serving.
To Store:
Wrap the cake TIGHTLY in cling wrap and store at room temperature.
SOURCE: Adapted froBon Appetit


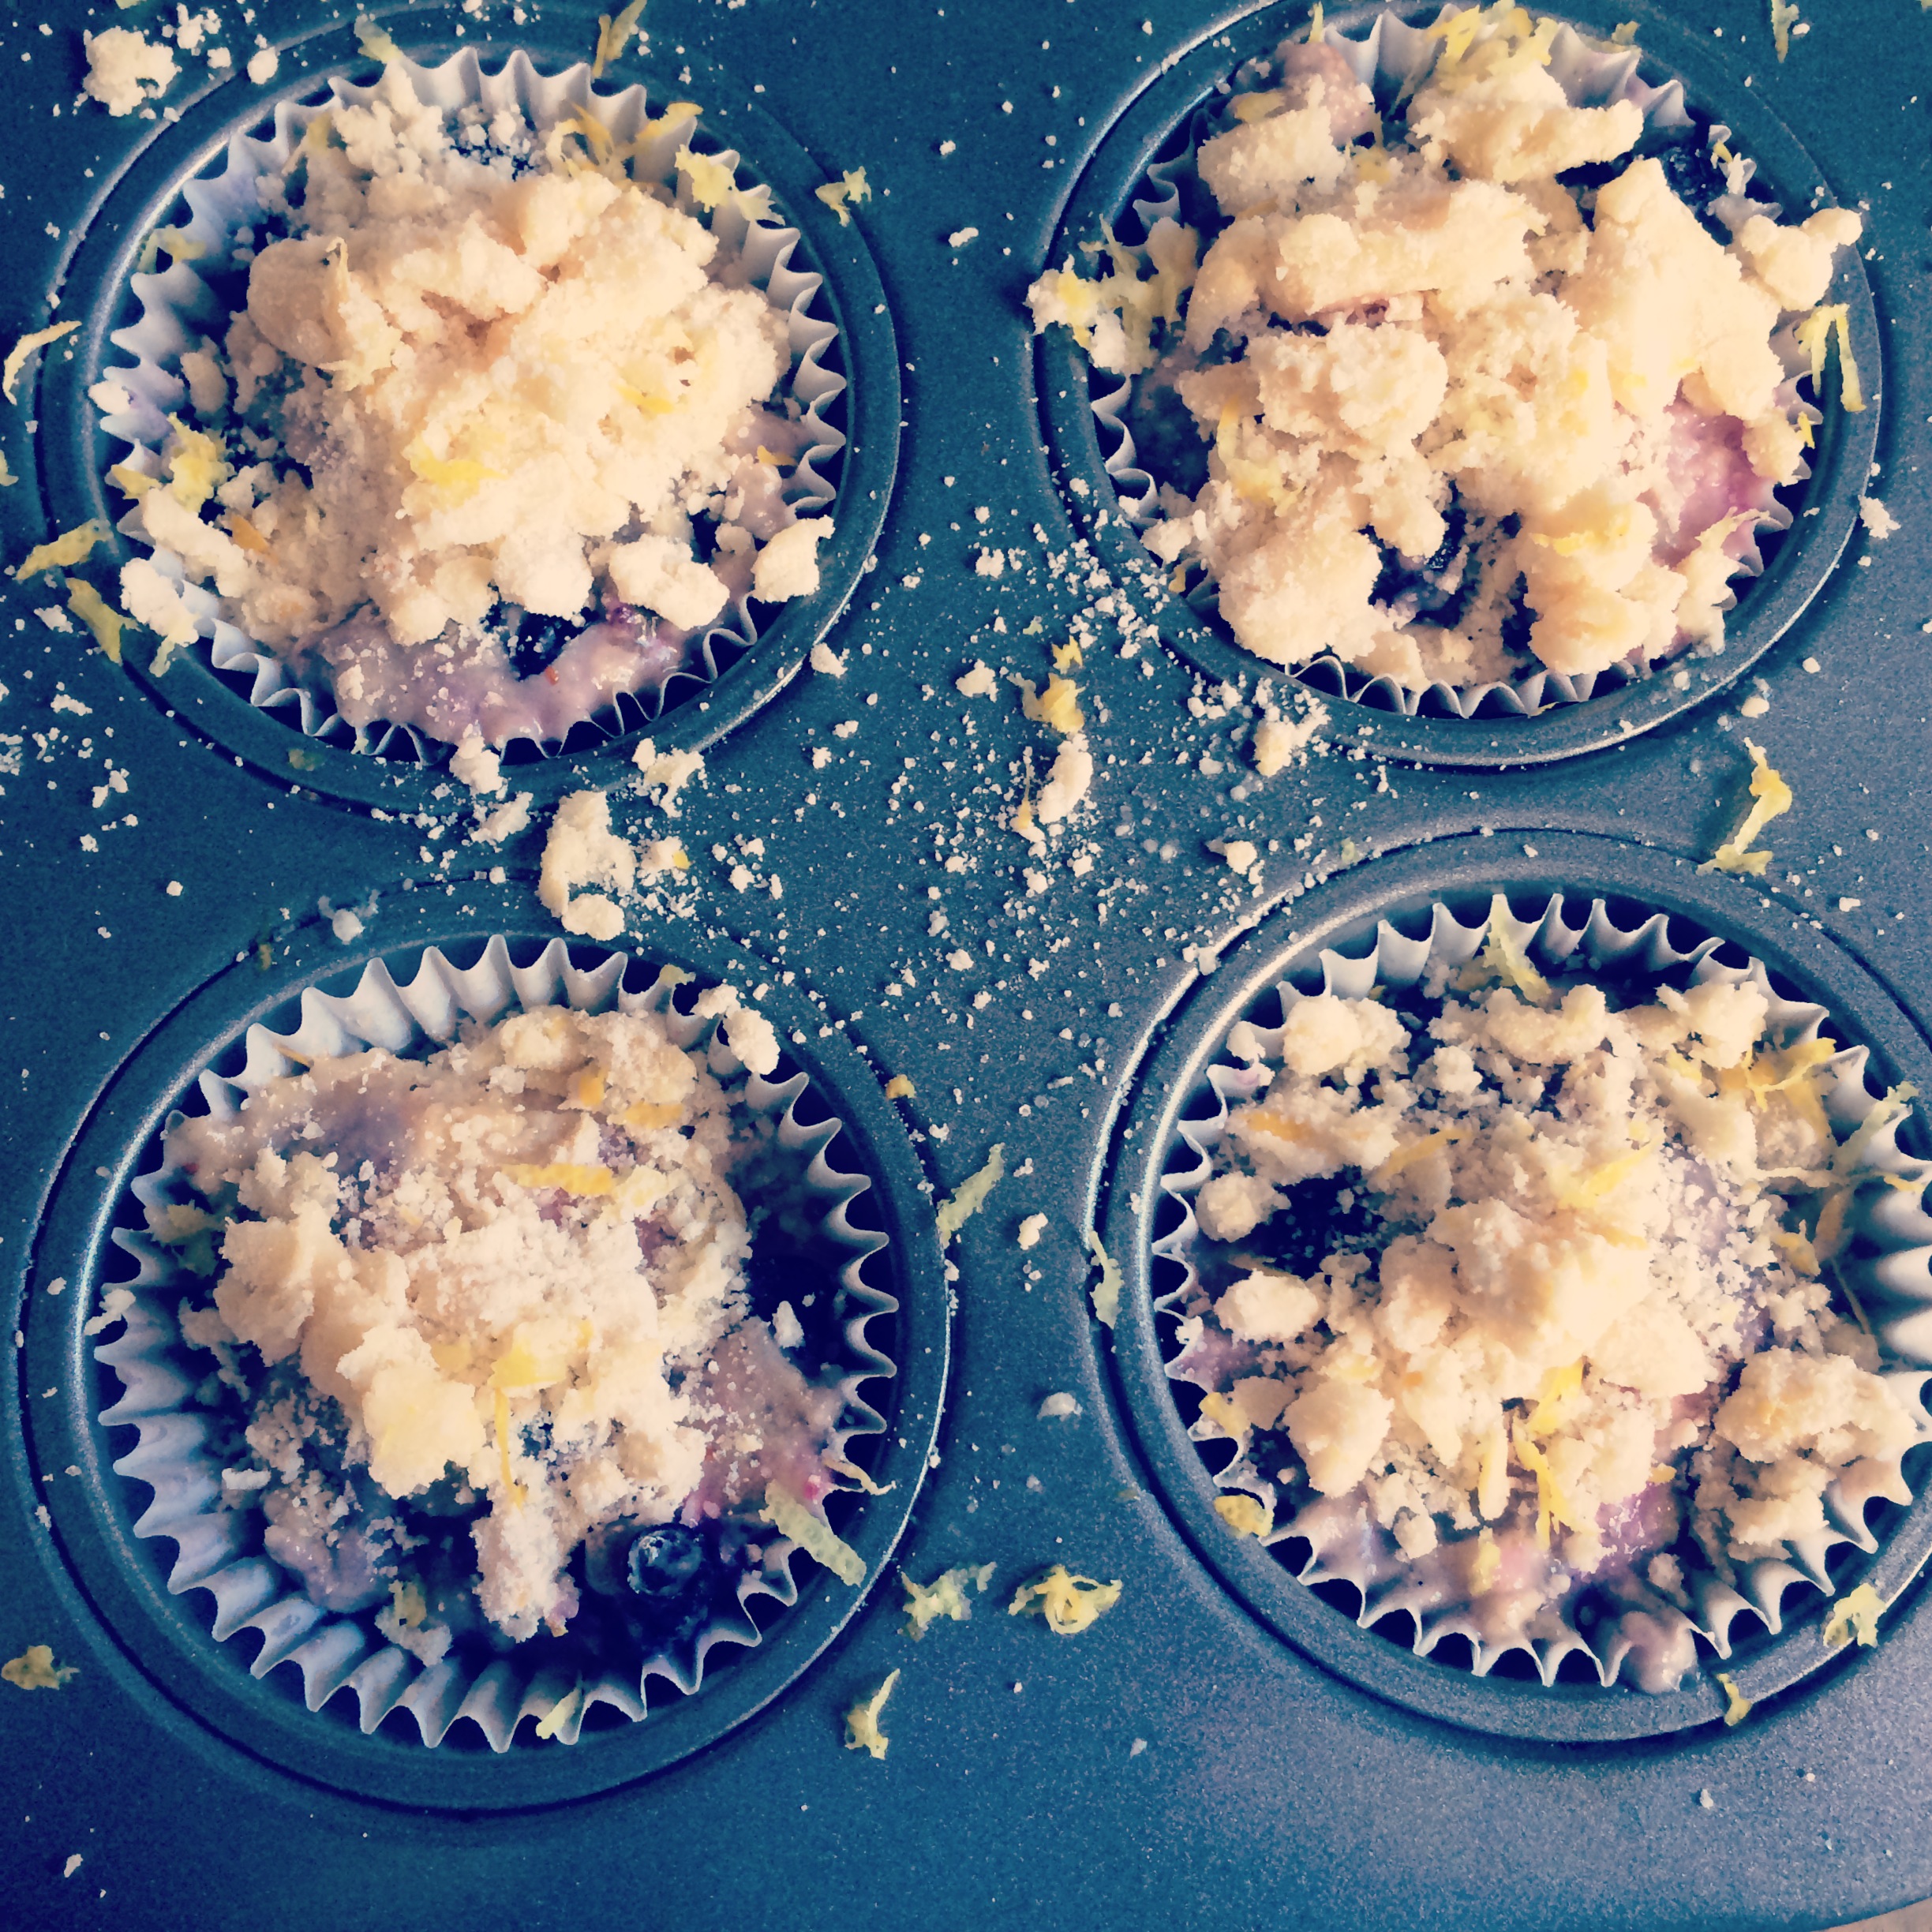
 I take my brown butter blueberry muffins with a mountain of flour-sugar clumps, a heap of lemon zest, and a dream.
