Blackberry Cobbler

blackberry cobbler 1 Hi, we're embracing seasonality now. It was a GREAT week at the market for produce, and to celebrate, I decided to put a bunch of sugar and fruit into a bowl together, then throw it in a pan. Maybe it's a pie. Most definitely, it's a cobbler.

I'd never made cobbler before this, but I've eaten plenty. Most notably was an unbelievable peach cobbler with the most heavenly blend of spices the world has ever seen. I'm STILL trying to figure it out ten years later, and of course the excellent baker who introduced me to the best peach cobbler ever, is nowhere to be found. Inspired by this, and also still on my "variations of pie" kick, I decided to embrace the beautiful blackberries practically screaming at me to take them home, and cook them at high temperatures. So into the basket they went.

blackberry cobbler2

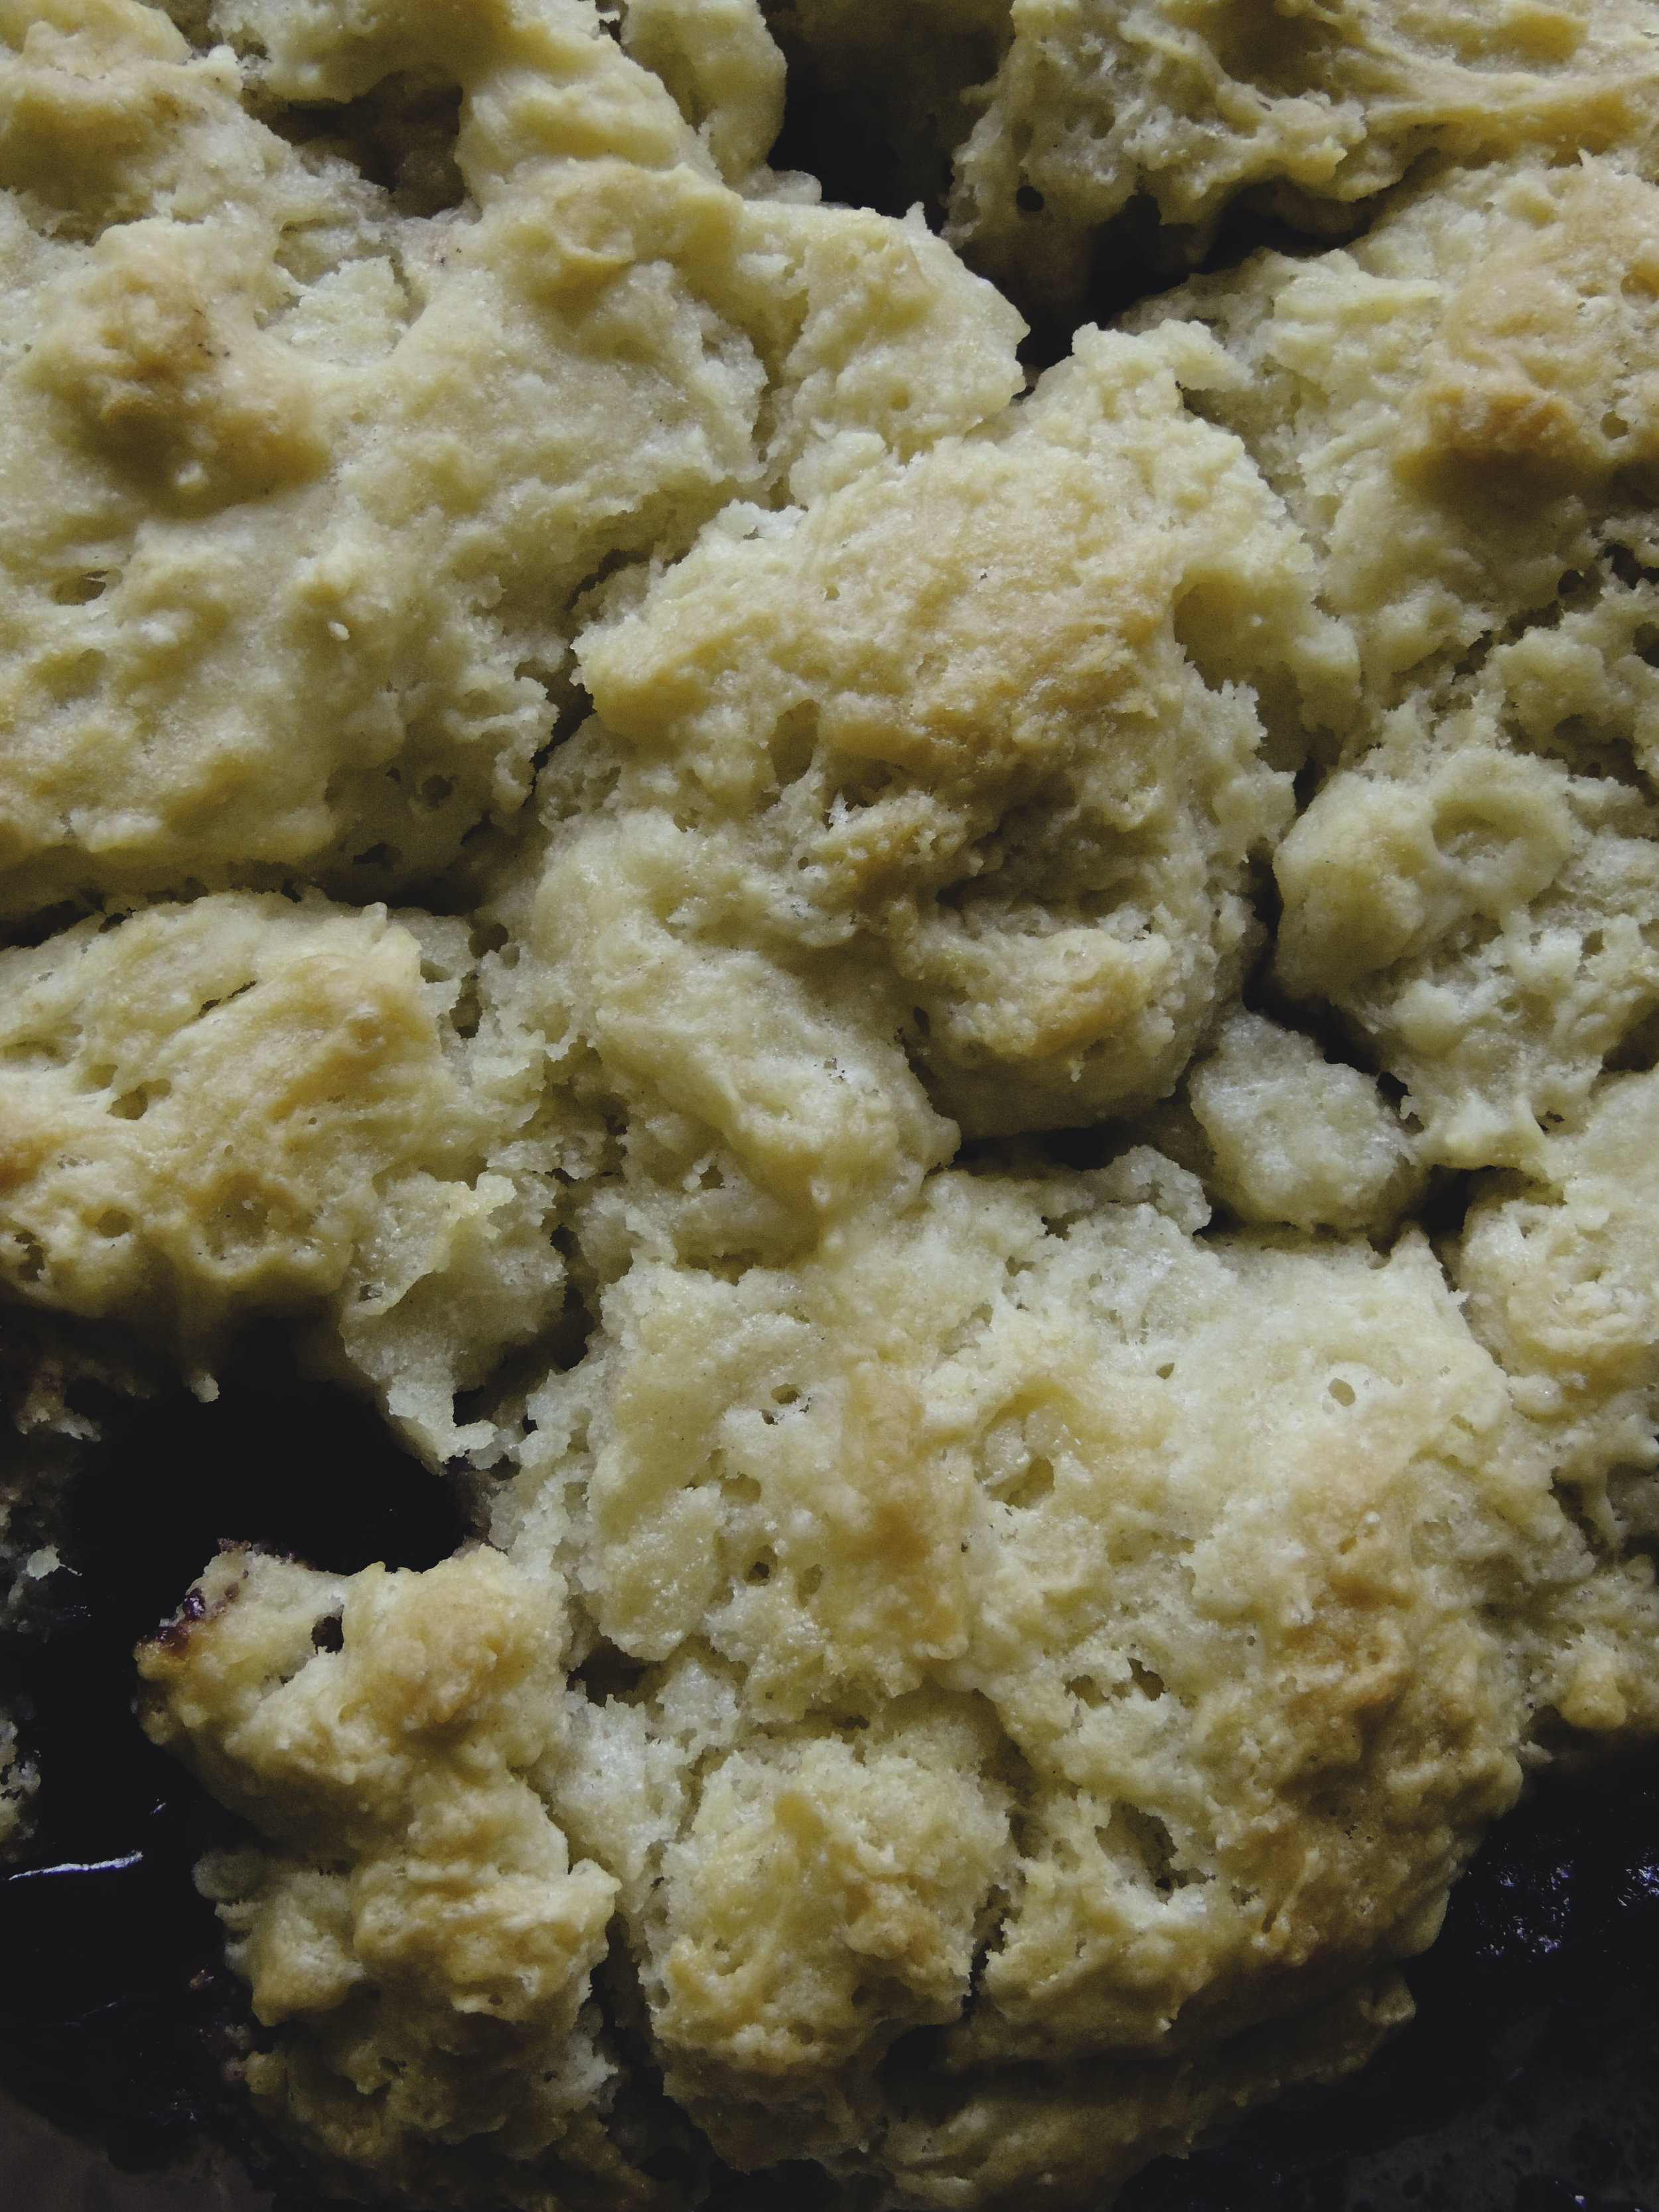
My favorite thing about cobblers is how unbelievably easy they are to make. Honestly, so easy. Your filling gets mixed with a few ingredients, and then you let it rest covered for 15 minutes. Then, you make a biscuit mixture using just a few ingredients. Once everything is done, and you've buttered your pan, you spoon in your filling, then  your mixture on top, pour (CAREFULLY! It spills!) a couple tablespoons of melted butter on top to give it that beautiful brown color, and you pop it in the oven. Perhaps the only complicated part of the recipe, and I mean comparatively speaking, is that you must keep up with the baking time because your cobbler will bake at two different temperatures before it's finished. The hardest part? This is pretty important: you must, and I mean you MUST let your cobbler cool completely. I know, I know, it'll be hard, but you've just got to. Your filling needs time to set, and really solidify its flavors. Letting it cool will be like the caterpillar finally emerging from its cocoon as a beautiful butterfly. The pie is a butterfly. Give it time to look and taste beautiful.

blackberrycobbler3

We must also take a brief moment to not only talk about the topping, but to really appreciate it. It's not crumbly like you may be accustomed to. It's more like a biscuit, and therefore sooo much better. If you've ever enjoyed freshly baked biscuits with a generous smearing of freshly made jam, then this cobbler is for you. It's buttery, it's flaky, it's DELICIOUS. It's soft, and SO GOOD with that sweet-but-not-too-sweet blackberry filling. It all just works. And honestly, if you ask me, this cobbler show-stopper is even better the next day.

Hey, don't you have a cobbler to make?


BLACKBERRY COBBLER

What You'll Need:

FILLING:

  • 4 1/2 half-pints of blackberries (6 ounces each)
  • 1 cup granulated sugar
  • 1/4 cup cornstarch
  • 2 tablespoons all-purpose flour
  • 1 teaspoon ground cinnamon

TOPPING

  • 1 cup all-purpose flour
  • 1 teaspoon baking powder
  • 1/4 teaspoon baking soda
  • 1/4 teaspoon fine sea salt
  • 3 tablespoons unsalted butter, cubed
  • 3/4 cup buttermilk
  • 3 tablespoons unsalted butter, melted

DIRECTIONS:

First Things First:

-Butter a 9-inch pie pan really well. Set aside

-Preheat the oven to 425 degrees F.

Okay, Now Let's Make the Filling:

-Combine the blackberries, sugar, cornstarch, flour, and ground cinnamon in a medium-sized bowl. Carefully stir together until all the dry ingredients are well-mixed, and the berries are well-coated.

-Cover with cling wrap, and let rest for 15 minutes.

That's Done. Shall We Make the Topping?

-Combine the flour, baking powder, baking soda,  and fine sea salt in a medium-sized bowl.

-Using a pastry cutter, fork, or even your hands ( I've been using my hands a lot more lately!) quickly cut the butter cubes into the mixture until it is crumbly, and you've got pieces that are pea-sixzed or smaller.

-Make a well in the center of your mixture. Slowly pour the buttermilk into the center, and use a large spoon to gently mix it all together until all the dry ingredients are just combined. Your topping will look very wet at this point, but that's just what we want.

-This is a good time to melt the extra 3 tablespoons of unsalted butter.

Now Let's Put it all Together! 

-Spoon your blackberry mixture evenly into the prepared pie pan.

-Using a large spoon, dollop about three tablespoons of the biscuit mixture into mounds all around the surface of your blackberry mixture. This doesn't have to be an exact science (Goodness knows mine did not completely turn out the same size), just make sure your mounds of biscuit topping have been evenly distributed all across the top; we want everyone to get plenty of topping on their plates!

-Carefully pour your melted butter all across the top of your biscuit topping so that you'll get a nice, even brown color when it bakes. Be EXTRA CAREFUL because that melted butter is sneaky and will slide right off of the pie and onto the countertop. It's not fun to clean up.

-Bake your pie at 425 degrees F for 15 minutes, then reduce the heat to 350 degrees F for an additional 30 minutes.

-Cool for at LEAST 1 hour, though I think the longer you let it cool and rest, the better.

Serve with either your favorite vanilla ice cream, or some delicious homemade whipped cream. ENJOY.

 

SOURCE: A Year of Pies: A Seasonal Tour of Home Baked Pies

Brown Butter Raspberry-Ricotta Breakfast Cake

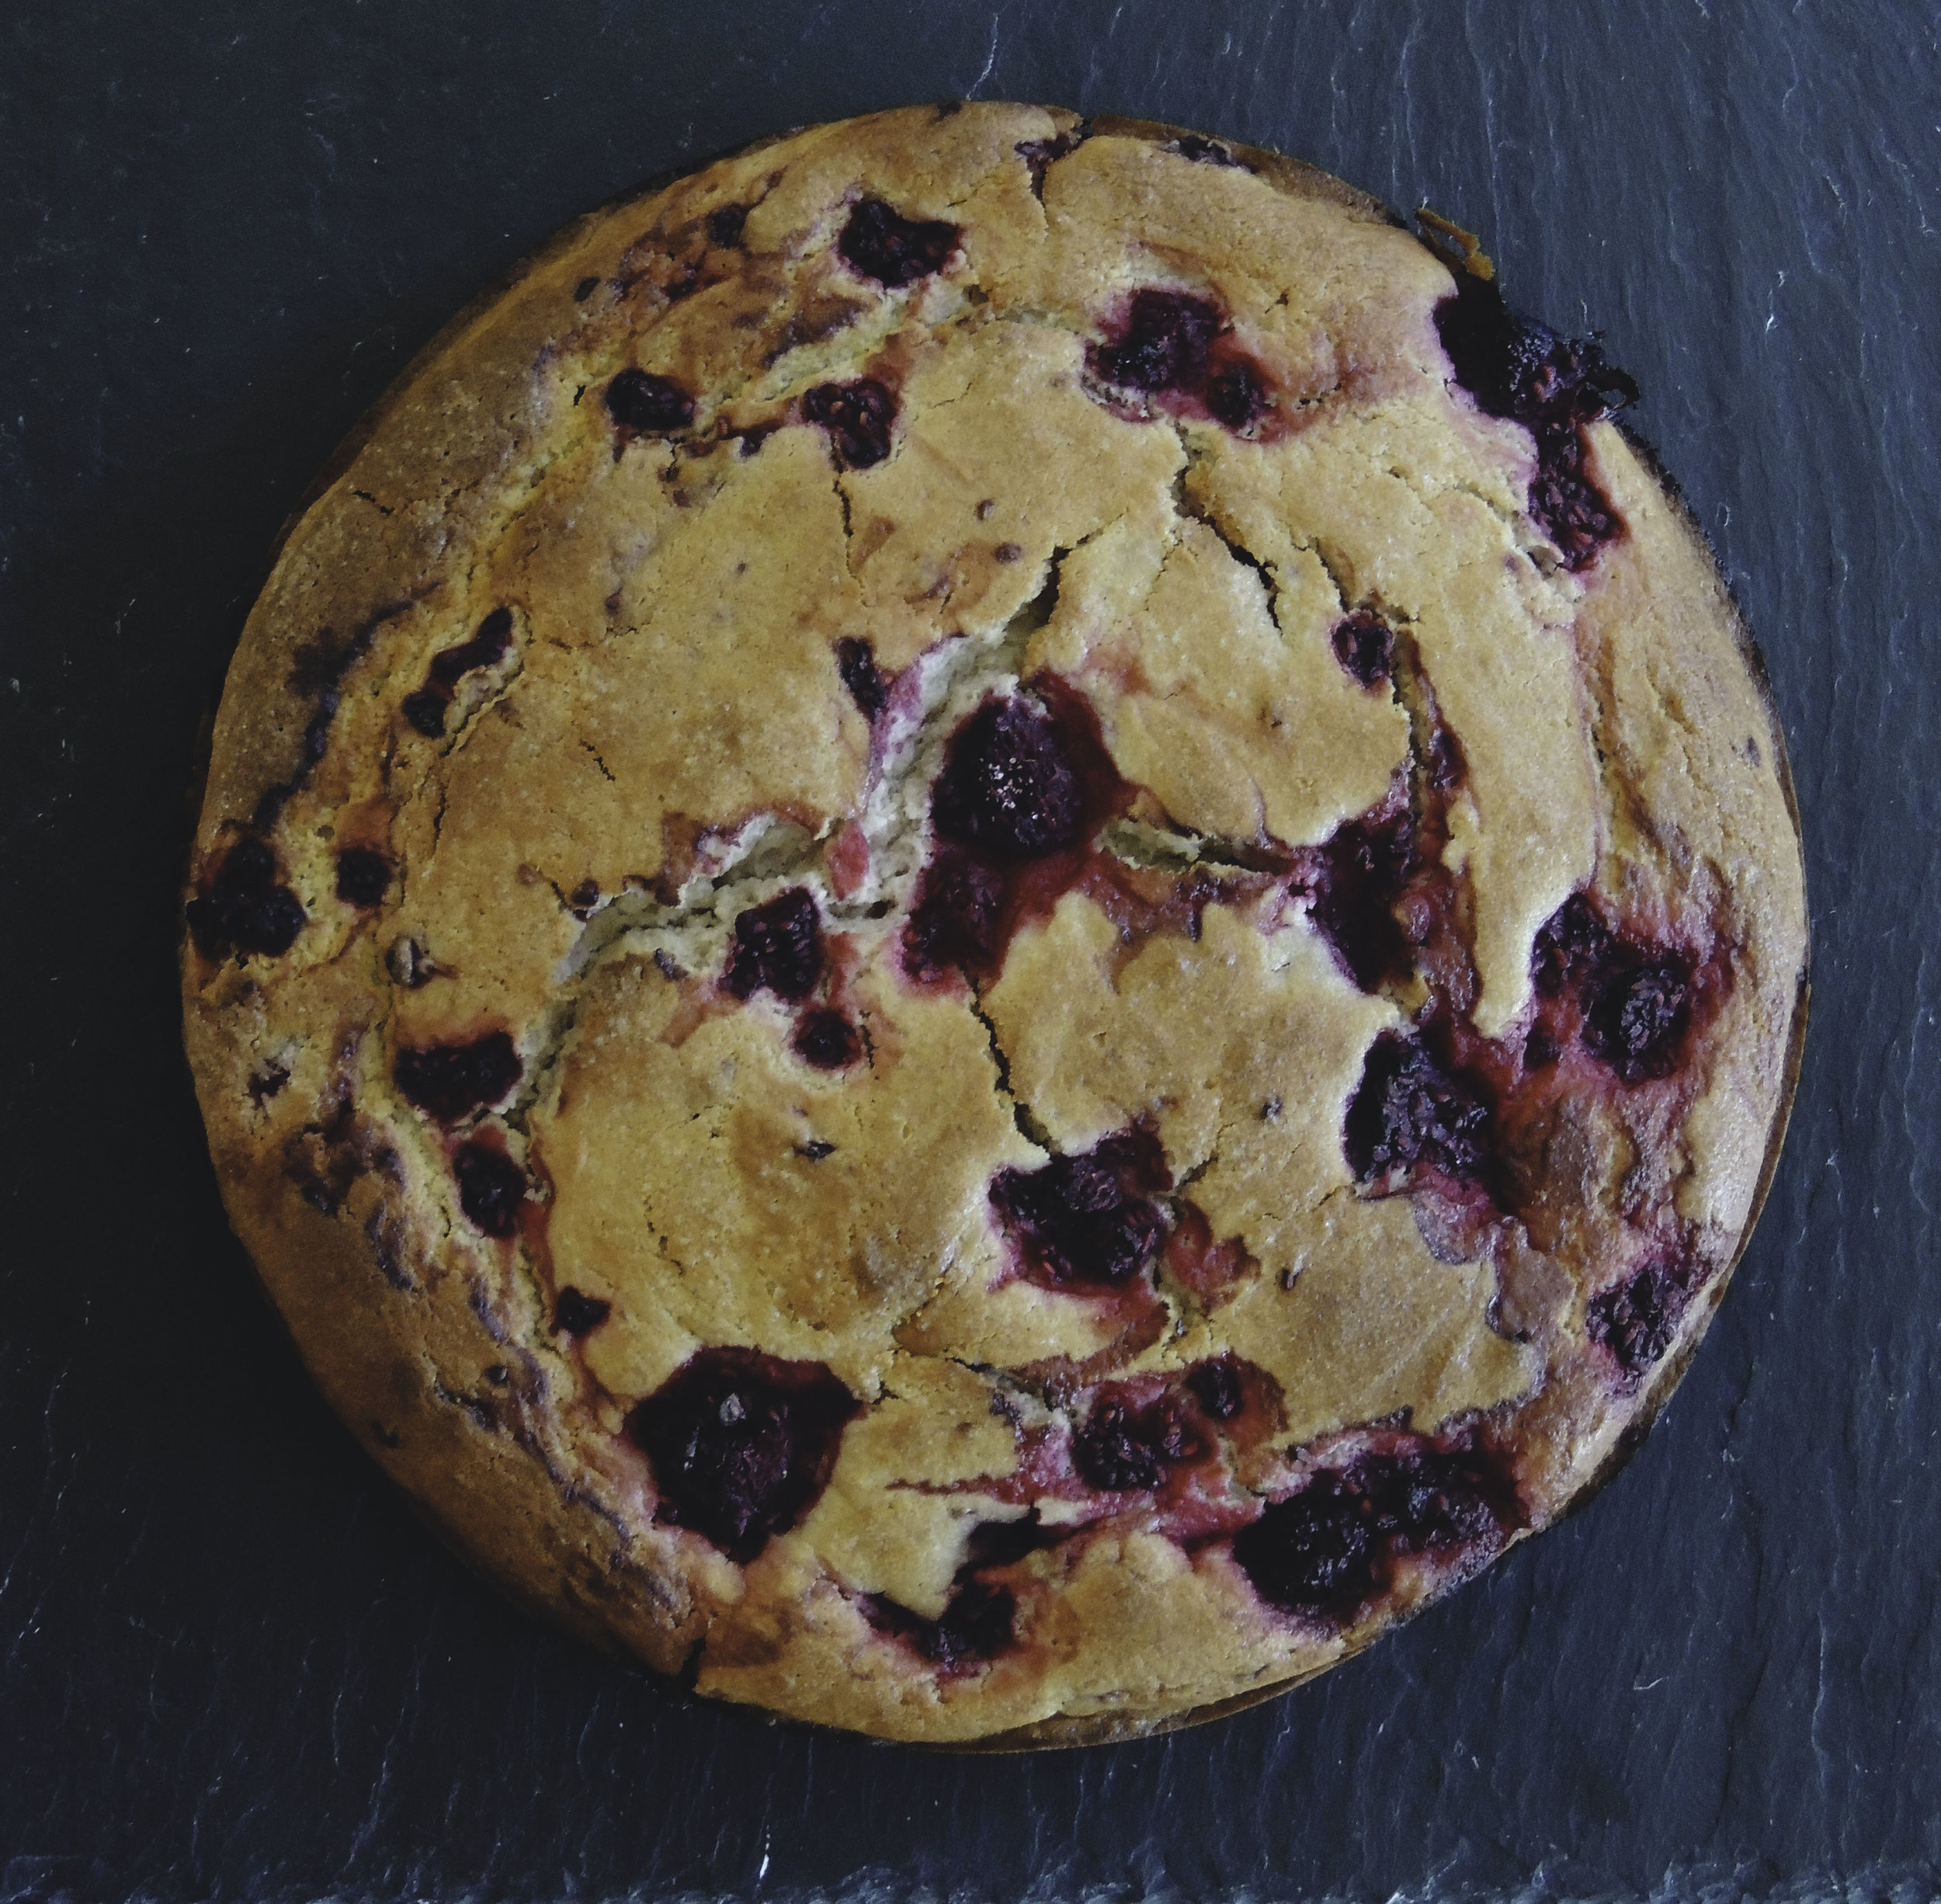
Rasp ricotta cake 2Listen, there comes a time in every young woman's (or man's) life where s/he just has to throw every single thing down, and have cake for breakfast. Okay? You just have to have cake for breakfast sometimes. Cereal is my breakfast meal of choice. There are occasions where I or a loved one will have the energy to whip up pretty impressive omelets, but those times are pretty rare on the weekdays. And as much as I do actually genuinely enjoy a crunchy spoonful of cornflakes, sometimes all I want need first thing is a beyond-moist, tender, fruity-flavor-packed slice of cake. And I want to eat it with my hands. Forks are great, but we don't need 'em!

rasp ricotta cake 5

The selection of fruit at the grocery store is very hit-or-miss, which can be very frustrating as all anyone ever talks about in the food world is "embracing seasonality." It's hard to do that when you're looking at crates full of fuzzy raspberries. The great news is, not only is frozen fruit totally welcome in this cake, it's actually a requirement. Thank goodness for the Frozen Foods section.

rasp ricotta cake 4

rasp ricotta cake 3

So, what makes this cake so moist? FULL FAT RICOTTA CHEESE. Don't you dare get that skim nonsense! We're having cake for breakfast, so let's not torture ourselves by trying to make it healthy, alright? And anyway, you want the cake to be as thick and rich as possible, so whole milk ricotta it is!

And let''s just talk about the brown butter for a second. Ohmygosh I love brown butter. It adds a certain depth to any and everything, and I don't even know what I did with my life before I knew how to do it.

rasp ricotta cake 1

It's just been a really good breakfast (and also dessert) week in this house.

And P.S. This is a GREAT choice for your 4th of July Weekend red-white-and-blue-food-eating festivities!! Fourth of July Breakfast Cake is a thing, right?


BROWN BUTTER RASPBERRY-RICOTTA CAKE 

What You'll Need:

  • Nonstick cooking oil spray
  • 1 stick plus 3 tablespoons unsalted butter
  • 1 1/2 cups all-purpose flour
  • 1 cup sugar
  • 2 teaspoon baking powder
  • 3/4 teaspoon kosher salt
  • 3 large eggs, room temperature
  • 1 1/2 cups ricotta cheese, preferably whole milk
  • 1/2 teaspoon vanilla extract
  • 1 cup frozen raspberries, divided
  • 1 teaspoon lemon juice
  • 1 teaspoon of sugar

DIRECTIONS:

Preheat the oven to 350 degrees F.

Line a 9-inch round cake pan with parchment paper, and lightly spray with nonstick cooking oil spray.

To brown the butter:

In a medium saucepan, melt your butter over medium-low heat. After a few minutes, your melted butter will start to crackle and bubble vigorously; those are the milk solids and water evaporating. After 2-3 minutes of the butter crackling, you should start to smell a nutty aroma coming from the pan, and your butter will start to darken in color. DO NOT leave while the butter is browning as it can go from brown to burnt fairly quickly.  The bubbling and crackling will eventually subside, and your darkened butter should have little brown bits floating around on the bottom. Take the butter off the heat, and let it cool slightly.

Let's make the cake:

In a large bowl, whisk the flour, sugar, baking powder, and kosher salt. Set aside.

In a medium bowl, whisk the eggs, ricotta, and vanilla extract until combined, then fold them into the dry ingredients until they are just combined.

Fold in the melted butter, then VERY GENTLY fold in 3/4 cup of the raspberries, being very careful not to crush any berries.

In a small bowl, gently toss the remaining 1/4 cup of raspberries with the lemon juice and sugar. If the raspberries seem a little too tart, you can sprinkle in a little more sugar to fit your tastes. 

Scrape your cake batter into your prepared pan and scatter the raspberries that you have just tossed with lemon and sugar, over the top. (Get creative with your design!)

Bake your cake until it is golden brown and a toothpick that has been inserted into the center, comes out clean; about 50-60 minutes. (Depending on your oven, your cake may need a little less time, so keep an eye on it when the time gets closer to 50 minutes.)

Let your cake cool for at least 20-30 minutes in the pan, on a wire rack, before unmolding and serving.

To Store:

Wrap the cake TIGHTLY in cling wrap and store at room temperature.


SOURCE: Adapted froBon Appetit 

Homemade Oreos

oreo5 I've been missing Boston lately. More specifically, I've been missing my local eateries; and there were many. I miss reading about new restaurants opening, and just hopping on the train, hopping in line, and experiencing something first-hand instead of reading about it later. And when I get into a mood like this, I turn to my cookbooks, for they always know how to cheer a girl up. Do you know what also cheers a girl up? Chocolate. Chocolate cookies. Buttercream frosting. Buttercream frosting sandwiched between two chocolate cookies. Oreos. I'm talking about Oreos.

The first time I ever visited Flour Bakery I was amazed by the selection of truly beautiful foods. How could they fit so much loveliness into such limited space? But more importantly, I was amazed by the sheer unpretentiousness of what Flour had to offer. Some of the biggest bakeries in the city try to dazzle you with sophisticated names, bright lights, fancy decorations, and anything else they can think of to draw you in. Don't get me wrong, I like to be dazzled by complicated creations as much as the next food lover, but sometimes I want a no-frills, just great taste, bakery experience. And while Flour did have cases filled to the brim with impressive pastries and sandwiches, it also stayed true to the neighborhood bakery feel with classic cakes and cookies that I grew up eating. I loved that Flour could take a childhood classic, like an Oreo, and make it completely rustic and completely their own. It was that sort of approachability to the classics that made me come back every time.

So, on days when that feeling of missing something just won't go away, I have to slip on the apron, and make it at home. Oreos, here we come.

oreos 1I think the only thing that I was truly worried about when making these cookies was rolling up the dough. I'd never done slice-and-bake cookies before, and perhaps this was unnecessary, but I felt that the task might be a little daunting. What if I didn't roll the log into a smooth enough shape? What if, when I went to slice them, I would slice too thinly or too thickly? What if, in an especially clumsy state, I went to cut the log and the whole thing went rolling to the floor? Two out of three scenarios actually happened. I'll let you guess which ones.

oreo2In all honesty, I probably shouldn't have been so nervous. Though it wasn't the smoothest log that it could've been, it still had a nice shape, and I was able to get great cookies out of it. Yes, I did slice a few too thinly, and also a few slightly thicker than the rest, but the trick is to make sure every cookie has a mate. These are sandwich cookies after all! And as good as these cookies taste on their own, trust me, you'll want that buttercream frosting on every single one. No buttercream shall go to waste!

oreo3

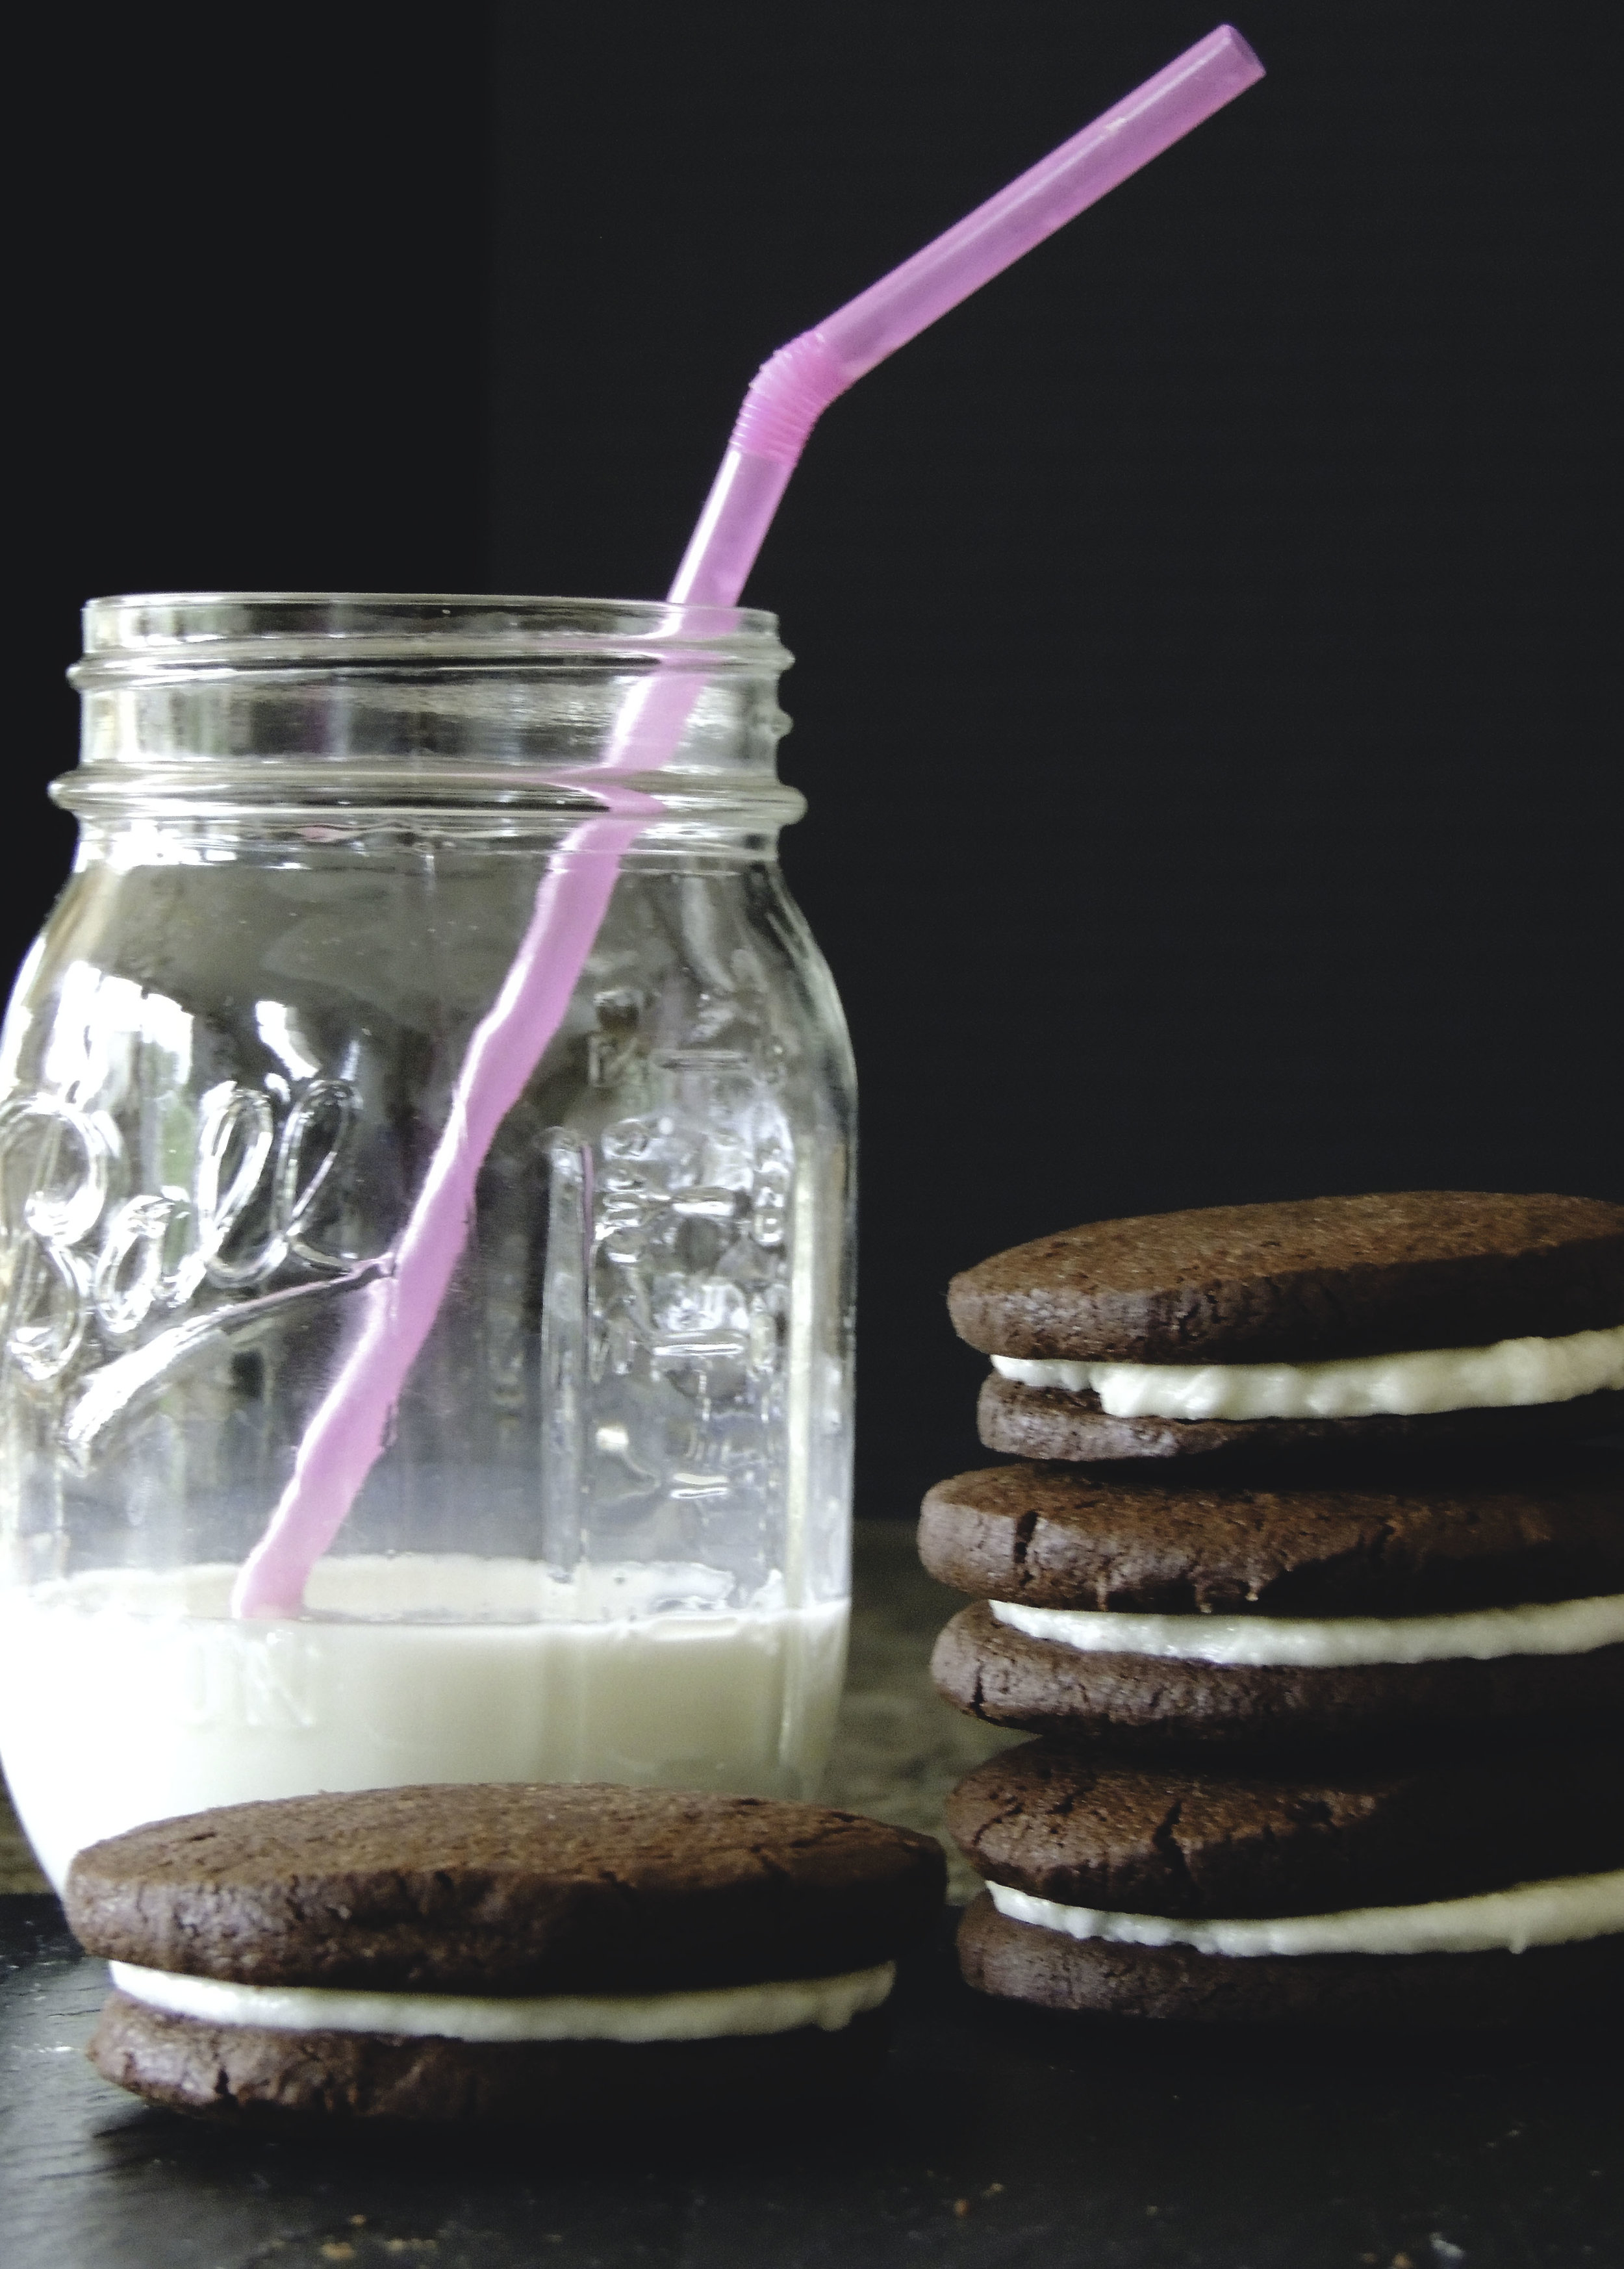
It's almost scary how good these cookies are. They're partially crunchy, partially fudgey, partially creamy, and wholly delicious. And also sooo unbelievably tasty paired with a nice glass of whole milk. They're a little too big for dunking in the average-sized glass, but you can always break them up into pieces should the need for dunking arise.

Boy, am I going to miss these cookies when they're gone.


What You'll Need:

For the Cookies:

  • 1 cup (2 sticks) unsalted butter, melted and slightly cooled
  • 3/4 cup granulated sugar
  • 1 teaspoon pure vanilla extract
  • 1 cup semisweet chocolate chips, melted and slightly cooled
  • 1 egg, room temperature
  • 1 1/2 cups all purpose flour
  • 3/4 cup cocoa powder
  • 1 teaspoon fine kosher salt
  • 1/2 teaspoon baking soda

For the Buttercream Frosting:

  • 1/2 cup (1 stick) unsalted butter, softened and at room temperature
  • 1 2/3 cups confectioners’ sugar
  • 1 teaspoon pure vanilla extract
  • 1 tablespoon whole milk
  • dash of kosher salt

Directions:

In a large bowl, whisk together the melted butter and granulated sugar until well combined. Next, whisk in the vanilla extract and melted chocolate. Add the egg and whisk until well combined.

In a medium bowl, stir together the flour, cocoa powder, salt, and baking soda until well combined. With a wooden spoon, slowly add the flour mixture into the bowl with the chocolate mixture. As you’re mixing, the dough might seem to get a little tougher to work with; don’t worry, that’s normal. Once it comes together, it should have a play dough-like consistency. Let the dough rest at room temperature for one hour to firm up.

Cut out a 15-inch sheet of either parchment or wax paper (I used wax paper), and carefully transfer the dough onto it. With your hands, roughly shape the dough into a log about 10 inches long. Place the log on the end of the sheet of wax or parchment paper, and roll the paper around the log. With the paper fully around the log, roll it into a smoother log shape. (I cut into an old paper towel roll, and used that to roll the log into a smoother shape.) Refrigerate for at least two hours, or overnight.) It may lose its shape while resting in the fridge, so make sure to check on it once in a while and take it out for a re-roll.

When it’s time to bake:

With a rack positioned in the center of the oven, heat the oven to 325 degrees F. Line a baking sheet with a piece of parchment paper. (Depending on how many cookies you slice, you may end up lining several baking sheets.)

Take your log out of the refrigerator, and let sit for a a minute or two to soften a little bit. Cut the log into 1/4 inch thick slices. (It should be noted that I tried to do this, and only managed to slice 1/4 inch slices some of the time. If you end up in the same boat as I was remember this: just try to keep your slices evenly sized, whatever you do.)

Place your slices about 1 inch apart on the baking sheet, as they tend to spread a little bit while baking.

Bake for 20-25 minutes, or until the cookies are firm to the touch. Make sure to keep a close eye on them, and after about 17 minutes, gently poke them in the middle to see if they’re firm. As soon as they’re firm to the touch, take them out of the oven. (Determining how long to keep them in will depend on your oven. For me, they weren’t firm until they’d been in for 21 minutes, so make sure to test your cookies for yourself!)

Let your cookies rest on the baking sheet(s) until they’ve come to room temperature. (It’s important that your cookies have cooled properly. If they’re too warm, the delicious buttercream will melt and slide right off of them. No one wants that.)

While your cookies are cooling, let’s make the filling!

Using a stand mixer fitted with the paddle attachment (or using a hand mixer), beat the butter on low until it’s completely smooth. Add the confectioners’ sugar and vanilla, and beat on low until the mixture is smooth and well combined. Next, add the milk and a dash of kosher salt, and beat until smooth. (Should have a putty-like consistency.)

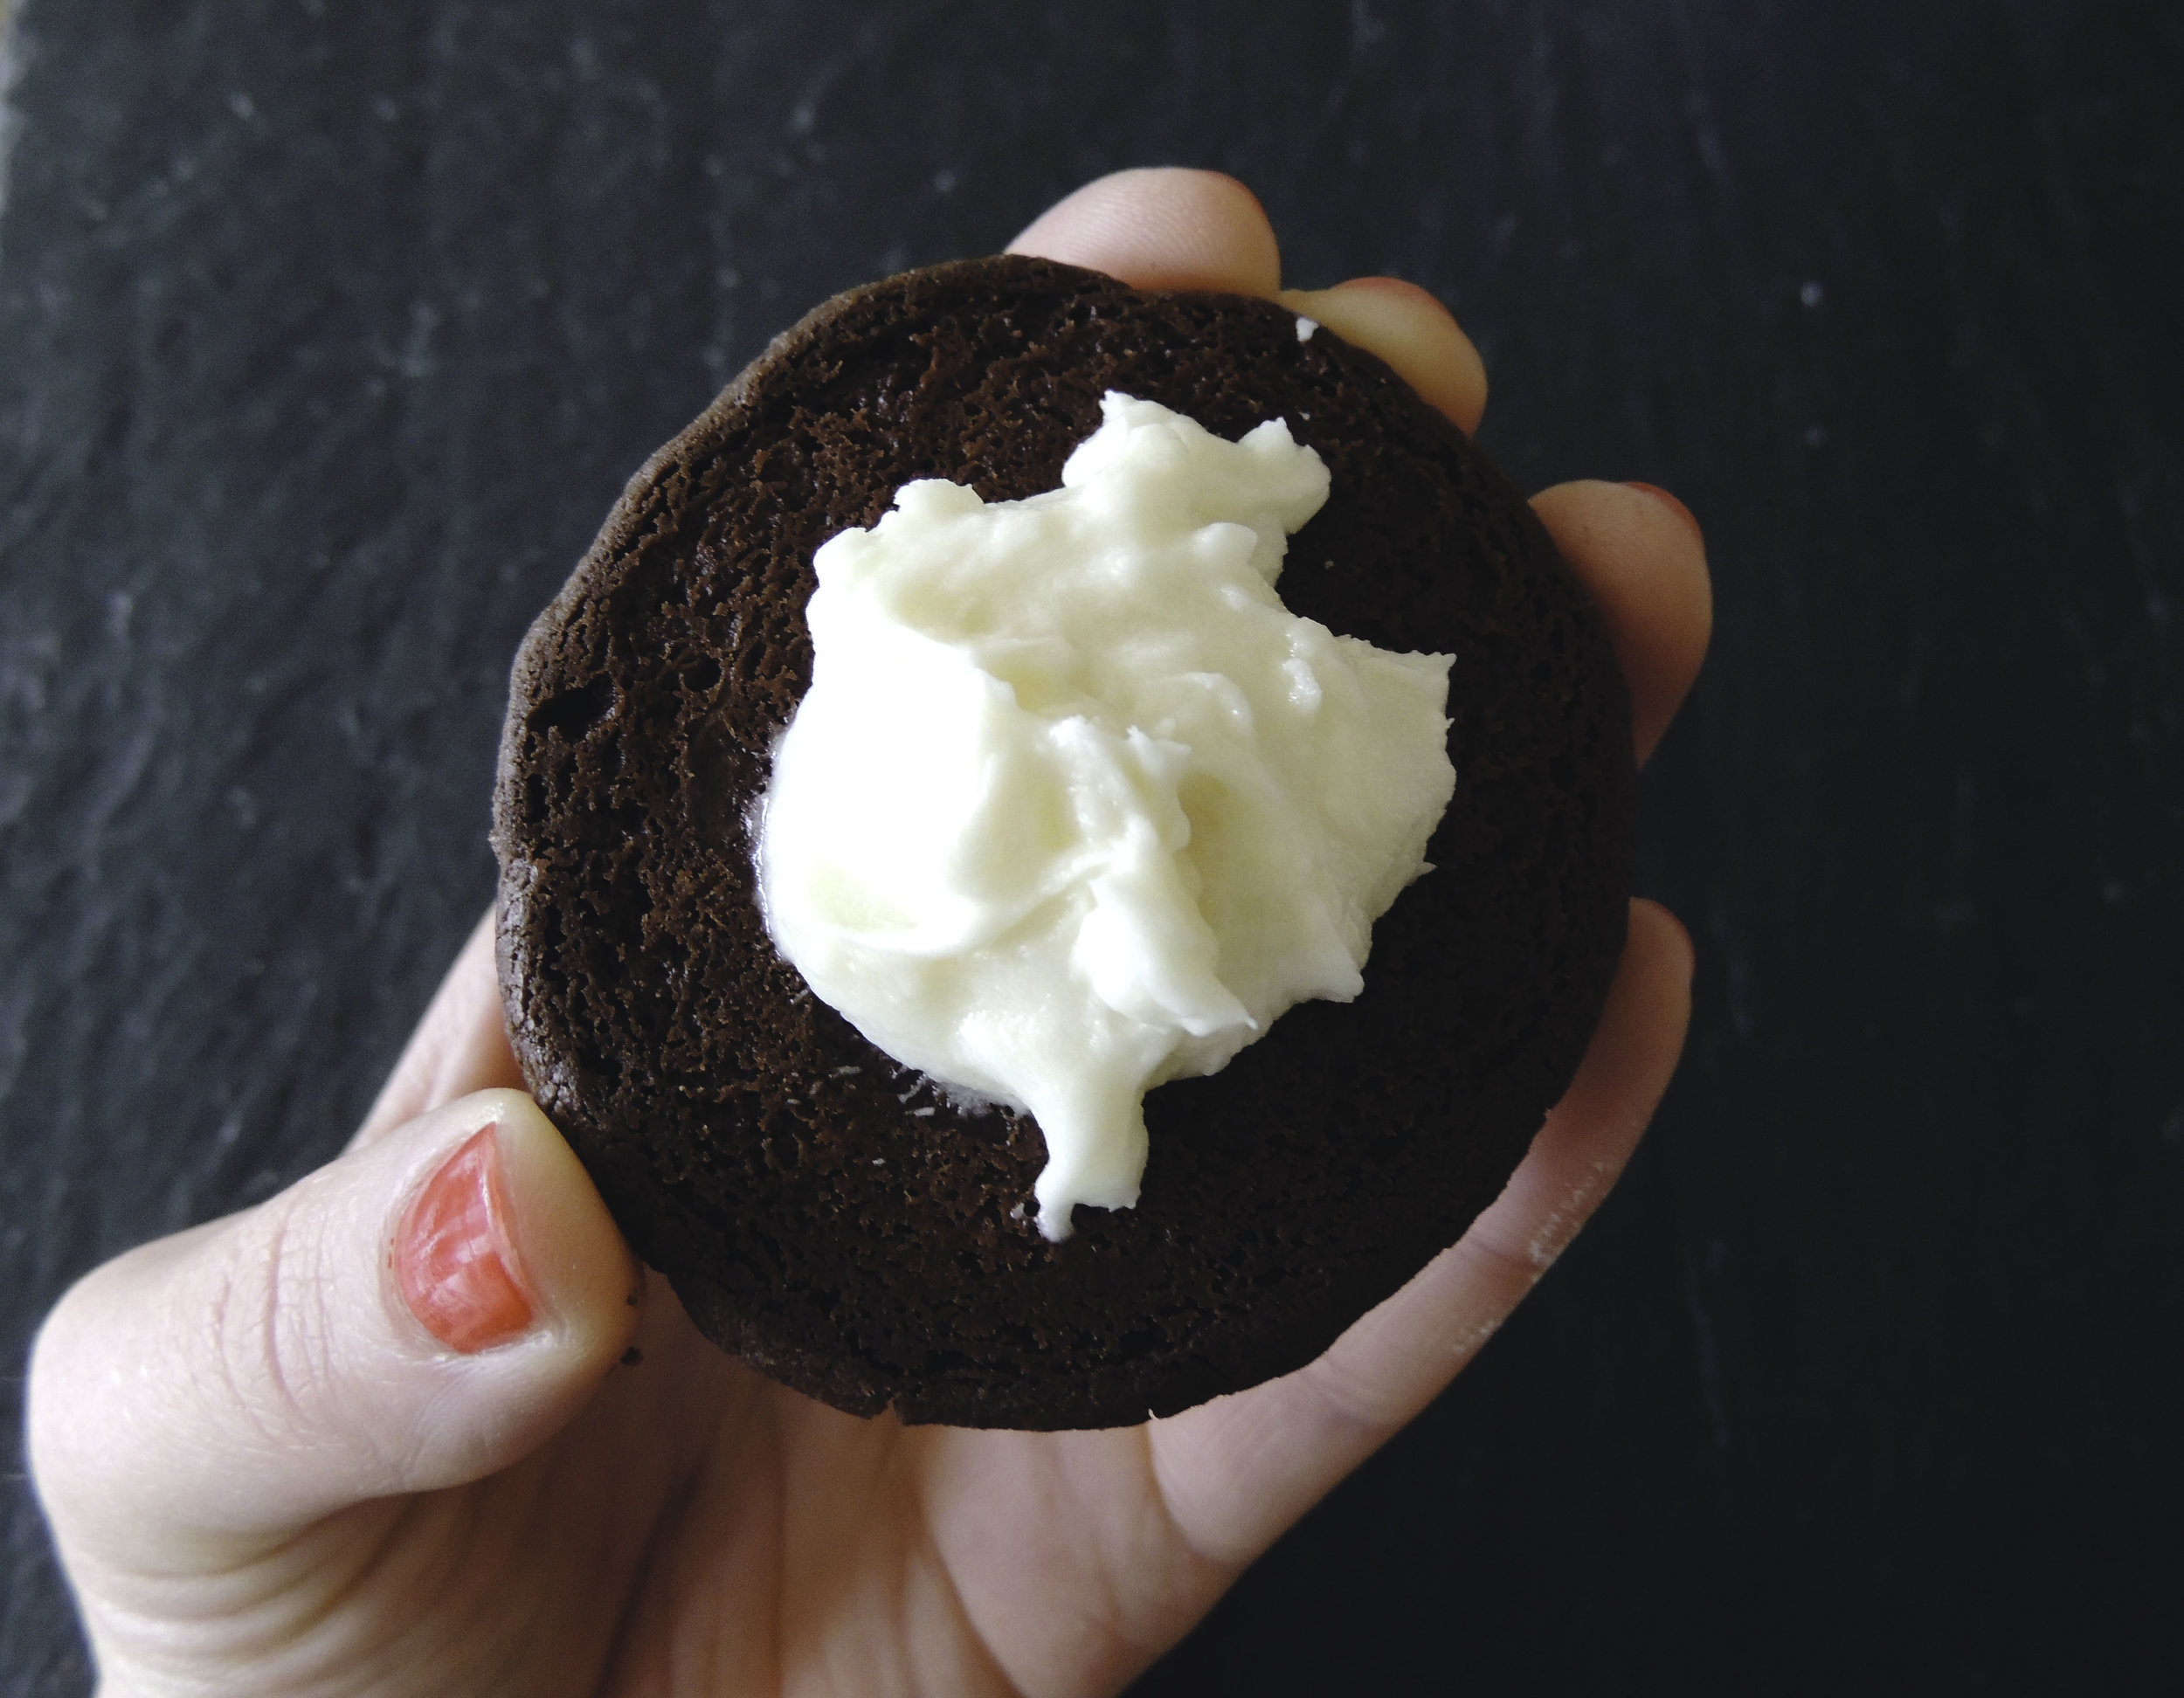
Scoop about a tablespoon’s worth of filling onto the bottom side of one cookie. Top it with another cookie, bottom side down. CAREFULLY press the cookies together, allowing the filling to spread evenly toward the edges. Repeat until all the sandwich cookies have been made.

*Store in an air-tight container to retain freshness.*


SOURCE: Flour: Spectacular Recipes from Boston's Flour Bakery + Cafe 

Rustic Blueberry-Lemon Ricotta Scones

SCONES- 1 It went past 50 degrees last week and I could hardly believe it. For the first time in months I didn't have to prepare myself for the familiar sting of winter wind hitting every piece of exposed skin. And I even spotted neighbors that I haven't seen in months. The windbreaker is out, the winter coat is buried deep within the wardrobe, and despite what the weather people keep trying to tell me (back to the 40s, sometimes 30s) Spring is here to stay. Why? Because I said so.

The sun is shining so brightly and it's making me think of Summer. And, it should be noted, I don't even like Summer that much. It's just too hot. While most people around these parts relish the feeling of a hot sun on their skin, all I can do is slap on the sunscreen; even while just looking out the window. I'll take 70 degrees and breezy, please. None of that 90 degree business. Anyway, since the sun is shining and it's actually remotely warm, it had me missing the fresh fruit that I practically live on all summer: blueberries. And what goes exceptionally well with blueberries? Lemons, m'dear!

Photo 1--SCONES

I've been trying to think of ways to spice up breakfast lately. The Cheerios just aren't cutting it anymore; not by themselves anyway. Toast is a splendid breakfast companion, but I've just been looking for a little more oomph. That's where these scones come in. Such a simple little thing on its own, the scone. So much potential, just begging to be taken to the next level. And so we shall, little scone. So we shall.

Plus, we had some extra ricotta burning a hole in the fridge. Ricotta cheese shall never, ever be wasted. Not on my watch. SCONES 2

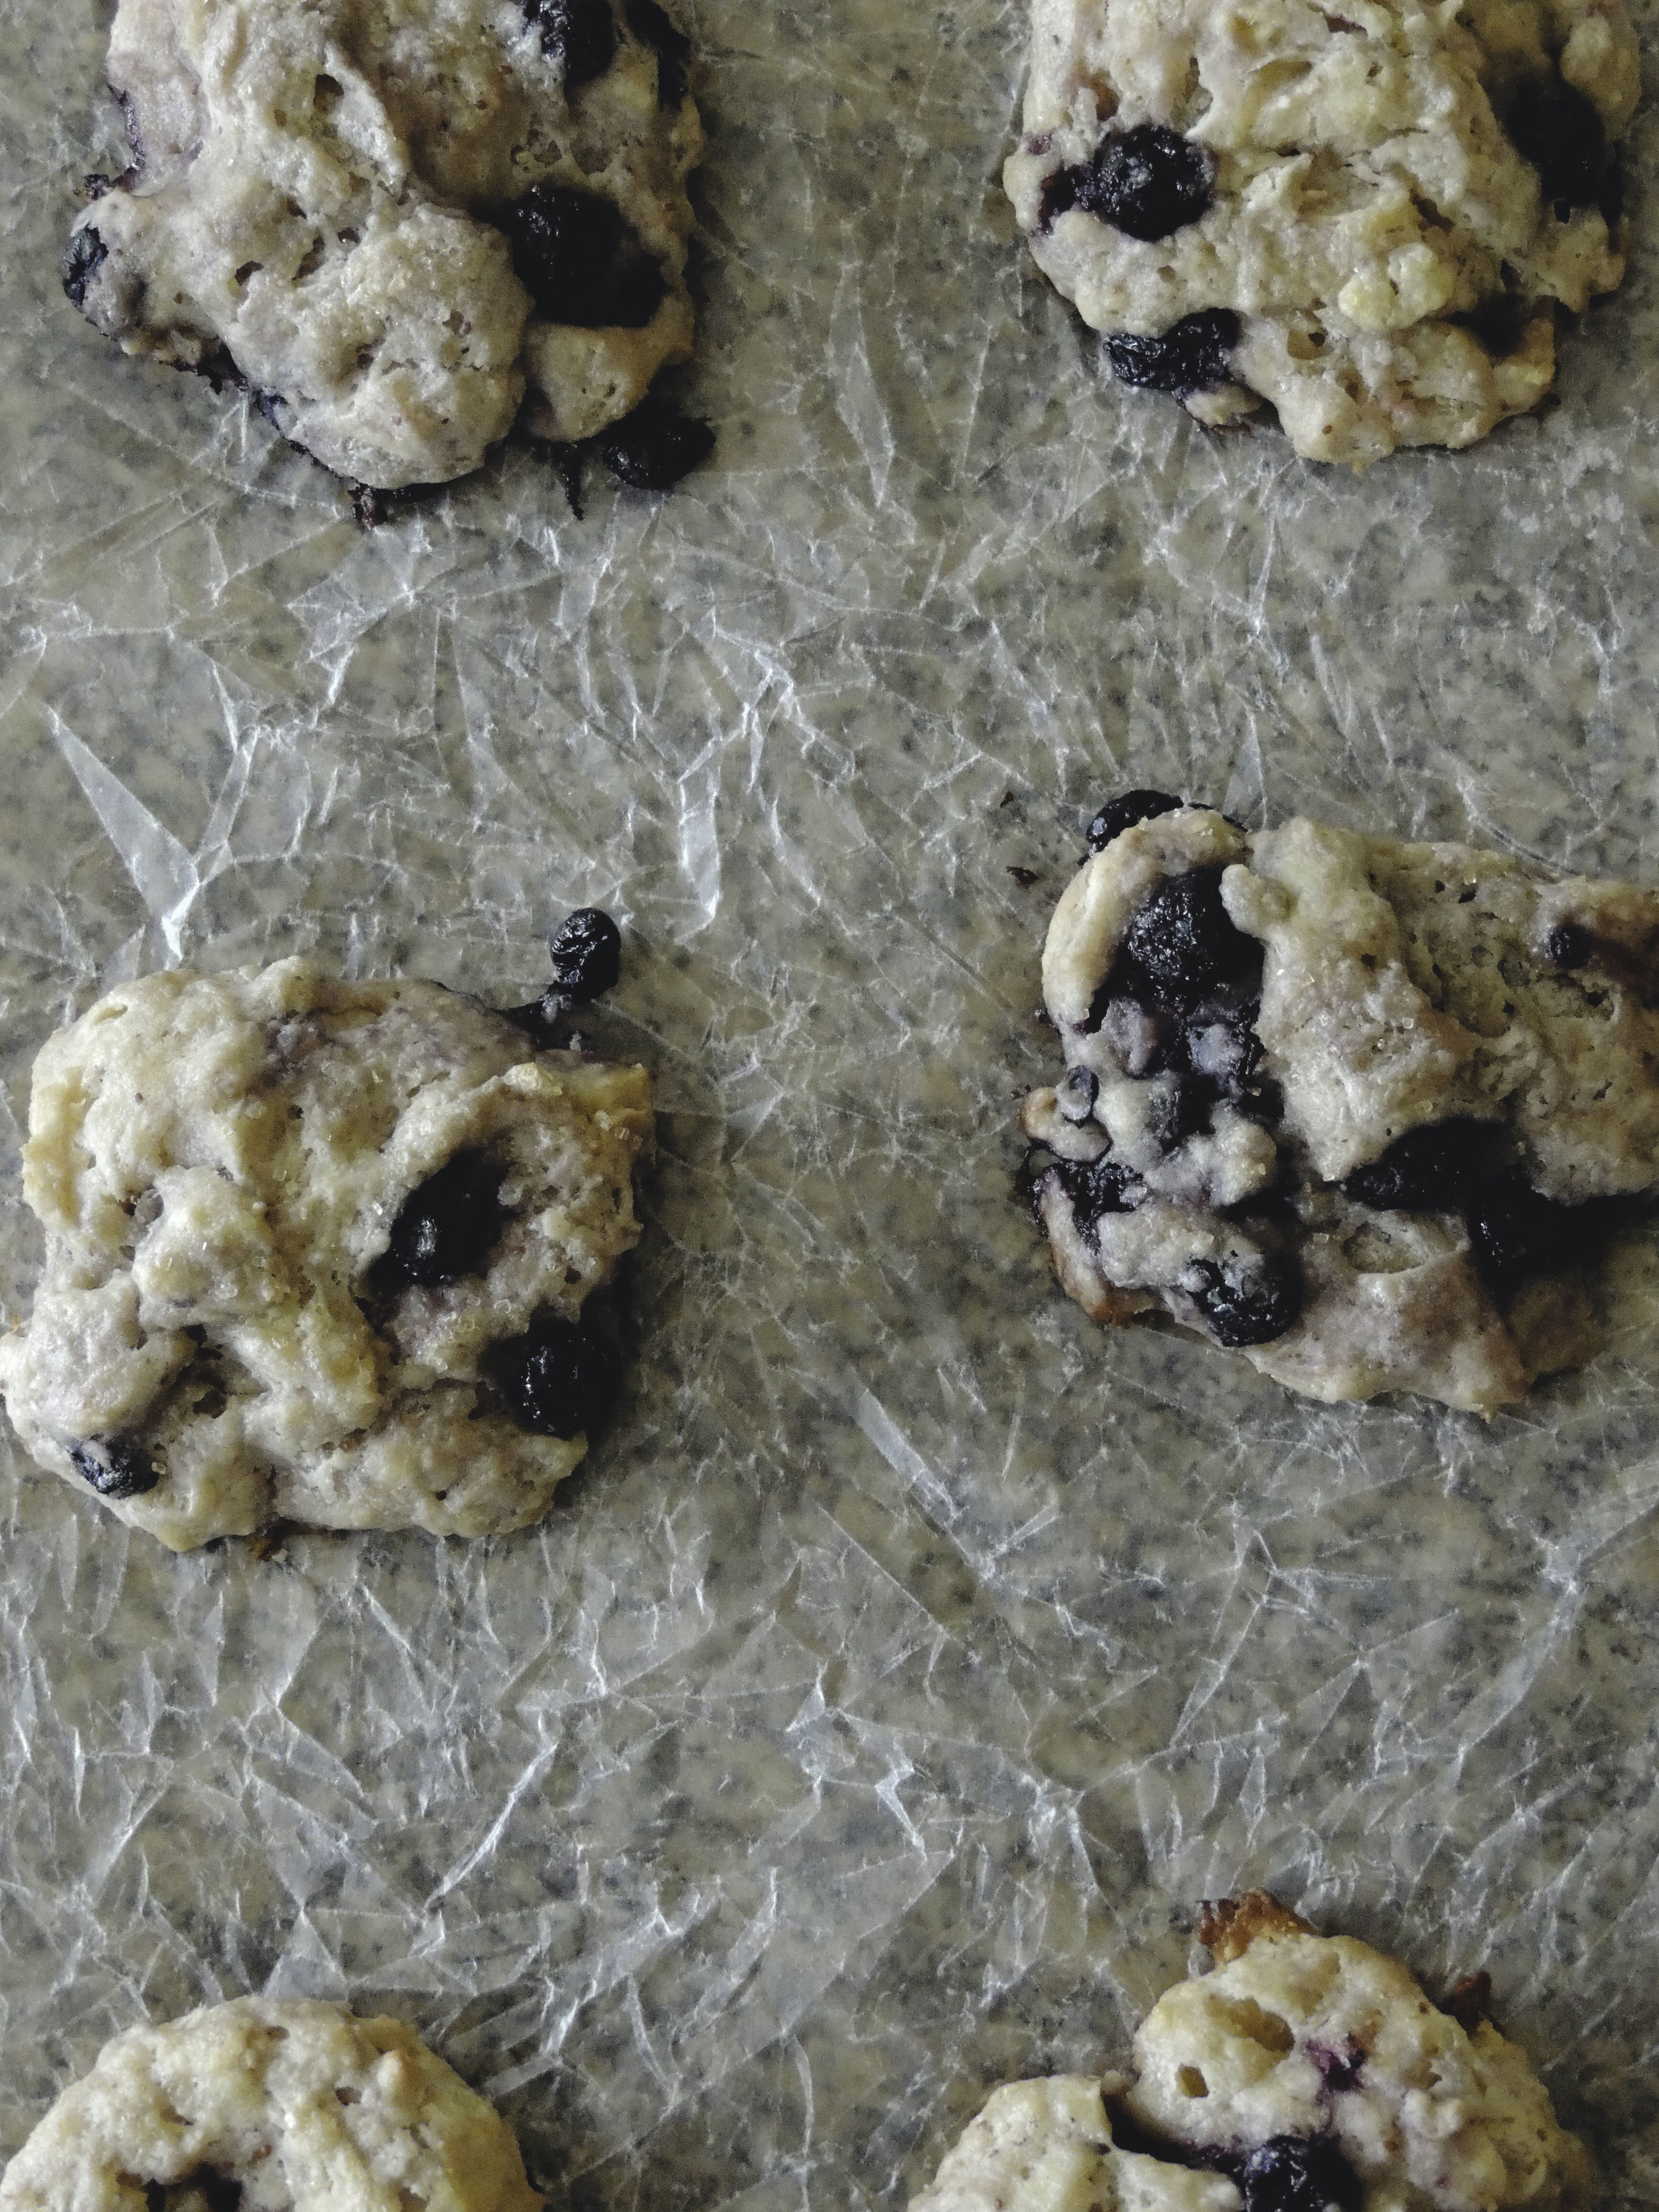
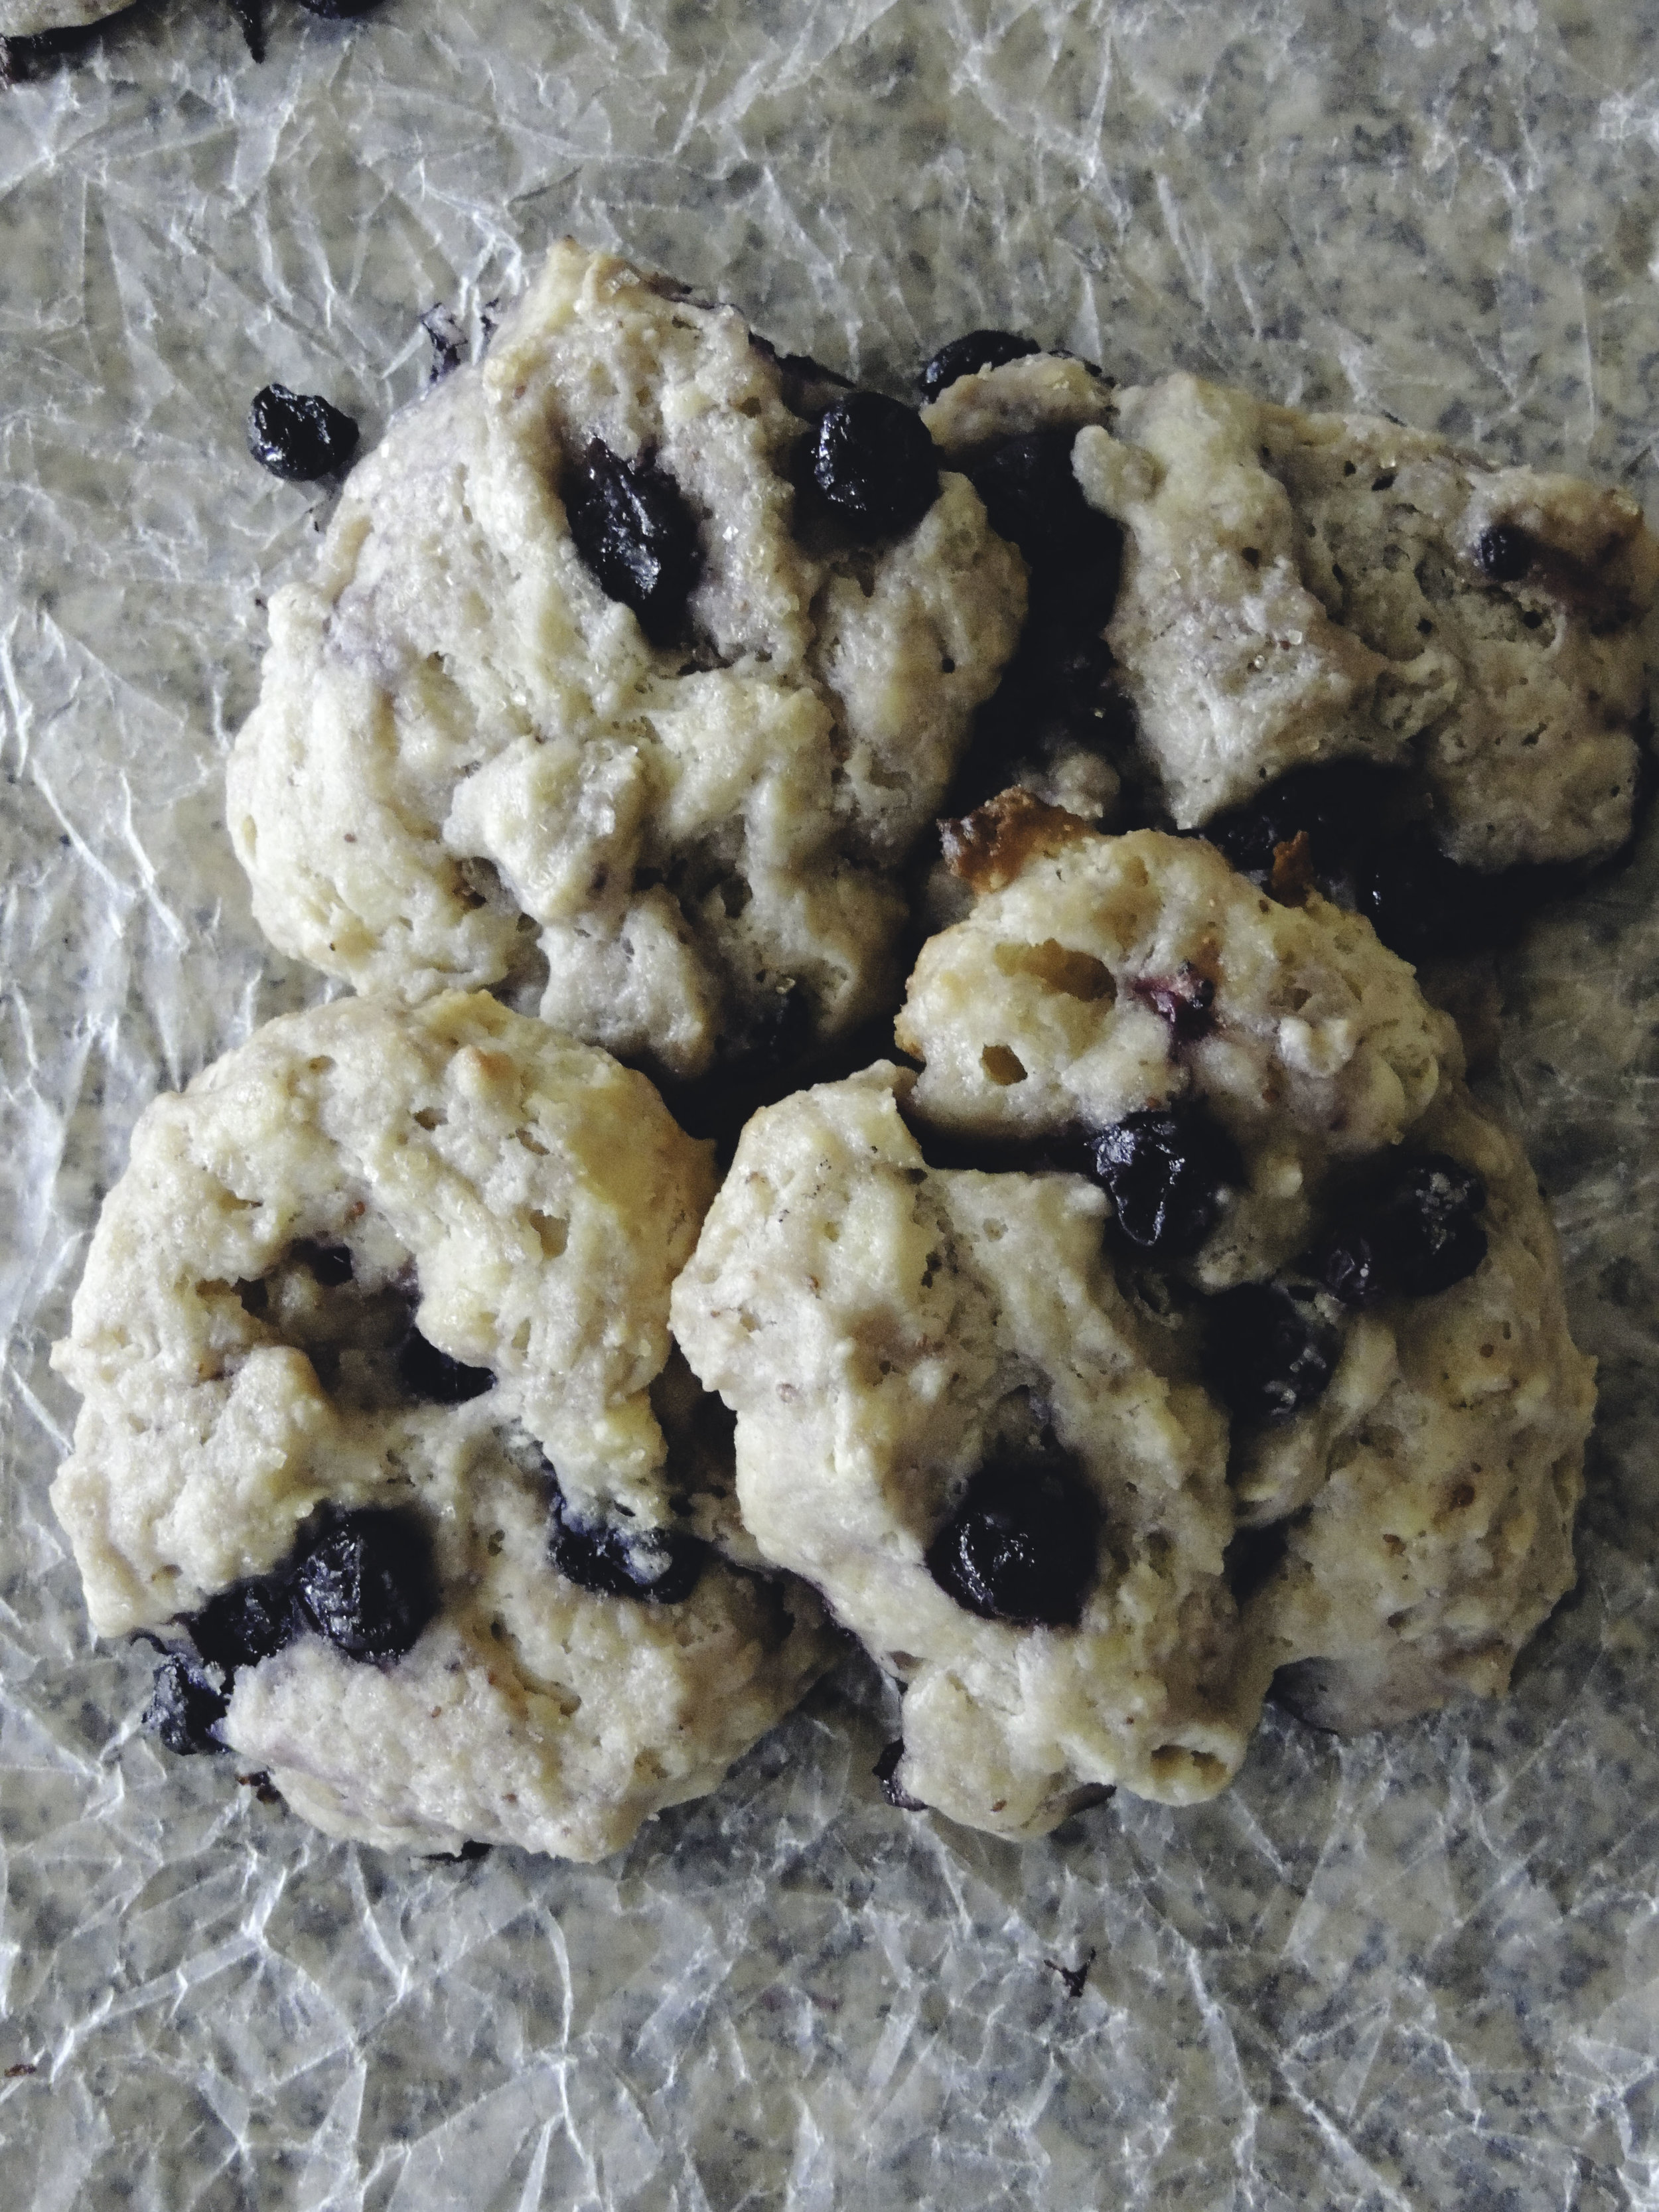
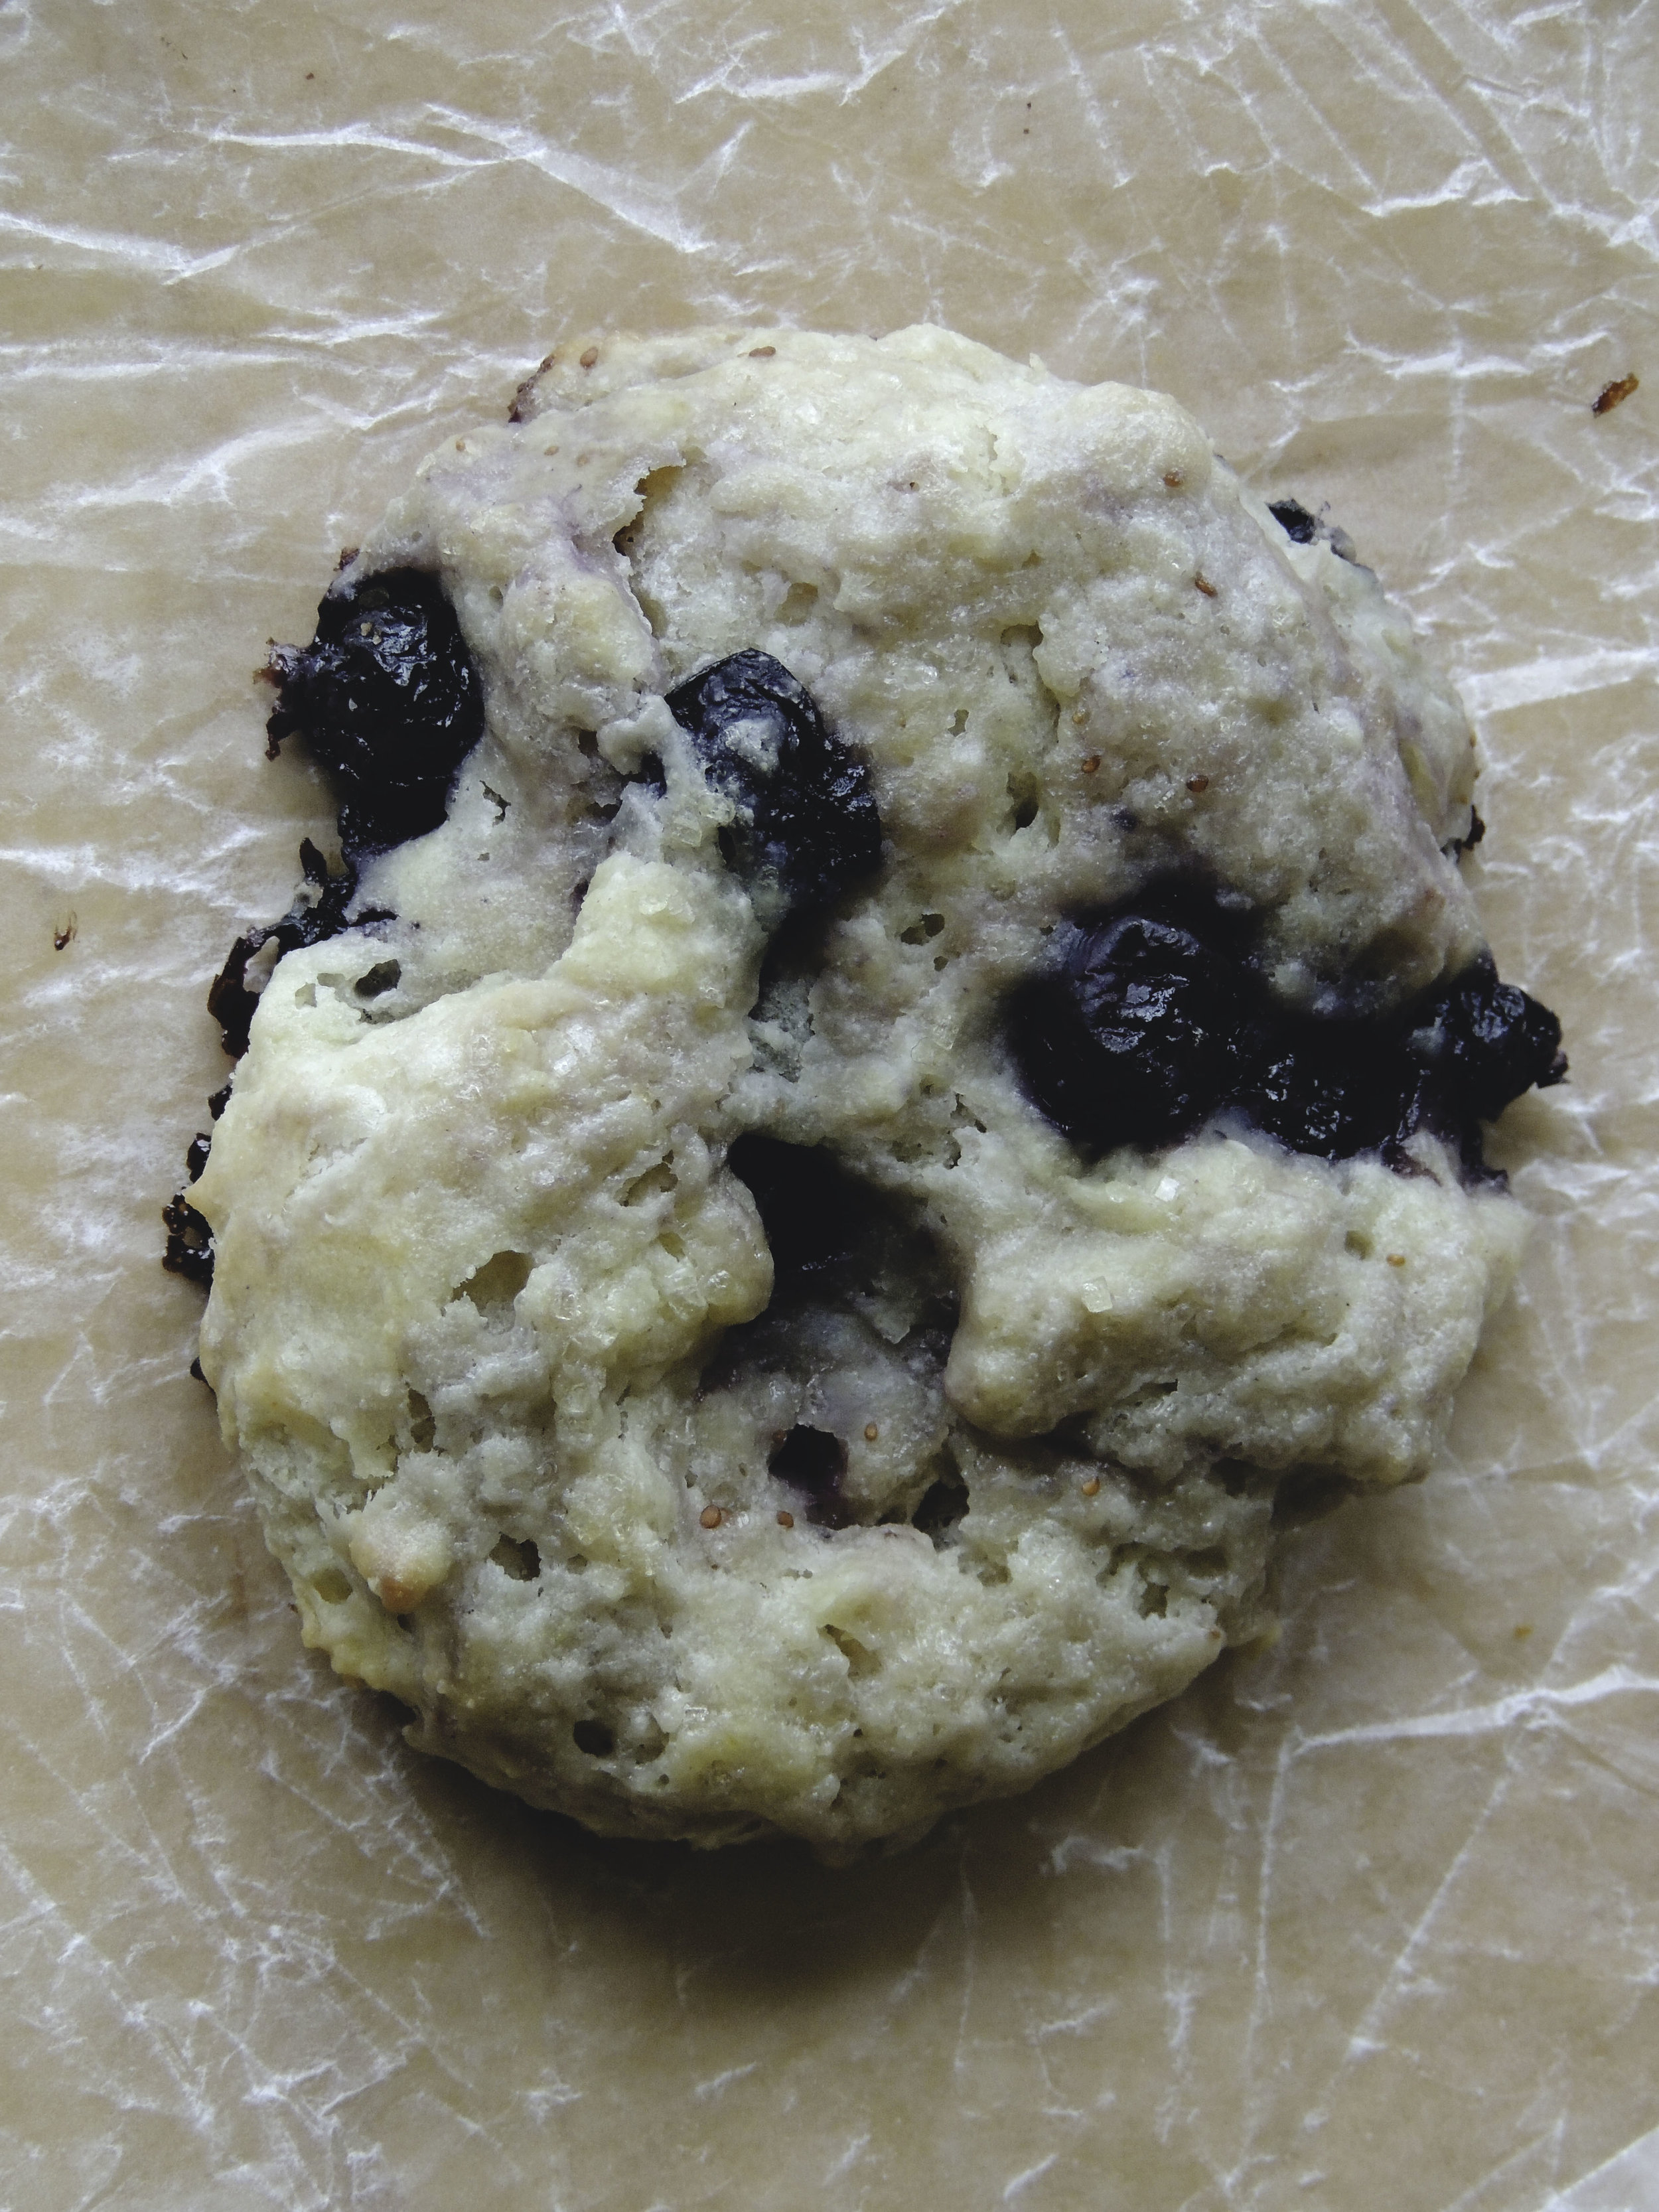
And I know that scones are traditionally wedge-shaped, but we're not going for tradition here. The beauty of a scone (besides the lovely taste) is that it can be wedge-shaped, biscuit shaped, or maybe somewhere in between like I've attempted. Mine sort of resemble drop biscuits with fruit, and you know what? That's what I'm going for. They're rustic. And also incredibly delicious.

These scones are crispy like a good southern biscuit, but still super moist thanks to both the ricotta and blueberries. And just as you start to get into the sweetness of the blueberry, you're greeted by the hint of lemony goodness. Breakfast is going to be really good this weekend.

Scones 3And don't let anyone speak badly about whichever shape you choose. You do you.

What You'll Need:

1 large egg

1/2 cup buttermilk

3 tablespoons fresh lemon juice

1 teaspoon vanilla extract

1/2 cup ricotta cheese

3 tablespoons granulated sugar

zest of one lemon

2 cups all-purpose flour

2 1/4 teaspoons baking powder

1/4 teaspoon baking soda

1/2 teaspoon salt

1/2 cup (1 stick) unsalted butter, cold and cut into small cubes

1 cup fresh or frozen blueberries (thawed if frozen)

Heavy cream for brushing

Turbinado sugar for sprinkling

Directions:

Preheat the oven to 400 degrees F. Line a large baking sheet with parchment paper and set aside

In a medium bowl, whisk together the egg, buttermilk, lemon juice, and vanilla. Once fully combined, add the ricotta. (It's okay if there are still little lumps once you're finished combining.)

Combine the lemon zest and granulated sugar in a small bowl, rubbing the two together with your fingers until it gives off a lovely fragrant smell. Set aside.

In a large bowl,  use a whisk to combine the flour, baking powder, baking soda, salt, and lemon-sugar mix. Add the cut up pieces of butter and gently toss with a fork, making sure each piece of butter is coated with the flour mixture. Using a pastry cutter or fork, incorporate the butter into the flour until you get a mixture of little lumps of butter and flour.

Pour the wet ingredients over the dry ingredients and mix together using a rubber spatula until just combined. Careful not to over-mix. Next, gently fold in the blueberries. Turn out the dough onto a very well-floured surface and gently knead the dough. Add a little flour as you knead if the dough is too sticky. Pat the dough into a 1/2 inch thick disk. Cut into a wedges, or a circles using a biscuit cutter, or for a more rustic look, gently cut a section and carefully shape it yourself. Transfer the pieces onto your prepared baking sheet.

Brush each piece with heavy cream (to help it brown nicely in the oven), and sprinkle scones with Turbinado sugar.

Bake for 15-20 minutes, or until golden brown. Let cool for about 5 minutes, then transfer to a wire rack to cool. Enjoy!

Two things to note:

1. This dough is VERY sticky because of the ricotta cheese. If you need to, add a little flour when kneading, but make sure to be gentle and not over-knead the dough.

2. Depending on your oven, it may take more than 20 minutes for your scones to turn golden. Be patient. They'll get there. But do keep a close eye on them: scones can go from lovely brown to too dark in no time flat.

SOURCE: Adapted from Two Peas and Their Pod

Let's Make: Homemade Whipped Cream

photo-12 There are some people who will tell you that making your own basics is a waste of money because you can just as easily pick up anything at your local supermarket in no time flat. Those people, I can assure you, have never been dazzled by the home-made.

Sure, it's easy to pick up a tub of Cool-Whip (with all those delicious chemicals added in!), but you know what? It's also just as easy to bypass the frozen section entirely and grab yourself a pint of heavy whipping cream. Now go get some vanilla extract and some sugar...good. Now go to checkout and get outta there!

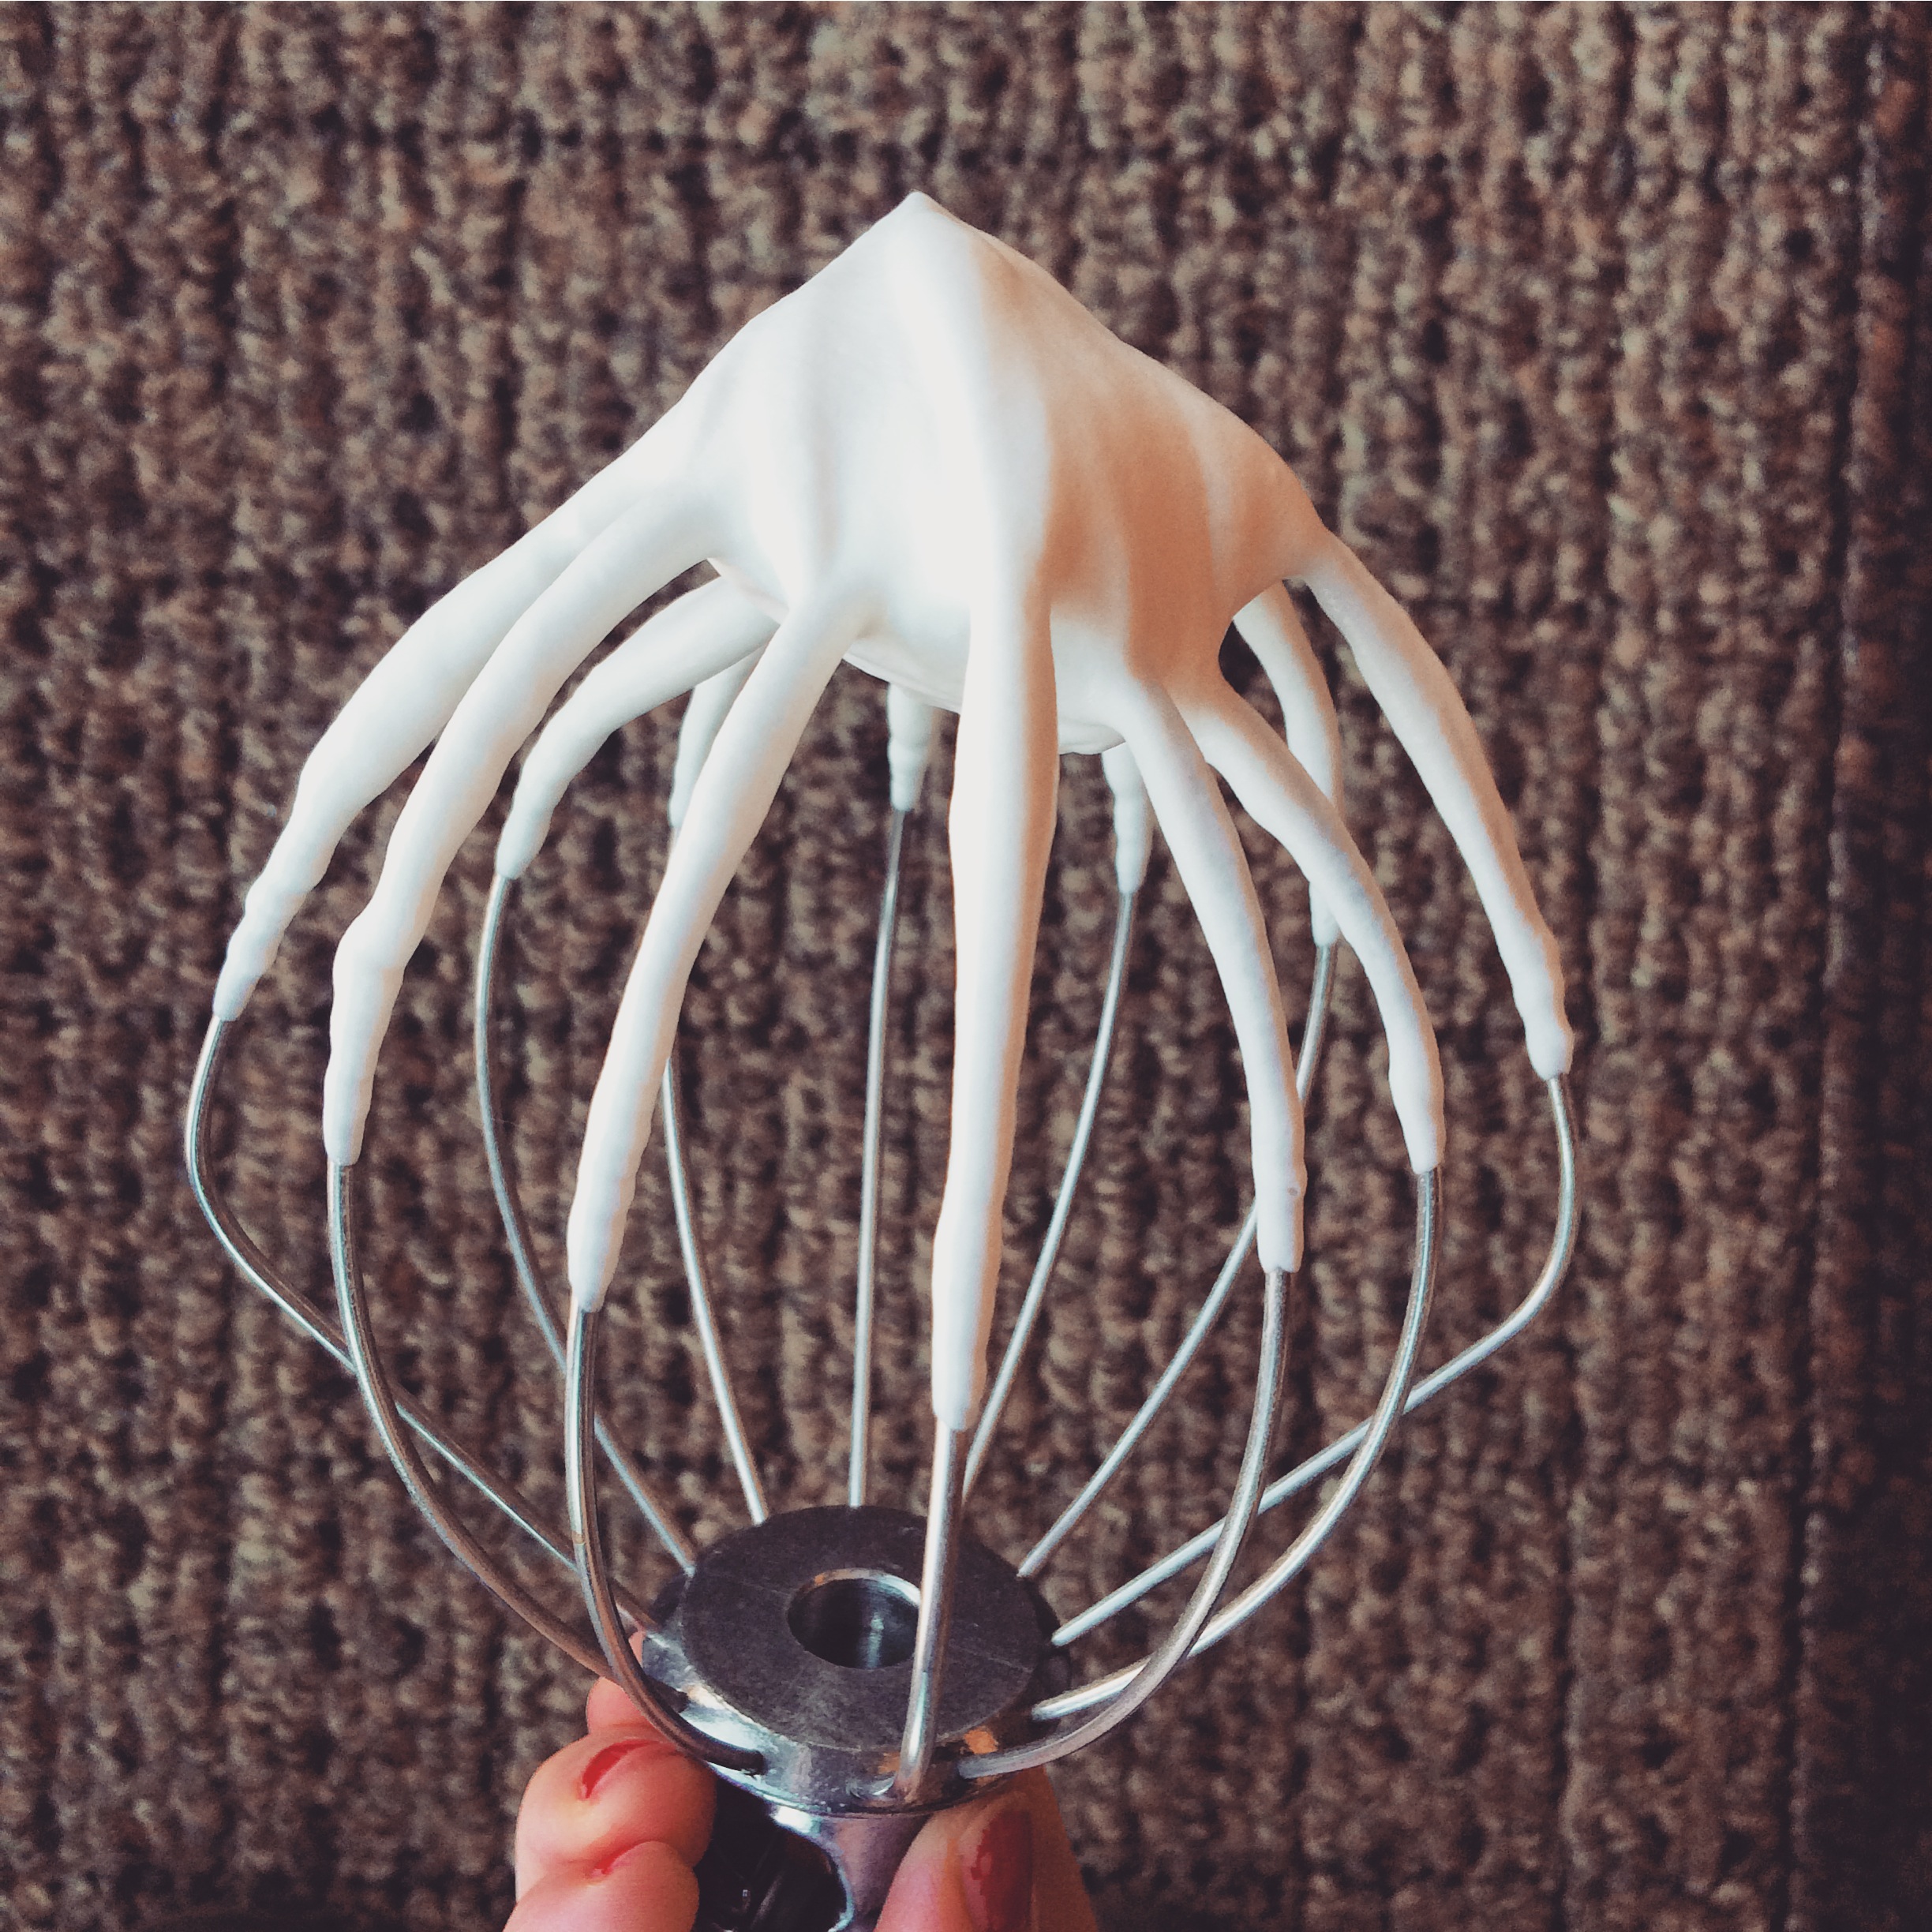
Just three simple ingredients are all you need to have the best whipped cream you've ever tasted in your life. I guarantee it. Oh, and did I mention that it's crazy easy and takes 2 minutes? But keep a watchful eye; whip too much and you're on your way to butter. If you don't whip enough, you've got soup. It's sweet-tasting soup, but not what we're going for.

Basically, this kitchen basic is best homemade.


Crazy Easy Whipped Cream

What You'll Need:

-1 pint cold heavy whipping cream

-4 tablespoons sugar

-1 teaspoon vanilla extract


Directions:

1. Combine all ingredients in the bowl of a stand mixer, or a medium-sized bowl.

2. With the mixer set to high speed, beat until stiff peaks form (should take about a minute if you're using a stand mixer; may take a tad longer with a hand mixer). Try not to over beat.

3. Go forth with the knowledge that life-changing whipped cream can be made in the comforts of your own home. In other words: enjoy!

This will keep for about three days well-covered and refrigerated.

Mini Soft Pretzels

photo 5 Can we talk about how good soft pretzels are for everyday life? They're salty, they're bready, they're full of empty calories, and they're always perfectly delicious. Also, soft pretzels are pretty much essential for a proper sporting event experience am I right? Nothing says "Go, team!" like a warm soft pretzel dipped in creamy cheese sauce. Add a little beer to that cheese sauce and now you're speakin' the Midwesterner's Language.

So of course, for Superbowl Sunday I knew that our somewhat bountiful spread just wouldn't be complete without a plate of fresh soft pretzels, and I was determined to make them myself. But I wasn't just making them for the game. Oh no. Sure, the game was an important factor, but it was much more than that. The truth of the matter is, that pretzel stand around the corner won't always be open when the craving arises. And it arises more often than you think. Therefore, it behooved me to learn the craft, hone my pretzel skills, and eat lots of the final product for, you know, research purposes before kickoff...

And while I'm officially on the road to becoming a master pretzel princess, it wasn't without a few (read: many) challenges. First of all, it is not at all easy to twist dough. It's bouncy when you don't want it to be, it springs back, and it most definitely won't go out without a fight. But eventually, it stops fighting you, and you wind up with pretty pretzel butterflies waiting for a quick poaching, followed by a little toasting in the oven until it's perfectly golden brown. When it's all over you'll be exhausted, starving, and completely proud of what you've done. YOU JUST LEARNED HOW TO MAKE SOFT PRETZELS AT HOME.

Let this be your weekend project.

Mini Soft Pretzels

What You'll Need:

2 cups warm water (between 105-110 degrees F) 1 tablespoon plus 2 tablespoons sugar 1 packet active dry yeast 5 to 6 cups all-purpose flour, plus more for dusting 1 tablespoon salt 2 teaspoons canola or other neutral oil (I used vegetable oil) 1/4 cup baking soda 1 large egg Coarse sea salt


Find the recipe for these soft pretzels on Smitten Kitchen!

And here's a fun little video from Joy the Baker in case you want to see the pretzel making magic in action.

When Chocolate Chip Cookies Just Aren't Enough

The sad news: My work chum, Kate, had her last day at the office today. The happy news: We ate like champions.

DSCN0614

When Kate told me that this week would be her last, I immediately started brainstorming the perfect going away surprise. But the more i thought about, and the more I scoured my cookbooks for the answer, the less certain I became. So I asked her: What was her favorite go-to dessert? Her answer: chocolate chip cookies. Good. Done.

But then I thought about it: chocolate chip cookies are always amazing, and absolutely no one can tell me otherwise, but are they good for goodbyes? I guess it depends on who you ask, but for me, no way. They're the perfect treat to have in hand for hangout sessions, good for break ups, great for sick days, and perfect for when you need a quick pick-me-up. But for goodbyes, they're just not epic enough. So it was time to think outside of the box: how can I stay true to her favorite, while still taking it to the next level? Then it came to me: a chocolate chip cookie cake. 

DSCN0617

When I was little, my parents got for me one Christmas a Mrs. Fields Cookie Oven. They were just like the Easy Bake Ovens, but way better because it was like having a mall favorite right in your play room. I made tiny cookie cakes and brownies constantly, and as I set out to make Kate's cake, it took me back. What was so good about those cakes, other than the fact that they cooked like magic under a dinky light bulb, was that they always turned out gloriously under-baked. So chewy, so yummy. And now that I'm feeling all nostalgic, I wonder what happened to it...

(Note to self: scour the basement next time I'm home. I've got mini cookies to make.)

photo

I've got a fun little story to tell you. Last night, I made two of these cakes. And it wasn't because I wanted us to have one at home. It was because I didn't exercise enough patience, and tragically broke Cake # 1.

A word to the wise: If a recipe tells you to wait until something is completely cooled before taking it out of the pan, wait until it is completely cool. In my haste to start frosting this thing, I thought that just leaving the pan on the wire rack for thirty minutes would do the trick. I was wrong. Very, very wrong. Yeah, it came out of the pan alright, but in several very large chunks. Cake #1 was hurled in pieces into both the trash and my mouth. Cake #2 went straight into the freezer as soon as it was out of the oven, and cool enough for me to handle it without an oven mitt on.

I would also like to note that this was my first successful attempt at using a pastry bag! Also, this was my first time using gel-based food coloring instead of liquid. The colors are more vibrant, you don't taste the colors, so to speak, and it just takes a few drops to get the shade you desire. Use gel food coloring. Trust me.

photo

After frosting, cover your cake and pop it in the fridge overnight. It allows the buttercream to set, and makes it taste OUT OF THIS WORLD. Seriously, the buttercream was the best part, and I saved the best part for last.

One piece of this cake, and you're done. But man, is it worth it.


I miss my work chum Kate already, but we had a forced office group hug, so I'm counting today as one of the best I've had in a while.


Chocolate Chip Cookie Cake:

What You'll Need:

  • 2¼ cups all-purpose flour
  • 3/4  teaspoon baking powder
  • 1/2 teaspoon baking soda
  • 1/2 teaspoon salt
  • 12 tablespoons unsalted butter, melted and cooled to room temperature
  • 1 cup light brown sugar
  • 1/2 cup granulated sugar
  • 1 egg  and 1 egg yolk
  • 2 teaspoons vanilla extract
  • 1 cup semisweet chocolate chips

Preheat the oven to 325F. Throughly grease a  9 inch round cake pan, then line the bottom with a piece of parchment paper cut to size. Set aside.

Whisk together the flour, baking powder, baking soda, and salt in a medium bowl. Set aside.

With an electric mixer set to medium speed, beat the butter and both sugars together until combined. Beat in the egg, then egg yolk, one at a time until combined. Then add the vanilla. Slowly add the dry ingredients and beat at a low speed until just combined. Fold in the chocolate chips using a rubber spatula.

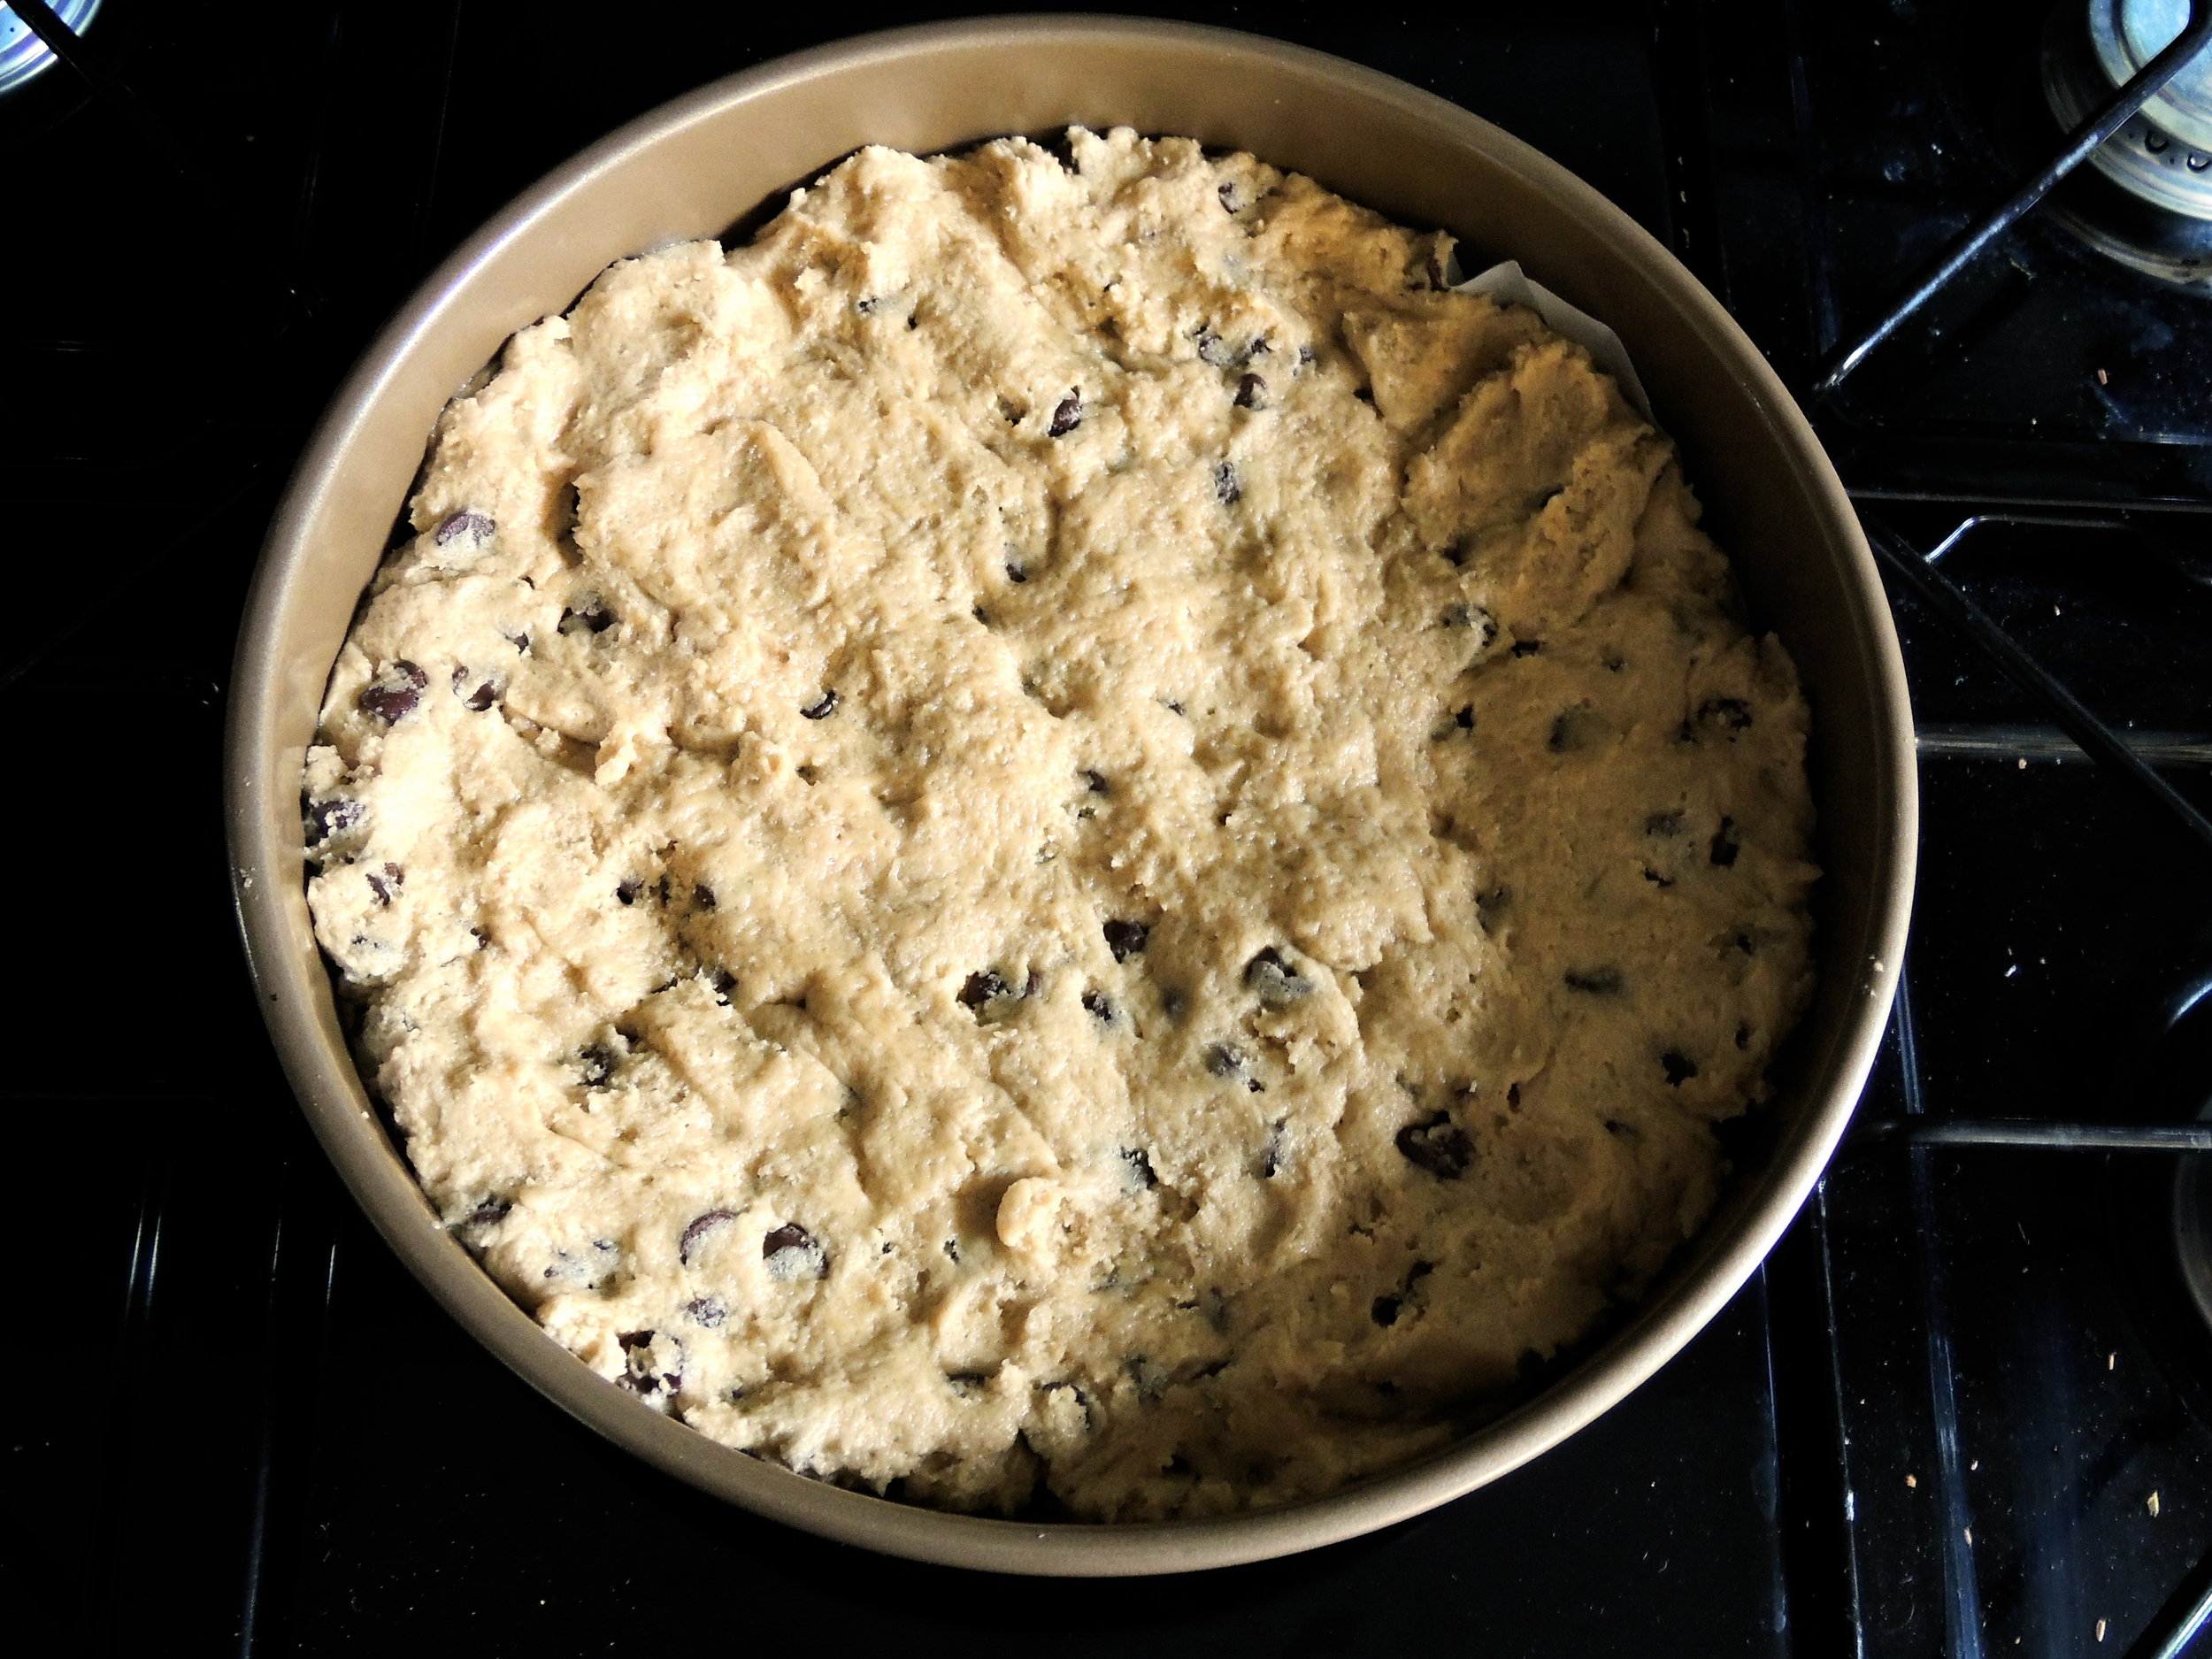
Scoop the dough into the prepared cake pan, and use your fingers to evenly press the dough into the pan. Bake until the cake is golden, and the outer edges have started to harden; about 20-25 minutes (Watch out for cracking!) Place on a wire rack to cool COMPLETELY before removing from the pan.

Make sure to throughly wrap in plastic wrap to ensure freshness. If kept at room temperature, this can last for up to five days.


SOURCE Brown Eyed Baker


THE PERFECT BUTTERCREAM FROSTING 

What You'll Need:

  • 2 cups powdered sugar, sifted
  • 5 tablespoons unsalted butter, at room temperature
  • 2 tablespoons whole milk
  • 1/4 teaspoon vanilla extract

Beat the powdered sugar and butter together using an electric mixer on medium speed until the mixture comes together, and is throughly mixed.

With the mixer on low speed, combine the milk and vanilla extract, and slowly stream it into the butter-sugar mixture.

Once fully incorporated, turn the mixer to high speed and beat until the frosting is perfectly light and fluffy, for a minimum of five minutes. (As Joy the Baker says: "The longer the frosting is beaten, the lighter and fluffier it becomes!")

Add dyes into the frosting for the desired color, and beat until fully incorporated.


Next stop: Key Lime Pie for my work chum Brad's 25th!


HAPPY FRIDAY, MY LAMBS!

singature gray

Let's Talk About Stitch Fix

About a month ago, an advertisement popped up on my newsfeed to try this new(ish) (new to ME, anyway) company called Stitch Fix. It's almost like having your own personal stylist, and you get to try on the pieces at home. If you're anything like me, the actual idea of going out to the shopping centers and waiting in long dressing room lines, just to find even the teensiest things wrong, and feeling all kinds of fat and gross in those not-so-magic mirrors they've got going on over there, is utterly terrifying. Of course we all do it, but who on earth would prefer all that, when you can get a box in the mail every month (if you'd like!) with surprise clothes hand-picked just for you? Exactly.

HOW IT WORKS:

You fill out this very extensive style profile highlighting your likes and dislikes in terms of style. You choose the adjectives that best describe the way you dress, you vote on which styles you like the best from sample pictures, and you give your body measurements and sizes. Then, you pay a $20 fee, cross your fingers, and wait for five hand-picked items to be delivered to you in the mail.  Once your package arrives, you've got three days to decide what you'd like to keep and what you'd like to return. If you keep any items in the box, your $20 fee goes towards the total price of the items kept. Ex. If you keep a necklace and a dress, add the original cost of each together, then subtract twenty. AND if you keep the entire box, you get 25% off the whole order! It's pretty great, and you cannot even imagine how jazzed I've been all week waiting for my box to come.

DSCN0260

I tore into the box and, I've got to say, I really liked every piece except for one: the necklace.

DSCN0271

Don't get me wrong, it's not bad, but I'm not big into jewelry. If I buy anything, it's got to be because that piece is completely unique, and unlike anything I've ever seen. This, I've seen.

WHAT I LIKED:

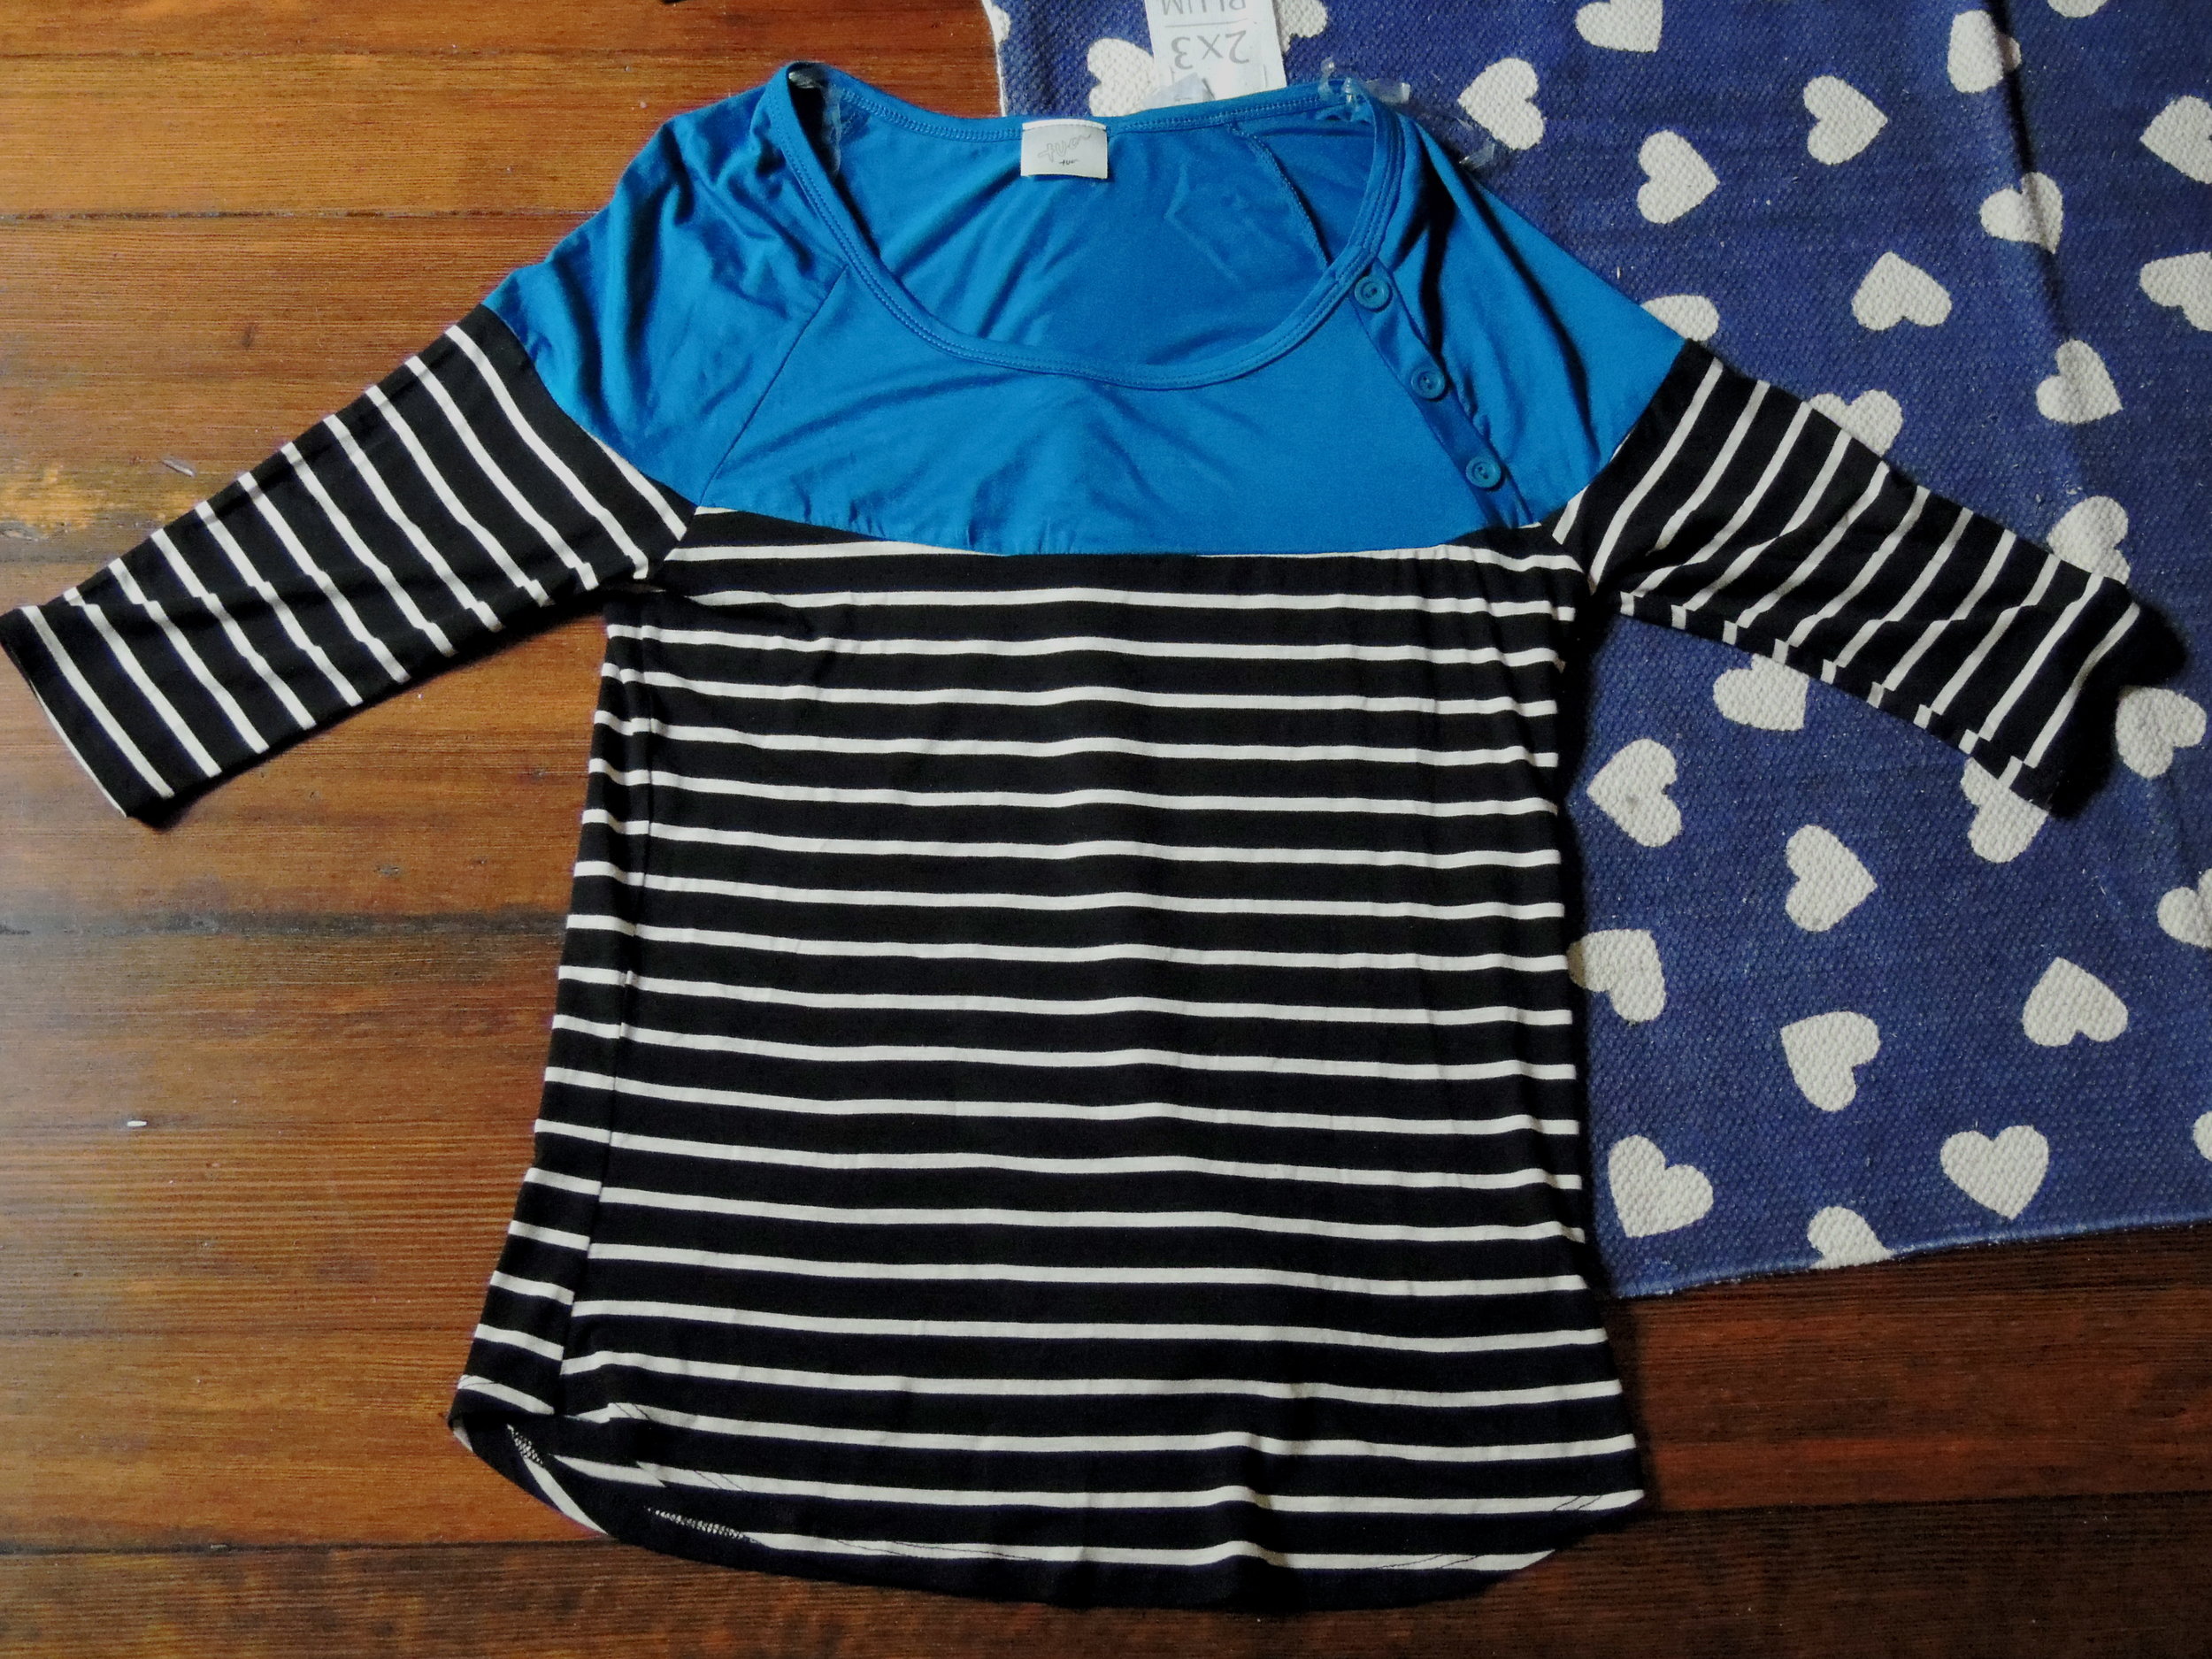
DSCN0265 DSCN0266

WHAT I CAN'T LIVE WITHOUT

DSCN0280

WHAT I'M ON THE FENCE ABOUT

DSCN0274

Even cooler, they send you a little card with pictures of each item in your box, and how to make different outfits with each. It's great to see an example of a piece being taken from day to night, with just a few clothing swaps.

So would I do it again? You bet.  But my advice is to not build it up too much. While I had a pretty great first experience, one of my friends wasn't as lucky. She lives in one of the hottest parts of California, and her stylist sent her a wool coat! Not great. But hey, I bet it was a pretty nice coat!

The surprise is half the fun, trust me.

Interested? You should try!

Have any of you done Stitch Fix before? I want to hear alllll about it!

HAPPY FRIDAY!!

singature gray