The sad news: My work chum, Kate, had her last day at the office today.
The happy news: We ate like champions.
When Kate told me that this week would be her last, I immediately started brainstorming the perfect going away surprise. But the more i thought about, and the more I scoured my cookbooks for the answer, the less certain I became. So I asked her: What was her favorite go-to dessert? Her answer: chocolate chip cookies. Good. Done.
But then I thought about it: chocolate chip cookies are always amazing, and absolutely no one can tell me otherwise, but are they good for goodbyes? I guess it depends on who you ask, but for me, no way. They're the perfect treat to have in hand for hangout sessions, good for break ups, great for sick days, and perfect for when you need a quick pick-me-up. But for goodbyes, they're just not epic enough. So it was time to think outside of the box: how can I stay true to her favorite, while still taking it to the next level? Then it came to me: a chocolate chip cookie cake.

When I was little, my parents got for me one Christmas a Mrs. Fields Cookie Oven. They were just like the Easy Bake Ovens, but way better because it was like having a mall favorite right in your play room. I made tiny cookie cakes and brownies constantly, and as I set out to make Kate's cake, it took me back. What was so good about those cakes, other than the fact that they cooked like magic under a dinky light bulb, was that they always turned out gloriously under-baked. So chewy, so yummy. And now that I'm feeling all nostalgic, I wonder what happened to it...
(Note to self: scour the basement next time I'm home. I've got mini cookies to make.)

I've got a fun little story to tell you. Last night, I made two of these cakes. And it wasn't because I wanted us to have one at home. It was because I didn't exercise enough patience, and tragically broke Cake # 1.
A word to the wise: If a recipe tells you to wait until something is completely cooled before taking it out of the pan, wait until it is completely cool. In my haste to start frosting this thing, I thought that just leaving the pan on the wire rack for thirty minutes would do the trick. I was wrong. Very, very wrong. Yeah, it came out of the pan alright, but in several very large chunks. Cake #1 was hurled in pieces into both the trash and my mouth. Cake #2 went straight into the freezer as soon as it was out of the oven, and cool enough for me to handle it without an oven mitt on.
I would also like to note that this was my first successful attempt at using a pastry bag! Also, this was my first time using gel-based food coloring instead of liquid. The colors are more vibrant, you don't taste the colors, so to speak, and it just takes a few drops to get the shade you desire. Use gel food coloring. Trust me.

After frosting, cover your cake and pop it in the fridge overnight. It allows the buttercream to set, and makes it taste OUT OF THIS WORLD. Seriously, the buttercream was the best part, and I saved the best part for last.
One piece of this cake, and you're done. But man, is it worth it.
I miss my work chum Kate already, but we had a forced office group hug, so I'm counting today as one of the best I've had in a while.
Chocolate Chip Cookie Cake:
What You'll Need:
- 2¼ cups all-purpose flour
- 3/4 teaspoon baking powder
- 1/2 teaspoon baking soda
- 1/2 teaspoon salt
- 12 tablespoons unsalted butter, melted and cooled to room temperature
- 1 cup light brown sugar
- 1/2 cup granulated sugar
- 1 egg and 1 egg yolk
- 2 teaspoons vanilla extract
- 1 cup semisweet chocolate chips
Preheat the oven to 325F. Throughly grease a 9 inch round cake pan, then line the bottom with a piece of parchment paper cut to size. Set aside.
Whisk together the flour, baking powder, baking soda, and salt in a medium bowl. Set aside.
With an electric mixer set to medium speed, beat the butter and both sugars together until combined. Beat in the egg, then egg yolk, one at a time until combined. Then add the vanilla. Slowly add the dry ingredients and beat at a low speed until just combined. Fold in the chocolate chips using a rubber spatula.
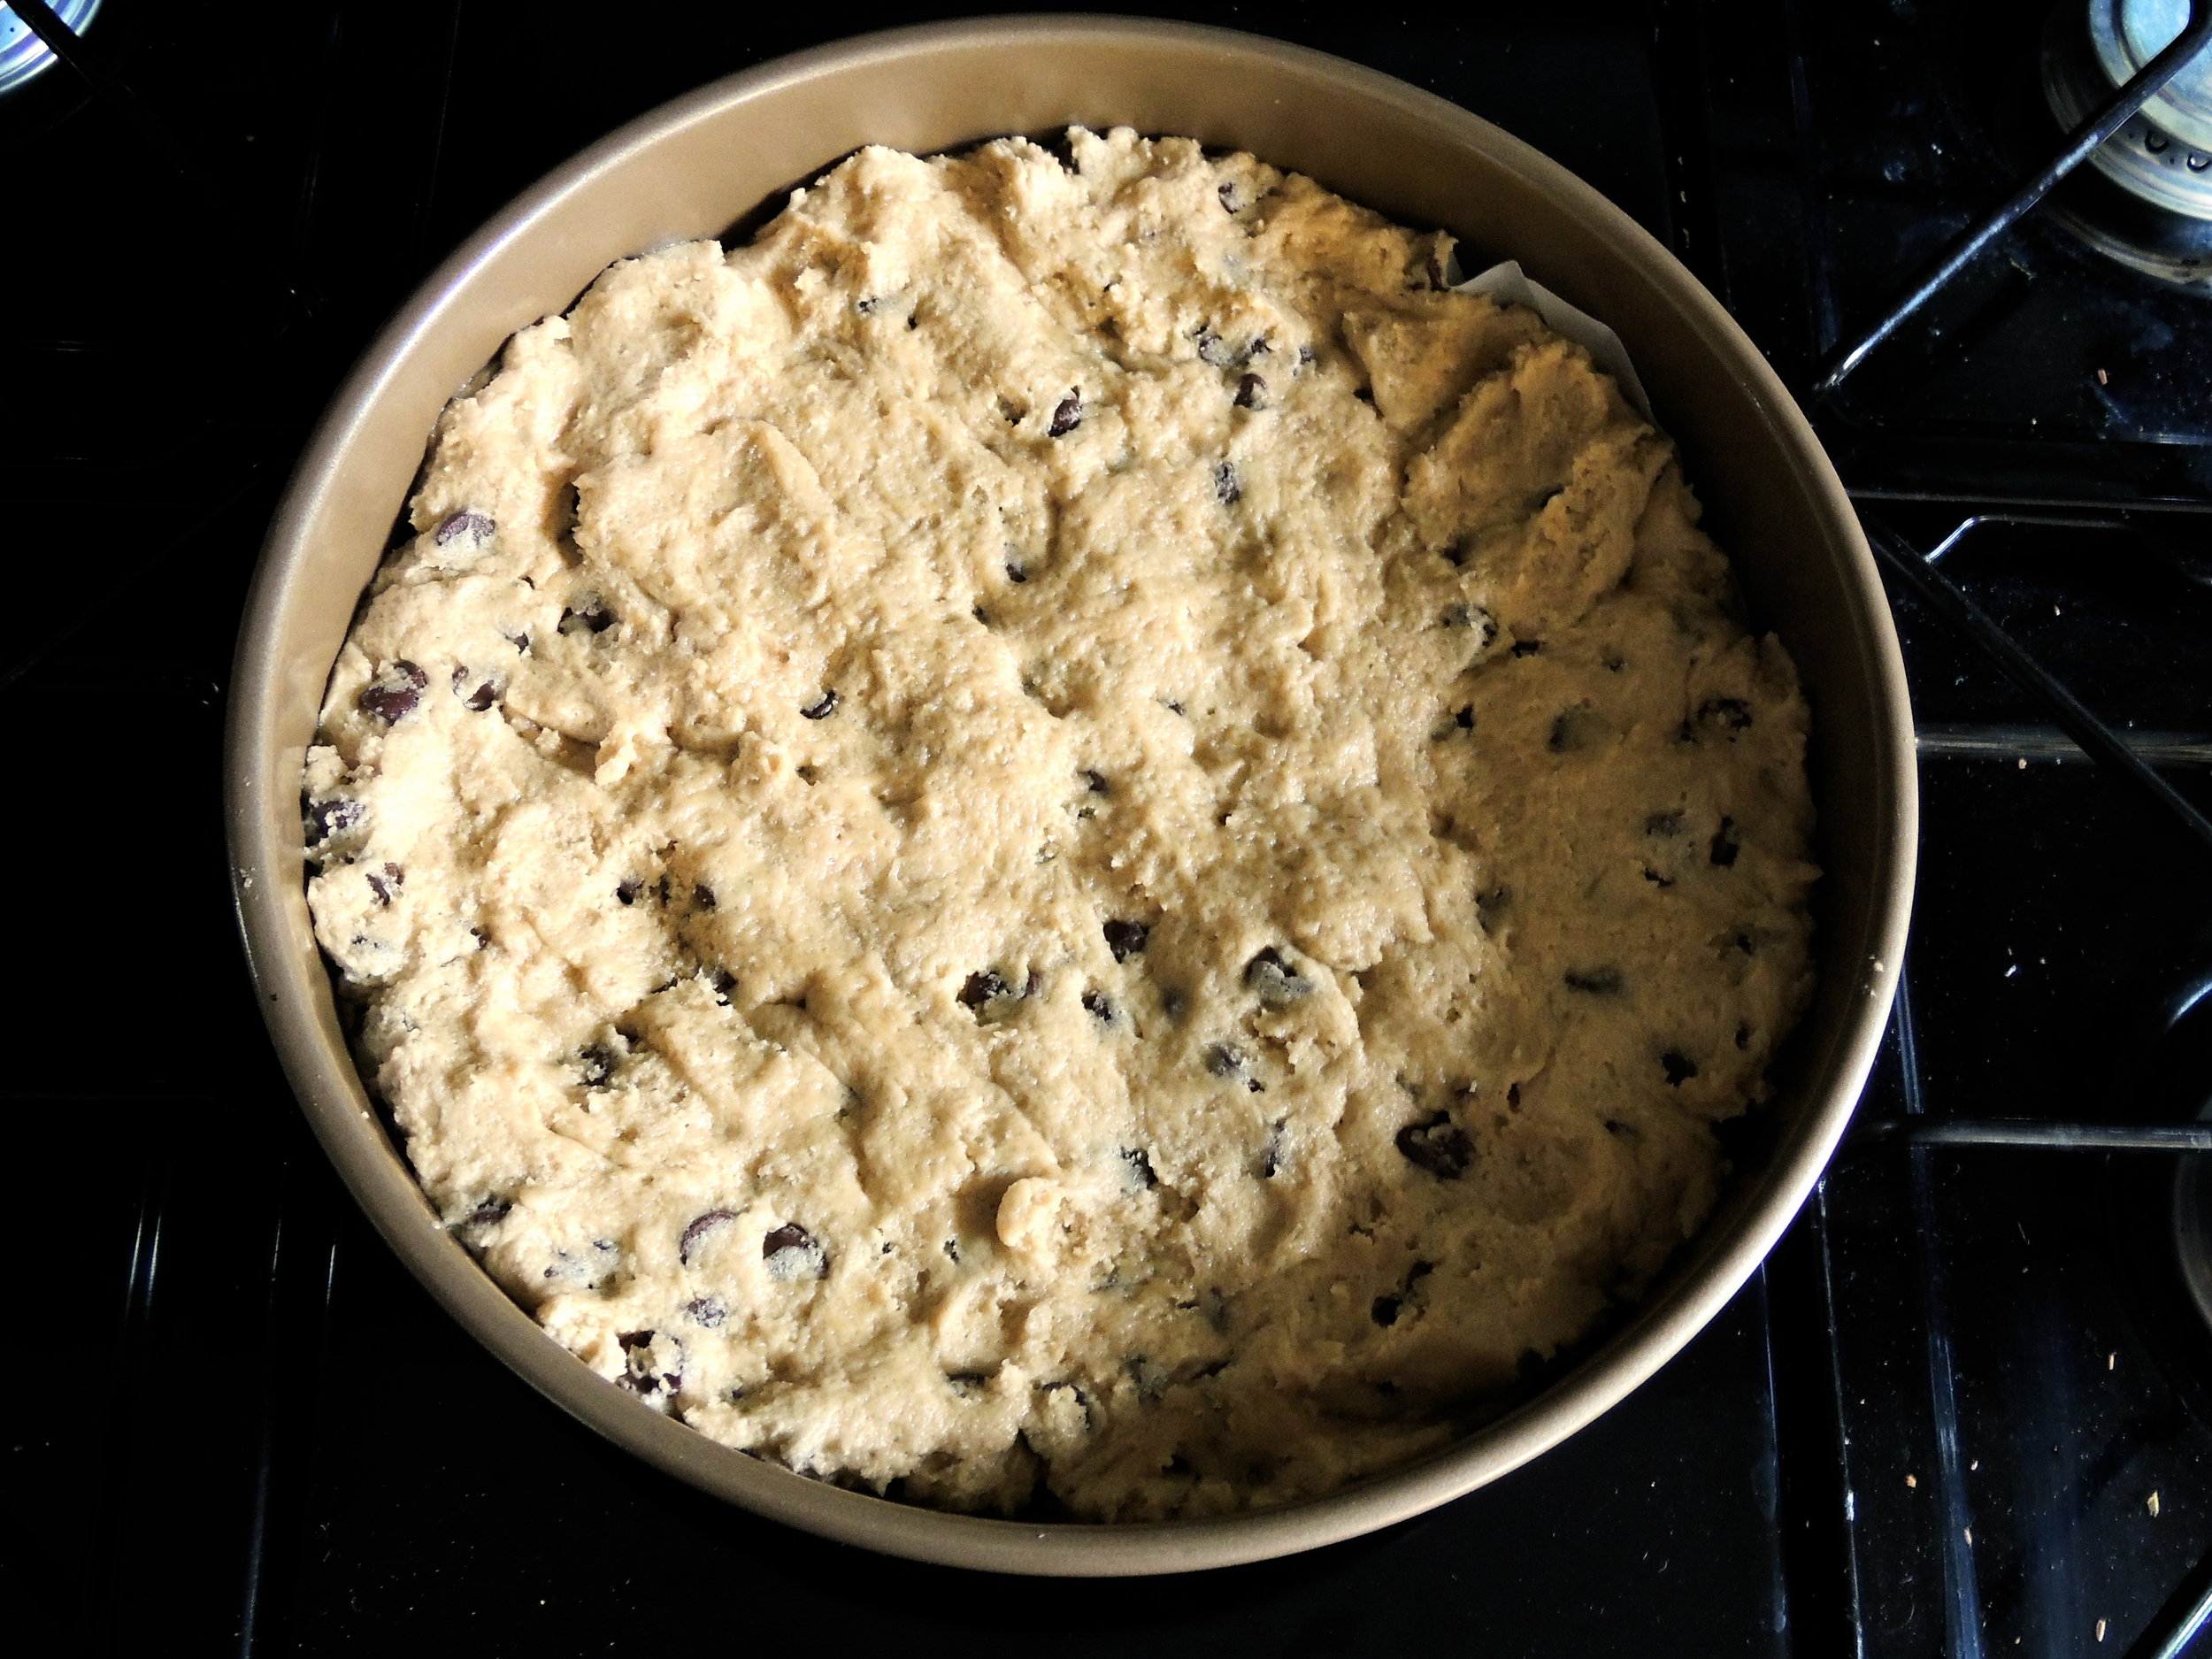
Scoop the dough into the prepared cake pan, and use your fingers to evenly press the dough into the pan. Bake until the cake is golden, and the outer edges have started to harden; about 20-25 minutes (Watch out for cracking!) Place on a wire rack to cool COMPLETELY before removing from the pan.
Make sure to throughly wrap in plastic wrap to ensure freshness. If kept at room temperature, this can last for up to five days.
SOURCE Brown Eyed Baker
THE PERFECT BUTTERCREAM FROSTING
What You'll Need:
- 2 cups powdered sugar, sifted
- 5 tablespoons unsalted butter, at room temperature
- 2 tablespoons whole milk
- 1/4 teaspoon vanilla extract
Beat the powdered sugar and butter together using an electric mixer on medium speed until the mixture comes together, and is throughly mixed.
With the mixer on low speed, combine the milk and vanilla extract, and slowly stream it into the butter-sugar mixture.
Once fully incorporated, turn the mixer to high speed and beat until the frosting is perfectly light and fluffy, for a minimum of five minutes. (As Joy the Baker says: "The longer the frosting is beaten, the lighter and fluffier it becomes!")
Add dyes into the frosting for the desired color, and beat until fully incorporated.
Next stop: Key Lime Pie for my work chum Brad's 25th!
HAPPY FRIDAY, MY LAMBS!

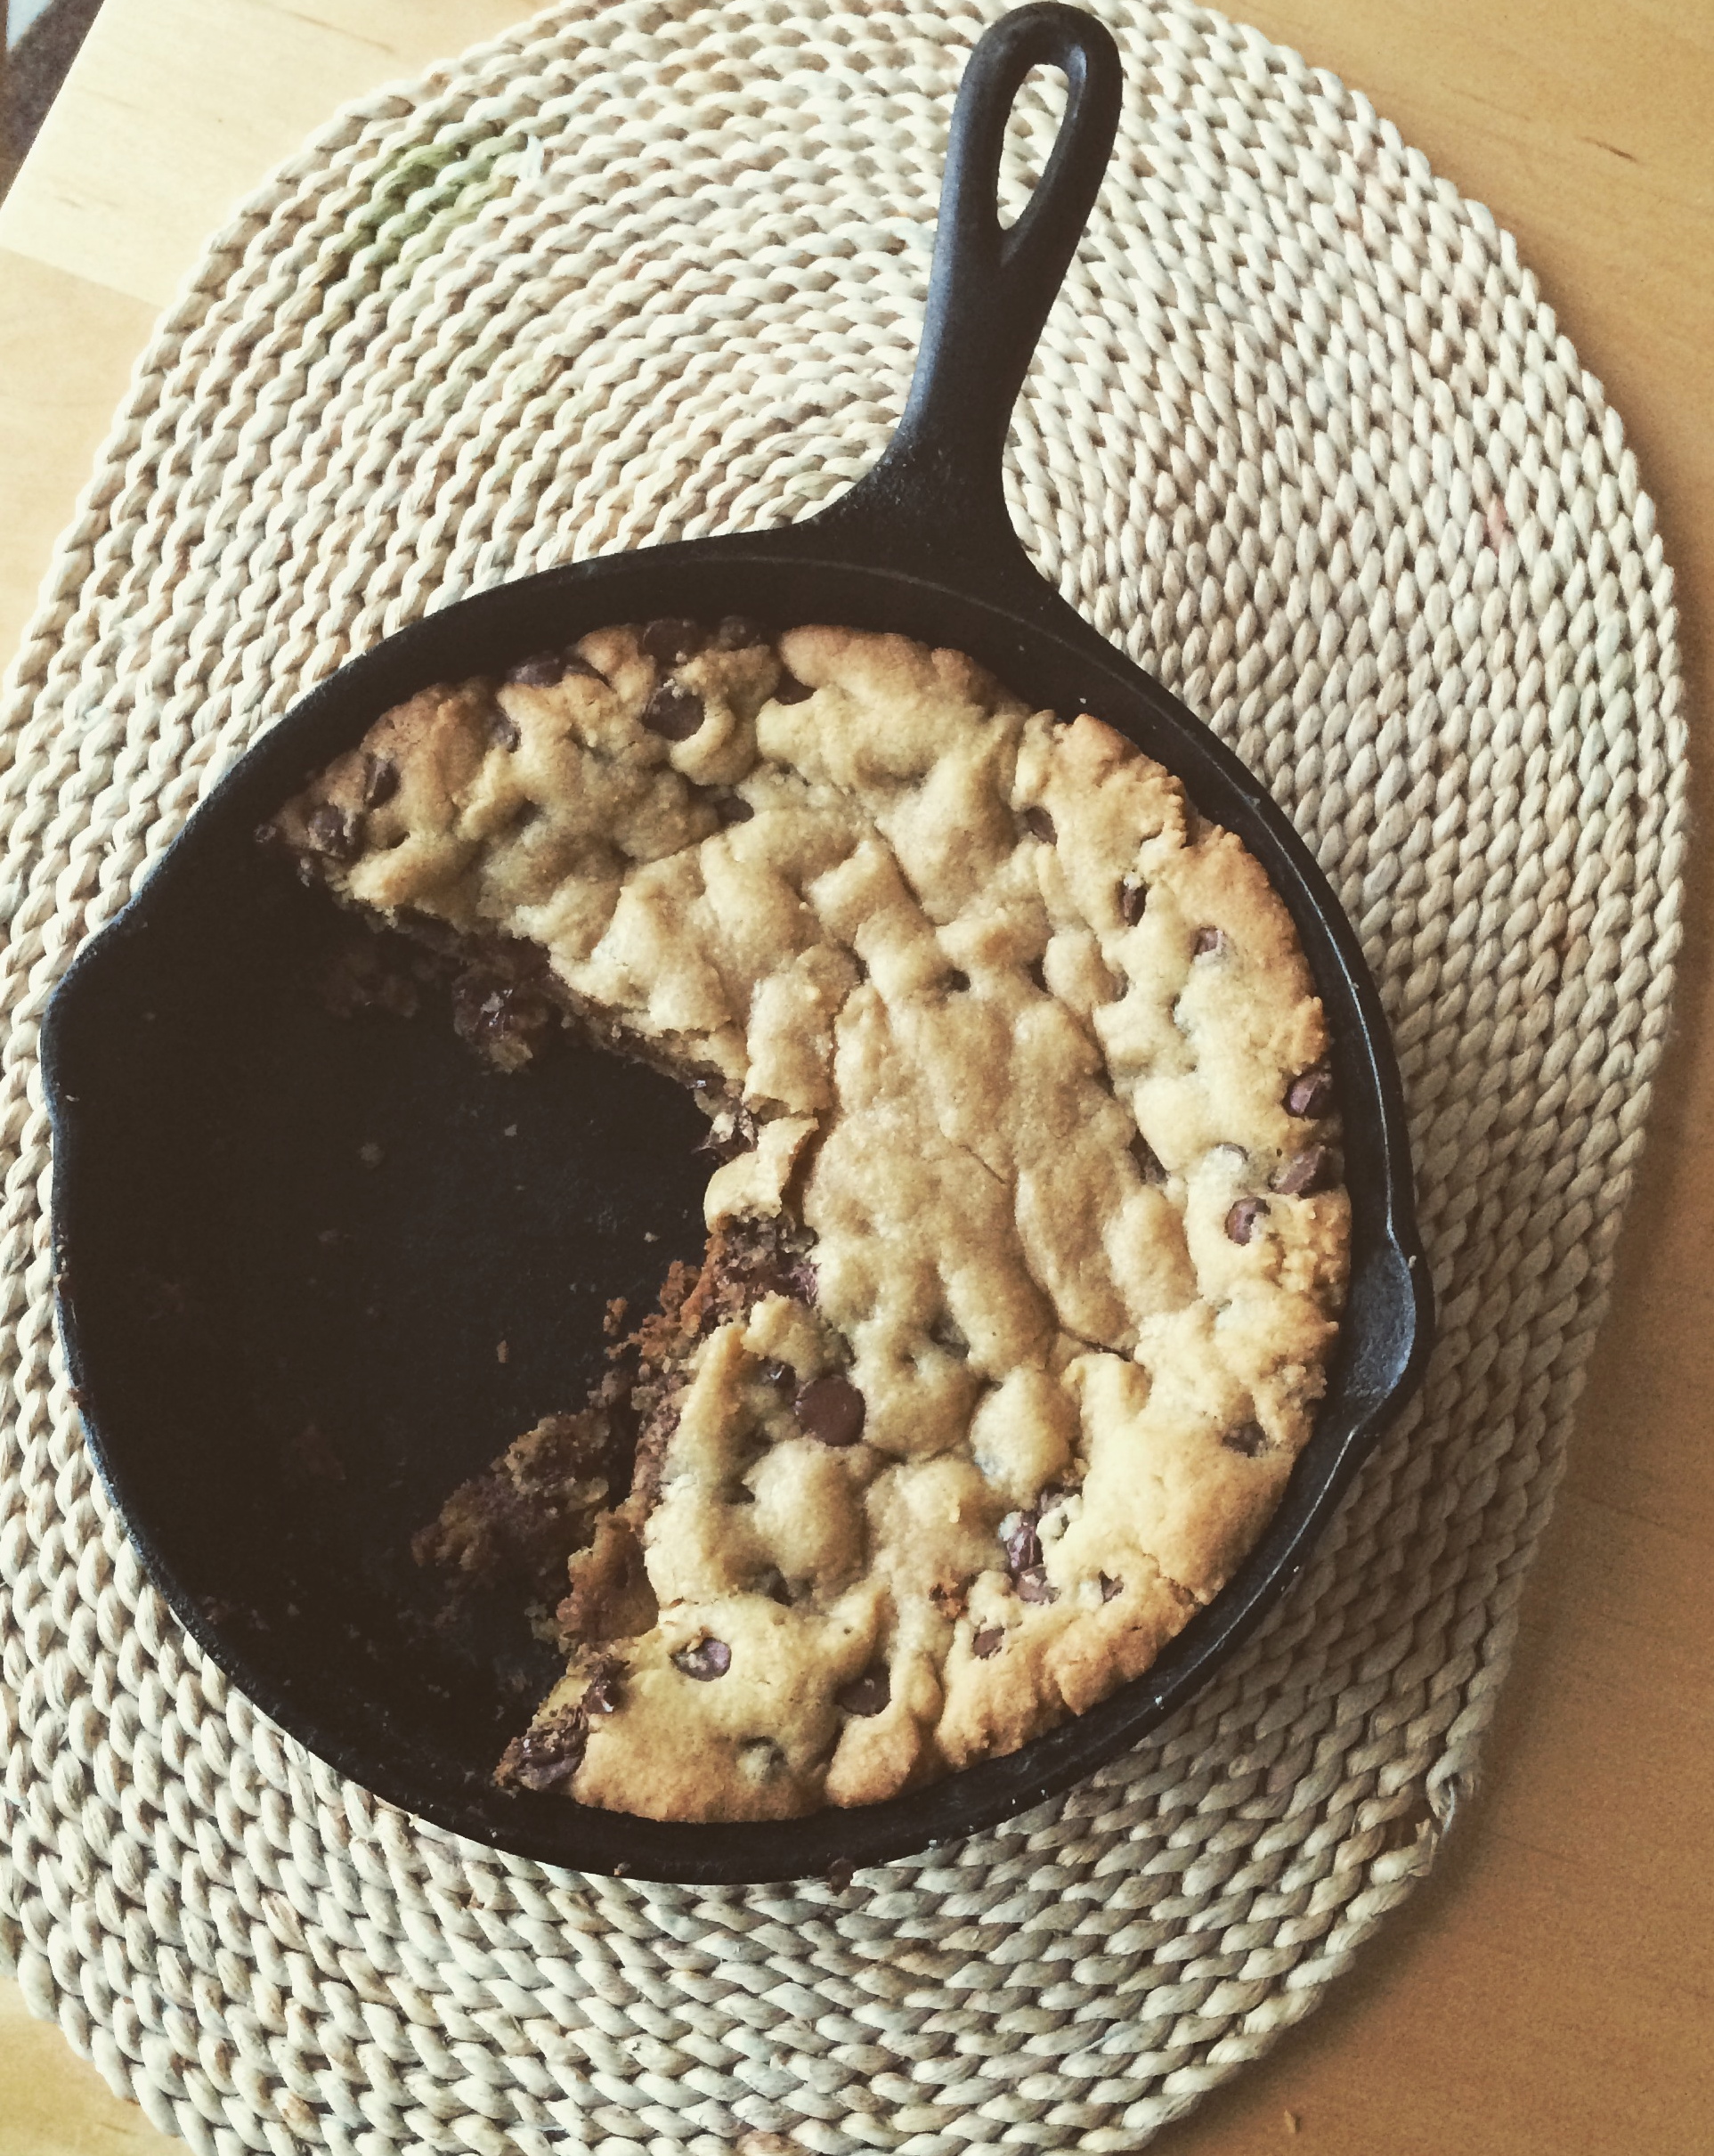
 I've said this so many times before, but it bears repeating now: one should never underestimate the power of a chocolate chip cookie. There's a reason why it's such a classic, go-to dessert. It's soft in the middle, ooey gooey, and oh-so-cholatey. In times of stress, I find myself going back to my favorite chocolate chip recipes, seeking out that comfort that only a good cookie can bring. And when that cookie happens to be 9-inches, baked in a skillet, and slightly under-baked in the center, it's even better. Let's call it an easy reward for surviving Monday, shall we?
