 You guys I tried. I really, really tried.
Every weekend I make it a point to bake. I love to bake. (You know this, you follow me.) So there I was, just like every weekend, perusing my hundreds of recipes that I've collected online when suddenly, I found it: a recipe for light and fluffy sweet potato cupcakes. I knew I had to make them.
So I make my grocery list, I go to the store, and already I run into a problem: It's winter, and canned sweet potato is no longer available. No matter, we have a blender, so I grab three yams, and I go on my way.
Something I wish I had known before I tried to puree my own vegetables:
YOU HAVE TO COOK THEM FIRST.
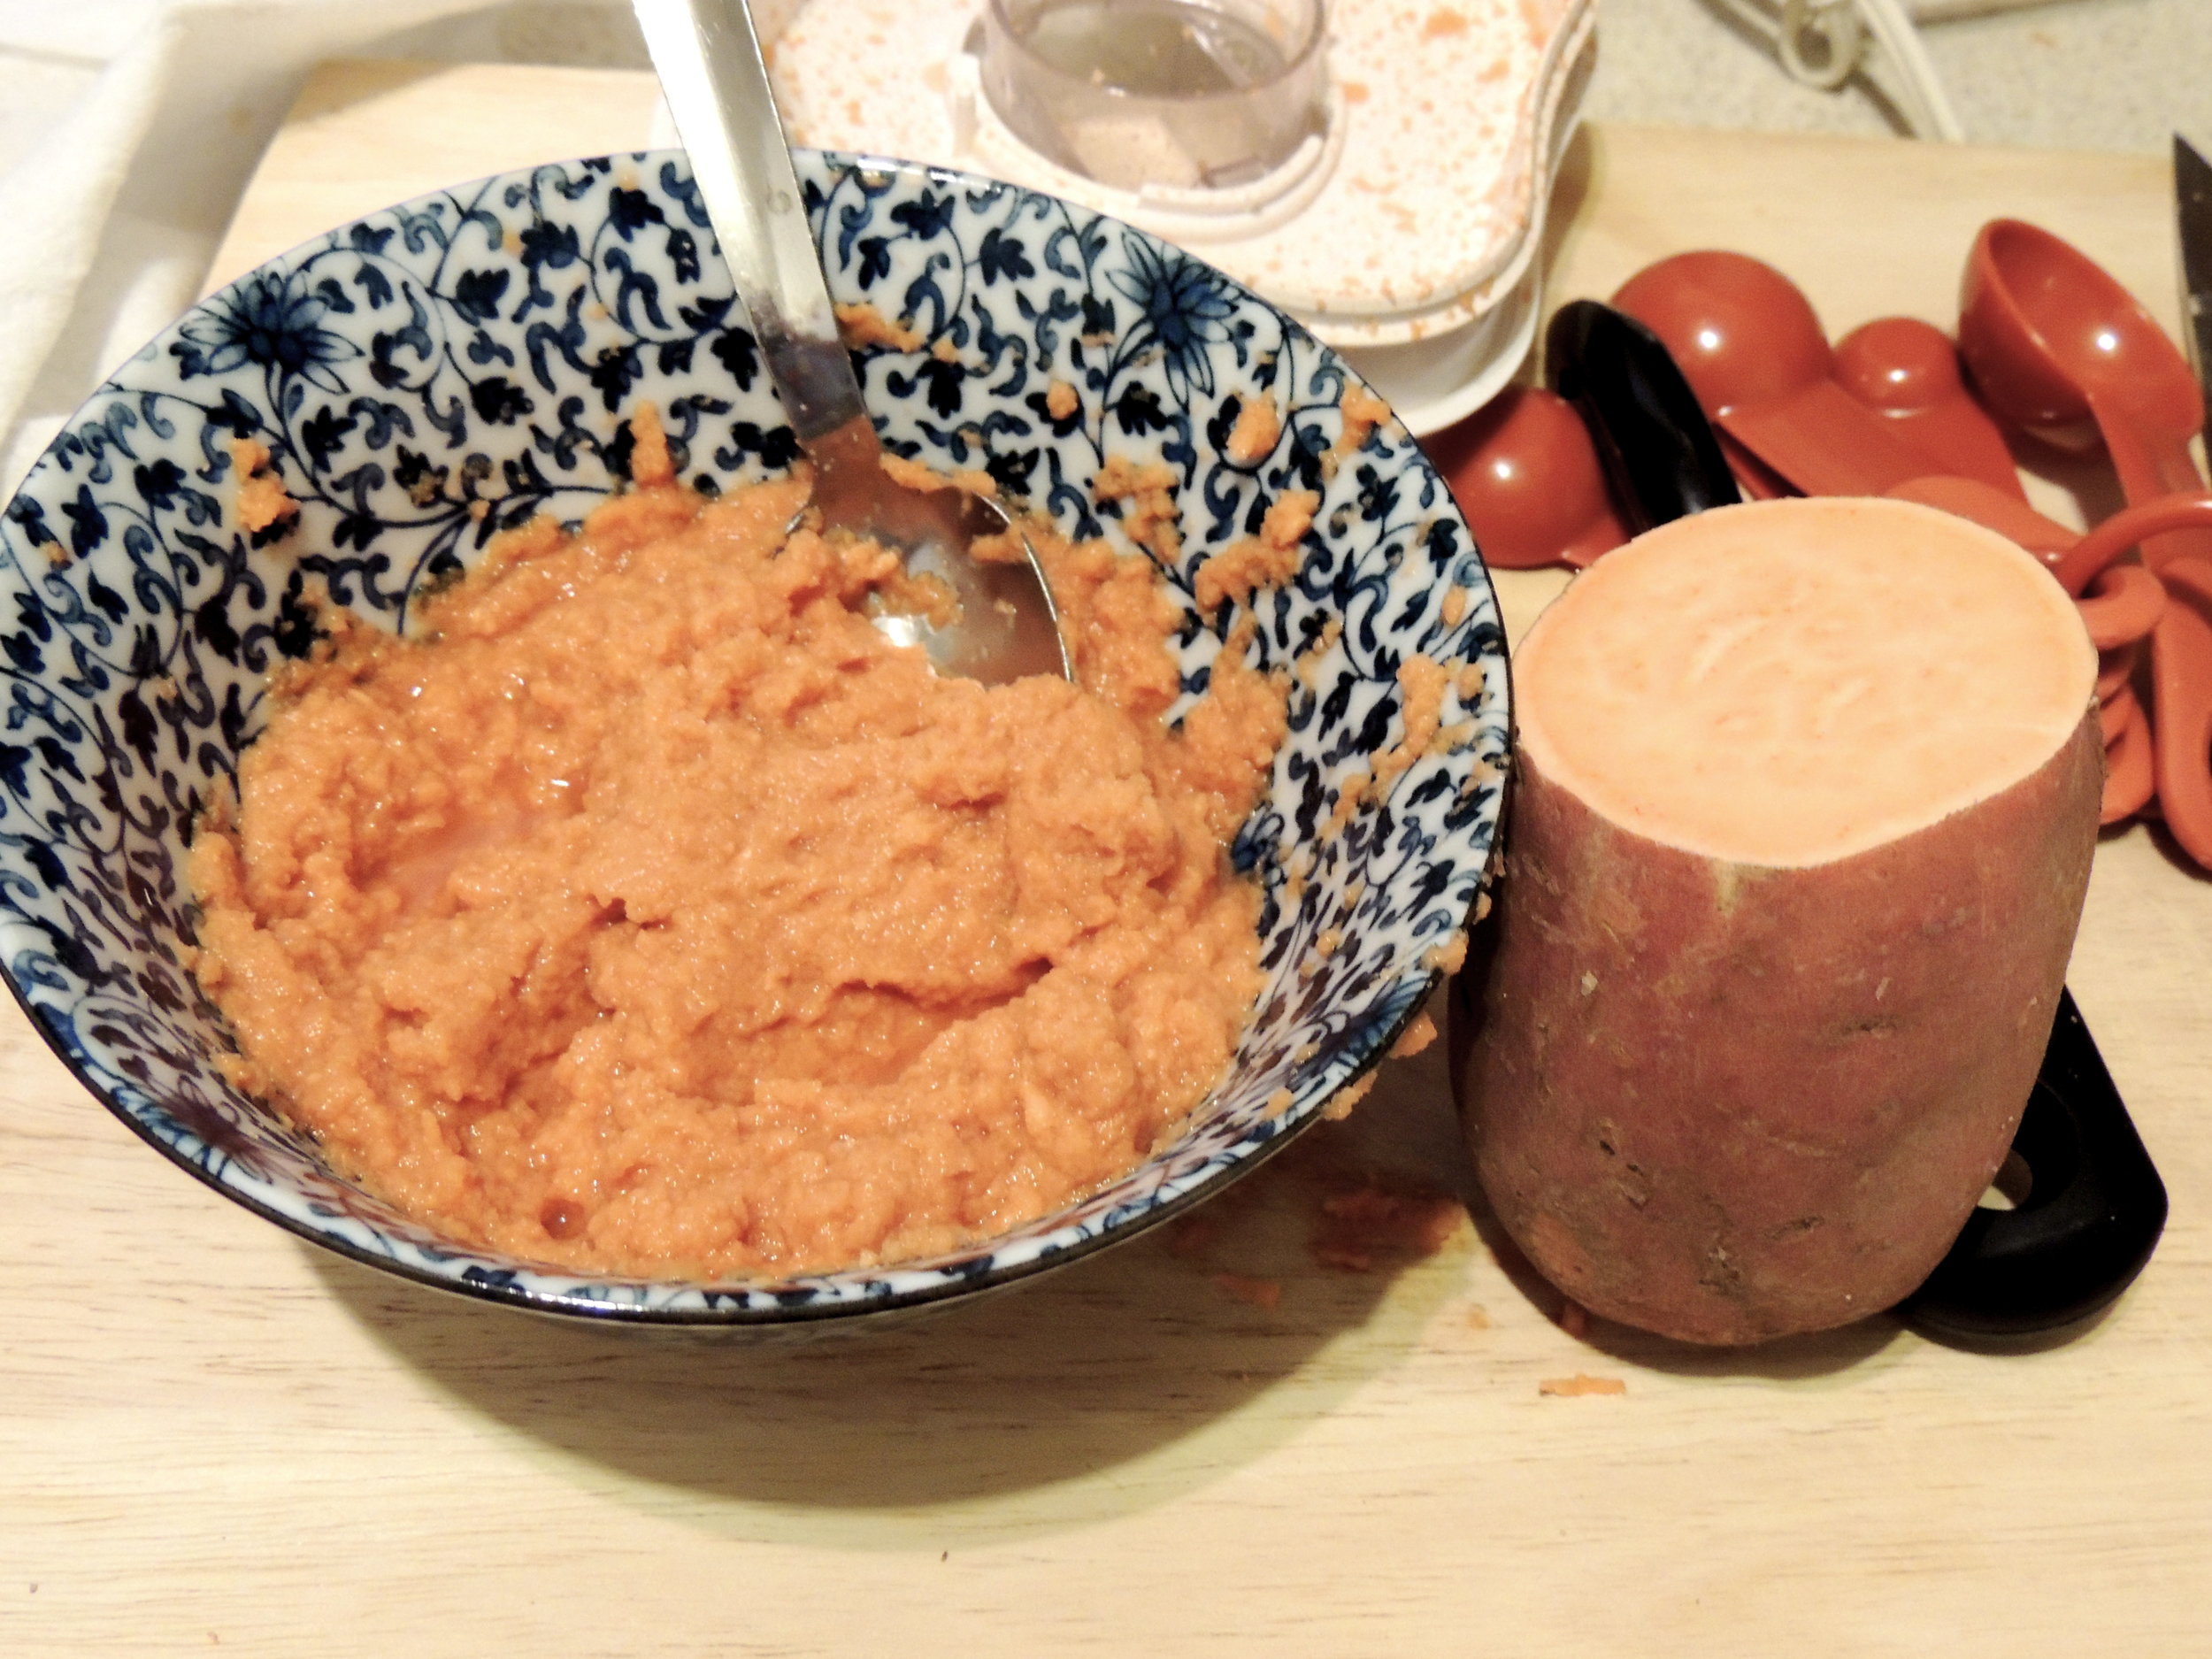
Given the fact that my love for cooking is admittedly still in its early stages, this little kitchen trick is one I'd never learned. So there I was, adding water to a blender and pureeing those yams like there was no tomorrow. And puree them I did...kind of.
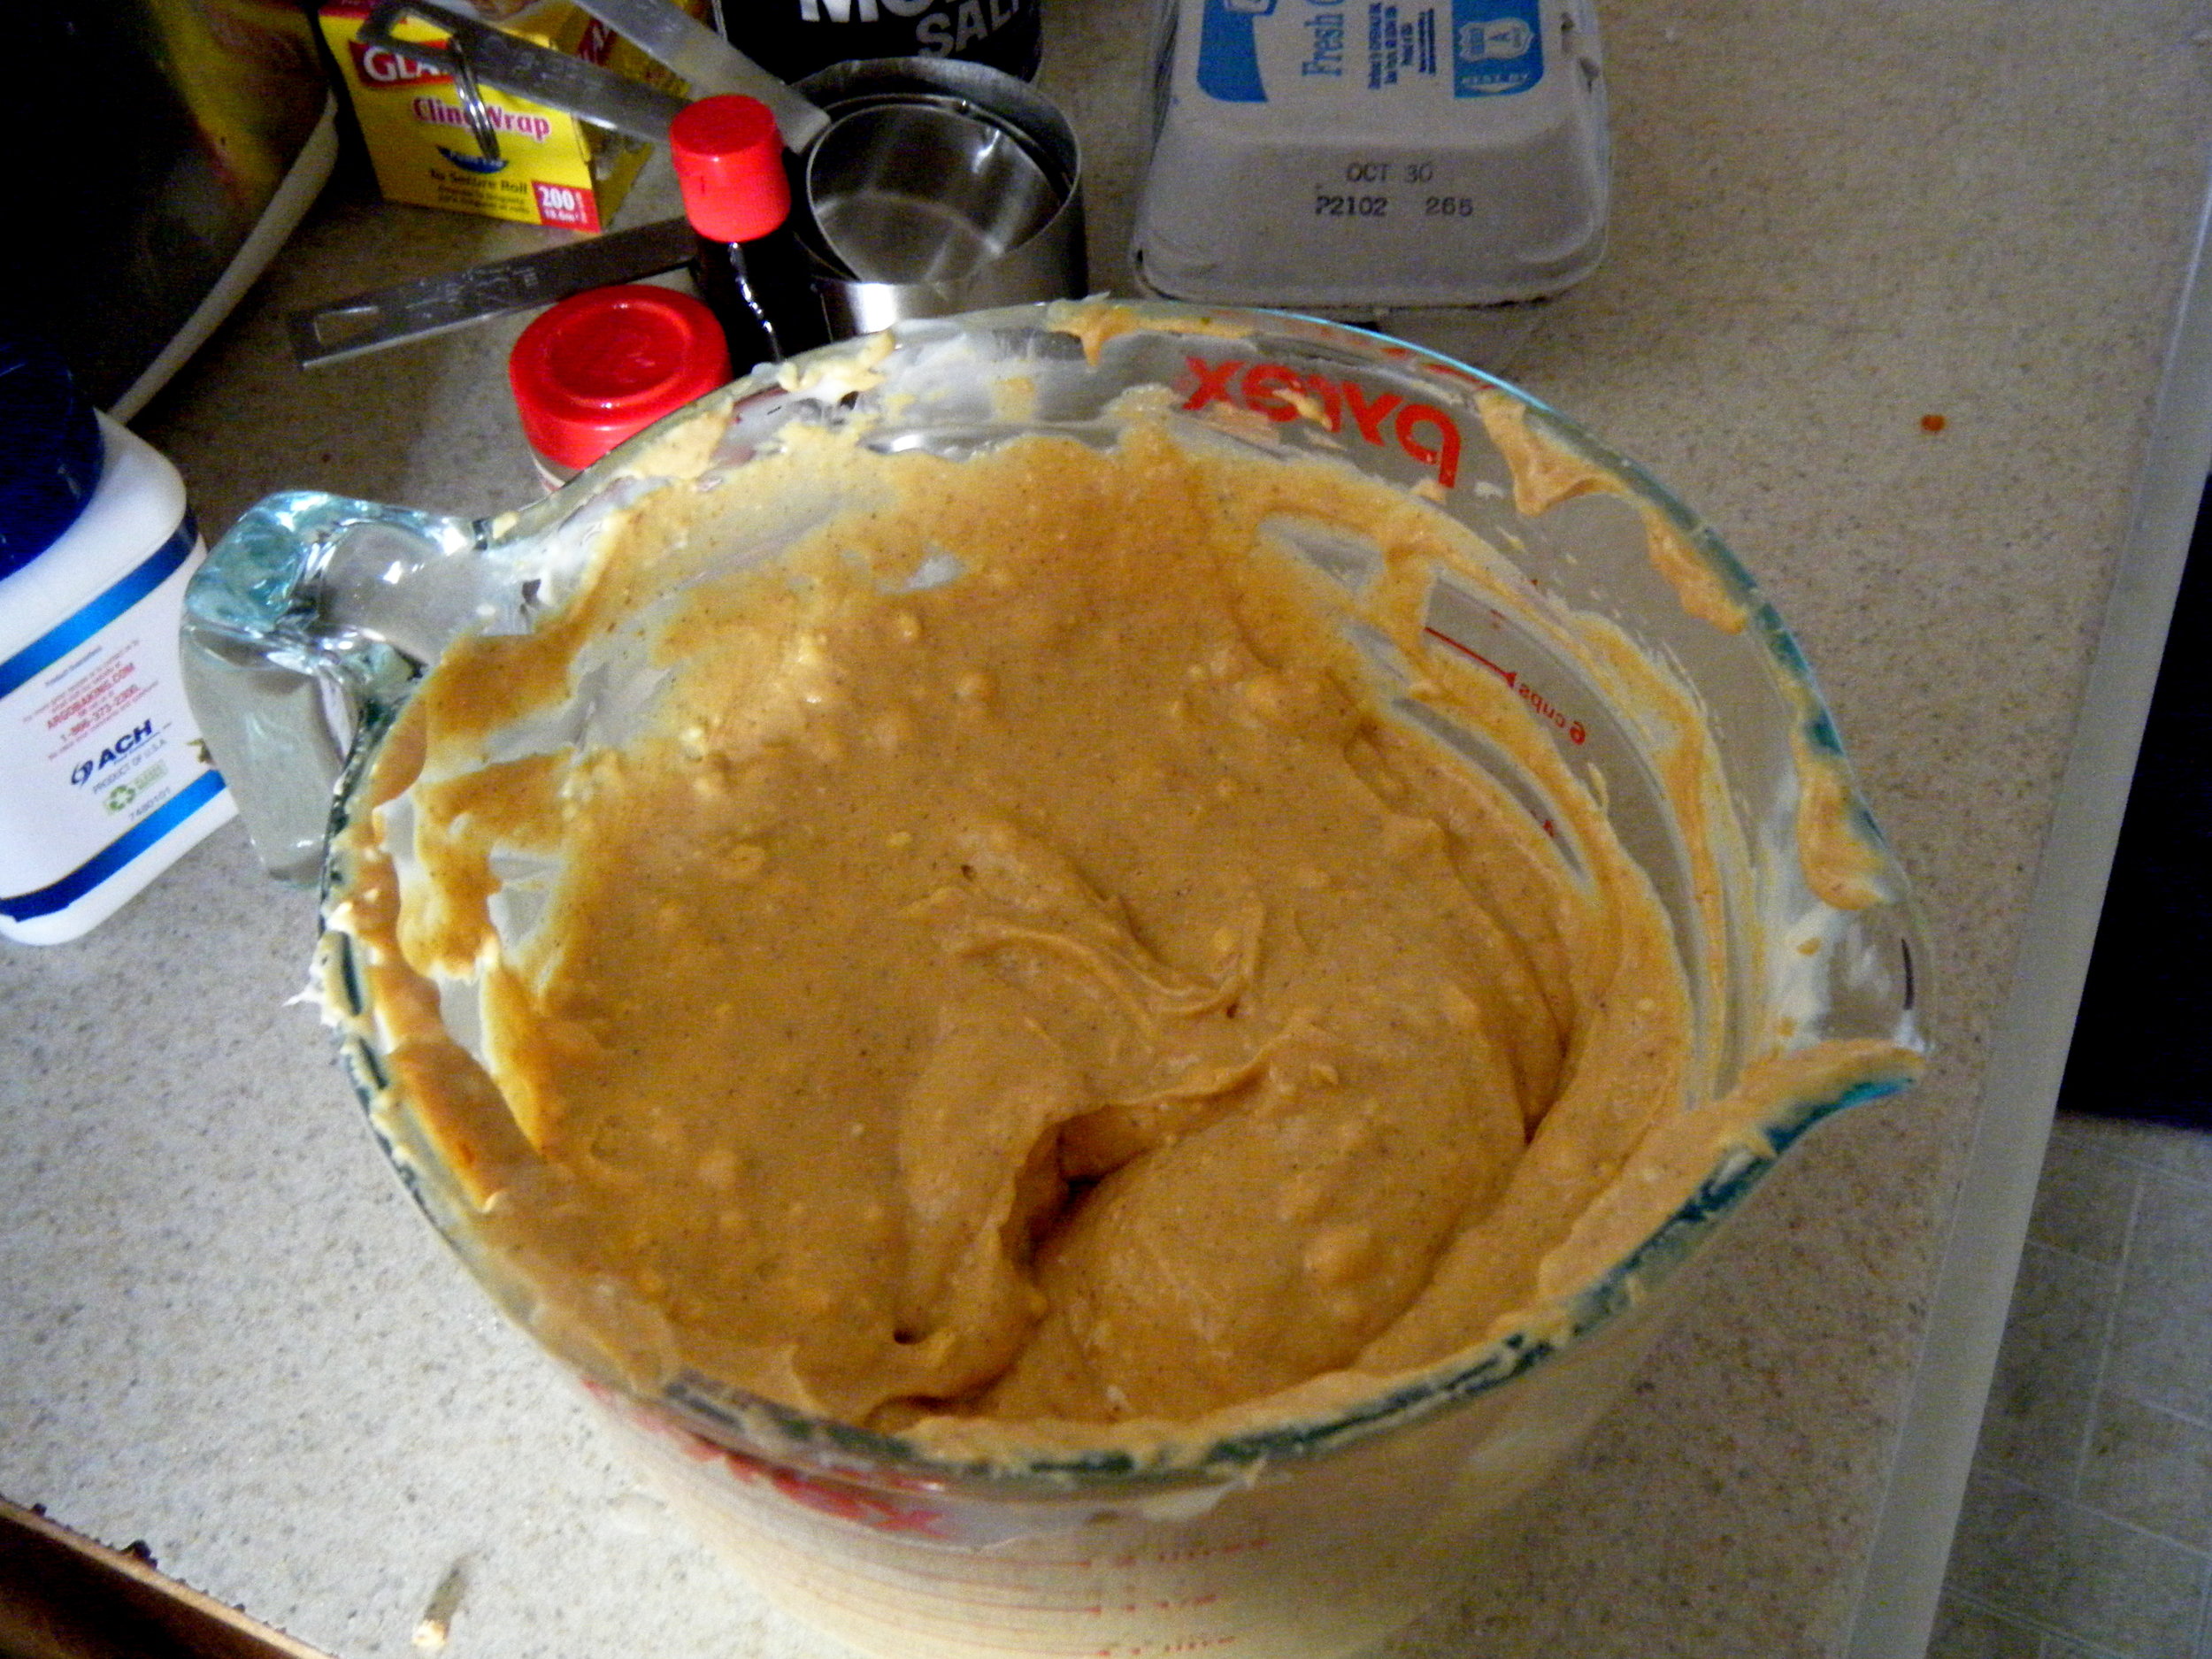
 So as you can see, my should-be smooth puree was a tad bit on the chunky side. But not one to give up, (ESPECIALLY SINCE I HAD ALREADY PURCHASED YAMS TO PROVE I COULD MAKE THESE BABIES.) I forged on ahead. The cupcakes might have a little texture to them, but they were going to be great, I just knew it.
Then arose the next problem...in the form of buttermilk. Now, I don't know if you're like me, but I never find a use for buttermilk. I'll buy it for a recipe, then never, ever use it again. Then a friend of mine mentioned a way to make my own, and being a huge lover of DIY, I jumped on that!
"Just add a tablespoon of vinegar, fill up the rest with milk, and let it sit for a while," she said. Okay, easy enough.
Just to be sure, I looked up a few recipes confirming exactly what she'd told me, with just one speed bump: one recipe said 5-10 minutes, and one said 15, but the rest was right.

I decided to wait ten minutes. The recipe said that I should see it curd, but I didn't. I figured that since I'd done it all right, that it was buttermilk, and forged ahead. OH BOY was that possibly the biggest mistake.

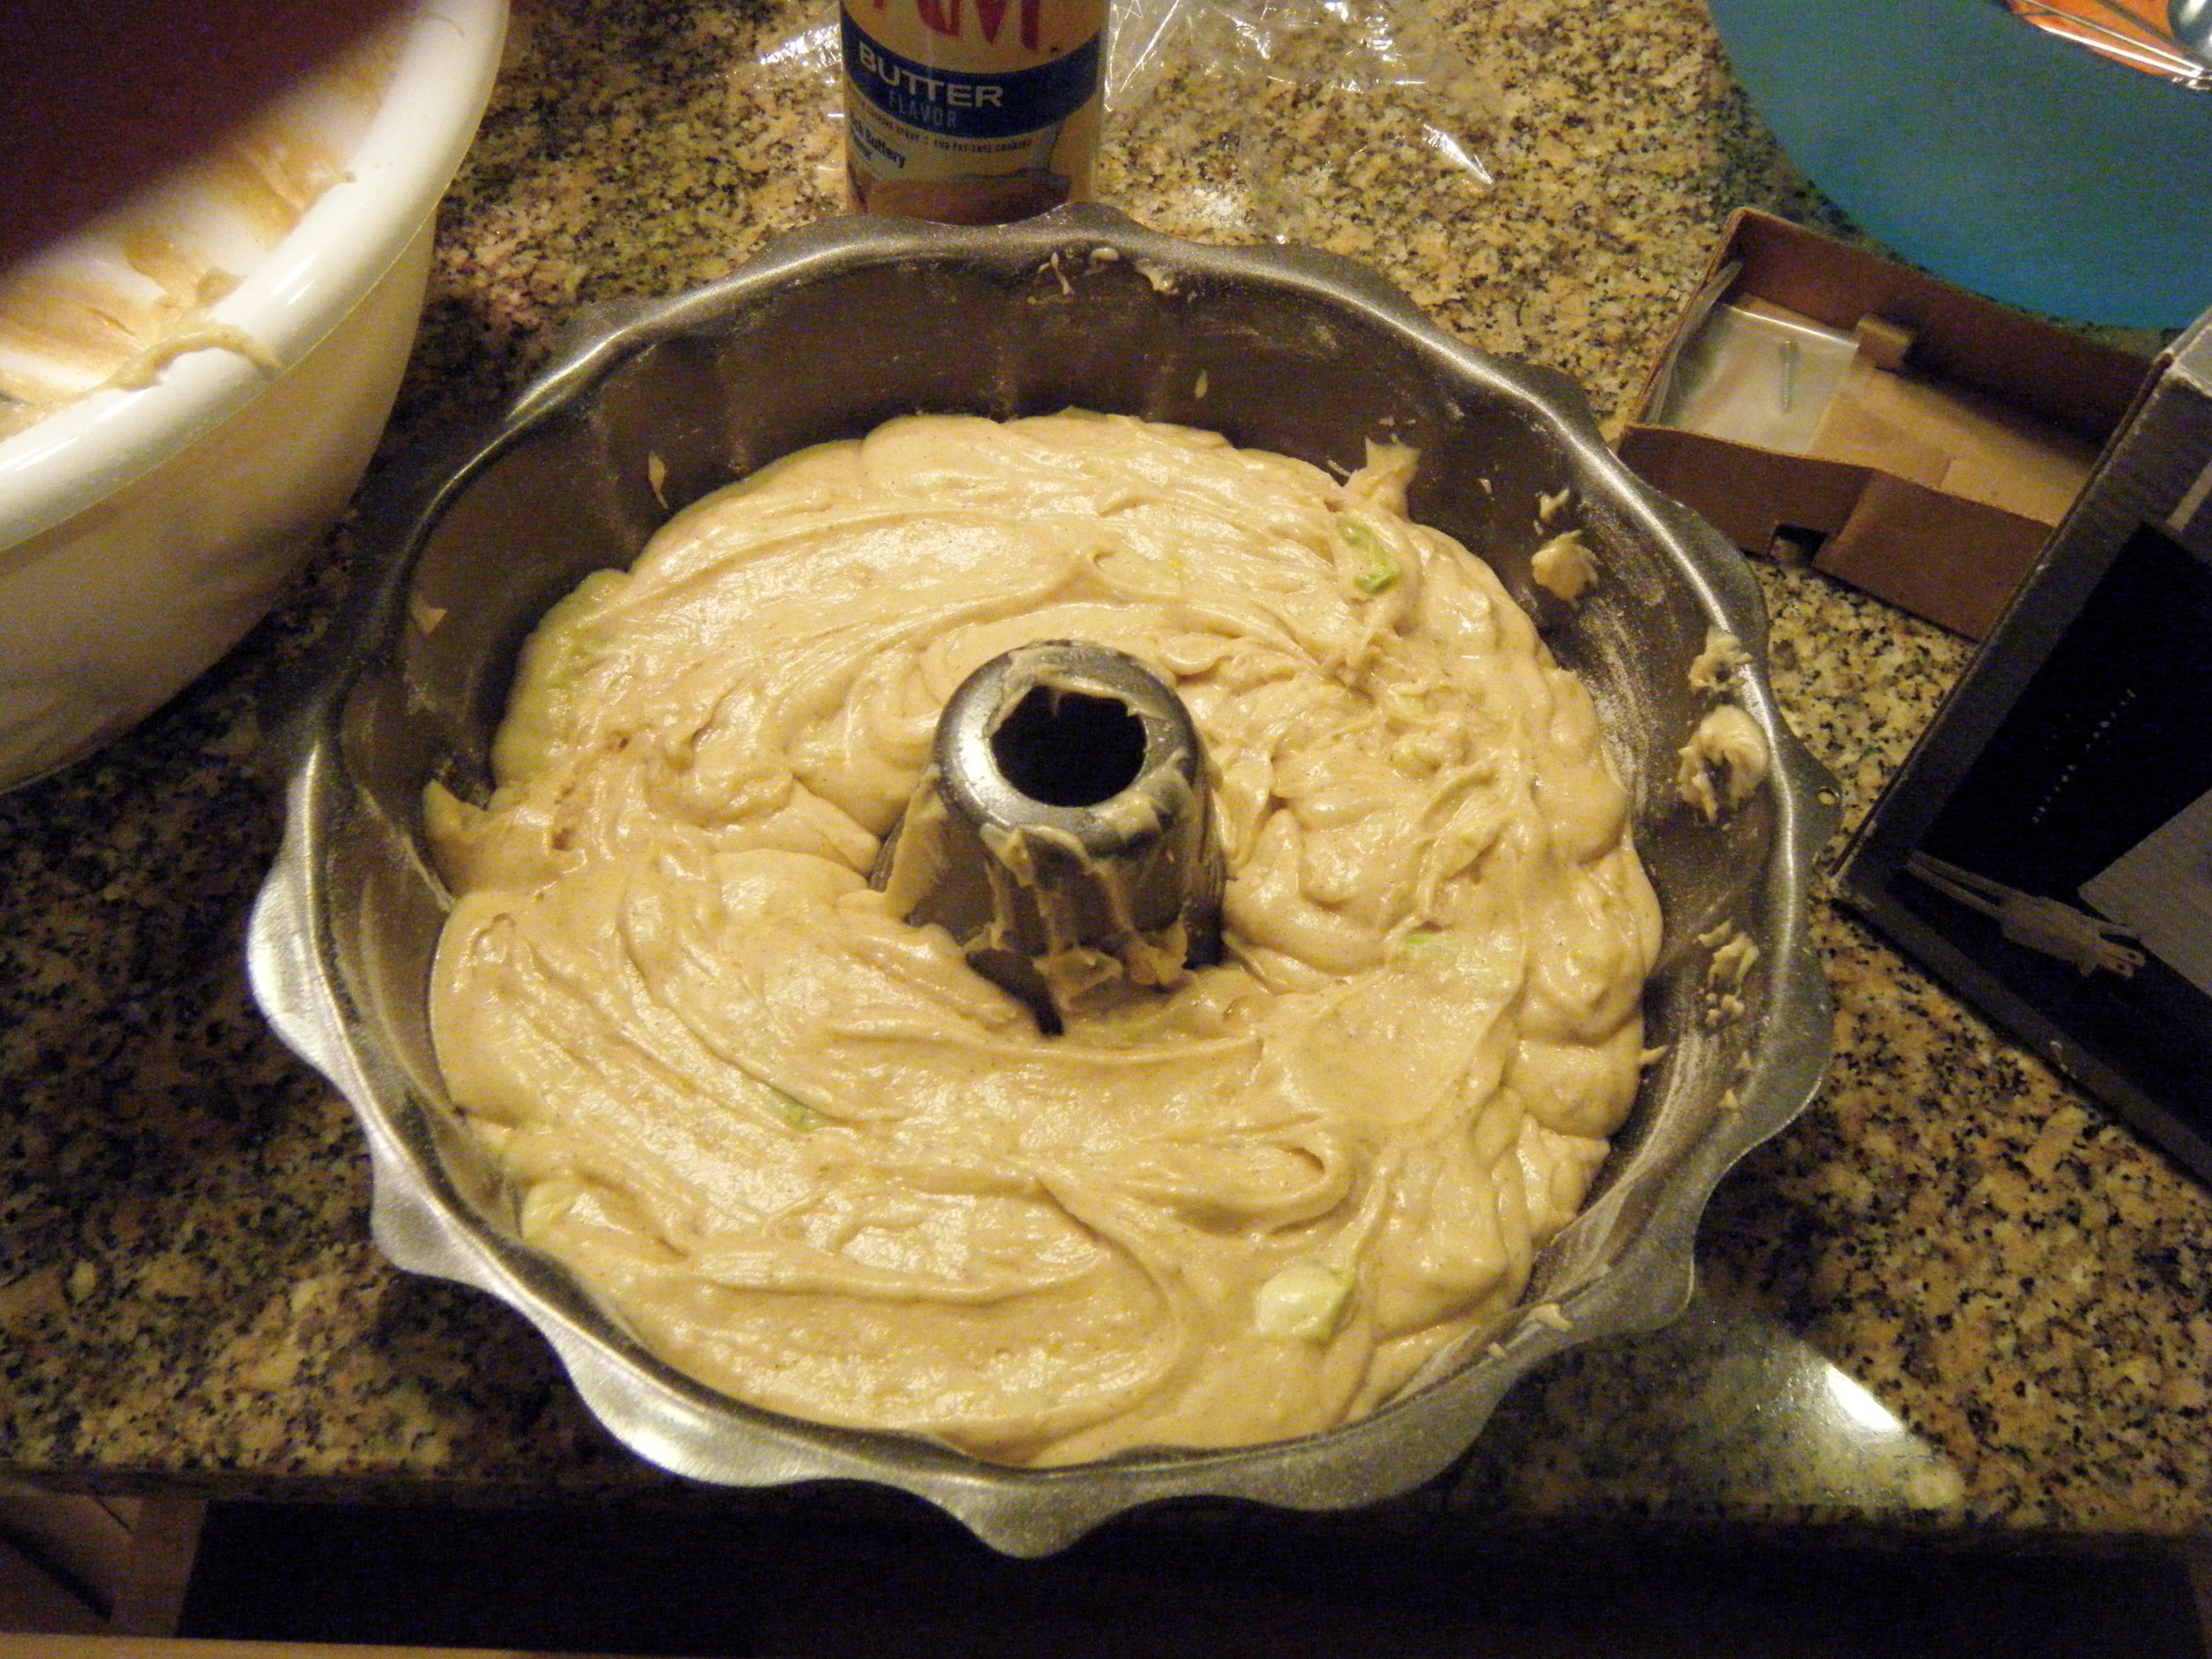
My cupcake mixture ended up being far too watery for the average cupcake, but as I put it in I thought, "Hey, no big deal. You've never made sweet potato cupcakes, and maybe this is just their way." Wrong. So wrong.
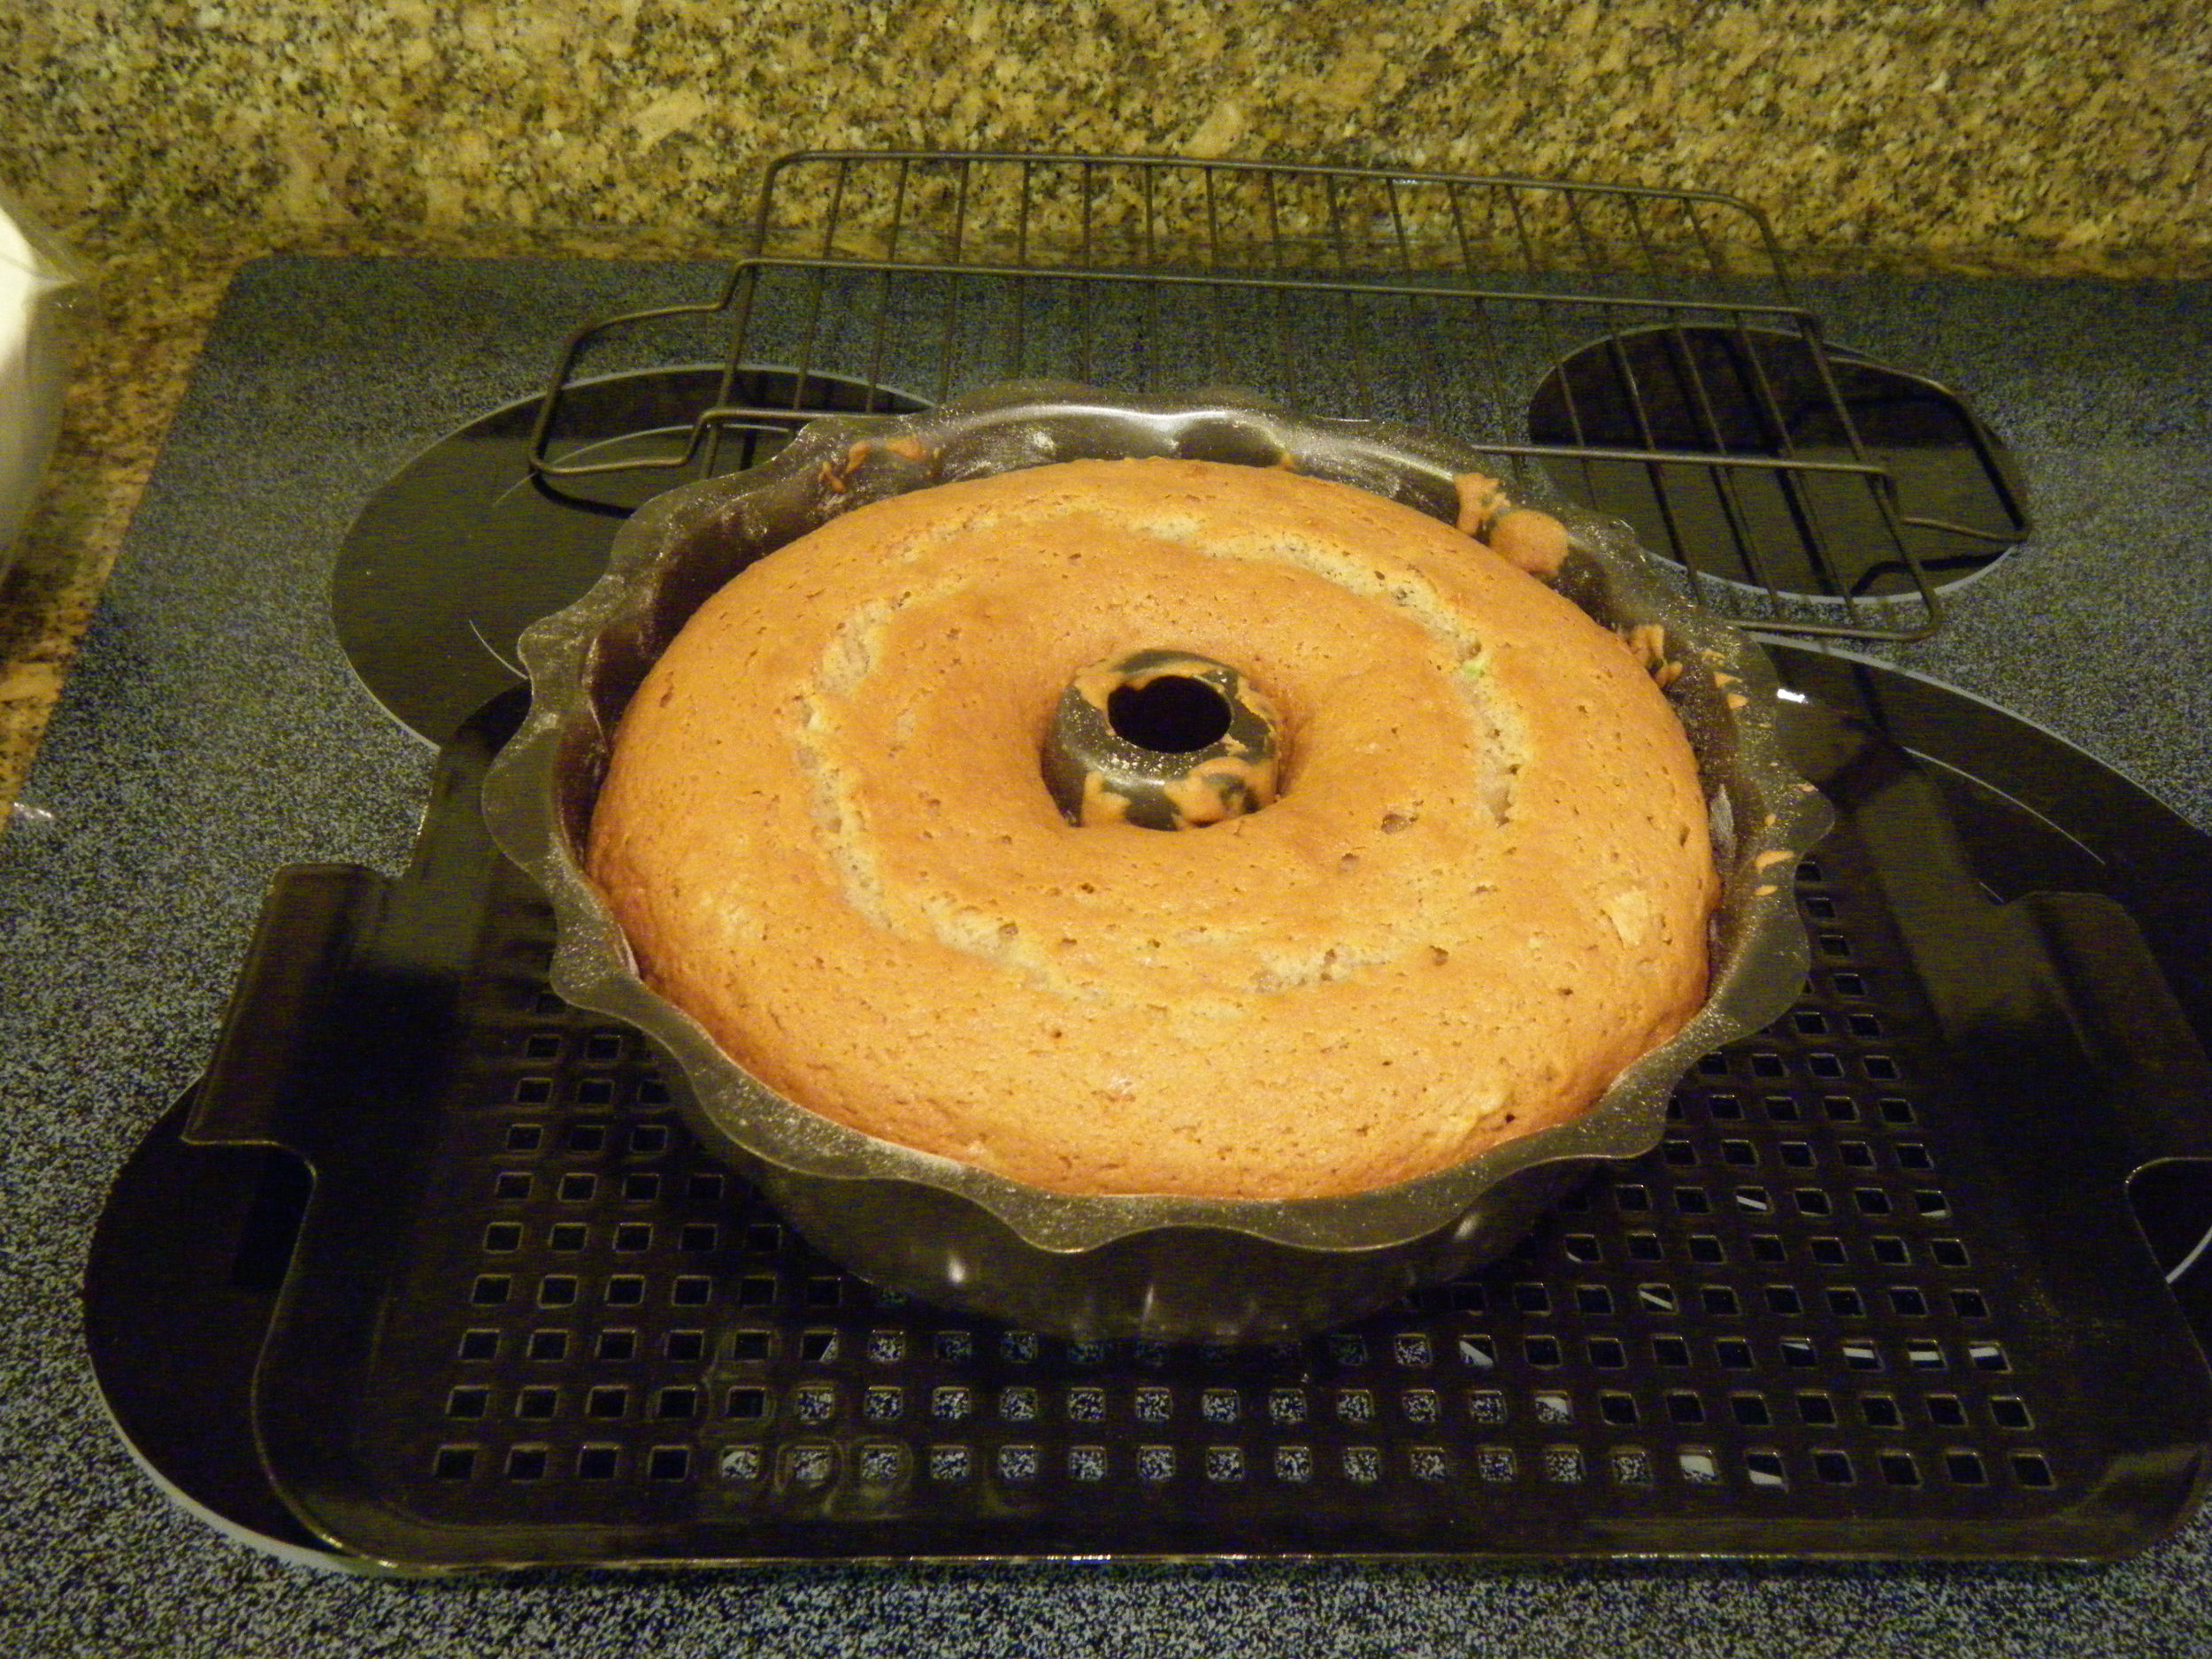
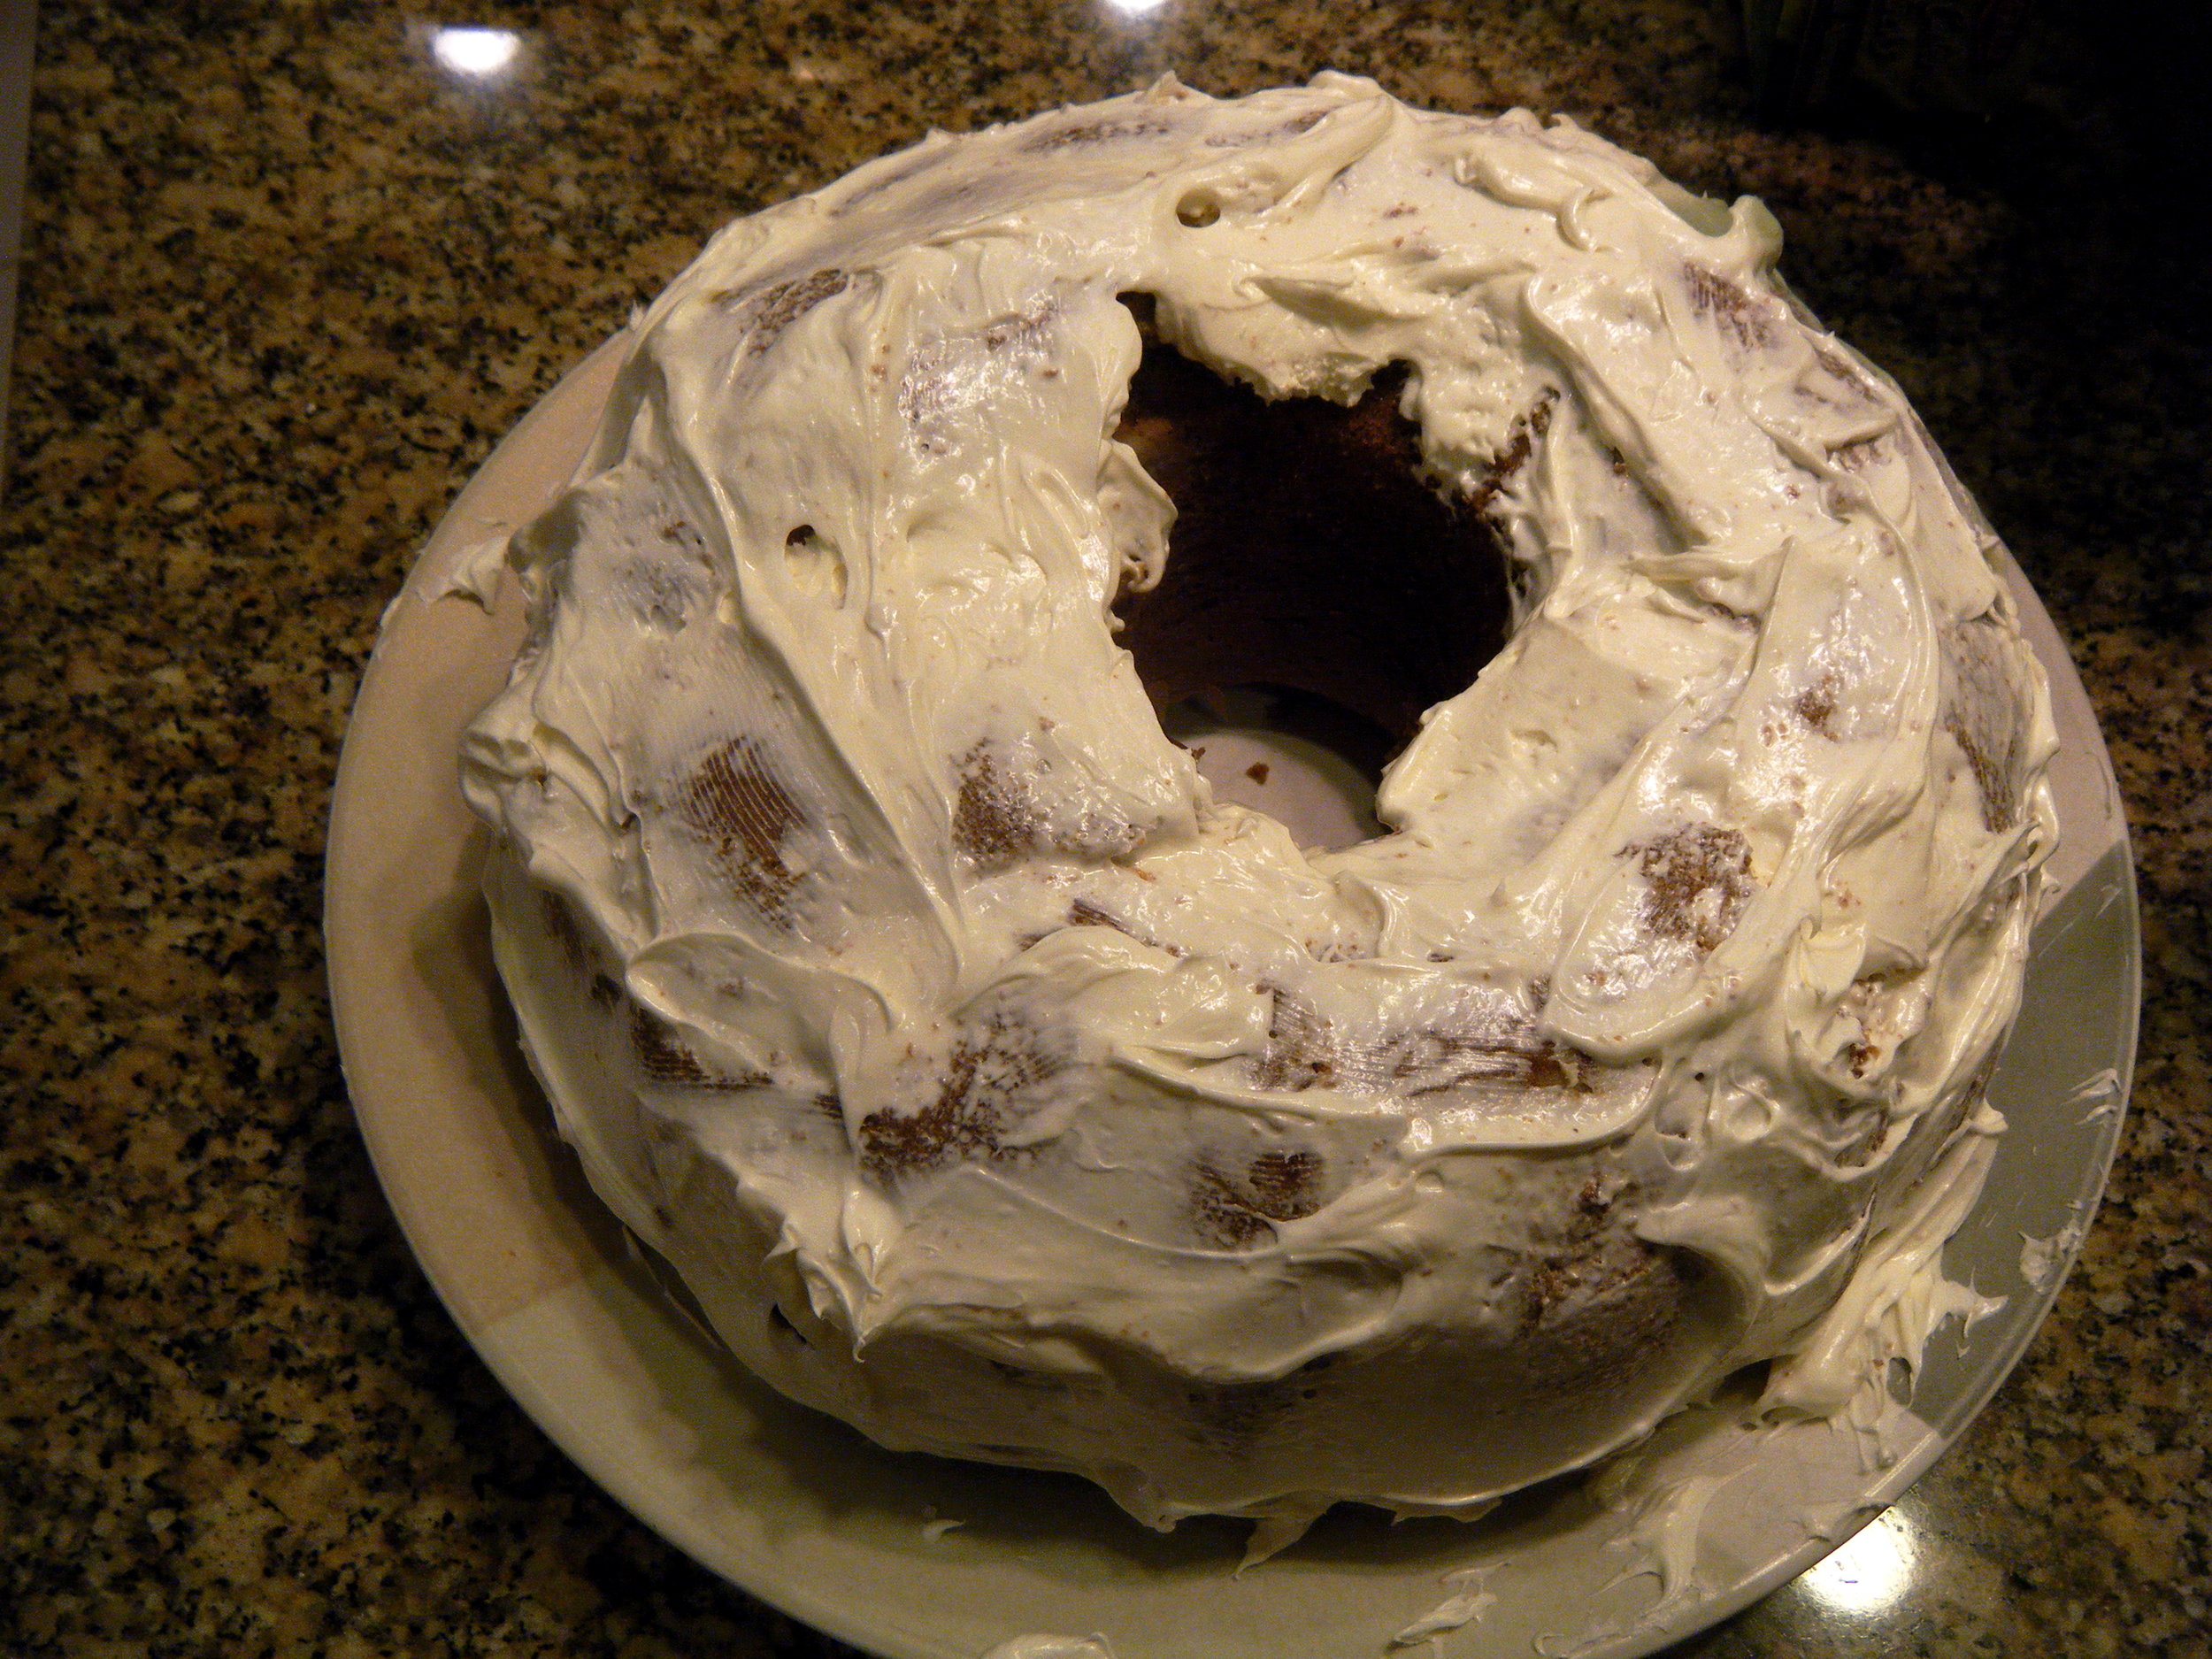
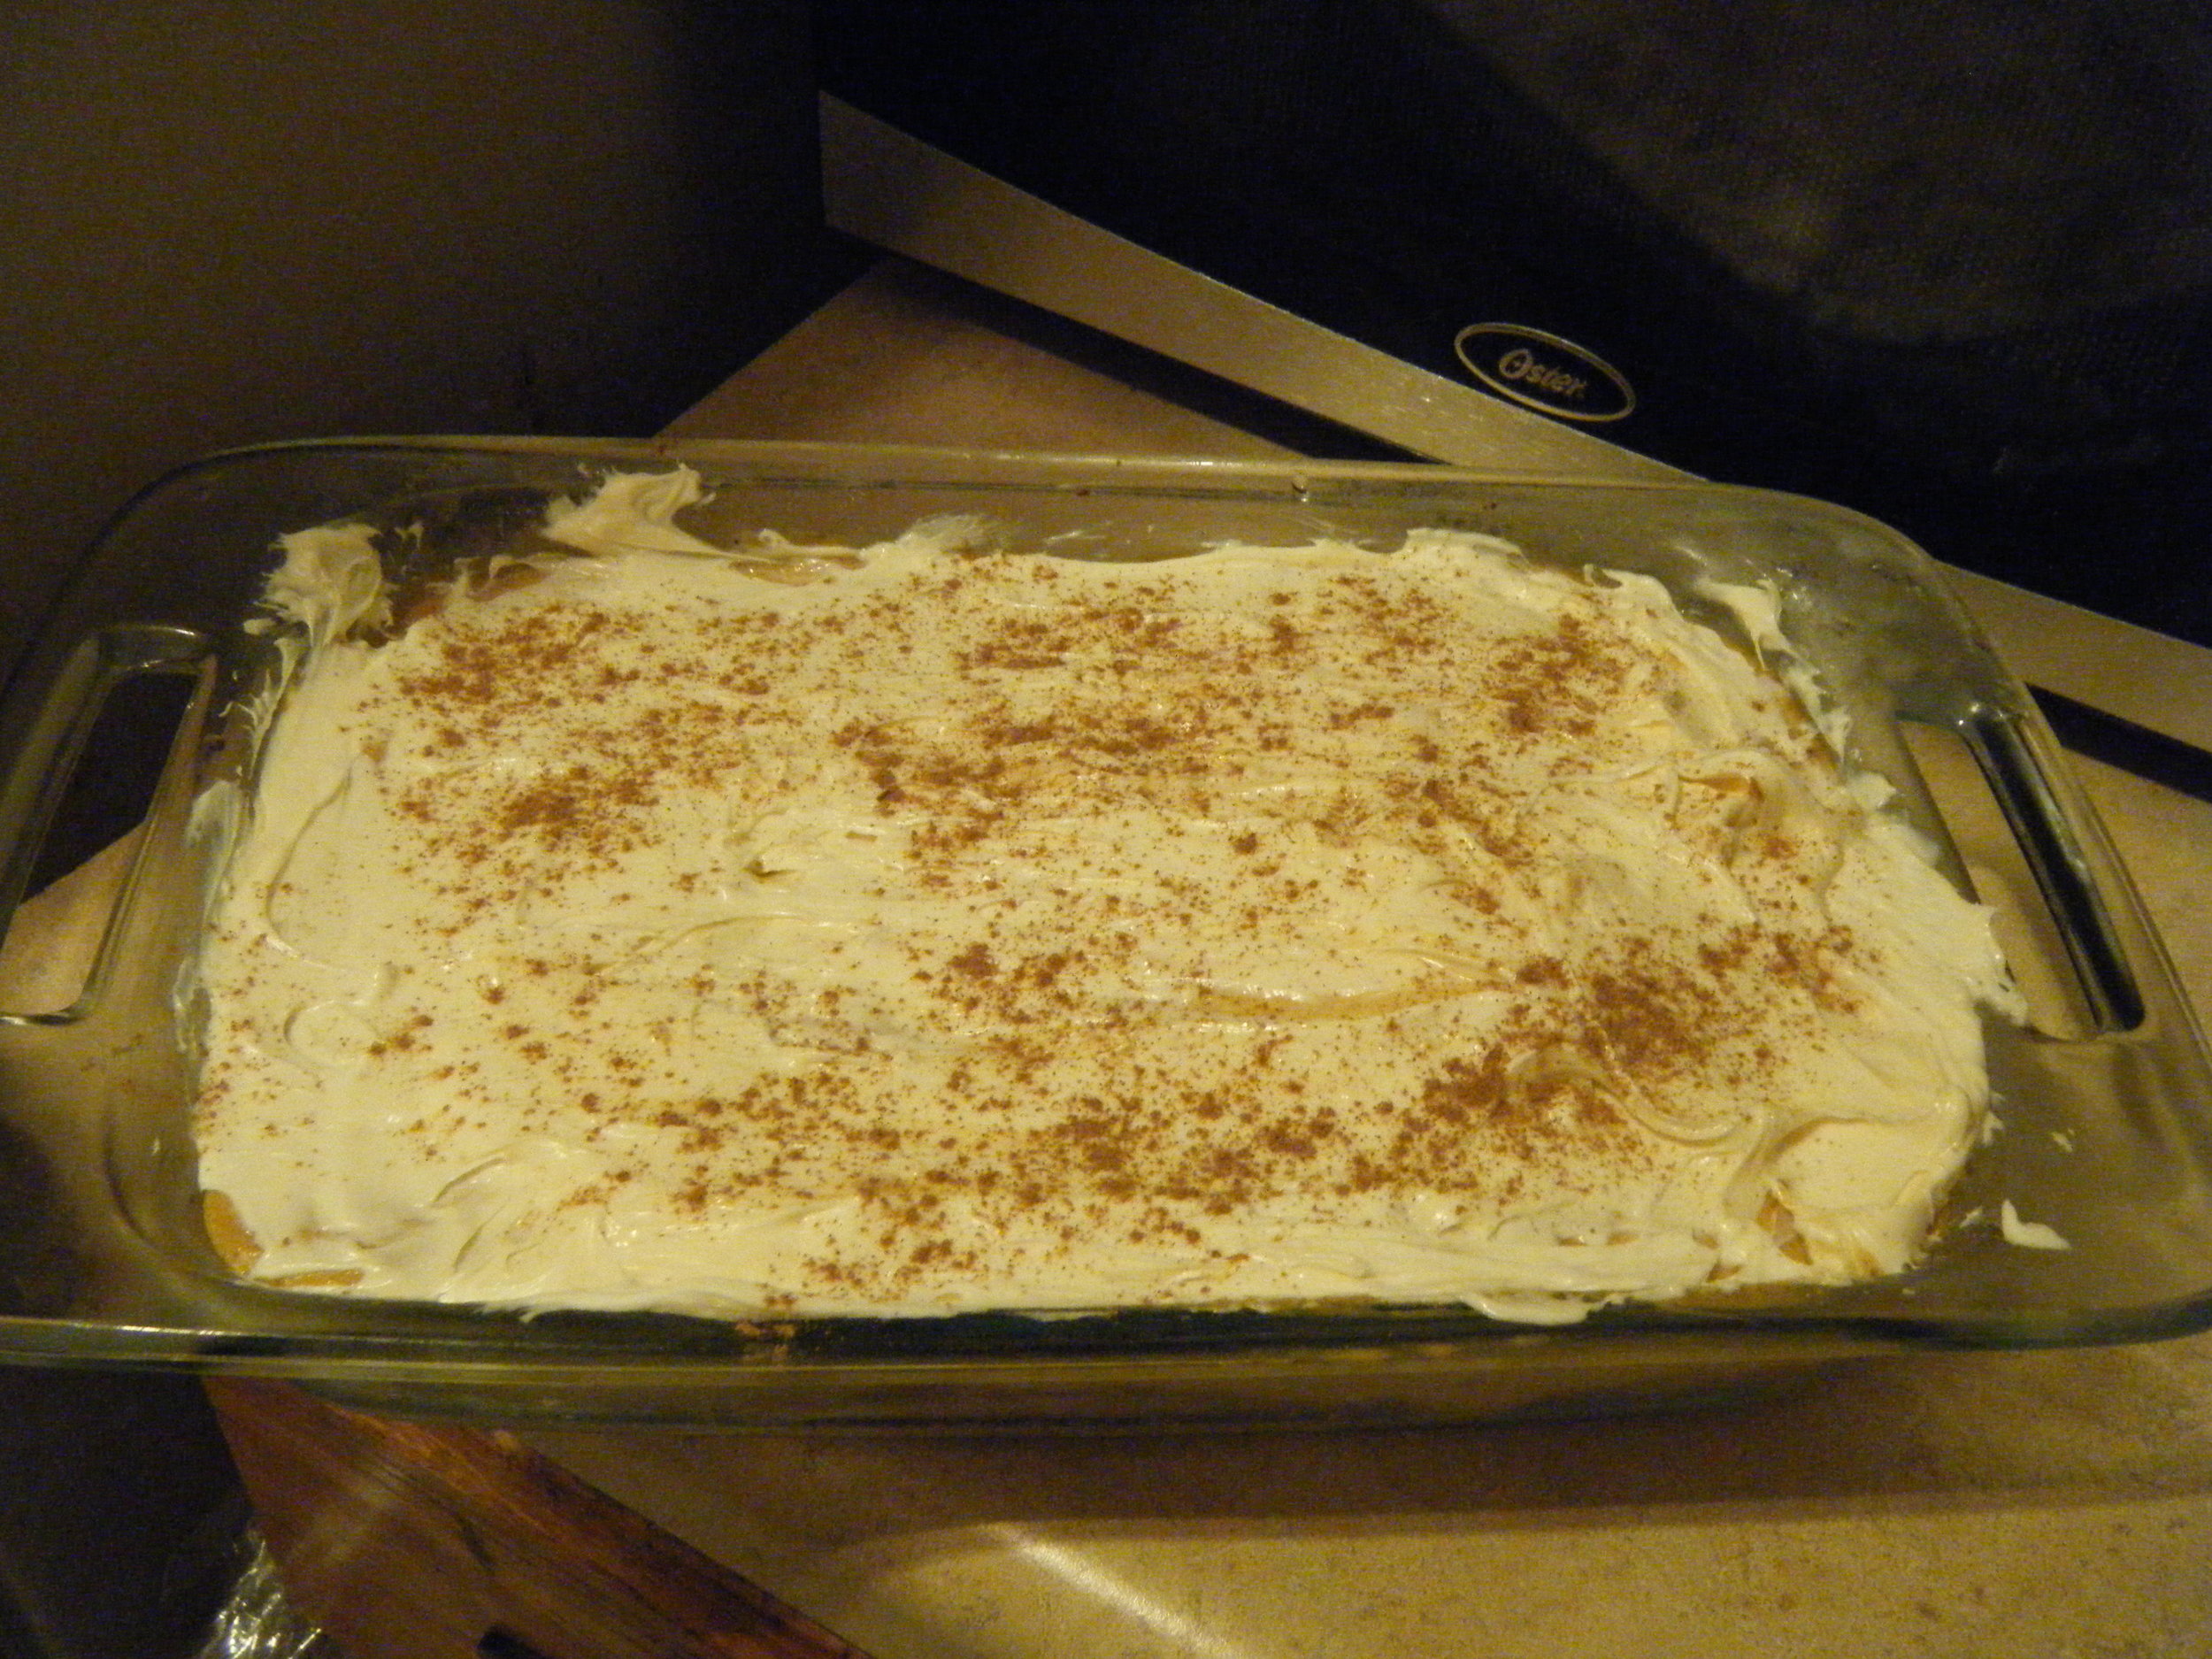
 Into the oven my babies went. Uncooked is how they returned to me.
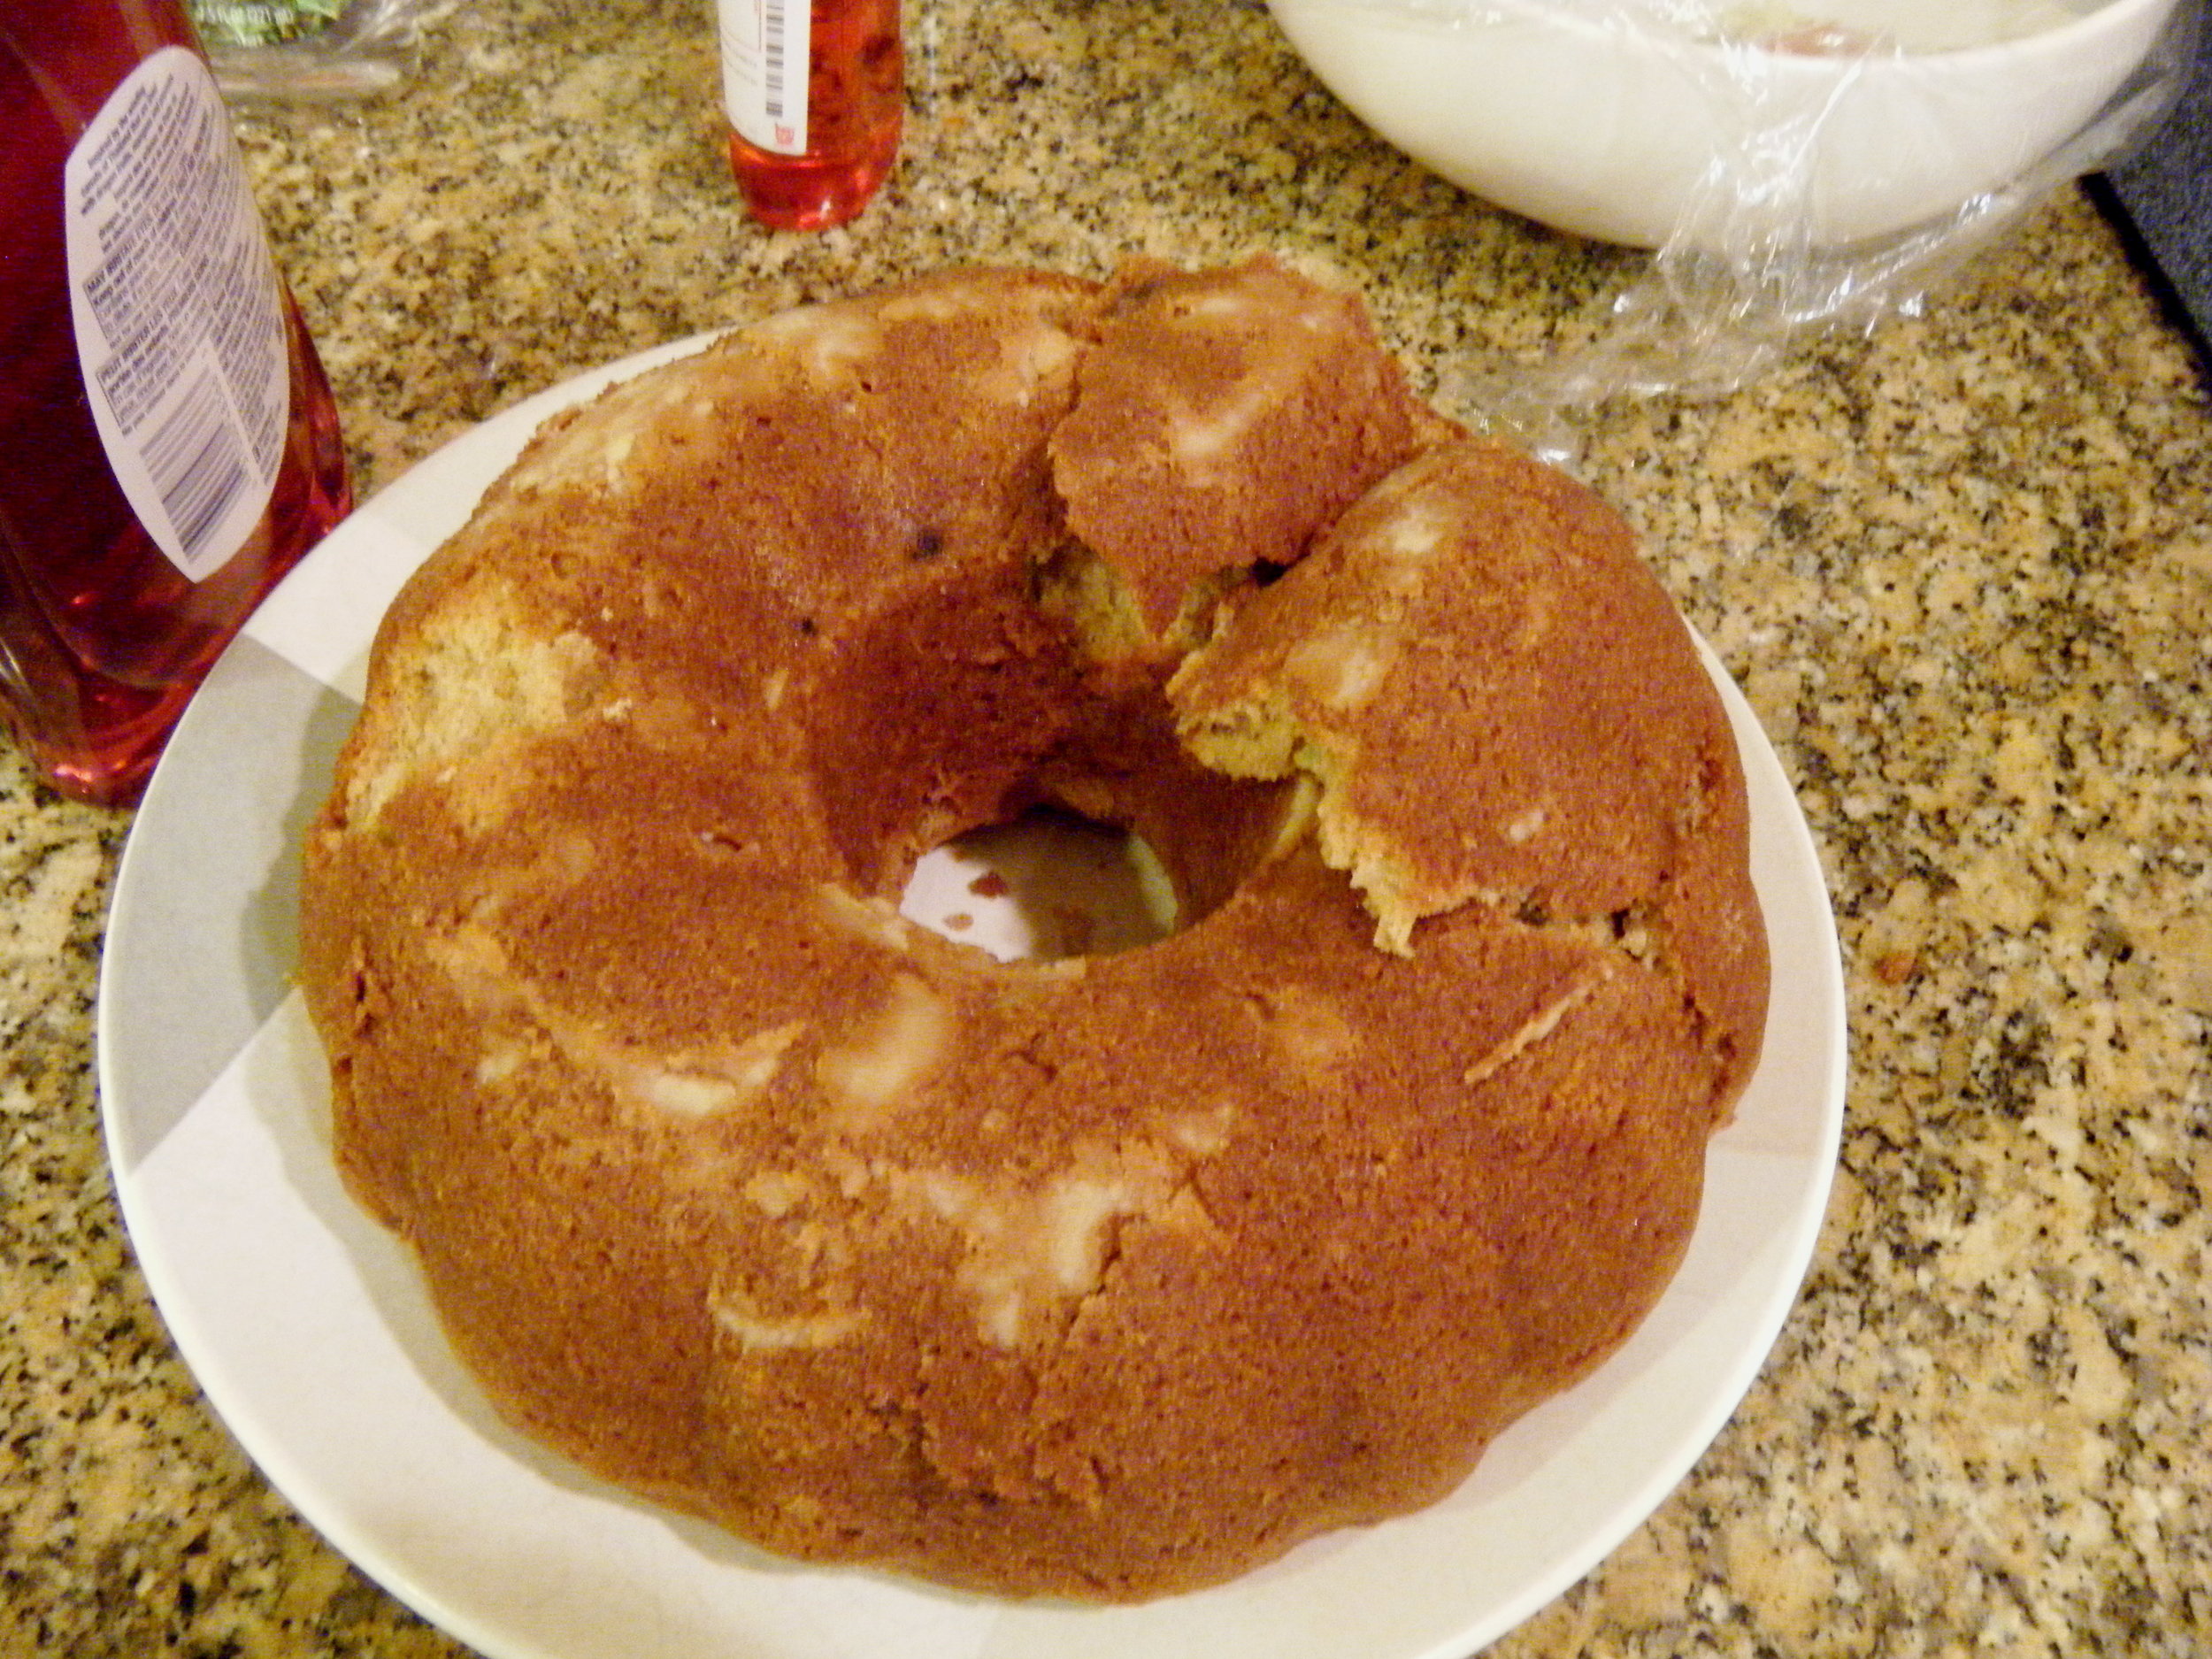
The funny thing was: cooked on the bottom and top they were, but mushy in the middle as well. I just couldn't understand it! What had I done so wrong? What had I done to deserve such a tragedy? How could they smell just like Thanksgiving, but a watery one at best? And then it hit me like a sack of yams: the "buttermilk."
Of course. I never let it curd, and this was my result. I felt defeated and a little sad: everything I'd made up until this point had turned out fabulously, and then this.
So now, if you've made it this far, you may be saying to yourself, "What's the point?"
The point, my beautiful or handsome reader, is that even though this experience got me down, even though I totally failed, I still carried on. I still looked up recipes the nest weekend, and I'm still happy.
This blog serves as a documentation of my journey as a cook, but it also serves as a way to share. I know there are other future cooks and bakers out there that want to do more, but are too afraid they'll fail. And let me tell you: you might. I did, and still do. But that's half the fun isn't it? Failing is part of learning, and learning is an everyday occurrence for even the best cooks.
Keep at it. Always cook. Always bake. Always do it with a smile on your face.


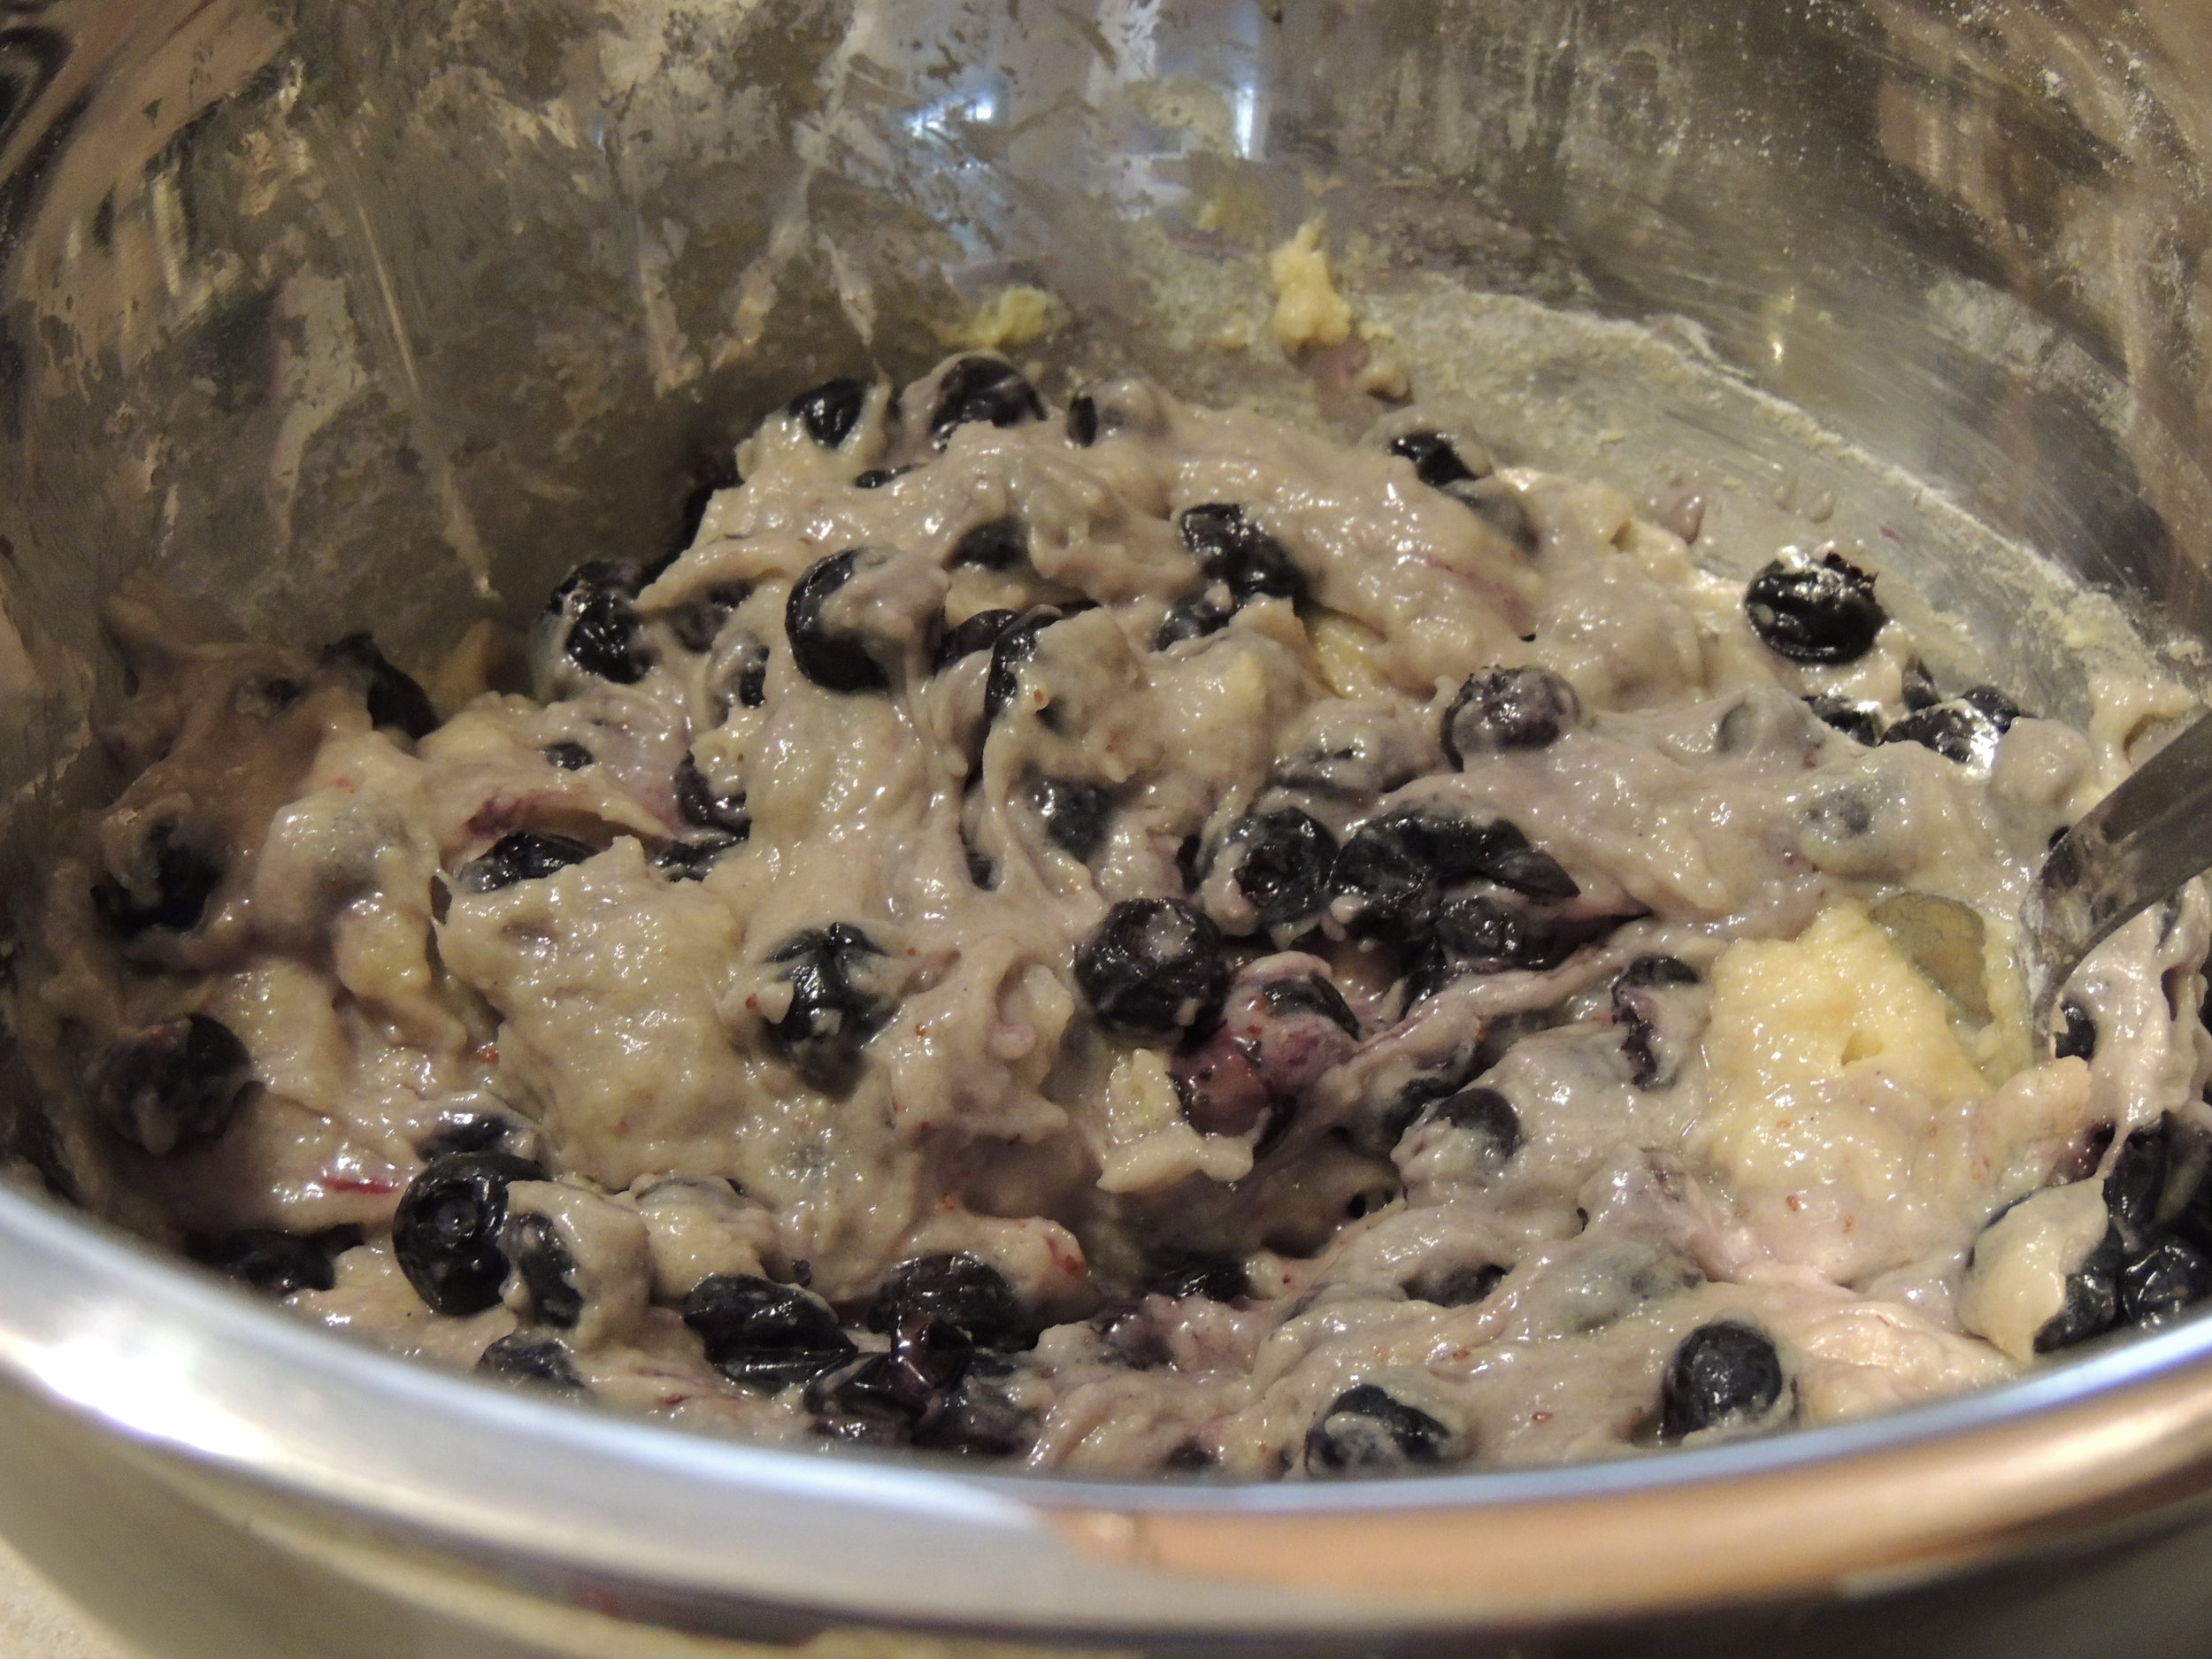 Here's the mix post-berries. ISN'T IT GORGEOUS? It smelled so good as well.
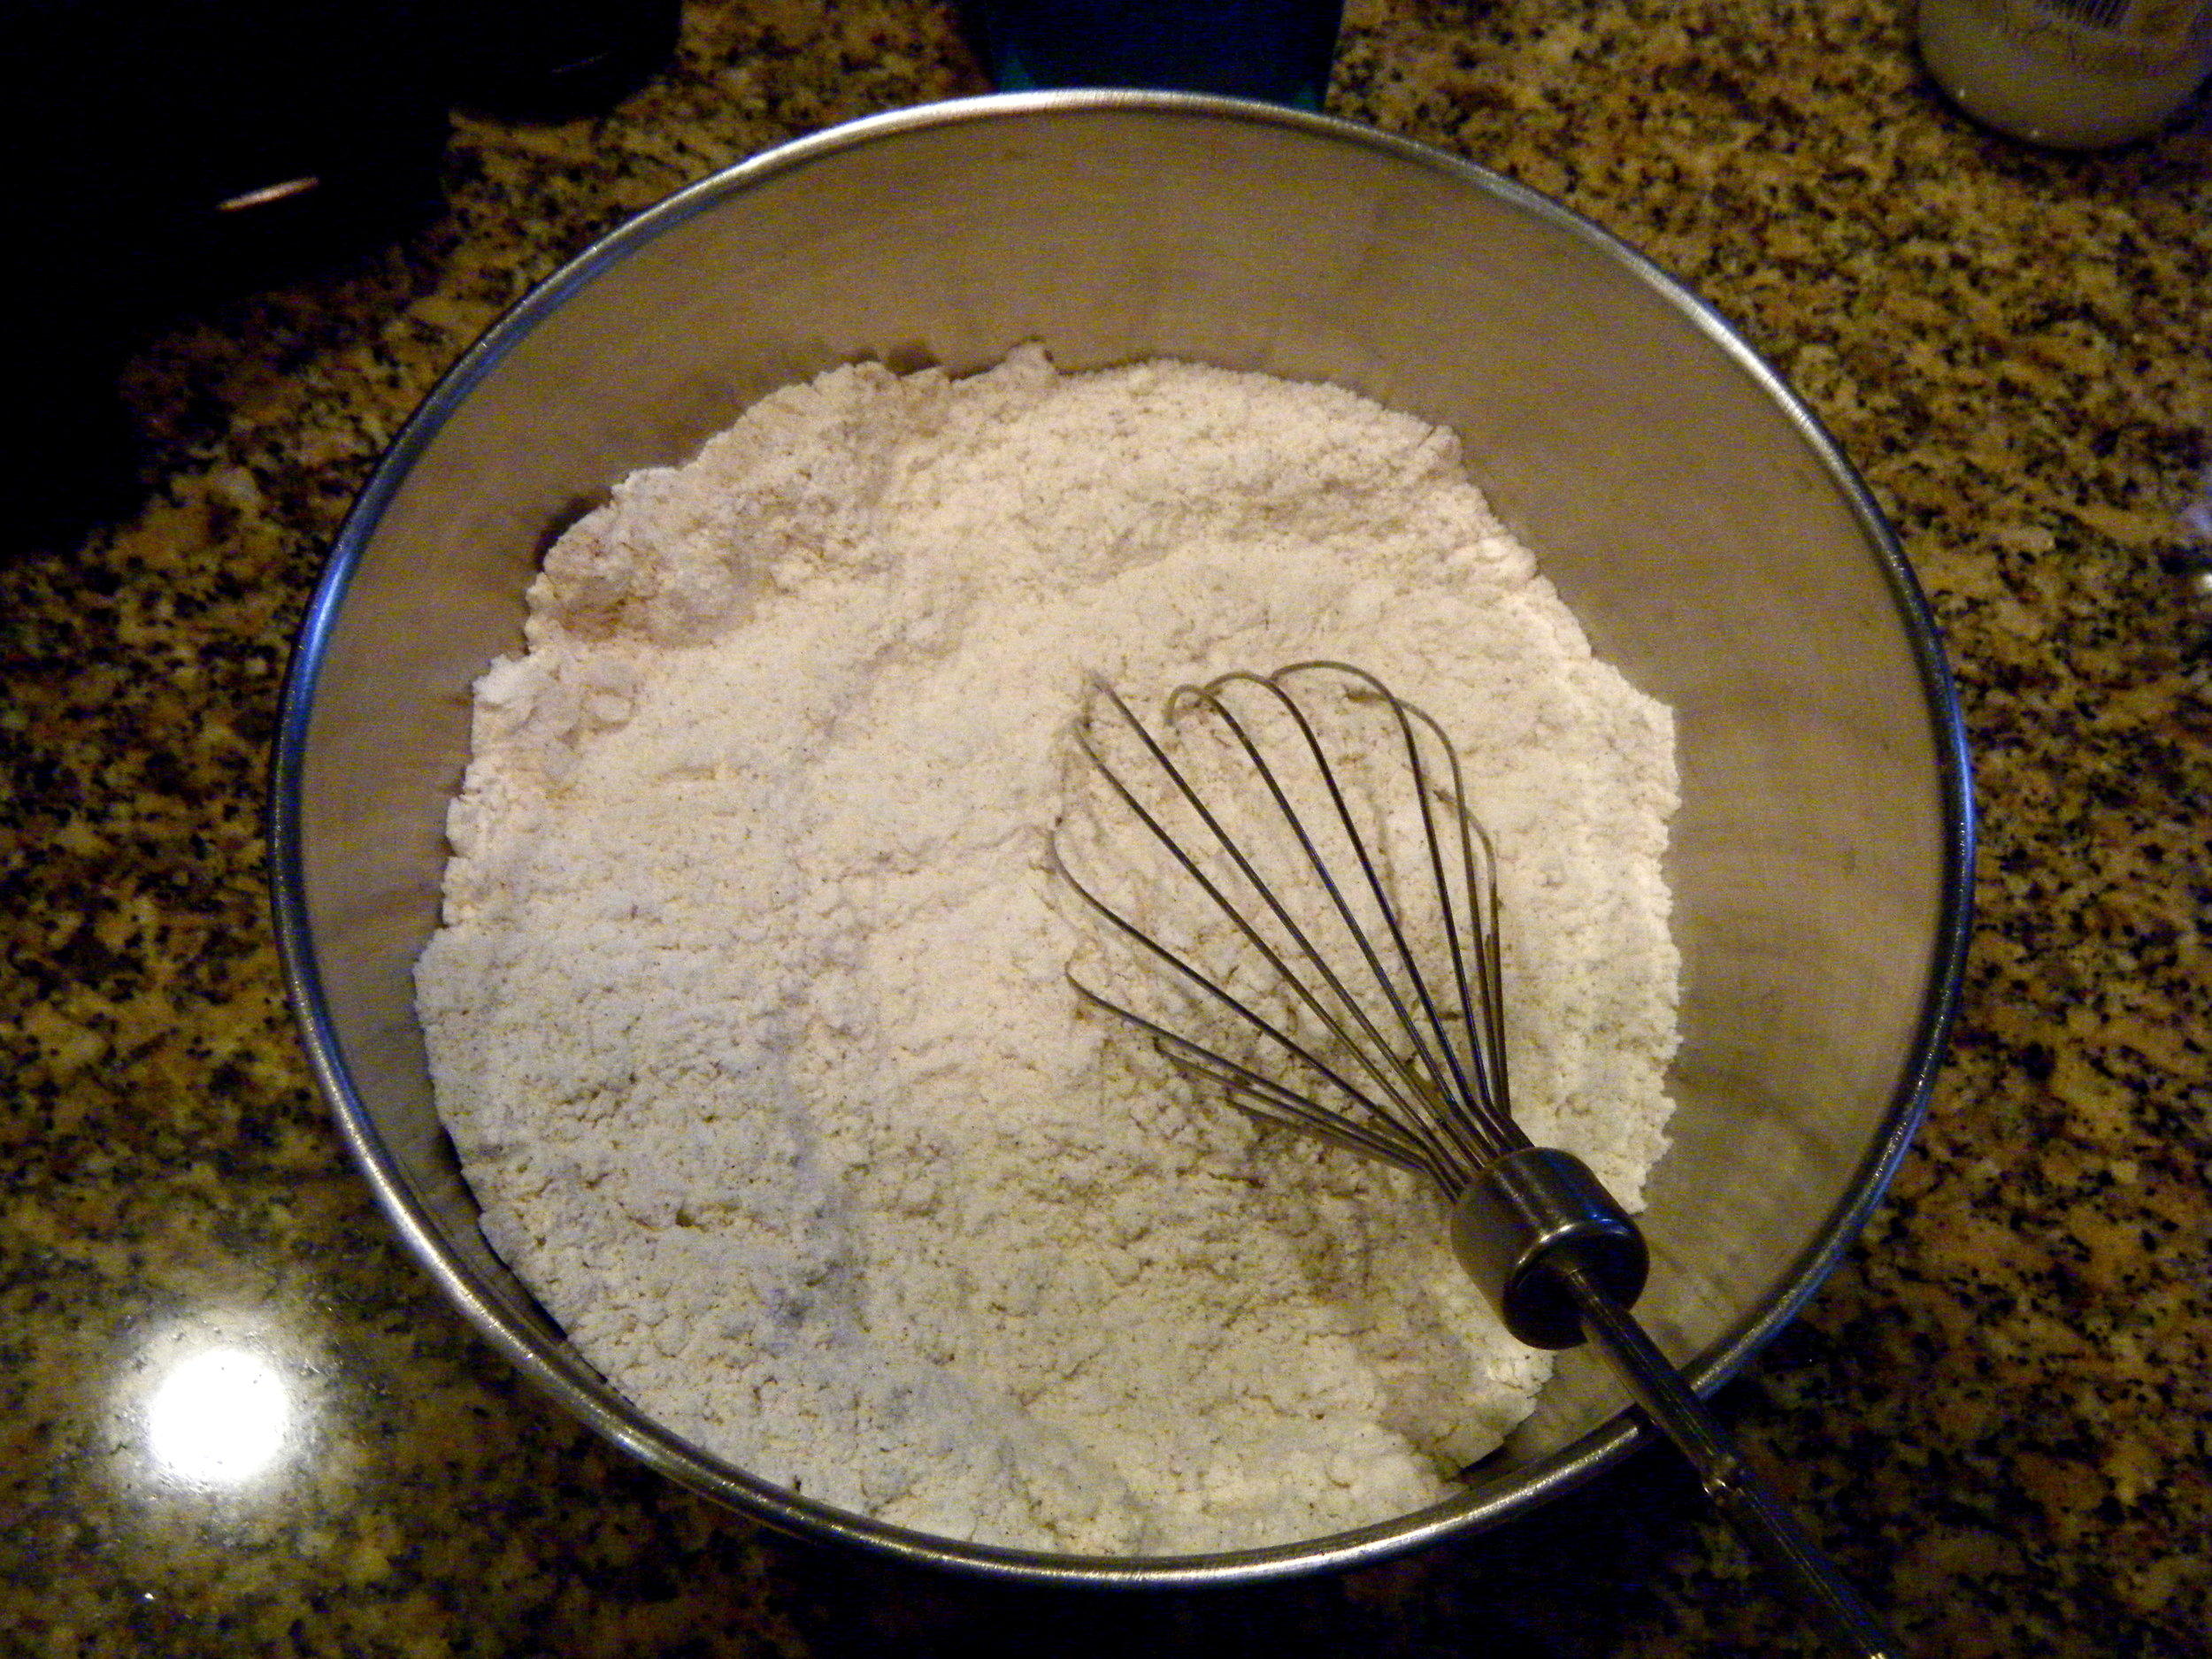
 To me, a great muffin has never, ever reached its full potential unless it has that buttery, sugary, sprinkled topping. And it's so easy to make! All you need is flour, sugar, butter, and clean fingers to combine and sprinkle!
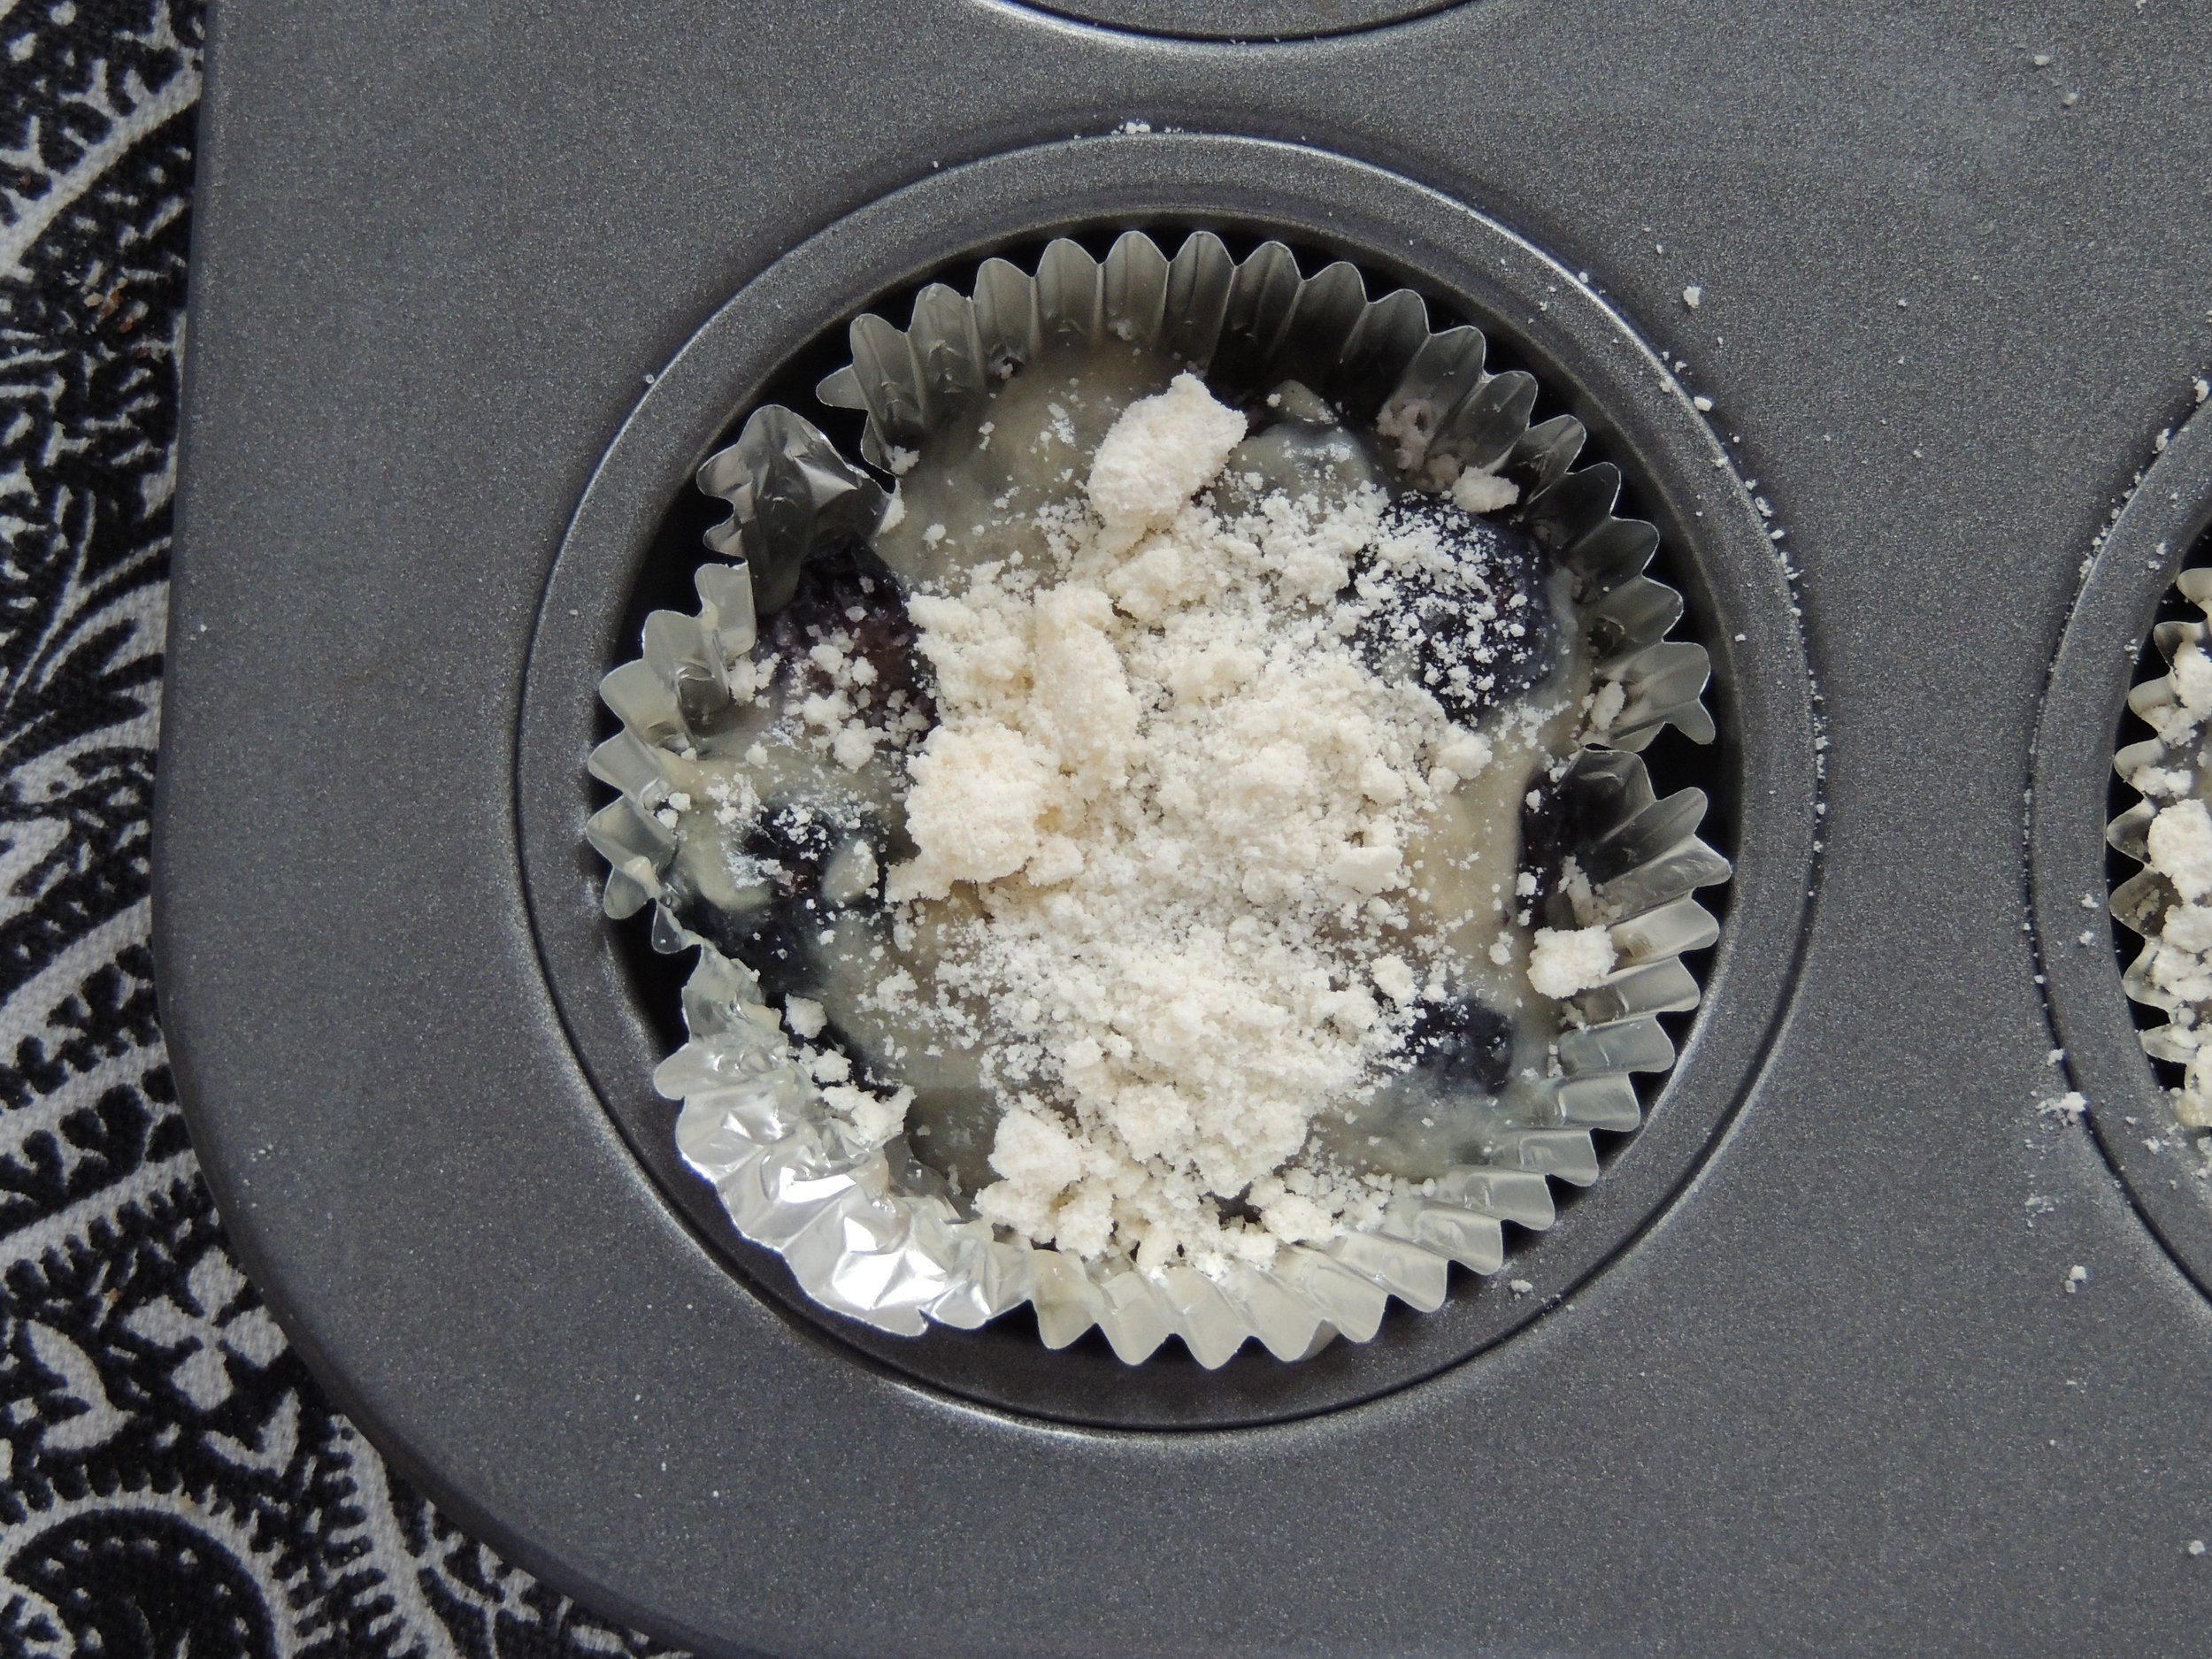

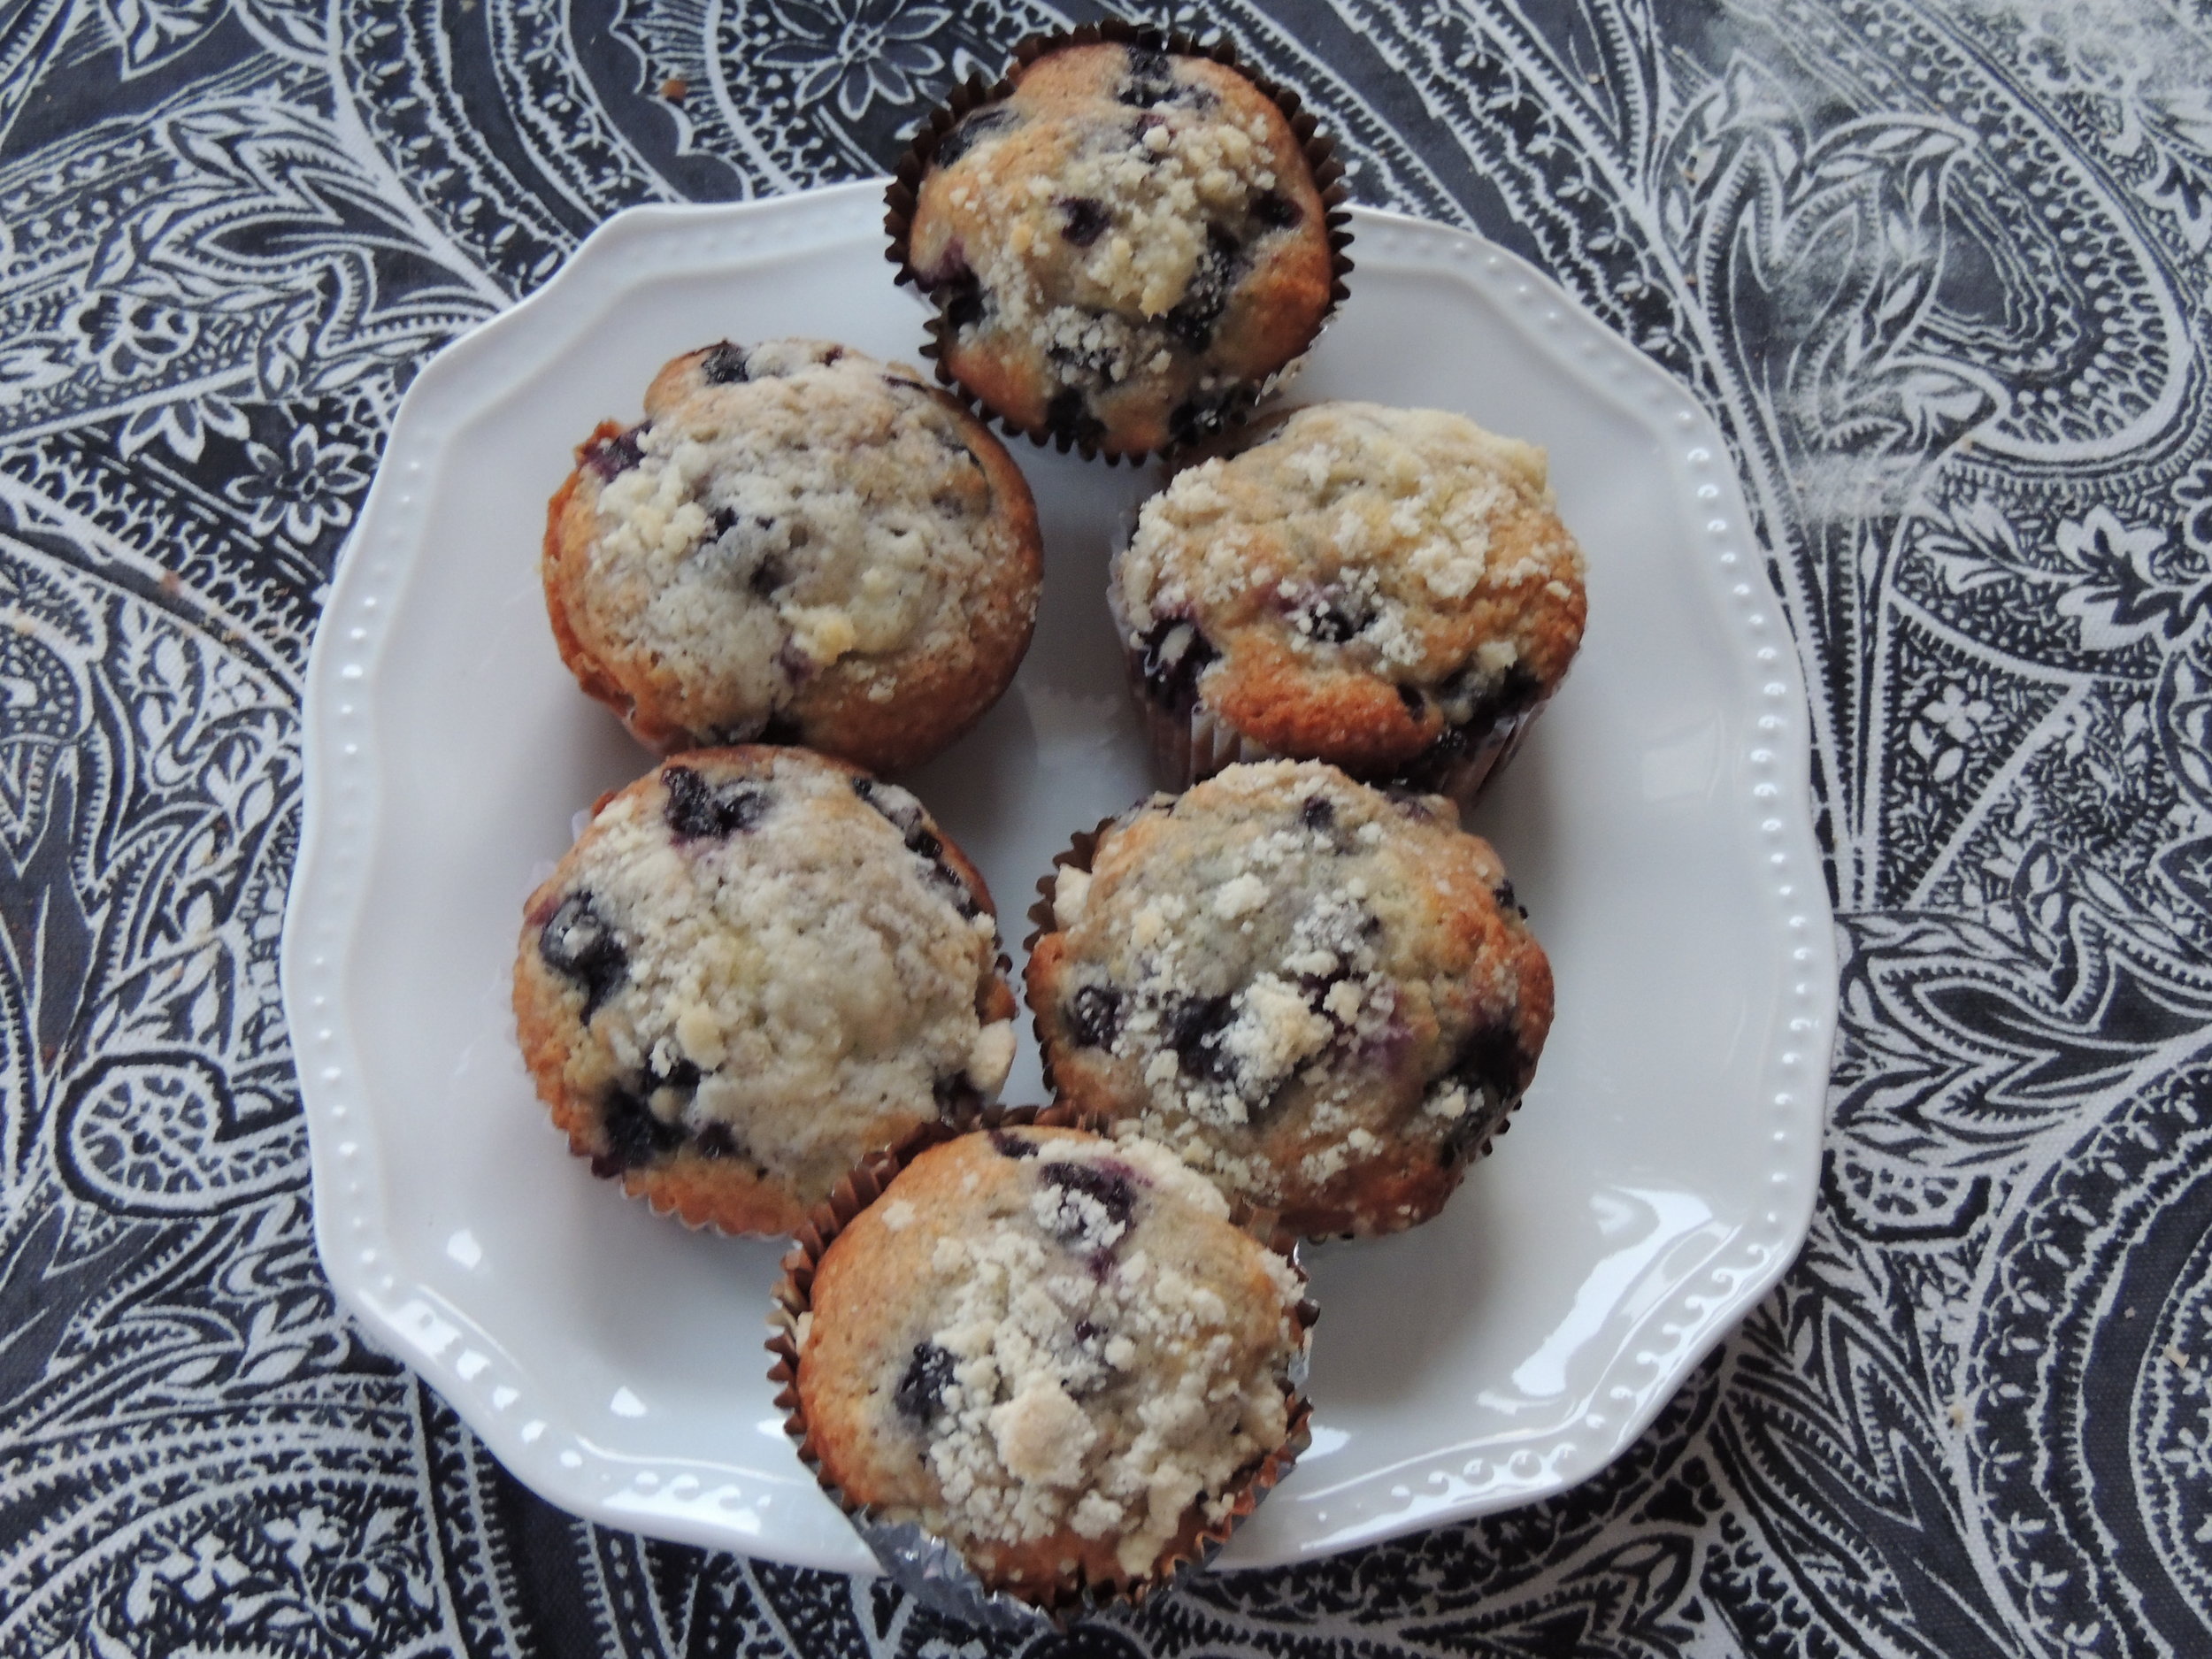
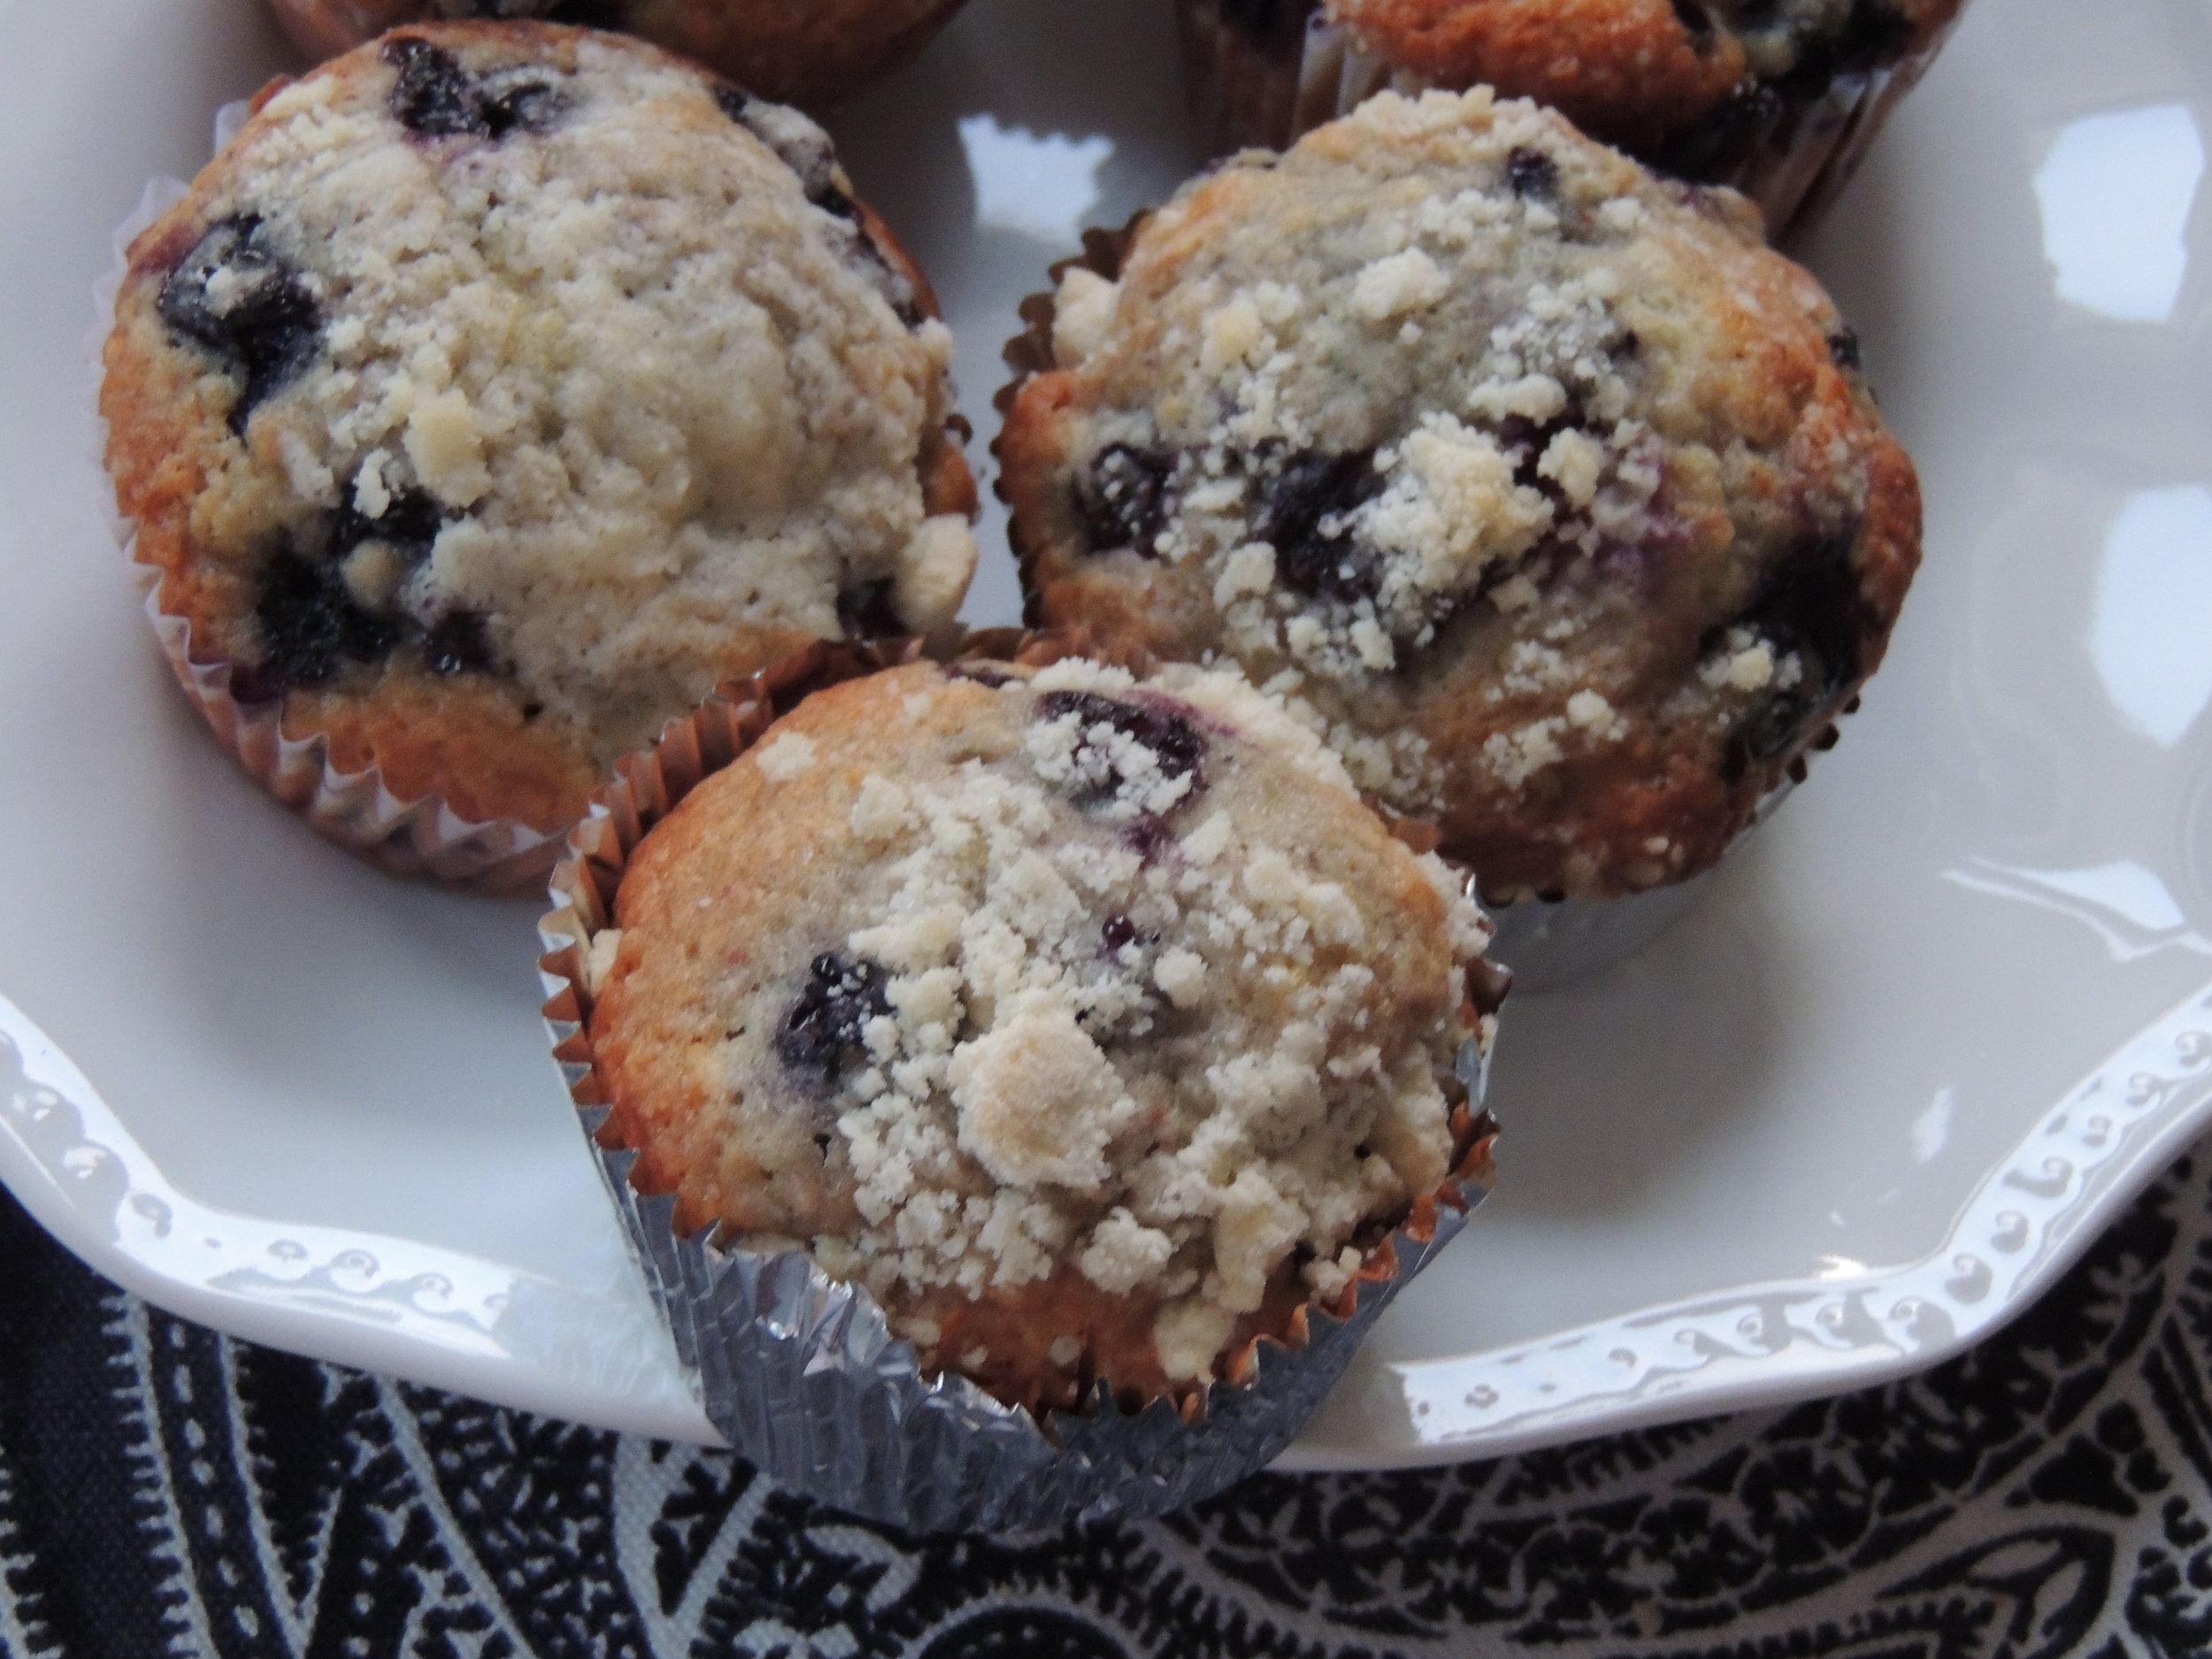 RIGHT after this photo was taken, we had two each and started dreaming about breakfast so we could eat them again.


 If you don't know about


 My dream appliance: a KitchenAid Stand Mixer. They are so classic. Did you know that since their creation, the design has not changed? And these babies have been around for a VERY long time.