Chocolate Chai Truffles

Recipe: Chai Spice Truffles - Seasoned with Sydney blog

I’m not that into Valentine’s Day, and I can’t decide if it’s because there’s just way too much pressure to not be single, or because I’ve never had a particularly good one. The worst Valentine’s Day, by far, was the spring semester of my sophomore year of college when a guy I’d been seeing for a while decided for the both of us that we were going to bypass the holiday altogether; it was just going to be a regular Tuesday. The only problem with that? He forgot to fill me in on it. So there I was the night before, burning a CD filled with happy songs (a few of them my own), and carefully cutting out a homemade card with a track listing on the back. We hadn’t been dating that long, so I knew to avoid the “L” word at all costs, but I thought a nice little gift would let him know that he was appreciated.

Since our colleges were within walking distance of each other, we had plenty of opportunities to spend time together. Twice a week, we had a standing coffee date at a new shop right downtown, and as luck would have it, that fateful V-Day happened to fall on one of them. I couldn’t wait to see him, and even got my hopes up that maybe, even though we hadn’t talked about how we were going to handle the holiday, he’d surprise me, too. And boy, was I surprised. The look on this guy’s face when I gave him the card and CD would make anyone beg the floor to open up wide and swallow them whole. “I…didn’t think we were doing anything special today,” he said, with a voice filled with gentle caution generally reserved for calming spooked horses. “I’m sorry, I didn’t get you anything.” And because we were freshly an item, I tried with all my might to brush off my utter embarrassment, and act like his gift was just one of MANY I was handing out that day, and that the playlist HADN”T taken me a full hour to curate because I wanted to get the flow just right. I think I mumbled something about how it was totally fine, then tried to finish my piping-hot coffee as quickly as possible without completely eviscerating my taste buds.

So did this incident sour Valentine’s Day for me forever? Not really. I don’t blame him for what happened - we were brand new, young, and in the end, not emotionally mature enough to properly communicate. And in case you’re wondering whatever happened to our dear friend, the Valentine’s Day Dodger, I heard he got married a few years ago and had a kid. So all’s well that ends well.

At any rate, Valentine’s Day isn’t all bad. The new movies and books that come out around this time are usually heartwarming, and It’s one of the biggest days of the year to celebrate everything sweet. I can’t think of anything sweeter than making homemade Chocolate Chai Truffles.

Recipe: Homemade Chai Spice Truffles - Seasoned with Sydney blog

Making truffles might seem intimidating at first. For quite some time, I believed that it took a certain amount of mastery before you could even attempt such a delicious and professional-looking act of confectionery, but it’s just not true! When it all boils down, chocolate truffles consist of just two things: heavy cream, and pure chocolate. Put those two together in the correct ratio, give your mixture plenty of time to set, and you’ve got yourself the perfect, chocolate-y canvas for whatever decorations your heart desires. And while simple chocolate truffles are amazing on their own, why not take it up a notch? I love chocolate, and I love chai, so let’s put them together!

Recipe: Homemade Chai Spice Truffles - Seasoned with Sydney blog

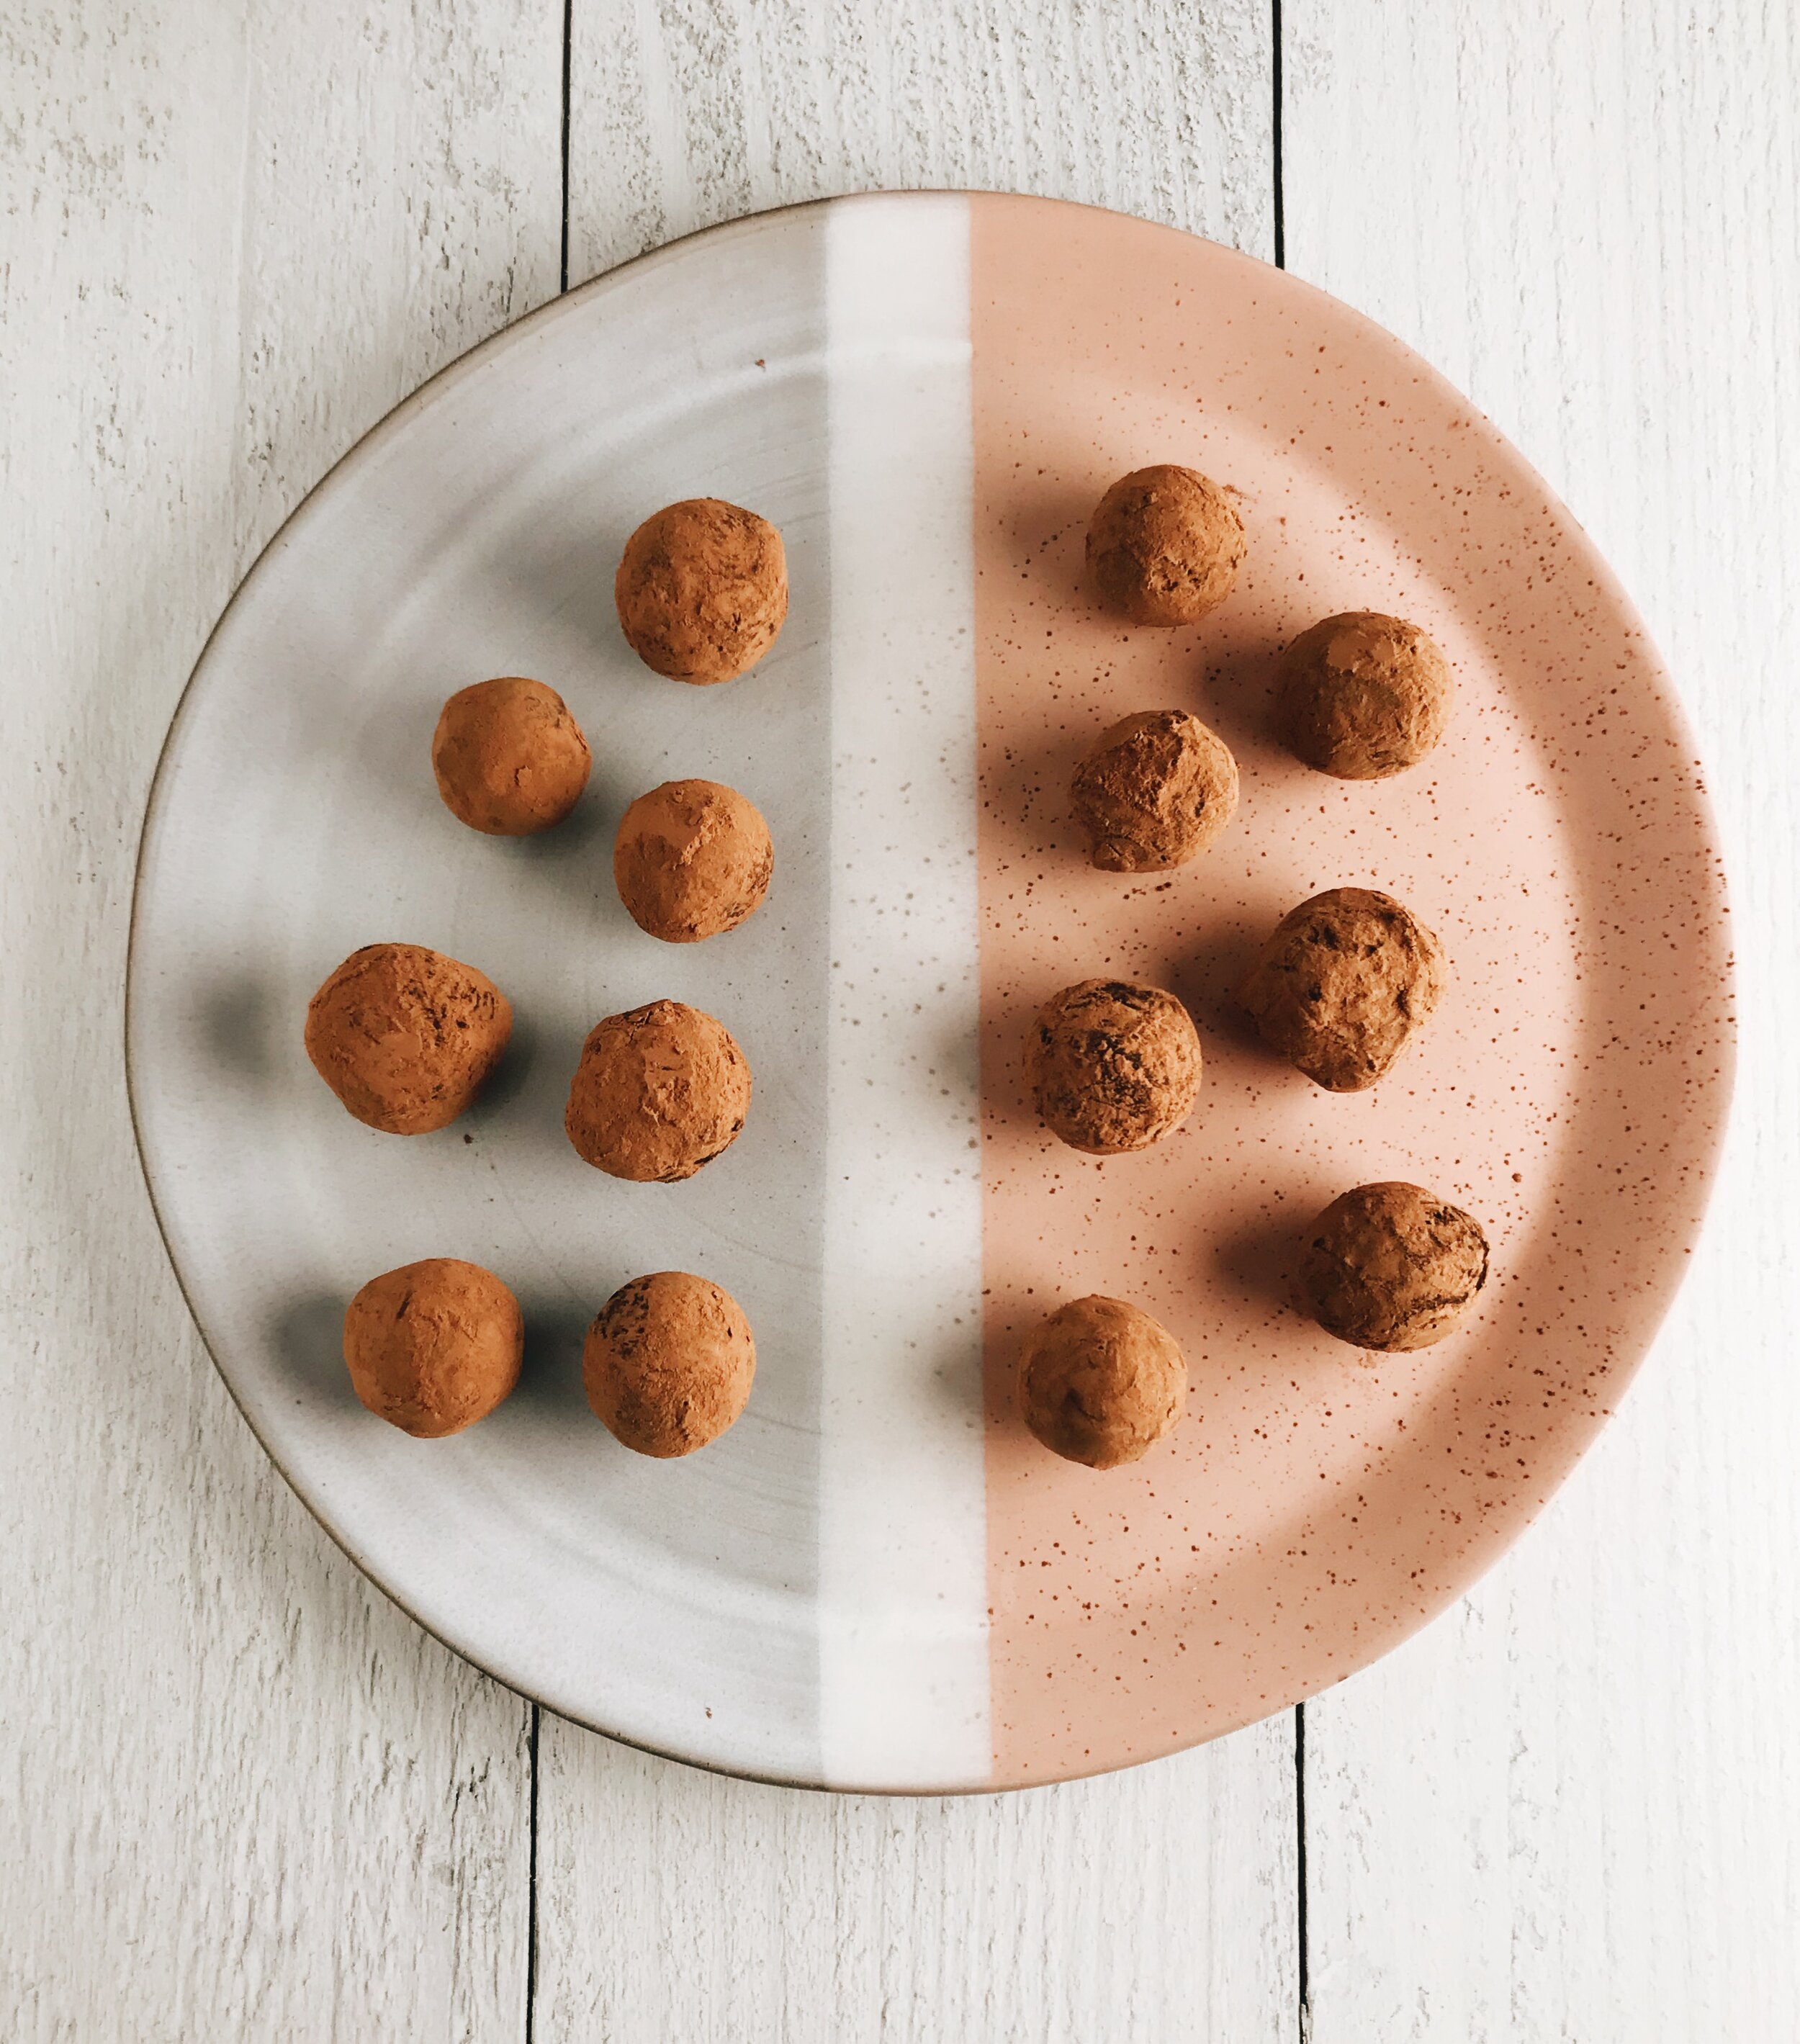
These Chocolate Chai Truffles are by far some of my favorite things to make. They’re incredibly chocolate-forward with floral, spicy notes of star anise, black tea, cardamom, and cinnamon, finished beautifully with just a hint of sea salt. These feel perfectly weighted in the hand, but aren’t so solid that when you bite into them, you break your teeth. Quite the opposite actually! Each bite melts in the mouth into nothing but decadent creaminess, making it totally impossible to have just one.

Whether you’re celebrating Valentine’s Day with a long-term partner, a virtual Zoom date, or just yourself, these Chocolate Chai Truffles guarantee that the day will be nothing but sweet (and a little pleasantly spicy)!

Chocolate Chai Truffles

What You’ll Need:

  • 8 oz (two 4 oz bars, NOT chocolate chips) semi-sweet chocolate, finely chopped

  • 10 cardamom pods

  • 5 whole star anise pieces

  • 2 cinnamon sticks

  • 5 chai tea bags

  • 2/3 cup heavy cream

  • 1/4 teaspoon fine sea salt

  • 1/2 cup unsweetened coca powder

Directions:

Place the chocolate in a medium, heatproof bowl. Set aside.

Using a mortar and pestle, or the side of a knife, gently crush the cardamom pods. Place the cardamom pods, star anise, cinnamon sticks, and heavy cream in a small saucepan. Set the saucepan over medium-low heat, and bring the cream to a simmer (be careful not to burn the cream).

Take the saucepan off the heat, add the tea bags, then cover the saucepan and let it sit for 10 minutes.

Remove the tea bags, then place the saucepan over medium-low heat again and bring the cream back up to a simmer. Remove from heat and strain the cream into the bowl with the chocolate. Discard the spices.

Let the cream and chocolate sit in the bowl for three minutes until the chocolate has softened, then slowly begin to whisk the chocolate and cream together, starting in the center and working your way to the edges of the bowl. Whisk until completely smooth. Add the sea salt, then whisk to combine. You’ve just made ganache!

Place a sheet of plastic wrap directly on top of the ganache, making sure no air can come through, then chill the ganache in the refrigerator for 2-3 hours until it has set.

Just before you’re ready to roll your truffles, place a piece of parchment paper on a cookie sheet and set aside. Next, fill a small bowl with the unsweetened cocoa powder.

Remove the plastic wrap from on top of your ganache and discard. Using a melon baller the size of a teaspoon, a teaspoon cookie scoop, or an actual teaspoon measuring spoon, roll two teaspoons of the ganache at a time, then mold, shape, and roll them together until you have a smooth truffle. Roll the truffle in the coca powder, then place on the cookie sheet. Repeat this process until you have run out of ganache. You should have about 20 truffles at the end.

Transfer the cookie sheet to the refrigerator and let the truffles set for at least 1 hour.

TO STORE: Truffles can be kept in an airtight storage container in the refrigerator for one week.

Heart-Shaped Jammy Sammy Cookies

I know February 14th is long-gone, but I subscribe to Valentine's Day-cutesienss 365 days out of the year.

By the way, how was your Valentine's Day? Mine was surprisingly fun this year, which has freed me from the cycle of weird/awkward/disastrous scenes of Valentine's Day past. I volunteered at the an annual Sweetheart Dinner (last year I made this French Silk Pie), and had a BLAST. There were several courses involved, and no time to take a breath as we were each cooking over our respective dishes (I was on dessert duty but got roped into making seafood Alfredo once we got there). Lots of "behind"-s, and "this is ready to go out!"-s, and "We need more ginger ale for the punch!"-s were thrown out, and it reminded me of how much I love being in a busy kitchen. I live for that hustle and bustle sometimes. I mean, I've never dried so many dishes, or continuously scrubbed the same countertops so many times in my entire life, but MAN was it worth it. It was a really classy affair.

Would you like to know the best bit? These cookies were a BIG HIT!

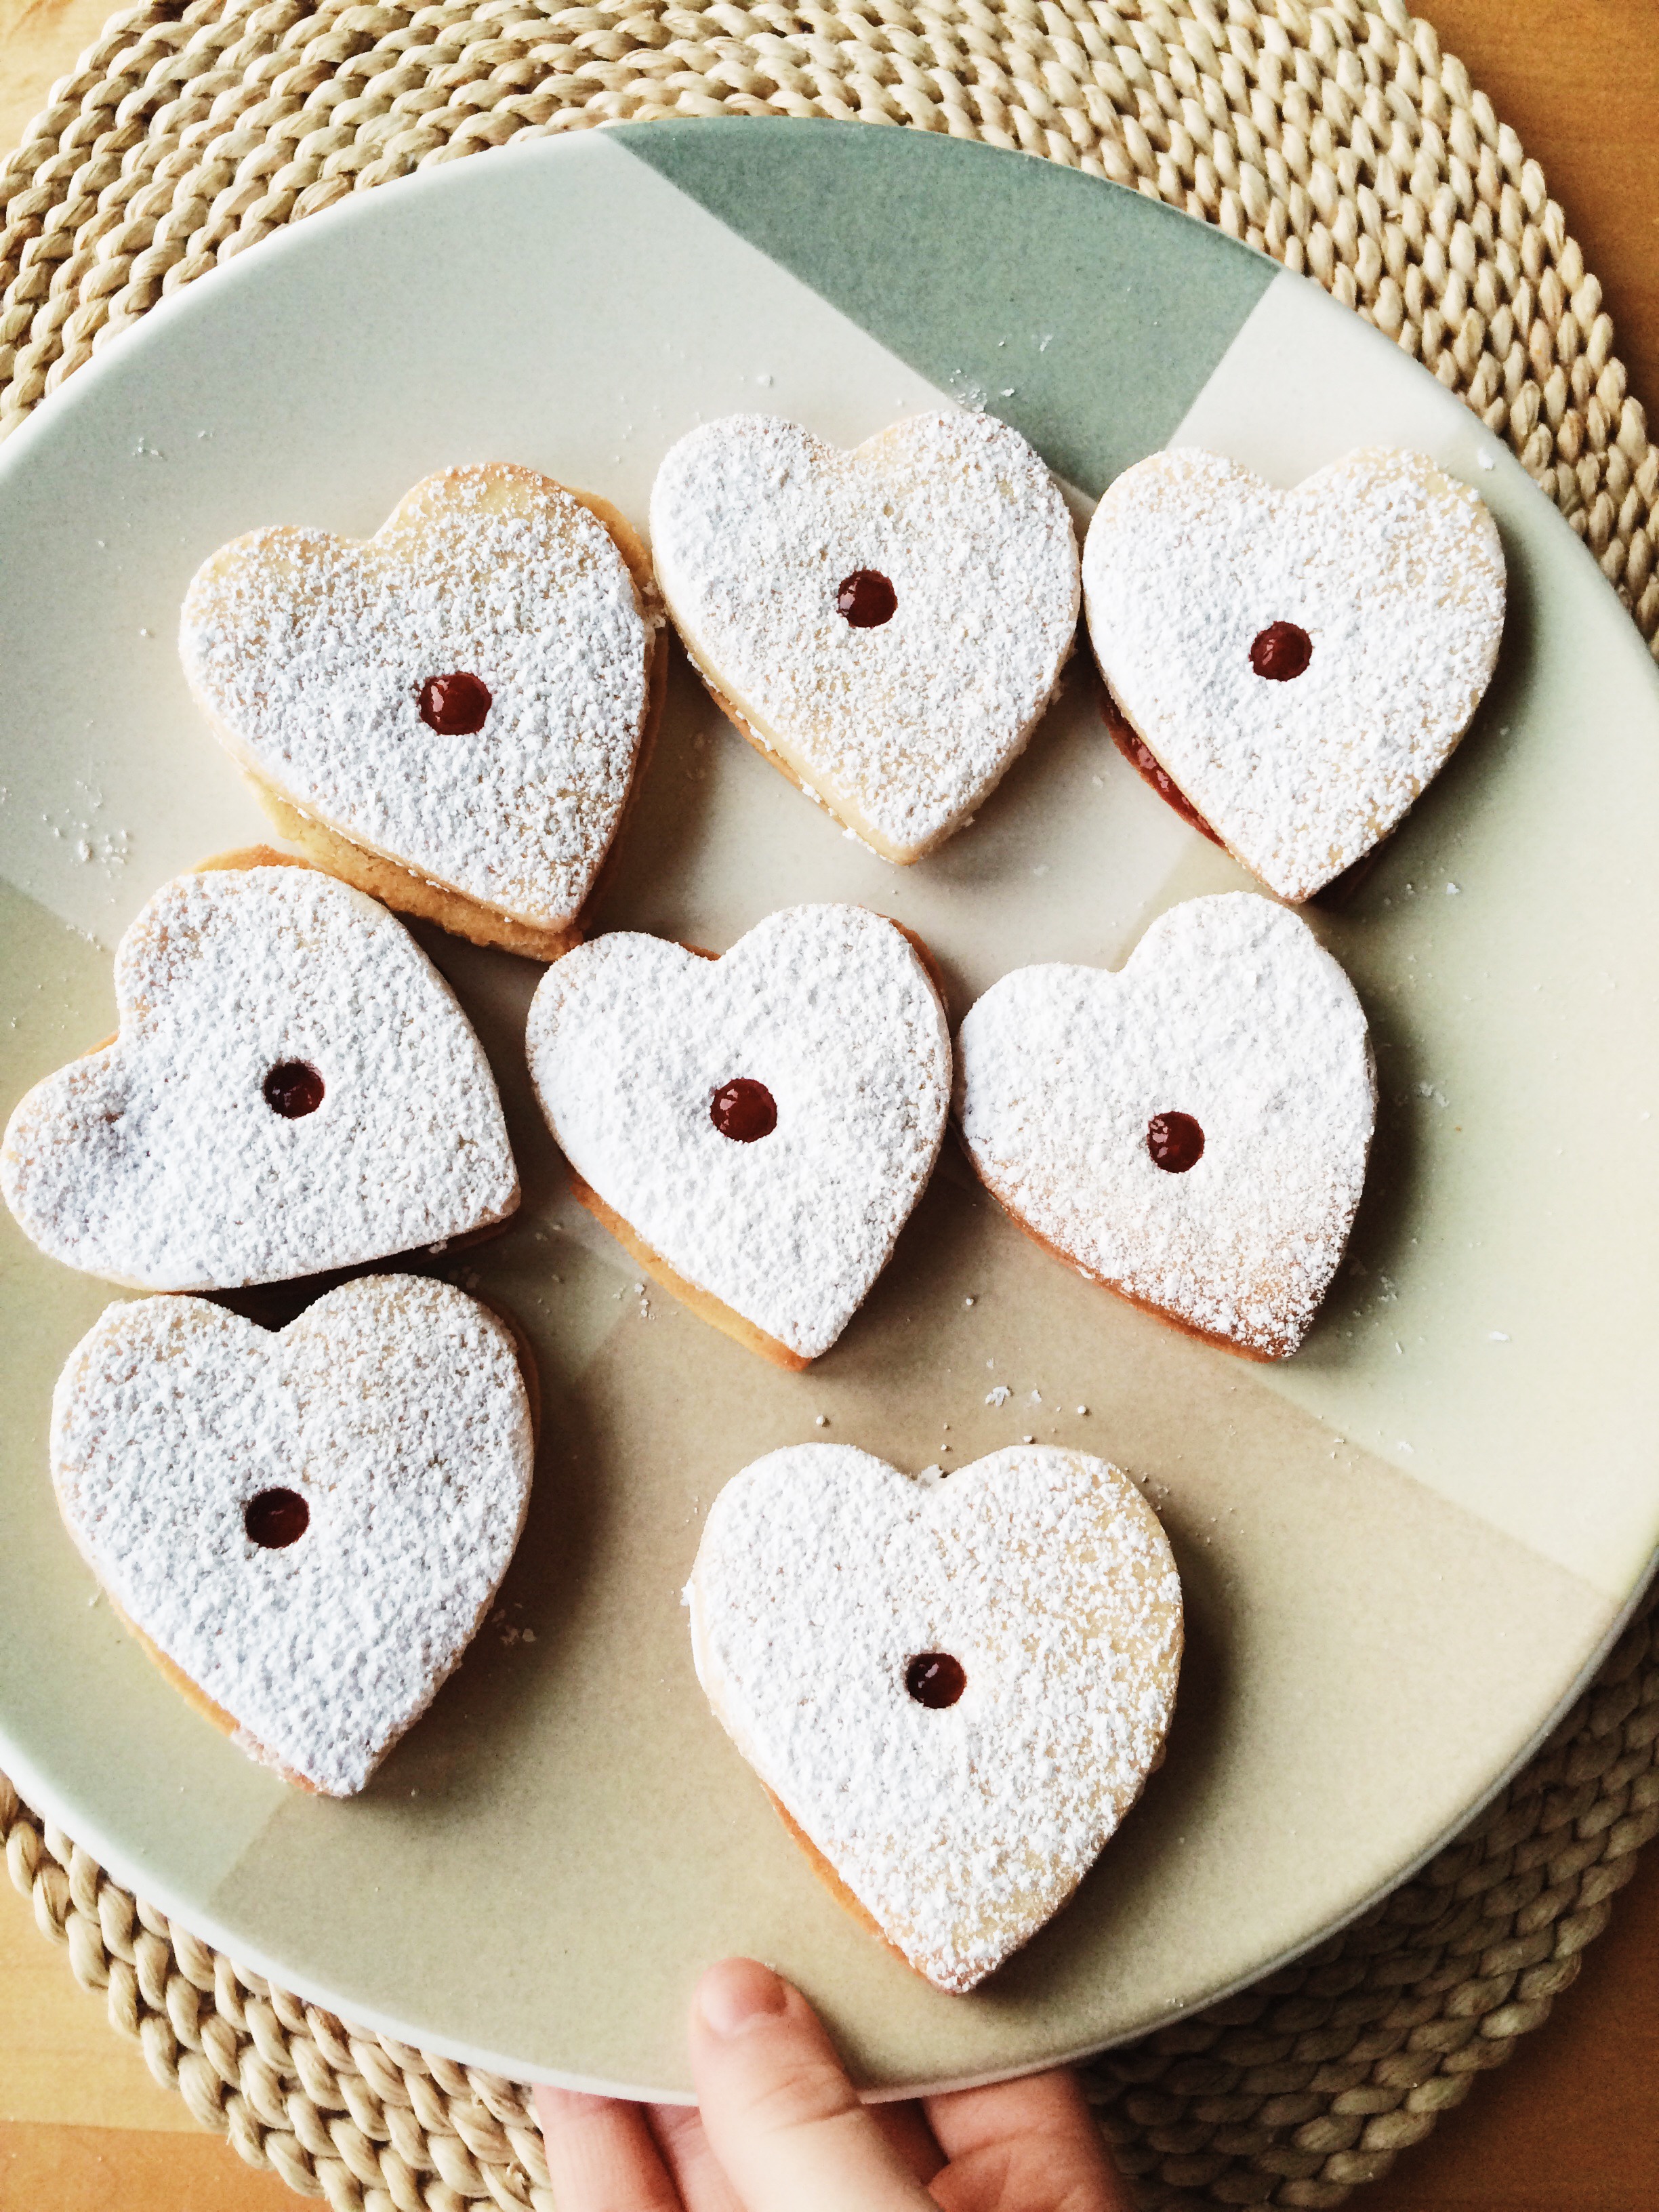
"Jammy Sammie Cookies" is just the name that I wrote to be cute/slightly annoying. You're probably more familiar with the name "Linzer," because of the filling and shape cut out of the center. I generally see Linzer cookies the most during the Holiday Season, but if you ask me, the cookie cutout + filling pairing should be a yearlong affair. And what goes better with a heart shape on Valentine's Day than fresh strawberry jam? Red is like the official unofficial color of V-Day, so the filling of these cookies were required to match accordingly.

Quick question: how do you feel about homemade jam? Me? I'm all about it. I feel like there's nothing that makes me feel cozier than when I'm making jam from scratch. Sure, it takes way less time to just pick a jar off the shelf at your local grocery store, but when you make it yourself you: A) Know exactly what has gone into it, and B) MADE. IT. YOURSELF. Helloooooooo! It's (relatively) fast, (totally) easy, (unbelievably) fresh, and you know it's always made with love.

Now pair that sweet, sweet jam with some deliciously soft shortbread plus a liberal sprinkling of powdered sugar for good measure, and you've got the stuff of dreams, kids. What could be better?

Since you'll definitely have jam left over after filling the cookies, might I make a few suggestions as to what to use it on?

  1. Biscuits
  2. Scones
  3. Toast
  4. Fingers dipped in
  5. By the spoonful
  6. etc. etc.

And let's just quickly talk about the versatility of these cookies, shall we? Yes, they were made for February 14th, but they can go wayyy beyond that. We're talkin' tea parties, birthday parties, bridal showers, picnics, breakfasts, coffee breaks, dates, etc. etc. Cookie hearts filled with homemade jam never go out of season.

It's a beautiful thing.


HEART-SHAPED JAMMY SAMMY COOKIES

What You’ll Need:

For the shortbread:

2 sticks unsalted butter, at room temperature

1 cup granulated sugar

1/4 teaspoon salt

1 large egg + 1 large egg yolk, room temperature

1 teaspoon vanilla extract

2 1/2 cups all-purpose flour

Powdered sugar for sprinkling

For the jam:

32 oz (two 16 oz containers) strawberries

1/2 cup + 1 tablespoon  brown sugar

Pinch of salt

Zest of 1 whole lemon + juice of half a lemon


DIRECTIONS:

First, let’s make the shortbread cookie dough:

 In the bowl of a stand mixer fitted with the paddle attachment (or a hand mixer, or a wooden spoon), add the butter, sugar, and salt and beat until light and fluffy, about 3-5 minutes. Add the egg and egg yolk one at a time, making sure each addition is well combined. Next, add the vanilla extract. Add the flour in three batches, making sure each addition is well combined (but don’t over-mix), before adding more flour. When necessary, scrape down the sides of the bowl using a rubber spatula.

Once your dough has just come together, lay your dough out on a plastic sheet, then divide it in half. Wrap each half tightly in plastic wrap, then shape to form discs. Refrigerate the discs for at least one hour, but best is overnight.

Ok, dough’s done, now let’s make the jam:

Rinse strawberries before using, and let drain completely before getting started.

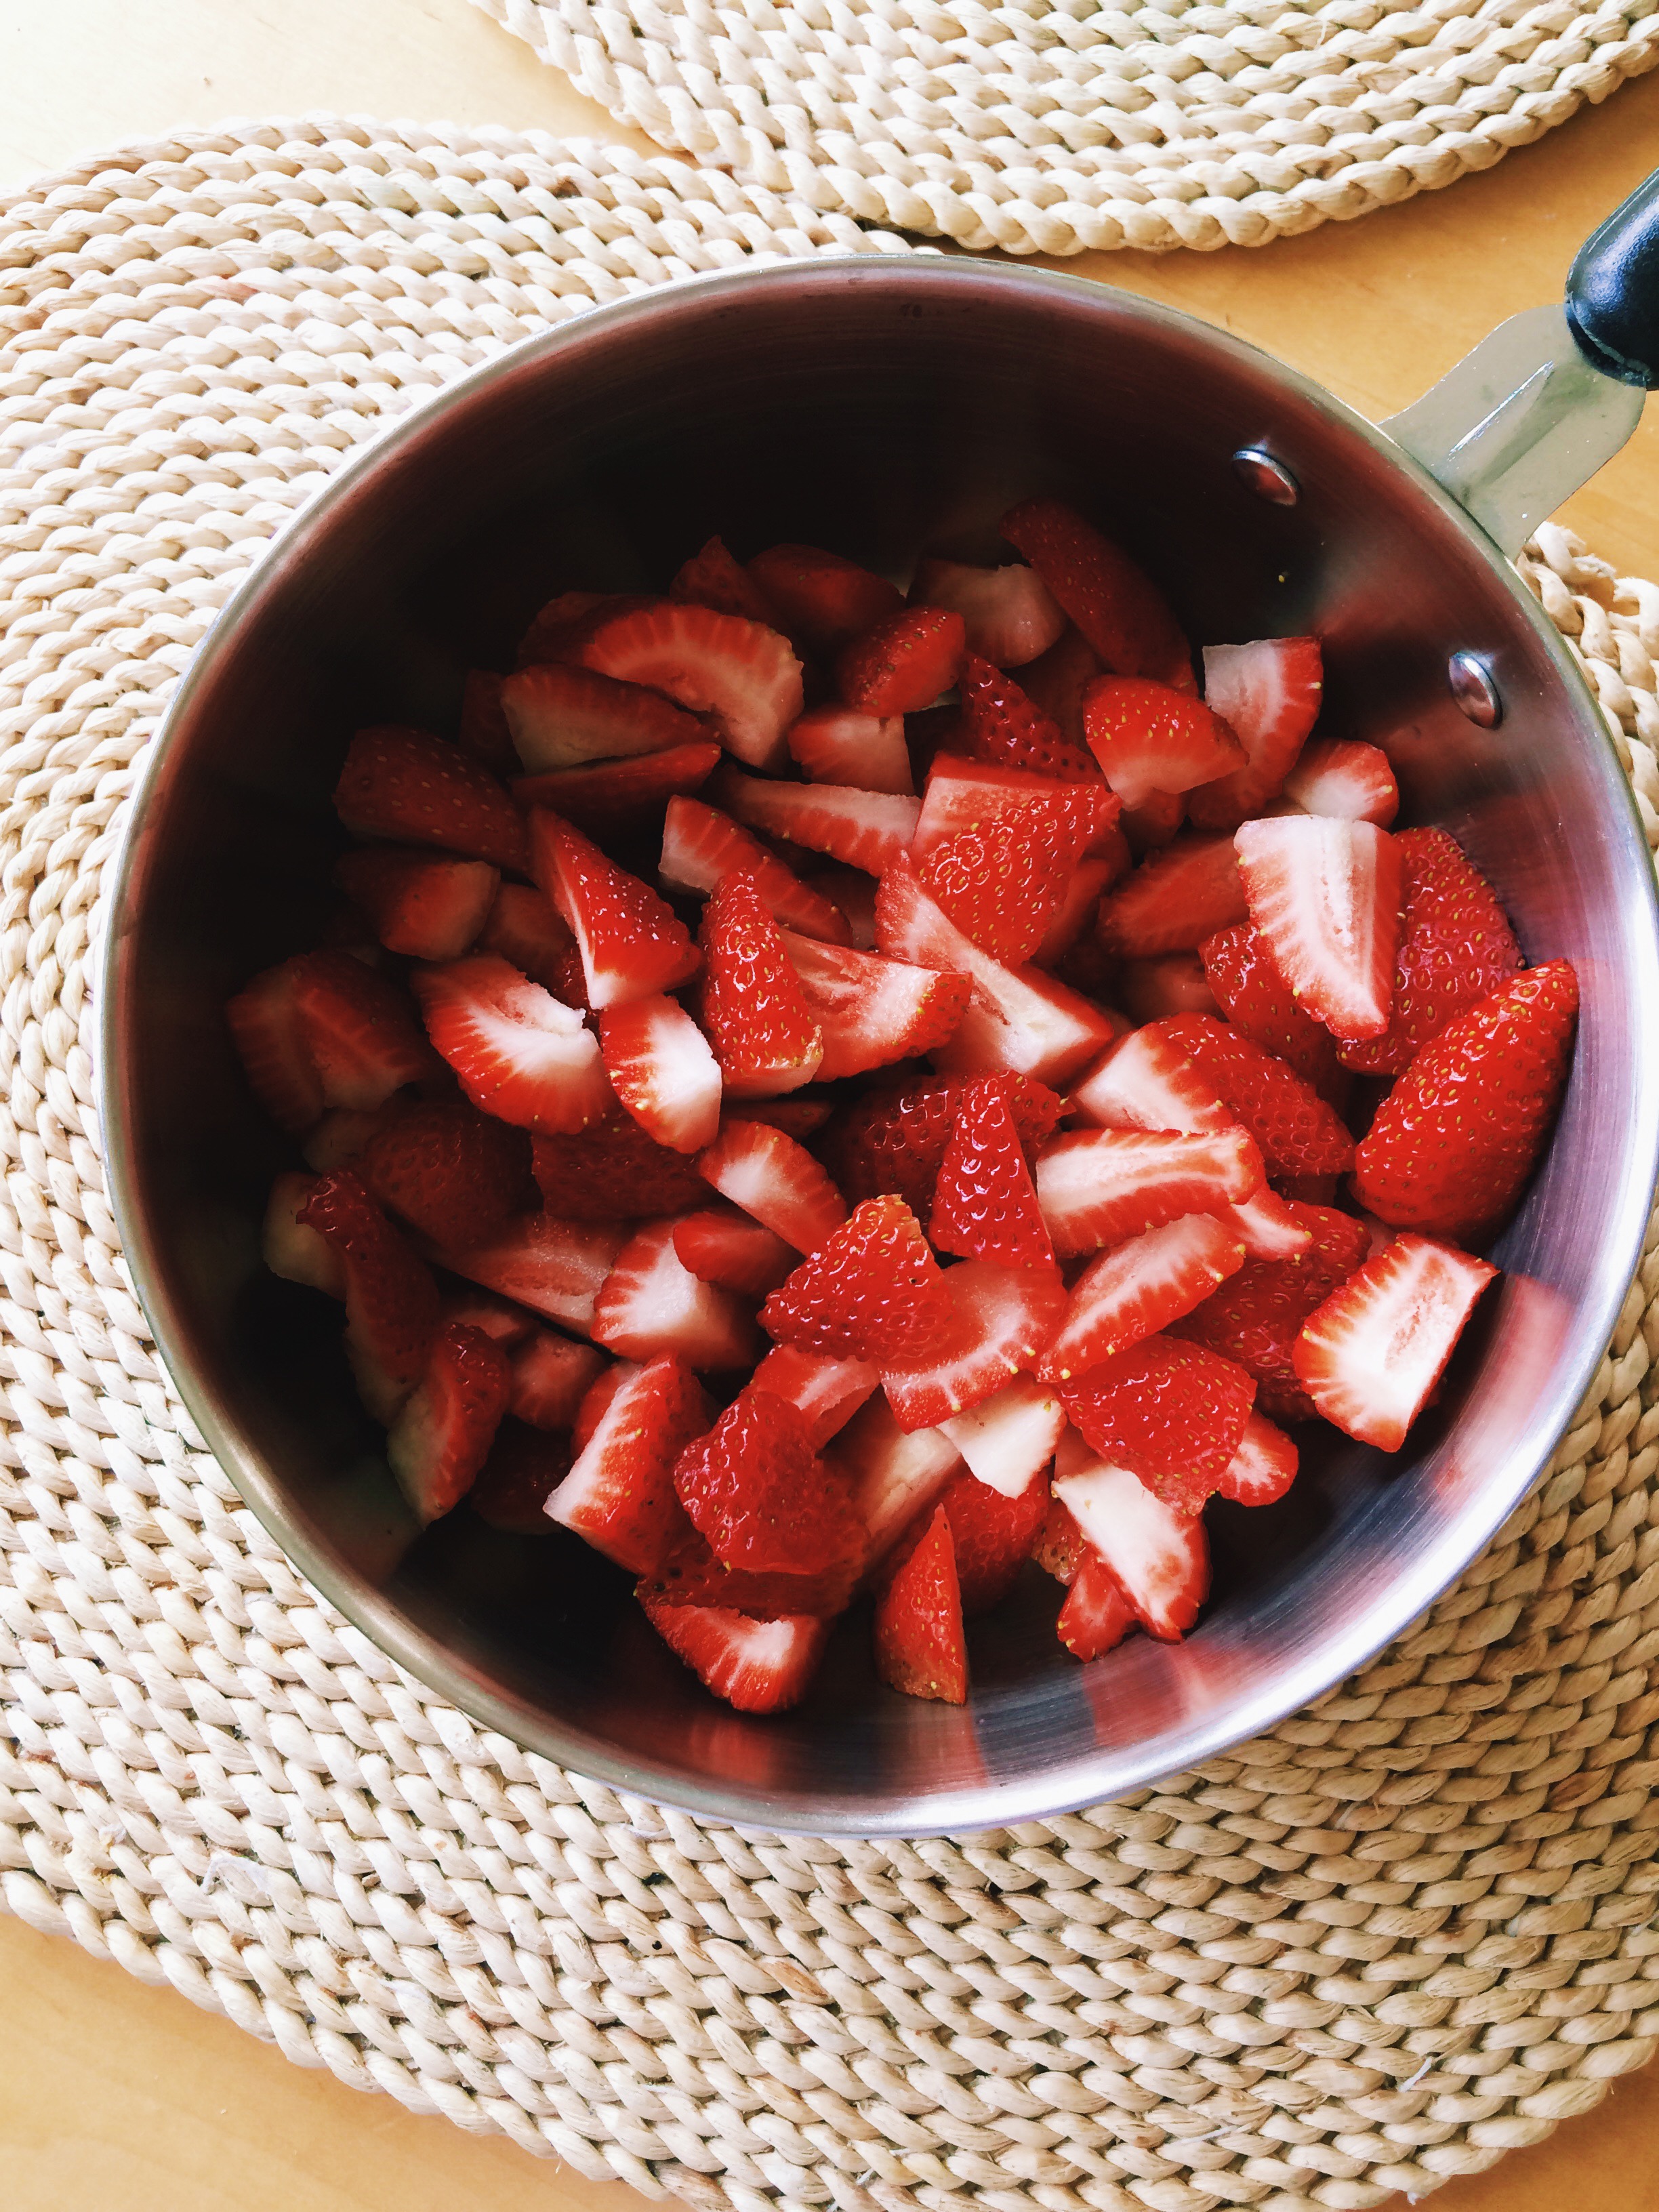
Once your strawberries have been washed, hull each strawberry, then cut into quarters. Place all of your cut up strawberries in a medium sauce pan. Next, add your brown sugar, pinch of salt, lemon zest, and lemon juice. Using a potato masher (or the back of a wooden spoon), muddle all of your ingredients together, making sure that the berries’ juices are starting to release, and your sugar and salt have started to dissolve.

Cook your fruit compote, stirring frequently, over medium-high heat until your jam has thickened, and it passes the line test (a line can be drawn down the center of the spoon without the juices running); On my stove, that takes about 30-35 minutes. Along the way, make sure to give your jam a few taste tests, and adjust the flavors to your liking. The mixture will bubble quite a bit and juice may jump out of the pan occasionally, so watch out for that!

When your jam has come together, take it off the heat and let it cool completely before transferring it to a mason jar or tupperware container.

This jam will last for several weeks refrigerated.

VERY IMPORTANT: DO NOT leave the stove whilst you’re making your jam. One minute it can still be too runny, then the next you’re cleaning burnt strawberry syrup out of the pan until your arms fall off. Trust me. Stay put. Keep stirring.

Ok, my dough has rested. Time to make some cookies!

Preheat the oven to 375 degrees F, and line two baking sheets with parchment paper. Set aside.

Remove the first disc of dough and let sit on a counter for ten minutes; this allows it to come to room temperature, thus making it much easier to roll out.

Liberally flour a rolling pin and work surface.

Roll the cookie dough out to a 1/8 inch thickness, then, using a floured heart-shaped cookie cutter, cut out shapes. Transfer the hearts to the cookie sheets lined with parchment paper, about 1-inch apart. Stamp a hole out of the center of half the cookies using the tip of a circle piping tip. Repeat the process with any remaining scraps, and with the second disc of dough.

Bake the cookies one sheet at a time for 7-10 minutes (depending on your oven),  or until the cookies have started to lightly brown around the edges. Allow the cookies to cool for five minutes on the baking sheet before transferring them to wire racks to cool completely.

Transfer the cookies with the holes cut out of the center to one of the cool baking sheets (keep the parchment paper on). Sprinkle a generous amount of powdered sugar over them using a sifter, mesh strainer, or powdered sugar shaker. (Aren’t you glad you have the parchment paper now to catch the excess sugar?) Flip the bottom cookies (no holes in them) over so that the underside is facing you, then apply about a teaspoon of jam right in the center of each. Place the tops on, then lightly press down so that you create a sandwich. The jam should spread evenly to the edges and through the center hole without overflowing. Enjoy!

To Store: Refrigerate in an airtight container for up to a week.


SOURCE: Adapted from A Cozy Kitchen

Valentine's Day Leftovers

photo-11 The only thing better than eating all of the sweets on Earth on Valentine's Day, is discovering that you have extras left over for days and days afterwards. Forget the discounted chocolate (but don't actually because Lindt chocolate ain't cheap when it's just a regular Tuesday), the real edible magic after Valentine's Day are the baked goods. Cupcakes, cookies, brownies, and all heart-shaped. Is it me, or do things just taste better when they're heart-shaped? It's just me? Okay.

My generally sad lunch has an upgrade this week in the form of these sweet sugar cookie hearts.


I keep going back to Bon Appetit's Ultimate Sugar Cookie recipe because it's JUST THAT GOOD.

And don't forget the royal icing!


Happy Valentine's Day Leftovers Week!

French Silk Pie

photo-10 Happy Valentine's Day! I love love, and I love chocolate, so let's dive right in.

Ever since my visit to Chicago's Bang Bang Pie, I have been obsessed with french silk pie. I've been told it's a classic diner pie , but this girl has been to her fair share of diners, and no french silk in sight! It's just as well; the first time you have french silk pie has to be a straight up experience, not just another dessert.

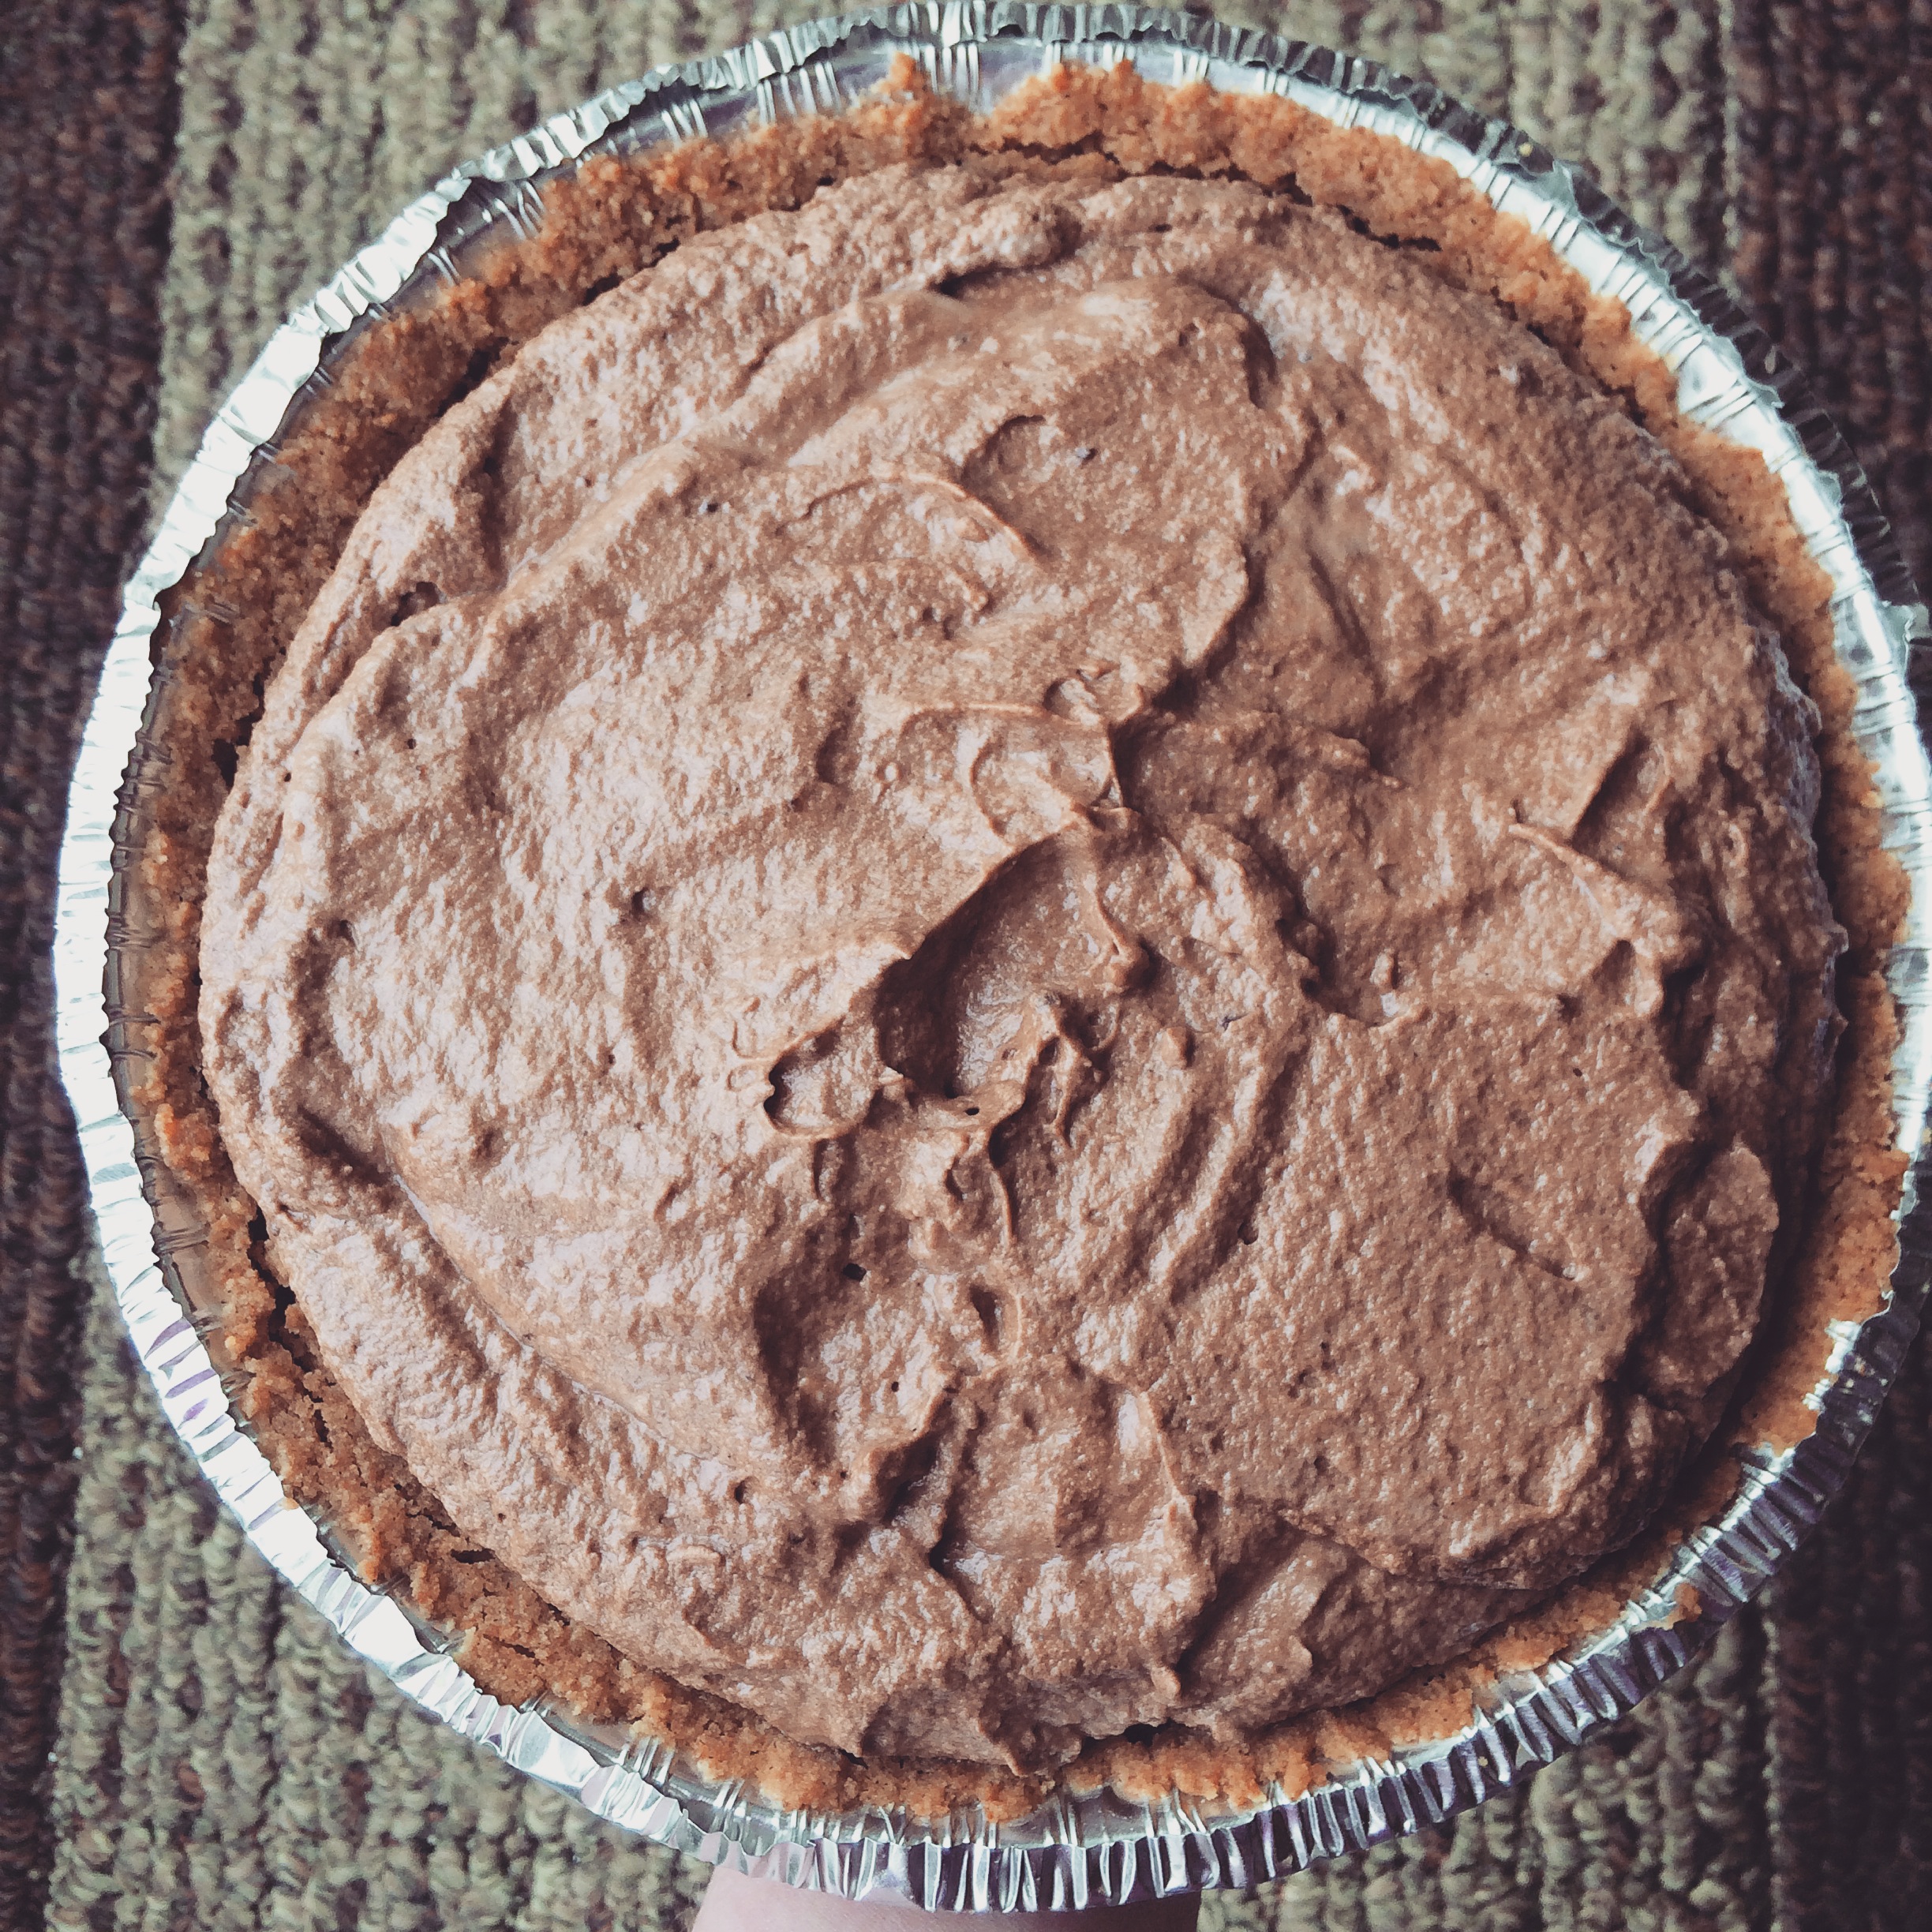
People are always likening the things they really, really like to Heaven. You know what I mean? "That massage I just got? HEAVEN." "That shoe place is like HEAVEN." "Those dogs kisses on my mouth? HEAVENNN." It's become so overused. But let me tell you something right now: the only thing better than this pie once it's completely chilled and set, is the actual moment of euphoria that is finding extra filling in the mixing bowl once the pie shell has been filled. That unset, chocolate mousse filling is actual Heaven on Earth. It's silky (hence the name!), chocolaty beyond belief, creamy, and lighter than air. It's silky, chocolaty, creamy air on a spoon. I will not tell you how much of it I ate before I could finally snap myself out of it to transfer the pie to the fridge before there was nothing left but crumbs in a disposable tin. If it wasn't already destined to be dessert at a Valentine's Day party, this french silk pie, along with its identical twin pie brother, would've been gone SO FAST with no regrets.

Alas, they were promised for many other tummies besides mine, so I had to let them go.

There better be leftovers.


What You'll Need:

For the Crust: 60 Vanilla wafers, finely crushed 1/4 teaspoon cinnamon 3/4 cup (1 1/2 sticks) unsalted butter, melted and cooled For the Filling: 3/4 cup superfine sugar 2 large eggs, lightly beaten 2 1/2 ounces bittersweet chocolate, melted 1/2 cup (1 stick) unsalted butter, softened 1 1/4 cup heavy whipping cream 2 teaspoons vanilla extract

Preheat the oven to 350 degrees F

To make the crust: Place your freshly crushed vanilla wafers, cinnamon, and melted butter into a medium sized mixing bowl, and stir together until all ingredients are completely combined.

Pour your mixture into a 9 inch pie plate and press the bottom and sides to create an even layer. You may end up with a little extra once you're finished.

Bake your crust for 10-15 minutes until it's golden brown. Once removed from the oven, set it on a cooling rack to cool completely, then place in the refrigerator until you need it.

To make the filling: Place eggs and sugar in a medium saucepan, continuously whisking together on medium-low heat. You'll know that your mixture is ready when it is thick enough to coat the back of a spoon. This should take 5-7 minutes. While your mixture is cooking, melt the chocolate.

Stir your melted chocolate into the mixture, and continue to stir until it's smooth. Remove from heat, and let it completely cool.

In a stand mixer fitted with the paddle attachment (or in a bowl with a hand mixer, or with a wooden spoon), beat your butter until it is light and fluffy. Add your cooled chocolate mixture, and continue to mix until everything is fully combined. Make sure to scrape down the sides of the bowl occasionally.

In a separate bowl, beat together your heavy cream and vanilla extract until stiff peaks form. Fold your newly whipped cream into your chocolate mixture and mix until it's light and fluffy. (I've found that it's sometimes necessary to help the process by mixing it with a rubber spatula for a few seconds to make sure all of the chocolate is incorporated.)

Remove your chilled crust from the refrigerator, and fill with chocolate filling. (You may end up with some extra filling at the end. I find it best to eat with a spoon). Refrigerate for 4-6 hours (or overnight). Once ready to serve, top with some homemade whipped cream, and enjoy!

SOURCE: Spoon Fork Bacon


Forks up! Everybody have some pie.

I Heart Valentine's Day Cookies

DSCN0563I only really like Valentine's Day for the food, so let's get that out of the way now. This year, I decided to make a special surprise for my work chums, to show how much I love that they eat all the food I bring them. Super soft sugar cookies with a thick coating of buttercream frosting should do the trick!

DSCN0573I went to the store a few days ago to get the last of the ingredients for these cookies, and as I went to pick up some sprinkles, I stopped myself. I wanted these cookies to be 100% from scratch, which meant either making the sprinkles myself, or dying a second batch of buttercream, and frosting little designs. But when it came time to actually make the sprinkles, I realized that it might be a little too time-consuming for this go-around. But THEN I was left in a panic because Boston decided to have another snowstorm, and there was no way I was going to trudge in the snow to the market for one tiny package of red sprinkles. Luckily, I found not one, but TWO packages of sprinkles and Red Hots in the back of the cupboard, still good to eat. (I knew there was a reason that I save everything.) Thank goodness, because tan sugar cookies with boring white buttercream wouldn't exactly get everyone sprinting to the cookie tin.

There are a couple of things to note about these cookies. One, make sure you let that buttercream set for a while before you try to transfer these onto a plate, or into the travel carrier. Two, when baking, use your own discretion for the baking time. I have a gas oven, which cooks things much faster. For the first batch, I left them in for the suggested time of seven minutes, and the bottoms and edges were way too brown! I cut it down to five minutes, and even that was cutting it close. Also, make sure you roll out the dough as thin as you can, because these things puff up so much! They can't be tamed, these sugar cookies.

These Lofthouse style cookies are even better the next day, which is a relief, because I was worried that they would lose their pizazz. Although, nothing bad can ever really happen when there's buttercream frosting involved, am I right about it?

Super Soft Lofthouse Style Sugar Cookies

For the Cookies: 6 cups all-purpose flour 1 teaspoon baking soda 1 teaspoon baking powder ½ teaspoon salt 1 cup unsalted butter, at room temperature 2 cups granulated sugar 3 large eggs 2 teaspoons vanilla extract 1½ cups sour cream

For the Buttercream Frosting: 1 cup unsalted butter, room temperature 1 teaspoon vanilla extract 4 cups powdered sugar Pinch of salt 6 tablespoons heavy cream

Food coloring, optional Sprinkles, optional

Directions:

1. In a large bowl whisk together the flour, baking soda, baking powder and salt; set aside.

2. In the bowl of a stand mixer, cream the butter and sugar together at medium speed until light and fluffy. Add the eggs, one at a time, beating until each is incorporated. Add the vanilla extract and sour cream and beat at low speed until combined.

3. Add the dry ingredients and beat at low speed until just combined, scraping down the bowl as needed. Dough will be a little sticky and that is ok. Divide dough into two sections. Flatten into rectangles about 1½ inches thick, then wrap with plastic wrap. Chill in the refrigerator overnight or for at least two hours.

4. Preheat the oven to 425 degrees F. Line large baking sheets with parchment paper or Silpats; set aside.

5. Lightly flour the countertop and the top of the dough. With a rolling pin, roll the dough out to ¼-inch thickness. Using cookie cutters, cut out the cookies and place on prepared baking sheets. Bake for 7 minutes, until cookies are slightly golden around the edges. Immediately transfer cookies to a wire rack to cool. Cook cookies completely before frosting.

6. To make the frosting, in the bowl of a stand mixer fitted with the paddle attachment, cream together the butter and vanilla extract. Slowly beat in powdered sugar and the pinch of salt. Once smooth and creamy, add in heavy cream, 1 tablespoon at a time, then beat at medium-high speed for a minute or two until light and fluffy. Add food coloring, if desired, and beat until combined.

7. Once cookies have cooled completely, frost and add sprinkles, if desired. Allow frosting to set, then store in an air-tight container.

SOURCE: Two Peas in Their Pod

HAPPY VALENTINE'S DAY!

singature gray

Be My Valentine?

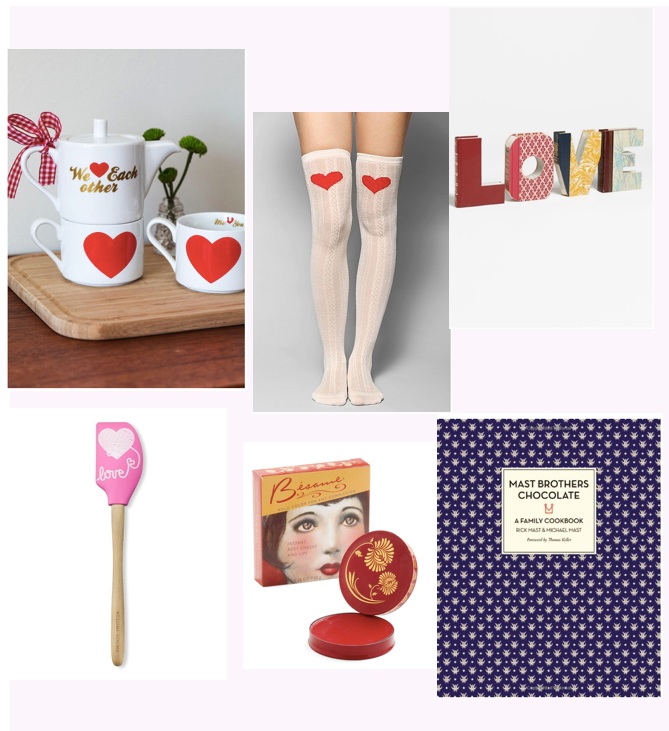
Screen Shot 2014-01-26 at 8.44.50 PM In all honesty, I've never really been a fan of Valentine's Day. I think it puts too much pressure on us,  and if you're single, it'll make you feel a teeny bit lonely if you let it. But the one thing I've always loved  is all the cute things you can buy to celebrate the day. It's also one of those holidays that fully embraces novelty. You want those salt and pepper shakers that make a heart when you put them together? Go for it. You want that tea set with a million hearts painted and heart-shaped handles that would be useless and tacky any other time of the year? Throw it in the cart. And the most delicious part of all: the candy you can buy at half the price the day after the holiday.

So thank you, Valentine's Day, for inspiring my favorite shops to make adorable products that I can't resist. And for making it so my beloved Dove Dark Chocolates come in the shape of hearts, and in bulk.

Screen Shot 2014-01-26 at 11.44.04 PM

Sweetly Sipping Tea Set, ModCloth // Heart Knee Cableknit Over-the-Knee Sock, Urban Outfitters // 'Love' Hand-Carved Book Shelf Art, Nordstrom // Valentine Spatulart, Williams-Sonoma // Coming Up Rosy-Cheeked Rouge in Crimson, ModCloth // Mast Brothers Chocolate: A Family Cookbook, bookstores

Go on, get shopping!

singature gray