Homemade Vanilla Extract

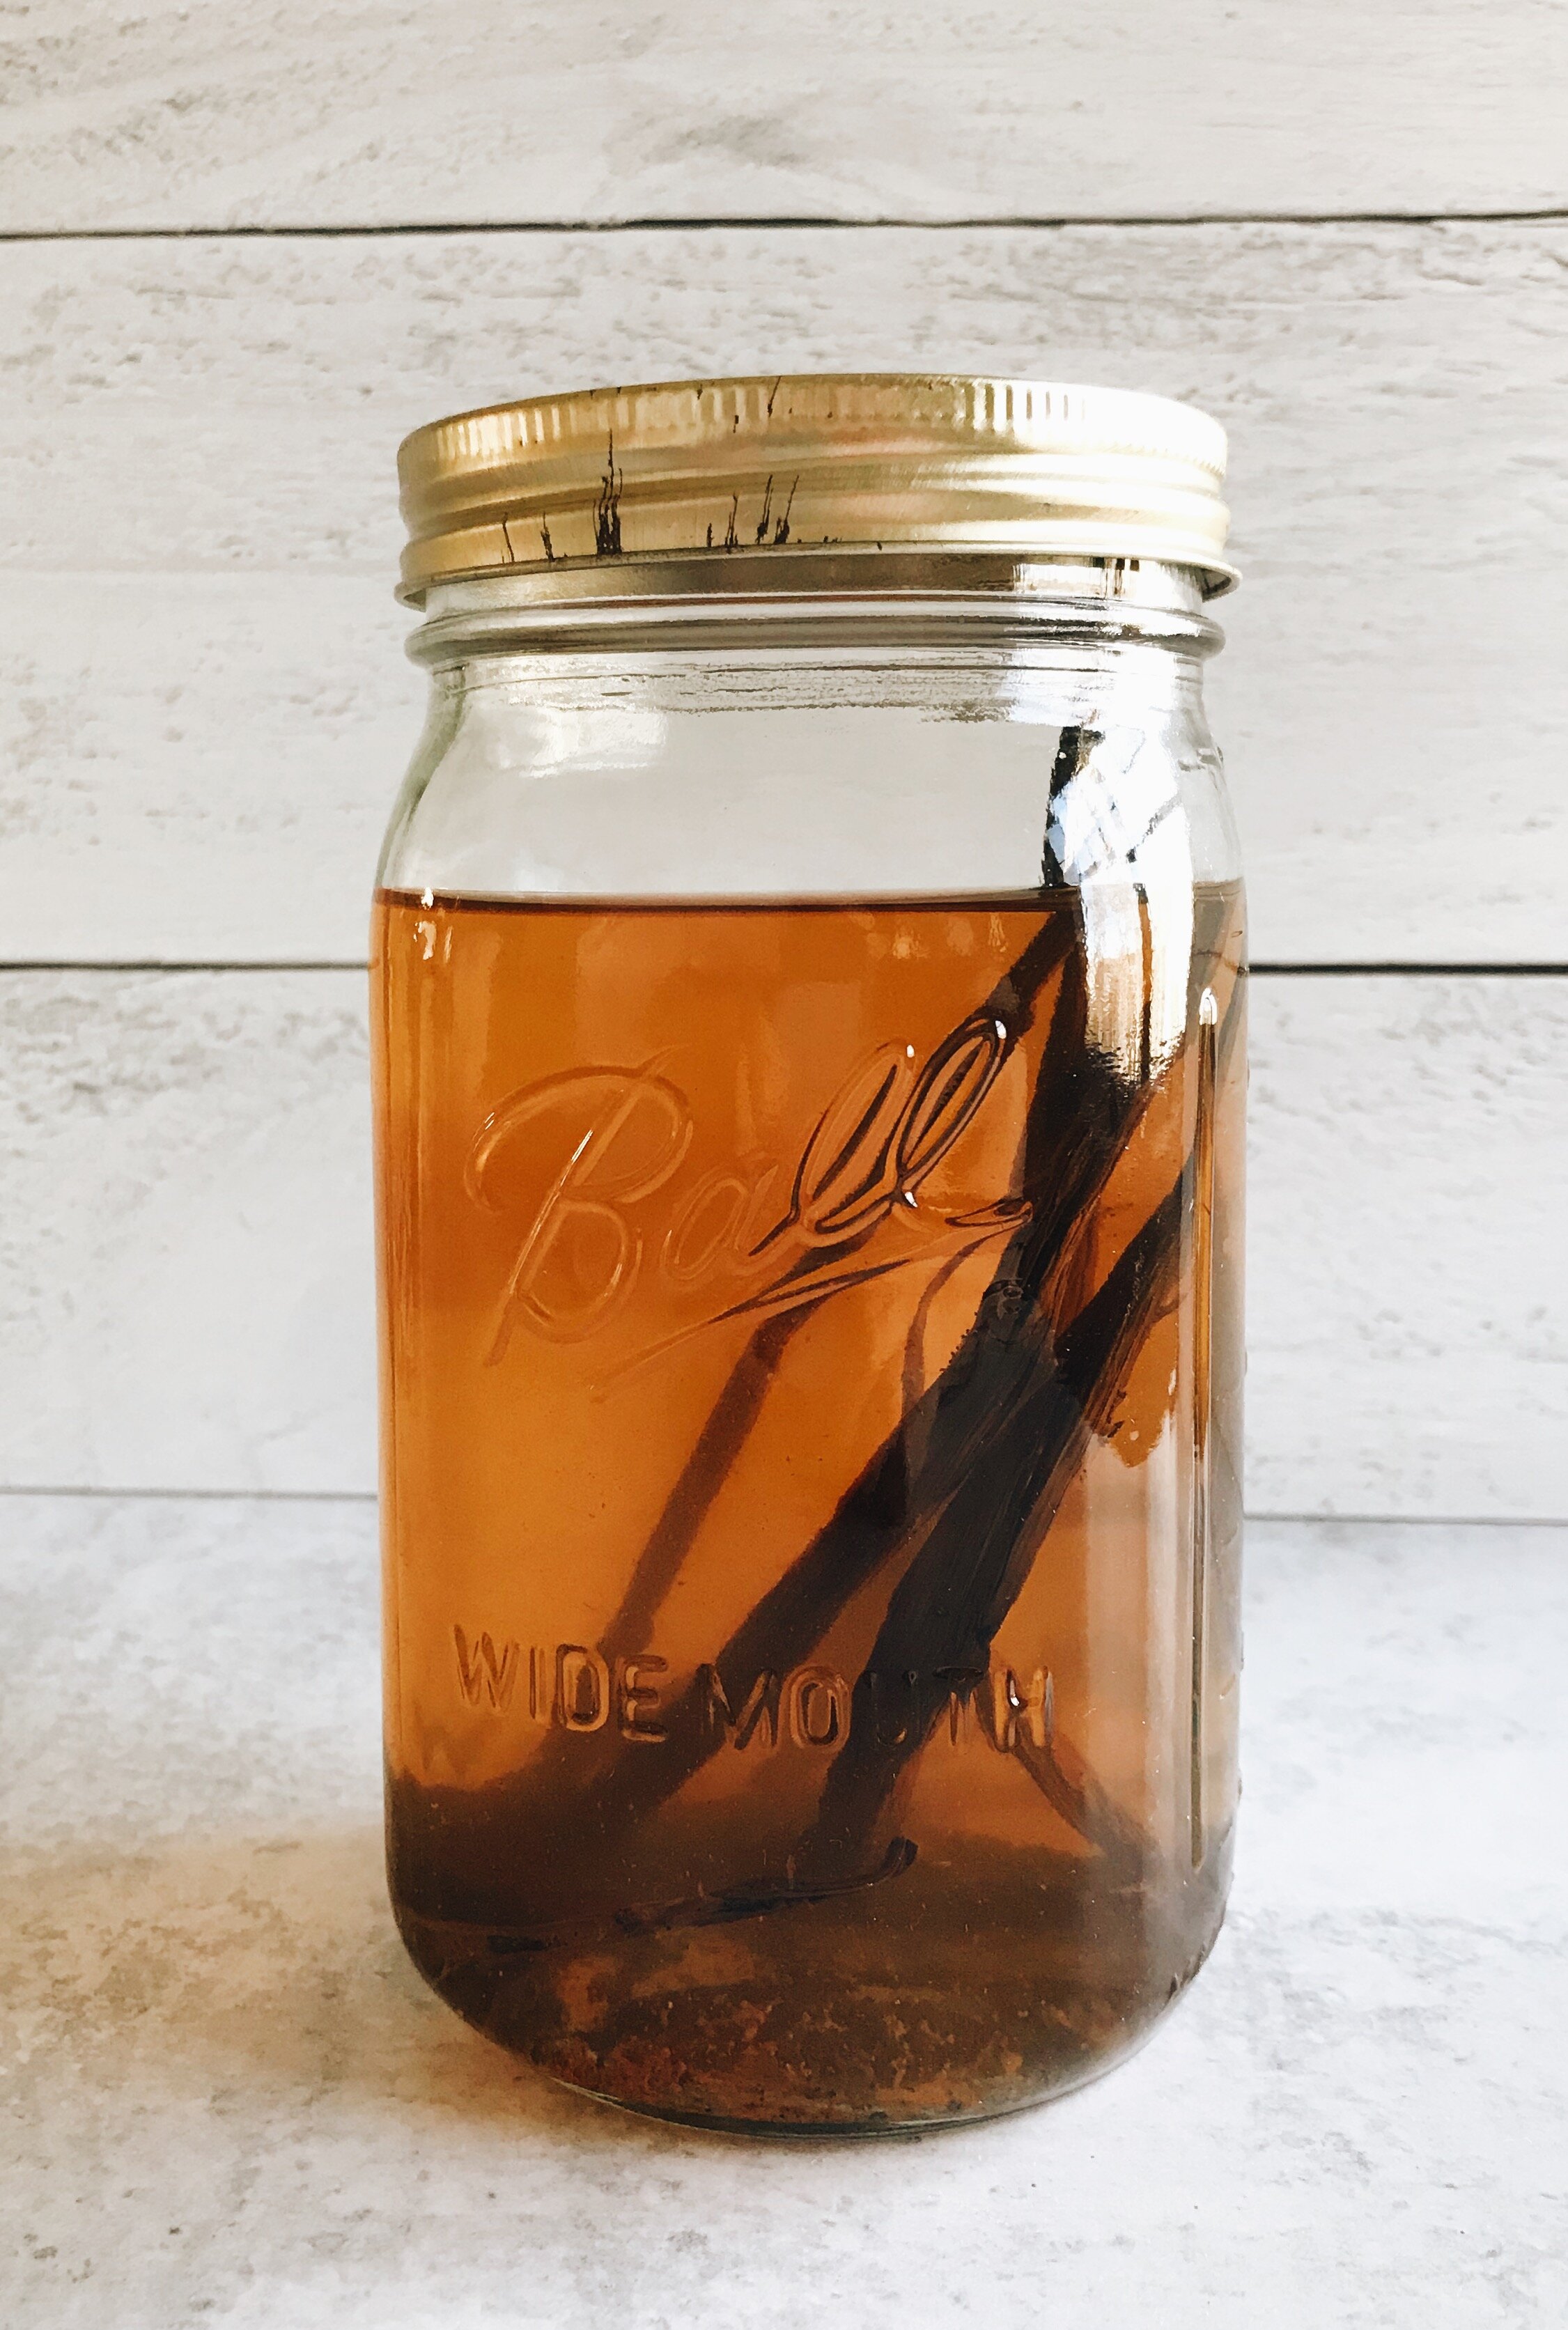
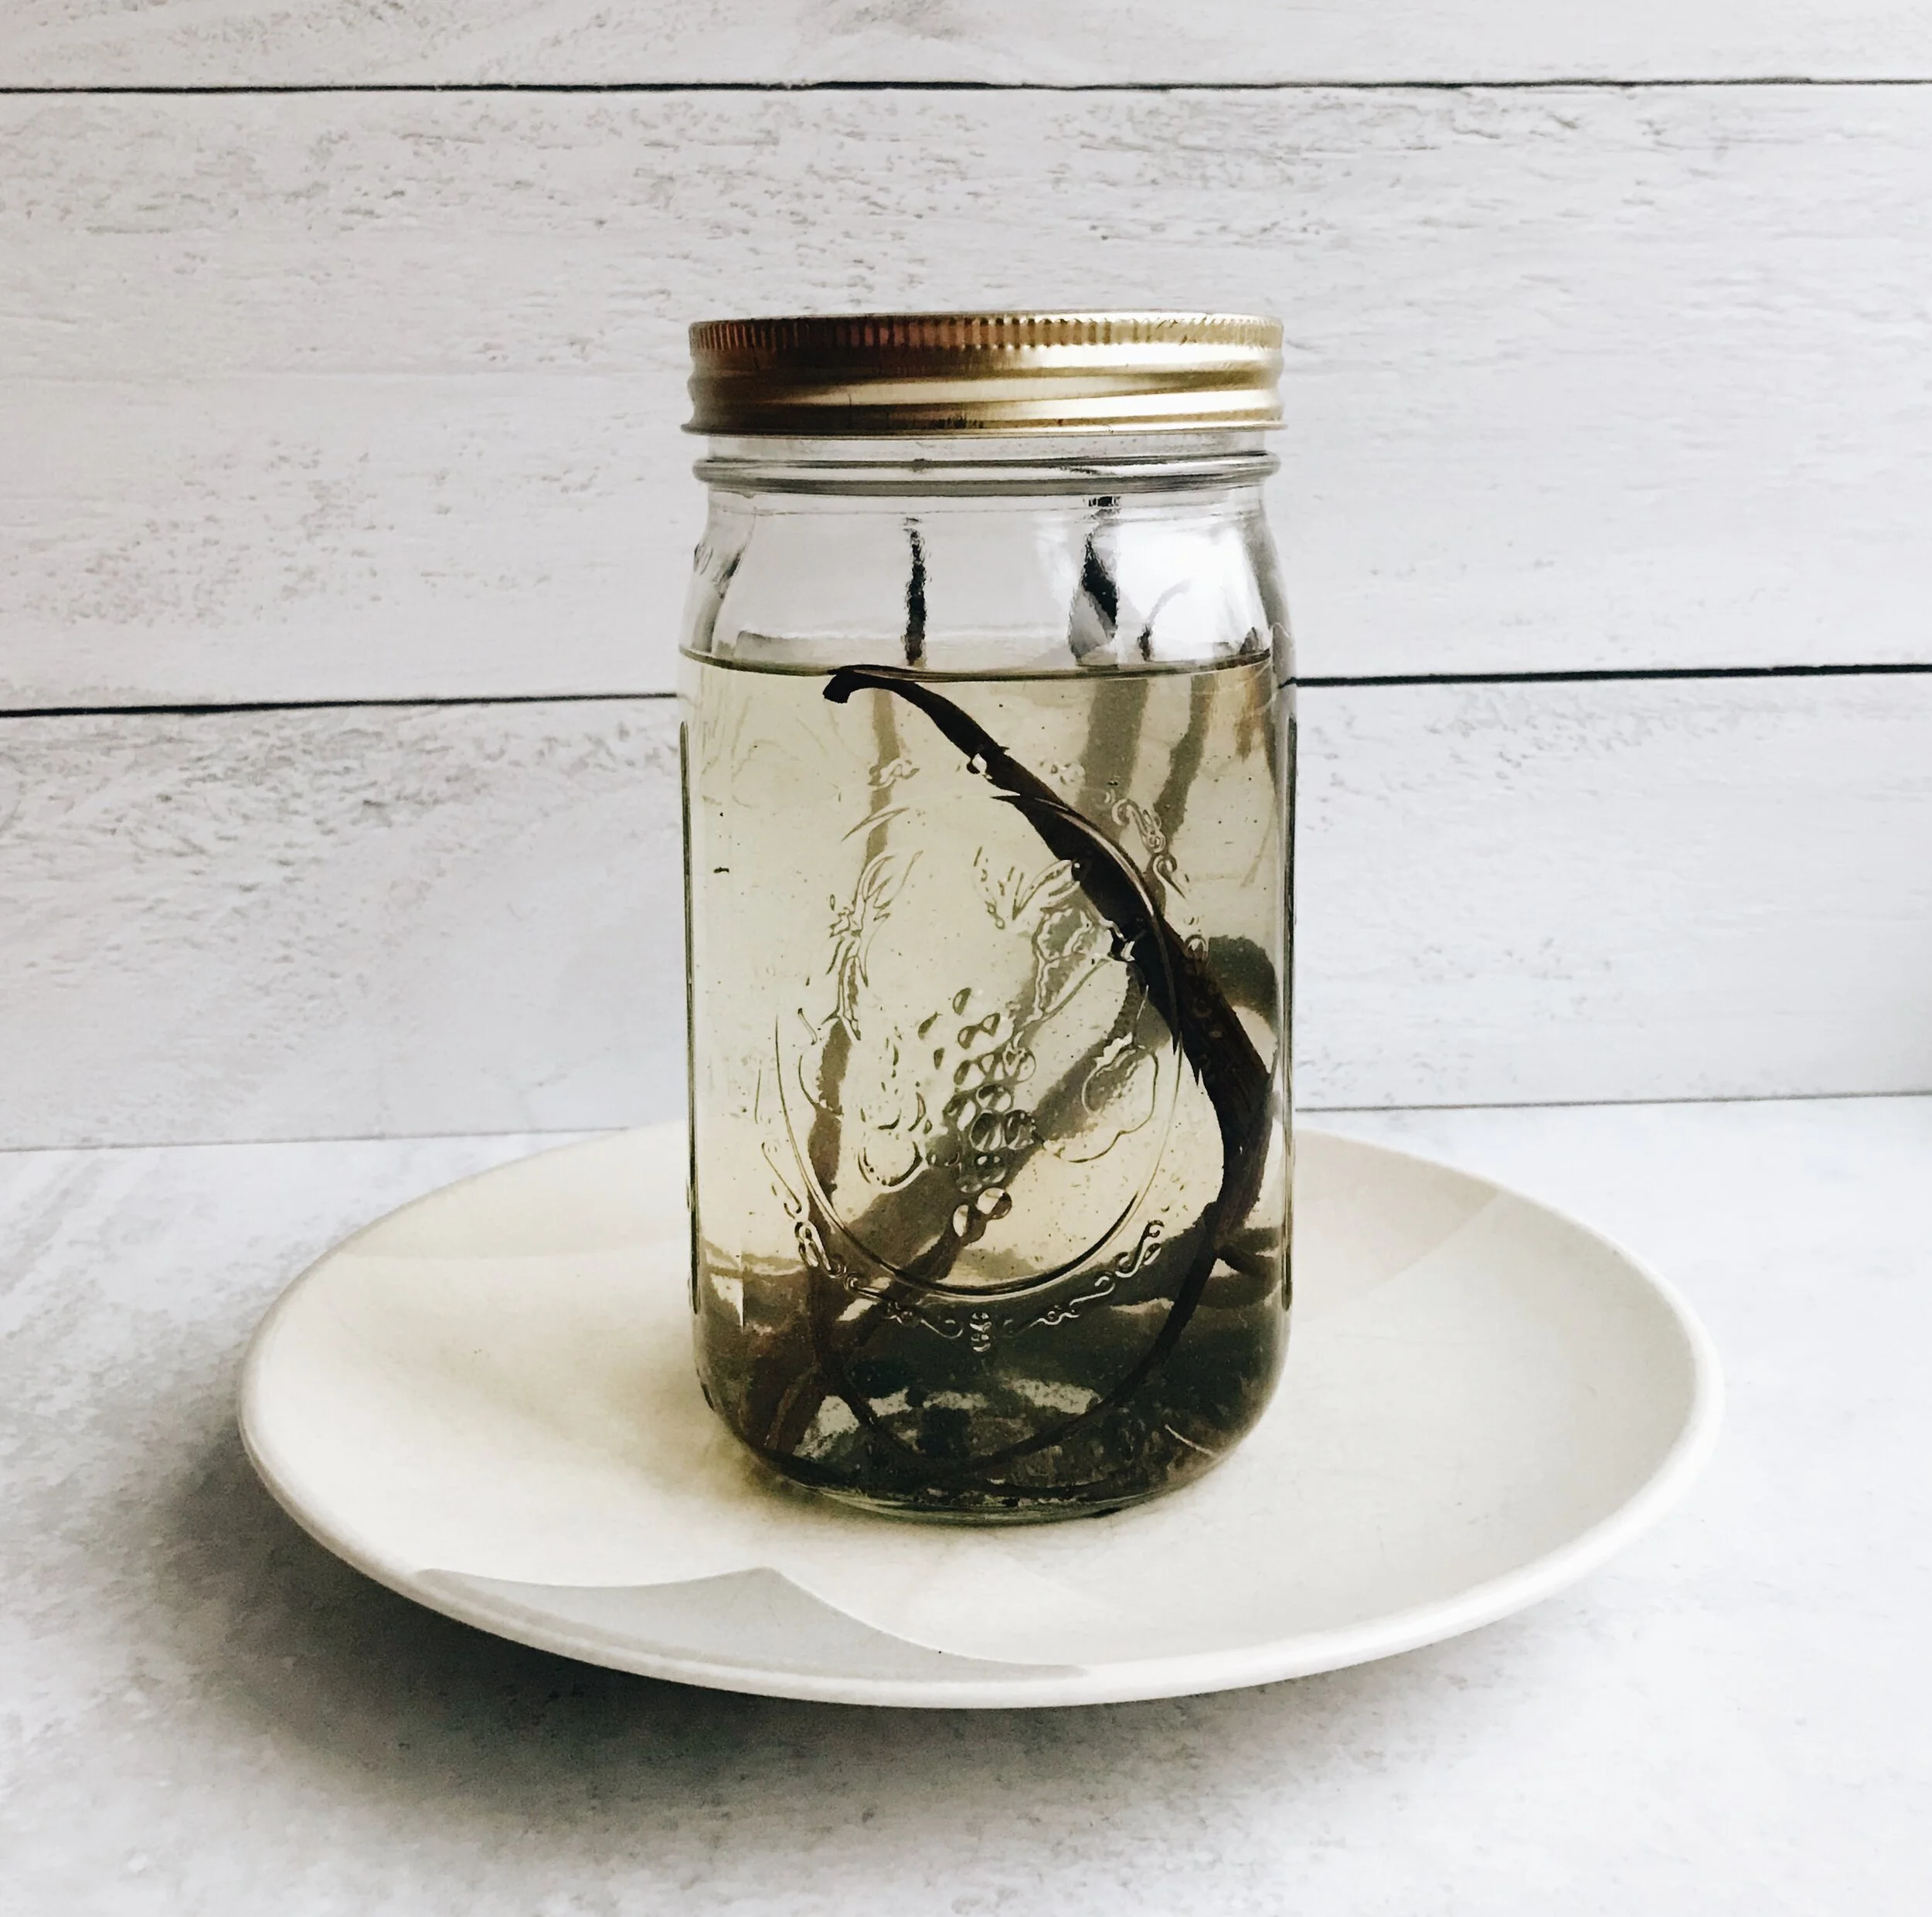
homemade vanilla extract recipe seasoned with sydney blog

Early on in the pandemic when Zoom happy hours were bountiful and everyone pretended that they were just as good as the real thing, a person I was kind of “seeing” in June (a story for another time) and I decided that a fun activity for us to do in our respective homes was a little cocktail party in which each of us got the ingredients for the other’s favorite drink, made them “together,” then tried them on camera. To make it easy, I suggested one of my favorite beers instead of an actual mixed drink because I got the impression that anything more complicated would result in him not even attempting it, and me waving my hands and saying, “Oh, it’s fine” when it would, in fact, not be fine at all.

For my part, I was assigned a Screwdriver (orange juice and vodka). We were still in the phase when you’re supposed to pretend to be super breezy and chill with everything, so I didn’t mention that I’m not a particular fan of either ingredient. So, I bought the cheapest bottle of vodka I could find that would still taste okay, and a small bottle of orange juice, and our cocktail party for two was on. I feel like it shouldn’t surprise you though to learn that on the day of our cocktail hour, I was the only one who had actually kept up my side of the bargain. Despite me texting him not one, but two alternative beer choices in the event that the liquor store in his neighborhood didn’t carry my favorite, and him texting me back saying it wouldn’t be a problem because they seemed to carry everything, when it came time for us to log on, both parties were pouring orange juice and vodka into our glasses. Maybe I should’ve spoken up about the beer - after all, he’d agreed to do the drink swap with me, hadn’t he? But, as they say, you shouldn’t ask questions you don’t want the answer to, so I very breezily pretended that making Screwdrivers together had been the plan all along. Needless to say, the courtship didn’t last, but the nearly-full bottle of vodka that I’d purchased for one purpose had. And since I’ve made more of a commitment this year to reduce as much waste as possible, I set out to come up with a way to use it up. Then it hit me: what’s one thing I’ve always wanted to make that I use all the time? Vanilla extract!

homemade vanilla extract recipe - seasoned with sydney blog

Making vanilla extract is super easy and incredibly cost-effective if you bake a lot and go through vanilla faster than most people. I don’t believe in buying the tiny bottles at the grocery store because it always feels like you get a few tablespoons out of each bottle before it’s time to go back to get more. So, I opt for the large size, and with that increase in fluid ounces (though the bottles are never quite FULL are they?), comes a rather hefty price tag - and that adds up over time. While it will cost you a bit upfront to make your own extract (quality vanilla beans aren’t cheap), I know of people who have gone years adding on to the original extract they made, only adding more vodka and vanilla beans to the mix when the potency has diminished, saving them major money in the long run.

All you’ll need to make your own vanilla extract is 4-6 vanilla beans, vodka, and an airtight glass bottle or jar. That’s it!

homemade vanilla extract recipe - seasoned with sydney blog

The last thing you’ll need when making vanilla extract is a whole lot of patience. Though your new vanilla-rich concoction is technically ready to use in as little as two months, the longer you wait, the deeper the color and flavor will be. For that reason, it’s best to wait 6-12 months before you pop open your bottle and start treating your baked goods to that highly-elevated vanilla flavor. And trust me, it’ll be worth it!

It only took a failed Zoom-based courtship during a global pandemic, a couple of vanilla beans, and a bottle of vodka to fulfill a years-long goal of mine. Who knew?!

Homemade Vanilla Extract

What You’ll Need:

  • 4-6 fresh vanilla beans

  • Vodka

  • A clean glass jar or bottle with an airtight lid

Directions:

Using the tip of a very sharp knife, split each vanilla bean lengthwise all the way down, then gently pull apart to expose the seeds inside. Carefully scoop out the seeds of each and place them in the glass bottle or jar you’re using. Once all vanilla beans have been split open and the seeds have been removed, add the vanilla bean hulls to the jar (depending on how big your vessel is, you may have to fold the hulls in half to fit them in).

Using the back of a wooden spoon, gently muddle the vanilla bean hulls and seeds together to start the breakdown process. Remove the spoon and scrape any seeds or hull pieces that might be on it back into the jar.

Next, pour enough vodka into the jar to completely cover the seeds and vanilla bean hulls.

Tightly seal the jar, then give it a few very strong shakes.

Store in a cool, dark place such as a kitchen cabinet, and be sure to shake the jar at least once a week. With each passing day, you’ll start to see the color deepen into a beautiful amber hue.

The vanilla extract is ready to use in 6-12 months. The longer you wait, the more potent the flavor will be. Make sure to label your jar in some way with the date so you’ll know when it’s time to use your extract.

KEEP IT GOING: Be sure to add more vodka after every use to continue the extraction process with the vanilla bean hulls and seeds still in the jar. Over time, the potency of the vanilla aroma and flavor will start to diminish, and more seeds and vanilla bean hulls will need to be added to the jar.

TO STORE: Always keep your vanilla extract in a cool, dry, and dark place.

Homemade Everything Bagel Seasoning

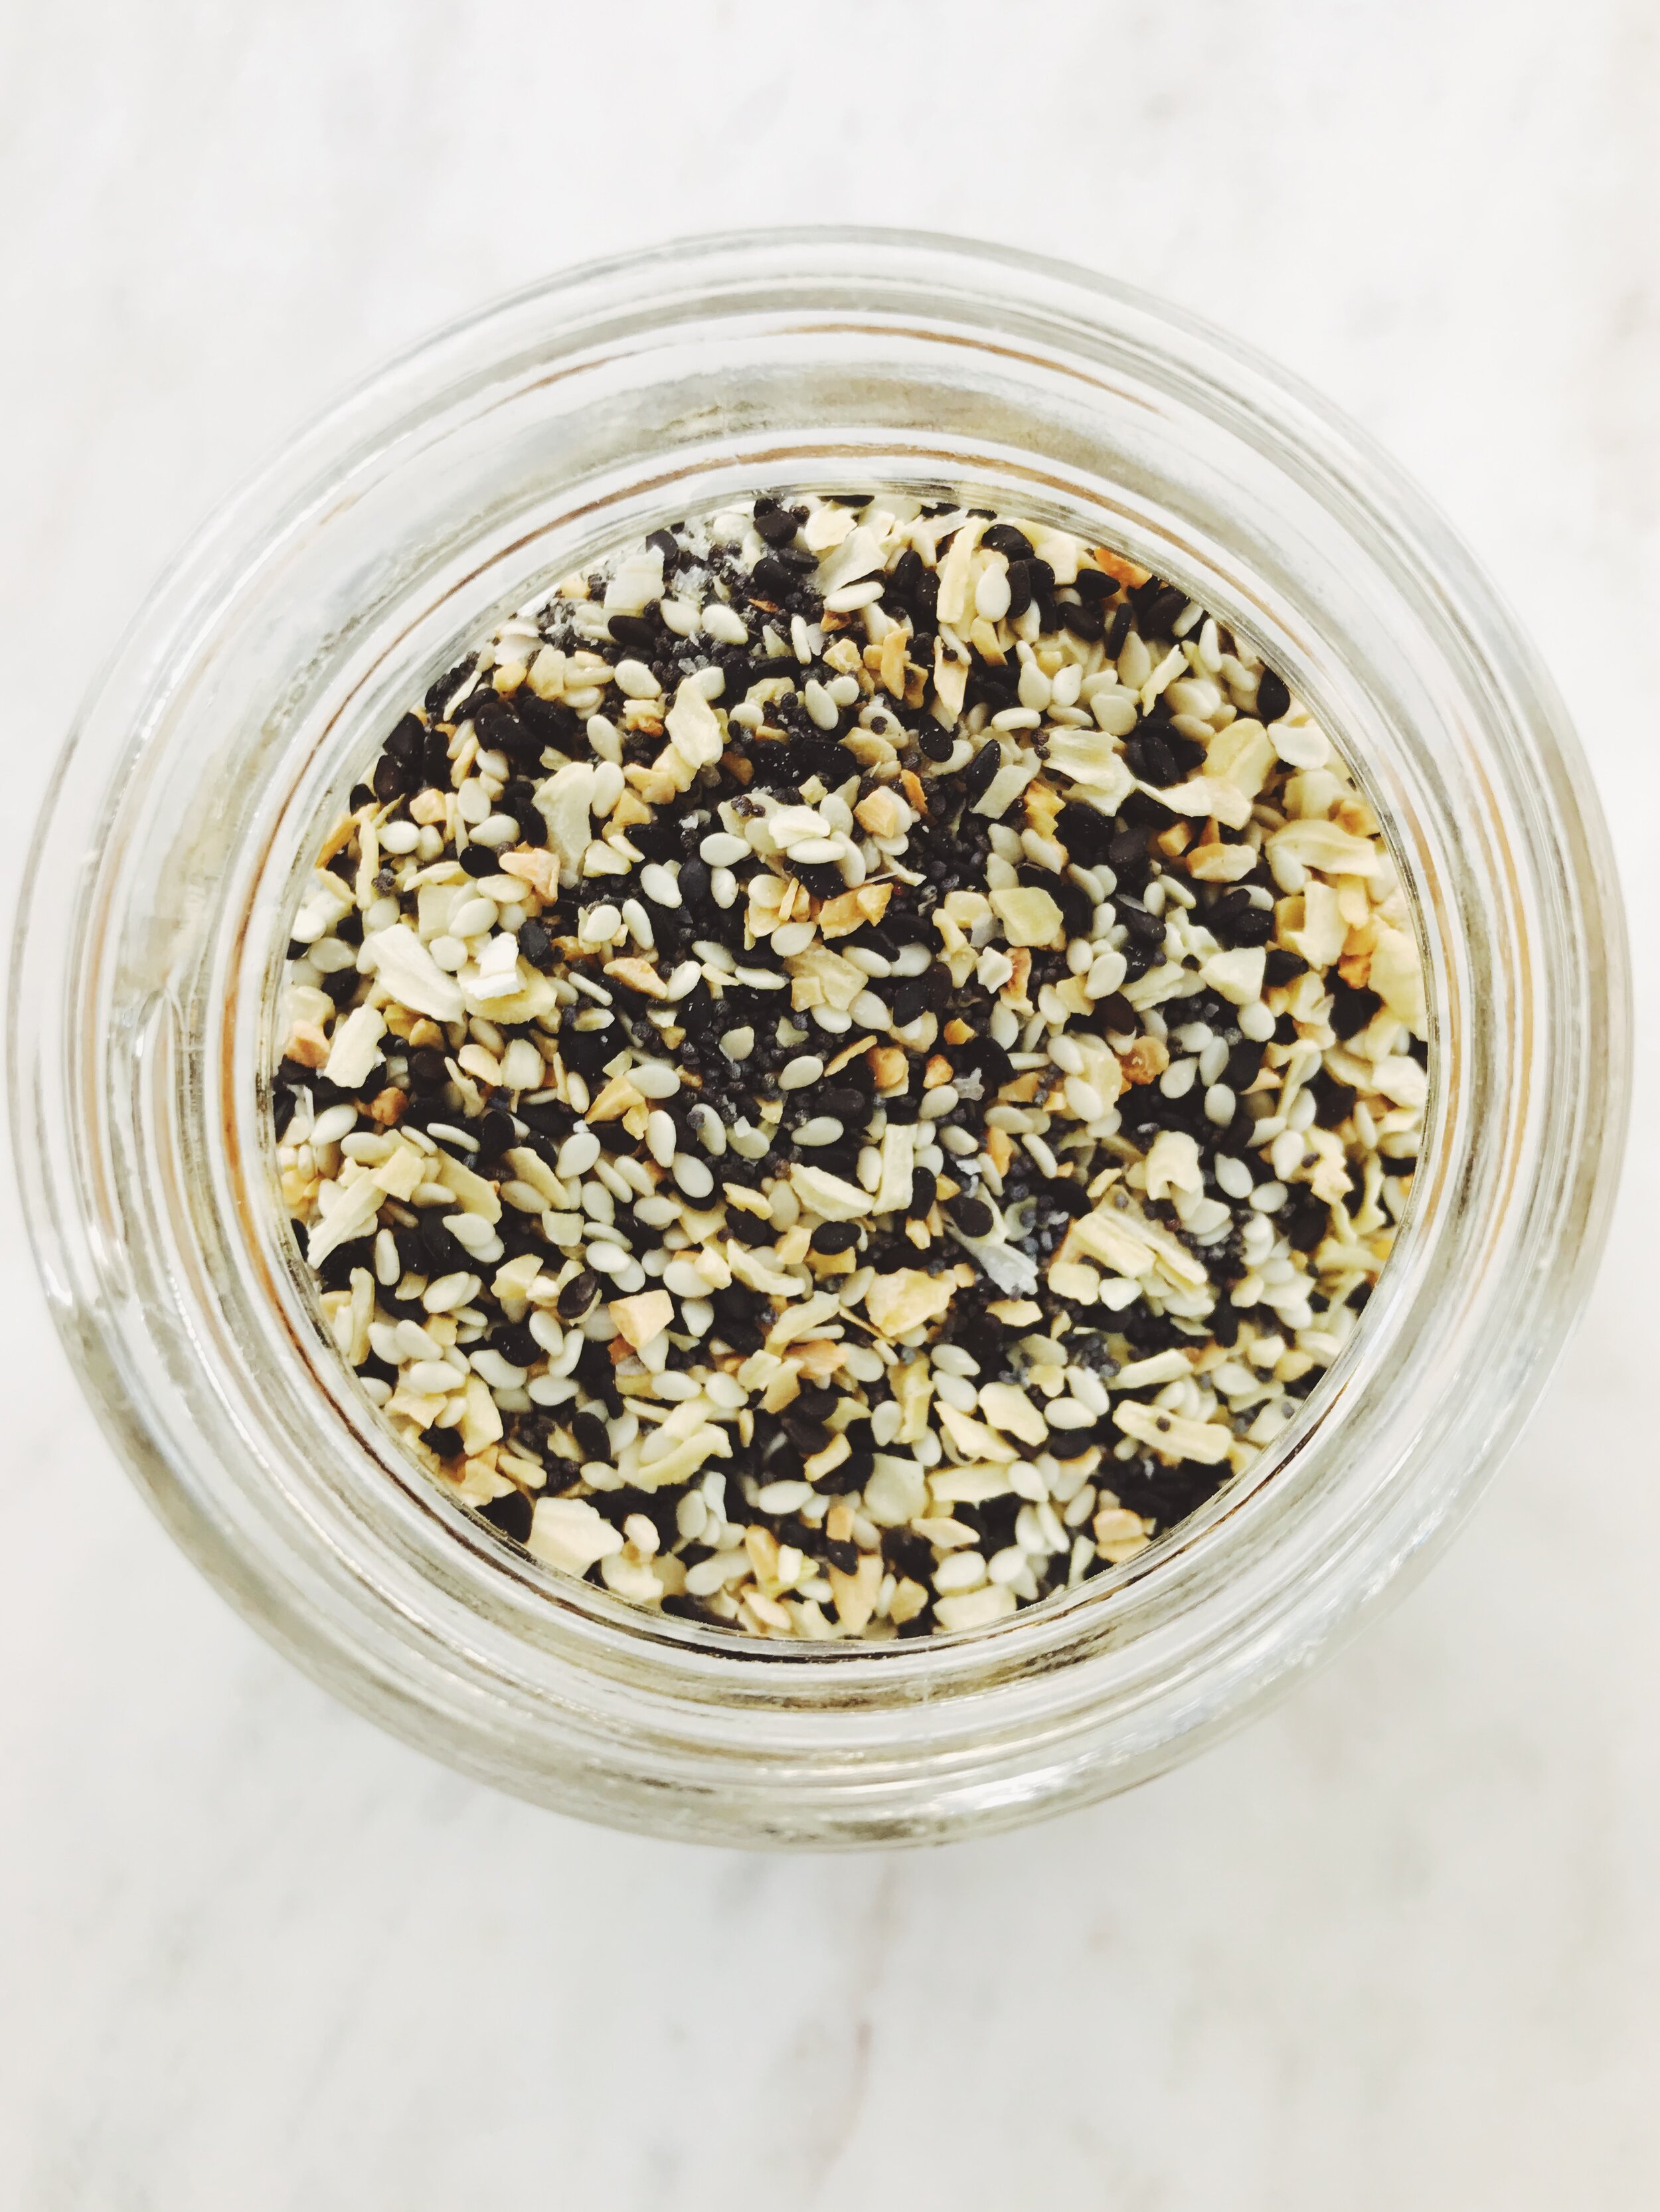
everything bagel seasoning, seasoned with sydney

Ah, Everything Bagel Seasoning: the splendid combination of salt, crunch, and umami mixed into one. Perfect for sprinkling on homemade bagels, fried eggs, avocado toast, and even by the occasional spoonful directly into your mouth - the possibilities are truly endless, and that’s a beautiful thing.

everything bagel seasoning, overhead picture - seasoned with sydney

Throughout the years I’ve seen countless brands getting into the Everything Bagel Seasoning game, from Trader Joe’s to McCormick. While it’s been a fan favorite flavoring mix for decades, Everything Bagel Seasoning has grown in popularity recently thanks in part to food world superstars like Molly Yeh and Gaby Dalkin, who frequently incorporate it into their recipes. Dalkin even partnered with Williams-Sonoma to come out with her own line of Everything Bagel Seasoning.

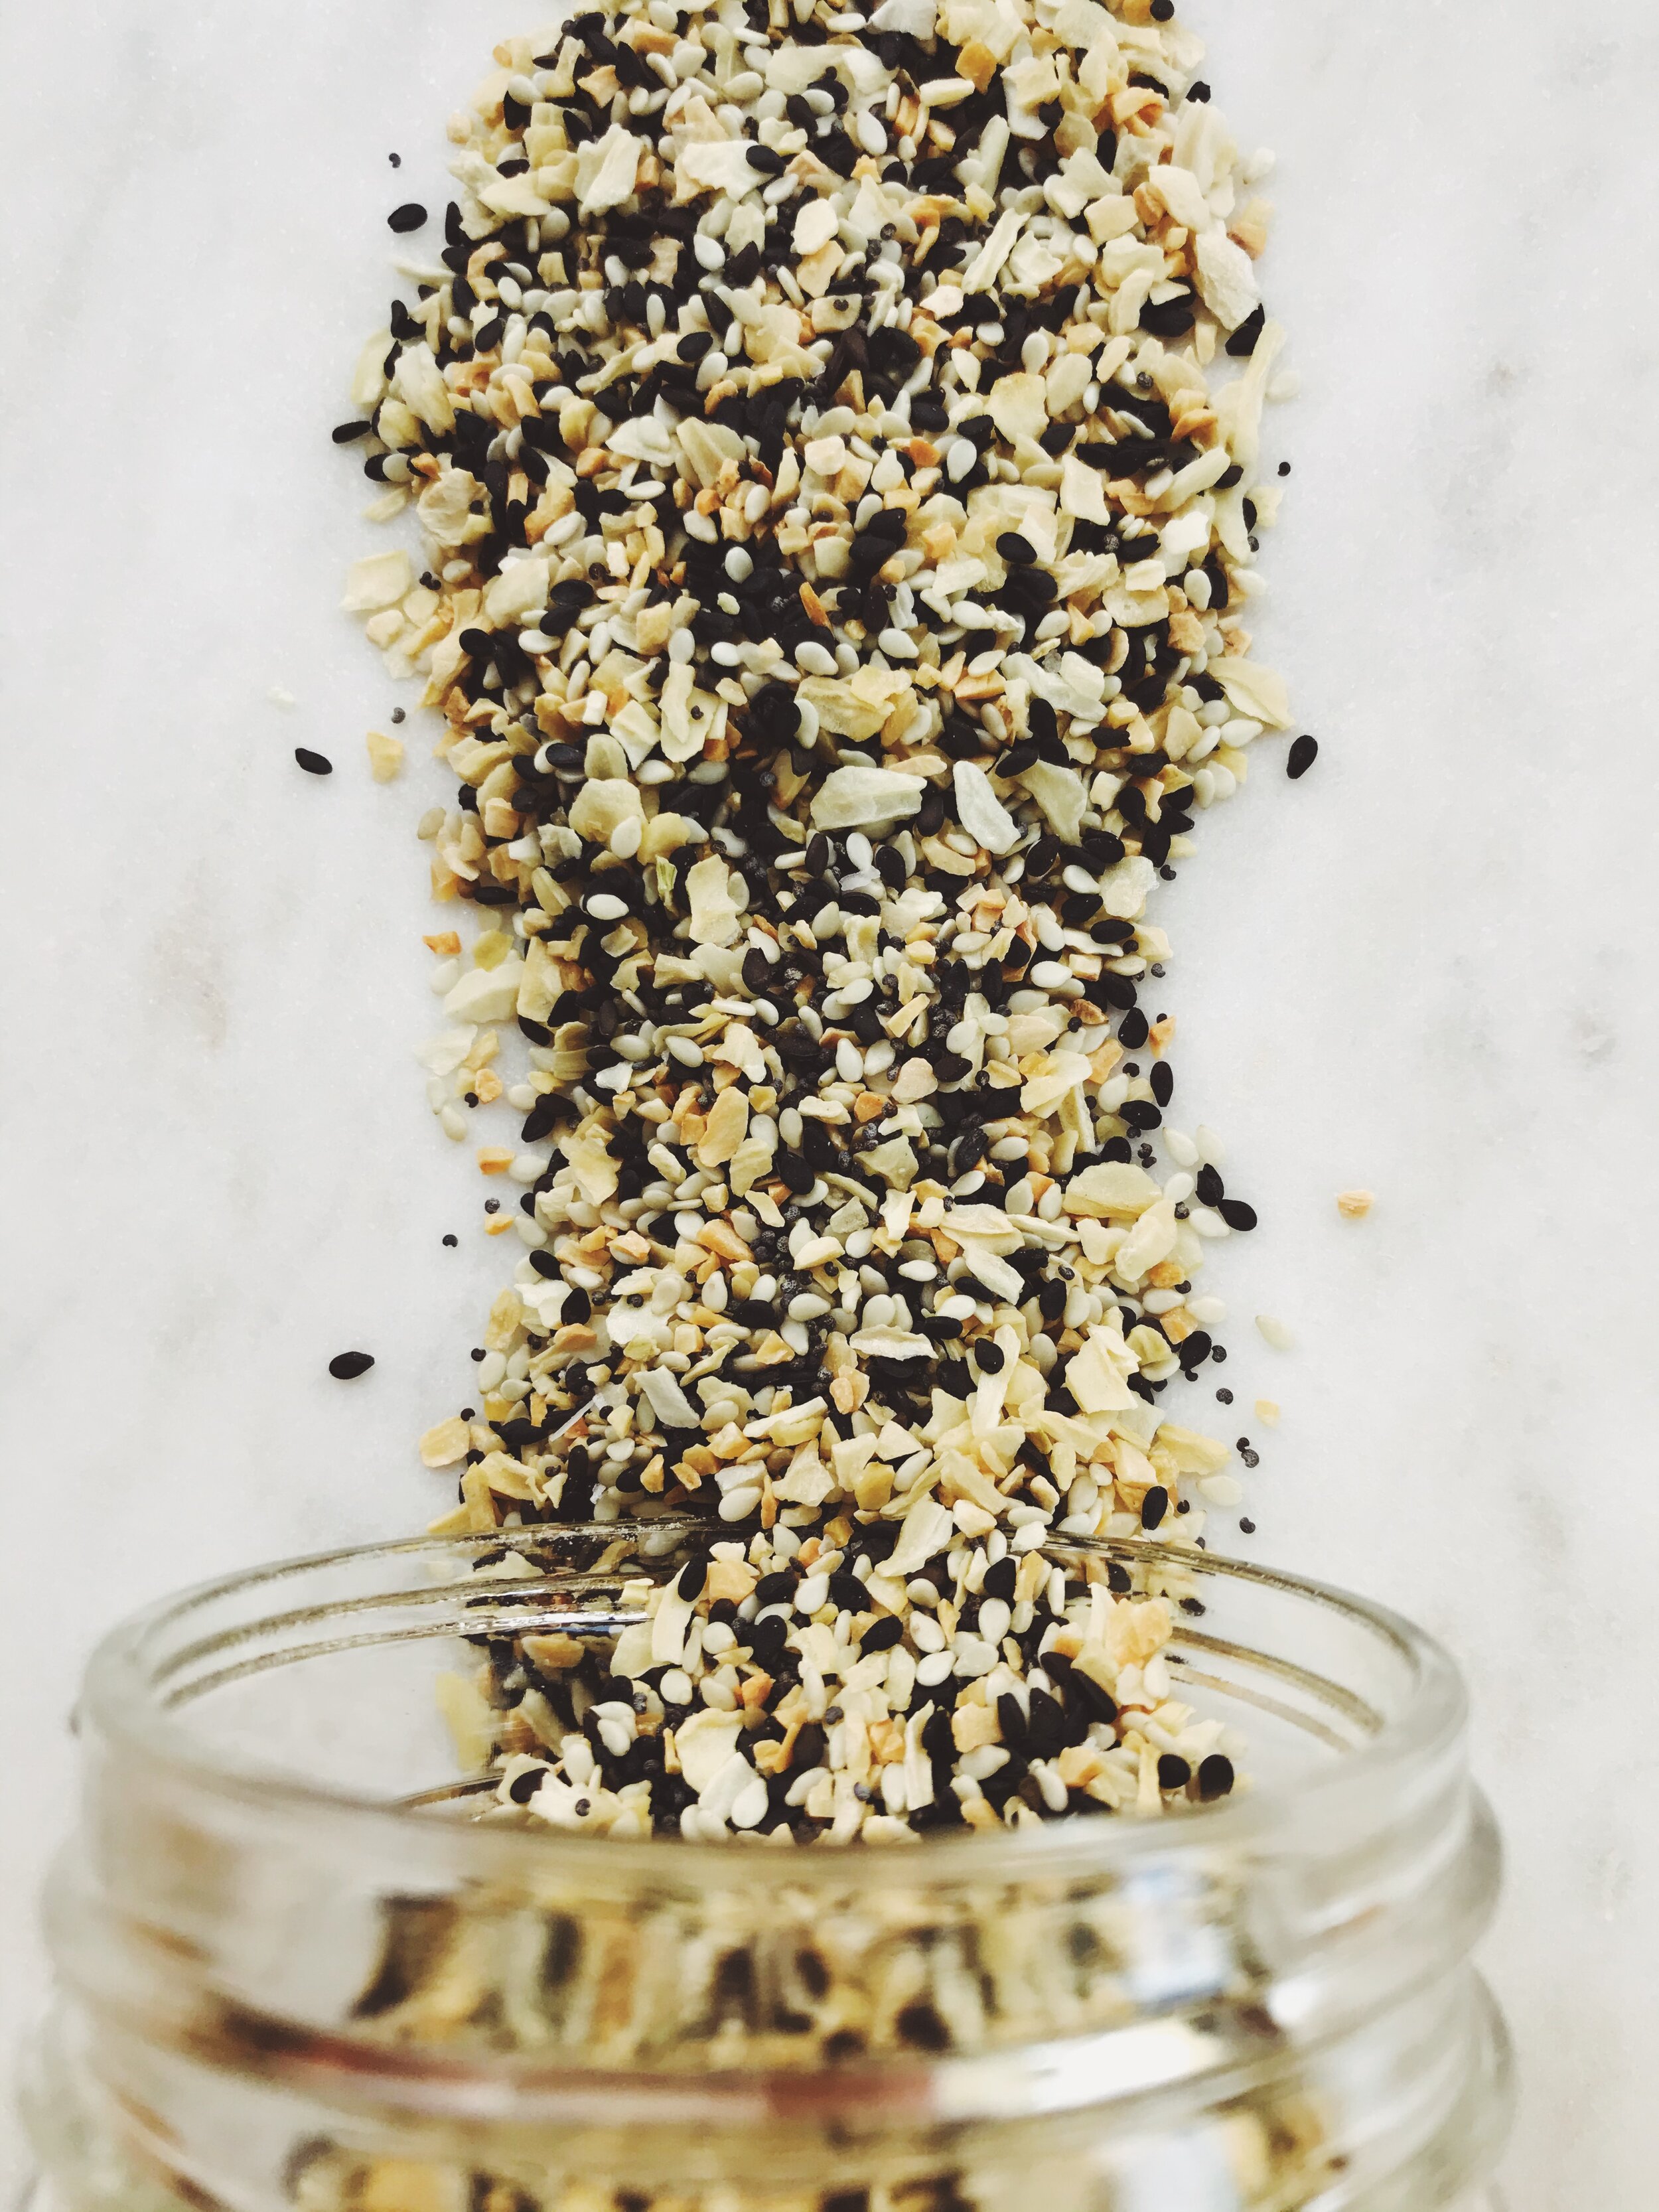
everything bagel seasoning spread out - seasoned with sydney

So with so many pre-made options on the market located practically everywhere, you might be wondering: why make your own?

My answer? As with countless other things in life, homemade is always the best. Not only will you get to control the proportions (fancy a little more minced garlic or want an enhanced crunchiness with extra sesame seeds?), you’ll also get the sense of accomplishment that only comes from creating something from nothing using your own hands - and with this being an incredibly low-stakes DIY endeavor, the payoff I’d say is pretty high!

So go ahead, grab your favorite spice jar and the ingredients and get to work creating a magical combination that will take your favorite dishes to the next level. You’ll be glad you did!

EVERYTHING BAGEL SEASONING

Everything Bagel Seasoning - Seasoned with Sydney

What You’ll Need:

  • 1 tablespoon poppy seeds, plus more

  • 1 tablespoon black sesame seeds, plus more

  • 1 tablespoon white sesame seeds, plus more

  • 1 tablespoon dried minced garlic, plus more

  • 1 tablespoon dried minced onion, plus more

  • 1 teaspoon coarse kosher salt, plus more

DIRECTIONS

In a small mixing bowl, combine the poppy seeds, black sesame seeds, white sesame seeds, minced garlic, minced onion, and coarse kosher salt. Mix well.

Transfer the combined mixture to your preferred spice storage container such as a spice jar or another small, airtight container.

Repeat the process until the storage jar has reached capacity.

To store: Store in a dry place. Mixture should last for several months.

*Use this as a guide and don’t be afraid to add or subtract based on your preferences. The beauty of adding “everything” is you get to decide just what “everything” means to you!

How to Make Your Home the Best Lil' B+B in Town


Holiday season is upon us, and I love, love, triple love having guests ( I inherited the hospitality gene from my Southern grandparents).  Nothing fills my heart more than having people in the house to bake for and dote on from the minute they put their bags down until the minute they leave. I want every single person who walks through the front door to immediately feel at home, and I've got a few tips on h0w to make that happen:


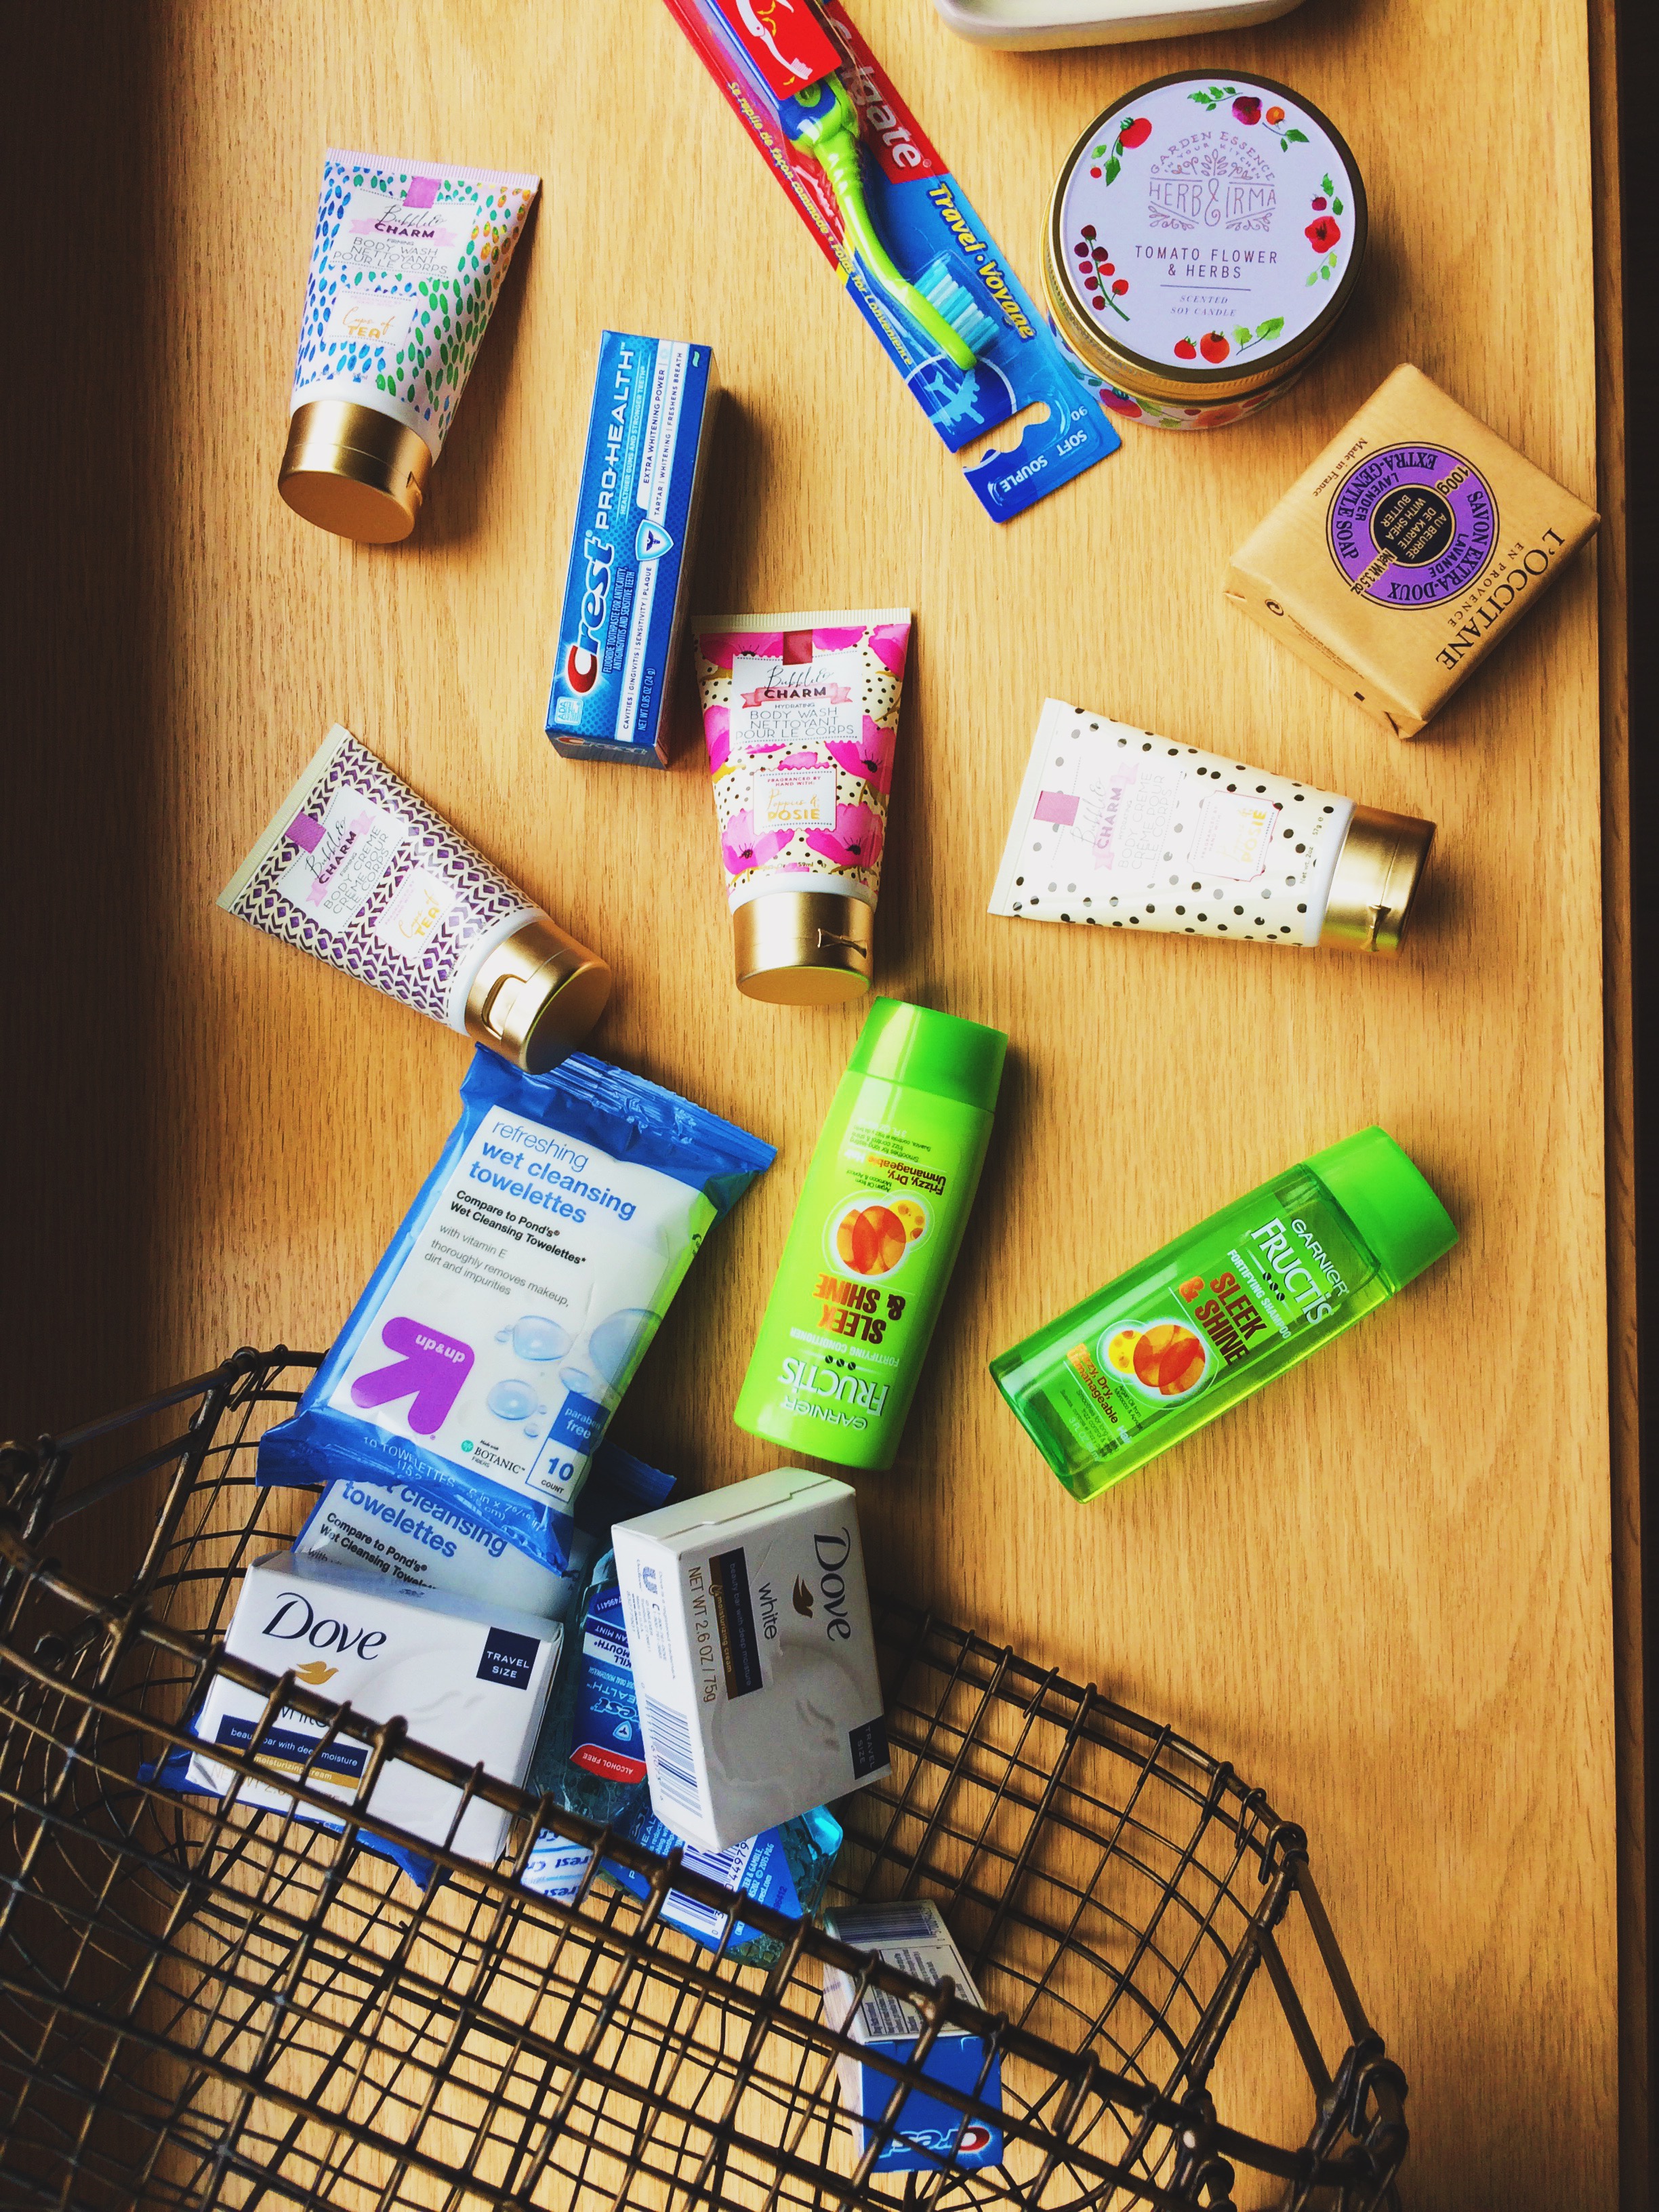
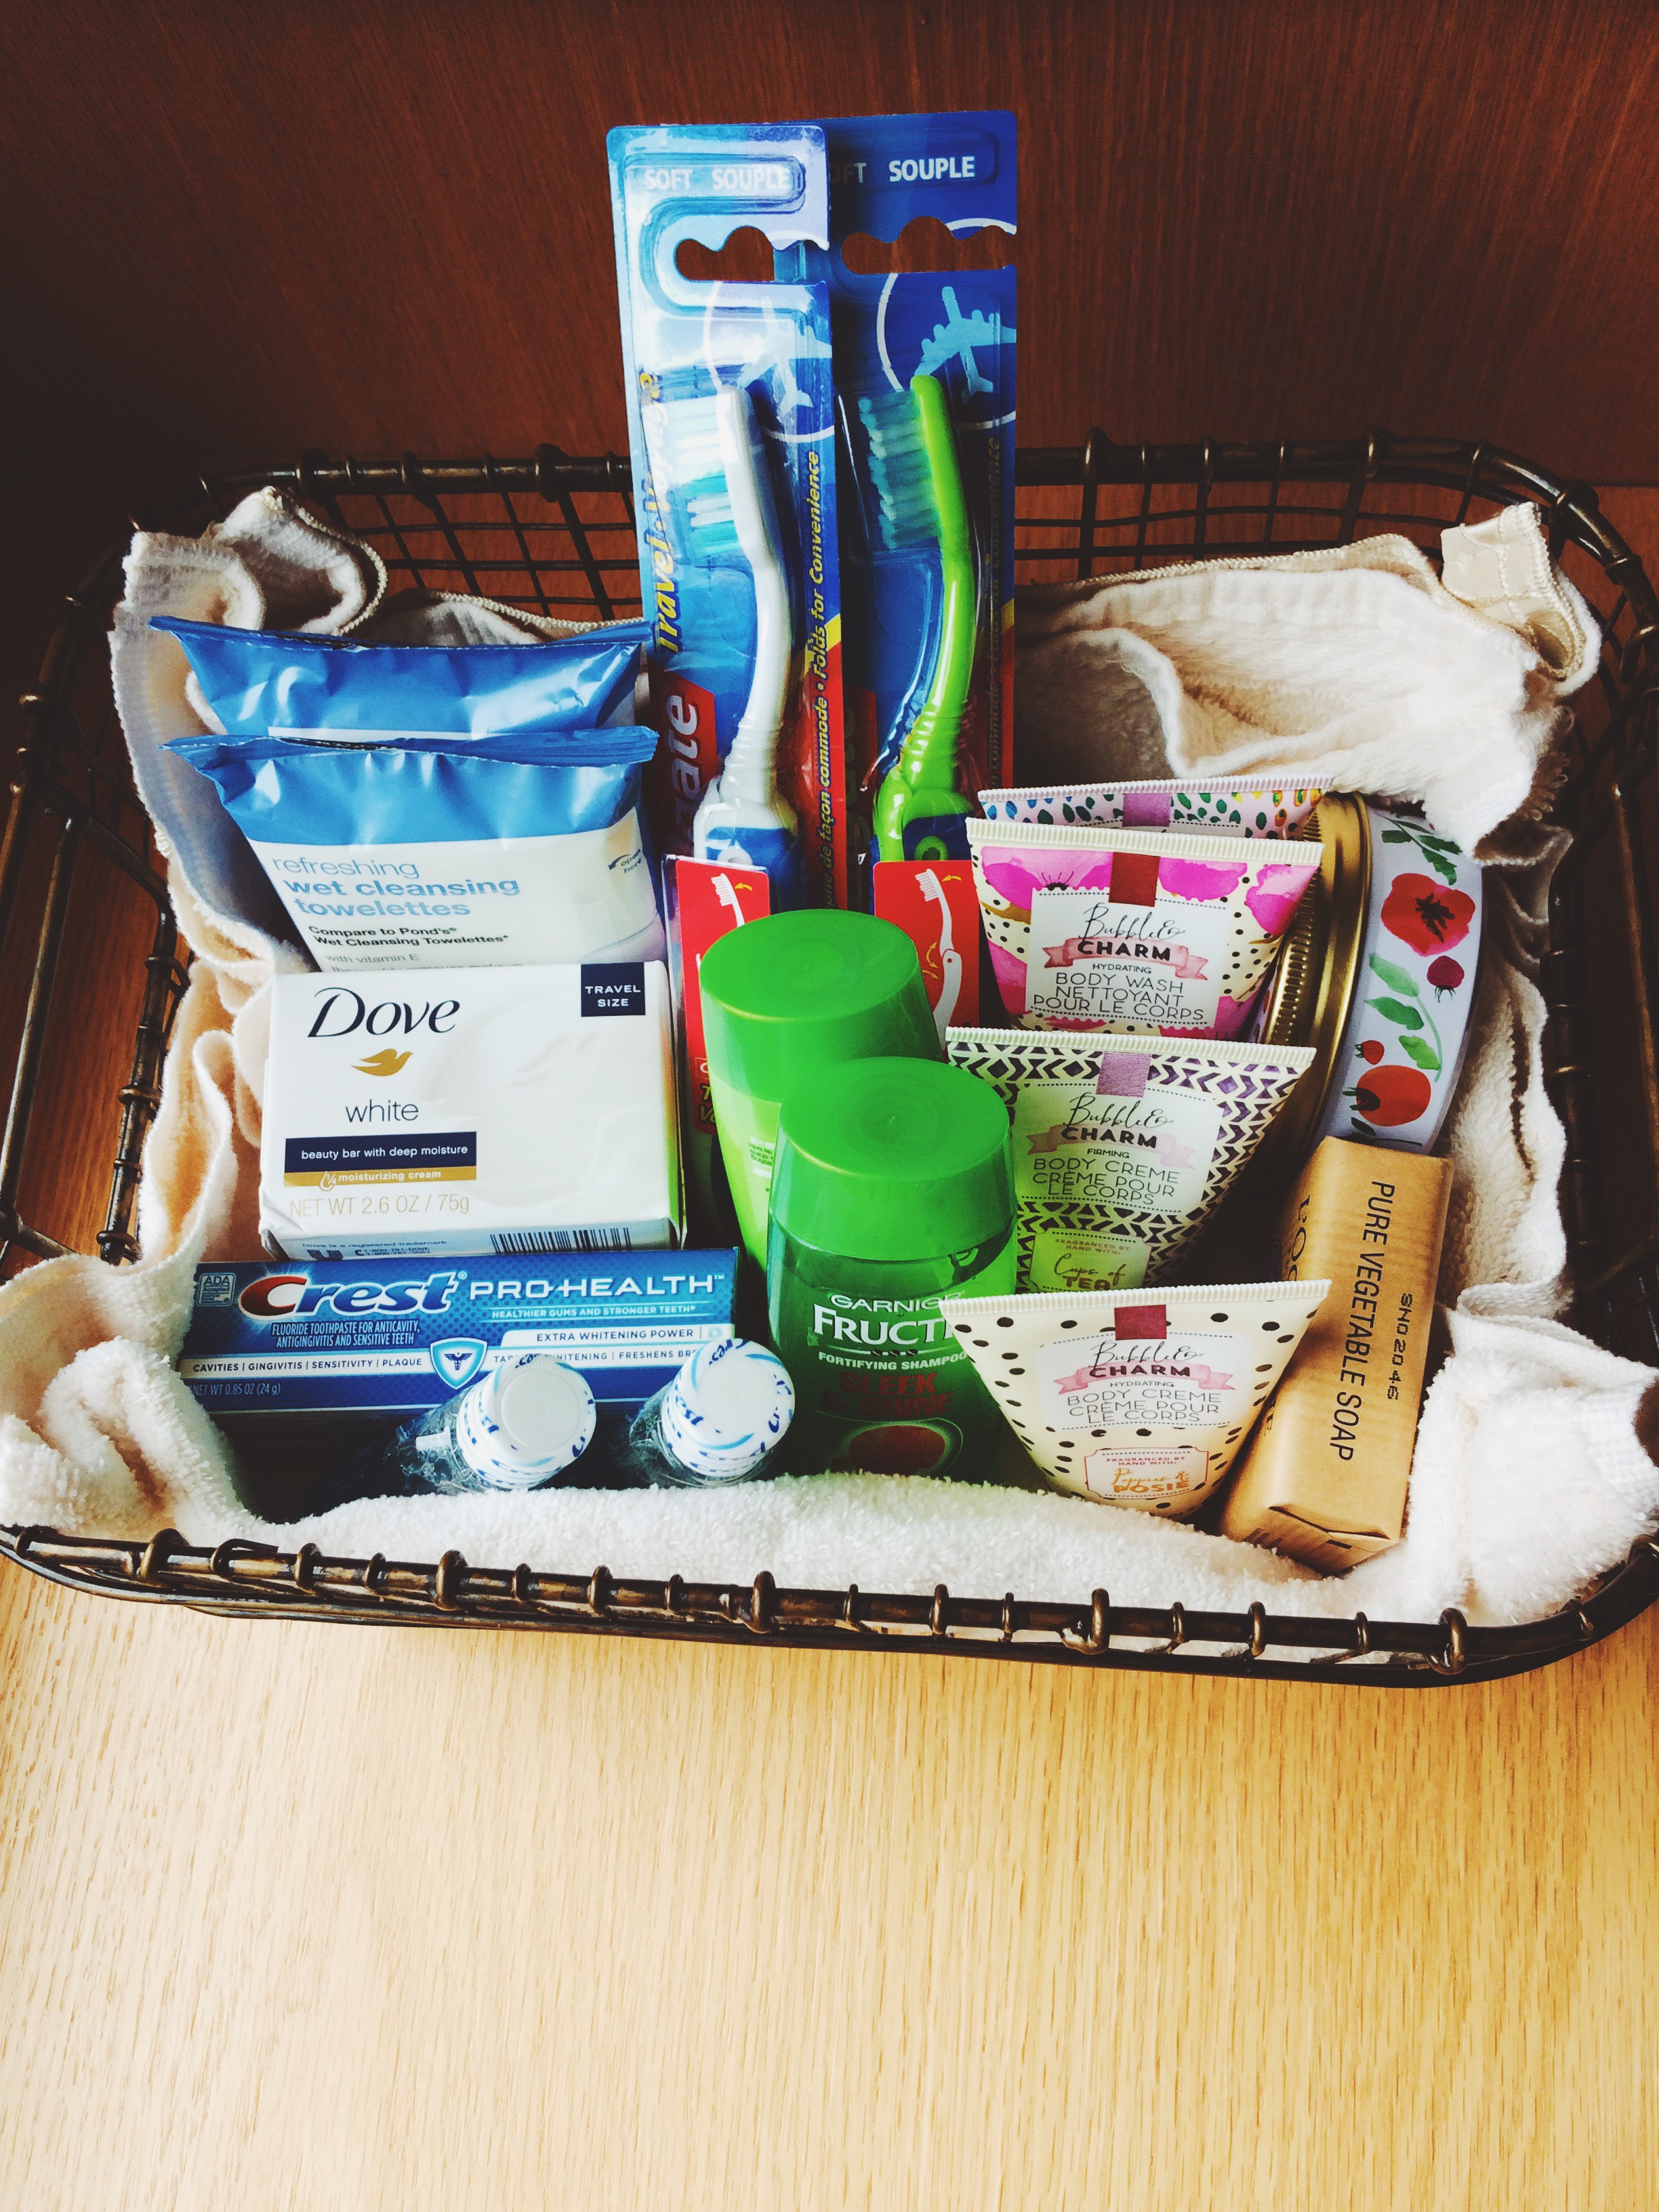
The Amenities Basket: I think this is one of my favorite things in the entire house, and something I'm really proud of. In the past, though it doesn't happen quite that often, I've been at a friend's house and totally unprepared. I didn't have my toothbrush, I didn't have my toothpaste, I didn't even have a tube of chapstick! It's a terrible feeling because you find yourself picturing exactly where each item you've left is, and wishing that you'd just packed it, just in case. That's why I came up with the idea for the Amenities Basket. I've got every miniature-sized item a guest could ever need: makeup wipes, toothpaste, fancy soaps and body washes, shampoos and conditioners, and even feminine products. Truthfully, my basket is tailored more for the female guests that arrive, but take the opportunity to tailor it to the needs of your specific guests. Maybe they like a certain aftershave, maybe they like a certain lotion. Nothing will make your guests feel welcome like a basket filled with their favorite things. And here's a good tip: try to double up on products if you can. If you've got multiple guests, you want to make sure that you have enough emergency items for everyone.

Baked Goods: Greet your guests at the door with a sweet treat! You can never go wrong with a warm batch of classic chocolate chip cookies like these ones from my favorite cookie lady, Dorie Greenspan!


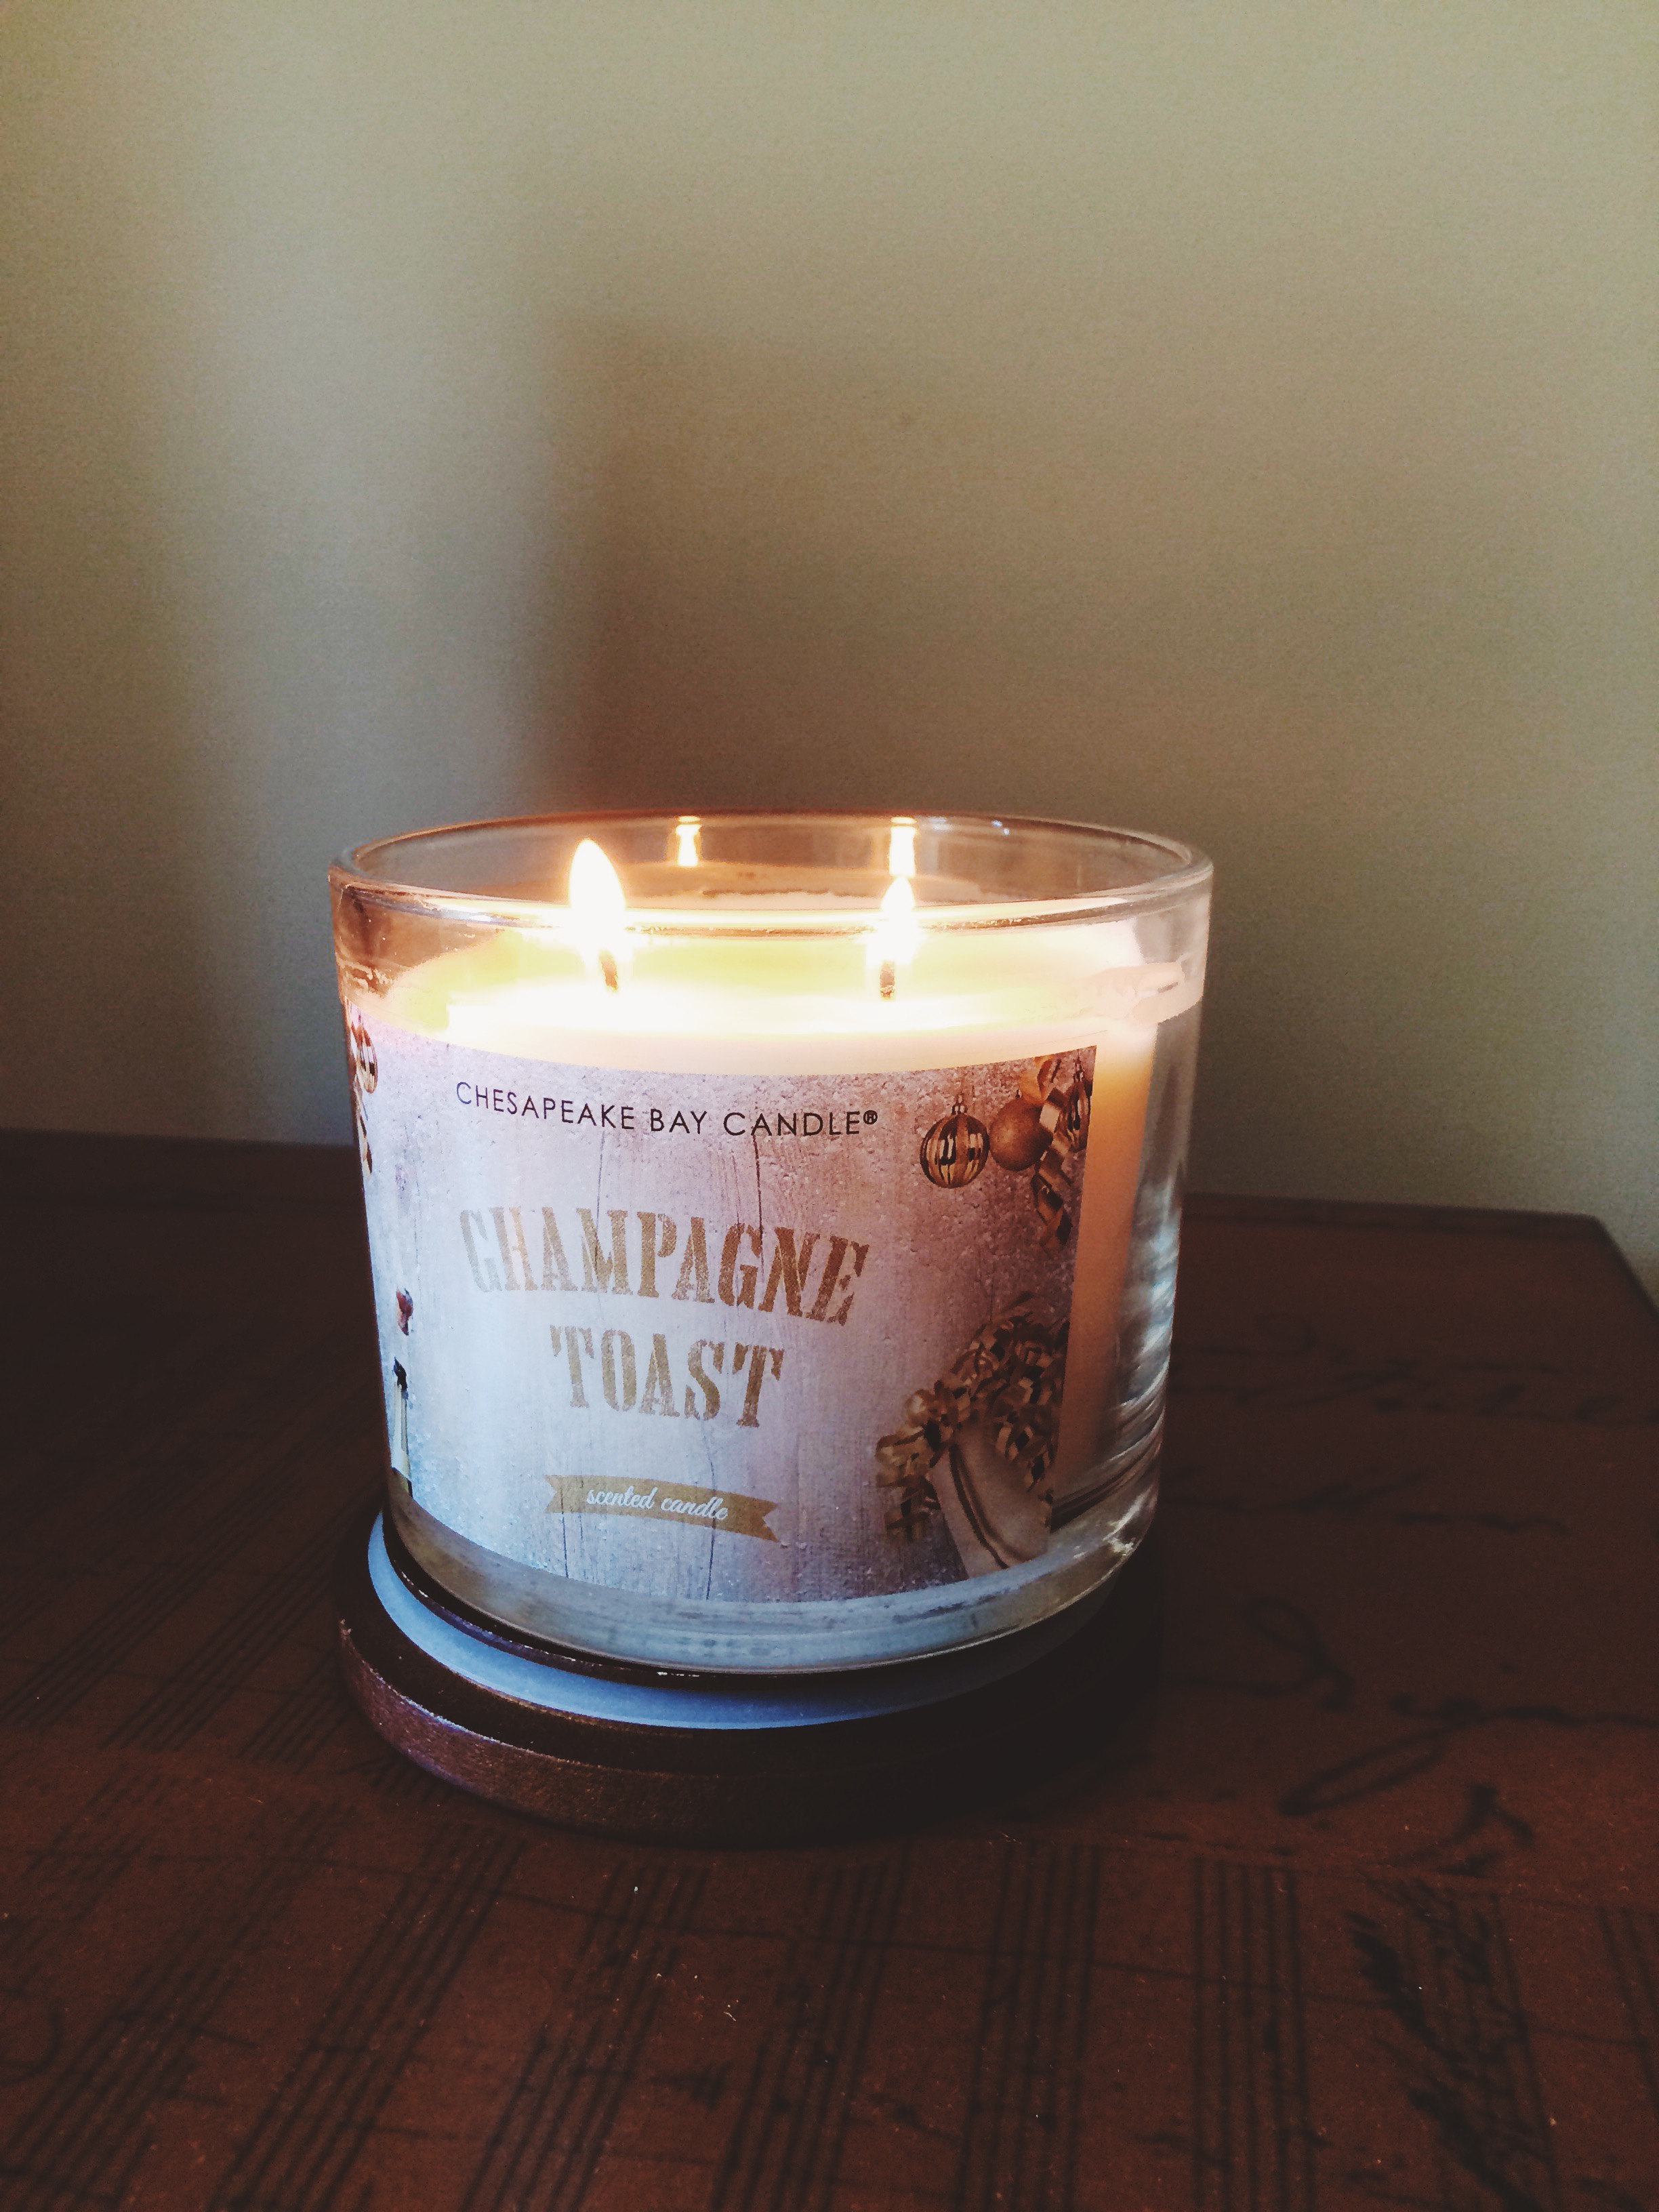
Candles: Freshen up the guest room (or even the whole house) with a couple scented candles. Make sure to keep the scent warm, light, and crisp to create an atmosphere that is cozy and inviting, not overpowering; You never know what your guests prefer scent-wise until they've gotten there, so best to err on the side of less is more. (Side note: You can find a great selection of super inexpensive, delicious-smelling candles at Homegoods and Target!)


Fresh Flowers: Nothing brightens up the home like a bouquet of fresh flowers! Choose bright, seasonal colors to make the whole house pop. And to keep things extra fancy, trim a few and put them in a mason jar or small vase on the nightstand in your guest room.


Bedside Reading Material: You never know the sleep schedule of your guests. While you may be a night owl, they may be early to bed, early to rise. If that's the case, or they're just having trouble falling asleep in a bed that is not their own, it's always nice to provide a little reading material to pass the time. I like to tailor my picks to things I think my specific guest will love. Usually I'll choose one book that will make them think, one book to turn their brain off when they just want to relax, and one or two magazines for when they want to stare at beautiful pictures. It's good to have a variety.


Clear Space in the Closet: Depending on how long your guests plan to stay, it's always a good idea to clear a little space in the closet for them with a few extra hangers. We wouldn't want a beautiful dress or suit to get wrinkled!


Soft Blankets + Socks: I like a cold house, what can I say? And while this cold-centric gal doesn't mind putting on extra layers in the house, my guests may not always. That's why I'm always prepared with extra soft and cozy blankets and socks for when my guests feel a bit chilly. It's always good to have several available in case your guests don't want to share.


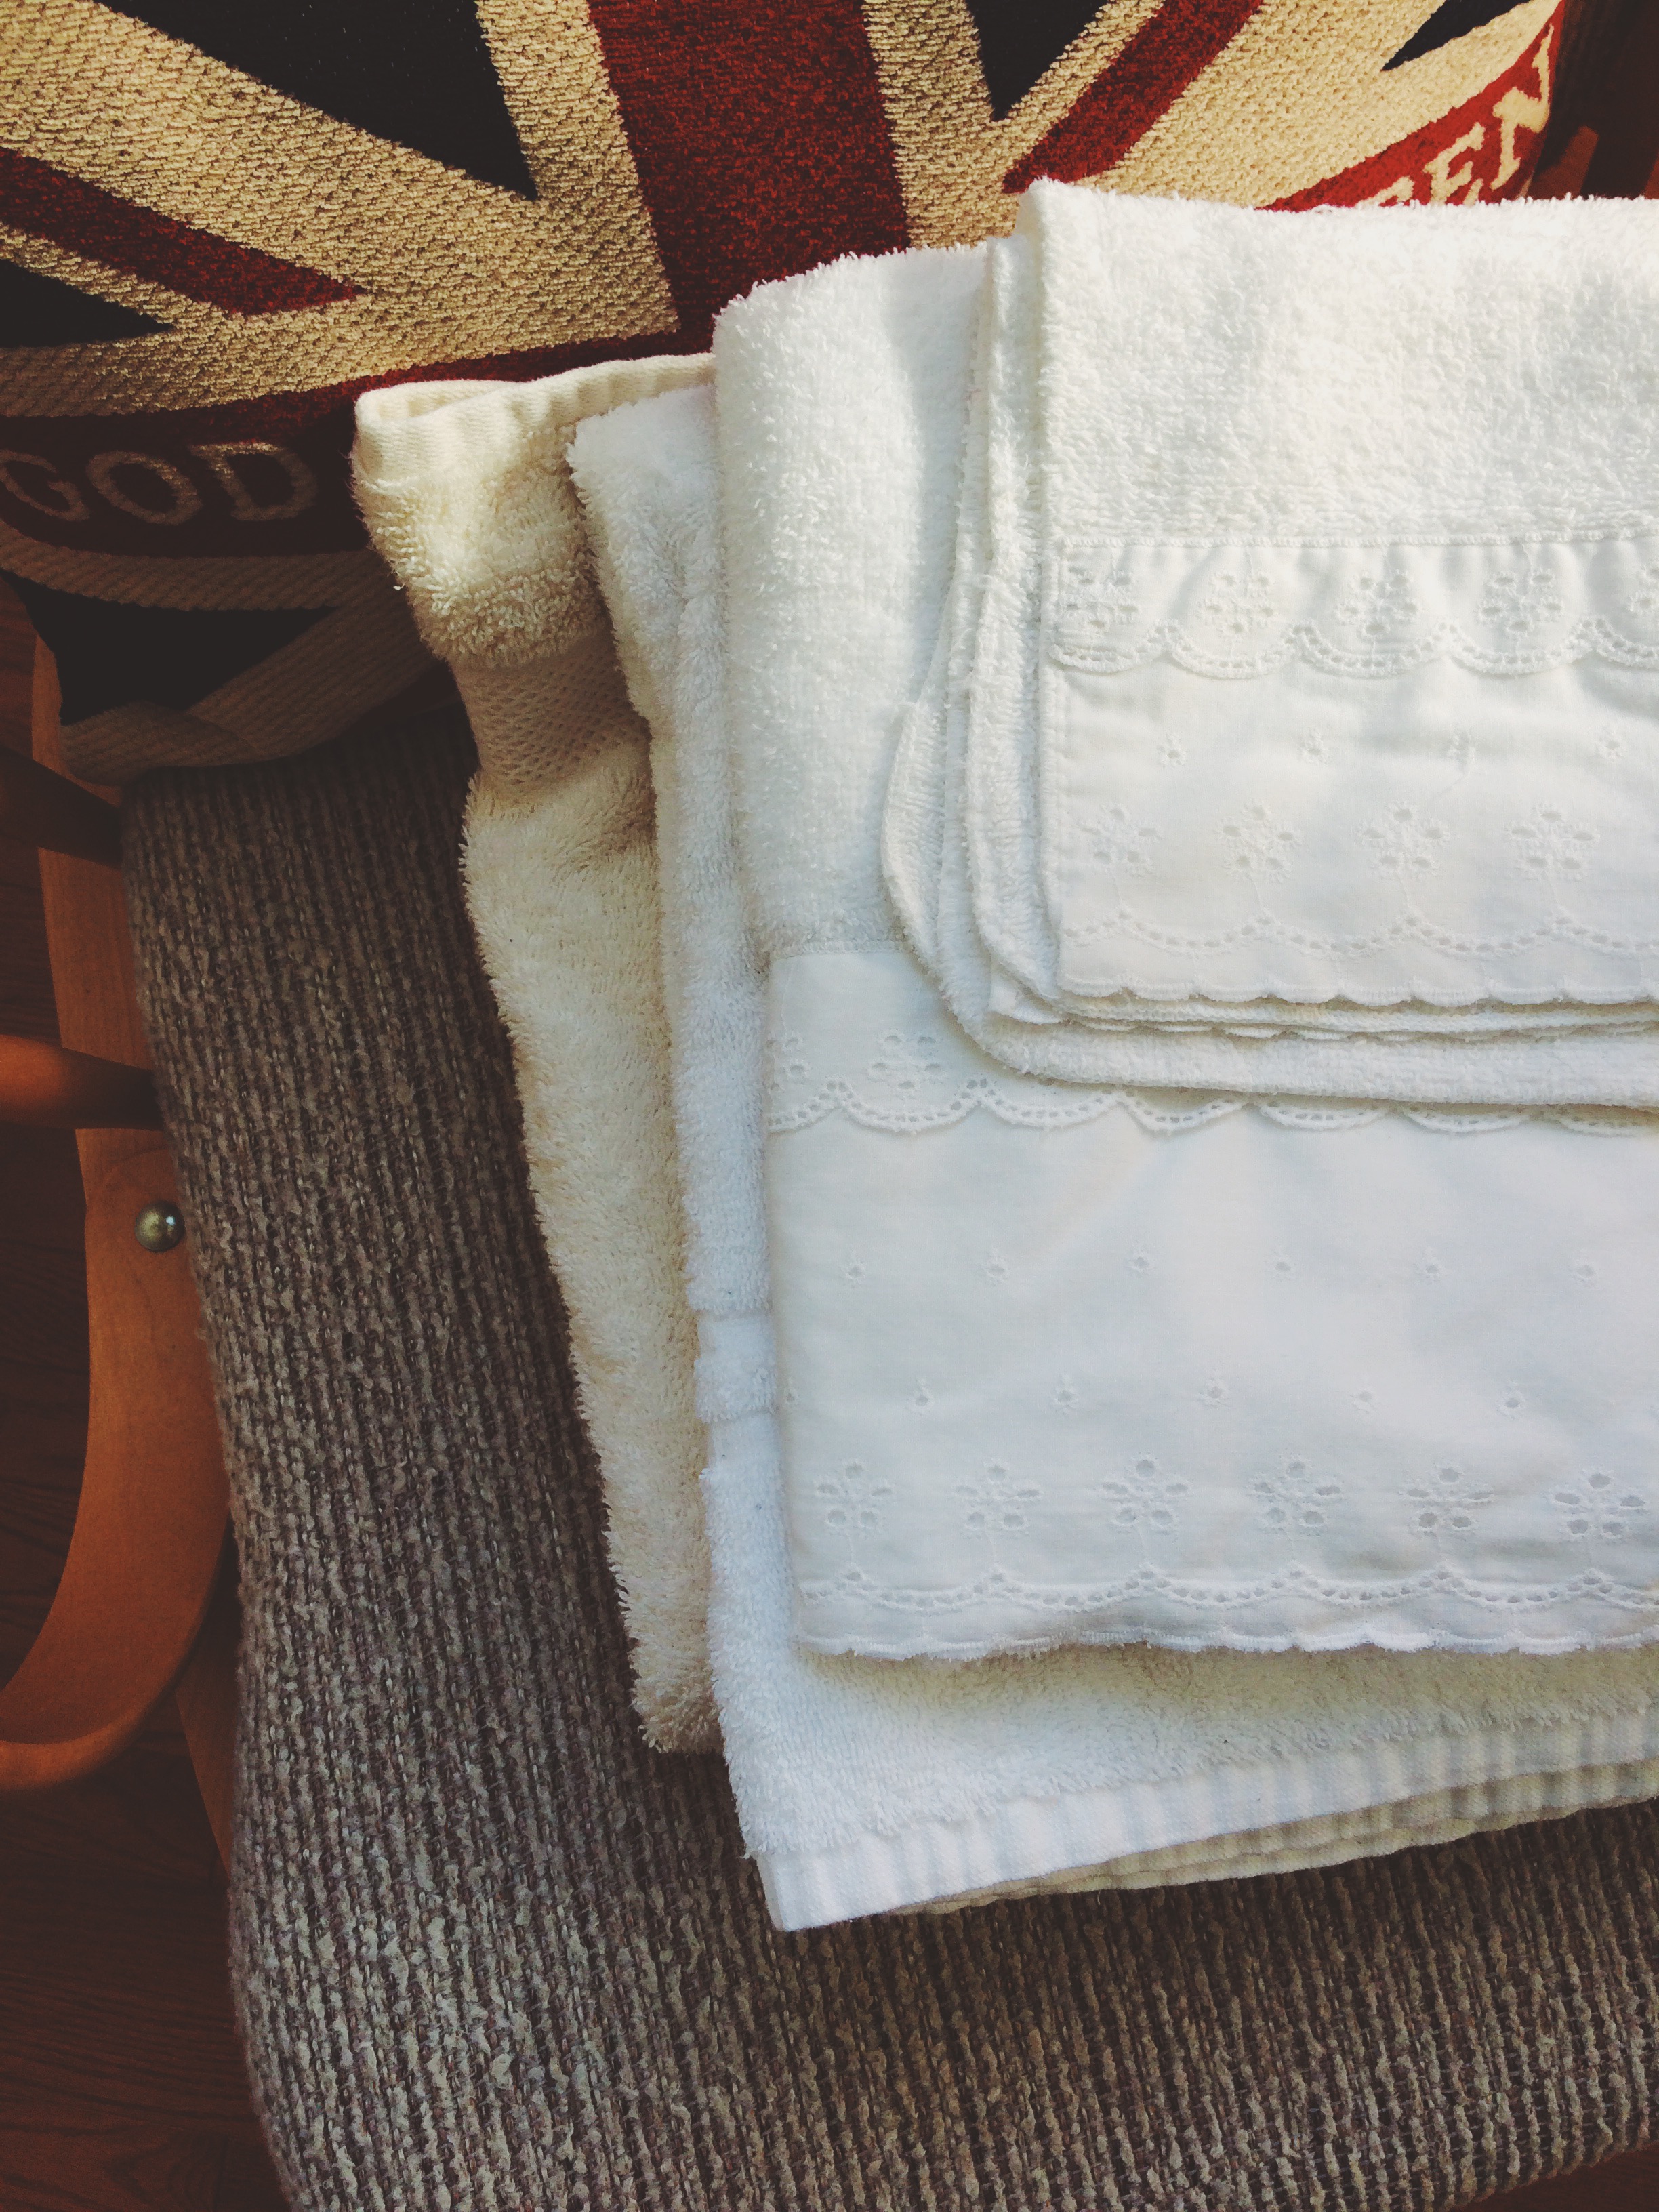
Fresh Linens + Towels: Wash your sheets, and wash extra towels. You never know when your guests may want to take a shower, or even a quick cat nap after a long journey. Be prepared.

A Beverage Basket: We happen to have a lot of baskets lying around the house from various holiday gifts, so I found a good use for one as a beverage basket.  If you've got an extra basket, or don't mind shelling out a few bucks for a small one, fill it with specialty teas, individual coffee packs, water bottles, and even a cocoa mix or two. It's good to be prepared for any tastes your guest may have.

Ask Ahead of Time: The most important tip of all is to always, always ask ahead of time. Ask about food allergies (VERY IMPORTANT), ask what snacks they like, ask what kind of movies they watch, ask how they like their coffee in the morning. Nothing shows that you care more than making sure your guests have the best stay possible. The goal is to make them feel as though they never want to leave, but of course they'll have to eventually! Always ask.


What are your best guest tips? Sound off in the comments below!


Mini Atlantic Beach Pies

Living a stone's throw away from the Atlantic Ocean now has gotten me thinking about beach town culture. The locals around these parts are very set in their ways when the sun is shining and you haven't seen a thermometer drop past 80 degrees in a week. They get up when the sun rises, slather on a healthy coating of sport sunblock, then set up shop at the beach until the sun goes down. And once the sun goes down, if they've planned correctly, they'll have a bonfire on that very same beach. Lather, rinse, repeat.

They're fueled by frozen lemonades and hot dogs, and vow to be olympic-level good at beach volleyball and sailing everyday until their feet hit the pavement and reality sets in. Every minute is water, sand, and sun, and it's all incredibly new to me. Sure, in the town I grew up in, in the Midwest, we were lucky enough to live right by the Lake with beautiful beaches and our own fair share of summertime rituals, but it's just not the same. In the Midwest, fairs and festivals are the name of the game, and stuffing yourself to the very brim with authentic foods of many cultures is how you play to win. But not here. Here, ne'er a pretty Summer day is squandered indoors, and every moment a bull is taken by the horns and ridden all the way to where life begins and ends: the beach. I'll tell you what, it'll certainly take a little getting used to (first things first, I'll have to order a vat of SPF 70 off Amazon), but I plan to be alll about that life one day. Provided there are snacks. And the weather stays between 75 and 79 degrees, as I am prone to fits of hot weather-related complaining.

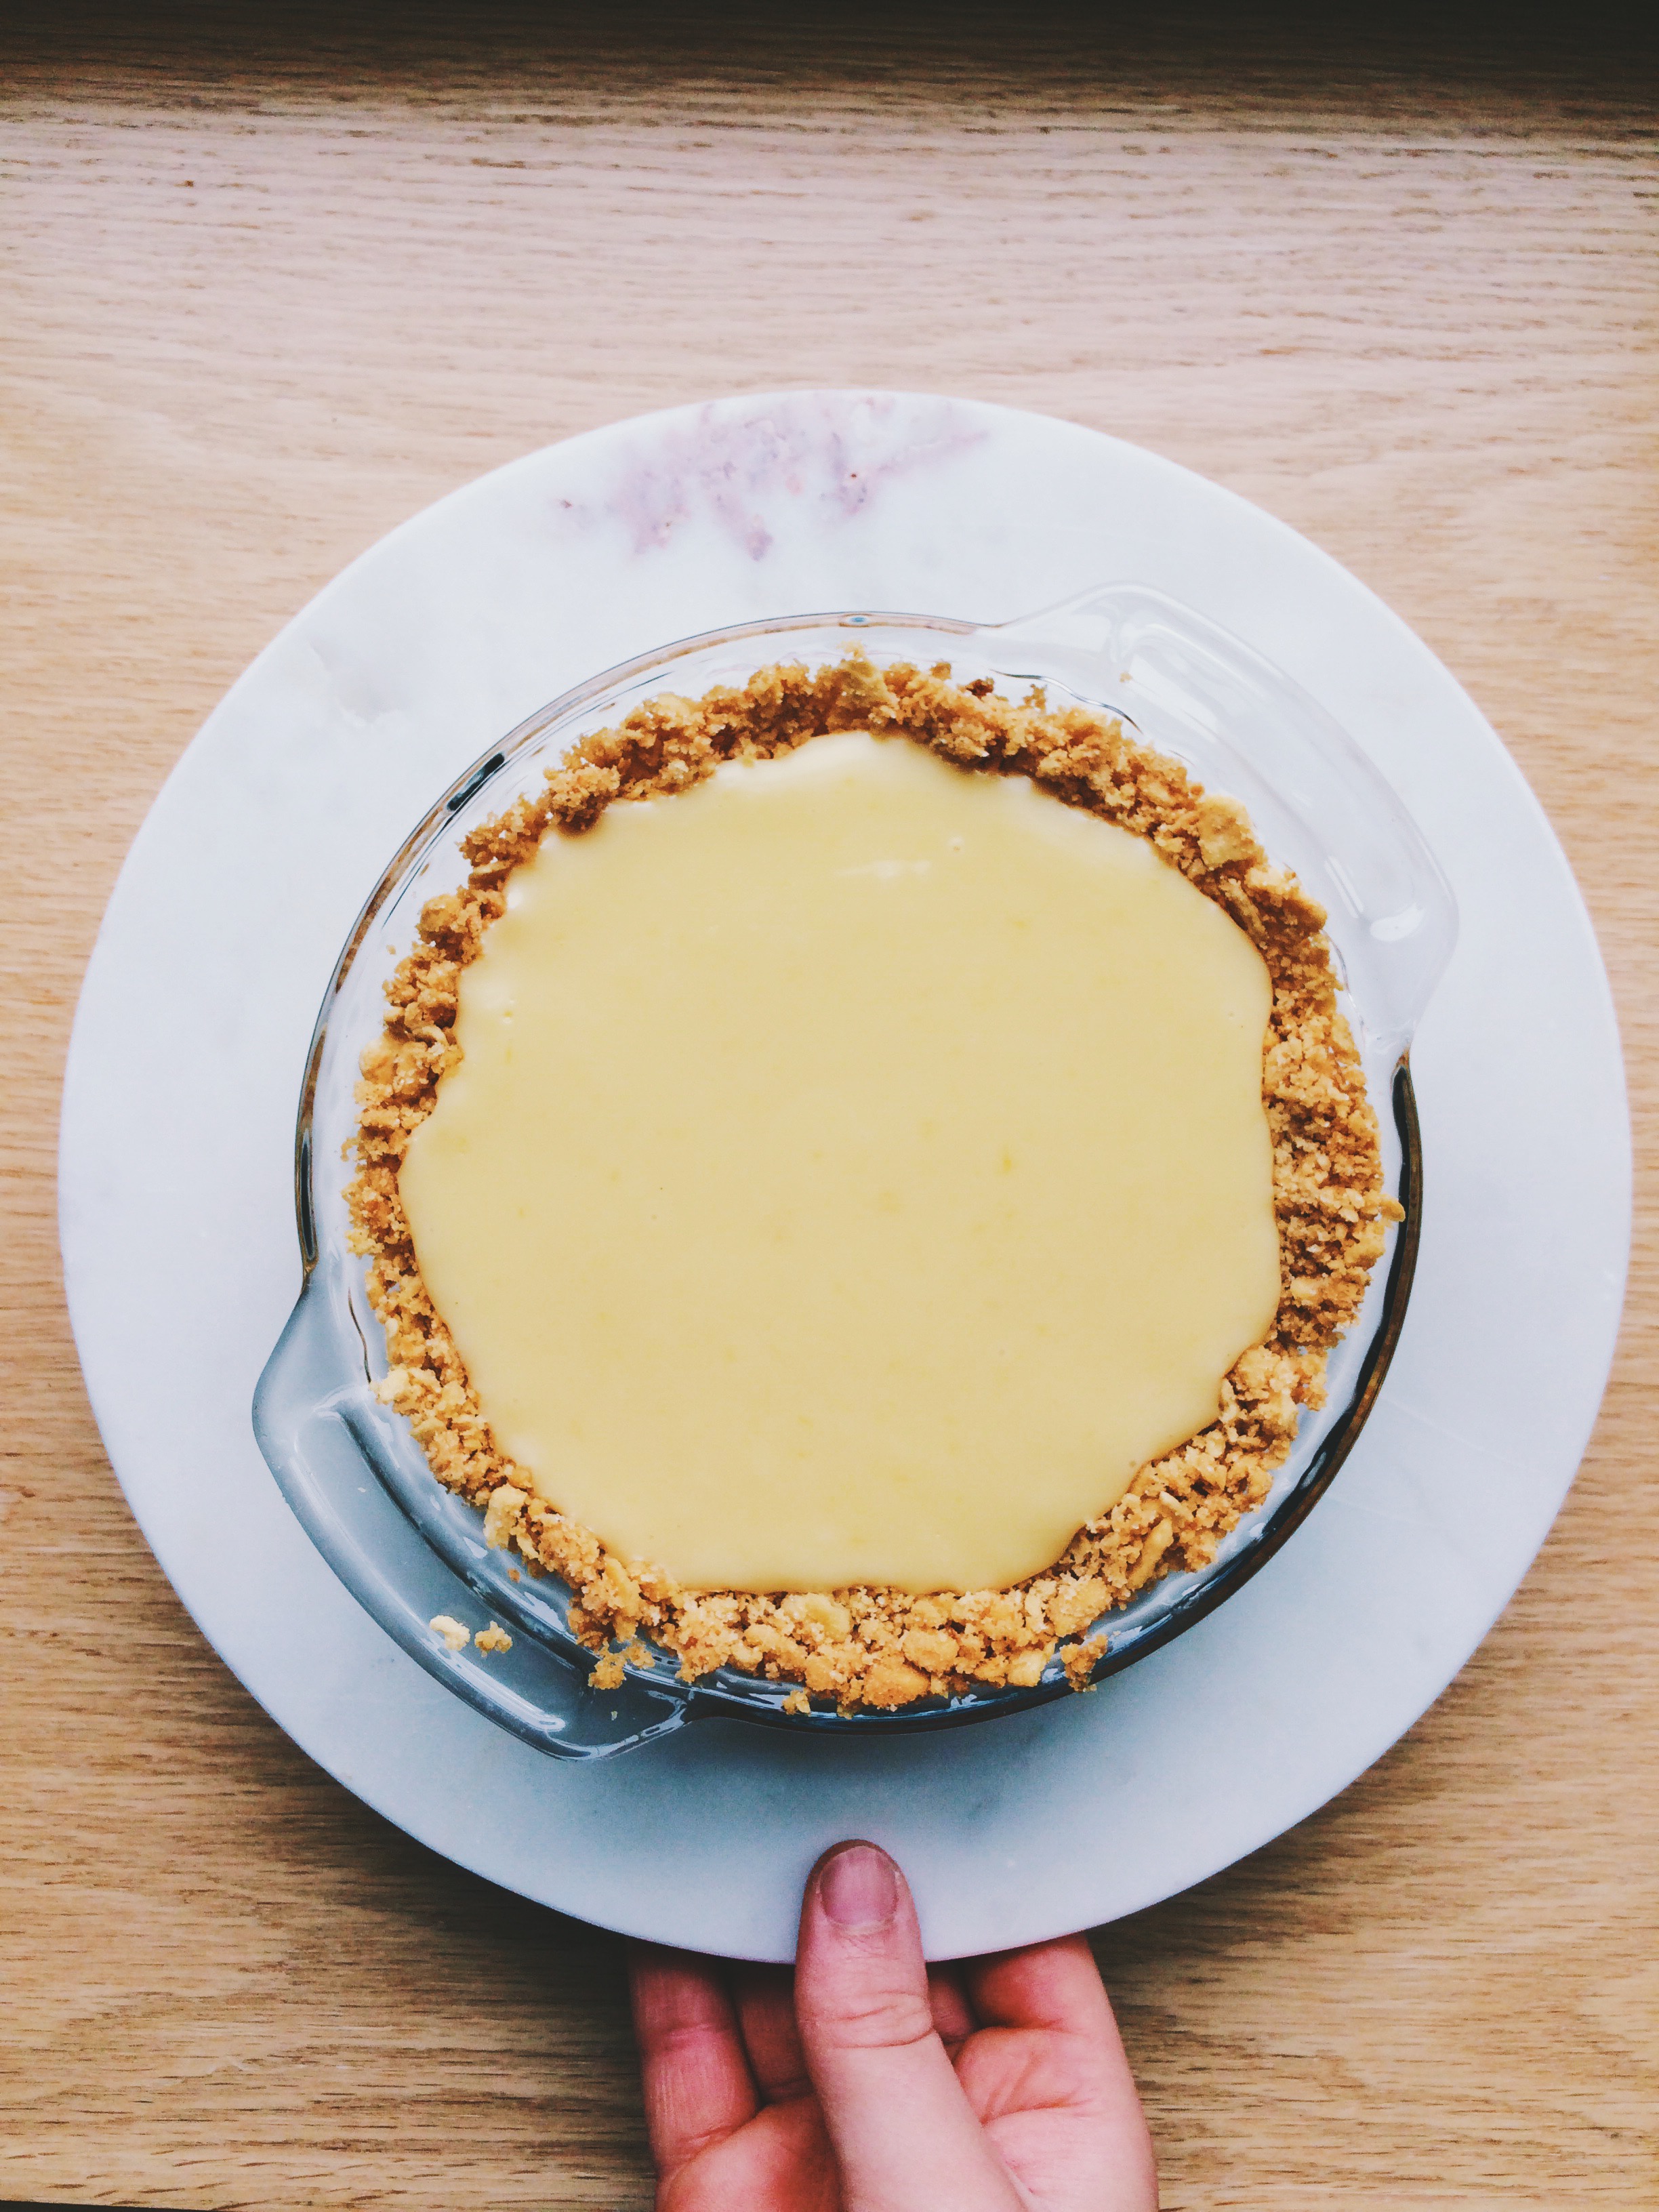
Can you believe that Summer is unofficially officially over?? Three months just whizzed past. If the humidity hadn't had its way with my hair from May to present day, I could almost tell you that it never happened at all. And while I'm more than delighted to welcome in my favorite season, Fall, with as many apple cider doughnuts, hay rides, pie baking, and cardigans and flannel as my lil' heart can take, I'm also a sucker for goodbyes. Why, it wasn't a mere seven months ago that I was tightly bundled up in a heavy winter coat, greedily bathing my face in the glow of a sun that only gave a whisper of warmth. And the days were short and dark, and I wished for Summer with every breath I took. But you can never appreciate or miss something until it's gone, so it's time for Summer to TTFN so I can remember what it was like to love it once more. To give it a proper adieu, I chose to make my favorite dessert: pie, in miniature form because who doesn't love a PERSONAL PIE, with a little wink and nod to my new-ish new home. Hello, Atlantic Beach Pie.

At its core, this Atlantic Beach Pie is the baby of a Key Lime pie and a Lemon Meringue pie. It has both lemon and lime juice, a saltine cracker crust, and delicious, over-the-top, fluffy and puffy meringue; if so you choose to whip up a batch and use it. (P.S. You'll have so many egg whites leftover. Make the meringue.)

There are many, many things that I love about these baby Atlantic Beach pies. For starters, the saltine cracker crust, a detour from the usual graham cracker crust found in basic Key Lime and Lemon Ice Box pies, reminds me of the beach, and transports me to those sunny sand-filled days everyone from my neighbor to the bank teller are always raving about. I love the freshness and brightness that the just-squeezed citrus juices bring to the table. The pies are so fragrant that even a quick whiff of one in passing can wake me right up. And most of all, these are pies that I can not only give to those friends and loved ones who absolutely adore citrus desserts, but also to those friends who *GASP* aren't dessert people. They're sweetened by a few tablespoons of sugar in the crust, and the sweetened condensed milk, and that's it. There's enough sweetness to keep your sweet-tooth happy, but overly-sweet they are not. It's a win-win for every party, and I can go to bed at night knowing that even the most savory-oriented people can compromise every once in a while. Plus, and I've said it before but I'll say it again: WHO DOESN"T LOVE PERSONAL PIES? They're just too cute to resist.

In conclusion, now is the time to raise our forks to a lovely, hot, and humid summer by digging into petite summer-tastic citrusy pies, and reminiscing about the good times. Cheers, Summer '16. It's been real.


Now, pass me that can of pumpkin, would ya? We've got work to do.


MINI ATLANTIC BEACH PIES

Makes 4 6-inch pies (these are the ones I use from WS!) 

What You'll Need:

For the crust:

  • About 2 1/2 sleeves of salted saltine crackers, or about 120 crackers
  • 1 cup unsalted butter, softened
  • 6 tablespoons granulated sugar

For the pies:

  • Two 14-ounce cans of Eagle Brand sweetened condensed milk
  • 8 egg yolks (save the whites to make a tasty meringue!)
  • 1/2 cup lime juice, freshly squeezed
  • 1/2 cup lemon juice, freshly squeezed
  • Lime zest, for garnish

DIRECTIONS 

Preheat your oven to 350 degrees F. Take out two baking sheets, set them aside.

Finely hand-crush the saltine crackers in a large bowl, but be careful not to crush them so much that they become cracker dust. Add the sugar and stir to mix. Next, add the butter and knead it in until the cracker crumbs come together like a dough. Take out your four mini pie plates, then press the dough evenly into each. (Note: You may end up with more pie dough than pie plates to press it into, and that's perfectly fine. Better to have too much than not enough when it comes to mini pies!)

Chill in the refrigerator for 15 minutes, or freeze for 10-12. Once your pies have chilled, place two on each baking sheet and bake in the oven for 18-20 minutes, or until the crusts have gotten nice and golden brown. Let them cool slightly.

While your pie crusts are cooling, it's time to make the filling. Start off by beating the egg yolks into the milk until everything is completely combined. Next, add the citrus juice. At first, the  juice may sit right on the top and make your custard look very thin and watery. It is very, VERY important that you stick with it and carefully stir it (it tends to splash all around at first) until all of your ingredients are completely combined. You'll start to see it thicken to a normal consistency again, just give it a little time.

Once your custard has come together, pour it into each pie plate, making sure to avoid overfilling them. Carefully set your pie plates (if you haven't already) back on their baking sheets, then bake the pies for 16 minutes until the filling has set.

Let your pies cool on cooling racks for 15-20 minutes, then pop them into the fridge to chill completely (they must be absolutely cold in order to be sliced.)

When you're ready to serve, top each with a lovely meringue using your leftover egg whites (here's a great tutorial from The Kitchn!), or freshly whipped cream, then top with a lemon or lime wedge, citrus zest, or coarse sea salt as a garnish.


SOURCE: Adapted from Food52

NYT Blueberry Muffins

SINCE THE DAWN OF TIME (...the early 1990s...) blueberry muffins have been a staple in my life. They're the go-to treat when I'm in an airport and want something sweet in a hurry. They're my pick-me-up when I have them on-hand and I've had a rough day. They've been in the Special Sunday Breakfast rotation at my house for two whole decades. They're just the epitome of classic baked goods in my book.

Before I became a baker and didn't truly know what a difference home-baking could make in a person's life, my go-to if I wanted blueberry muffins was the store-bought boxed mix. You know which one I'm talking about, don't you? The one with a  cellophane  bag full of flour mix and chemicals, and a slim tin can full of tiny, preserved blueberries swimming in syrup. Then you just had to add a few eggs and a cup of milk, and you were on your way. At the time, those muffins, always served still-warm from the oven and a bit crispy (if not a little dry to be honest) on the outsides tasted great, but it hasn't been until I was the age and stage that I am now that I realized I could've been having it so much better all this time.  Don't get me wrong; those mixes definitely have their place...somewhere, but, my friend, fresh is always best. Sure, it may take a little longer to measure out all the ingredients when you're making blueberry muffins from scratch, but really, how much time are you actually  saving by using boxed cake mix? Not as much as you think.

Despite the fact that blueberry muffins are such a classic, there are perhaps dozens of ways that you can prepare them. And believe me, as someone who has had her fair share of muffins, I've also tried a fair share of those recipes. One particular favorite of mine (and incidentally one of the first recipes I EVER tried) comes from Joy the Baker. She doesn't stray too far from the standard, but she takes things up a notch in her recipe with the inclusion of melted brown butter instead of regular-old softened and unsalted. It brings a sort of nuttiness and depth of flavor that I just absolutely love.

And while that recipe is definitely wayy up there on "Sydney's Favorite Baked Goods, Blueberry Muffin Category" list, something inside me was desperately seeking a recipe that stayed within tradition. If I'm going to have that perfect cup of coffee early on a Sunday morning, with the window shades opened and the glow of dawn seeping in, I want to capture that moment just-so. I want that feeling of being in a coffeehouse somewhere where they serve you cafe treats exactly the way they were intended to be served and consumed: no muss, no fuss, just something that tastes phenomenal. Enter: the New York Times Blueberry Muffins.

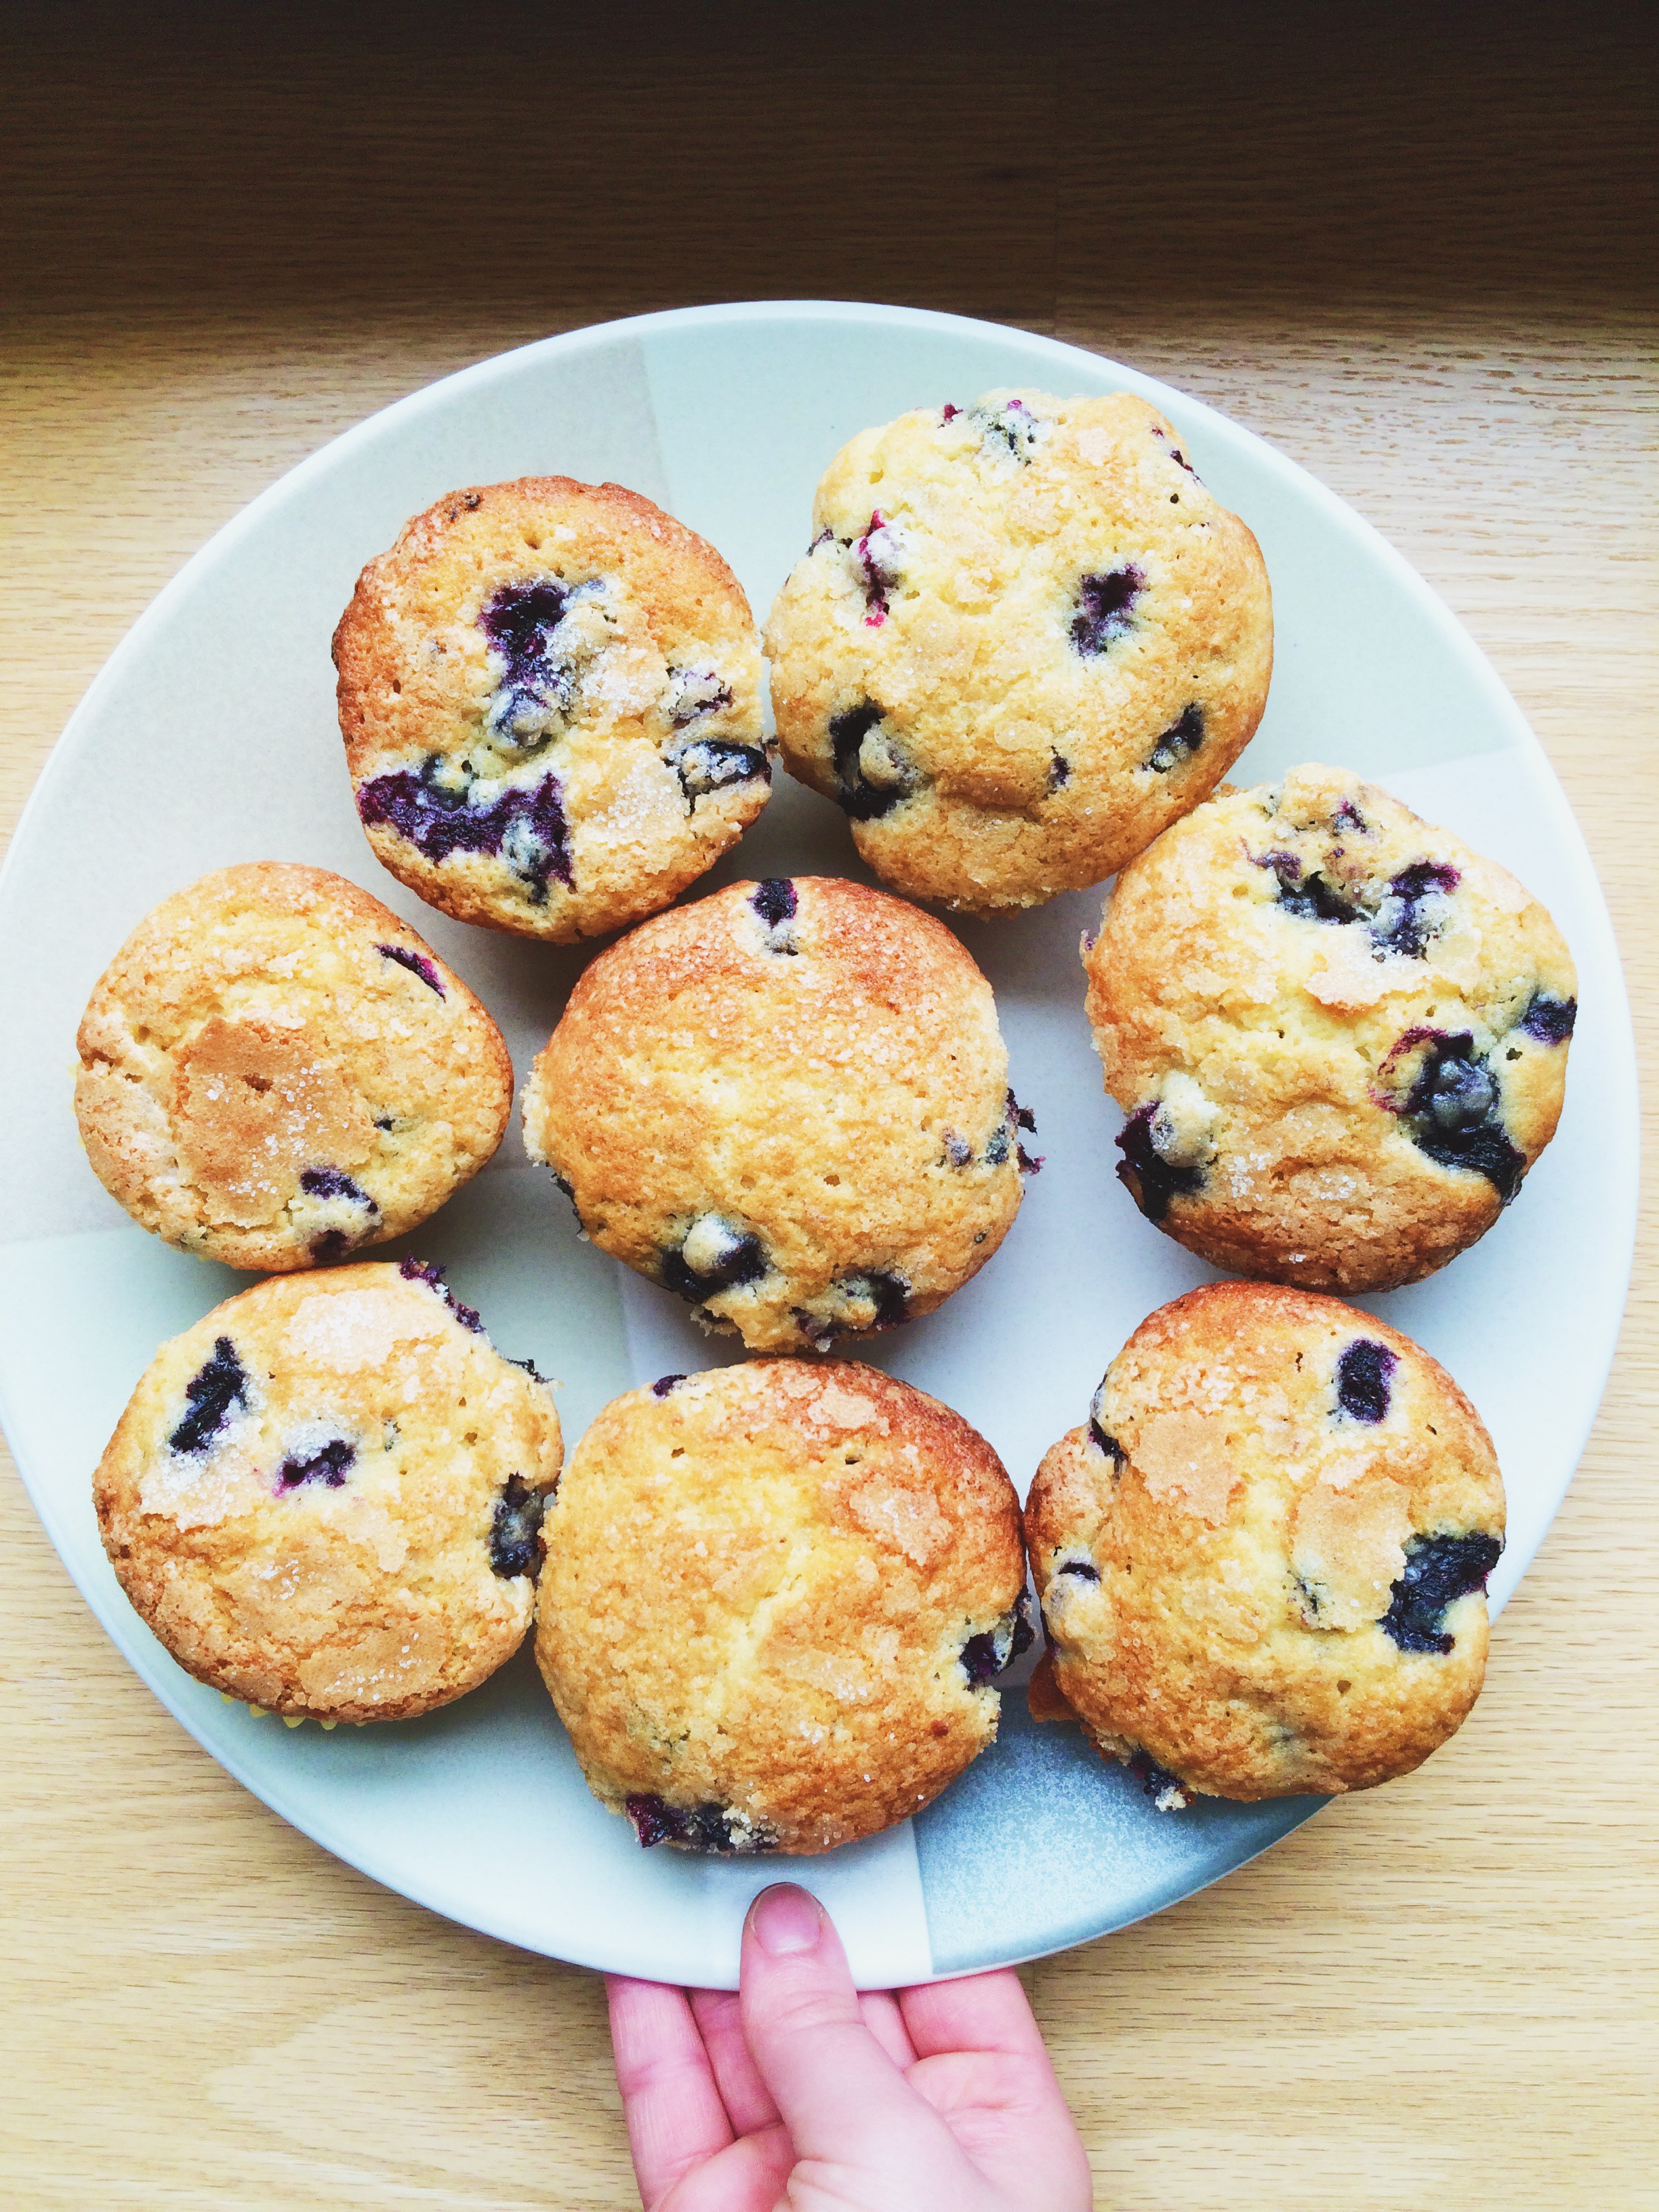
These muffins are the perfect celebration of summer blueberries (although, frozen and thawed blueberries will work perfectly well when it's off-season). It calls for two cups, which means that all twelve of these muffins are packed with plump antioxidant-rich blueberries just waiting to burst when you bite into them. And as much as I love a good crispy, crumbly topping made out of flour, sugar, and butter, sometimes a little coarse sugar will also do the trick of adding a bit of texture quite nicely.

Hey, blueberry muffins are a classic for a reason.


NYT BLUEBERRY MUFFINS

What You'll Need:

  • 1/2 cup butter, softened (I've been really into Irish butter lately! Have you heard about Kerrygold?)
  • 1 1/4 cups sugar
  • 2 eggs
  • 1 teaspoon vanilla extract
  • 2 cups flour
  • 2 teaspoons baking powder
  • 1/2 cup milk
  • 2 cups blueberries, washed, drained, and picked over
  • 3 teaspoons sugar

(Baker's Note: Some of the commenters suggested that the blueberries should be rolled in a bit of flour before being added to the batter to prevent them from sinking while baking. I tried it, and it's definitely something to consider!)


Find the recipe HERE from the New York Times!

Coffee Stracciatella

For my birthday last year, I decided that the gift that I wanted to give myself the most was an ice cream maker. I love ice cream. I love how versatile it is. I love how it can be eaten a million different ways. Most of all, I just loved that there was a (relatively) inexpensive appliance out there that could help me make a treat that I seek out at various life stages (monthly mood swings, breakups, summer giddiness, etc. etc.)

The day it arrived my brain danced with all the different recipes that I could toss into my little white ice cream/gelato/sorbet/frozen yogurt maker, but, like with literally every single new thing I ever buy, I deemed it too nice to use just then and promptly put it back in its box to "rest" until an occasion momentous enough arose for me to finally break it out and use it. Classic Sydney move. My ice cream maker sat new, empty, and alone in its original packaging for 1.3 years.

Finally, friends, an occasion momentous enough arose: I found a recipe, and I wanted ice cream. Groundbreaking stuff, guys.

I am far and away a morning person. Always have been. When I was in college I woke up at 6:30 for my 8 AM classes with a pep in my step whilst my roommates couldn't even utter a syllable without first groggily shoving a mug under the coffe-maker and taking a few sips. But there was one class that even I couldn't wake myself up for and thus had to turn to those beyond delicious frappe drinks that Starbucks sells in grocery stores. My go-to was always "vanilla mocha." Did it totally wake me up? Not really. Was it delicious? Totally!

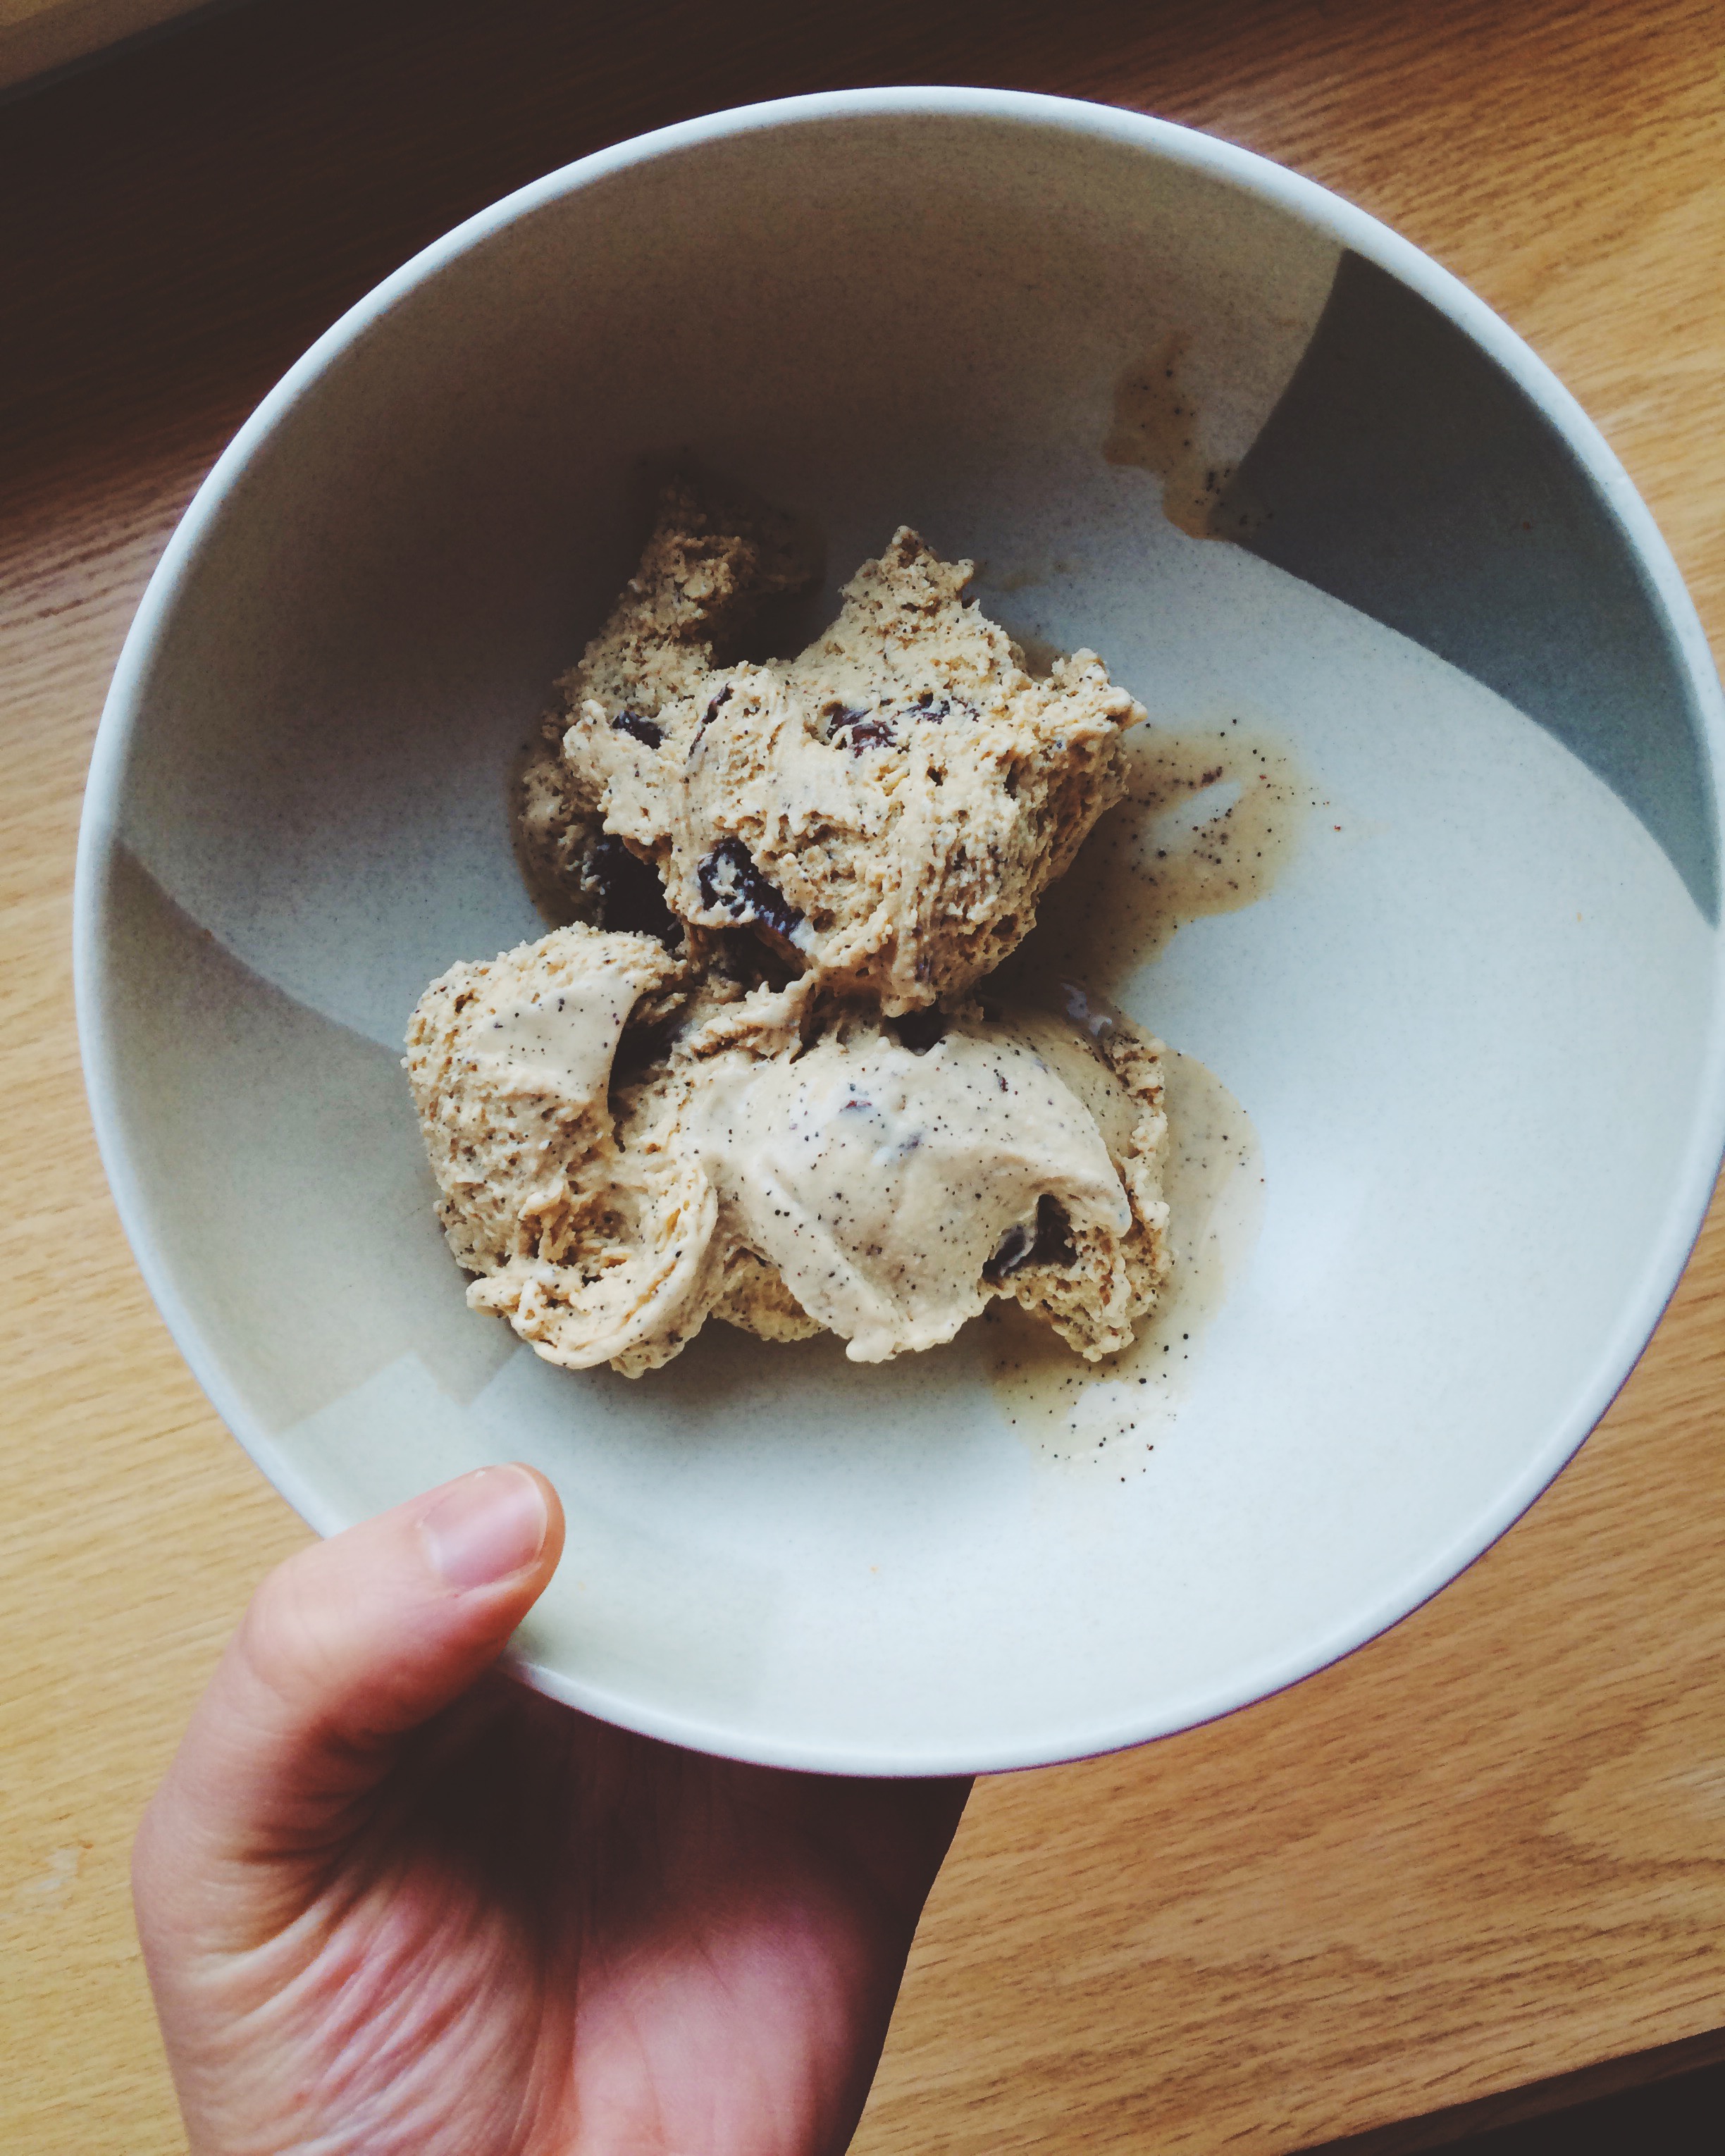
And so, as I spooned this decadent coffee stracciatella into my mouth, all of a sudden the memories of my vanilla mocha frappe days came rushing back. I was there again, in that 8 AM, sipping away at my creamy, milky, choclatey coffee drink which was perfectly cold and perfectly delicious. And it of course makes perfect sense: Stracciatella is milk-based, mixed with heavy cream, sugar, vanilla, and egg yolks. Add in two heaping tablespoons of espresso powder, plus a drizzling of melted bittersweet chocolate (the latter is added whilst the ice cream is churning), and you've got the frozen vanilla mocha treat of dreams. It's rich, creamy, decadent, and so velvety smooth. The coffee flavor is concentrated and completely complimented by the flecks of chocolate that, while being churned, freeze instantly and disperse throughout the entire ice cream. This particular ice cream is special, and I'm so glad it was my first homemade.


Have an ice cream maker? You've GOT to try this coffee stracciatella


COFFEE STRACIATELLA 

What You'll Need:

  • 1 1/2 cups heavy cream
  • 1 cup whole milk
  • Pinch of kosher salt
  • 1/2 cup sugar, divided
  • 1 teaspoon vanilla extract
  • 5 large egg yolks
  • 2 teaspoons instant espresso powder (I like Cafe Bustelo)
  • 3 ounces bittersweet chocolate, melted


DIRECTIONS 

In a medium saucepan, combine the cream, milk, salt, and 1/4 cup sugar. Next add the vanilla extract and stir to combine. Bring your mixture just to a simmer, stirring often to dissolve the sugar. Once the sugar has dissolved, remove from heat.

Whisk egg yolks and the remaining 1/4 cup sugar in a medium bowl until pale, which should take about 2 minutes. Very carefully whisk in about 1/2 cup of the warm cream mixture to temper the eggs, then whisk the yolk mixture into the remaining cream mixture. Cook the mixture over medium heat, stirring constantly, until the mixture is thick enough to coat the back of a wooden spoon. This should take about 2-3 minutes. Remove from heat.

Strain the custard into a medium bowl set over a large bowl of ice water. Next, stir in the espresso powder until dissolved. Let the mixture cool, stirring every so often.

Process your custard in an ice cream maker according to manufacturer's instructions (Make sure to read them VERY carefully!). Once custard is frozen to your desired consistency in the ice cream maker, gradually pour in the melted chocolate (this is best to do when the machine is on, so you won't get any frozen clumps). Process until the ice cream is flecked with chocolate, about 2-3 minutes longer.

At this stage, your ice cream will probably be at soft-serve consistency. If you prefer a harder consistency, go ahead and pop your ice cream into a freezer-safe storage container and into the freezer for another hour or two. The longer you keep it in, the more solid it will become. Enjoy!!


SOURCE: Bon Appetit 

Vanilla Chai Chocolate Truffles

On this episode of "Sydney Makes Easy Things That Impress Her Friends," we're talkin' 'bout chocolate truffles. But not just any regular chocolate truffles, oh no, we're throwing vanilla chai into the mix. Essentially, they're chocolate balls, but doesn't the word "truffle" just make it sound much fancier? Ya, I agree.

The bond that a woman of color has with her hairdresser is one that is sacred, and must be fostered and nurtured. I do this by surprising mine with edible treats at least once a month. And since the hot cross buns that I made a few weeks back were given to family and church members, I decided that my beloved beautician should get something specifically made JUST for her. And like many, many women that I know, she looooooooooves  chocolate. So, I thought, what better treat than just straight-up homemade truffles?

During the holiday season my television basically stays on Food Network and Cooking Channel, and I watched a special episode of Giada at Home in which she made chocolate truffles for some "guests" (more likely the production crew, but ya know, TV magic and all that) who were stopping by for a holiday party. She stepped it up by brewing a bunch of bags chai  in heavy cream, then taking it off the heat and pouring it over chocolate to melt it. Then she stirred it all together until it turned into chocolate ganache, refrigerated it for a few hours until it set, then scooped out the mixture by the tablespoon, rolled it into a ball, coated it in cocoa powder, and then wrapped a little gold leaf around each for a classy touch. They were so cute and elegant, so I logged the recipe away for an occasion when I would really, really want to make them. But when it came time to make these truffles, wouldn't you know it, I didn't have any gold leaf on hand (I'm not workin' with a Food Network budget here), and instead of brewing with classic chai, I decided to switch it up with my favorite bundling of vanilla chai tea bags. Was it a success? Oh yeah. She loved them!

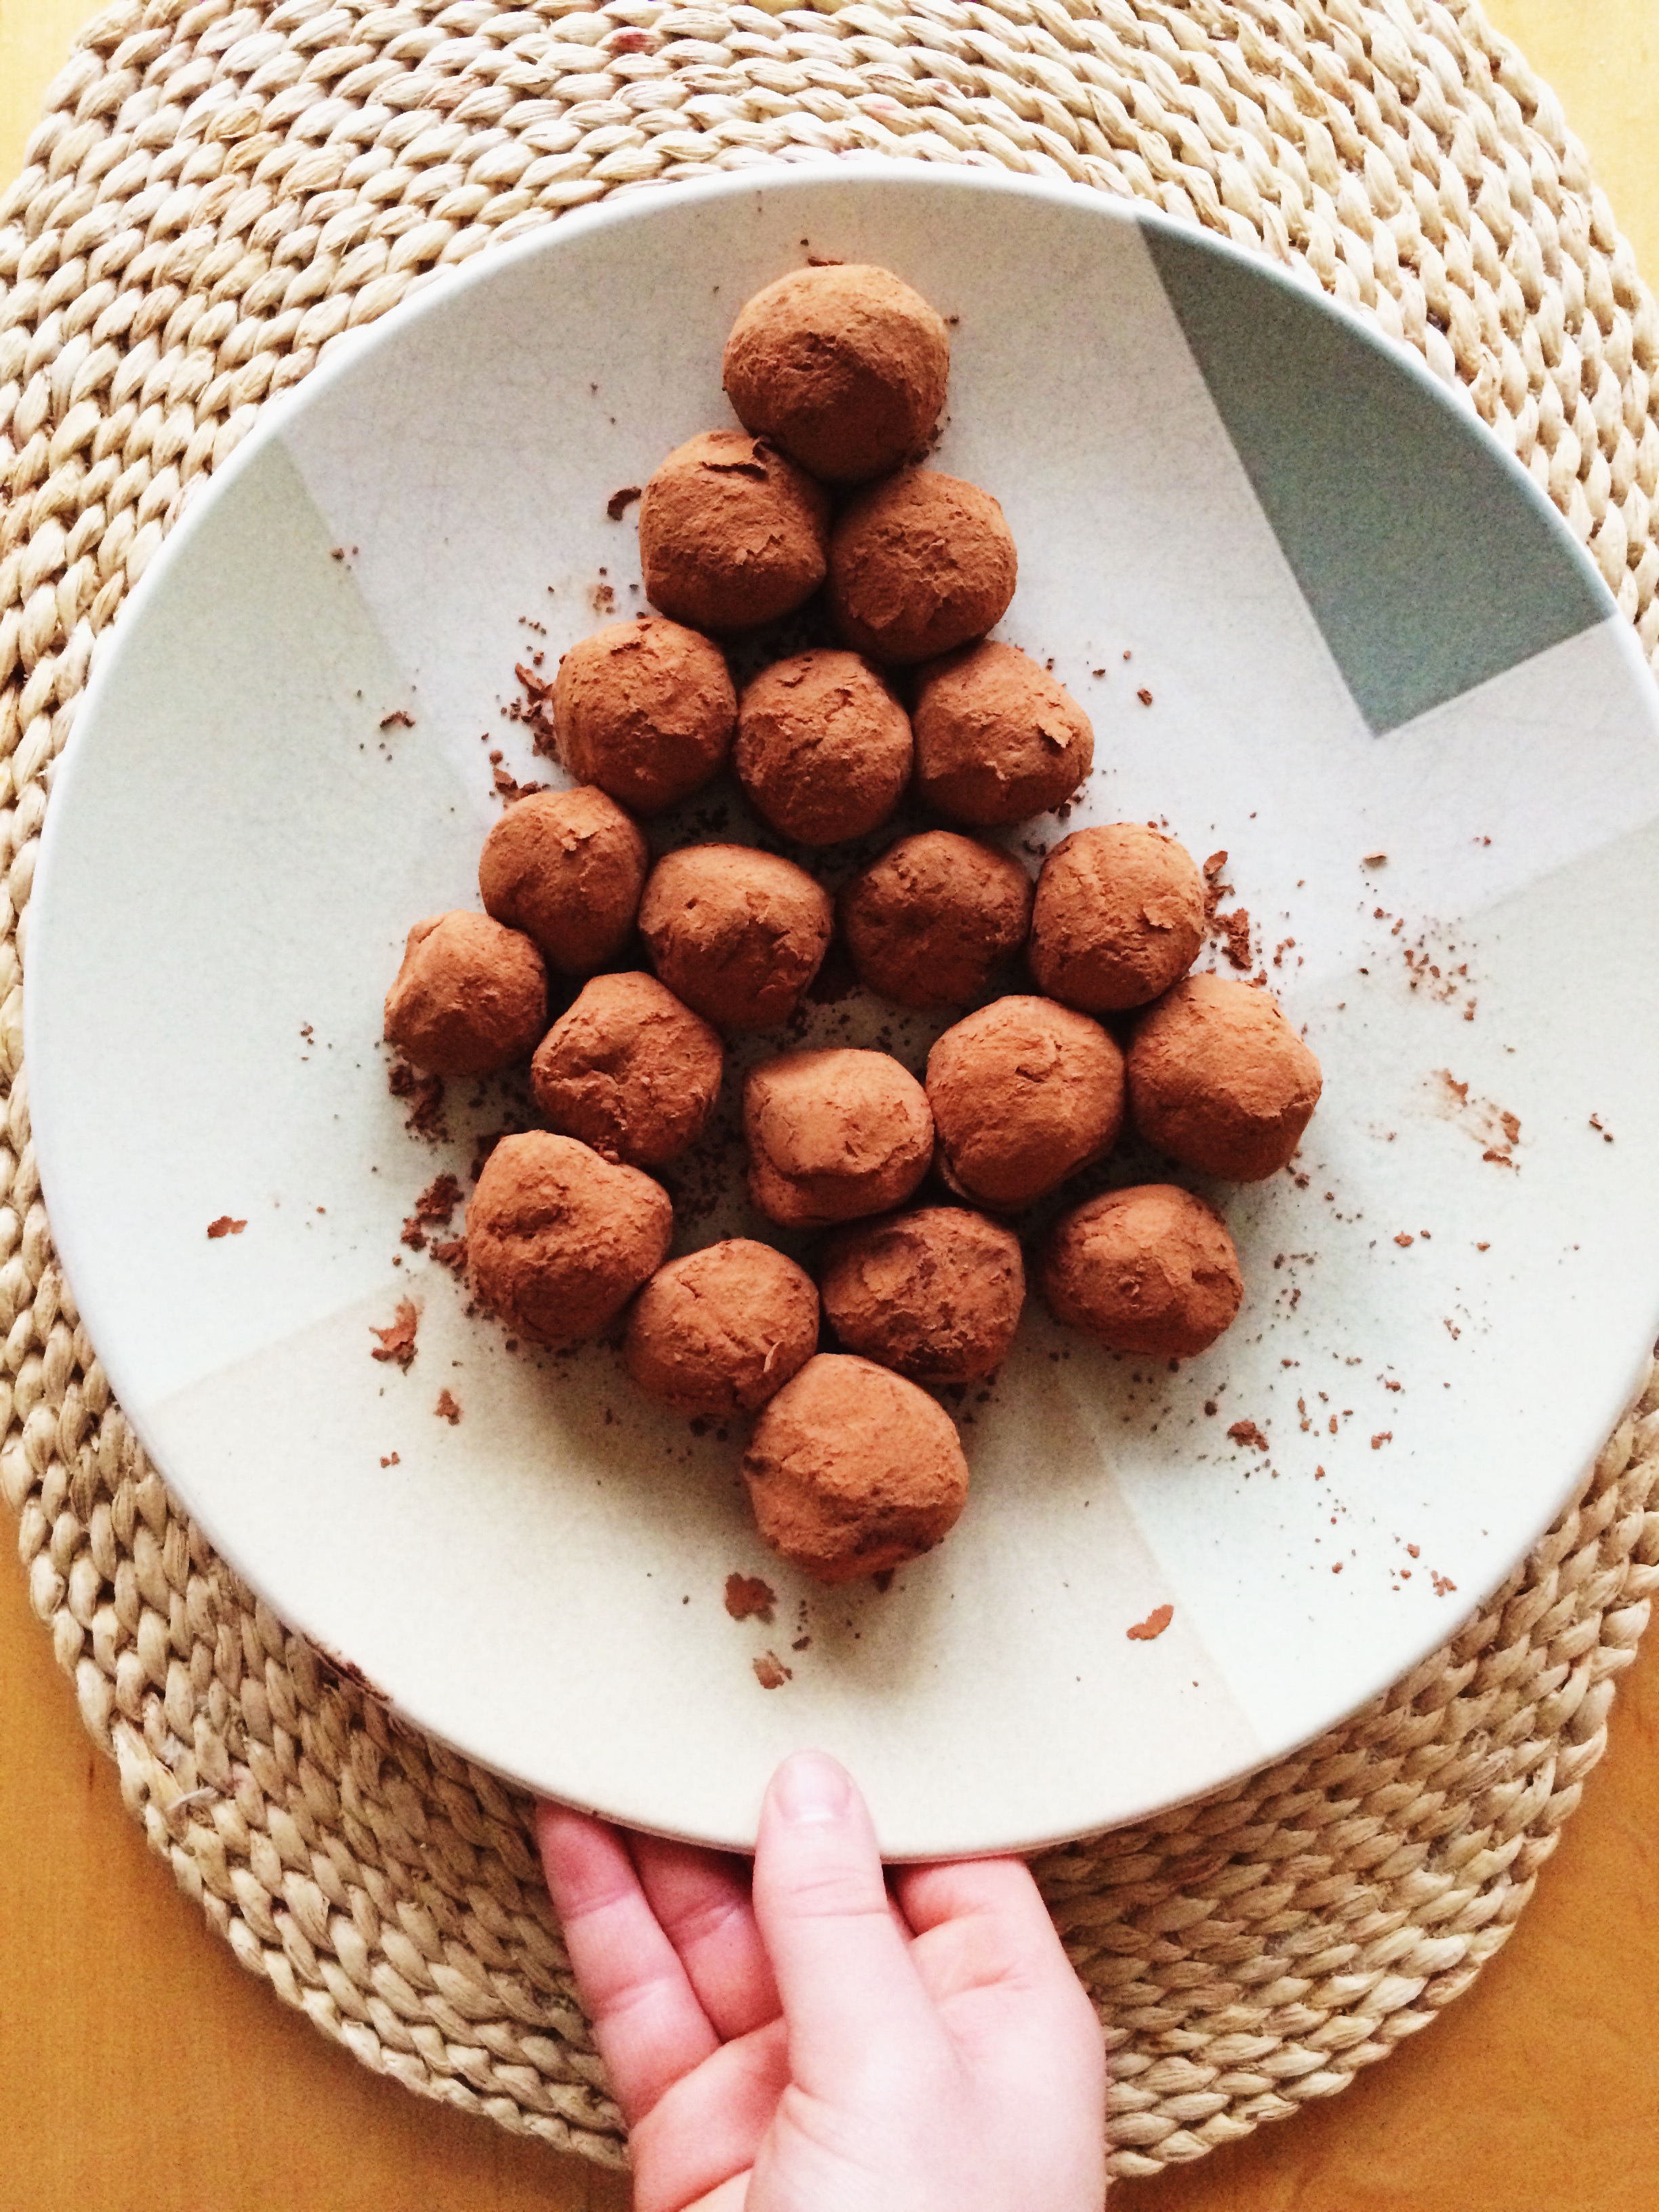
These truffles are perfect for anyone who has a semi-sweet tooth. They've got a bit of an edge to them, with just the hint of sweetness to balance everything out. Basically, you get this intensely rich, deep chocolatey flavor, mixed with the warmth of spices that you find in classic chai, and finished off with the subtle hint of vanilla. The vanilla may just be a gentle whisper, but it definitely won't let you ever forget that it's there.

Best of all, they can be made wayyyy in advance, which works perfectly for me because I can enjoy leftover truffles that didn't fit in the gifted container for weeks to come.

Vanilla Chai Chocolate Truffles: Good for friendship, good for random chocolate cravings.


VANILLA CHAI CHOCOLATE TRUFFLES 

What You'll Need:

  • 1 1/2 cups heavy cream
  • 7 bags vanilla chai tea (I like Bigelow)
  • 1/4 teaspoon salt
  • 9 oz dark chocolate, finely chopped
  • 2/3 cup cocoa powder


DIRECTIONS

Before you begin, tie all of your tea bag strings together in a knot. This makes it much easier to fish them out when you've finished with them.

Pour the heavy cream into a small saucepan, then add your tea bags. Place the pan over medium-low heat, warming the cream slowly; stir occasionally. You'll know when your mixture is heated through when you see little bubbles start to form around the edges of the cream, about 5-7 minutes. Simmer for 3 minutes more, then remove from heat.

Remove the tea bags from the sauce pan. Place the finely chopped chocolate and salt in a medium bowl, then strain the cream mixture over it using a fine-mesh strainer. Let sit for 3 minutes so that the chocolate begins to melt on its own. Slowly whisk the melted chocolate into the cream starting in the center of the bowl, then slowly making your way outwards. Remember to do this slowly and carefully so that the chocolate doesn't seize up! Continue whisking until the mixture is smooth and completely blended. Place a piece of plastic wrap DIRECTLY on top of the ganache, and press down gently to make sure the surface is completely covered.  Let set in the  refrigerator for AT LEAST 3 hours, but the best is overnight. The mixture should be firm by that time, but still easy to work it.

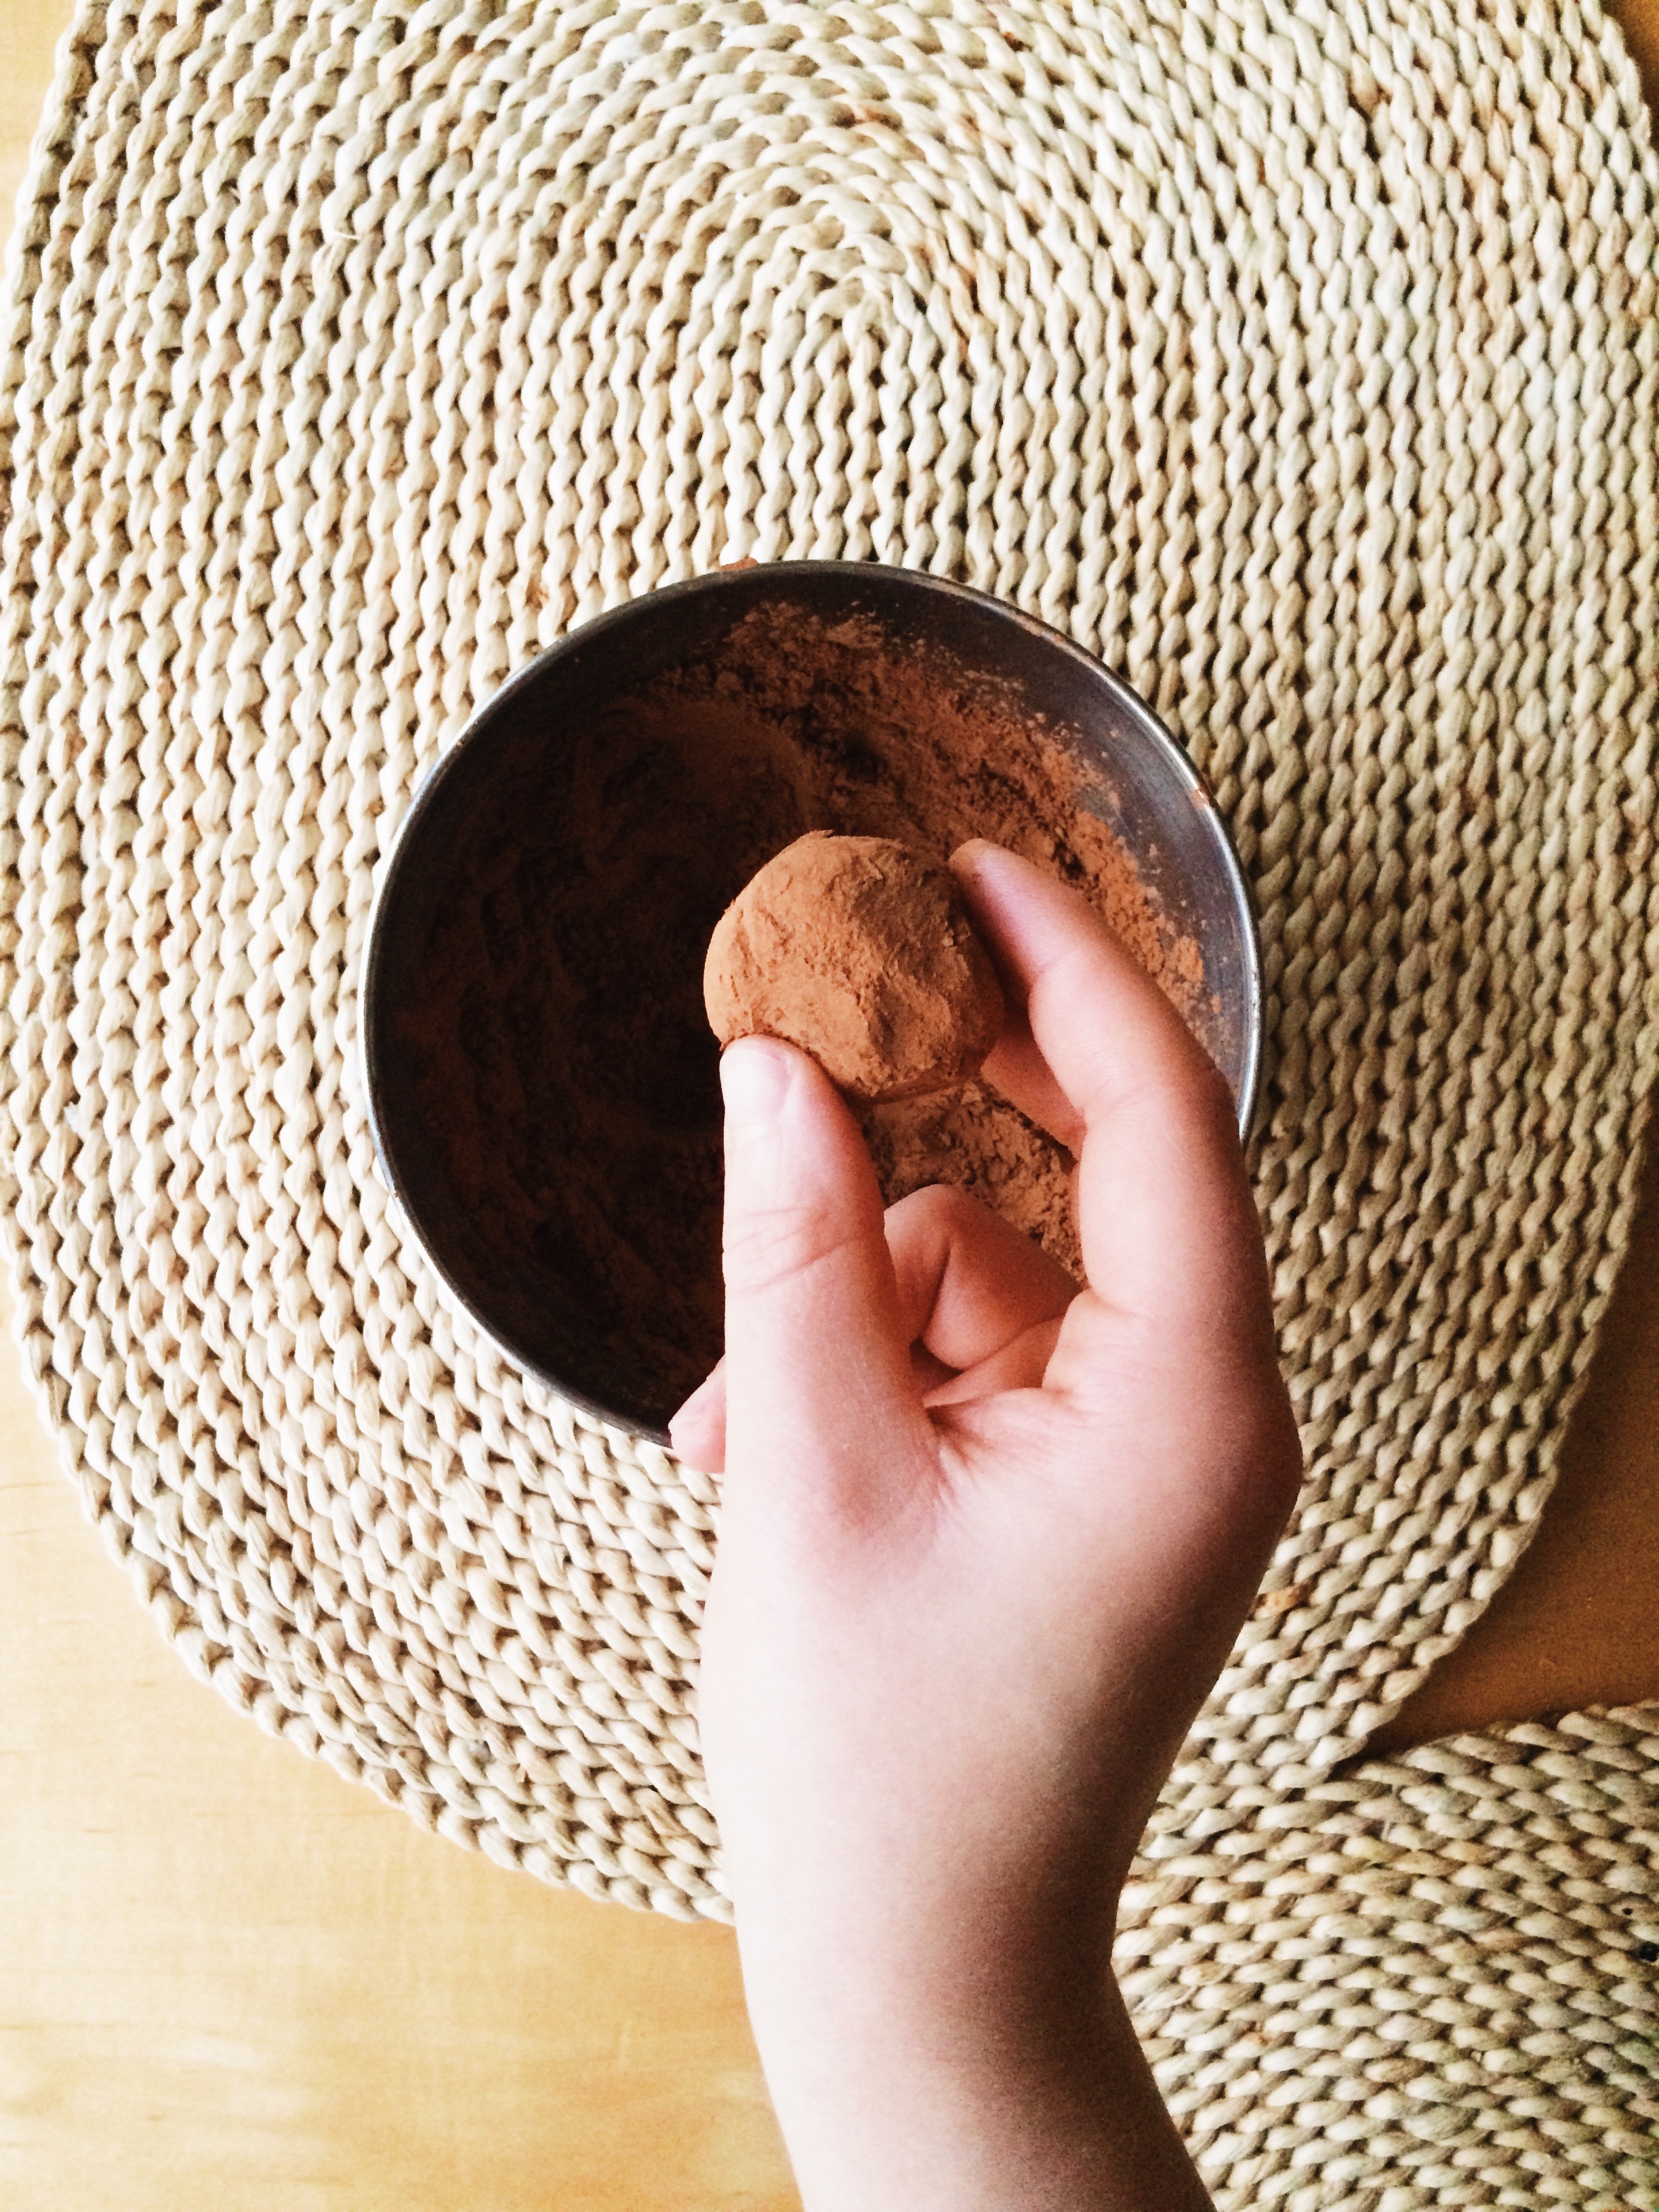
Measure your coca powder, then place in a small, shallow bowl. With a tablespoon cookie scoop (or just a tablespoon measuring spoon), scoop even rounds of ganache into your palm, then very quickly but gently roll into a ball.  Next. roll the ball in the coca powder to coat; gently shake off any excess.. Repeat this process until you've run out of ganache. Place your truffles in an airtight container and refrigerate until you are ready to serve.

Make Ahead: The truffles can be made several weeks ahead of time, kept refrigerated in an airtight container. On the day of serving, roll each in the cocoa powder.


SOURCE: Very, very slightly adapted from Giada De Laurentis 


Heart-Shaped Jammy Sammy Cookies

I know February 14th is long-gone, but I subscribe to Valentine's Day-cutesienss 365 days out of the year.

By the way, how was your Valentine's Day? Mine was surprisingly fun this year, which has freed me from the cycle of weird/awkward/disastrous scenes of Valentine's Day past. I volunteered at the an annual Sweetheart Dinner (last year I made this French Silk Pie), and had a BLAST. There were several courses involved, and no time to take a breath as we were each cooking over our respective dishes (I was on dessert duty but got roped into making seafood Alfredo once we got there). Lots of "behind"-s, and "this is ready to go out!"-s, and "We need more ginger ale for the punch!"-s were thrown out, and it reminded me of how much I love being in a busy kitchen. I live for that hustle and bustle sometimes. I mean, I've never dried so many dishes, or continuously scrubbed the same countertops so many times in my entire life, but MAN was it worth it. It was a really classy affair.

Would you like to know the best bit? These cookies were a BIG HIT!

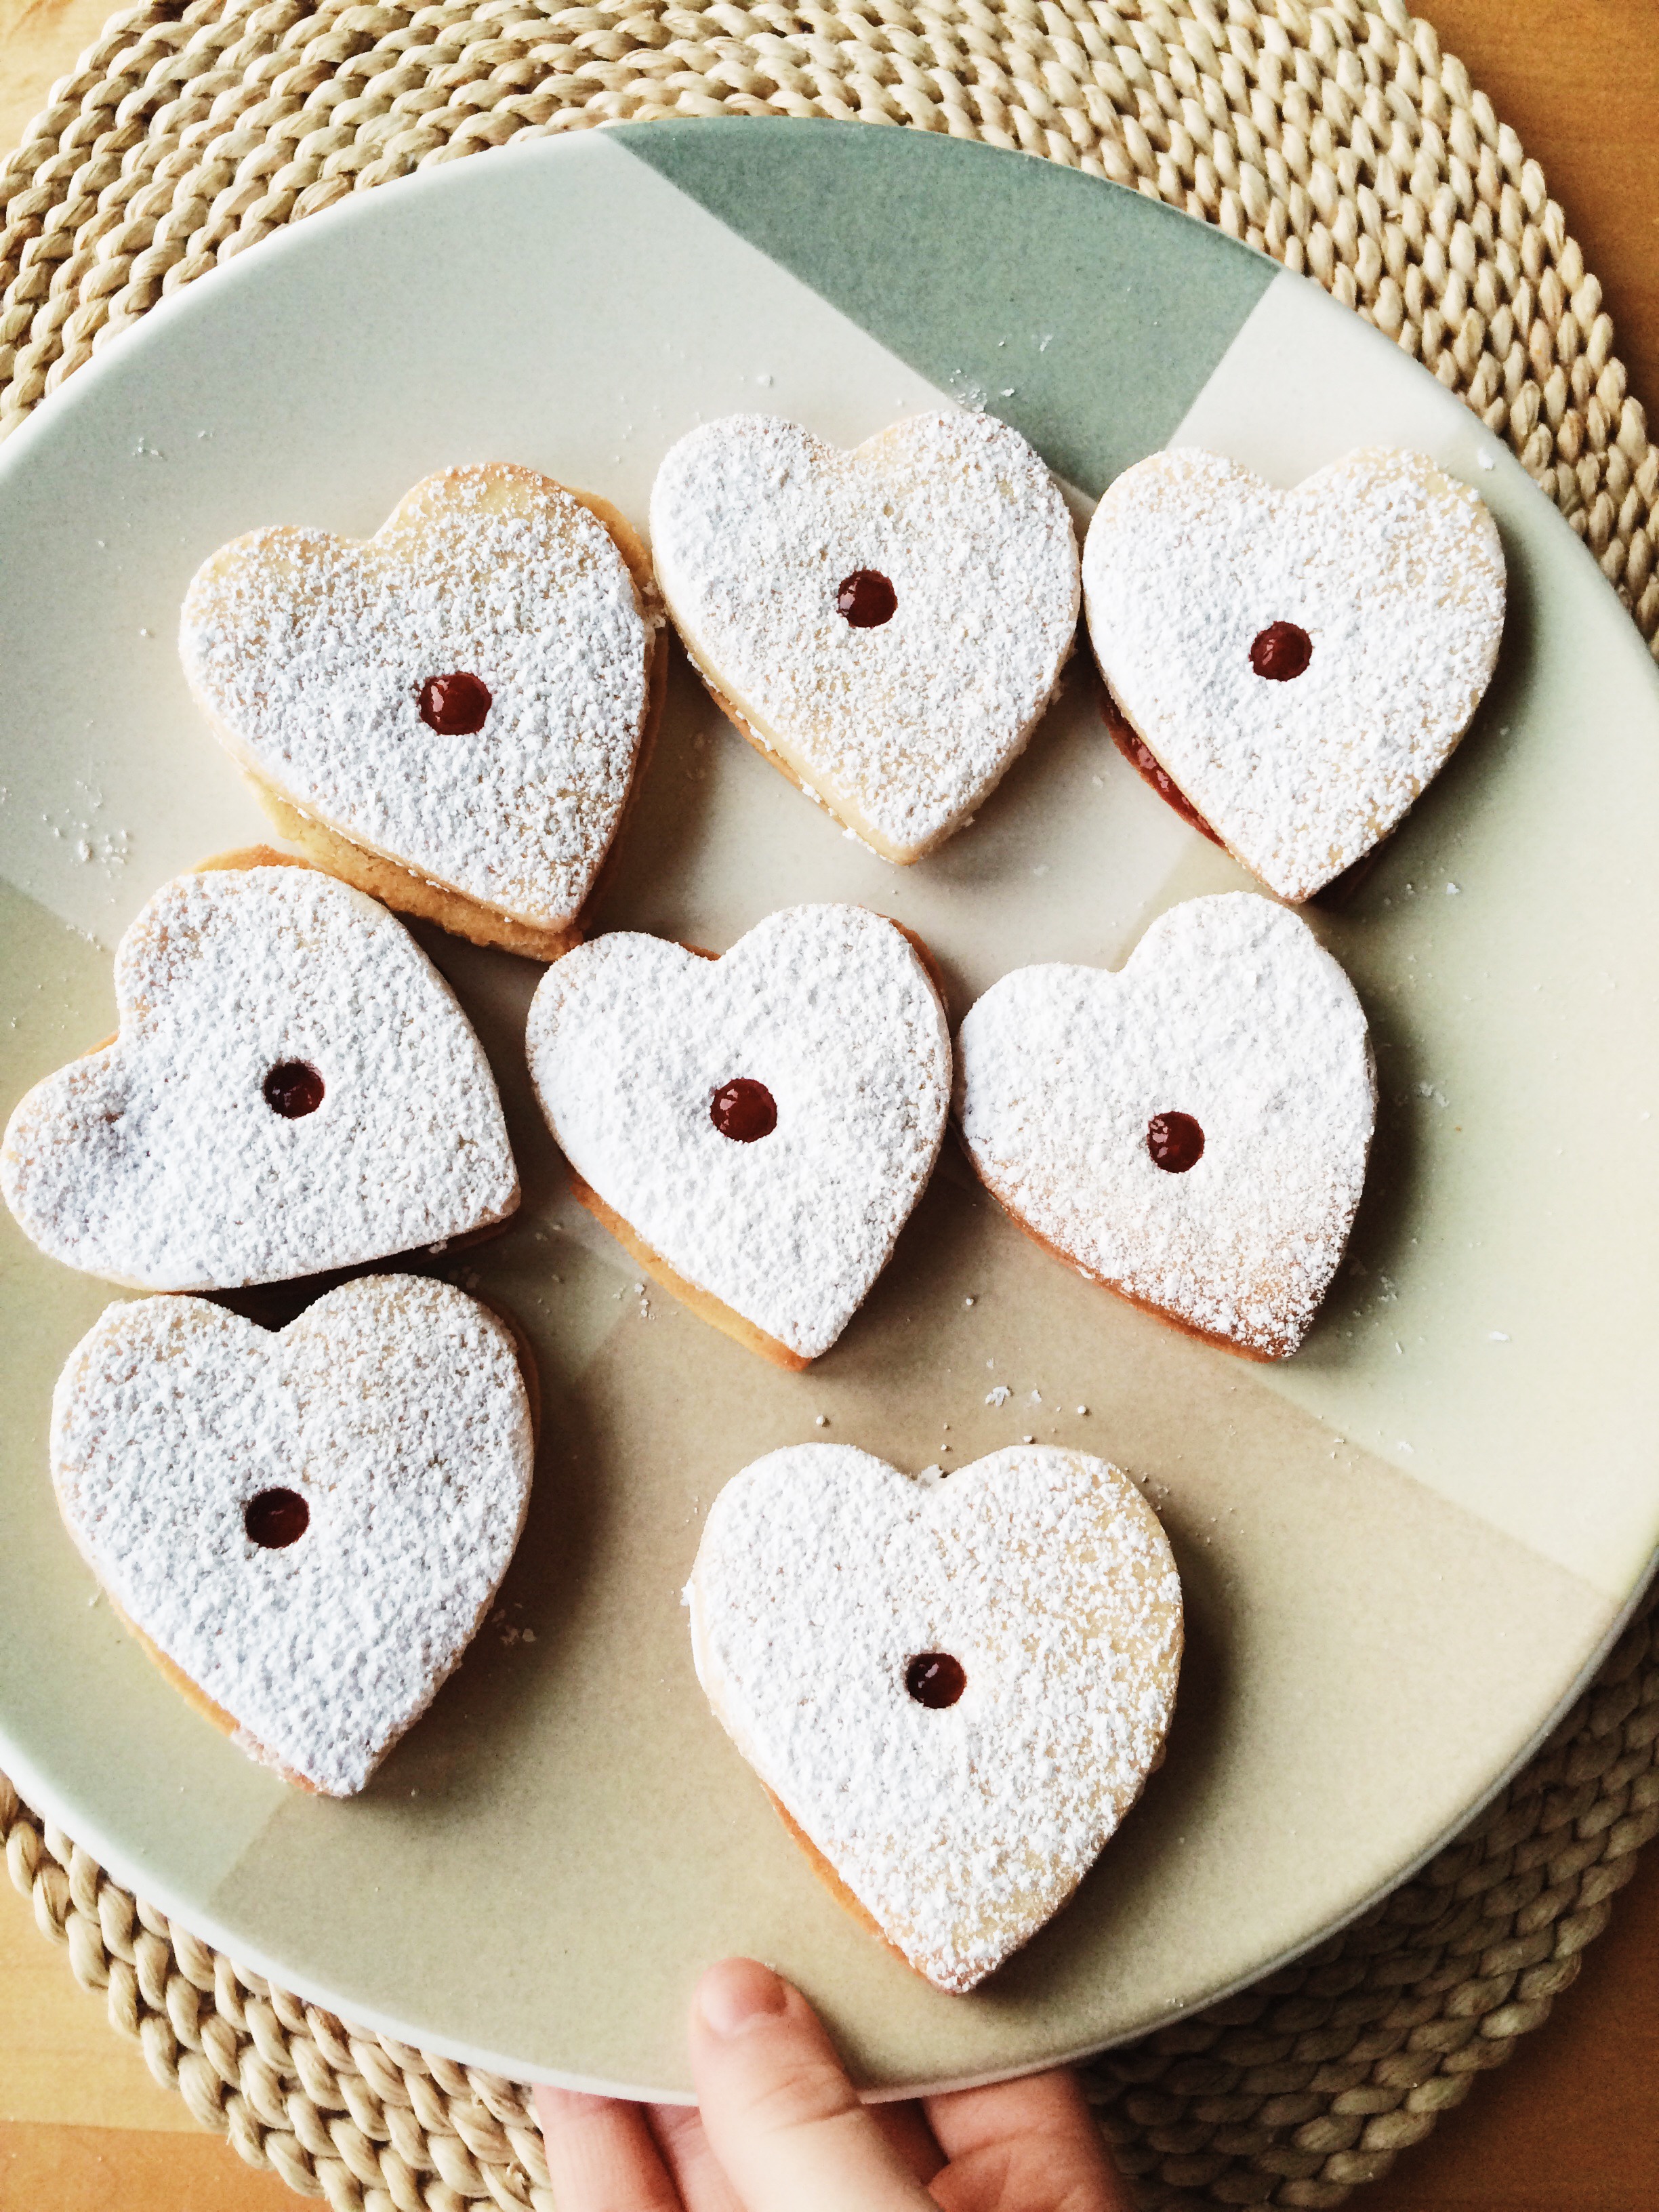
"Jammy Sammie Cookies" is just the name that I wrote to be cute/slightly annoying. You're probably more familiar with the name "Linzer," because of the filling and shape cut out of the center. I generally see Linzer cookies the most during the Holiday Season, but if you ask me, the cookie cutout + filling pairing should be a yearlong affair. And what goes better with a heart shape on Valentine's Day than fresh strawberry jam? Red is like the official unofficial color of V-Day, so the filling of these cookies were required to match accordingly.

Quick question: how do you feel about homemade jam? Me? I'm all about it. I feel like there's nothing that makes me feel cozier than when I'm making jam from scratch. Sure, it takes way less time to just pick a jar off the shelf at your local grocery store, but when you make it yourself you: A) Know exactly what has gone into it, and B) MADE. IT. YOURSELF. Helloooooooo! It's (relatively) fast, (totally) easy, (unbelievably) fresh, and you know it's always made with love.

Now pair that sweet, sweet jam with some deliciously soft shortbread plus a liberal sprinkling of powdered sugar for good measure, and you've got the stuff of dreams, kids. What could be better?

Since you'll definitely have jam left over after filling the cookies, might I make a few suggestions as to what to use it on?

  1. Biscuits
  2. Scones
  3. Toast
  4. Fingers dipped in
  5. By the spoonful
  6. etc. etc.

And let's just quickly talk about the versatility of these cookies, shall we? Yes, they were made for February 14th, but they can go wayyy beyond that. We're talkin' tea parties, birthday parties, bridal showers, picnics, breakfasts, coffee breaks, dates, etc. etc. Cookie hearts filled with homemade jam never go out of season.

It's a beautiful thing.


HEART-SHAPED JAMMY SAMMY COOKIES

What You’ll Need:

For the shortbread:

2 sticks unsalted butter, at room temperature

1 cup granulated sugar

1/4 teaspoon salt

1 large egg + 1 large egg yolk, room temperature

1 teaspoon vanilla extract

2 1/2 cups all-purpose flour

Powdered sugar for sprinkling

For the jam:

32 oz (two 16 oz containers) strawberries

1/2 cup + 1 tablespoon  brown sugar

Pinch of salt

Zest of 1 whole lemon + juice of half a lemon


DIRECTIONS:

First, let’s make the shortbread cookie dough:

 In the bowl of a stand mixer fitted with the paddle attachment (or a hand mixer, or a wooden spoon), add the butter, sugar, and salt and beat until light and fluffy, about 3-5 minutes. Add the egg and egg yolk one at a time, making sure each addition is well combined. Next, add the vanilla extract. Add the flour in three batches, making sure each addition is well combined (but don’t over-mix), before adding more flour. When necessary, scrape down the sides of the bowl using a rubber spatula.

Once your dough has just come together, lay your dough out on a plastic sheet, then divide it in half. Wrap each half tightly in plastic wrap, then shape to form discs. Refrigerate the discs for at least one hour, but best is overnight.

Ok, dough’s done, now let’s make the jam:

Rinse strawberries before using, and let drain completely before getting started.

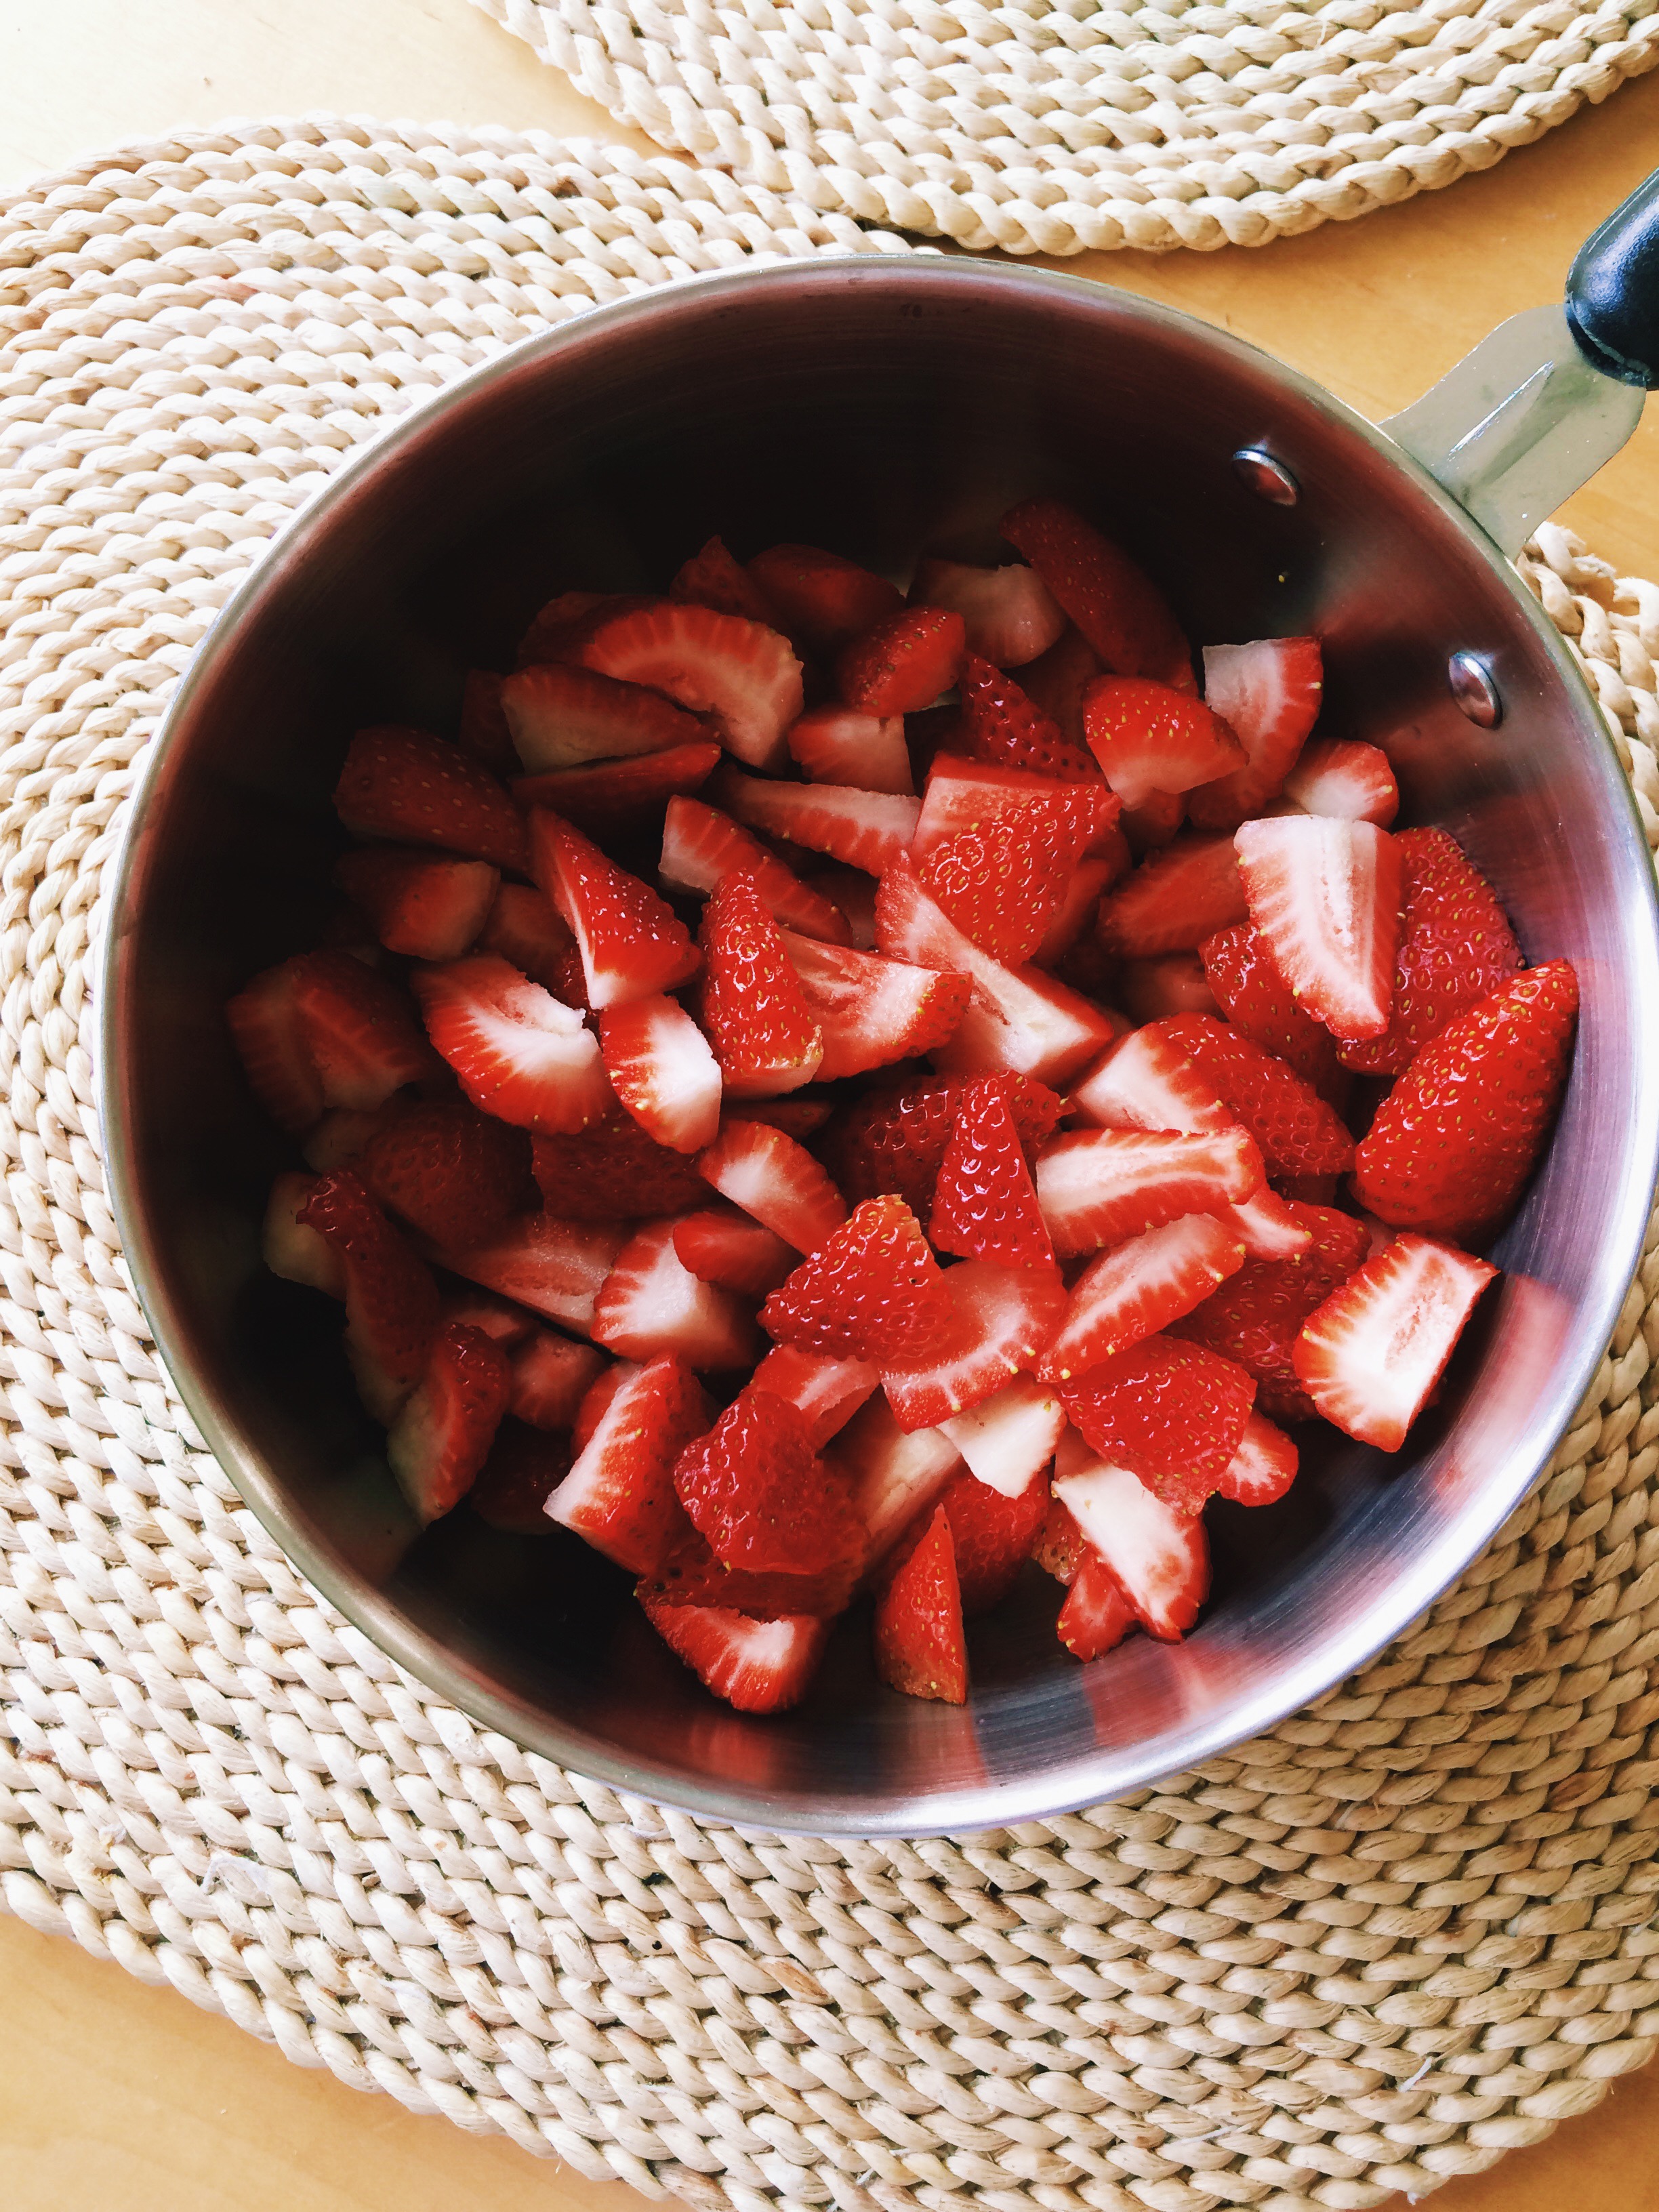
Once your strawberries have been washed, hull each strawberry, then cut into quarters. Place all of your cut up strawberries in a medium sauce pan. Next, add your brown sugar, pinch of salt, lemon zest, and lemon juice. Using a potato masher (or the back of a wooden spoon), muddle all of your ingredients together, making sure that the berries’ juices are starting to release, and your sugar and salt have started to dissolve.

Cook your fruit compote, stirring frequently, over medium-high heat until your jam has thickened, and it passes the line test (a line can be drawn down the center of the spoon without the juices running); On my stove, that takes about 30-35 minutes. Along the way, make sure to give your jam a few taste tests, and adjust the flavors to your liking. The mixture will bubble quite a bit and juice may jump out of the pan occasionally, so watch out for that!

When your jam has come together, take it off the heat and let it cool completely before transferring it to a mason jar or tupperware container.

This jam will last for several weeks refrigerated.

VERY IMPORTANT: DO NOT leave the stove whilst you’re making your jam. One minute it can still be too runny, then the next you’re cleaning burnt strawberry syrup out of the pan until your arms fall off. Trust me. Stay put. Keep stirring.

Ok, my dough has rested. Time to make some cookies!

Preheat the oven to 375 degrees F, and line two baking sheets with parchment paper. Set aside.

Remove the first disc of dough and let sit on a counter for ten minutes; this allows it to come to room temperature, thus making it much easier to roll out.

Liberally flour a rolling pin and work surface.

Roll the cookie dough out to a 1/8 inch thickness, then, using a floured heart-shaped cookie cutter, cut out shapes. Transfer the hearts to the cookie sheets lined with parchment paper, about 1-inch apart. Stamp a hole out of the center of half the cookies using the tip of a circle piping tip. Repeat the process with any remaining scraps, and with the second disc of dough.

Bake the cookies one sheet at a time for 7-10 minutes (depending on your oven),  or until the cookies have started to lightly brown around the edges. Allow the cookies to cool for five minutes on the baking sheet before transferring them to wire racks to cool completely.

Transfer the cookies with the holes cut out of the center to one of the cool baking sheets (keep the parchment paper on). Sprinkle a generous amount of powdered sugar over them using a sifter, mesh strainer, or powdered sugar shaker. (Aren’t you glad you have the parchment paper now to catch the excess sugar?) Flip the bottom cookies (no holes in them) over so that the underside is facing you, then apply about a teaspoon of jam right in the center of each. Place the tops on, then lightly press down so that you create a sandwich. The jam should spread evenly to the edges and through the center hole without overflowing. Enjoy!

To Store: Refrigerate in an airtight container for up to a week.


SOURCE: Adapted from A Cozy Kitchen

Homemade Holidays: Buttery-Cayenne Pecans

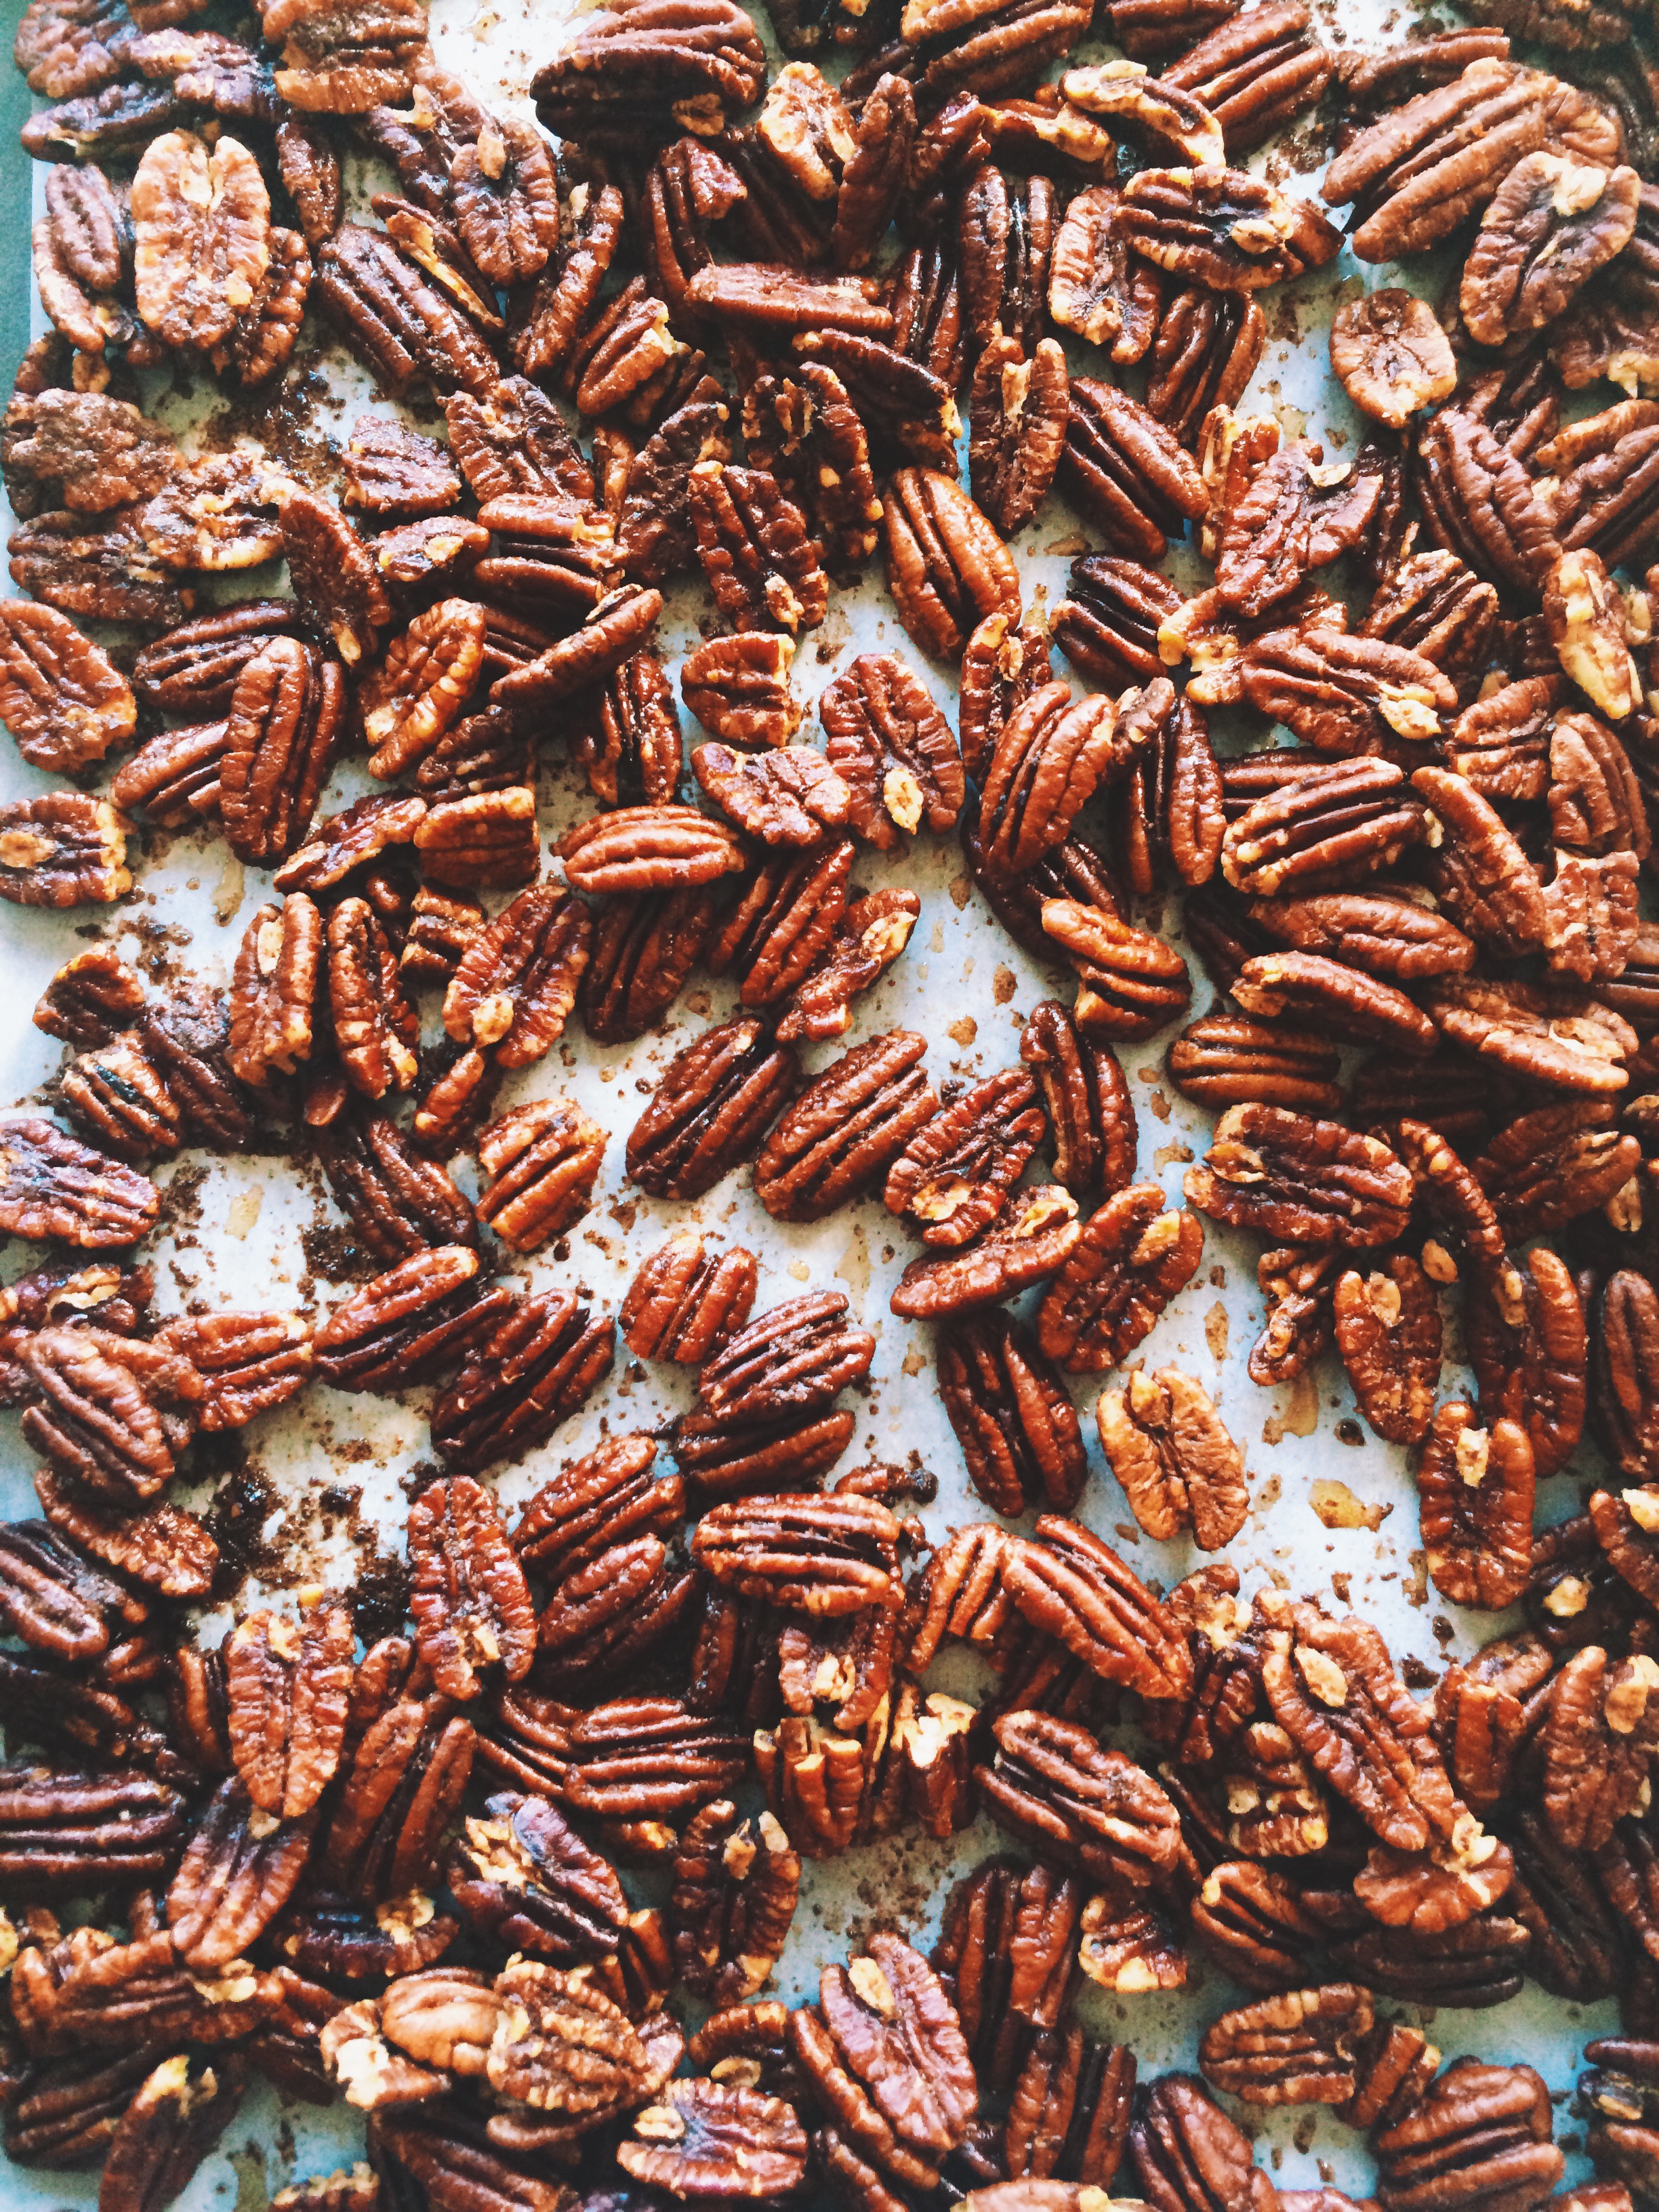
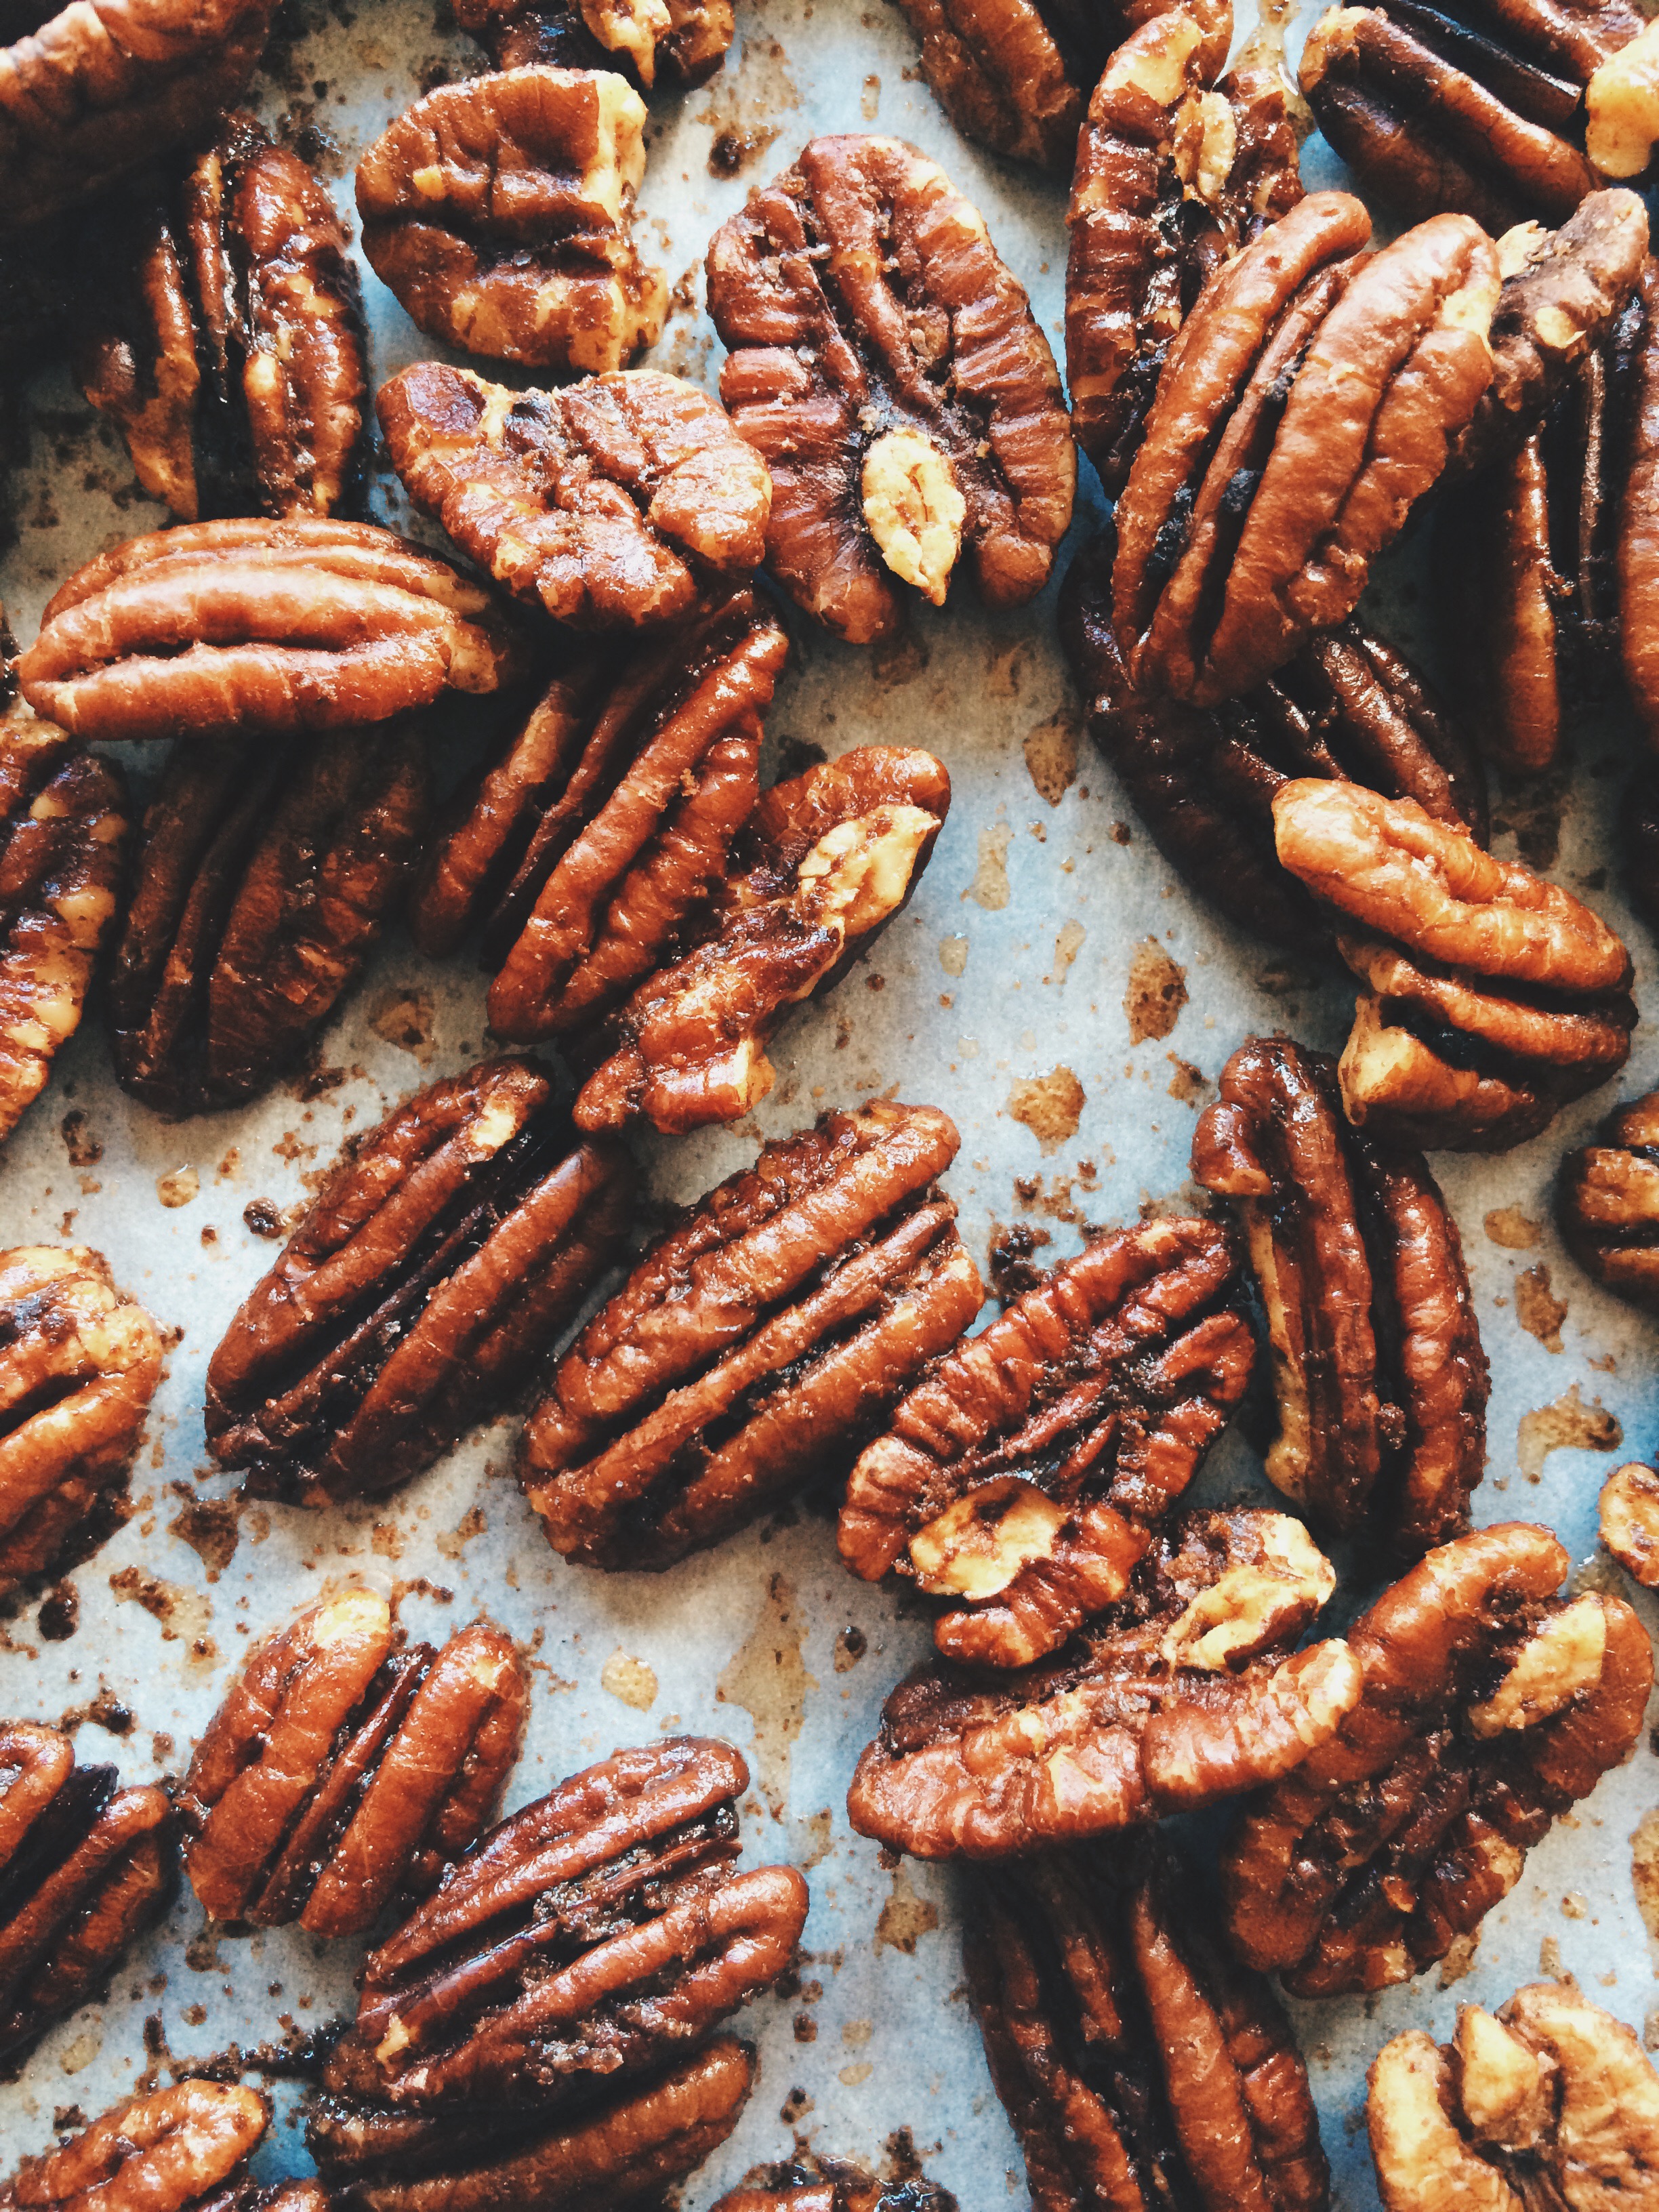
Guys, I am DETERMINED, DETERMINED I SAY, to get all of my gifts sorted, made, and mailed BEFORE Christmas this year. No exceptions. So far, I'm definitely on track, but if you're like the me of last year, struggling to think of the perfect edible treat, then you'll really like these pecans.

Food is how I express my affection for my loved ones, so finding the perfect gift for each person can be very challenging.. It's hard enough finding the perfect balance of delicious, seemingly complicated (but attainable), and festive. Now try adding mail-friendly on top of that. See? Challenging. Fortunately, I've discovered Bon Appetit's Buttery-Cayenne Pecans, and have found myself taking a big sigh of relief.

Here's what these snack nuts have going for them:

  1. Complex flavor: The heat of the cayenne pepper, mixed with the other spices and generous amount of butter makes these pecans so rich and decadent.
  2. Supremely easy to make: Mix all the ingredients in a bowl, add pecans, stir the pecans around to make sure they're evenly coated, put pecans in the oven. Simple.
  3. Perfect for local and faraway friends alike: All you need is a beautiful and festive airtight container or bag to make sure these little guys remain at peak freshness.

Whether you're new to food-gifting, or you're a seasoned pro who's looking for a fresh take on your signature gift, these buttery-cayenne pecans are sooooo the way to go.

Find the recipe for Buttery-Cayenne Pecans  here!

Challah French Toast

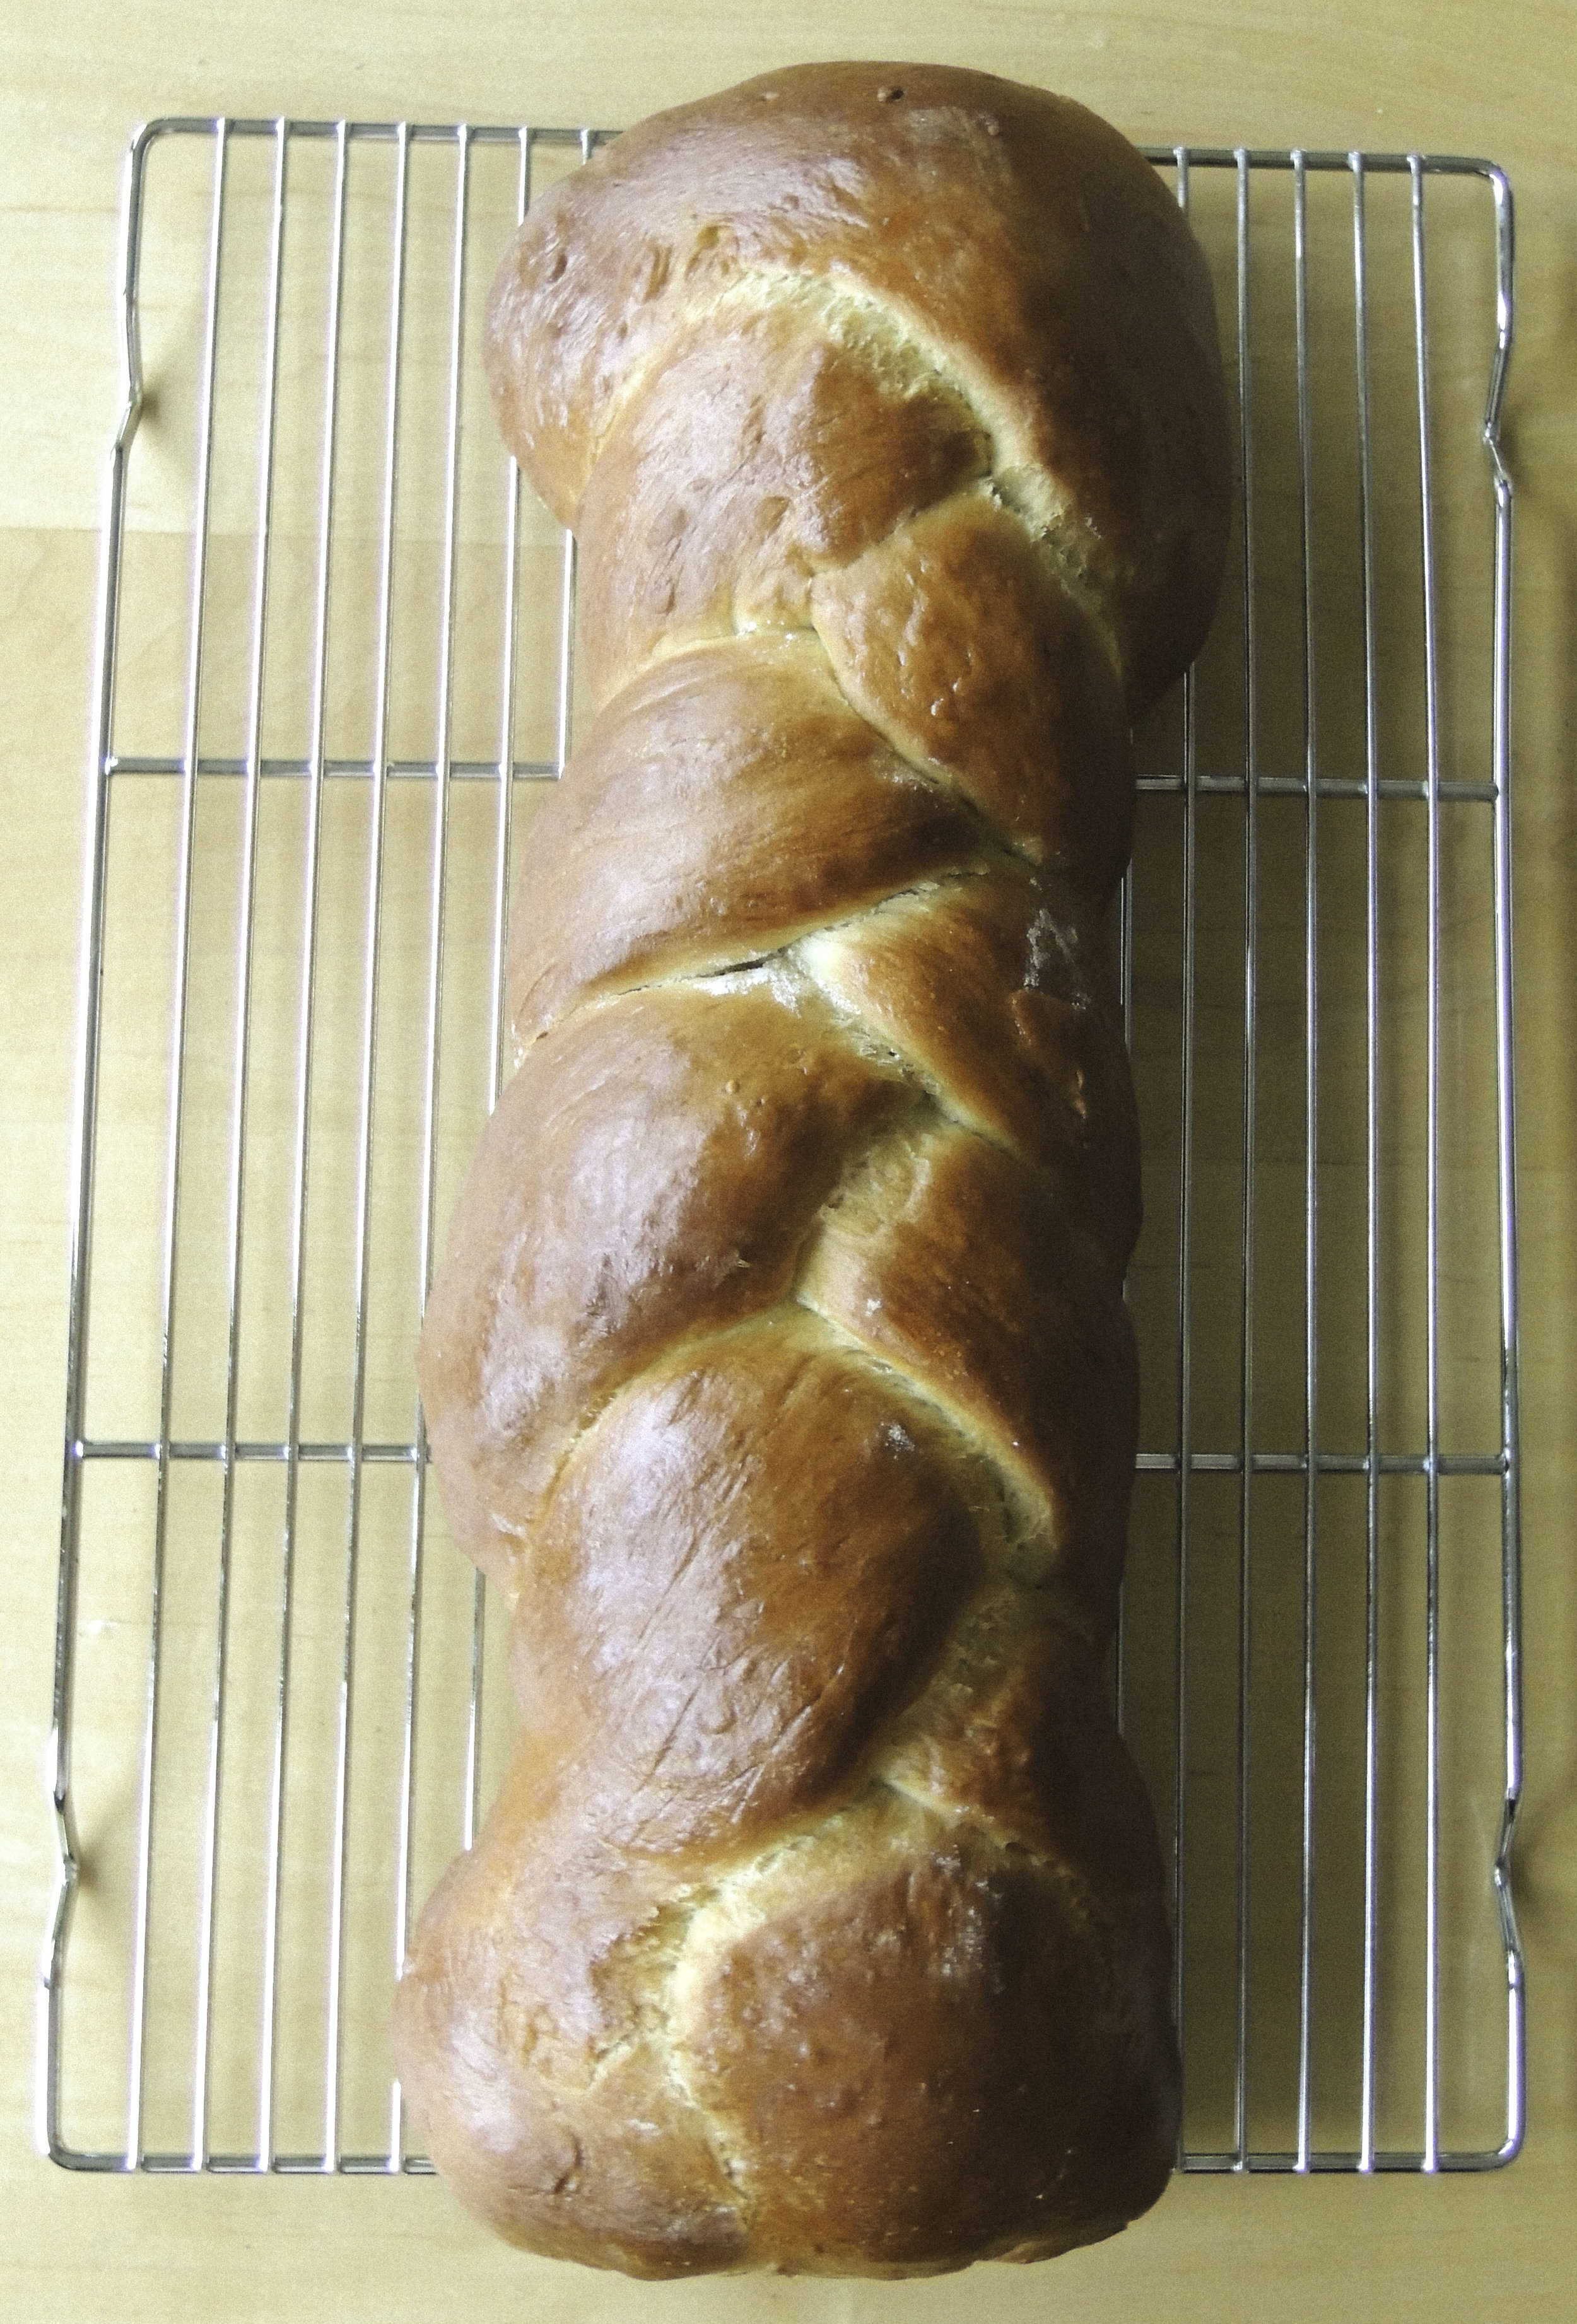
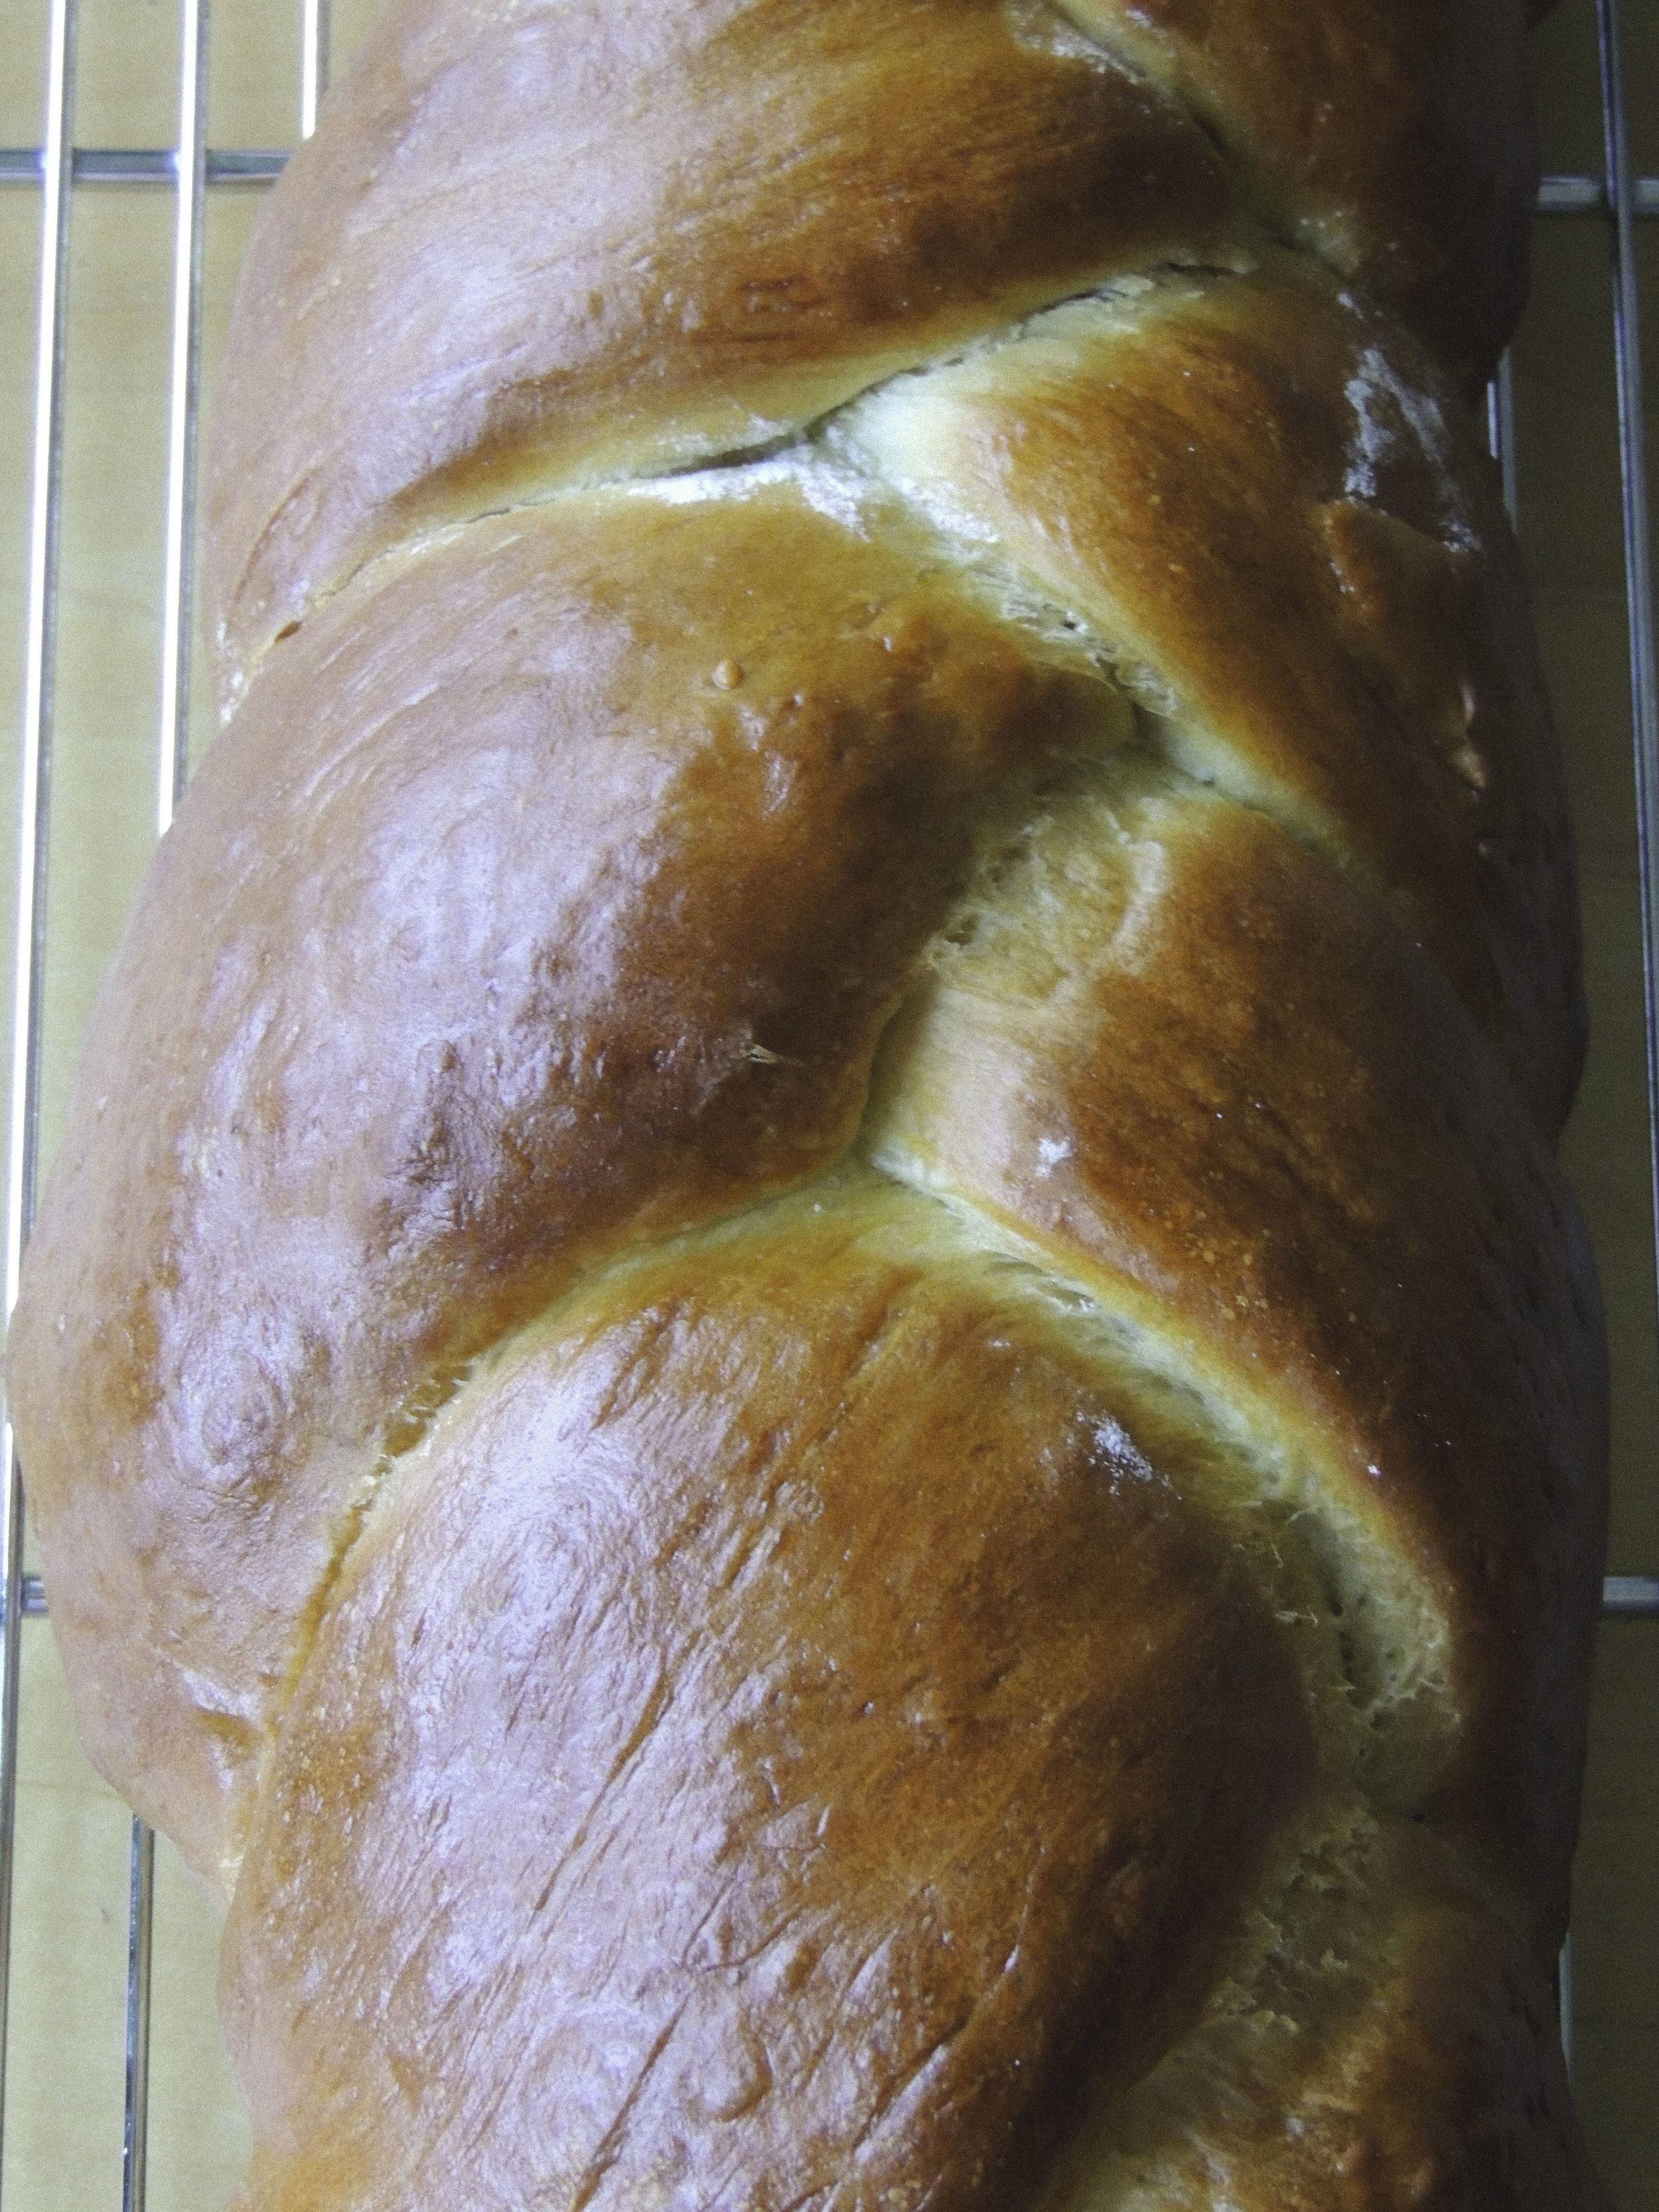
challah bread 1 What to do when you can't find challah bread in literally any of the bakeries in your town? Make your own. You know what they say, "Desperate times call for desperate measures" blah blah blah. The truth of the matter is, I've always wanted to make challah completely on my own, so I didn't mind so much that I couldn't find it anywhere. It meant that it was up to me, and also that I better be extra careful not to mess it up; I had a date with french toast the next morning.

It absolutely must be said that I am a complete novice when it comes to this sweet and super delicious bread, so I'm going to refer you to this stellar tutorial over on The Kitchn. Really easy to follow, and SO USEFUL. I'm totally attempting the six-braid method the next time I make challah. (Hope it goes well.)

challah 2

If making challah bread has taught me anything it's this: make sure you read the recipe three times before you even get your mise en place. I always read a recipe several times, but after making this bread, the point has been driven home. It's not that this is a particularly difficult bread to make per seit's that making challah is very time-consuming. There's a lot of waiting involved. Like, hours of waiting in fact. So when you make this bread, make sure you've got the TIME to do it! This is not something you whip up in an hour. Just be patient, and you'll have a really pleasant reward.

The recipe called for proofing in a warm place with a clean dish towel over the top, but I had no idea where I could put it. I've let dough proof before on the counter, but it didn't rise like I so desperately wanted it to. Not properly proofing challah dough would guarantee disaster, so I decided to ask the internet for help. The advice that I got was SPECTACULAR: place your covered bowl on a higher rack in an oven that is completely OFF. Next, boil some water and pour it into a heatproof bowl. Place the bowl with water in it onto a lower rack, SHUT THE DOOR, and keep it shut! Now you've got your warm place, and you'll end up with a dough that has doubled in size once the time comes to take it out. It's thrilling.

challah 3

RIGHT, so let's get on to the french toast part of this post, shall we? You may be wondering what I did with my challah loaf after it was finished cooling. Well, in order to get the perfect french toast, you need slightly stale bread. In fact, it's imperative.. So, once my challah was finished cooling (and I'd gone through several  episodes of 'Tia Mowry at Home' on Cooking Channel) I simply left it slightly uncovered and went to bed. It worried me a little bit that it might dry out too much, but by the time I was finished in the kitchen that night, there weren't many hours left before it was time to get up and make breakfast. And everything turned out just fine. (Thank goodness.)

In the morning I sliced up eight very healthily-sized slices of challah, mixed up my custard , and set to work.

. So now, let's talk about how obsessed I am with challah french toast. BECAUSE I AM OBSESSED.

challah french toast

French toast is decadent, I mean, there's a reason why its present on every brunch menu that has ever existed. But there is just something so beyond  about whipping up a batch of challah french toast on a quiet weekend morning with a light sprinkling of powdered sugar on top from one of those unnecessary-for-anything-else shakers, and a drizzling of divinely warm maple syrup just waiting to be soaked up. THAT is decadence. Throw in a hot cup of hazelnut roast coffee, and a little bowl of fruit salad (in this case it was strawberry, blueberry, and mango with lemon juice) and we are TALKIN', my friend. That's what weekend mornings are all about. Be warned: this breakfast is incredibly rich, but oh my GOSH is it ever worth it.

And would you like to know the best part? It's made completely form scratch. Who needs a brunch menu?


CHALLAH FRENCH TOAST 

What You'll Need:

  • 3 large eggs
  • 1 cup half-and-half
  • Pinch of salt
  • 1 tablespoon of sugar
  • 8 slices of challah bread 1" thick, cut from a slightly stale loaf
  • 2-3 tablespoons butter
  • Powdered sugar for sprinkling on top, optional
  • Fresh Fruit, optional

Directions:

Place a large skillet (Mine is 12 inches) over medium-low heat.

Whisk the eggs, half-and-half, salt, and sugar in a large baking pan (I used an 11X13 rectangular cake pan) until everything is fully incorporated.

Place four slices of bread into the custard to soak for at least one minute on each side (I ended up doing a little longer, but it's up to you. Make sure it's at least one minute though! )

While the bread is soaking, melt one tablespoon of butter in the skillet. You'll know it's ready when it starts to foam. When it has started to foam, move it around so that it coats the entire bottom of the skillet.

Move your cake pan with the soaking pieces of bread next to the stove so that there will be no dripping.

Lift one piece of bread and very gently shake it to get rid of any excess custard, then gently place it in the skillet. Repeat this process with each piece of bread.

After 1-2 minutes, check under a slice of bread to see if it has turned golden brown. When it has turned golden brown, flip each piece of bread and continue cooking until they're golden brown on the other side. Be sure to keep an eye on the skillet so that your toast doesn't burn.

Place your finished first batch onto a serving plate, and your final four pieces of bread into the custard for soaking on each side. (Should you run out of custard before you've run out of bread, I've found that whisking another egg, some more half-and-half, a little sugar, and a little salt works nicely!) Place another tablespoon of butter into your skillet, wait until it foams, and repeat the process of cooking your french toast. Once all of your pieces of bread have turned deliciously golden brown on both sides, transfer them to your serving plate.

Sprinkle a little powdered sugar on the top if you're into that, heat up some delicious maple syrup, and cut up some fruit to use as a topping if you;d like. Enjoy!!


SOURCE: Adapted SUPER SLIGHTLY from The Kitchn