My dream appliance: a KitchenAid Stand Mixer. They are so classic. Did you know that since their creation, the design has not changed? And these babies have been around for a VERY long time.

It's just one of those things; If it ain't broke, don't fix it. Am I right?


THE DAY I get my mixer, is the day I make these absolutely adorable cookies.


Learning the Language of Latkes

For three weeks I've had one dish on my mind: latkes. So what is a latke you ask? For those who don't know, here's an official definition:

Noun
(in Jewish cooking) A pancake, esp. one made with grated potato.

Now here's my (unofficial) definition:

Noun

Circular potato pancake of deliciousness. 

I am officially on break for a month, thus: the perfect time to start cookin'! And boy, was this dish an easy blast!

Here we go!

DSCF0471

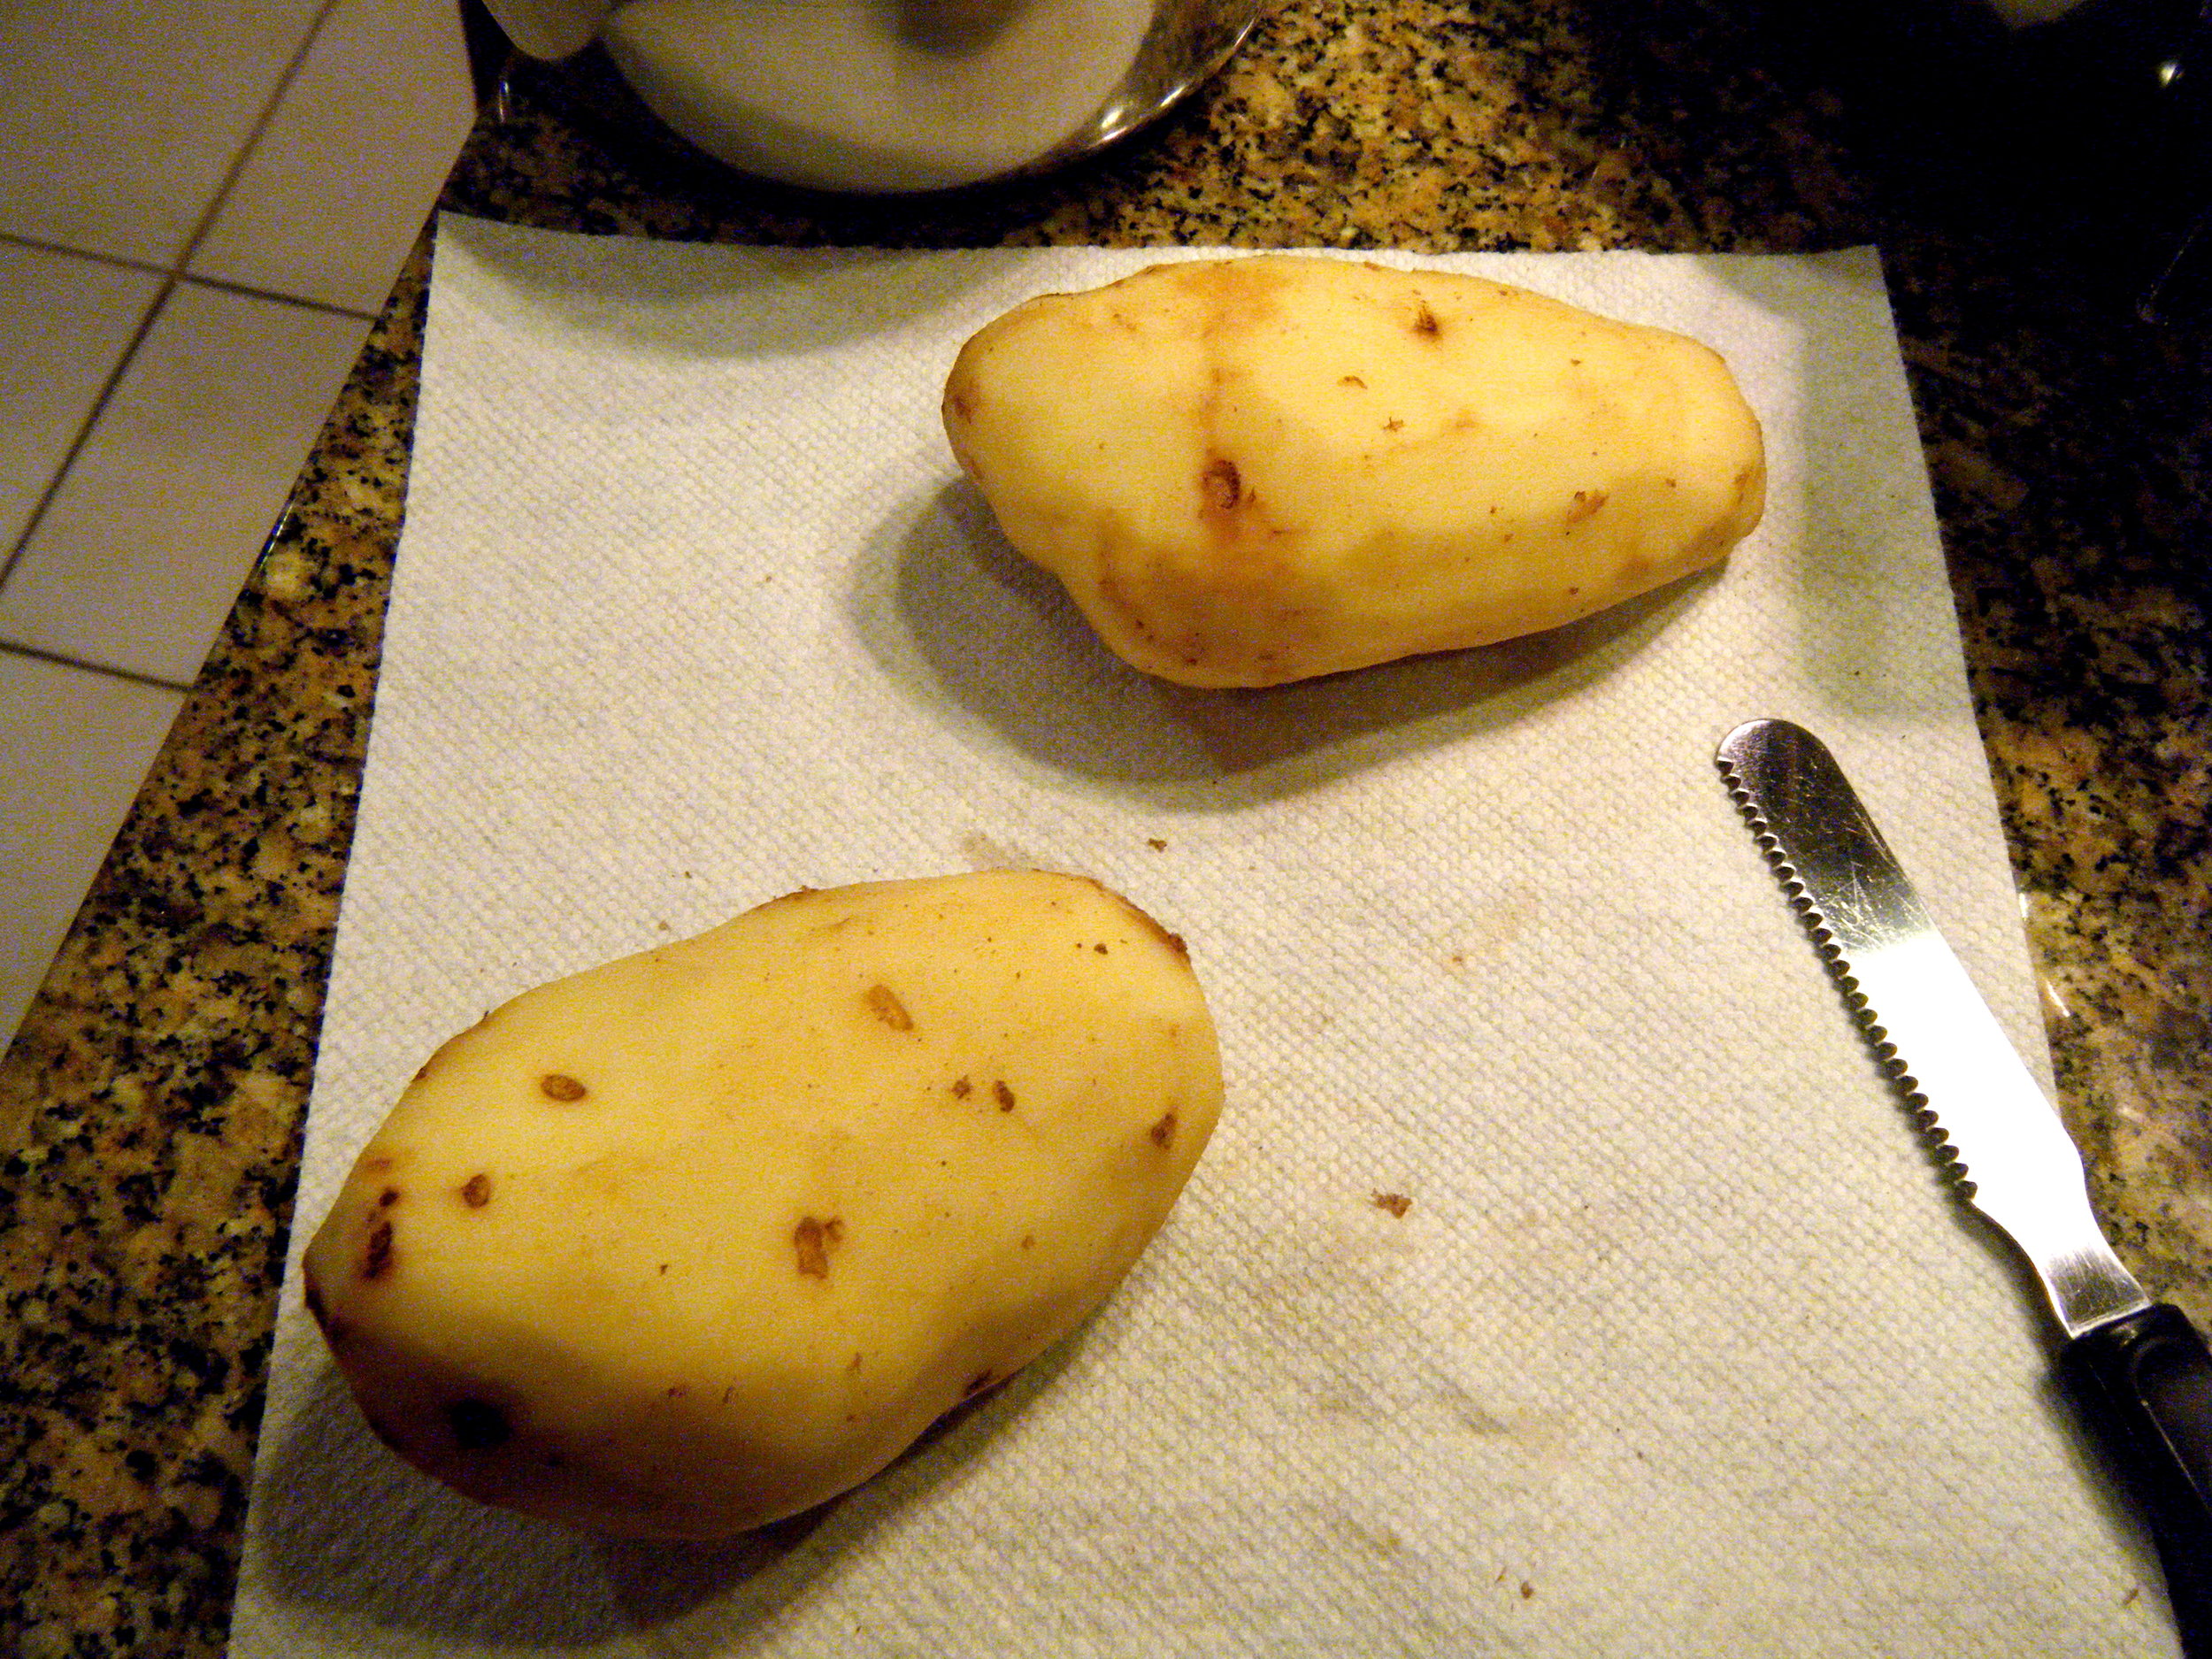
It took me absolute ages to peel these potatoes, but I made it happen! A good vegetable peeler is an essential tool for the kitchen. Without it, I would have used that knife, and I'd probably still be peeling. (Okay, honestly, the peeler probably just saved me 10-15 minutes tops.  Still!)

DSCF0472

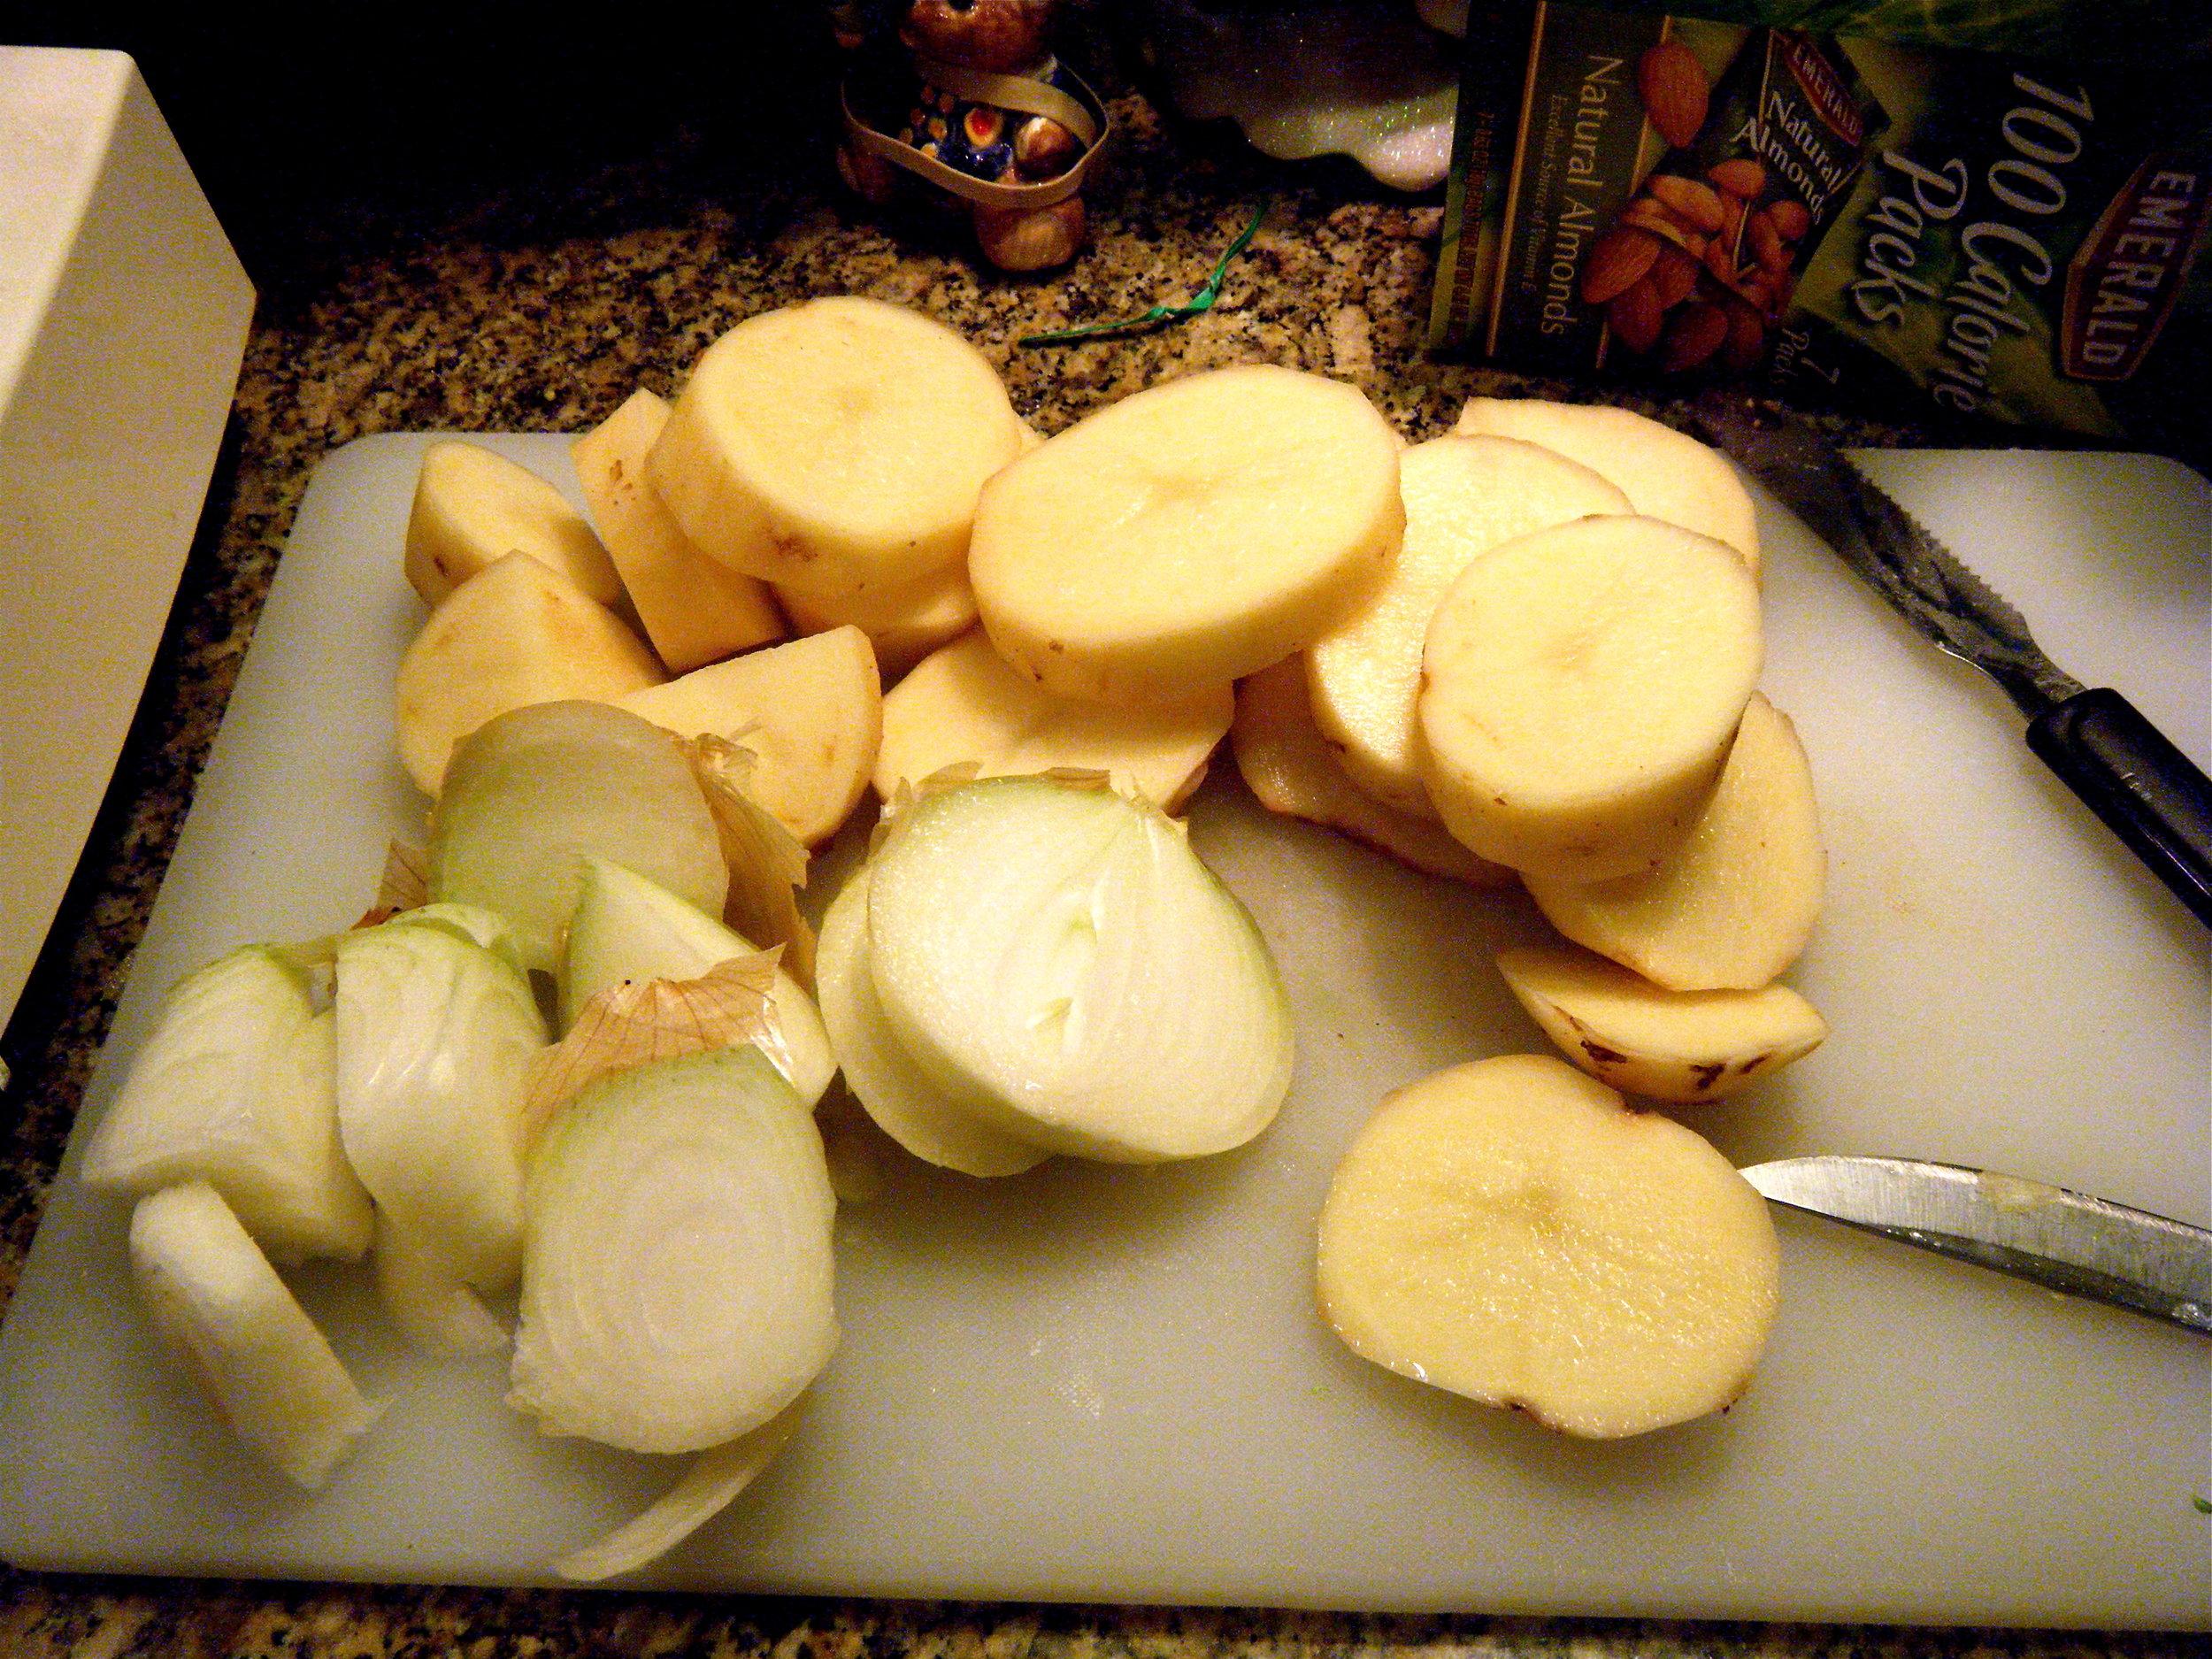
Next, in order to fit the onions and potatoes into the food processor for shredding, I had to cut them up into little pieces. I'm happy to announce that the onions did not sting my eyes, as they usually do. I don't normally have access to food processors at my apartment, so using one definitely saved me some time. If you've got one, use it. Some recipes call for graters, which I'm sure work fine, but if you're planning on making latkes for a dinner party, or planning on having leftovers, a food processor is the way to go.

DSCF0477

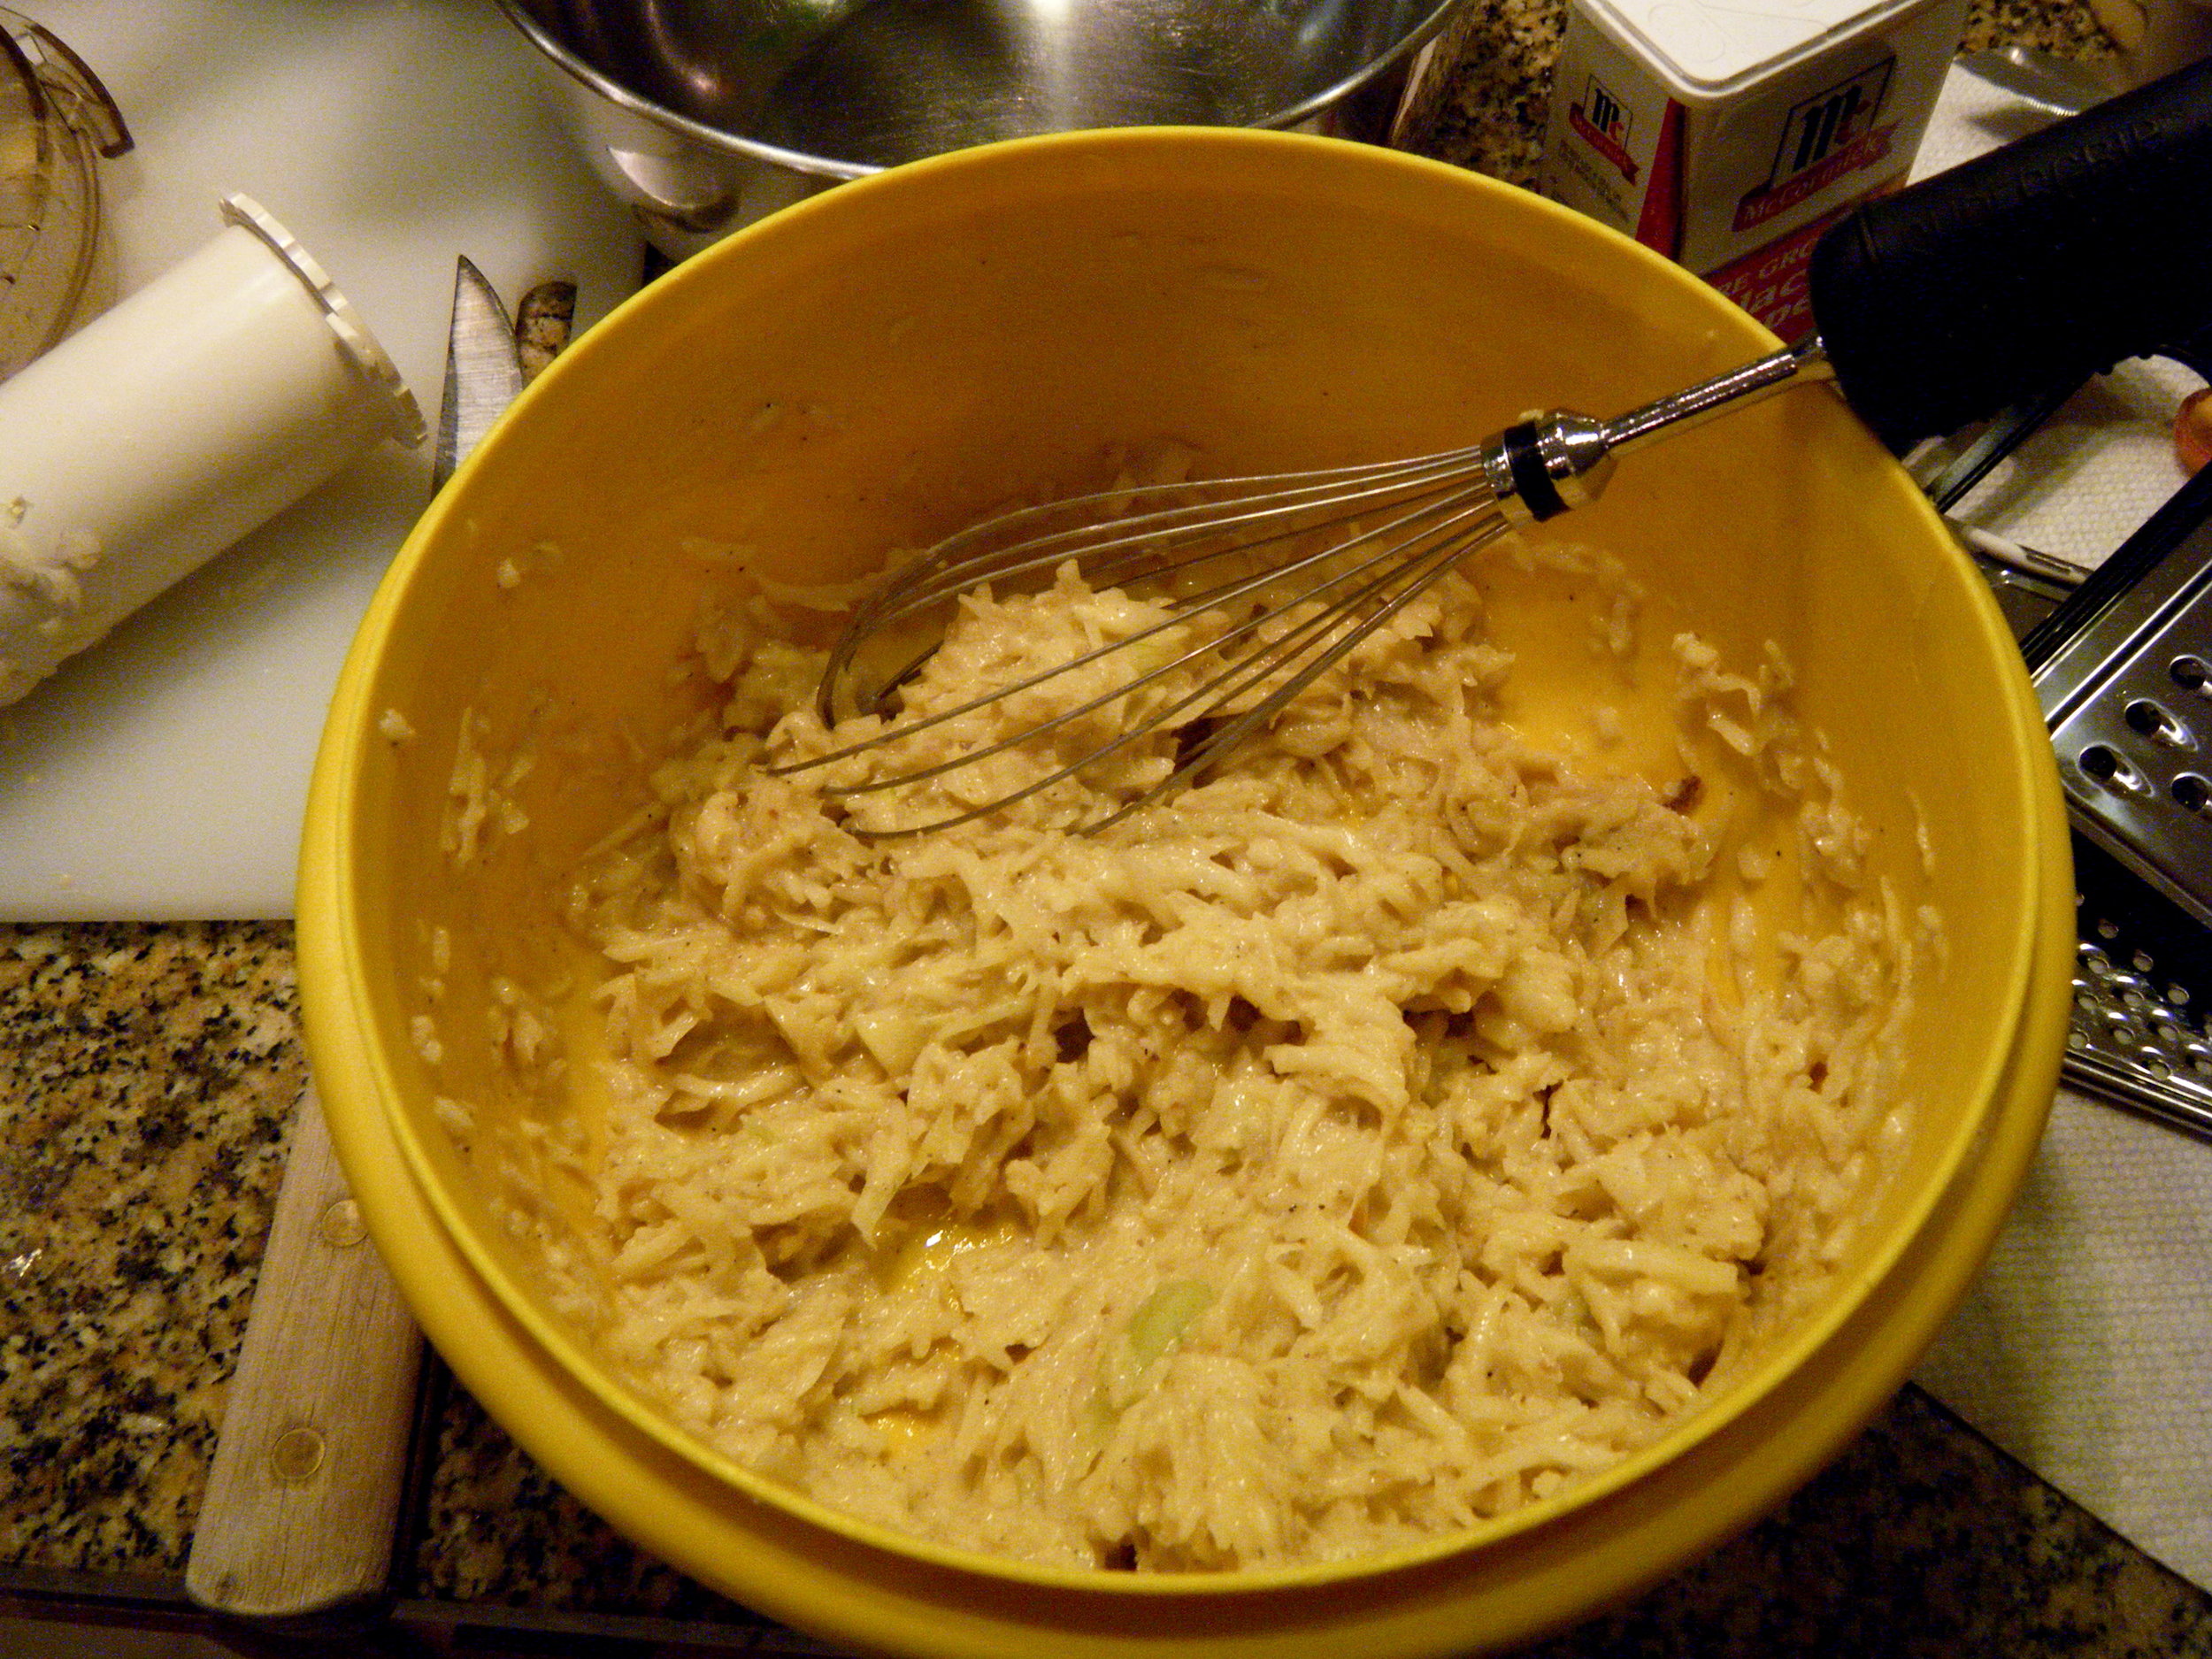
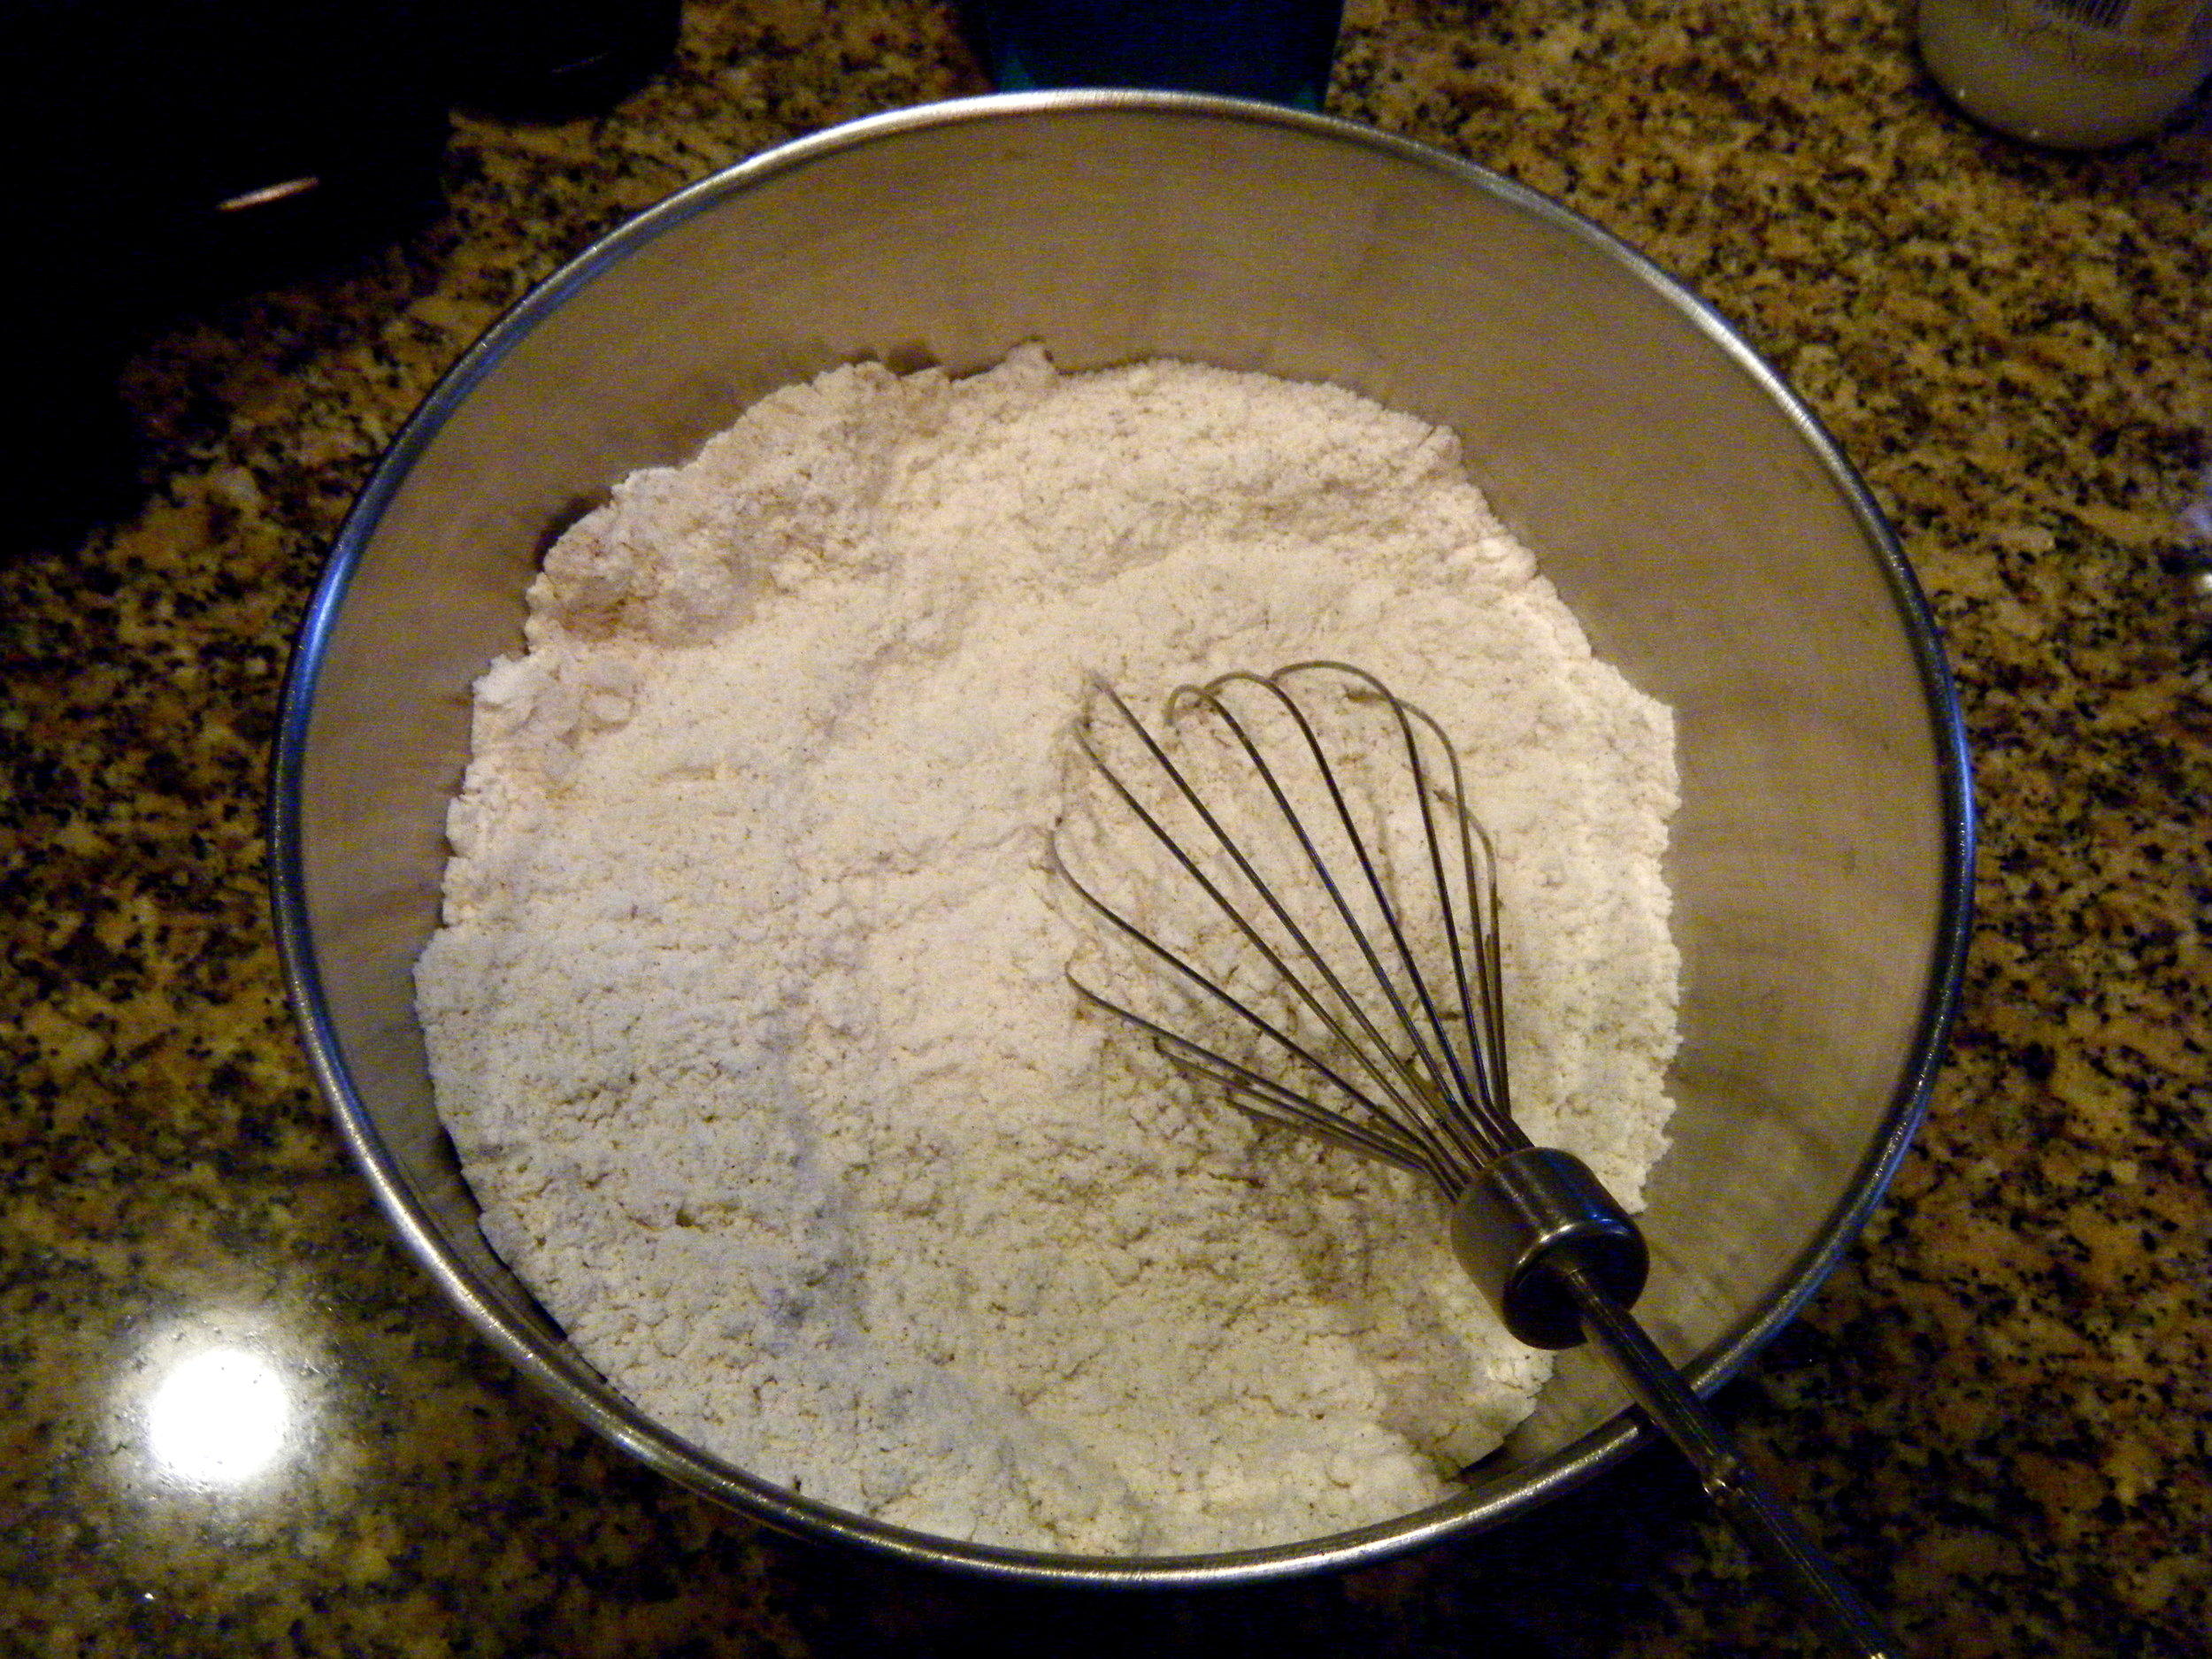
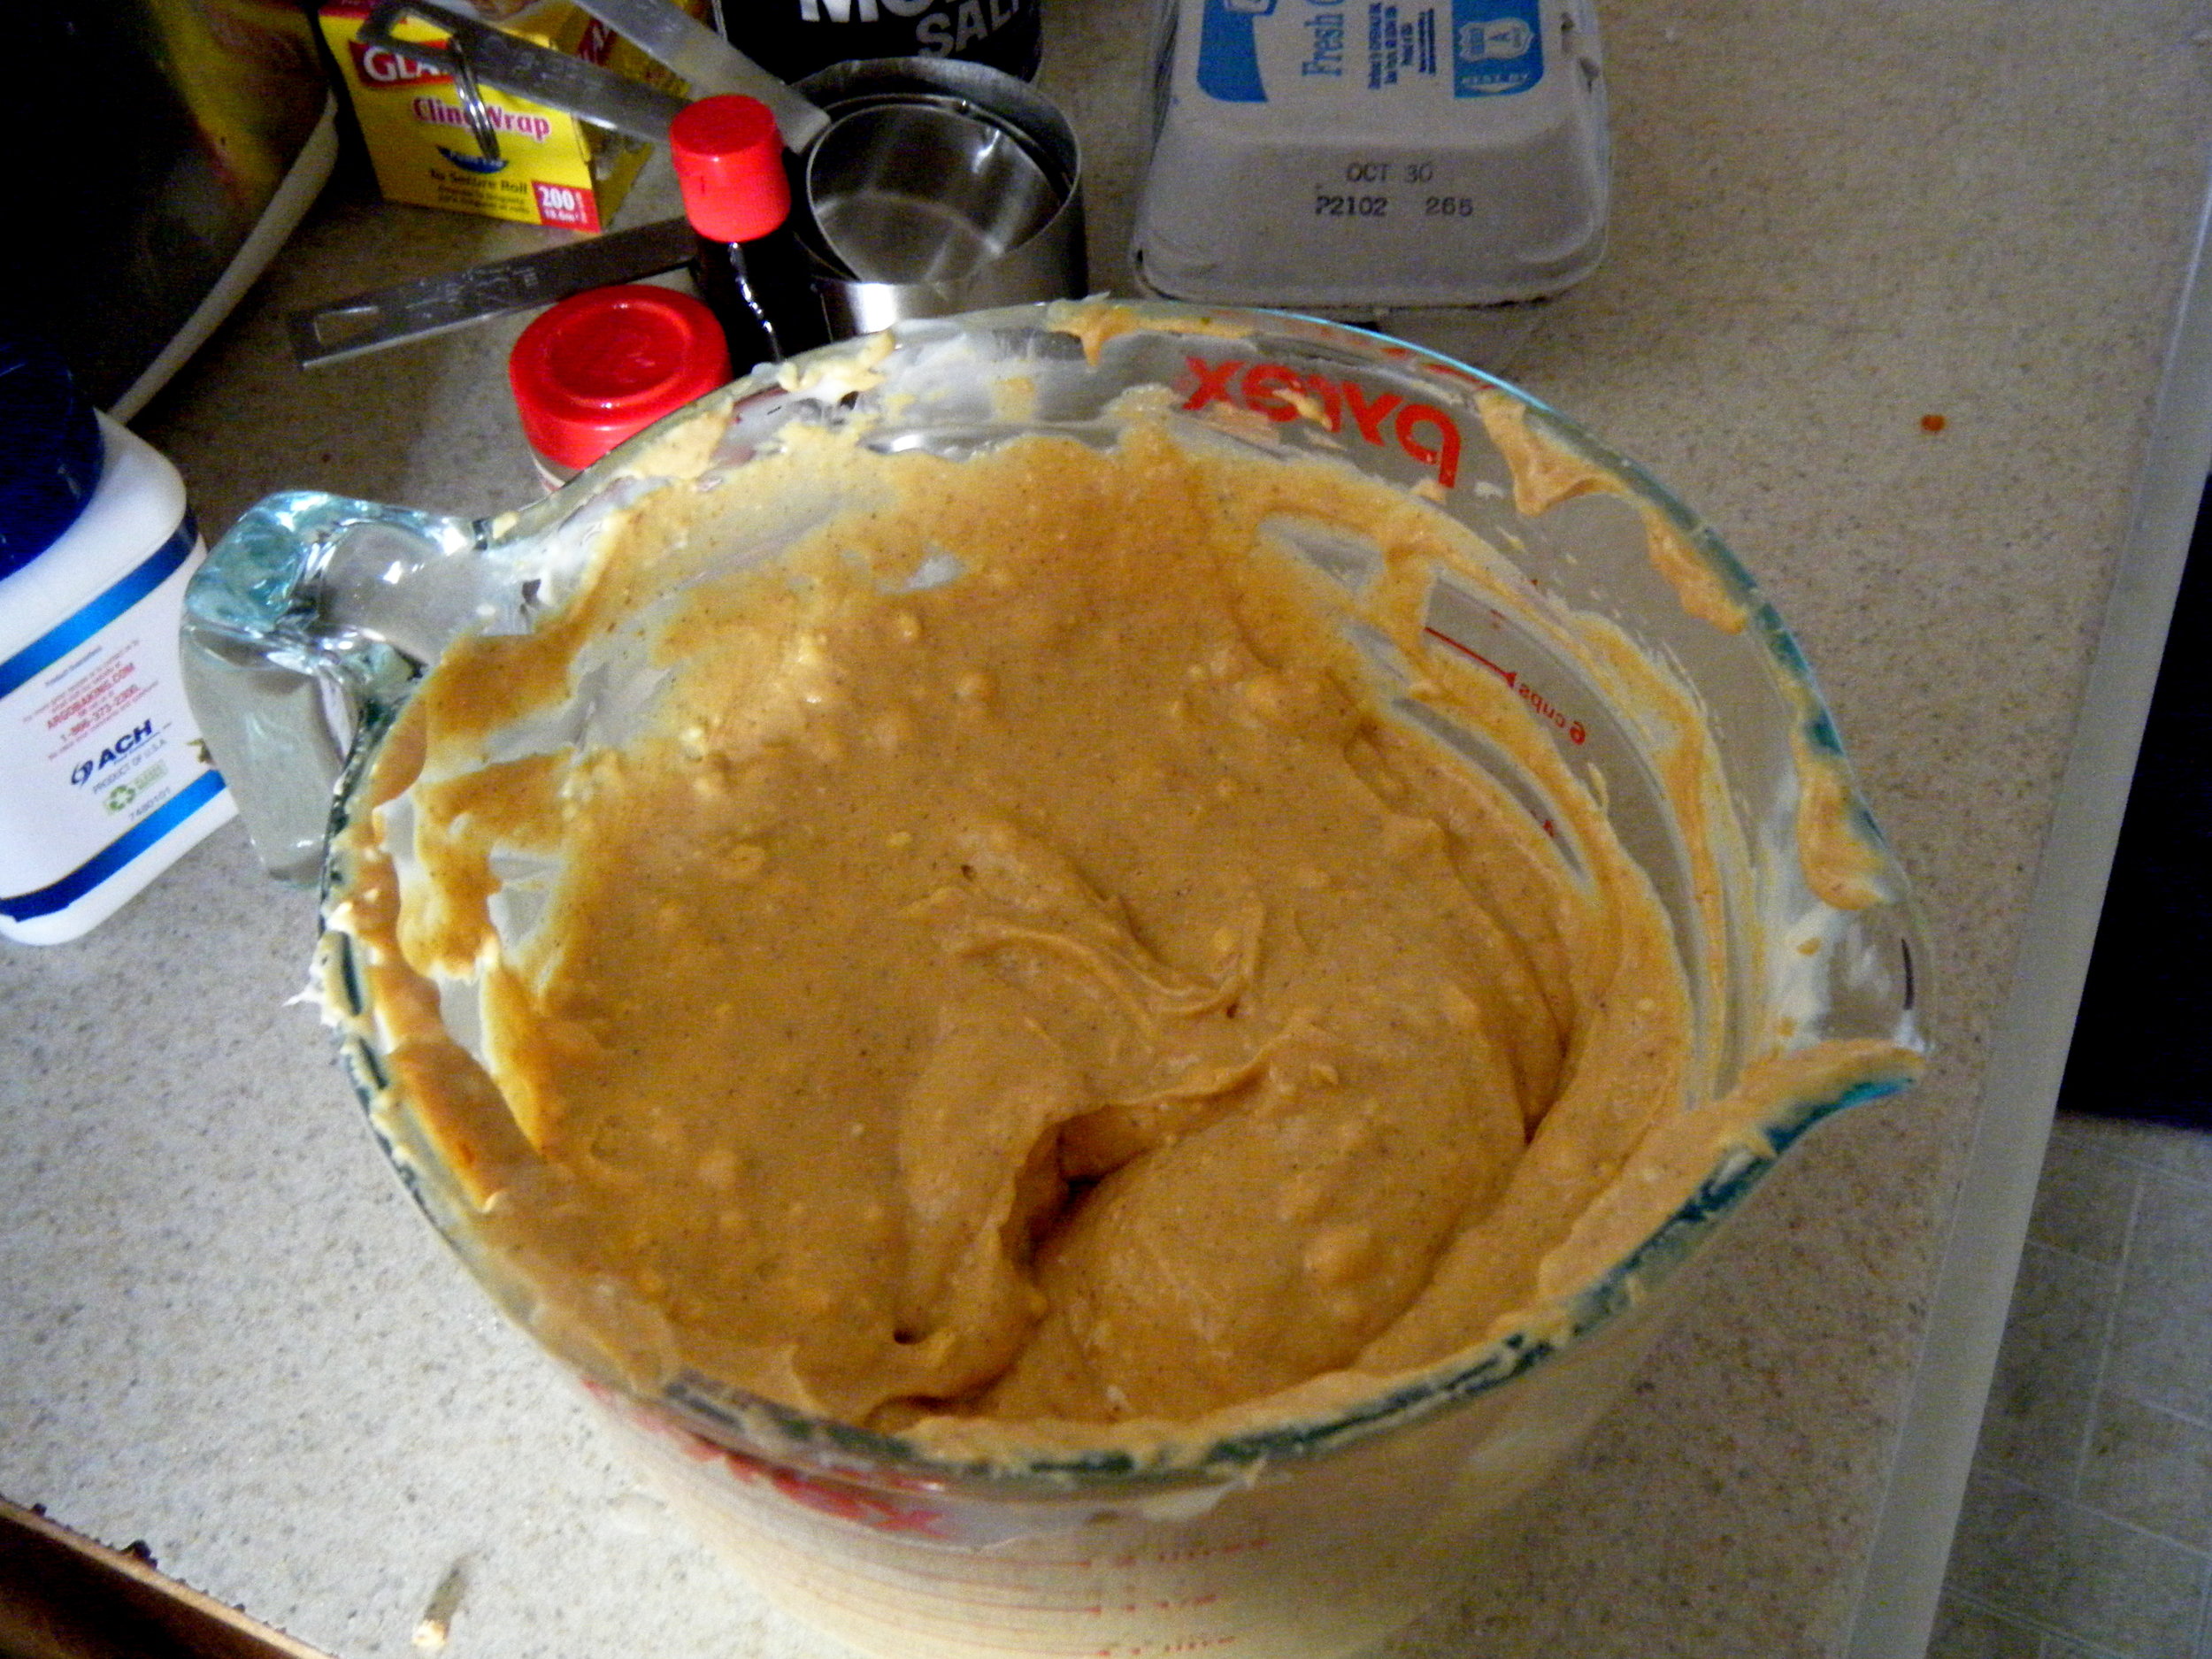
The recipe calls for 1/4 cup flour, 1 teaspoon salt, 1/4 teaspoon pepper, and one large egg, but since I used two potatoes, I ended up doubling the recipe. Adding the freshly shredded and drained potato/onion mixture to the...well, mix, I whisked it all together until everything was coated.

DSCF0478

Latke time! Here's what I learned:

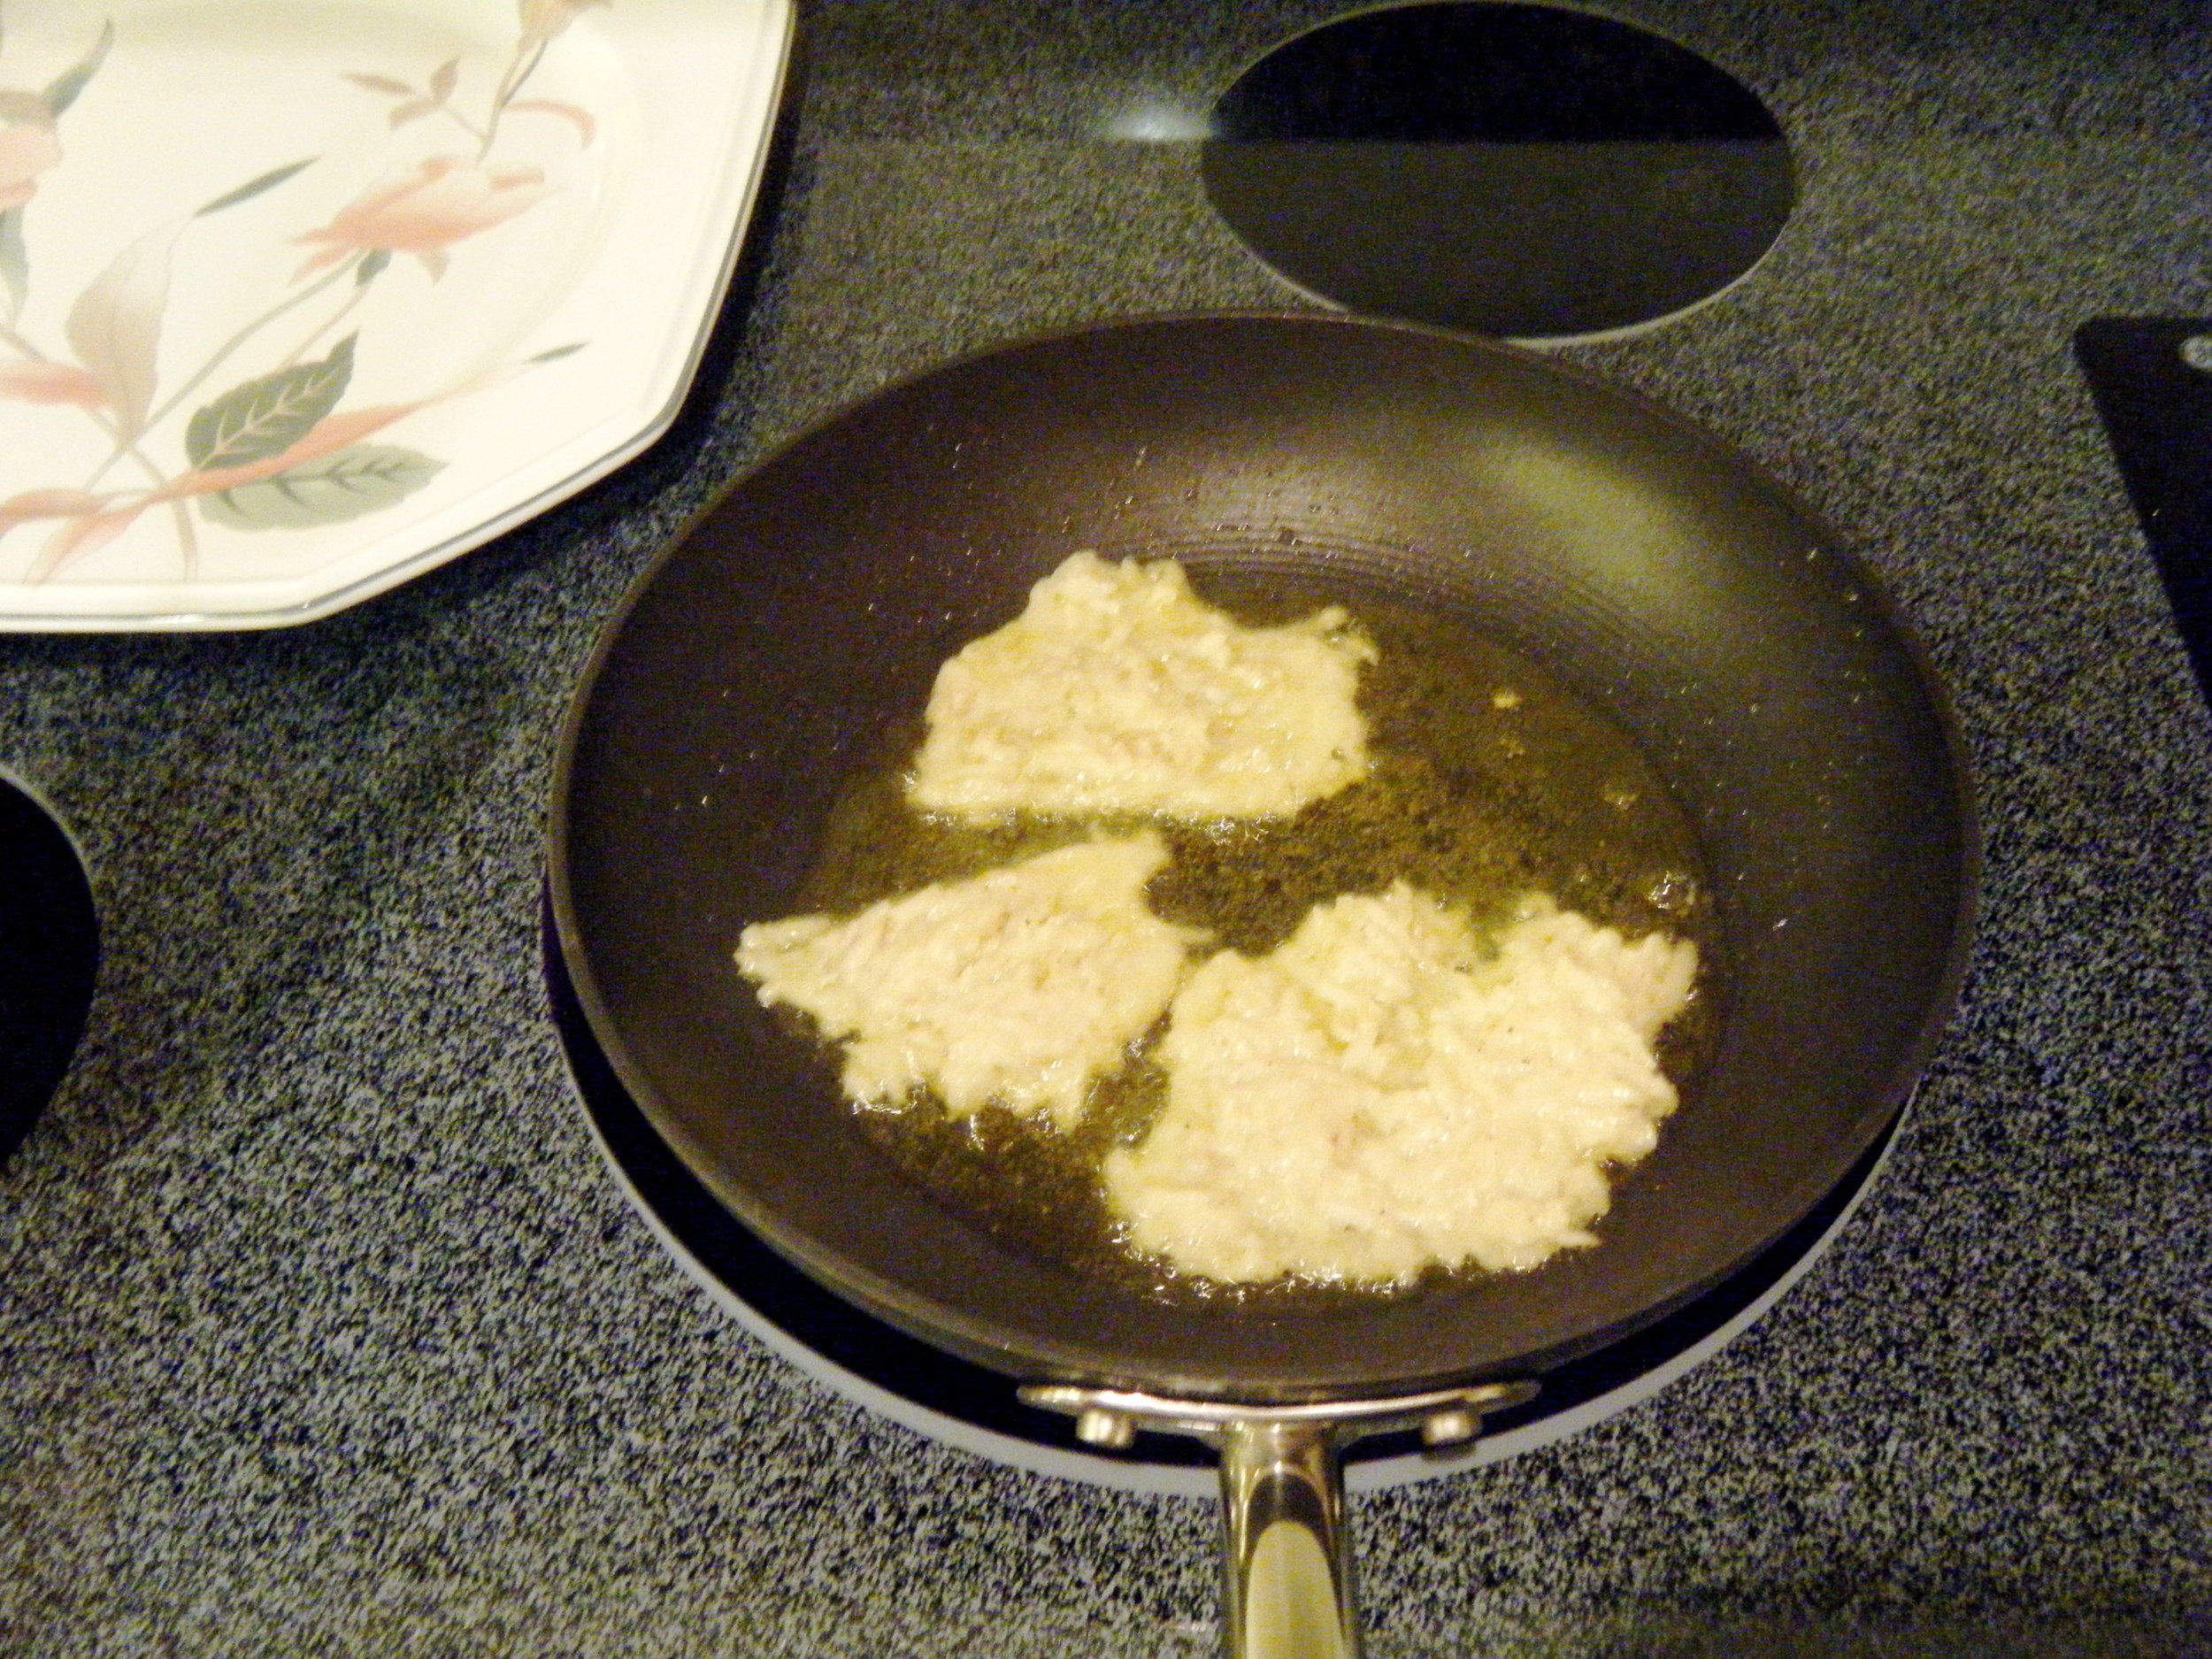
1. When the recipe tells you to scoop a mere teaspoon of latke mix into a pan, do it. I decided to take spoonfuls because I wanted bigger cakes, but that was a MISTAKE. They cooked slower than I wanted, and I just didn't feel in control at all.

2. Although the recipe called for peanut oil, I found that extra virgin olive oil does the trick nicely as well.

3. You'll have to use more oil than what the recipe suggests.

DSCF0479

Here, I finally started to get the hang of it. (Notice that I heeded the recipe's advice and lessened my spooning size. )

DSCF0480

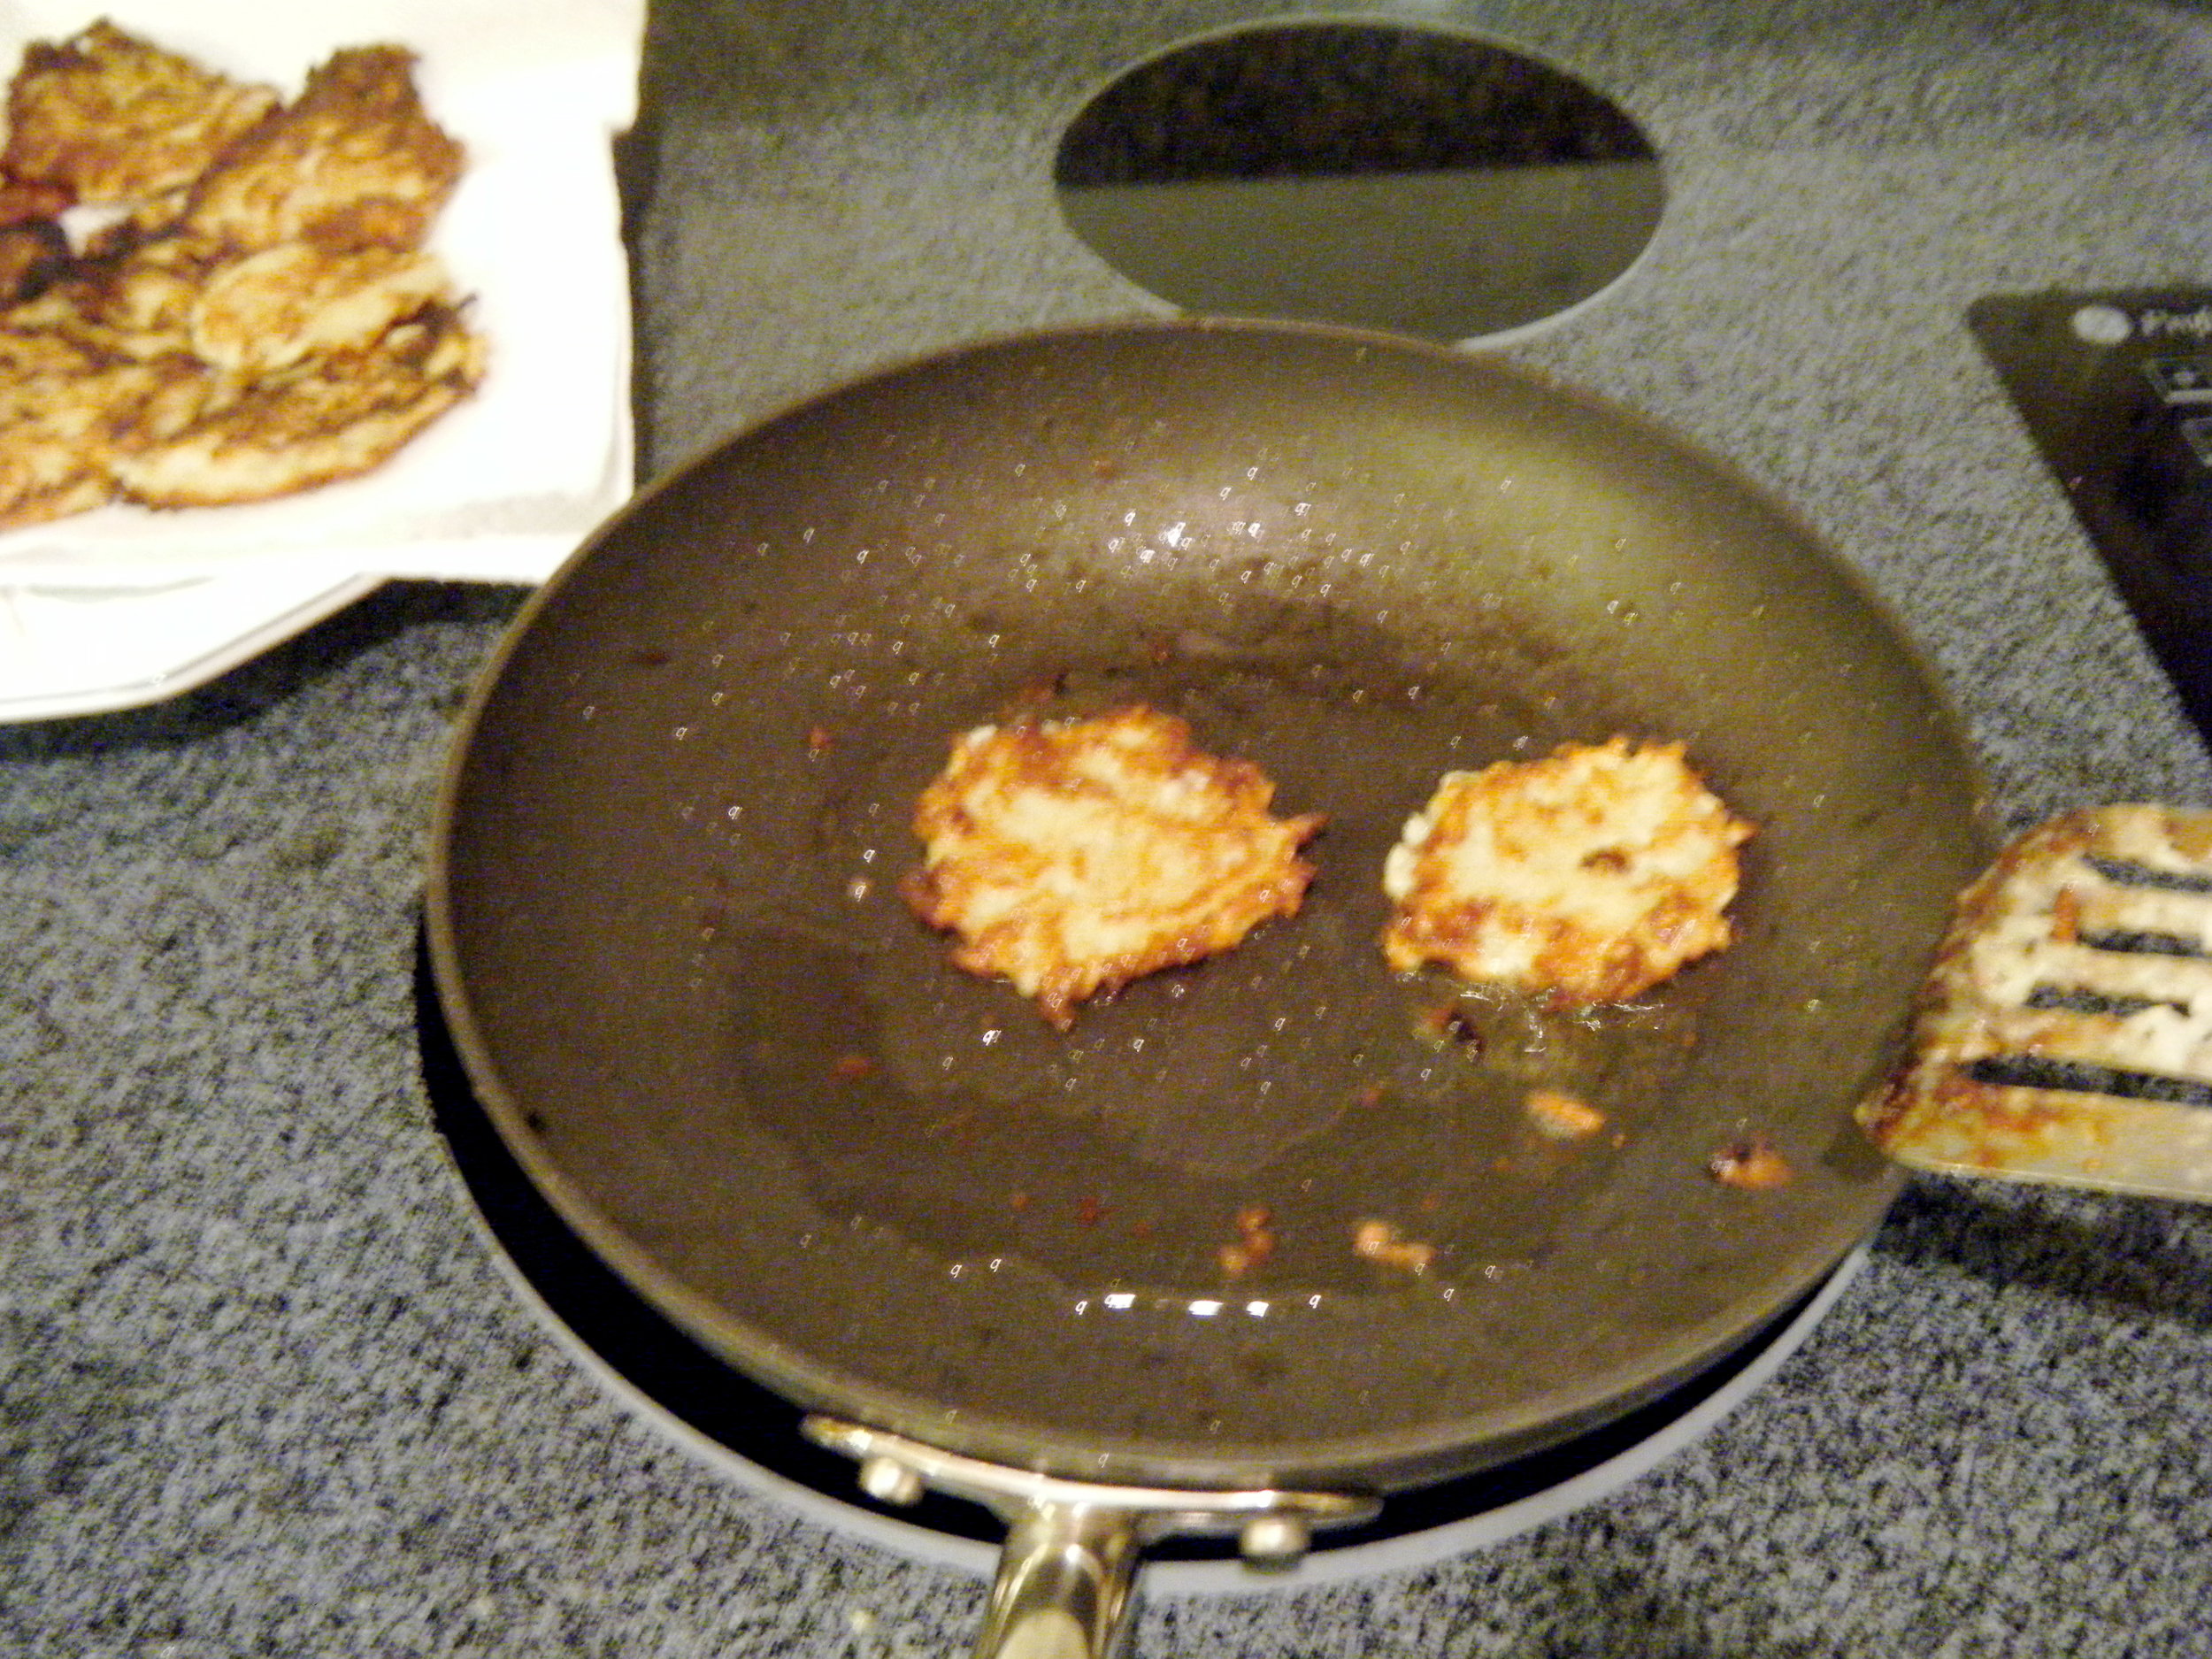
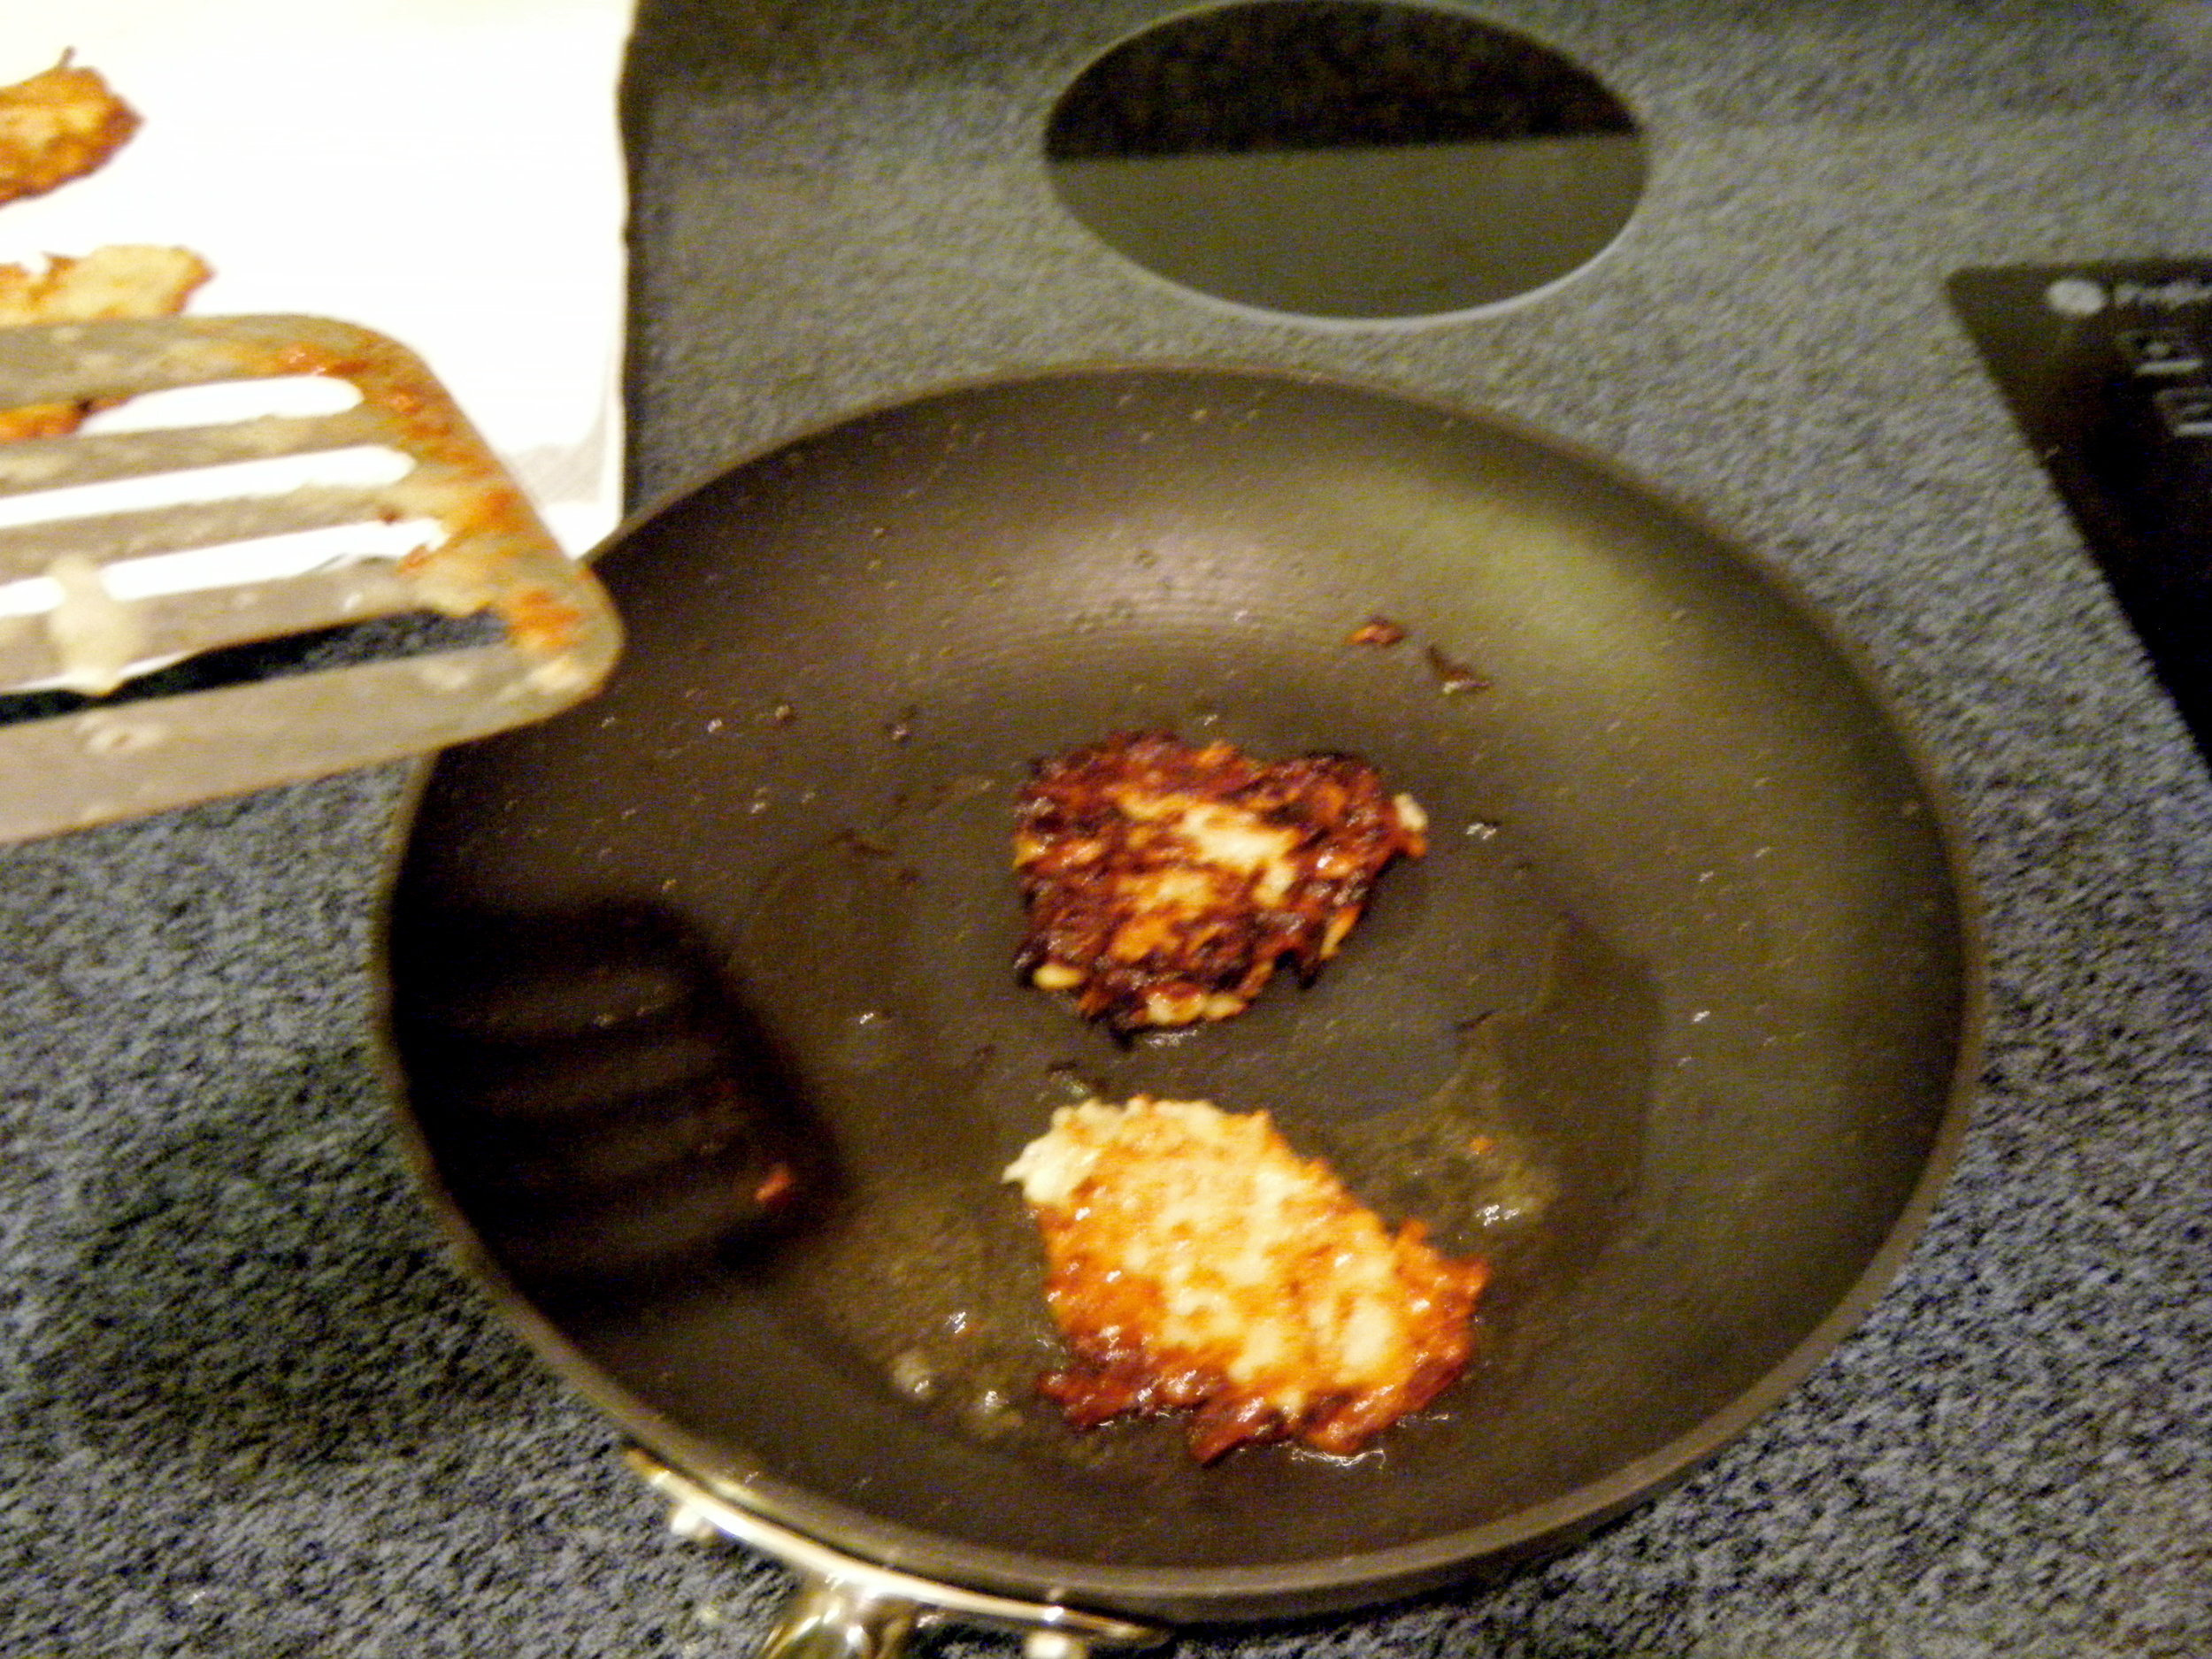
FINALLY, FINALLY I got it! Perfect size, good crispness. What I learned:

1. YOU MUST WATCH THESE CAREFULLY. These cakes are much smaller, and significantly thinner, so they crisp before you know it. One minute is a pretty solid amount of time, but every cake crisps differently.

2. If you've got an electric stove like I've got at home, the heat should be at about 6. If you've got a gas stove like I've got at my apartment, 5 or 6 is probably a good, safe place to remain.

DSCF0481

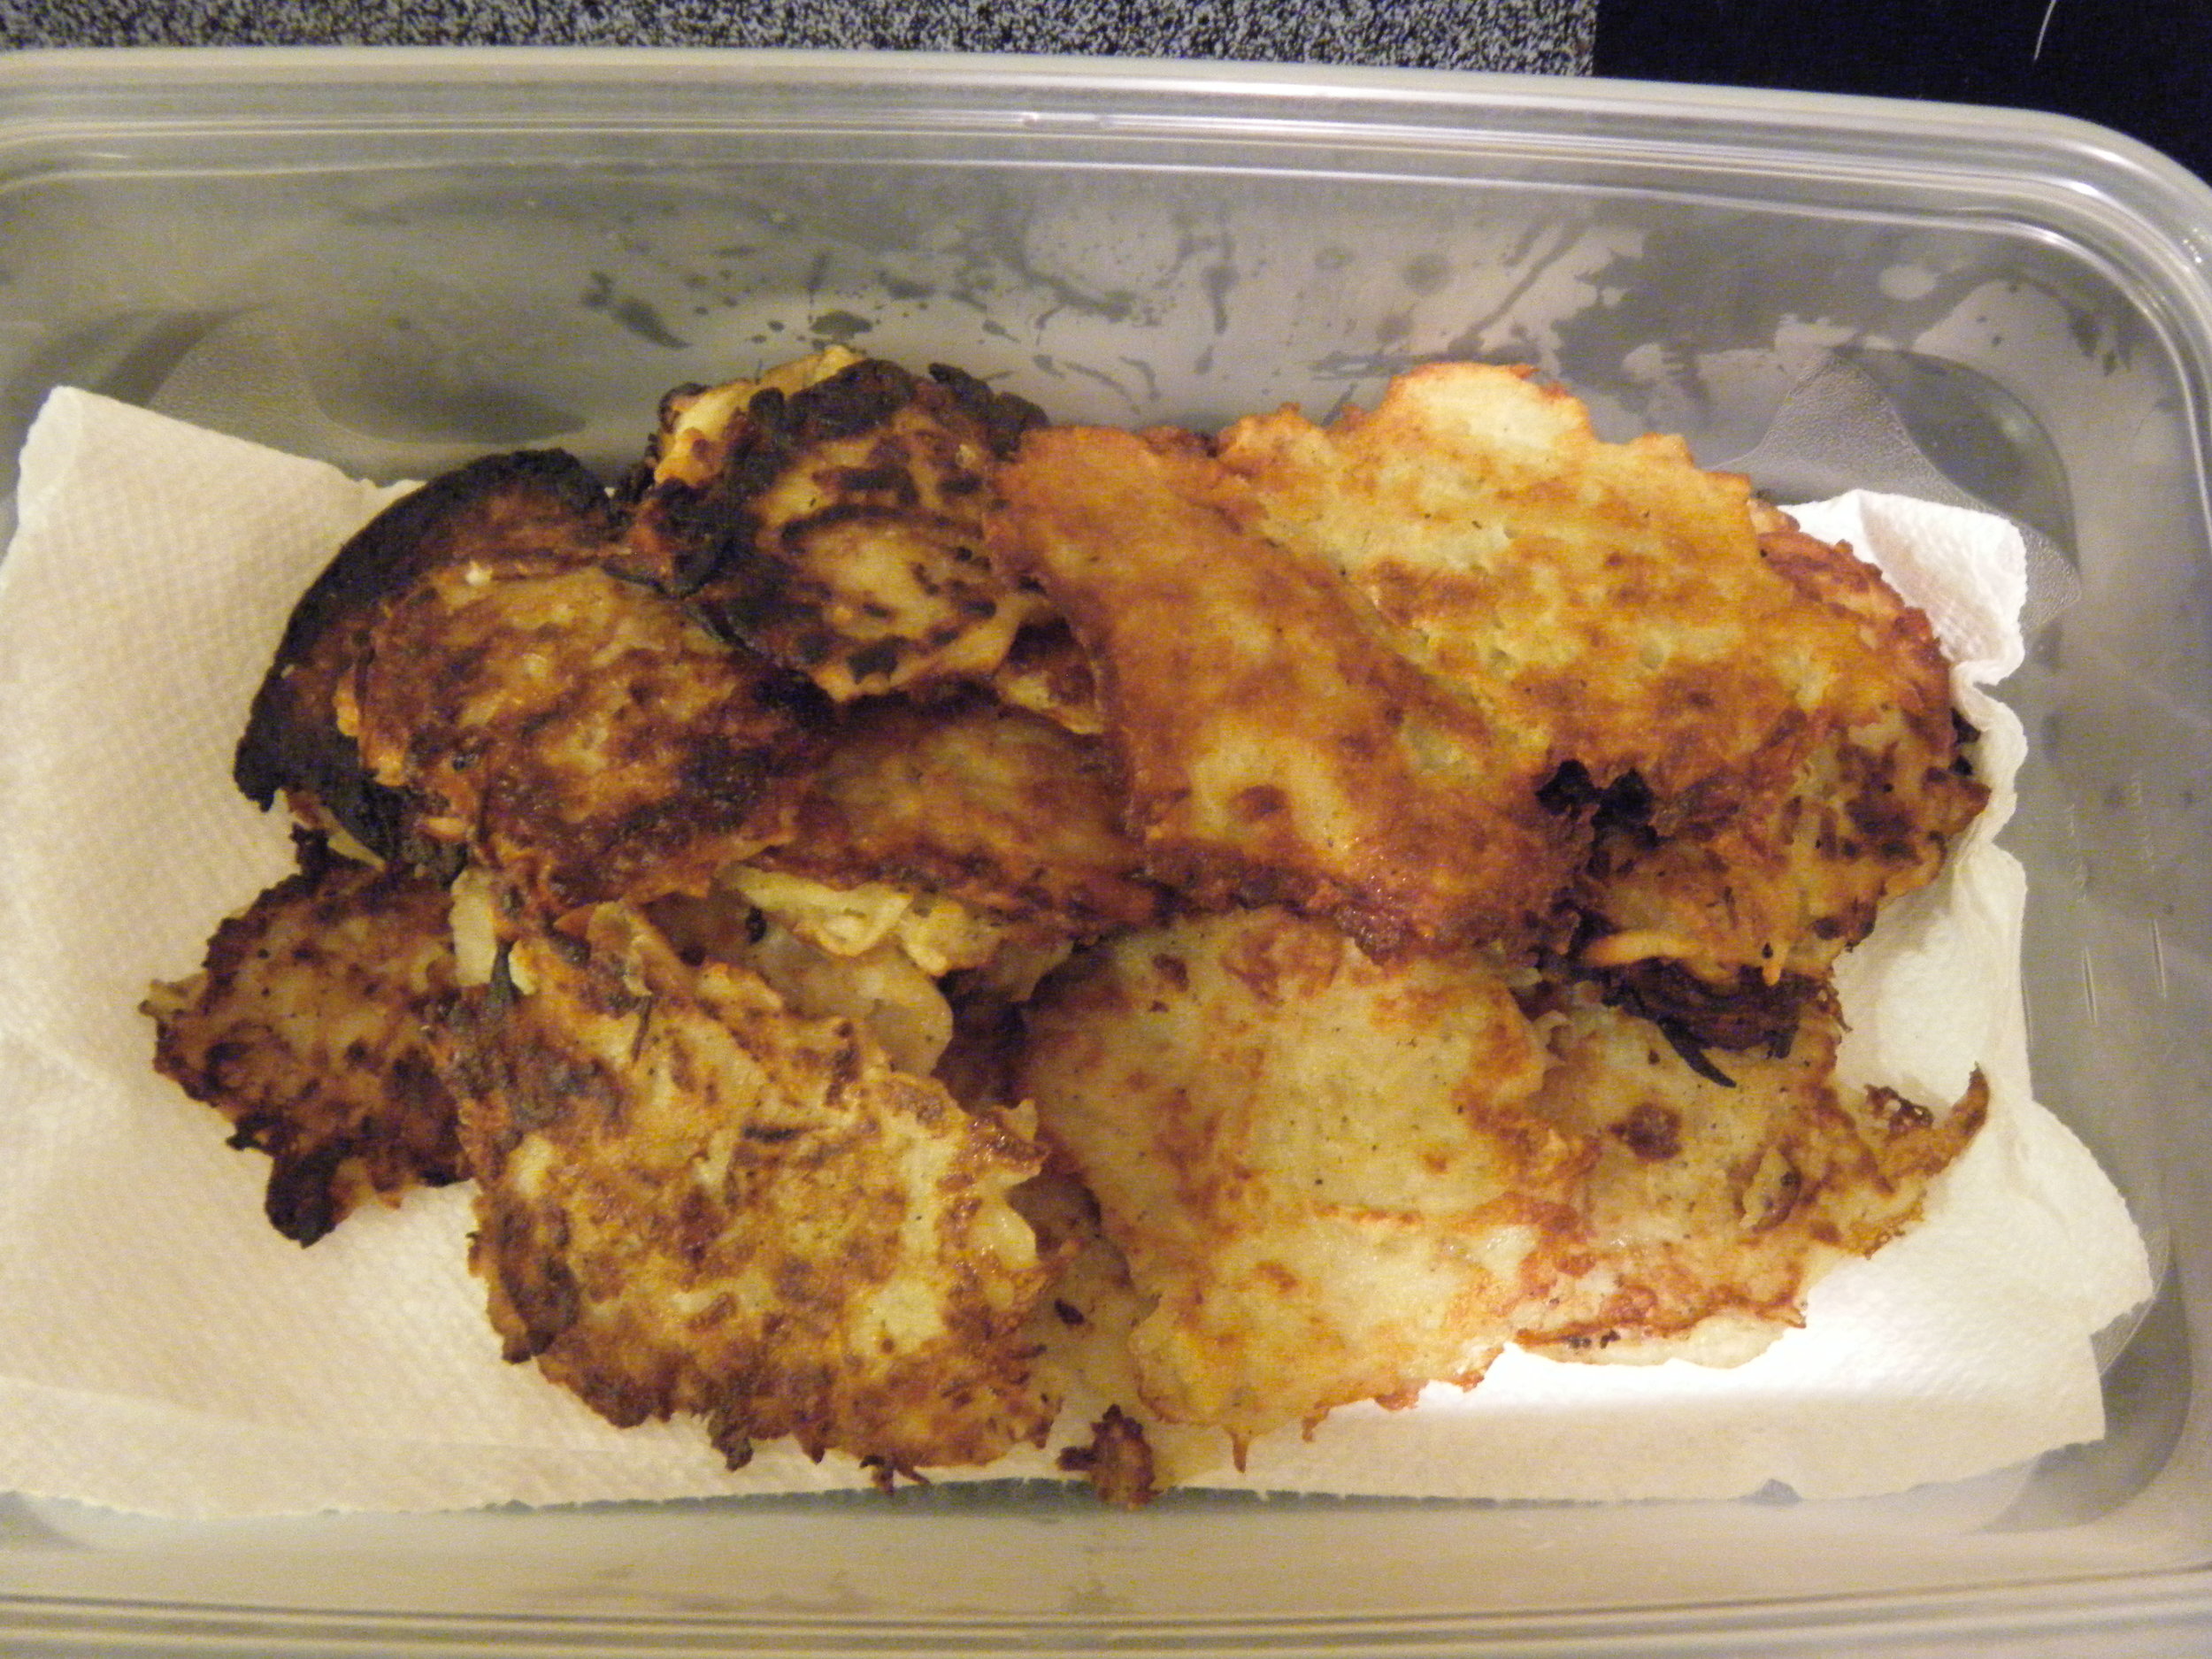
Into the tupperware they go, ready to be eaten tomorrow for dinner!!

Doubling the recipe made a TON, and this is a great food item to make in advance, and they're great re-heated. What's also great is that these aren't just for dinner parties! Potato pancakes can be enjoyed at breakfast, or as hor d'oeuvres with some yummy topping combinations!

Oh! And here's the recipe from Smitten Kitchen!

1 large baking potato (1 pound), peeled 1 small onion (4 ounces), peeled 1/4 cup all-purpose flour 1 large egg, lightly beaten 1 teaspoon salt 1/4 teaspoon freshly ground pepper Peanut oil, for frying

In a food processor or on a box grater, coarsely shred the potato and onion. For longer strands, lay the potato sideways in the chute of your food processor. Transfer to a colander or wrap in a cheesecloth sling, and squeeze as dry as possible. Let stand for 2 minutes, then squeeze dry again.

In a large bowl, whisk the flour, egg, salt and pepper together. Stir in the potato onion mixture until all pieces are evenly coated.

In a medium skillet, heat 2 tablespoons of vegetable oil until shimmering. Drop packed teaspoons of the potato mixture into the skillet and flatten them with the back of a spoon. Cook the latkes over moderately high heat until the edges are golden, about 1 1/2 minutes; flip and cook until golden on the bottom, about 1 minute. Drain on paper towels. Repeat with the remaining potato mixture, adding more oil to the skillet as needed.

Happy Cooking!!

singature gray

So, Let's Talk About Cheesecake.

Two words for you: Pumpkin. Cheesecake. My roommates and I were throwing a little "At the Coffeehouse" themed shindig, and since it was my idea, I wanted to make something appropriate for fall, and fancy! So, pumpkin cheesecake was a no-brainer.  And let me tell you: it was actually (relatively) easy!

So here was my day:

All I want is to be Julia Child in the kitchen.

DSCF0462

Making the DELICIOUS FILLING was pretty interesting. Tons of sour cream, and lots of pureed pumpkin. I would also like to add that I did all of this before I had my baby (my KitchenAid Hand Mixer). The mixing probably took a good 20 minutes. Now that my hand mixer is around, making this in the future will be a quick breeze! (And my wrist won't feel like it's about to fall off.)

DSCF0464

A few things I learned about crusts:

1. When the directions say to use a specific size pan, do what you're told. This crust is meant for a 9 x 13 size pan, but all we had was 7 X 10. We had one very thick crust.

2, Make sure your rolling space is NICE AND FLOURED. If not, it WILL stick:

DSCF0463

Et voila, the final product:

DSCF0470

Since this was the beginning of my Baking Adventures, I cheated and bought cream cheese frosting to spread on the top.

A Few Things I Learned About Frosting Cheesecake:

1. You have to wait until the cake filling is frozen.

2. If you don't wait until the filling is frozen, spreading the frosting is like spreading frosting onto very creamy soup. Also, you will misjudge how much frosting you need, and you'll put too much.

3. Just wait until it's frozen.

I topped off the top with Pumpkin Pie Spice (who even knew there was such a thing? Everyone else, apparently).

It was delicious. DELICIOUS. And I was so proud of myself for making my first dessert with lasting power!

And oh yeah, here's the recipe from Serious Eats!

Ingredients

Makes 24 bars, active time 1 hour, total time 4 hours, including cooling

  • For the Sweet Pastry Dough
  • 1 1⁄2 cups all-purpose flour
  • 1⁄4 cup sugar
  • 1⁄4 teaspoon salt
  • 4 ounces (1 stick) cold unsalted butter, cut into 1⁄2-inch cubes
  • 1 large egg
  • For the Pumpkin Cheesecake Filling
  • 16 ounces cream cheese, softened
  • 1⁄2 cup sugar
  • 3⁄4 cup pumpkin puree (see page 100)
  • 2 tablespoons maple syrup
  • 1⁄2 teaspoon vanilla bean paste
  • 1⁄2 teaspoon salt
  • 1 teaspoon cinnamon
  • 1⁄2 teaspoon freshly grated nutmeg
  • 1⁄2 teaspoon ground ginger
  • 1⁄2 teaspoon ground allspice
  • 2 large eggs
  • Cream Cheese Frosting
  • 4 ounces (1 stick) unsalted butter, softened
  • 8 ounces cream cheese, softened
  • 3 cups confectioners’ sugar, sifted
  • 1 tablespoon pure vanilla extract
  • 1⁄2 teaspoon salt
  • 1⁄2 cup pecans, toasted (page 19), coarsely chopped (optional)

Procedures

  1.  For the Sweet Pastry Dough

    Butter the bottom and sides of a 9-by-13-inch glass or light-colored metal baking pan. Line the bottom with a sheet of parchment paper and butter the parchment.

  2.  Place the flour, sugar, and salt in a food processor and pulse until combined. Add the butter and pulse until sandy (6 to 10 quick pulses). In a small bowl, whisk the egg and add it to the food processor. Pulse just until the dough begins to hold together (if the dough seems exceedingly dry and crumbly, add a teaspoon of water and pulse again). Form the dough into a disk, wrap it tightly in plastic wrap, and refrigerate for at least 1 hour or overnight.
  3.  Dust a work surface with a sprinkling of flour. Using a rolling pin, roll the dough into a rectangle slightly larger than 9 by 13 inches (the size of the pan) and about 1⁄4 inch thick. The dough might be sticky, so turn it with a bench knife or spatula as needed and keep the work surface floured. Some people find it easier to roll the dough between two layers of parchment paper—this can make it less messy and easier to transfer to the pan.
  4.  Ever so gently, guide the dough into the pan and lightly press it—without pulling—into the bottom; it is not necessary to bring the dough up the sides of the pan, only to completely cover the bottom of the pan. Trim off any excess. Place the pan in the freezer for 30 minutes.
  5.  Preheat the oven to 375°F.
  6.  Remove the pan from the freezer, line it with aluminum foil, and fill it three-quarters full with pie weights or dried beans. Bake for 15 minutes, then remove the foil and weights and bake for another 10 minutes, until the crust is lightly browned. Transfer the pan to a wire rack to cool. Reduce the oven temperature to 300 degrees F.
  7.  For the Pumpkin Cheesecake Filling

    In the bowl of a standing mixer fitted with the paddle attachment, beat the cream cheese on medium speed just until it is lump free and smooth. Do not overbeat or the tops of the bars may crack. Add the sugar and beat again until well combined, about 2 minutes.

  8.  In a large bowl, whisk together the pumpkin puree, maple syrup, vanilla bean paste, salt, cinnamon, nutmeg, ginger, and allspice. Add this mixture to the cream cheese mixture and beat on medium-low speed until completely combined. Scrape down the sides and bottom of the bowl and add the eggs, one at a time, beating well after each addition, then beat until the mixture is smooth. Note: This batter is slightly looser than the average cheesecake batter.
  9.  Pour the mixture over the crust and bake for 23 to 30 minutes, or until the bars are set and slightly puffy (if the tops start to crack, the bars are overbaked). Transfer the pan to a cooling rack and allow the bars to come to room temperature, then refrigerate until chilled, at least 2 hours.

For the Cream Cheese Frosting

  1. In the bowl of a standing mixer fitted with the paddle attachment, beat the butter until it is completely smooth. Add the cream cheese and beat until combined. Add the confectioners’ sugar, vanilla, and salt and beat until smooth (be careful not to overbeat the frosting or it will lose its structure). The frosting can be made a day ahead: after mixing, cover the bowl tightly and refrigerate; let it soften to room temperature before using.
  2.  Use an offset spatula to spread the frosting evenly across the top of the filling layer. If you like, sprinkle the pecans evenly over the top of the frosting. Place the bars in the refrigerator for 30 minutes to set before cutting and serving.

The bars can be stored in the refrigerator, tightly covered, for up to 3 days.

Happy Baking!

singature gray

Change is In the Air

I apologize PROFUSELY for my absence. Life tends to get you a little carried away and before you know it, it's December and your last blog post was in April. I've failed a little bit with my new year's resolution of blogging everyday, but that will change (probably), because I'm going to be a little bit more proactive. Okay, here's the second thing: this blog is going to change...slightly. While interior design forever will have a place on this space (see what I did there?) DaintyDwellings is going to feature more. For starters, I just realized my love (I mean burning hot, PASSIONATE LOVE) for baking. I don't know how I could live my life before without it. But that has changed, my friends. Ohh, how it has changed. So now, what I bake, I share. With you. My loyal reader.

Along with baking, I'll share my decorating tips, my crafts, my readings, my writings, my favorite things, my photos, my journeys, my music (did I ever tell you that I'm a musician?) my everything. I promise to only post the interesting stuff, and not the stuff about me geeking out over balloon whisks. (That actually happened by the way. I didn't know that I could reach that level of kitchen-nerdiness.)

It's all about to change, and I hope I still have you along for the ride.

Love,

singature gray

Wallpaper's In!

I've gotten, from more than one source, the exclusive trends for this spring. What's hot? Wallpaper!

Honestly, I was a little surprised. I hope you're thinking what I was thinking: how could something that's literally been around for decades, abandoned and virtually forgotten, be a hot trend now, in 2012? Funny you should mention it. I've done a little research, and here's why wallpaper has made such a triumphant comeback:

1. It can change the entire personality of a room, in a matter of hours (depending on how quickly you work.)

If you're looking for a quick fix or a quick theme without paying a professional painter, wallpaper's a great way to go. A ton of designers have expanded their expertise to wallpaper design, and there's always something for everyone. (Might I recommend Cath Kidston? I love everything she does. One of my dream rooms will be COVERED in her beautiful rose-patterned design.)

2. You won't have to buy a ton of paint every time the sun fades your colors. Wallpaper can last for the long haul!

The longevity of Wallpaper is anywhere between five to seven years. You get your money's worth, and a room that could speak for itself, even without any furniture.

3. It's a lot easier than many think to install!

Wallpaper can be fun! And it's pretty easy to do, once you follow the instructions. You'll get the hang of it, and it's smooth sailing from there.

4. If you start to hate it, just tear it down and start from scratch!

No primer, no different paint colors, no painter's tape. Just a new pattern, some glue, and a plan for another fabulous interior masterpiece!

Happy decorating!