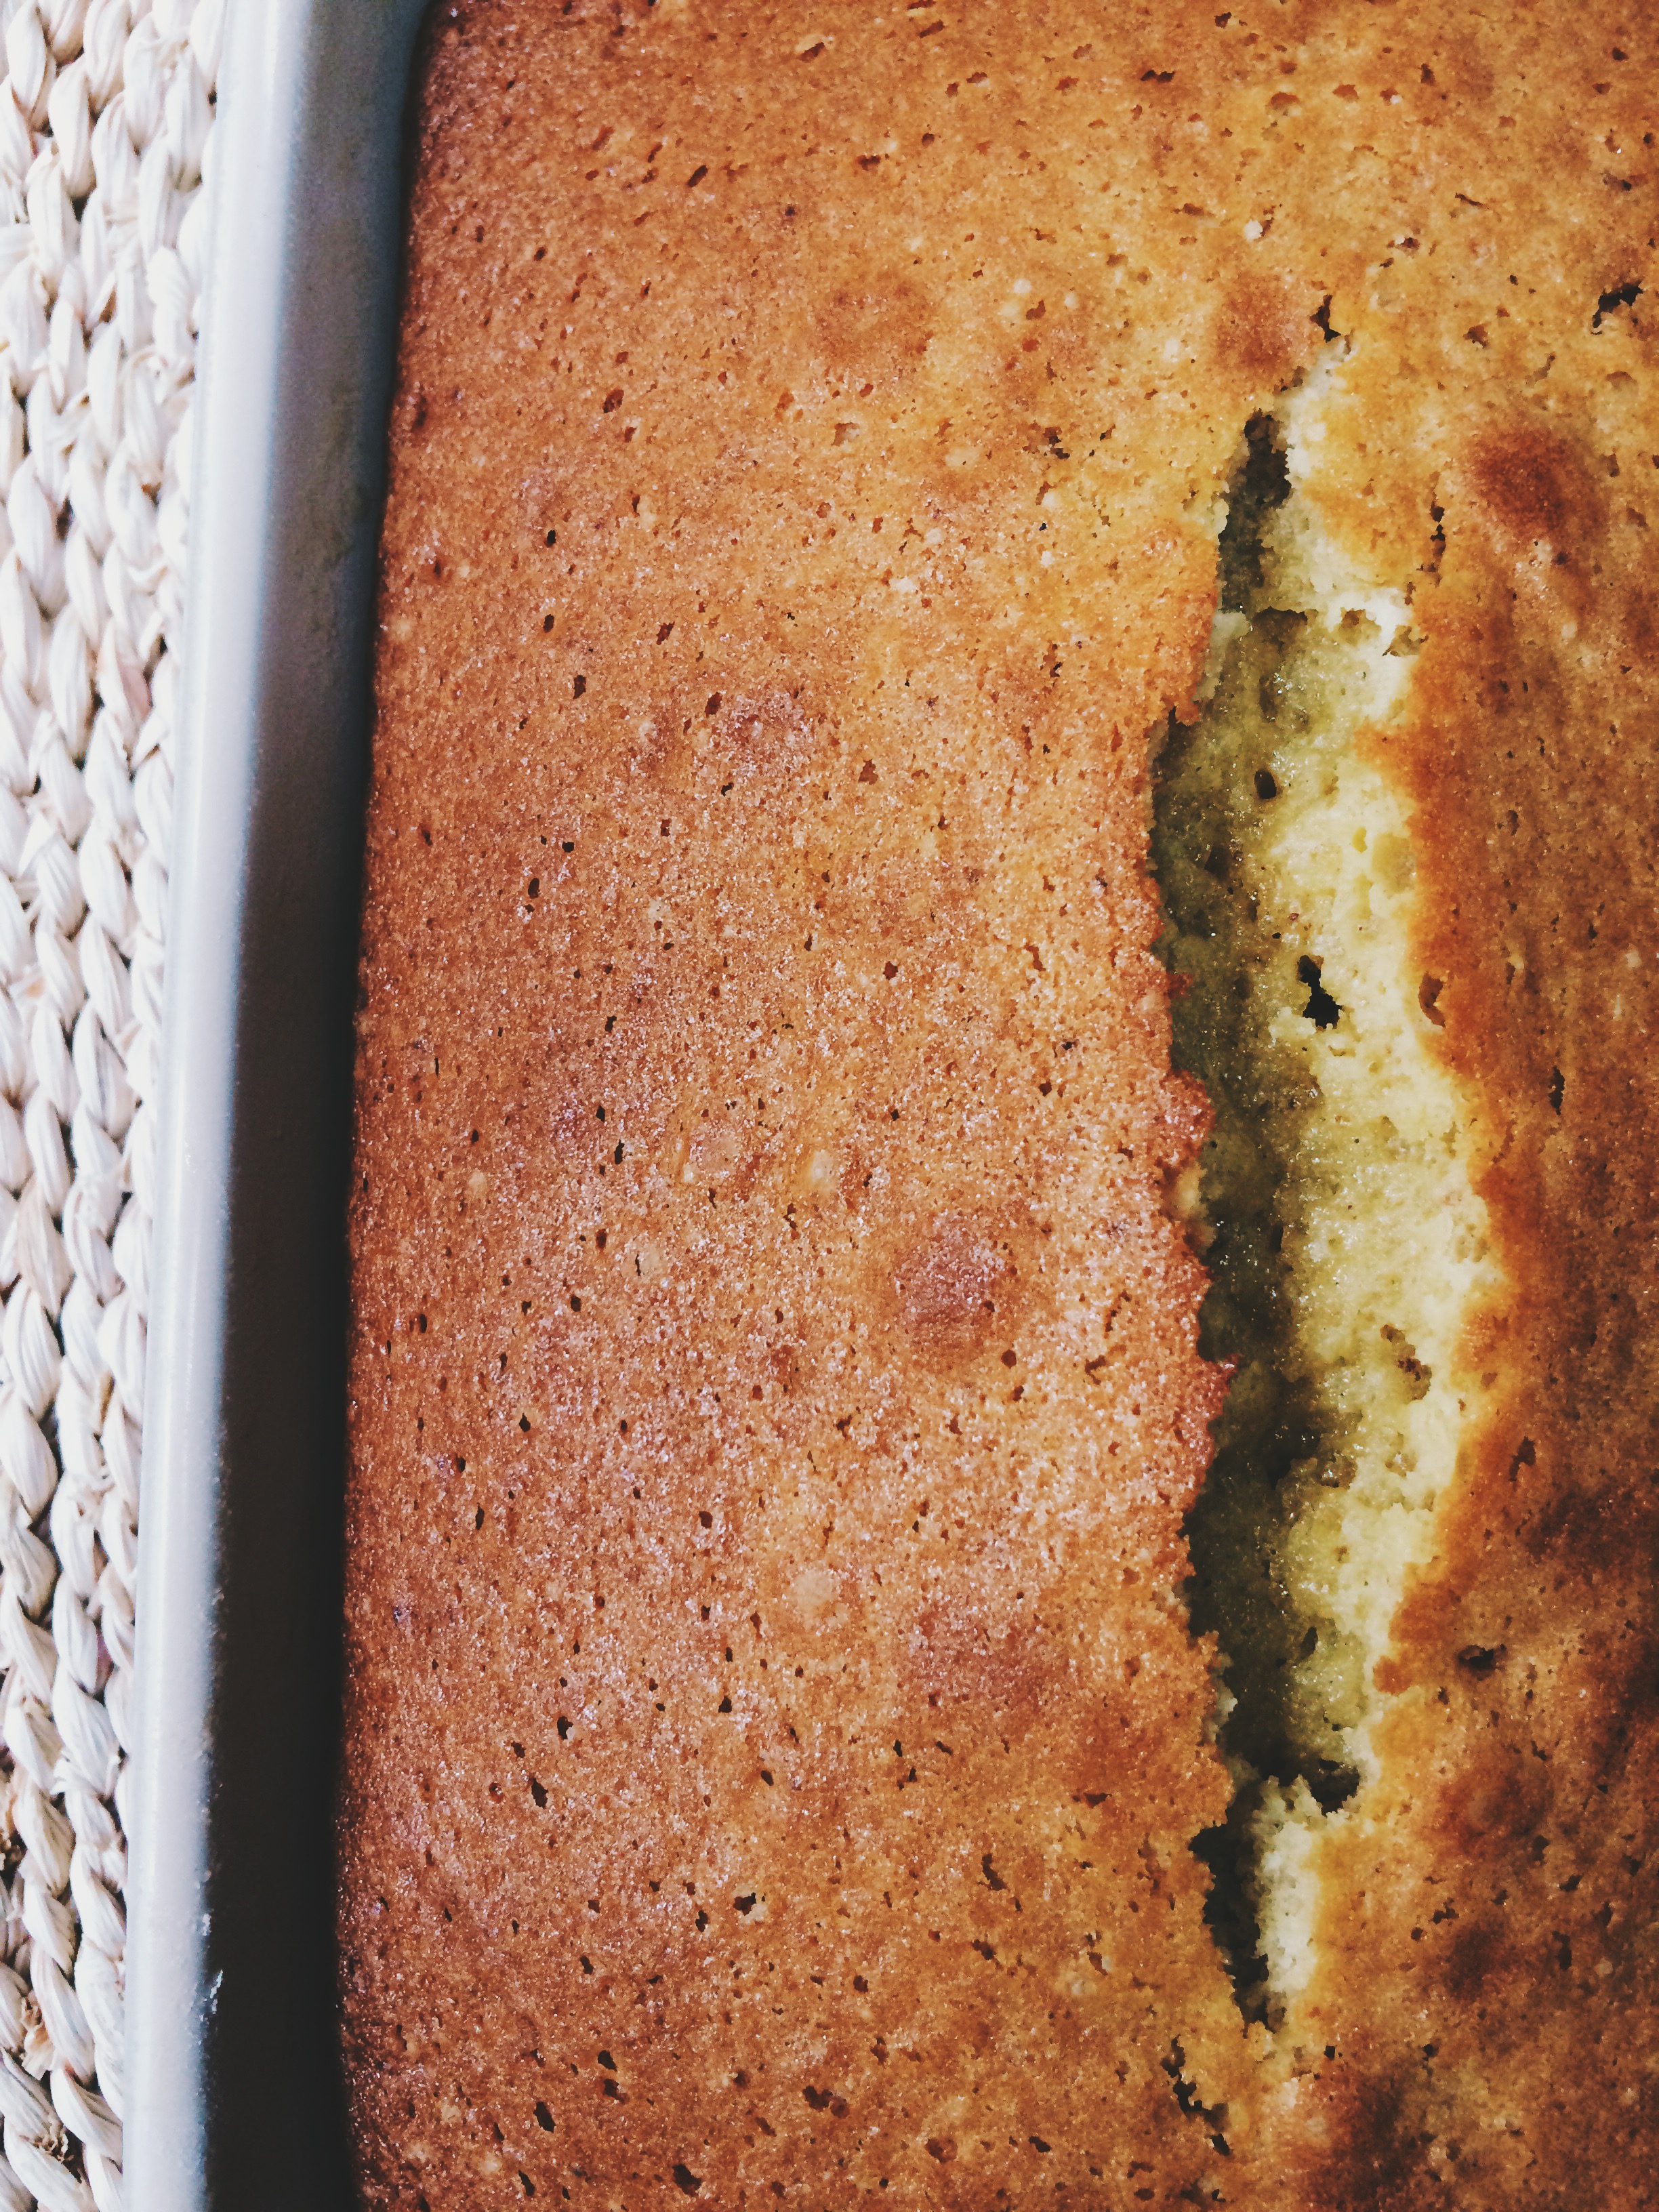
Brown Butter and Vanilla Loaf Cake
I'm currently engaged in a fierce (but friendly) food gift war with my next door neighbor.

It all started with a piping hot pan of homemade peach cobbler on the hottest Sunday of the Summer. She appeared from out of nowhere with a dessert that made my heart sing, as we'd recently run out of anything sweet, and the dessert-obsessed part of my brain was getting desperate. We bonded over our similar experiences of living in the Midwest, and our mutual addiction to cookbooks. This had the potential to be a beautiful friendship, so I scoured my archives for a divine recipe for brown-butter Madelines (It may just pop up here!). I brought them over, she was surprised and thrilled, and we chatted for 45 minutes as only people blessed with the gift of nonstop gab can do. I thought that would be the end of it.

The very next week, while in my all-star loungewear (which is what I call the clothing that is too good to donate, but too hideous for any human that does not live in this house to see), I heard the chipper double-ring of the doorbell only to find my dear sweet neighbor with a Danish kringle in-tow from my hometown that is now an 18-hour drive away. It was a delicious surprise, so I knew I had to return the favor quickly.

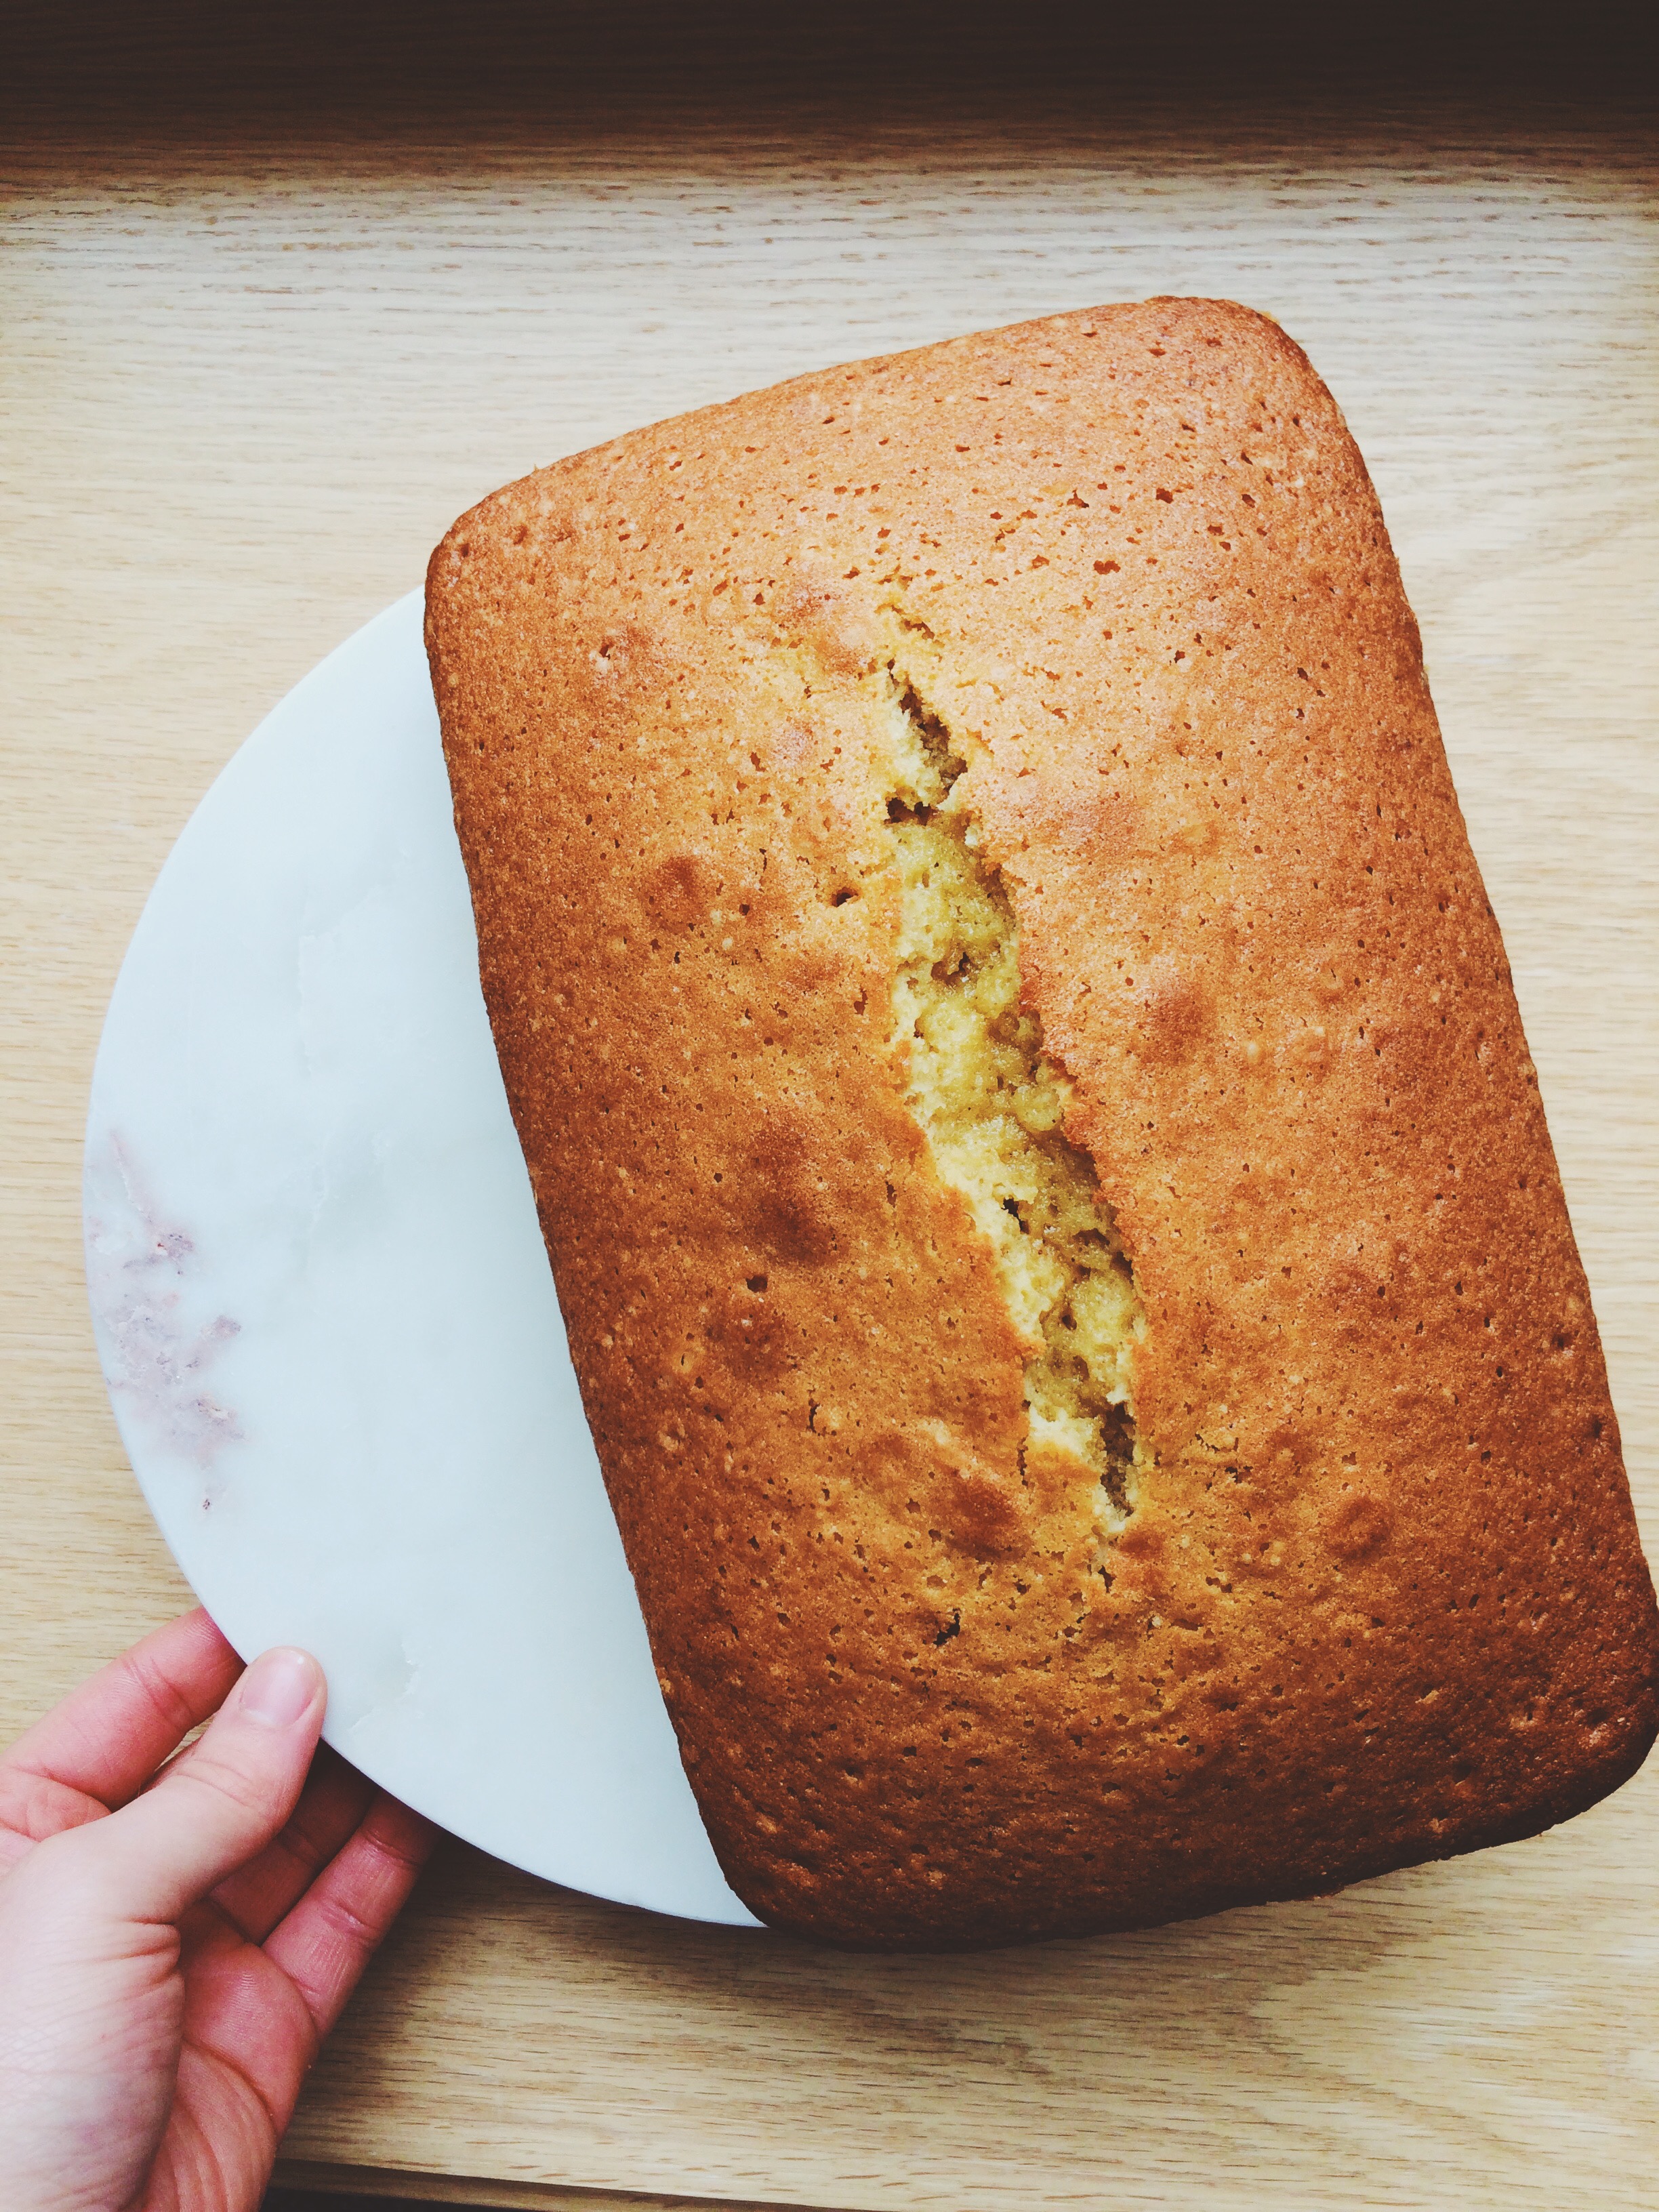
Here's something important to remember when you're caught in a gifting cycle: they don't all have to be showstoppers. Really, the whole point of giving a gift is to show the person that you appreciate them and that you care. So, do the three-tier cake if you want, but don't feel obligated. It's sometimes the simple things that are the most remembered. So, bearing that in mind, this time around I decided to do something very simple indeed: a loaf cake. Super vanilla-y, super buttery, super, super simple. She can have a slice for breakfast. She can have a slice while reading the Sunday paper. She can even have it with tea with a friend. It's super casual, and a gift that is right up both of our alleys.

Of course, this cake is also great for when you're craving a sweet treat, but you don't want to dirty every single bowl and pan in the house. It's quite straight-forward to make, and takes about 60ish minutes or so to bake. It's perfect for when you want to keep things really low-key. And did I mention how incredibly moist it is? So moist!

So, make this little cake as a gift, or keep it for yourself. The decision is yours. And it's tasty.

I've been promised a container of homemade soup as soon as the air starts to turn chilly, so the warm and fuzzy food war rages on...


BROWN BUTTER AND VANILLA LOAF CAKE 

What You'll Need:

  • 1 stick unsalted butter
  • 1 3/4 cups all-purpose flour
  • 1 1/2 teaspoons baking powder
  • 1/4 teaspoon fine sea salt
  • 1 1/4 cups granulated sugar
  • 4 teaspoons pure vanilla extract
  • 4 large eggs, room temperature
  • 1/3 cup heavy cream

DIRECTIONS

Place a rack in the center of the oven, then preheat the oven to 350 degrees F. Stack two baking sheets on top of each other, then line the top baking sheet with parchment paper. Butter a 9 x 5 inch loaf pan (mine was slightly larger and everything turned out fine!) generously with butter, then coat generously with flour, then lightly tap out the excess. Set the loaf pan on top of the baking sheets and set aside.

Melt the butter in a small saucepan set over medium heat and let it come to a boil. The butter will bubble vigorously for about 5-10 minutes. When the bubbles have subsided, the butter should turn a golden brown color, and start emitting a nutty smell. Watch your butter carefully as it is really, really easy to burn it. Once it has reached the golden brown stage with little flecks floating all around, your brown butter is done. Immediately remove from the heat.

In a medium bowl, whisk the flour, baking poser, and salt together. Set aside.

In a large bowl, add the sugar, then whisk in each egg one at a time, whisking for about 1 minute each until they are all well incorporated. Next, whisk in the vanilla, then the heavy cream. Whisk until everything is fully combined.

Using a whisk or a rubber spatula, gradually stir in the dry ingredients until the batter is thick and smooth. Next, add the melted butter in 2 or 3 additions. Pour the batter into the prepared loaf pan, and smooth out the top so that it is evenly distributed.

Bake the cake for 55-65 minutes, or until a skewer inserted into the center of the cake comes out clean. If the cake starts to brown too quickly at the 30-minute mark, gently place a little aluminum foil on the top, then continue baking.

When your cake is done, transfer it to a wire rack to cool for five minutes, then take it out of the pan and let it cool completely.

To store: Wrap tightly in plastic wrap for up to a week.


SOURCE: Baking Chez Moi 

Baked Lemon Brioche French Toast with Raspberries

  Processed with VSCO with s3 preset

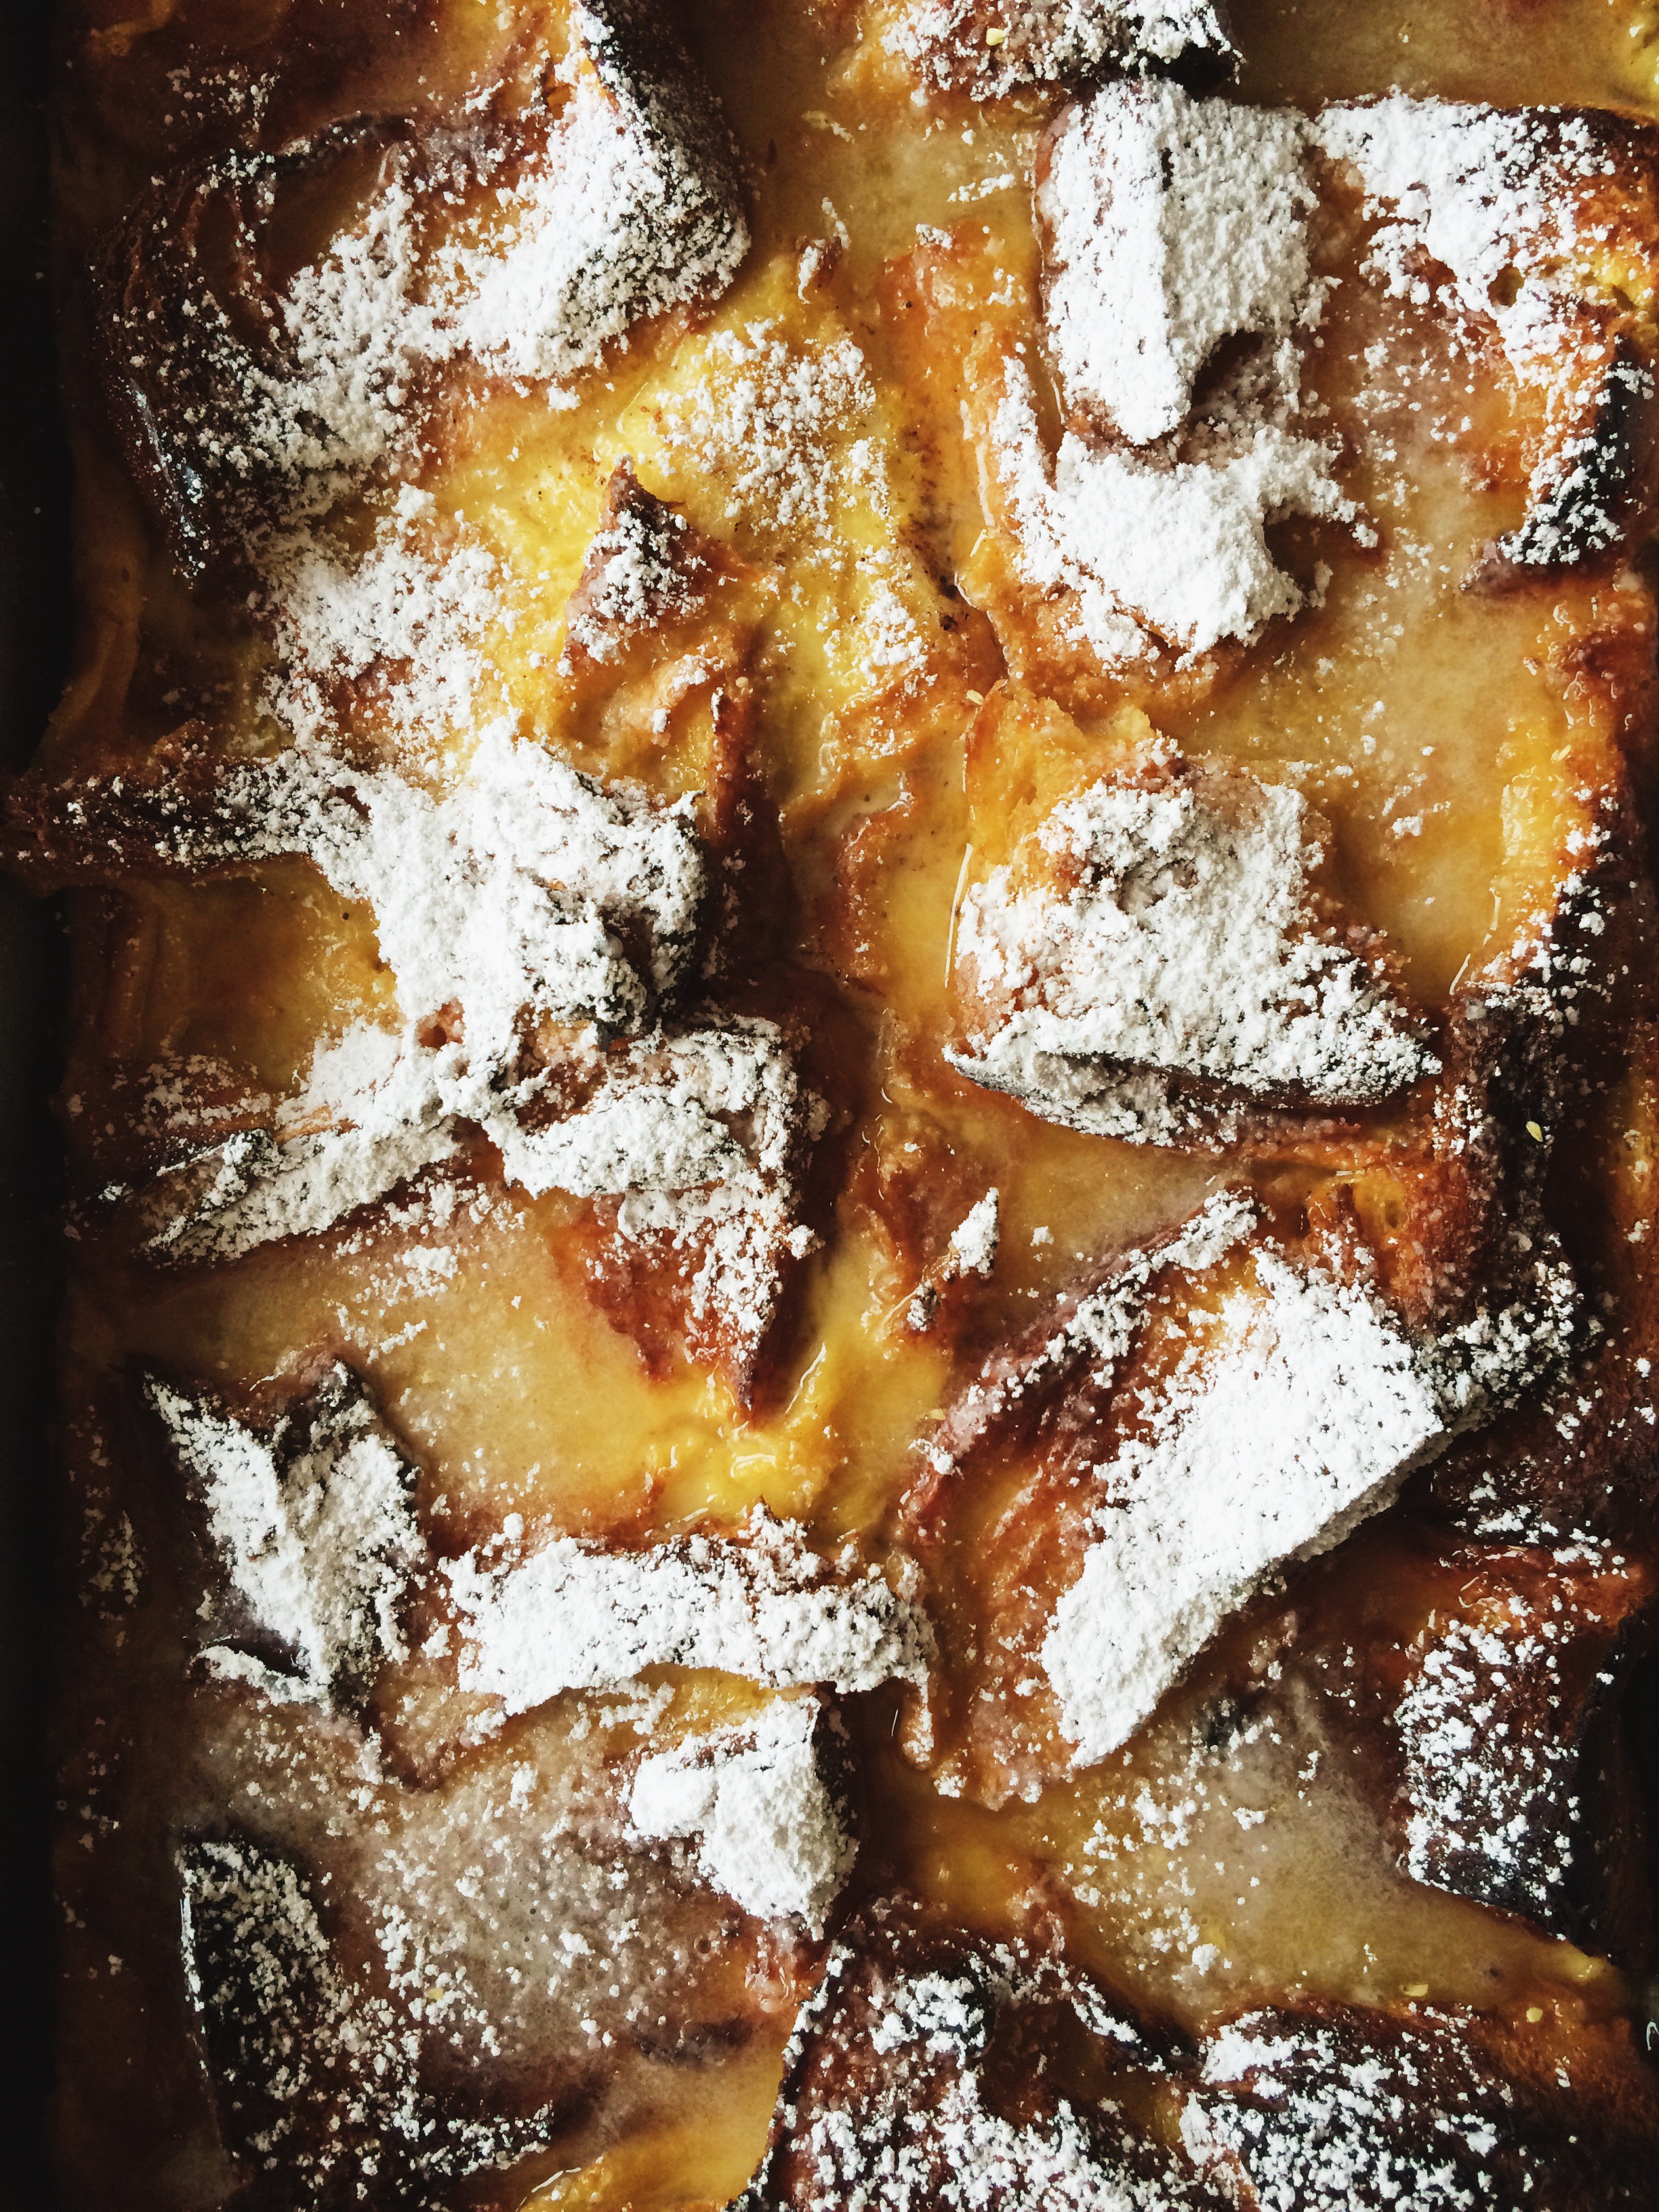
Lately I've had a hankering for french toast, but not a ton of time (or patience) in the morning to make it happen.  You have to soak the eggy bread in custard, you have to fry it on the stove, you have to fix the other side dishes that balance out the meal, you have to heat the syrup, etc. etc. etc. Who has time for that when every day you spend a an hour negotiating with your alarm clock for just five more minutes? So what does one do when they need a bright spot in a week of monotony, but very little time in the morning to make that happen? They fall in love with a make-ahead recipe like this one for Lemon Brioche French Toast with a fresh helping of minty-fresh raspberries on the side. Hello, bright spot.

This recipe is a citrus lover's dreaaaam. There's lemon zest in the custard mixture, then another hit in the freshly-squeezed lemon juice glaze.

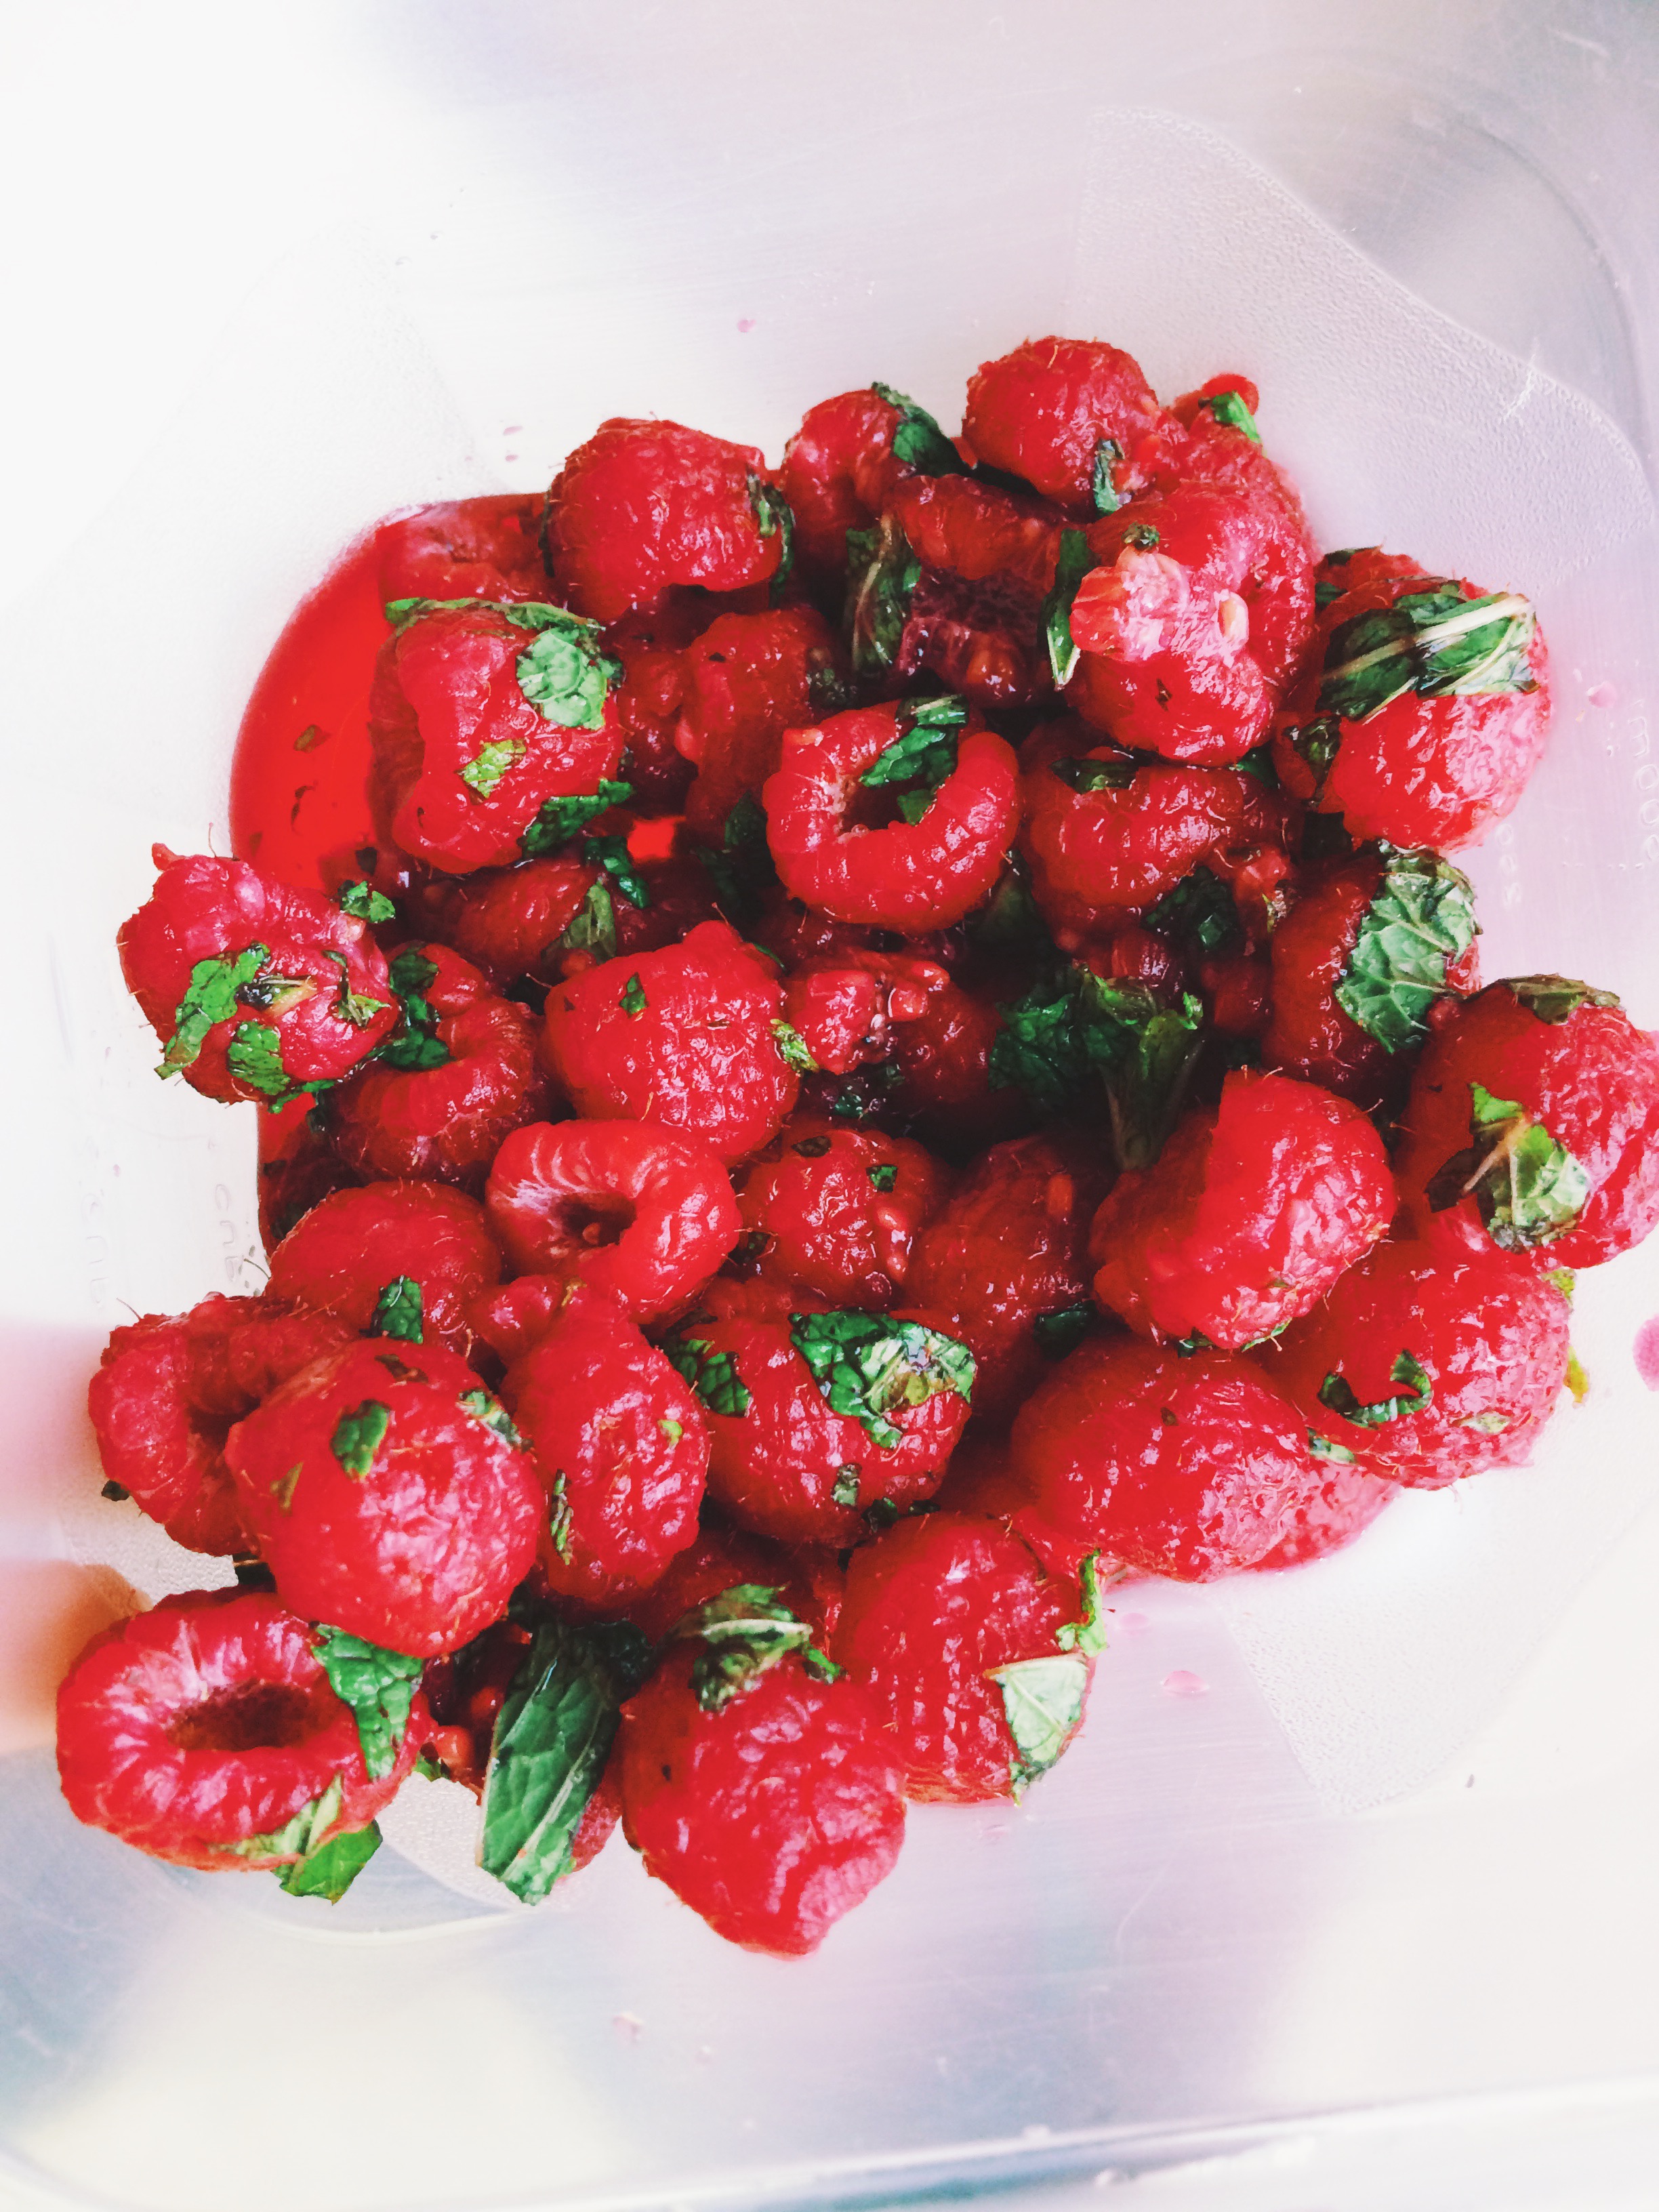
What's lovely about this baked version of french toast is the pillowy-soft consistency (almost like bread pudding) of the inner filling, mixed with a little bit of crispiness from the crusty top layer. And what better complement to the sweetness of the lemon brioche than the fresh, slightly tart macerated raspberries with mint? It's tasty, and your breath will never smell better in your whole life.

This is a breakfast recipe for those bakers out there that love to plan ahead, like myself. Anything that can cut my overall time even the slightest bit, I'm willing to do. The make-ahead factor of this recipe is what makes it a total keeper: this dish can be made 24 whole hours in advance, and, if you ask me, the longer it sits in the fridge, the better it actually becomes! Overall prep time the night before is probably around 20-30 minutes, then cook time the next morning is around 20-30 minutes, making total time an hour MAXIMUM. Fab, right? Imagine what you can get done while your french toast is baking in the oven? We're talkin' bacon, we're talkin' eggs, we're talkin' the works, people. I seriously can't say enough great things about it. Oh wait, there's one more: leftovers reheat PERFECTLY. So don't feel guilty if it's just you enjoying a special breakfast for yourself; there's no need to waste a thing. If you play your cards right, you could have a special breakfast almost every day of the week. And breakfast is the most important meal of the day, you know.

Have it for brunch, or have it on a regular old Monday. Either way, you're on your way to a baked breakfast of champions.


LEMON-BRIOCHE FRENCH TOAST W/ MINTY RASPBERRIES

What You'll Need:

(For the French Toast)

  • 2 lemons, zested and juiced
  • 3 large eggs
  • 1/4 cup light brown sugar, packed
  • 3 cups whole milk
  • 1 teaspoon vanilla extract
  • 1/4 teaspoon salt
  • 1/2 teaspoon ground nutmeg
  • 1 1/2 cups confectioners' sugar, plus more for dusting

(For the Minty-Raspberries)

  • 12 ounces raspberries, lightly washed and inspected
  • 3 tablespoons sugar, plus more if adjustment is needed
  • 1/4 cup loosely-packed mint leaves


DIRECTIONS 

*If you're making it ahead*

Grease well a 9 x 13 pan with butter, then set aside.

Slice the bread into 1/2 inch thick slices, then cut each slice in half. Next, take half of the bread slices and lay them in the baking sheet, making sure that there are overlapping layers. Sprinkle the bread slices with half of the lemon zest.

In a large bowl, whisk the eggs, then whisk in the brown sugar. Whisk until the ingredients are well combined. Next, whisk in the milk, vanilla, salt, nutmeg, and the rest of the lemon zest. Pour half of the custard mixture over the bread in the prepared baking dish, then layer the rest of the bread on top. Evenly pour the rest of the custard mixture over the bread to coat it.

Cover and refrigerate overnight. In the morning, take the casserole out of the fridge and let it sit at room temperature for at least 10 minutes before baking.


*If you're making it the same day*

Preheat the oven to 425 degrees F.

Do all of the instructions above.

When ready, bake the lemon brioche french toast for 20-30 minutes (make sure to check on it every so often because the crust of the bread tends to darken quite quickly), or until golden brown on top and puffy.

While the french toast is baking, whisk the lemon juice with the confectioners' sugar. Once you have taken the french toast out of the oven, immediately drizzle the glaze evenly over the top. Next, add a few extra teaspoons of confectioners' sugar to a fine strainer or shaker and add a light dusting over the top of the casserole.

Let the dish cool for at least 15 minutes before serving,

*While the dish is cooling*

Add the raspberries to a medium-sized bowl, then add the sugar and fresh chopped mint. Gently mix together, then let sit for 5 minutes so that the raspberries have a chance to release their juices. Add more sugar if the raspberries are still a little tart.

Serve the french toast in large slices, with raspberries on the side.


To store: Cover the dish in plastic wrap and store in the fridge. Let it come to room temperature for 10 minutes before reheating in the oven.


SOURCE: Slightly adapted from The Kitchn

Happy Thanksgiving!

You guys. You guys. I've been up since before the sun came up, hunched over lightly floured services cutting holes out of dough, peeling so many apples that my fingers became prunes, and definitely accidentally licking the bitter white part of a lemon while trying to sneak some of the juice on the sly. But you know what they say: No pain, no pie...

...That's how that saying goes, right?

I'm so tired.

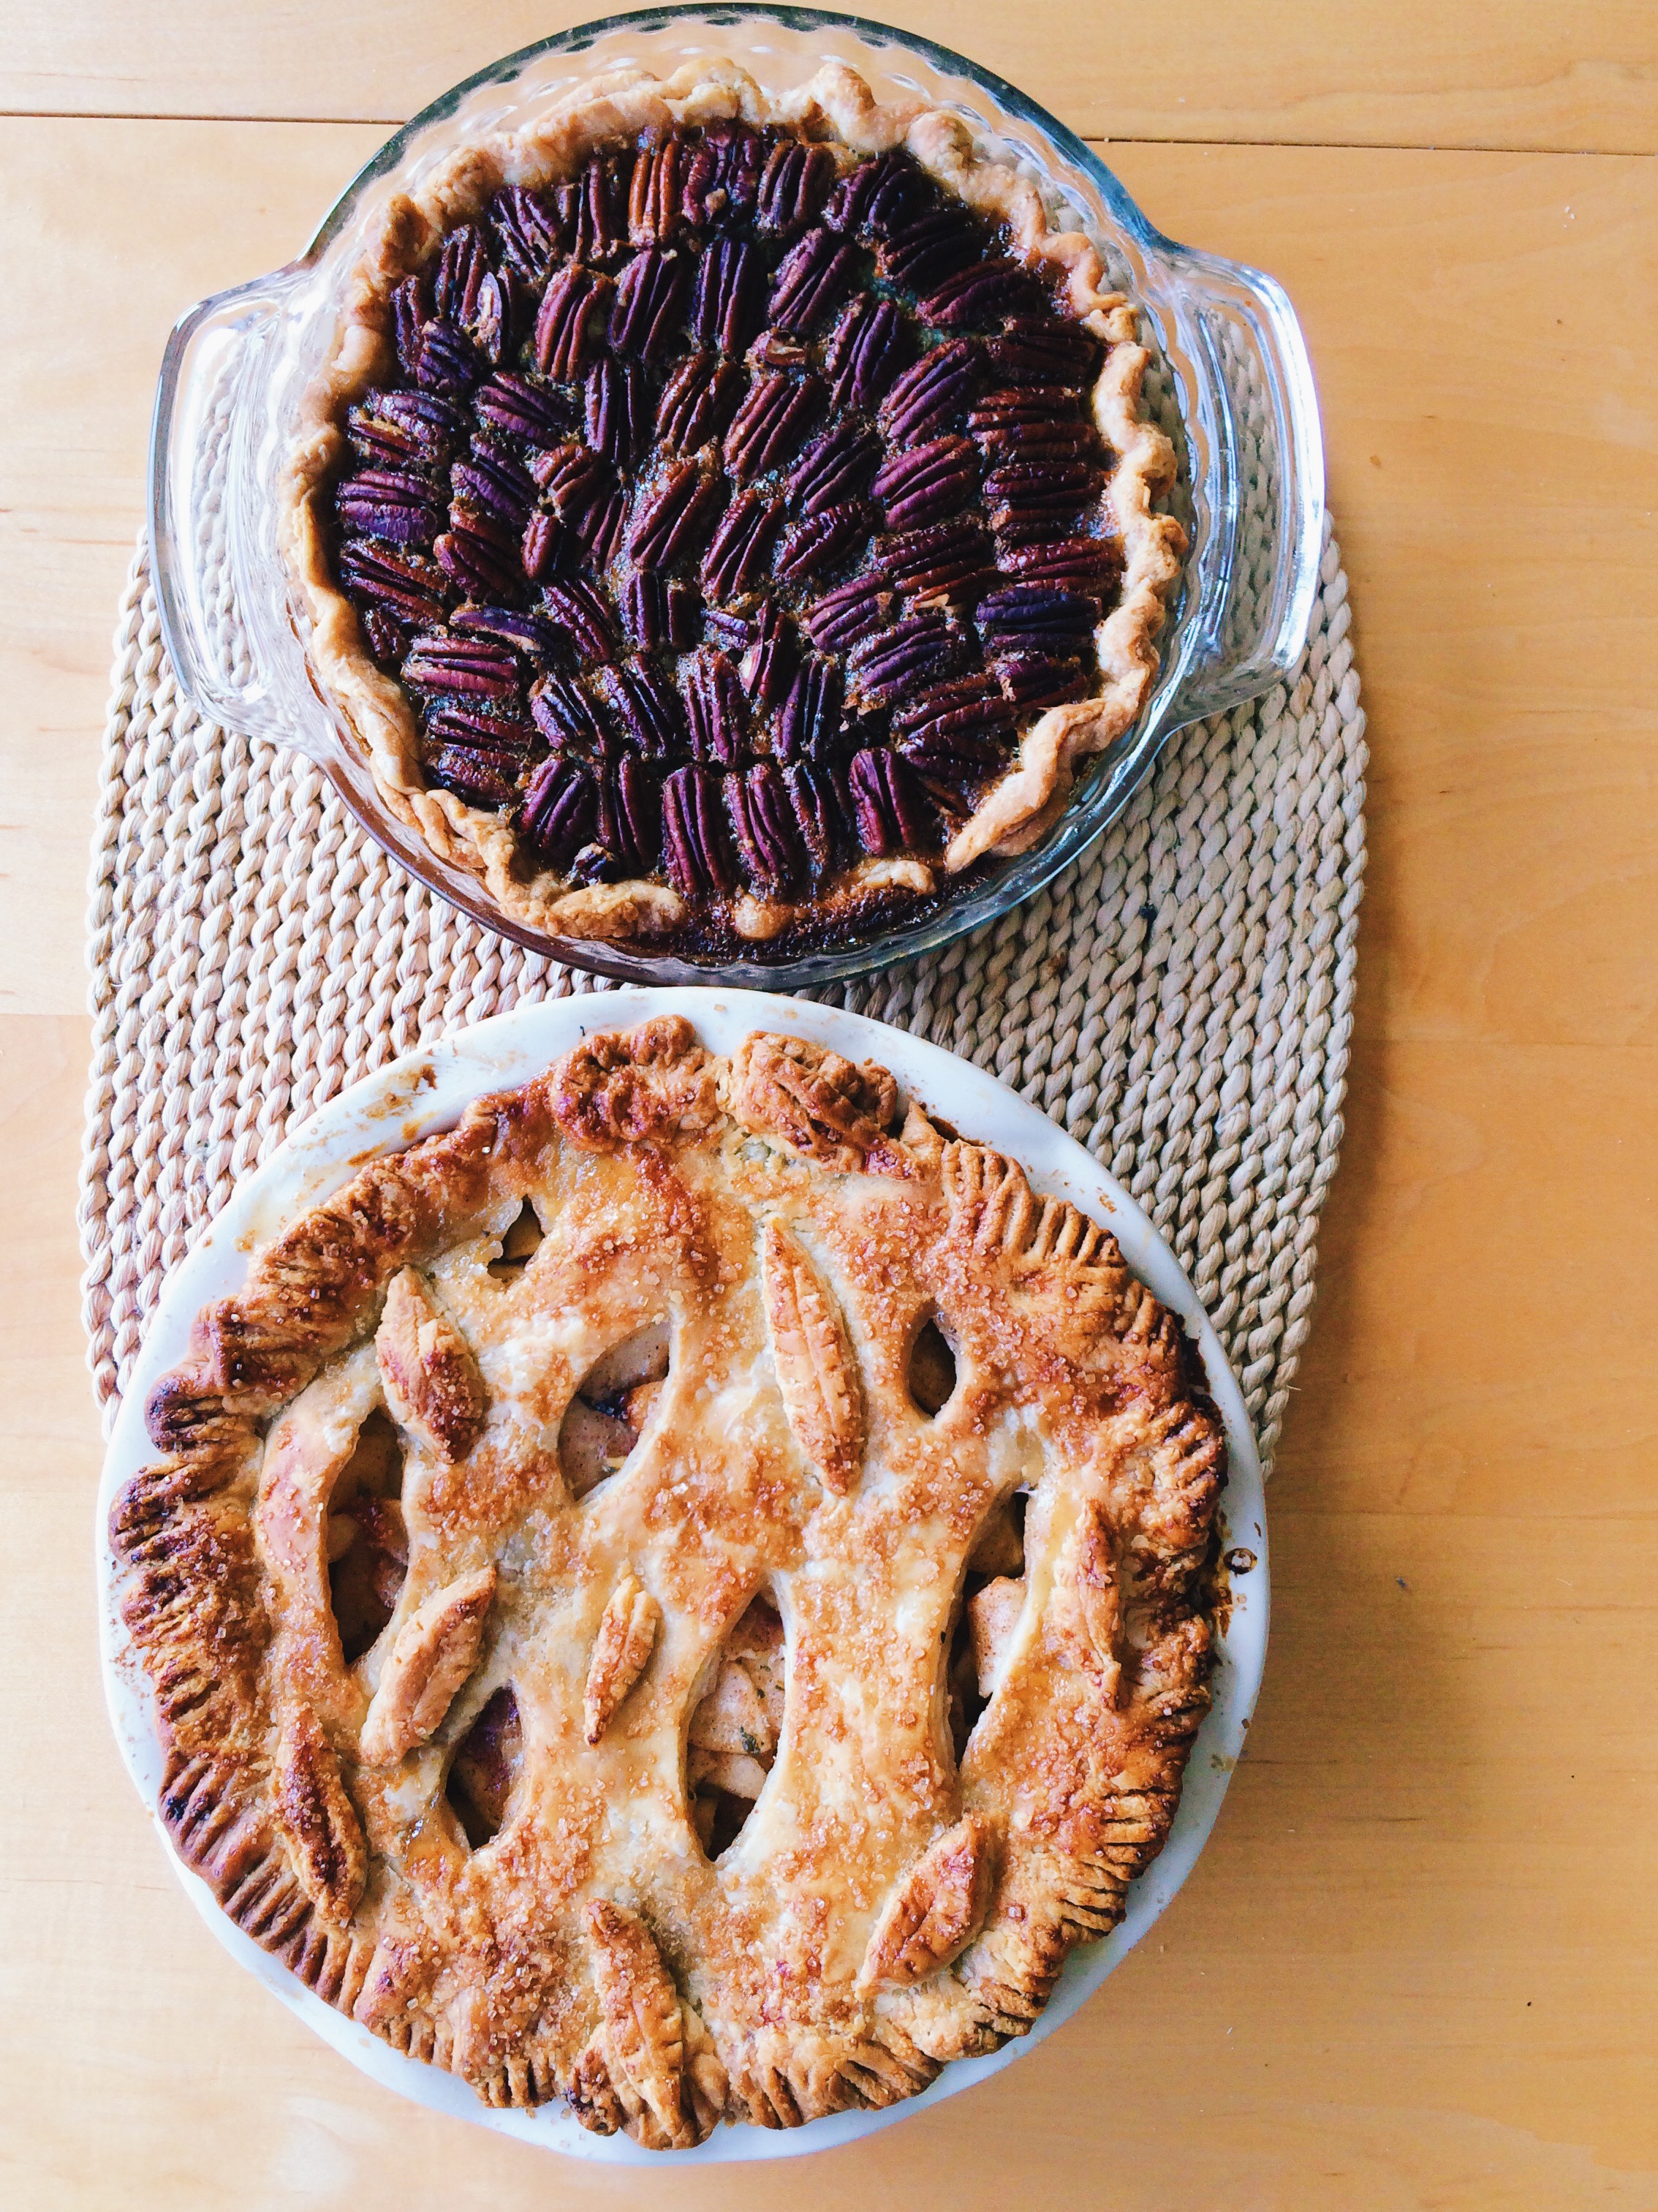
Despite the increase in yawning this afternoon, I'm feeling GREAT. Thanksgiving pies are FINISHED, cooling, and getting ready to be wrapped up tight for maximum Turkey Day freshness. Also, I'm one step closer to achieving my goal of being Pie Queen of the Midwest. I think I've finally, FINALLY mastered pie dough, and everything's coming up Sydney today.


I was really inspired by this video and decided to try out making a few freehand designs for my pie vents. AND I got to use some of my extra dough to make some freehand leaves! They're very easy to make, and I think it adds a little something. If nothing else, the leaves remind you that this pie is a celebration of the Harvest Season.  If you're wondering what kind of pie this is, it's the Double Apple-Pear Pie, with about 1 and 1/2 teaspoons finely chopped thyme. Adding herbs gives it some sophistication, and I'm REALLY excited to taste it. THANKSGIVING NEEDS TO GET HERE FASTER!!

I hope you have the BEST THANKSGIVING that has ever Thanksgiving'd.

It's nap time.

Last-Minute Halloween: Easy Lady Fingers

If you're trying to be kind of festive, but find yourself running out of time this Hallow's Eve, you should TOTALLY make some lady fingys. It's SUPER EASY: Just a basic sugar cookie recipe, a little food coloring, a paint brush, and some slivered almonds, and you're done!

The movie marathon is starting in a few hours (I may be the only one that watches, but so be it), and I refused to celebrate one of the best holidays without at least SOMETHING kind of creepy and festive. And I love cookies. So here we are.

What's super great about these (besides how simple they are to make) is that you really can't mess up. Halloween isn't about being perfect, in fact, the more imperfect the better! When you're rolling out your fingers, it's up to you how you want them to look. Do you want them to be bent and out of shape with brownish-yellow nails, or perfectly manicured with your favorite color like you've just brought them home from the salon? It's totally up to you. Go all out!

Since I made these for my family, I figured I should keep things kind of tame (I've seen examples of lady fingers where the ends have been dipped in raspberry jelly to look like they'd just been severed off the hand!), but next year? Next year we're upping the ante.

Until then, this is the perfect last-minute Halloween project for you and your friends, served however you'd like. Maybe all in a bowl? Or, you can be like me, and use it as a prop to point to things I want, but am too lazy to get myself. It's whatever you choose!

HAPPY HALLOWEEN, GUYS!! Be safe. Make sure all the kids that come to your door know how adorable they look, because they always do.


LADY FINGERS 

What You'll Need:

  • Food-safe paintbrush
  • 1-2 tablespoons red food coloring (or your favorite color, OR leave them plain)
  • 30 blanched almond slivers
  • 2 large eggs, at room temperature
  • 1/2 teaspoon vanilla extract
  • 1 stick unsalted butter, at room temperature
  • 1/2 cup confectioners' sugar
  • 5 tablespoons granulated sugar
  • Pinch of salt
  • 1 2/3 cups all-purpose flour

DIRECTIONS

Place food coloring in a small bowl, and, using a small food-safe paintbrush, color one side of each almond. Set aside on a sheet of wax paper to dry.

Separate one egg. Set the egg white in the fridge; we'll need it later. In a small bowl, whisk together the yolk, remaining egg, and vanilla extract until well combined. Set aside.

In the bowl of a stand mixer fitted with the paddle attachment (or using a hand mixer, or a wooden spoon), combine the butter, both sugars, and salt. Beat on medium speed until well combined. Next, add the egg mixture and mix until well combined and smooth, about 2-3 minutes. Add the flour, then mix on low speed until JUST combined.

Wrap the dough in plastic wrap, then chill in the fridge for 25-30 minutes to firm up.

While the dough is chilling, preheat the oven to 350 degrees F, and line two cookie sheets with parchment paper.

Once your dough has chilled, divide the dough in half, working with one half at a time. Keep the remaining half in the fridge wrapped in plastic wrap until you're ready to use it. Lightly flour your work station.

Using a knife or bench scraper, divide the first half into 15 pieces. Roll each piece back and forth with your palms into a finger shape (whether they be really thin fingers, or really short fingers, or really craggily fingers, it's up to you!), about 3-4 inches long. Pinch the dough in two places on one end to create knuckles. Lightly score each finger with the back of the knife to create the natural lines we have in our fingers. Push down on the nail bed LIGHTLY to make it easier to attach the fingernails later. Transfer fingers to the cookie sheets, and repeat the process with the other half of dough. (Note: Make sure to work kind of quickly when making the fingers because the dough warms up really fast, making it harder to work with!)

Once all of your fingers have been formed, brush the egg white from earlier lightly over each finger to create a light browning once they're in the oven. Position each almond nail, then push down to attach (Be careful not to push to0 hard so you don't a. chip a nail or b. misshape the finger). If you find that the nail isn't attaching, add a little more egg white to the area to create a sort of glue.

Bake in the oven until slightly browned, about 10-12 minutes. Let cool completely.

Enjoy!

SOURCE: Adapted from Martha Stewart 

Bite-Size Biscotti

I really, really like my beautician. Partially because she's one of the only people in this world who I would trust to dye my hair just-so, and partially because I've known her for a big chunk of my life. She likes me, and I like her, and she likes my baking, so I like her even more. When true-blue baking season starts up, the kitchen is always filled with more treats than my family could ever possibly eat, and I always pick out the best of the best to bring to her. Lately she's really been dropping hints that I've been slacking in the baked-good-delivery department, so I'm stepping up my game.

I love biscotti. It's crunchy and delicious, and there are so many flavor combinations out there that I'll never become bored with it. It's the perfect companion to cold-weather beverages, and since my tea kettle has seen a lot more action lately, I thought I would give these a shot.

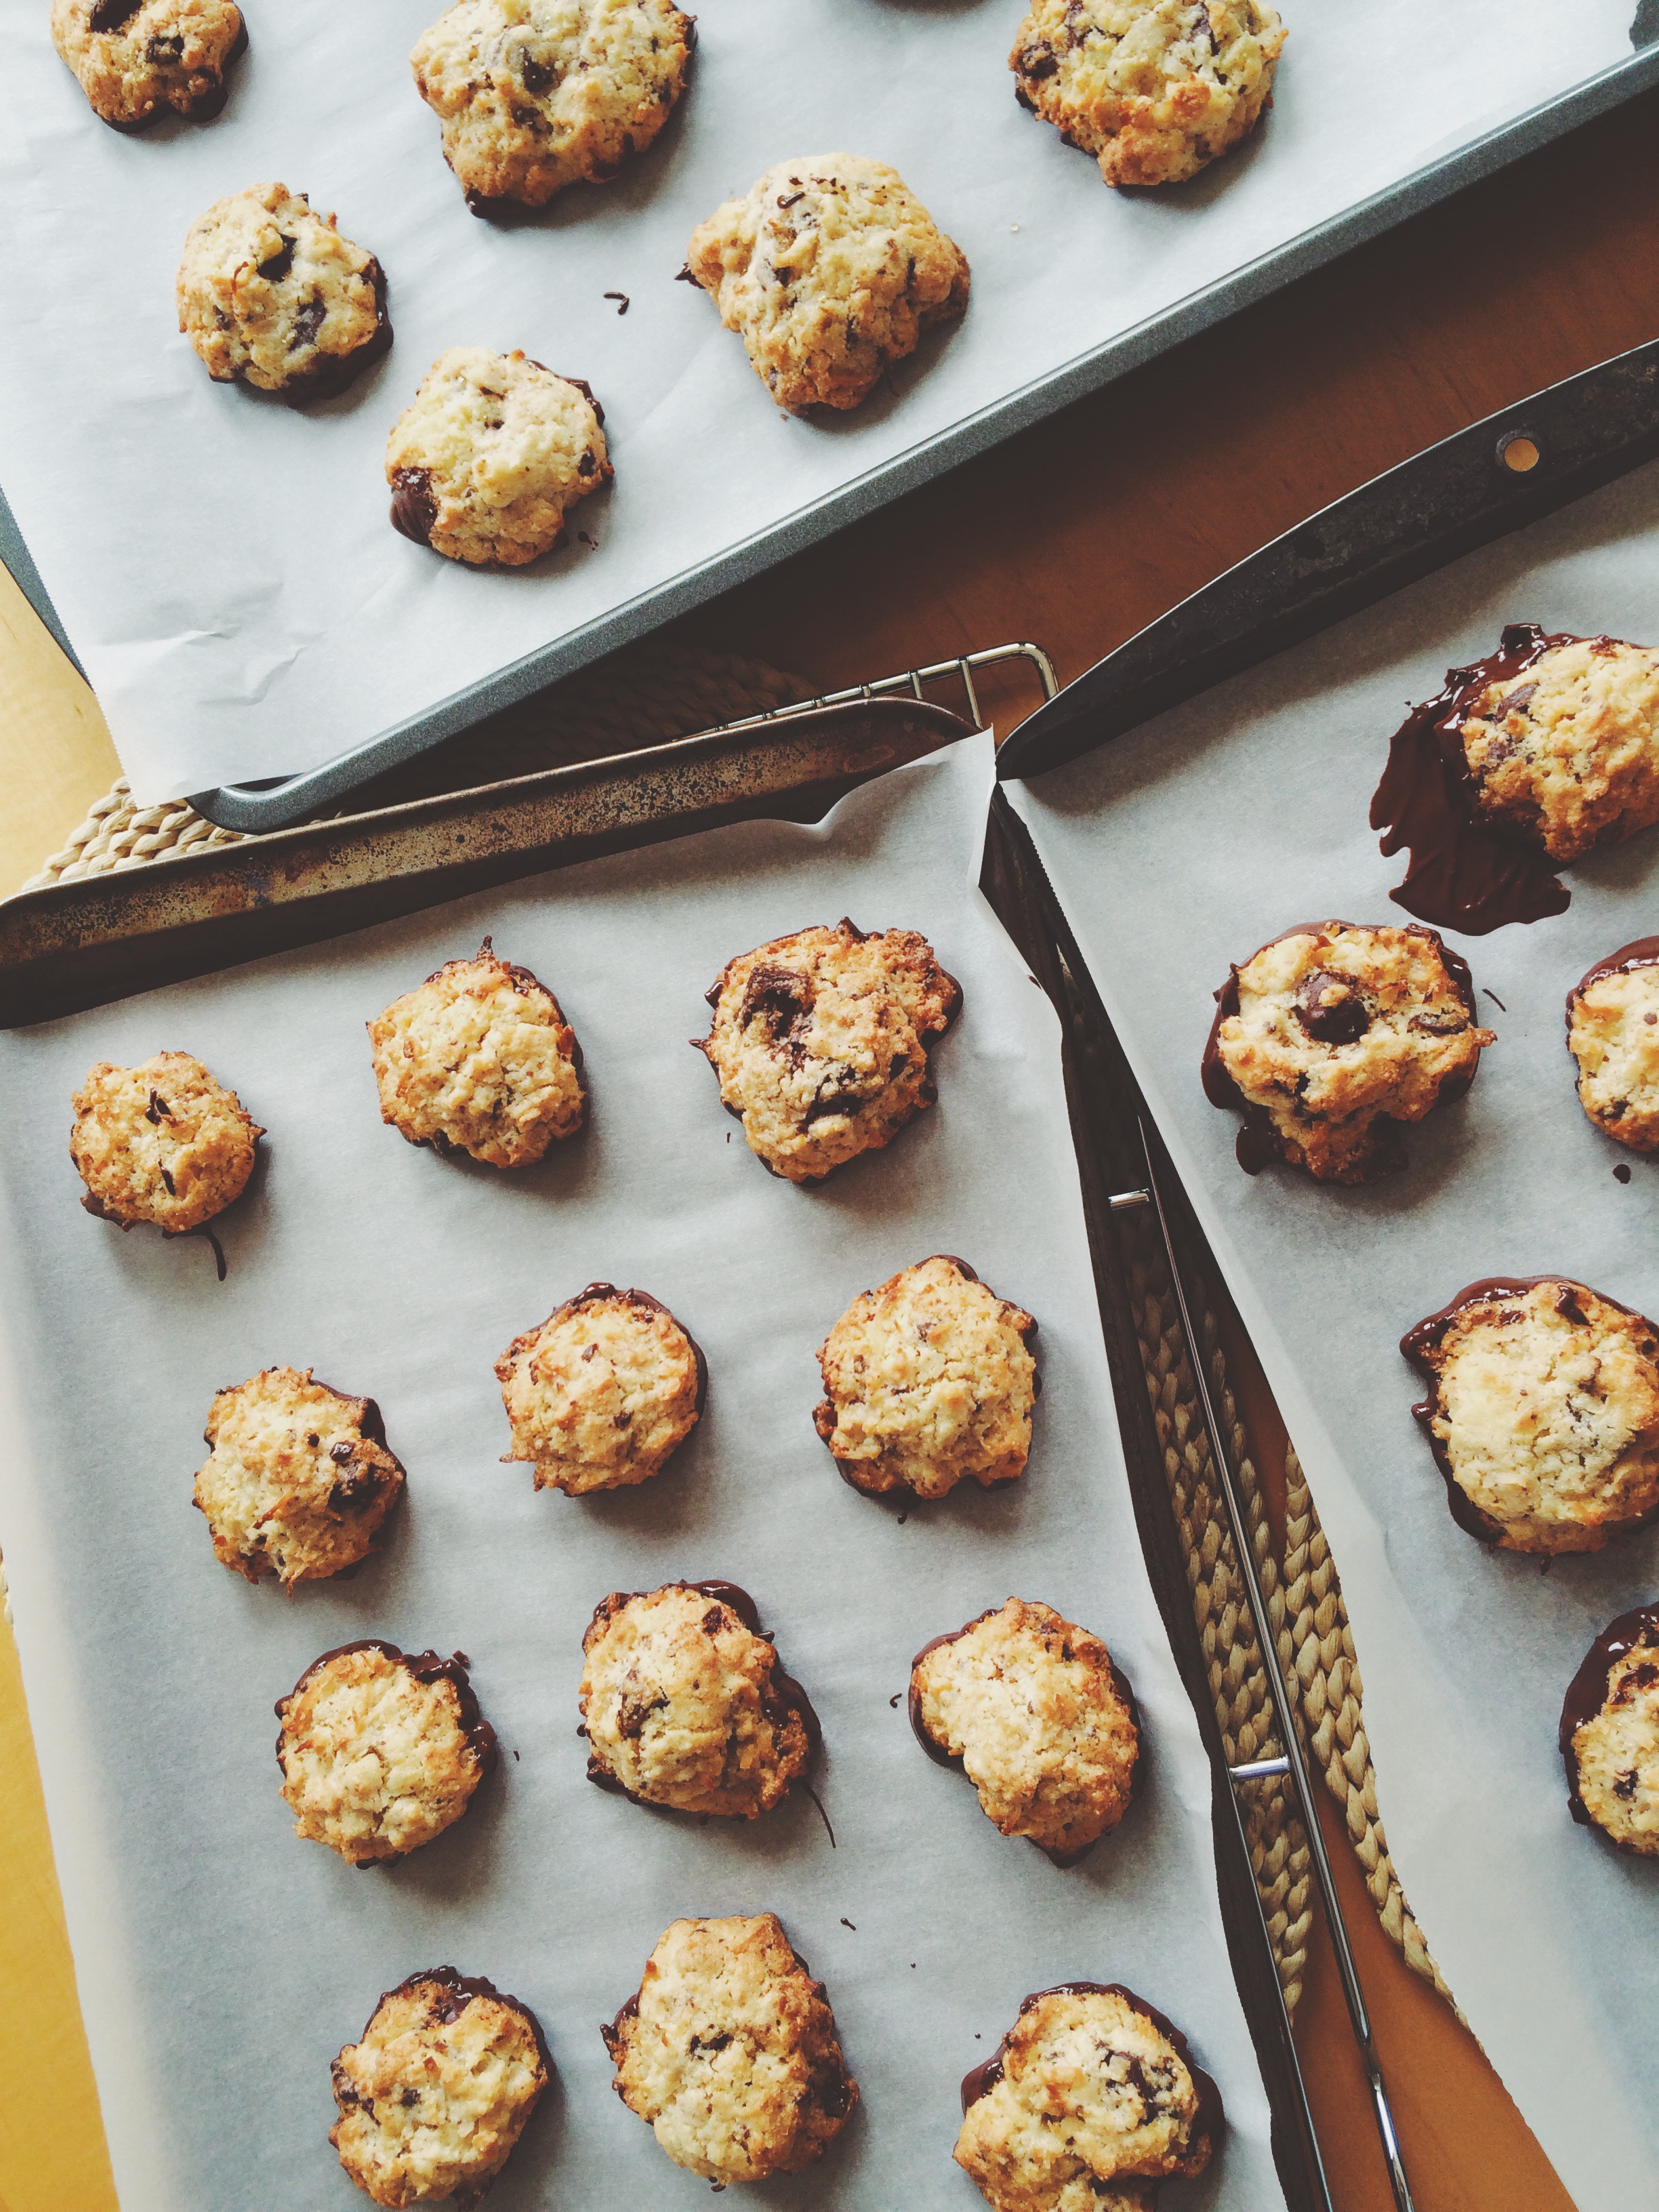
Traditional biscotti can be time consuming, and nerve-wracking. If you don't get the first bake right, it can throw off the entire process. After all, you don't eat soft biscotti, you're looking for that satisfying crunch. If you still want the crunch, but don't have all day, try the mini version. These are just as satisfying, but it'll only take you a few hours, and most of that time is spent impatiently checking to see if the chocolate has set so you can dig in. Patience is your friend when baking, now and forever.

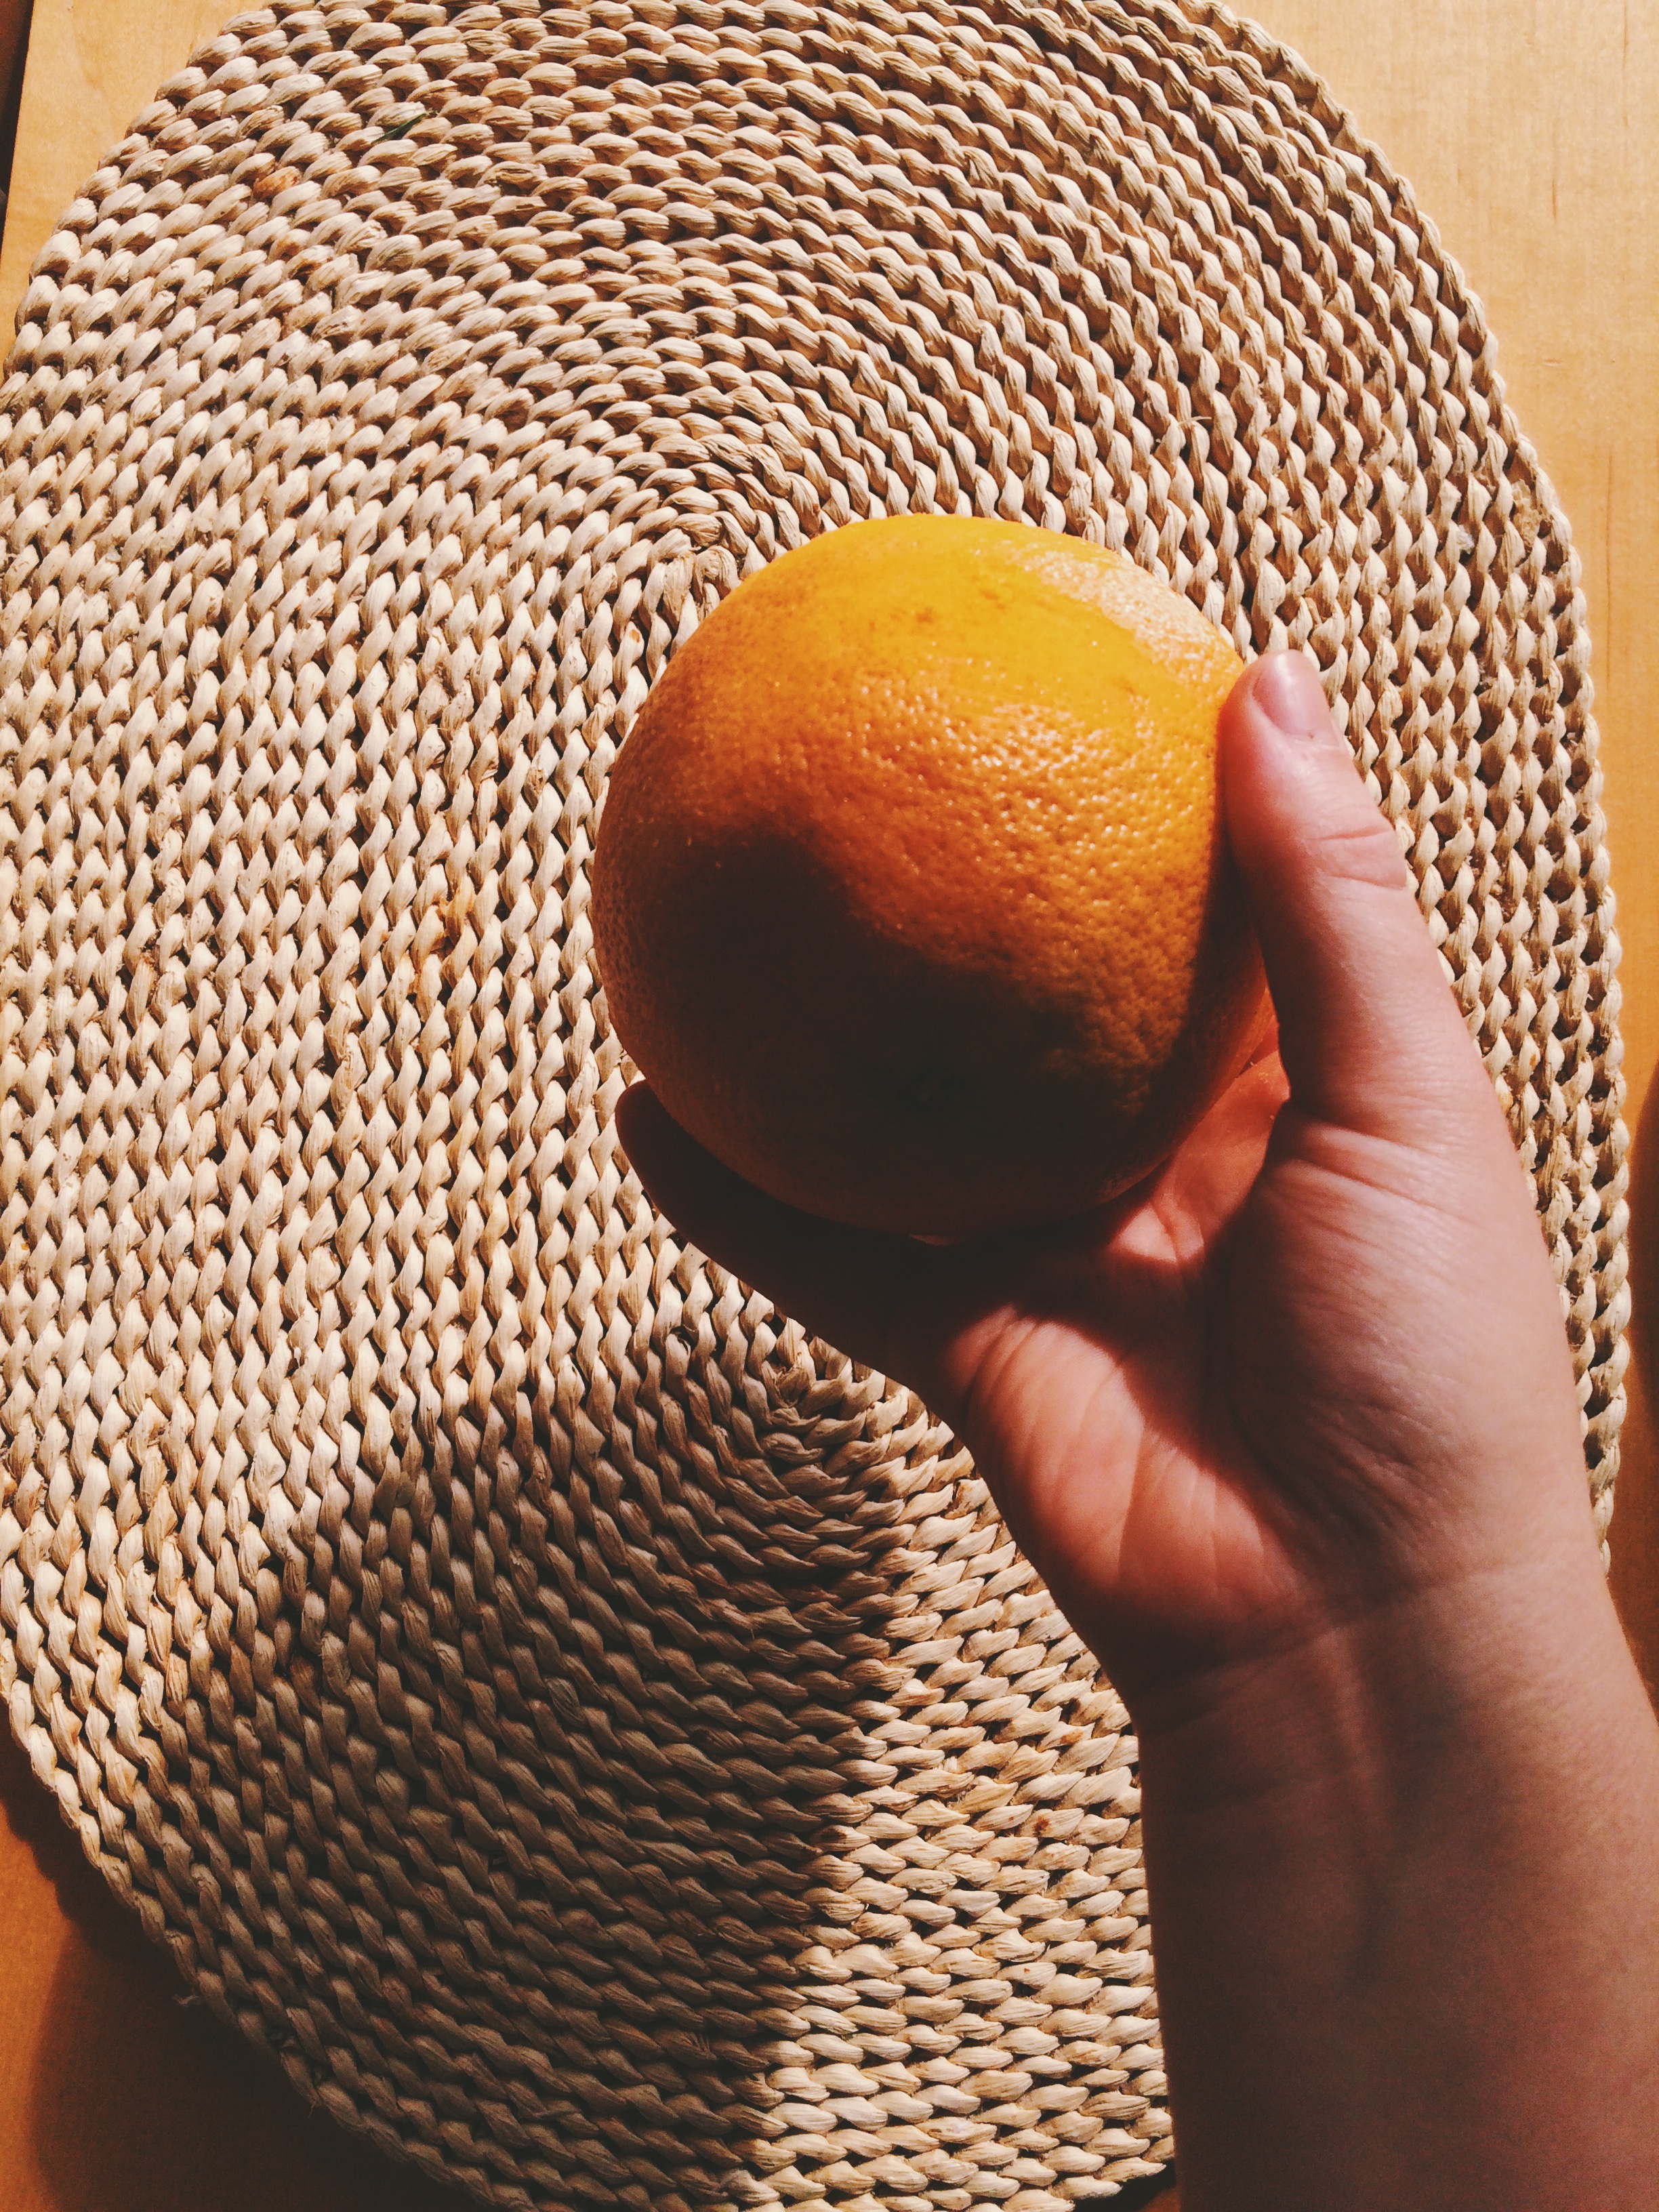
It should be noted that in this recipe, it calls for the zest of grapefruit, but  I think any citrus you've got laying around will do. It's not so much about the grapefruit as it is the presence of citrus that makes these biscotti bites stand out. I zested that grapefruit until I could zest no more because it was $1.25 and I was going to get my money's worth or die trying. (Dramatic, sorry.)

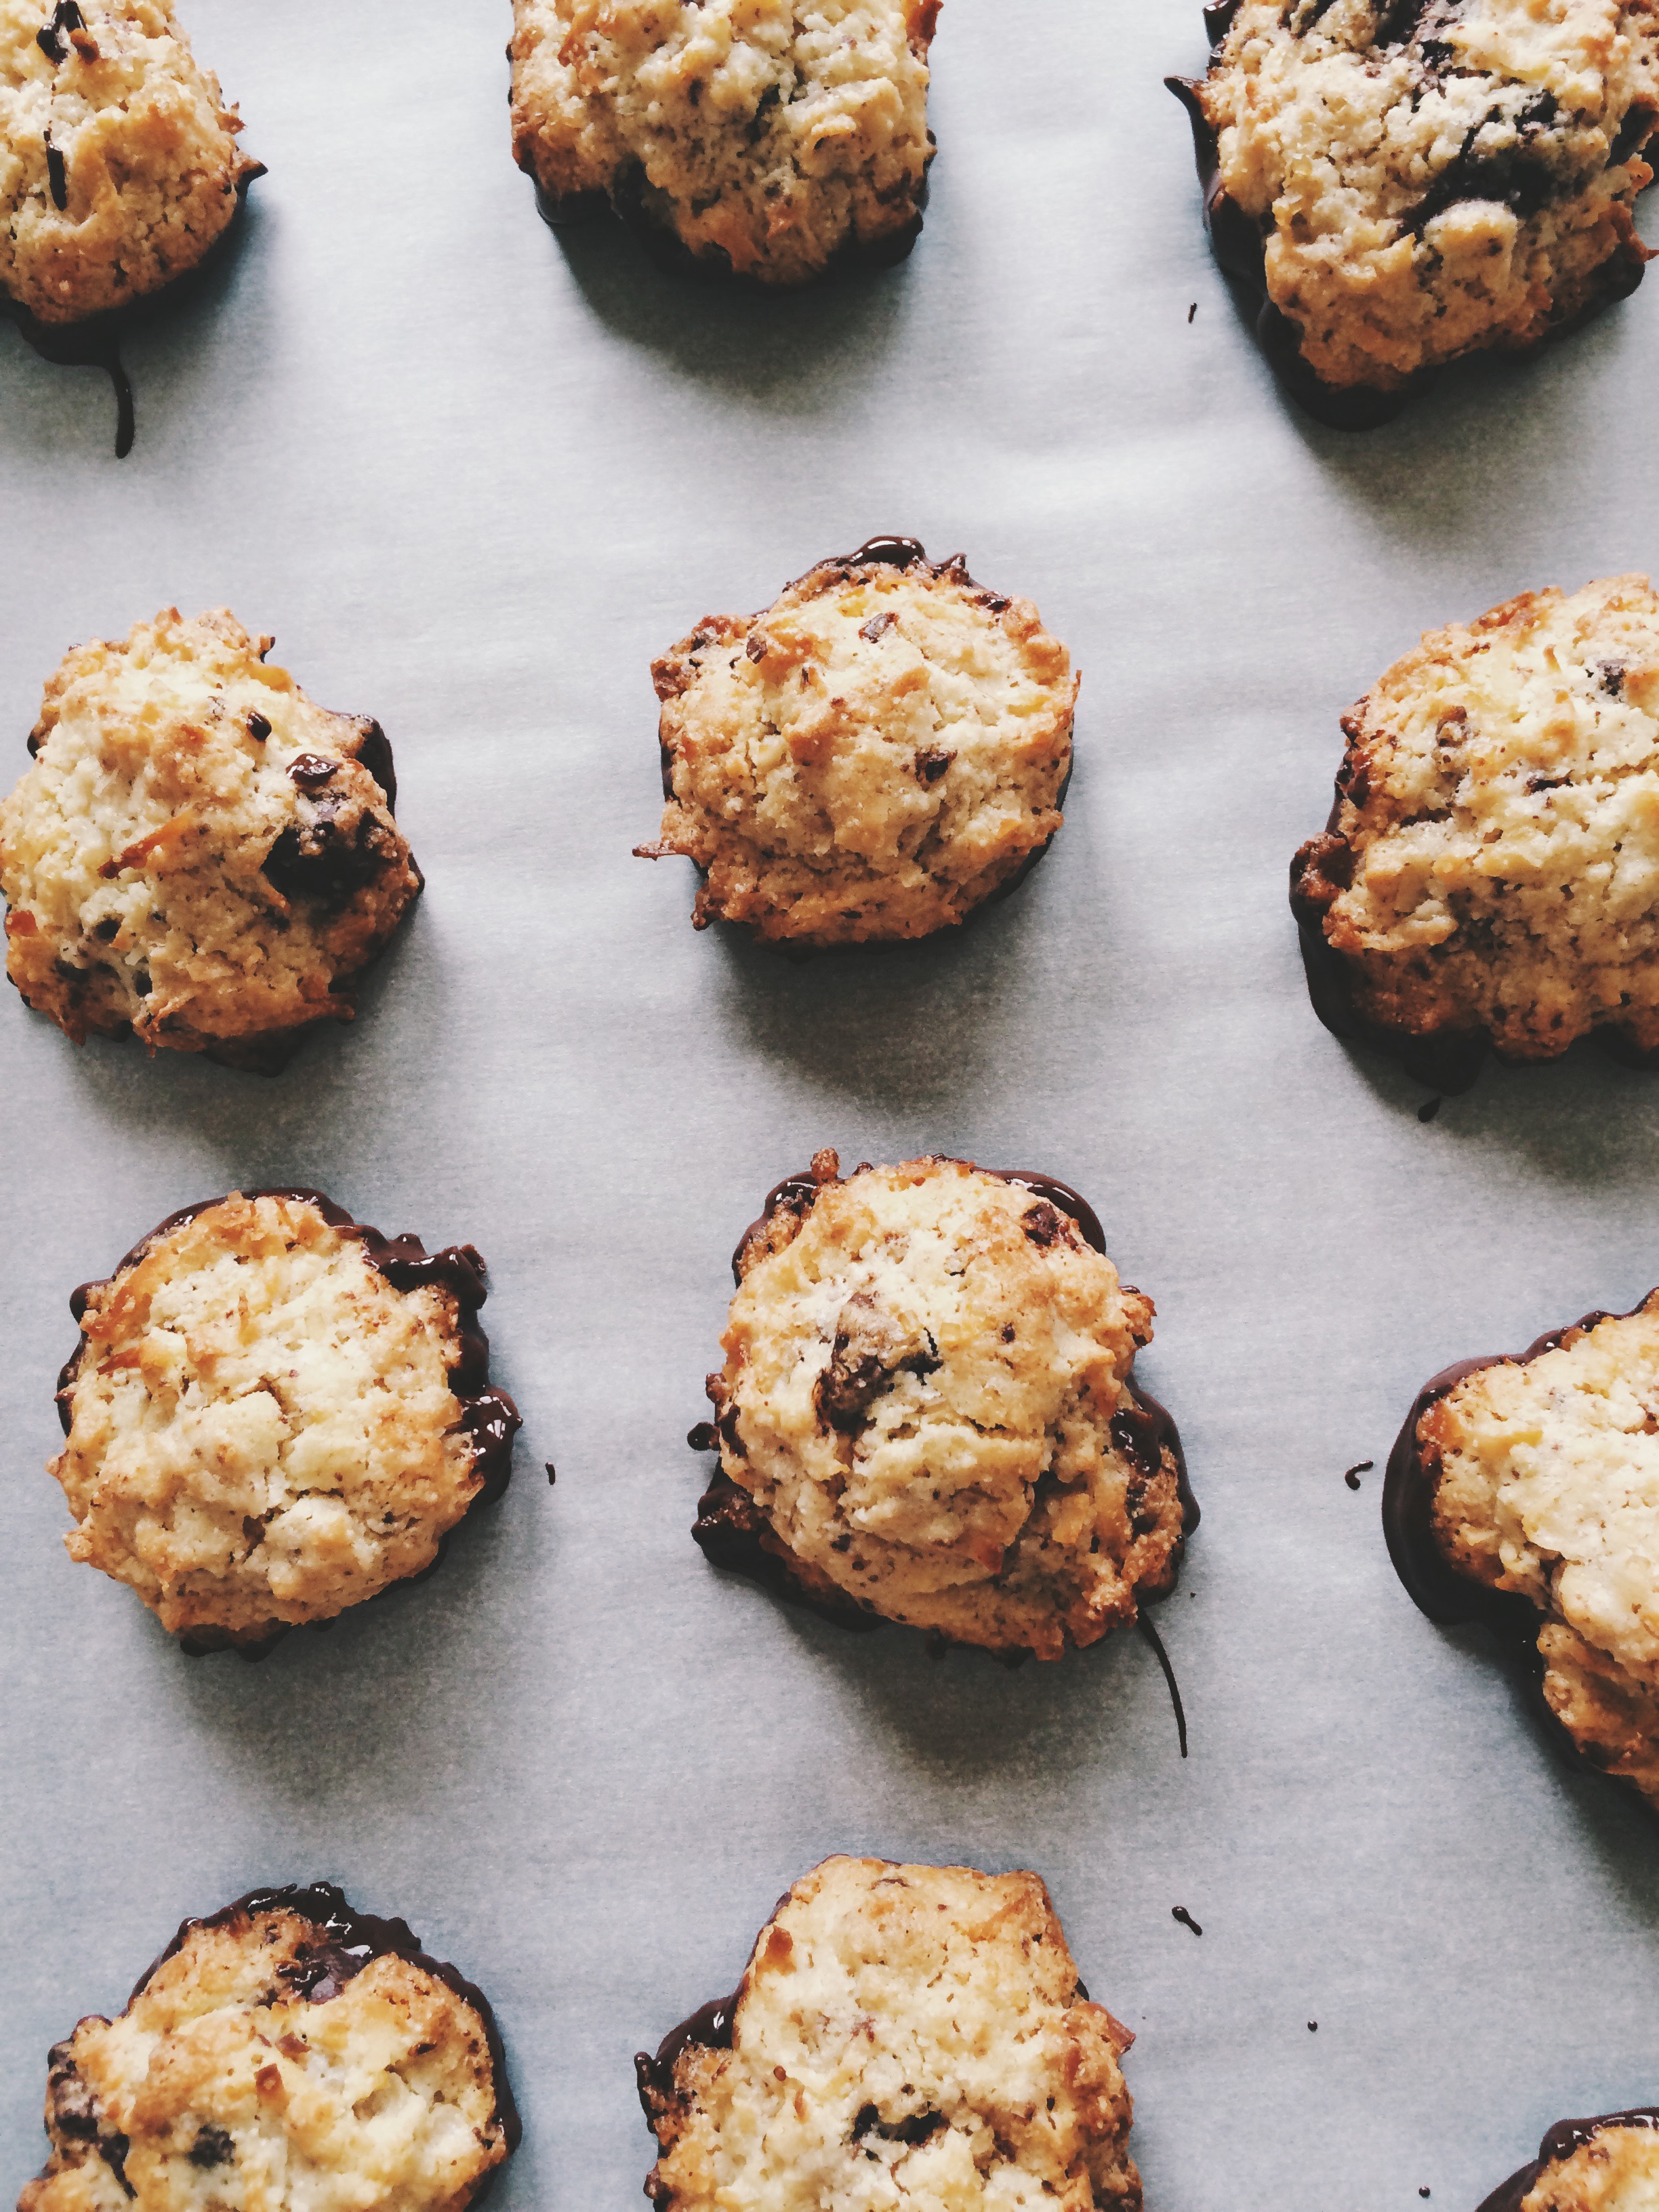
These bite-sized biscotti are for all fans of the salt-chocolate-cocunut-citrus-more chocolate flavor combination. May your teaspoons be heaping, your cookies crunchy,  your chocolate smoothly-tempered, and your tummies full of the quintessential coffeehouse treat. There are going to be some happy faces at the beauty shop tomorrow.

BITE-SIZED BISCOTTI

What You'll Need:

  • 1 1/4 cups all-purpose flour
  • 1 1/4 cups fine cornmeal (I used white cornmeal)
  • 1/2 teaspoon baking powder
  • 1/2 teaspoon coarse salt
  • 3/4 stick (12 tablespoons) unsalted butter, at room temperature
  • 1 cup granulated sugar
  • 2 large eggs, at room temperature
  • 1 1/2 cups sweetened shredded coconut
  • 2 tablespoons grapefuit zest (or two tablespoons of zest of your choice. Could be orange!)
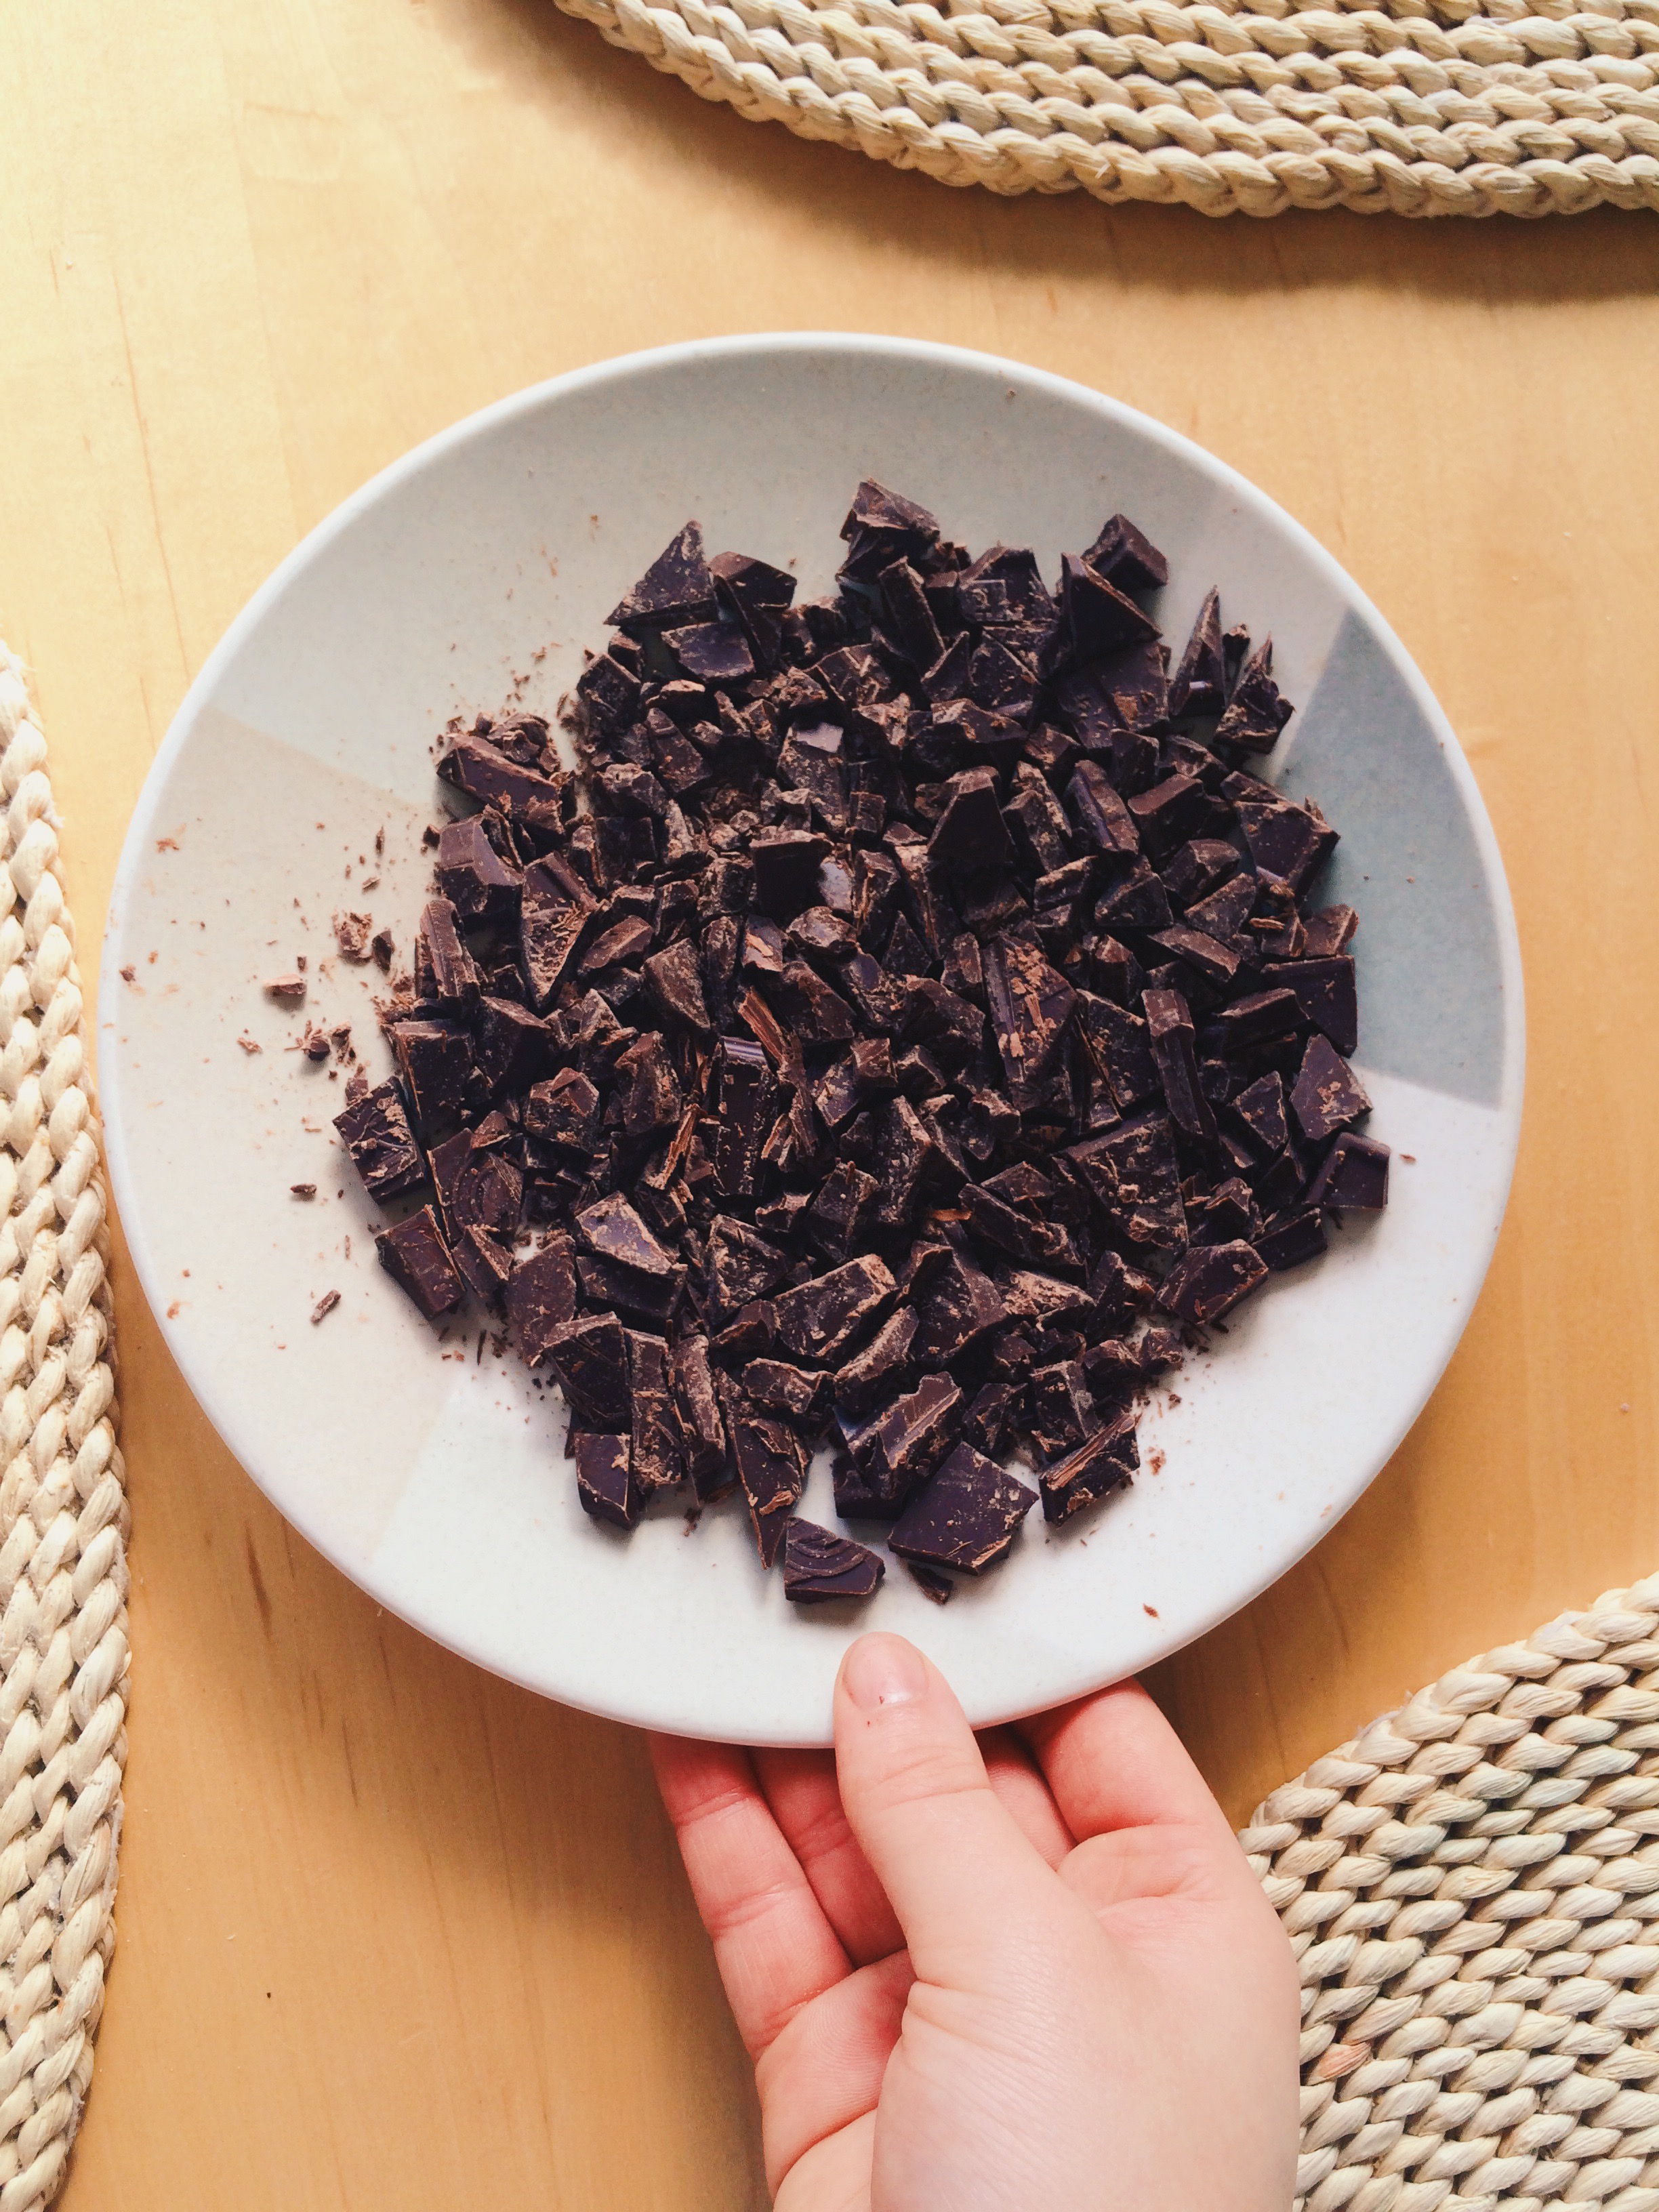
  • 11 ounces bittersweet chocolate, finely chopped
  • Sanding sugar (I used Demerara because that's what I had in my pantry!), for sprinkling

DIRECTIONS 

Preheat oven to 350 degrees F.

In a medium bowl, whisk together flour, cornmeal, baking powder, and coarse salt. Set aside.

In the bowl of a standing mixer with the paddle attachment, beat the butter on medium speed until pale and fluffy, about 3 minutes. Add eggs, one at a time, until well combined. Next add the flour mixture and beat on low until just combined. Beat in the coconut, grapefruit zest, and about 5 ounces of the bittersweet chocolate. Mix until everything is evenly distributed.

Drop generous heaping teaspoonfuls of biscotti dough on parchment-lined baking sheets. Set each dough ball about 1 inch apart. Sprinkle the tops of each with a generous sprinkling of sanding sugar. Refrigerate for 30 minutes. (Note: I don't have an industrial-size refrigerator, so my fridge only holds so many baking sheets. My solution: scoop the remainder of your dough into a bowl and refrigerate. It'll still be cold enough to form dough balls that keep their shape in the oven.)

Bake, rotating sheets halfway through, until golden brown. This should take about 18-20 minutes depending on your oven.

Let cool completely on wire racks.

Once your biscotti bites have completely cooled, temper the remaining amount of bittersweet chocolate, stirring until smooth. Remove from heat. Dip the bottoms of the cookies in the melted chocolate, scraping off any excess chocolate with a spoon, or using the edge of the bowl. Set each on clean parchment-lined baking sheets. Refrigerate until chocolate is set, about 30 minutes. (Note: I didn't refrigerate again. Instead, I let them to set in a cool place in the house. It took a little longer, but I didn't have to take all of my food out of the fridge again.)

To Store: These can be be stored in a single layer for up to one week.

SOURCE: Martha Stewart

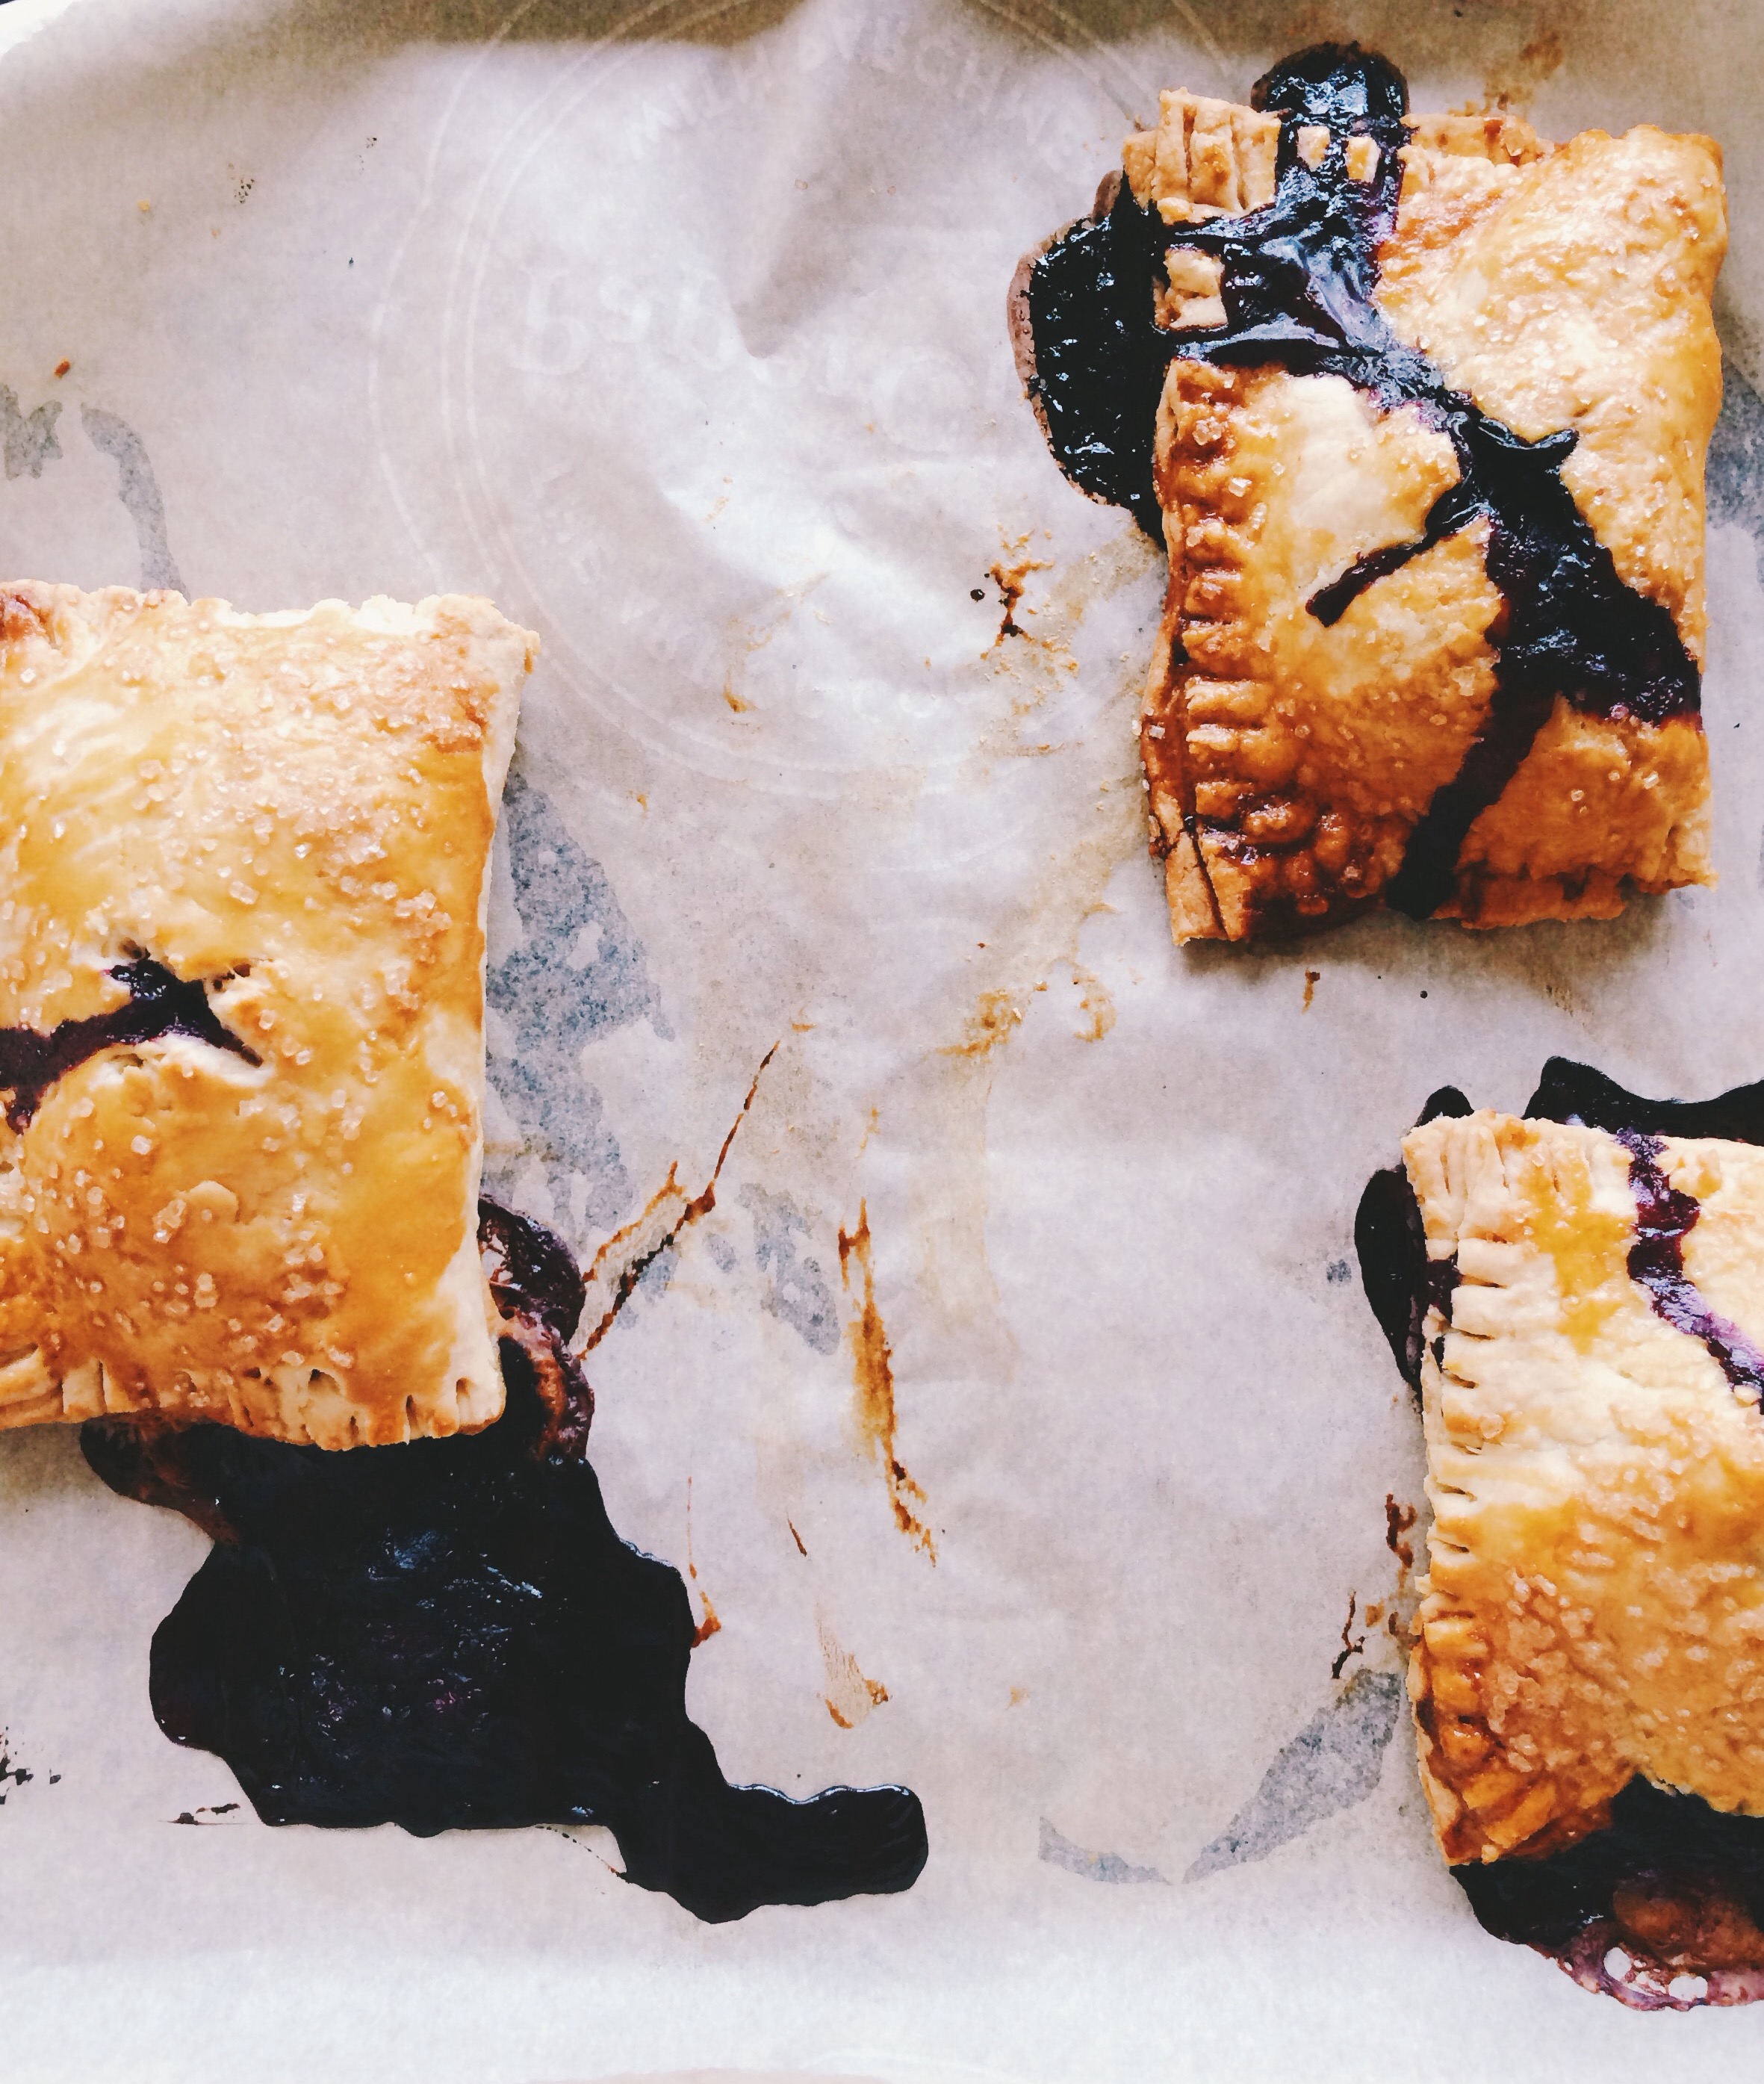
Meyer Lemon-Blueberry Hand Pies


Finally, FINALLY our local grocer has stepped up their produce game and brought me something I've been wanting for months: Meyer lemons. And, while we're at it, the best blueberries I've seen all summer. Without hesitation, I plopped two of each into the cart with no immediate plan, but complete intent to make something spectacular with my purchases. I've learned my lesson too many times before; if you see it, get it, because you may never see it again. And that rings pretty true since I stopped by the store again, and those New Zealand Meyer lemons were nowhere to be seen. Maybe I didn't look around enough. Or maybe they just disappeared as quickly as they'd appeared.

At any rate, it occurred to be that the possibilities were pretty endless for my blueberry-lemon pairing, but if I really wanted to get good at making pies then I ought to make one. For once though, I just wasn't interested in a regular 9-inch pie. Instead, I wanted something with a lot more mobility, and something that could be picnic-ready if/when the occasion arose. So, I went with hand pies. I'm a gal on-the-go, and expect my pies to accommodate that!

If you're wondering how my pie skills are coming along, the quick answer is: slowly, but surely. As simple as it seems to make a pie, no matter the form, it takes a lot of practice. I still struggle with gathering dough to form the disks, which should be so simple, but it gives me so much trouble. And sometimes I handle the dough wayyyy too much, but I'm working on it. I sense a lot of practice pies in my future, and what on earth could be better than that?

Meyer Lemons are a special fruit indeed. To me they're sort of like, if a mandarin orange and the brightest lemon ever, had a baby. They're slightly sweeter than your average lemon, and bring a very unique type of citrus note to any dish you make. And since citrus and blueberries go hand-in-hand. they make these flaky, buttery hand pies a wonderful treat for any time of the day. And the most beautiful part of it all is that you can serve them warm, or pack them up in a basket and serve at room temperature.

It's always nice to have an any-time dessert literally in the palm of your hand.

You can find the recipe here at BonAppetit.com! <------ This recipe calls for a regular lemon, but a Meyer lemon works so beautifully!

CAN YOU BELIEVE IT'S AUGUST ALREADY??


Challah French Toast

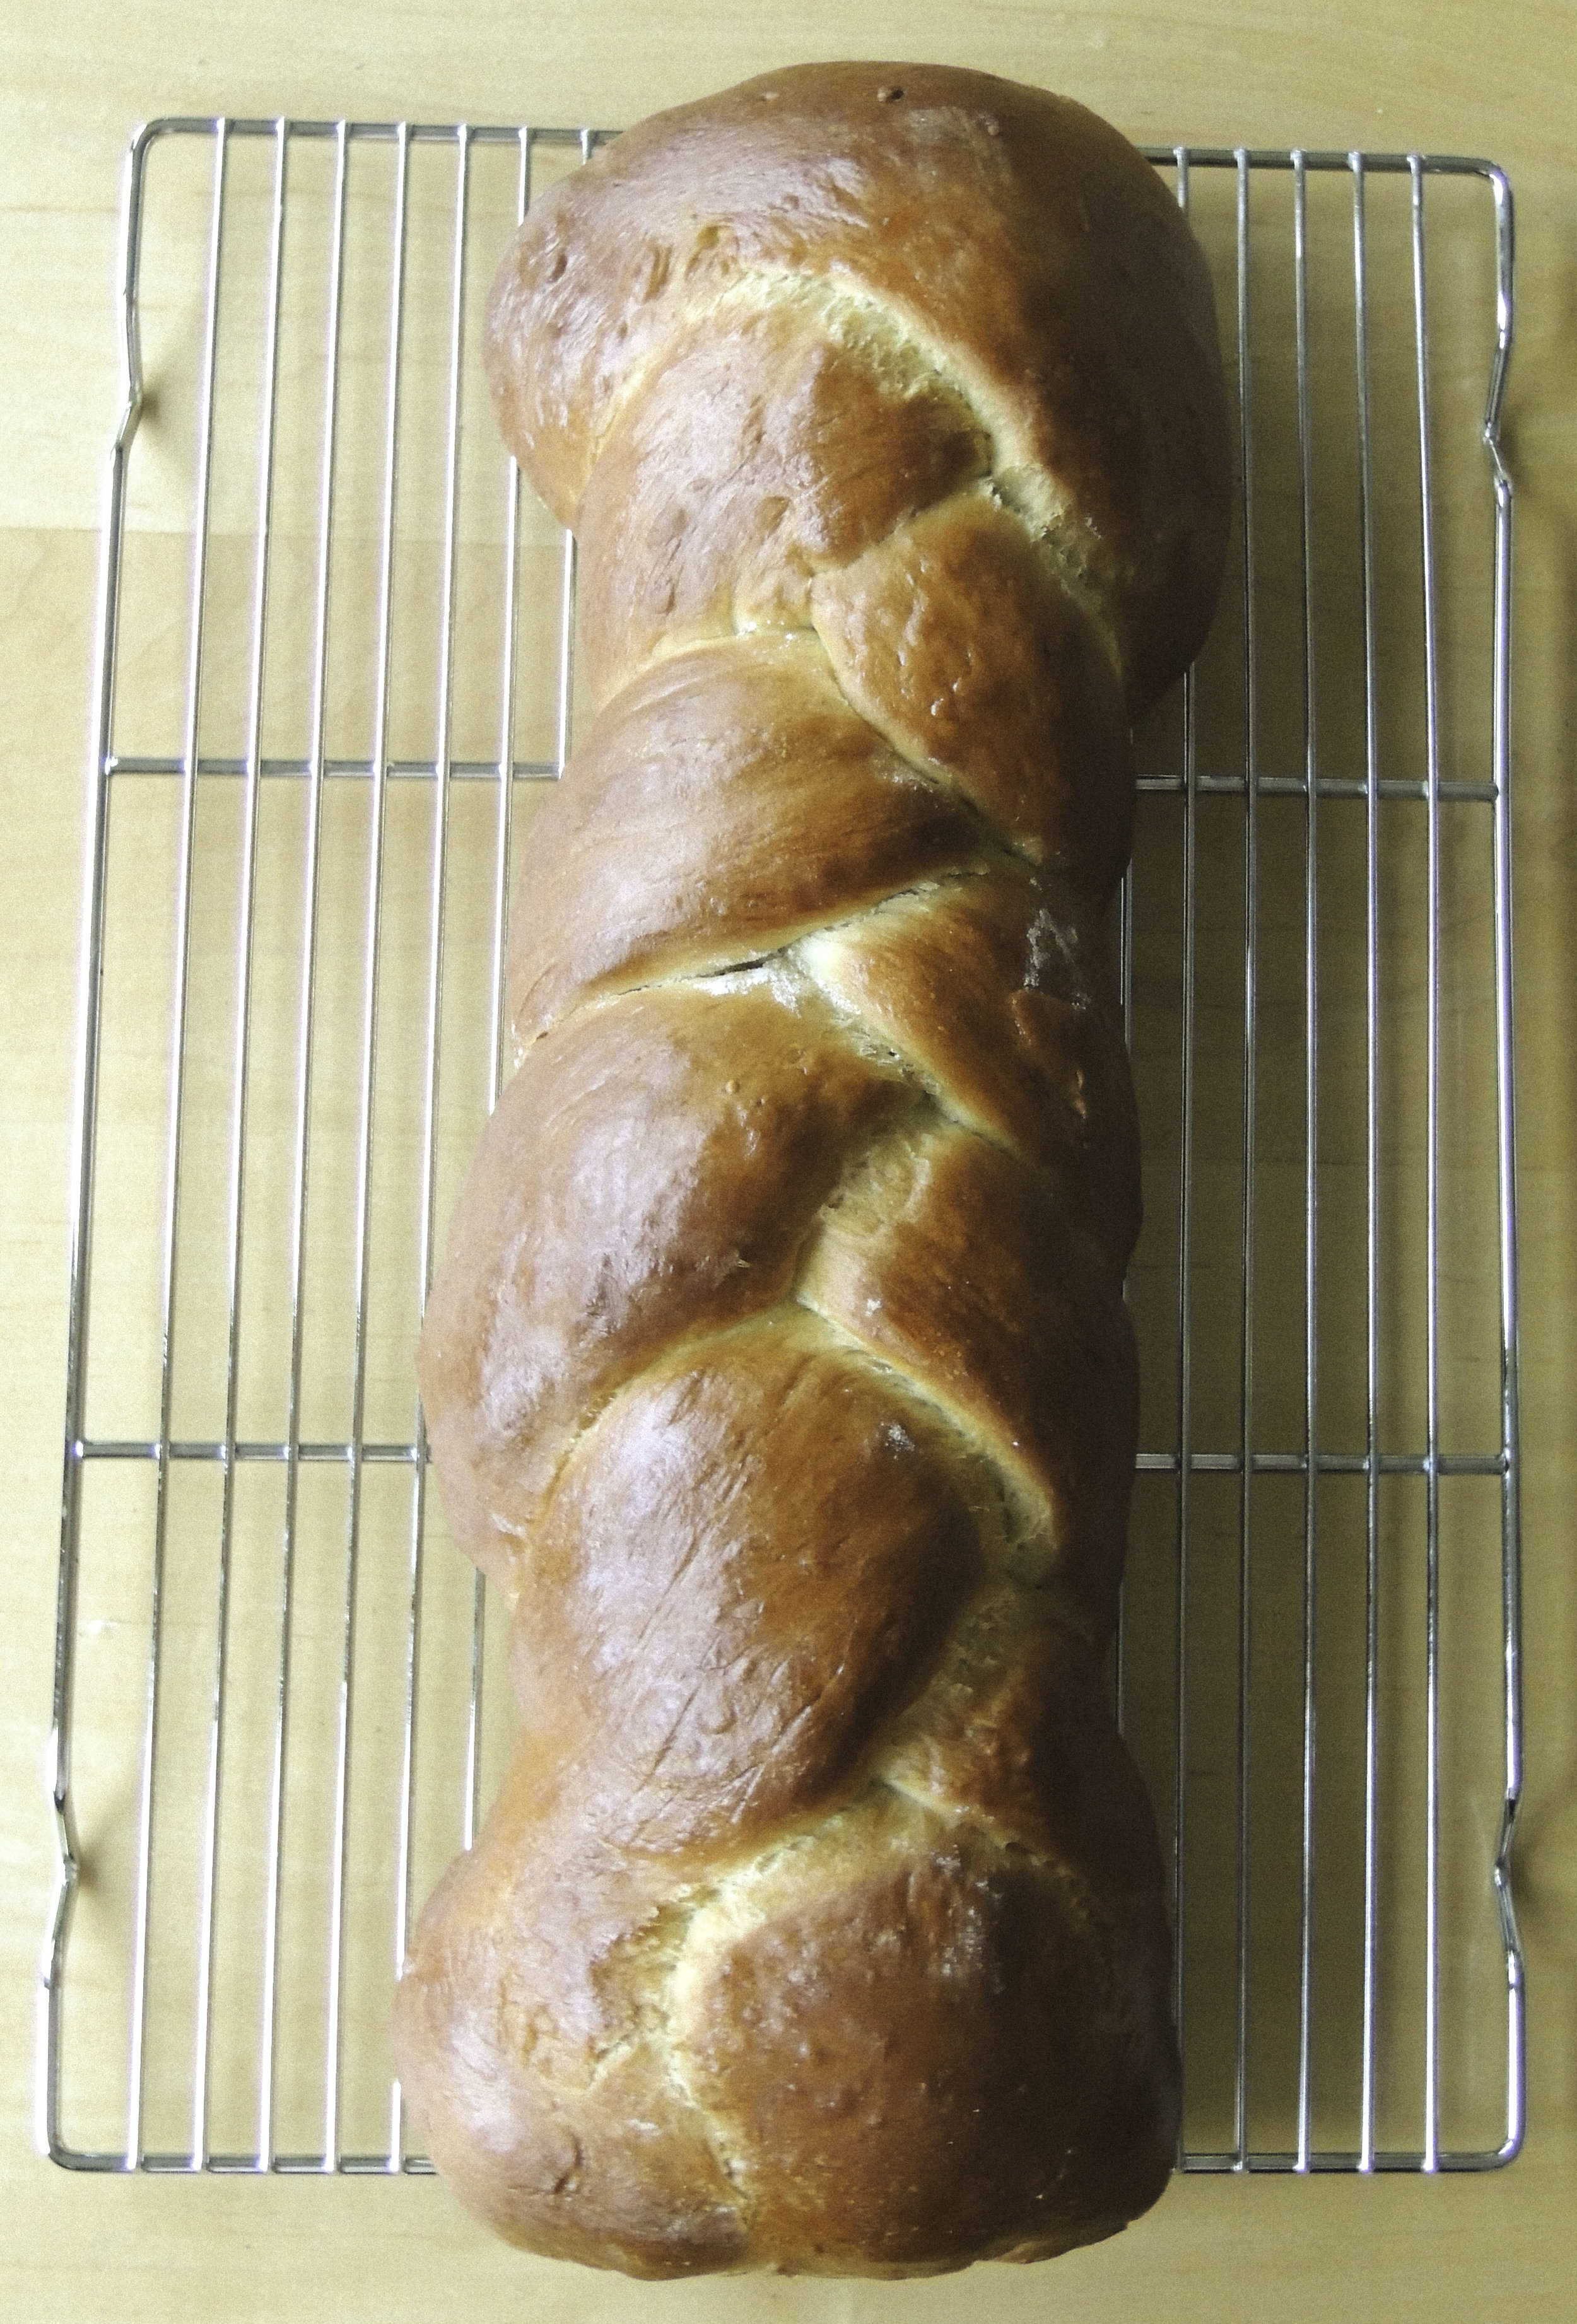
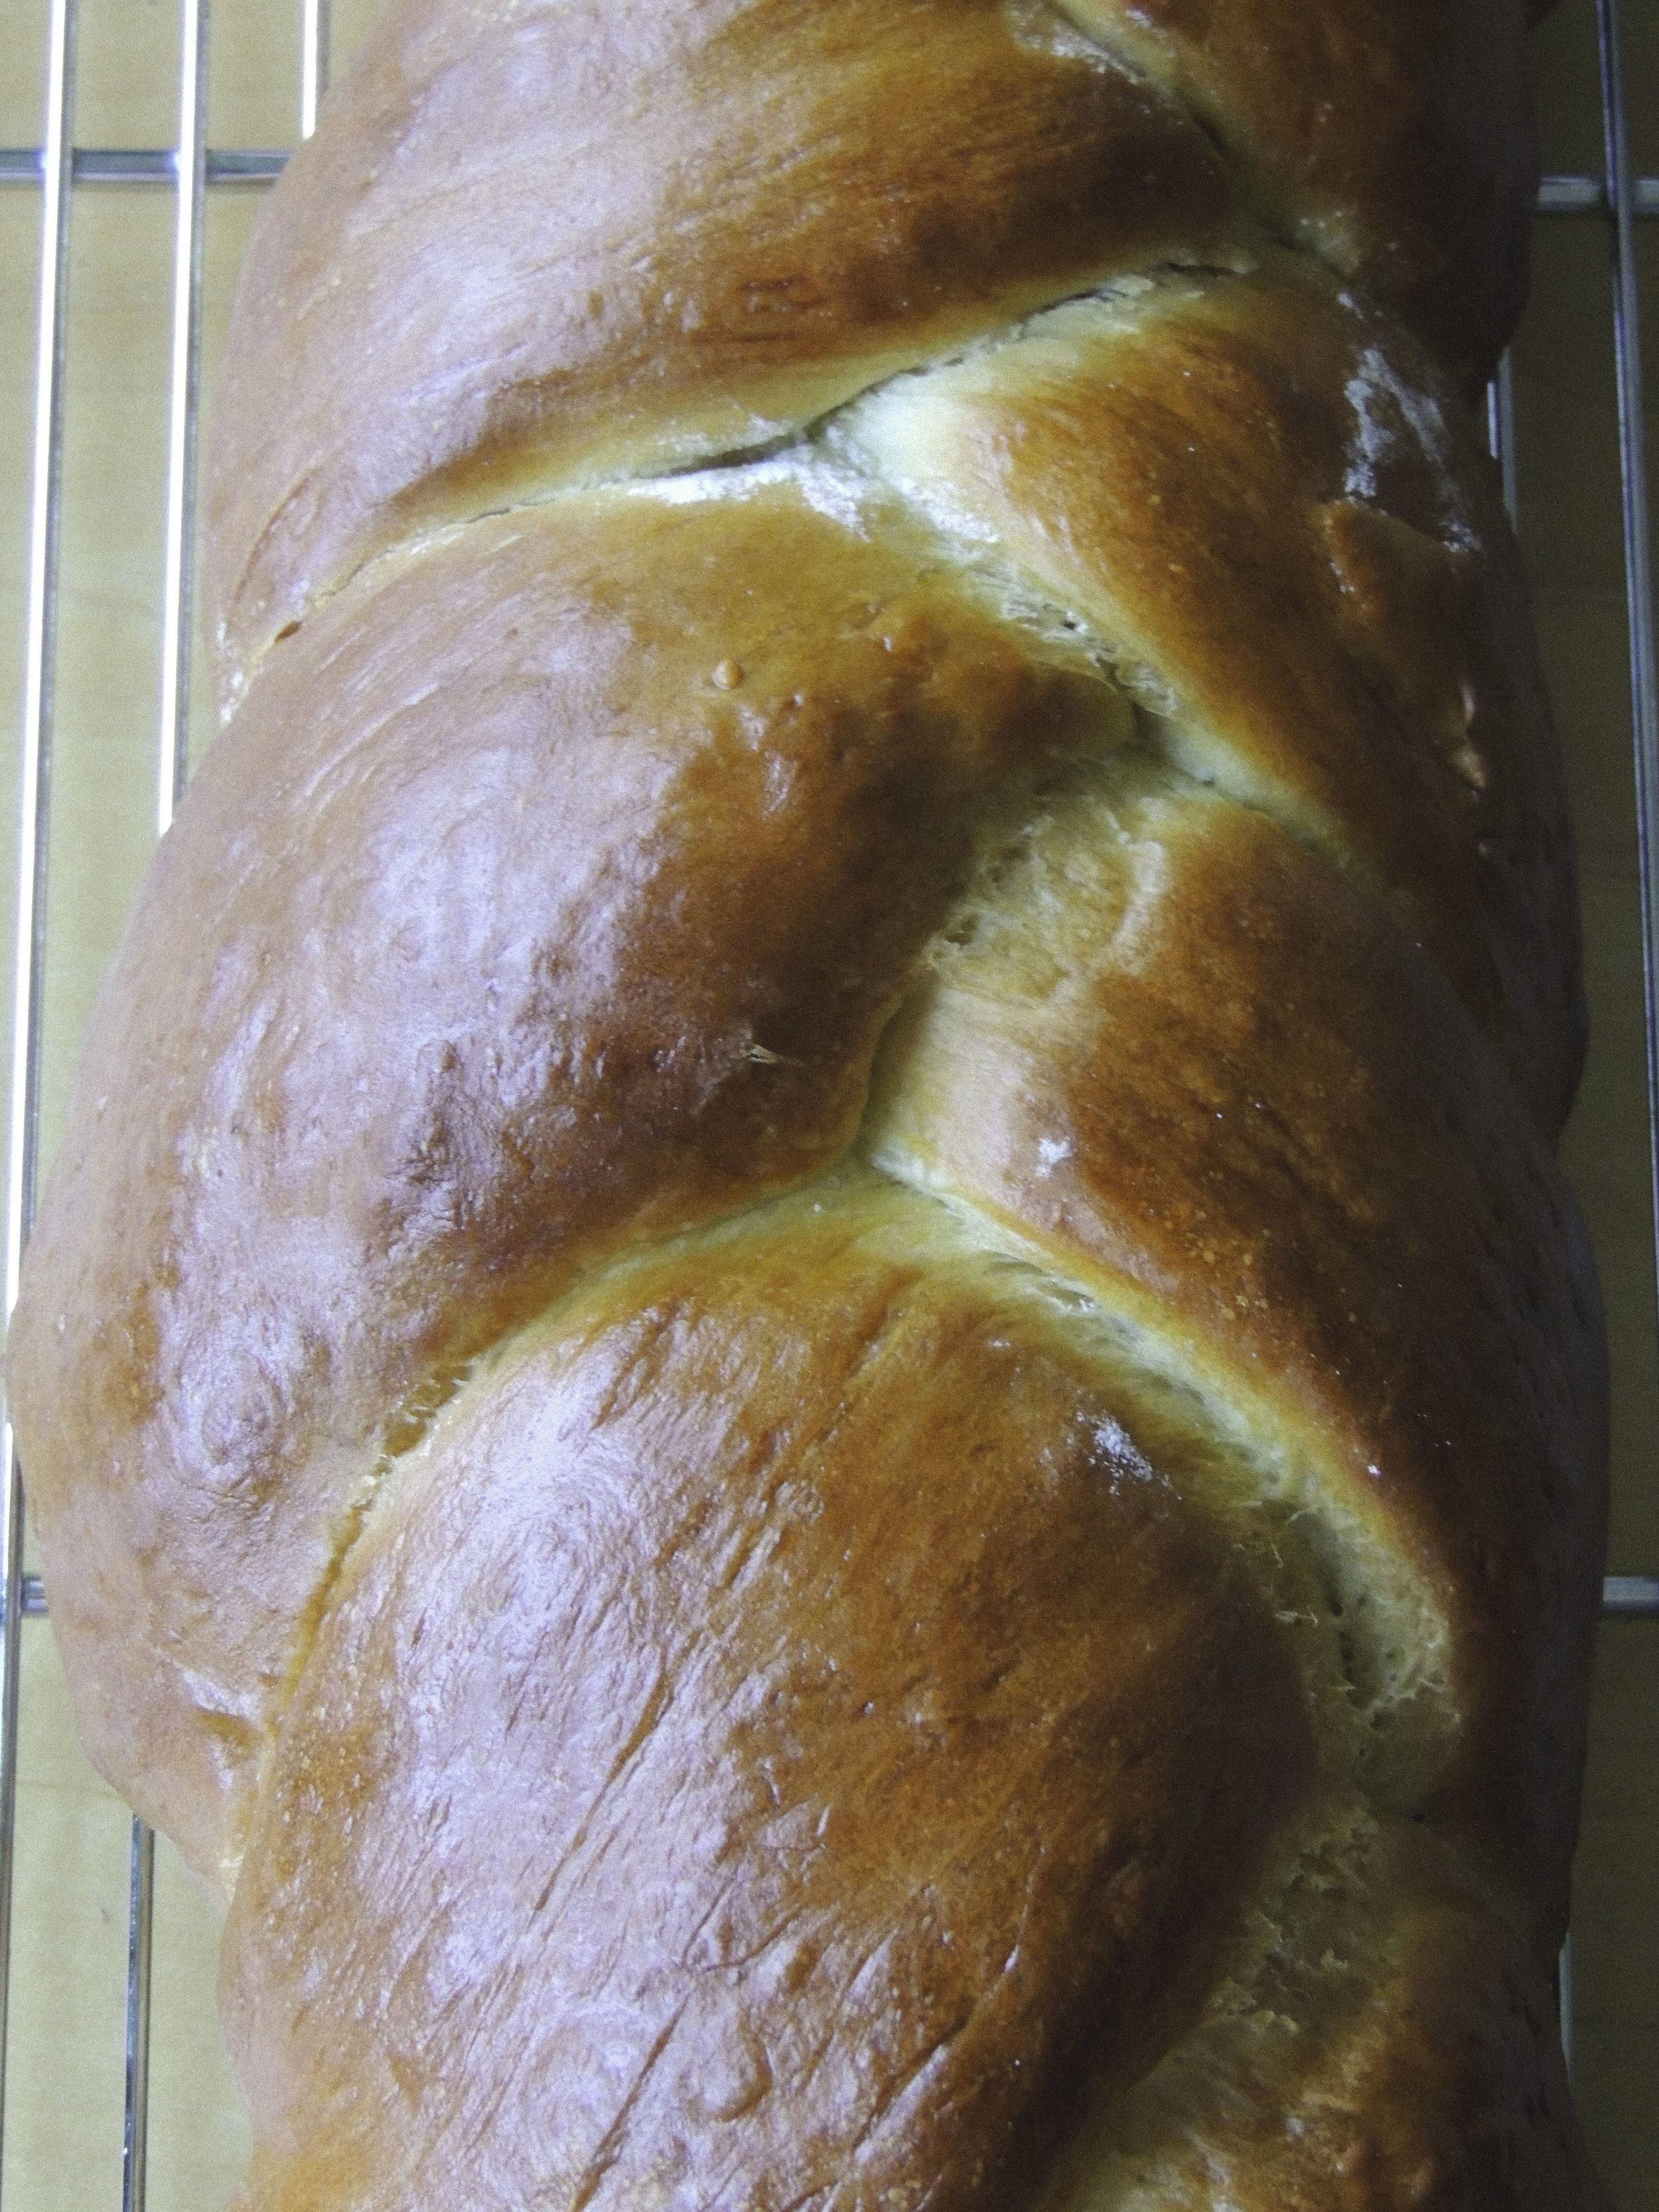
challah bread 1 What to do when you can't find challah bread in literally any of the bakeries in your town? Make your own. You know what they say, "Desperate times call for desperate measures" blah blah blah. The truth of the matter is, I've always wanted to make challah completely on my own, so I didn't mind so much that I couldn't find it anywhere. It meant that it was up to me, and also that I better be extra careful not to mess it up; I had a date with french toast the next morning.

It absolutely must be said that I am a complete novice when it comes to this sweet and super delicious bread, so I'm going to refer you to this stellar tutorial over on The Kitchn. Really easy to follow, and SO USEFUL. I'm totally attempting the six-braid method the next time I make challah. (Hope it goes well.)

challah 2

If making challah bread has taught me anything it's this: make sure you read the recipe three times before you even get your mise en place. I always read a recipe several times, but after making this bread, the point has been driven home. It's not that this is a particularly difficult bread to make per seit's that making challah is very time-consuming. There's a lot of waiting involved. Like, hours of waiting in fact. So when you make this bread, make sure you've got the TIME to do it! This is not something you whip up in an hour. Just be patient, and you'll have a really pleasant reward.

The recipe called for proofing in a warm place with a clean dish towel over the top, but I had no idea where I could put it. I've let dough proof before on the counter, but it didn't rise like I so desperately wanted it to. Not properly proofing challah dough would guarantee disaster, so I decided to ask the internet for help. The advice that I got was SPECTACULAR: place your covered bowl on a higher rack in an oven that is completely OFF. Next, boil some water and pour it into a heatproof bowl. Place the bowl with water in it onto a lower rack, SHUT THE DOOR, and keep it shut! Now you've got your warm place, and you'll end up with a dough that has doubled in size once the time comes to take it out. It's thrilling.

challah 3

RIGHT, so let's get on to the french toast part of this post, shall we? You may be wondering what I did with my challah loaf after it was finished cooling. Well, in order to get the perfect french toast, you need slightly stale bread. In fact, it's imperative.. So, once my challah was finished cooling (and I'd gone through several  episodes of 'Tia Mowry at Home' on Cooking Channel) I simply left it slightly uncovered and went to bed. It worried me a little bit that it might dry out too much, but by the time I was finished in the kitchen that night, there weren't many hours left before it was time to get up and make breakfast. And everything turned out just fine. (Thank goodness.)

In the morning I sliced up eight very healthily-sized slices of challah, mixed up my custard , and set to work.

. So now, let's talk about how obsessed I am with challah french toast. BECAUSE I AM OBSESSED.

challah french toast

French toast is decadent, I mean, there's a reason why its present on every brunch menu that has ever existed. But there is just something so beyond  about whipping up a batch of challah french toast on a quiet weekend morning with a light sprinkling of powdered sugar on top from one of those unnecessary-for-anything-else shakers, and a drizzling of divinely warm maple syrup just waiting to be soaked up. THAT is decadence. Throw in a hot cup of hazelnut roast coffee, and a little bowl of fruit salad (in this case it was strawberry, blueberry, and mango with lemon juice) and we are TALKIN', my friend. That's what weekend mornings are all about. Be warned: this breakfast is incredibly rich, but oh my GOSH is it ever worth it.

And would you like to know the best part? It's made completely form scratch. Who needs a brunch menu?


CHALLAH FRENCH TOAST 

What You'll Need:

  • 3 large eggs
  • 1 cup half-and-half
  • Pinch of salt
  • 1 tablespoon of sugar
  • 8 slices of challah bread 1" thick, cut from a slightly stale loaf
  • 2-3 tablespoons butter
  • Powdered sugar for sprinkling on top, optional
  • Fresh Fruit, optional

Directions:

Place a large skillet (Mine is 12 inches) over medium-low heat.

Whisk the eggs, half-and-half, salt, and sugar in a large baking pan (I used an 11X13 rectangular cake pan) until everything is fully incorporated.

Place four slices of bread into the custard to soak for at least one minute on each side (I ended up doing a little longer, but it's up to you. Make sure it's at least one minute though! )

While the bread is soaking, melt one tablespoon of butter in the skillet. You'll know it's ready when it starts to foam. When it has started to foam, move it around so that it coats the entire bottom of the skillet.

Move your cake pan with the soaking pieces of bread next to the stove so that there will be no dripping.

Lift one piece of bread and very gently shake it to get rid of any excess custard, then gently place it in the skillet. Repeat this process with each piece of bread.

After 1-2 minutes, check under a slice of bread to see if it has turned golden brown. When it has turned golden brown, flip each piece of bread and continue cooking until they're golden brown on the other side. Be sure to keep an eye on the skillet so that your toast doesn't burn.

Place your finished first batch onto a serving plate, and your final four pieces of bread into the custard for soaking on each side. (Should you run out of custard before you've run out of bread, I've found that whisking another egg, some more half-and-half, a little sugar, and a little salt works nicely!) Place another tablespoon of butter into your skillet, wait until it foams, and repeat the process of cooking your french toast. Once all of your pieces of bread have turned deliciously golden brown on both sides, transfer them to your serving plate.

Sprinkle a little powdered sugar on the top if you're into that, heat up some delicious maple syrup, and cut up some fruit to use as a topping if you;d like. Enjoy!!


SOURCE: Adapted SUPER SLIGHTLY from The Kitchn