Party Trick: Horseradish-Super Sharp Cheddar Cheese Ball
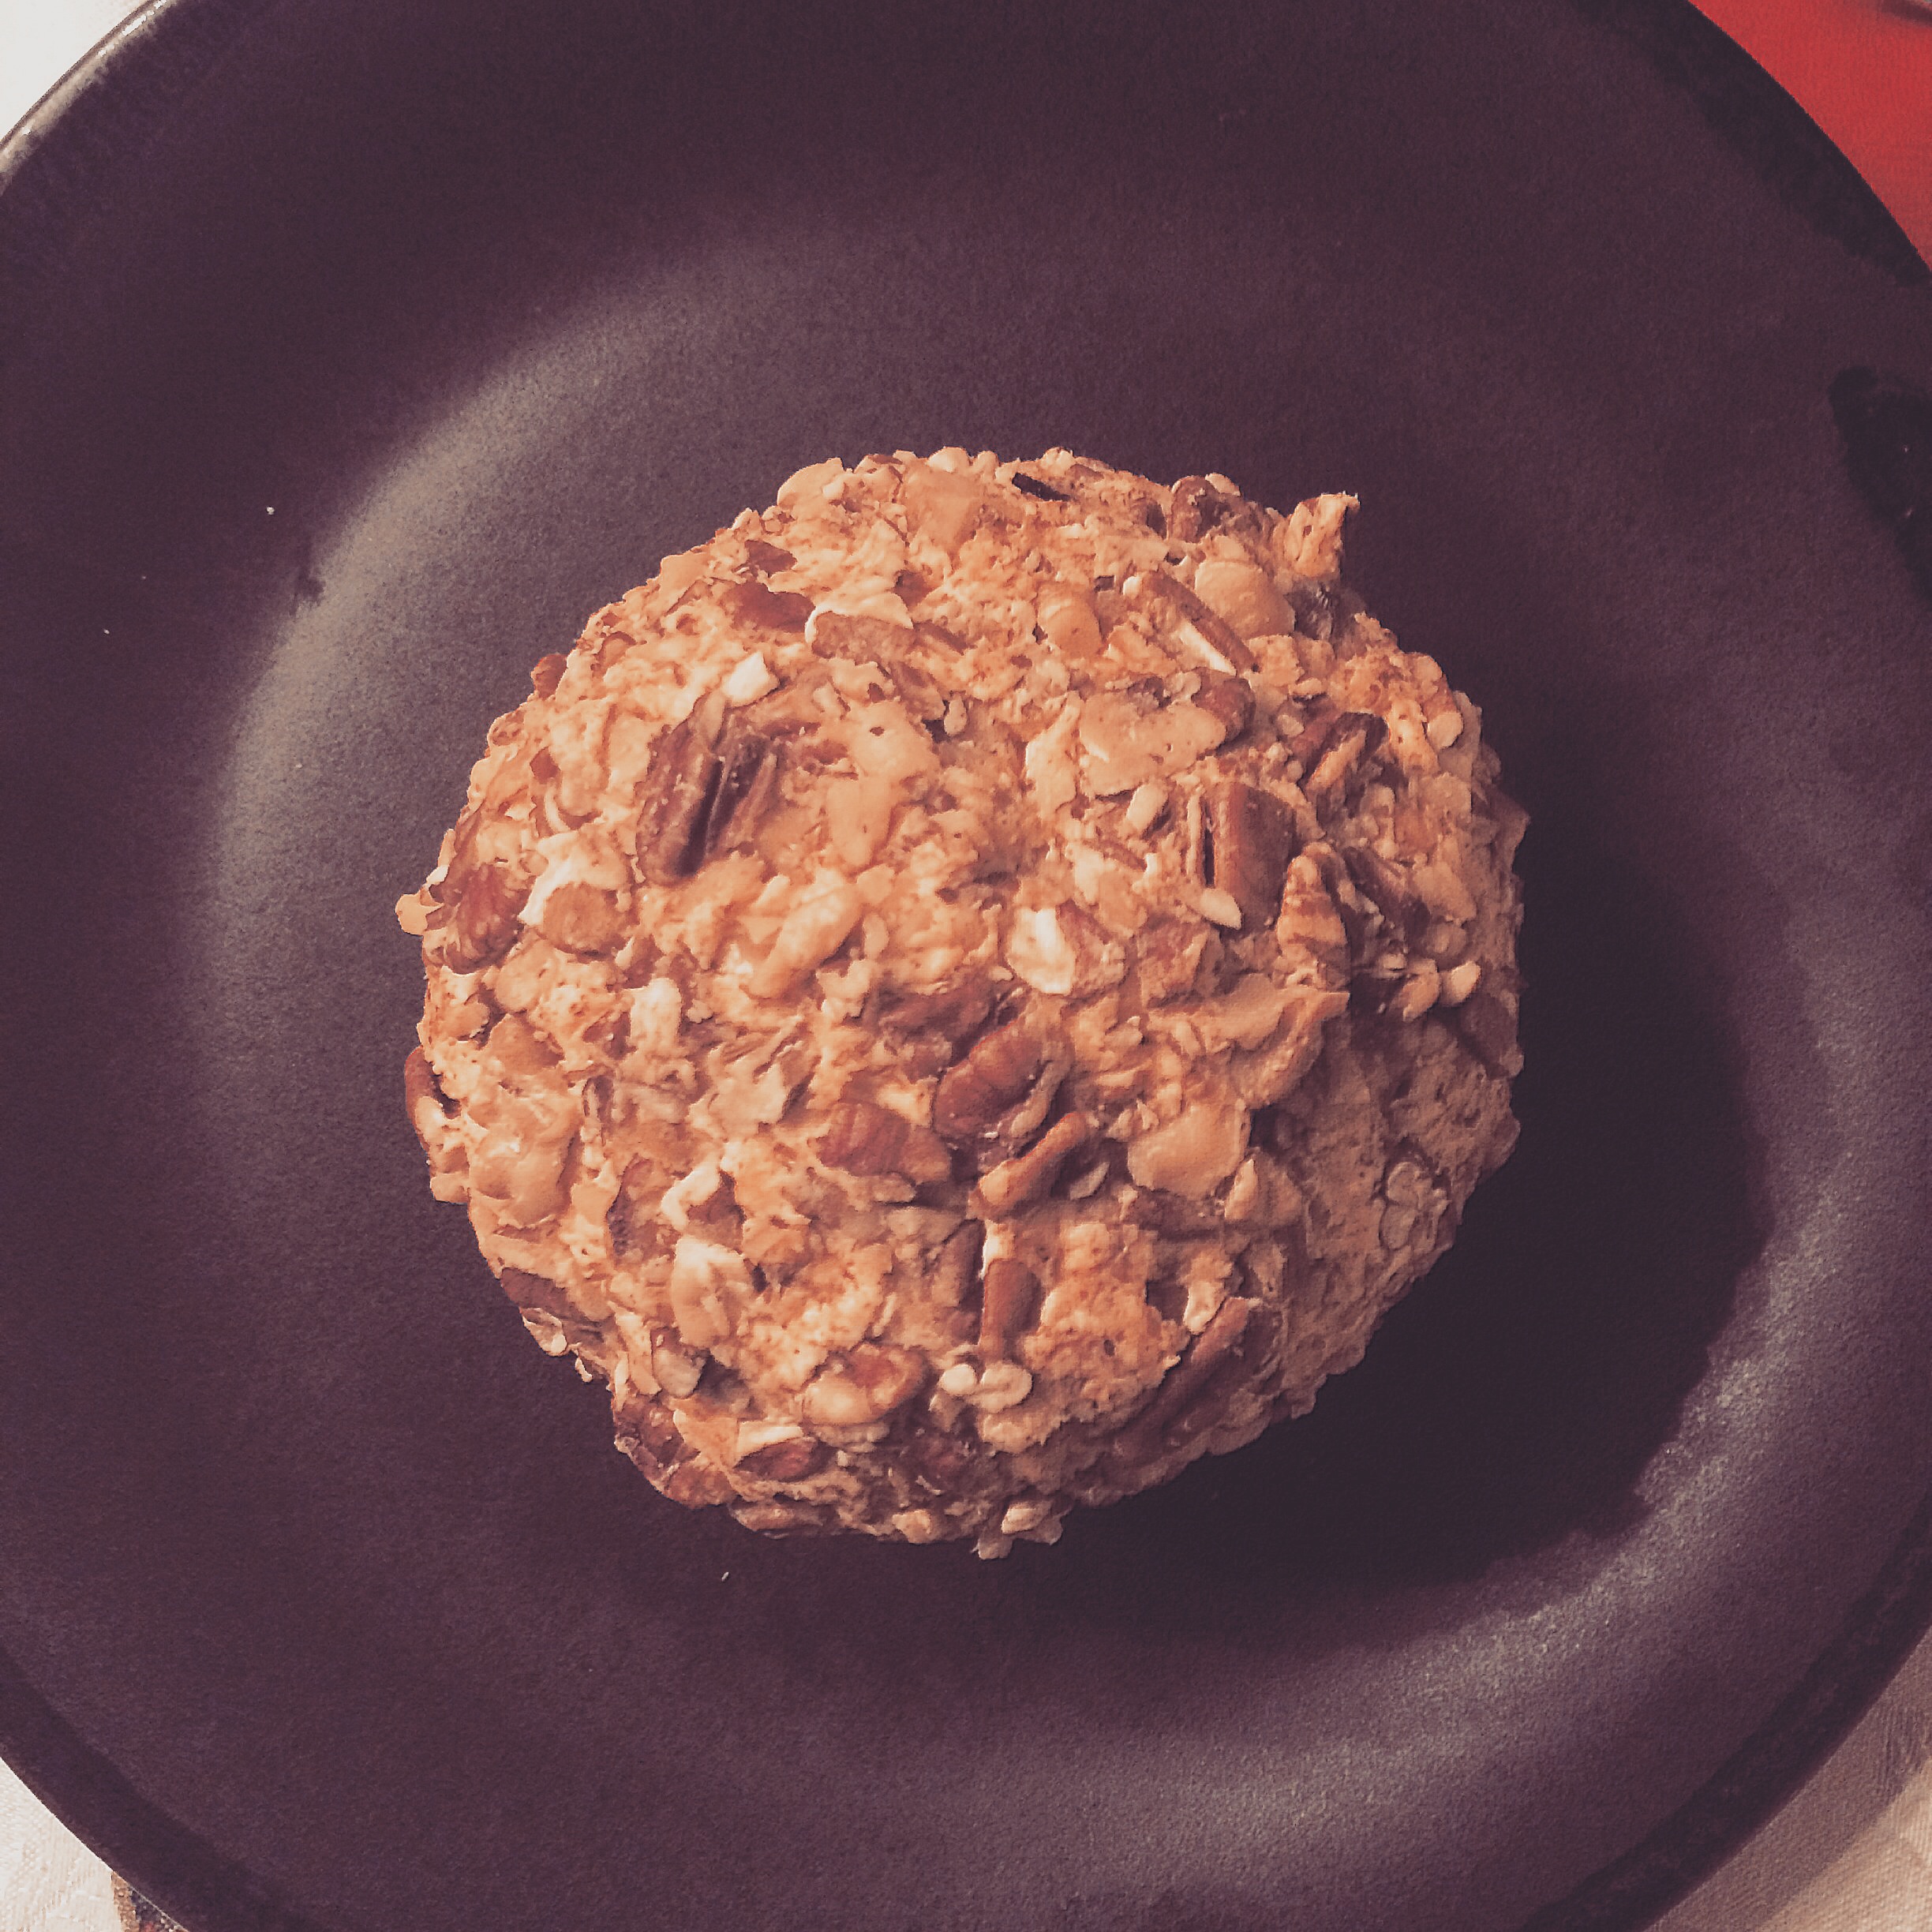
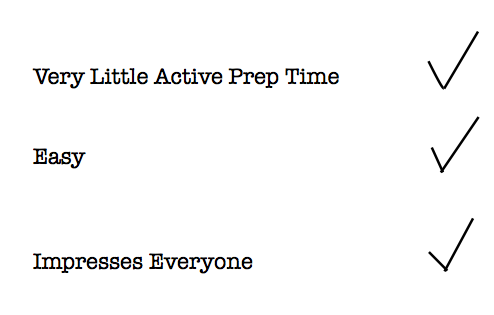
photo 1 The weekend is here, and I'm sure you've got several happening shindigs to grace with your presence. If there is one thing I know for absolute certain, it's to never, EVER come to a party empty-handed. There's always something to bring. Your host or hostess will definitely appreciate it, and you'll totally win extra points. It shows that you appreciate both the invitation, and the people who've invited you into their home. And it doesn't always have to be food. Bring wine, bring flowers, bring napkins, BRING ICE. Bring something useful, and your host will never forget it. There has never been such thing as too many party supplies. Sooner or later, everything gets used. Boy do I love a good party. I don't go to nearly enough of them, and I hardly get invited to fancy dress get-togethers, so when I do, I try to go all out. But when thinking of the perfect arrival gift to my Nashvillian bestie Hailey's house, I had a few things that I needed to consider: One, I'd be in my grandparents' kitchen which meant a limited amount of kitchen tools and appliances, and two, a limited amount of refrigerator real estate. (My Grandmothers are seasoned veterans in the kitchen and there is always something to eat.) Then it hit me: a cheese ball. I'd recently been introduced to the, and best of all, it checked off three very important things on my dish to pass checklist: Screen Shot 2015-01-22 at 3.04.24 PM It took me about 45 minutes to make this cheese ball, and most of that time can be shaved down if you have a food processor. I didn't, so I had to use my trusty pastry blender (a well-deserved Christmas gift to myself. I've got happier wrists now). Your cheesy mix must rest for two hours snugly wrapped in cling wrap, having been delicately shaped into a sphere. Six to eight minutes of your resting time should be spent roasting your walnuts and pecans. The rest of the time it takes to make your cocktail party masterpiece can be used to...paint your nails, pick out a killer outfit, or, in my case, bug your grandmother incessantly to break out the family pictures so that you can pretend to reminisce about an era that you took no part in. And once the two hours are up (though I actually left it in the fridge for four hours or so), just give your walnuts and pecans a rough chop, carefully roll your cheese ball around, and wrap it back up in cling film if you plan on transporting it. Et voila! Your totally easy, yet utterly sophisticated party snack is ready for its closeup. And don't you dare forget the fancy crackers that go along with it! You're sure to amaze, and make some new friends in the process. Who knew a ball of cheese could be such a conversation starter? I ain't mad at it.   Horseradish-Sharp Cheddar Cheese Ball 
  • 8 oz cream cheese at room temperature
  • 8 oz grated super sharp cheddar cheese (about 2 cups)
  • 2 tablespoons horseradish sauce
  • Kosher Salt
  • Black Pepper
  • 1 cup walnuts
  • 1/2 cup pecans

Blend cream cheese, cheddar, and horseradish using a food processor or pastry blender until smooth, then season with salt and pepper to taste.

Place cheese mixture on a piece of cling wrap, then use cling wrap to shape mixture into a ball. Chill until firm for at least two hours.

While the newly formed ball is chilling,  preheat oven to 350 degrees F, and place your walnuts and pecans on a baking sheet lined with a piece of parchment paper. Bake for 6-8 minutes, tossing occasionally. Keep them in the oven until they've darkened a bit, and give off a fragrant aroma. Let cool, then give them a rough chop.

Thirty minutes before serving, roll your ball in the roughly chopped walnut and pecan mixture, and enjoy.

Source: Adapted slightly from Bon Appetit

Party on.

Making Madeleines

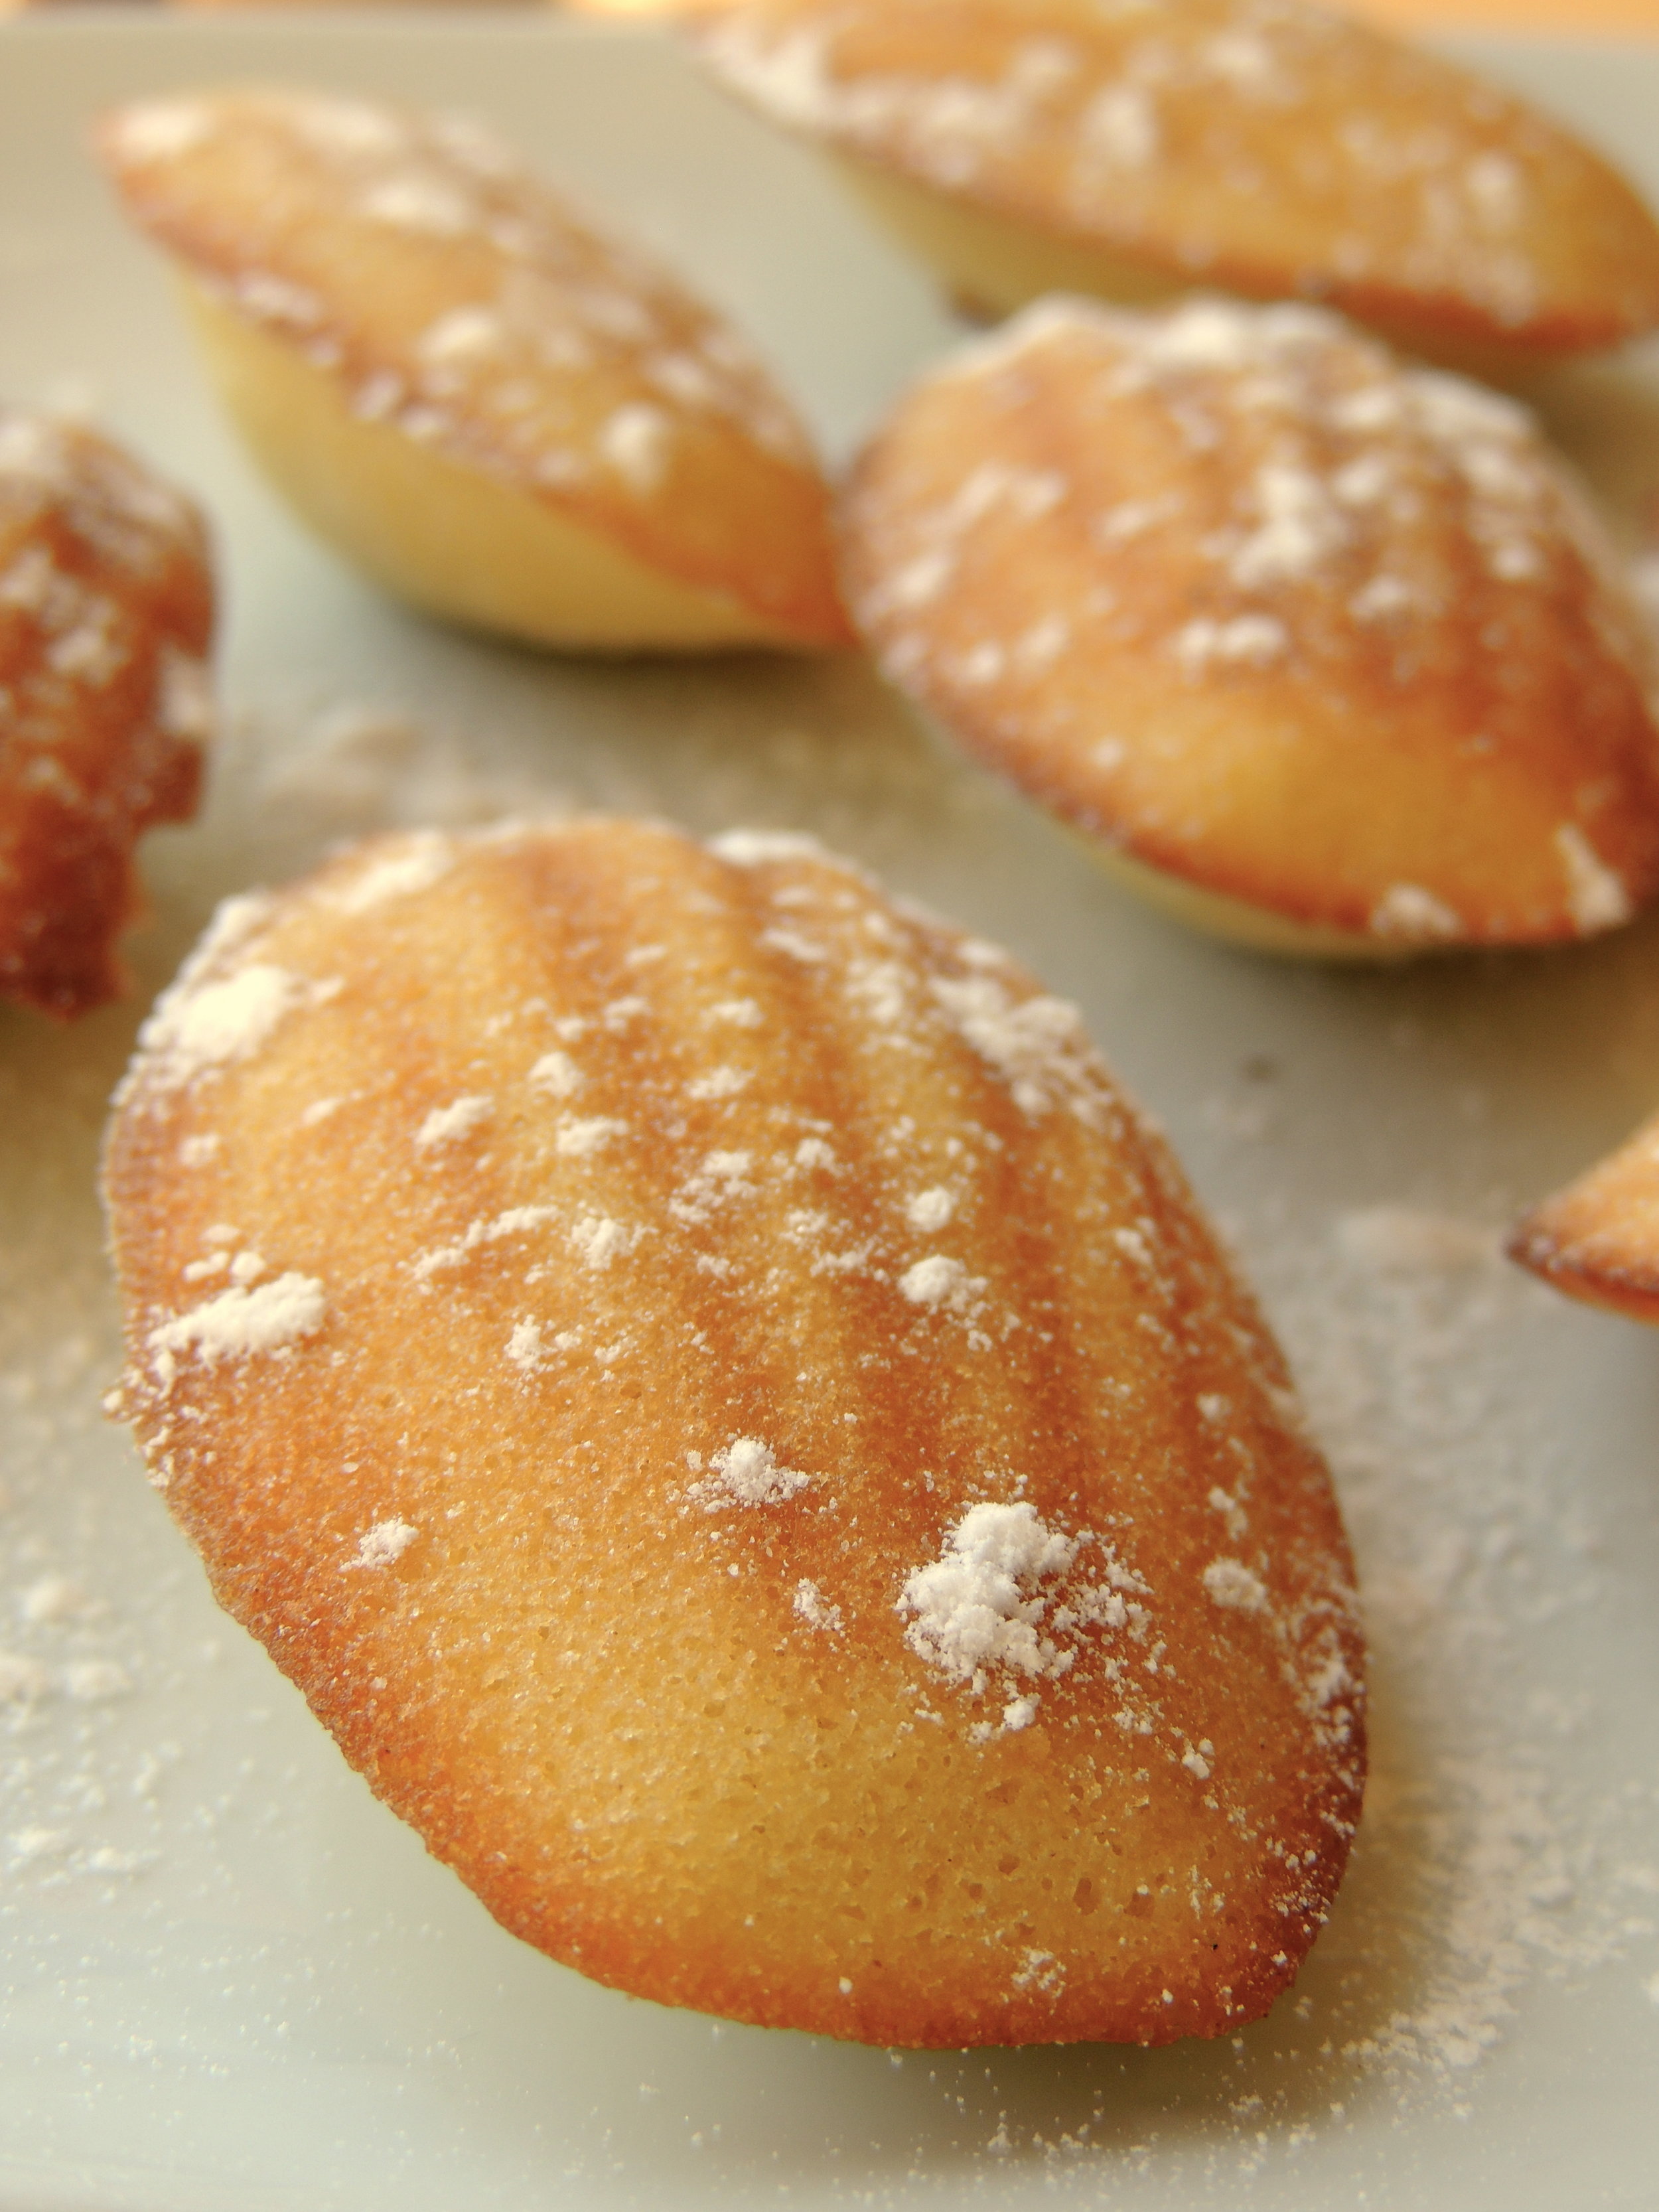
DSCN0668 I'm not usually one to spend money on baking pans that are only designed for one thing (save for the time I bought that donut pan...But that was different because there are hundreds of donut combinations!), but I just couldn't resist those adorable Madeleine pans any longer! How can I have a proper tea party without shell-shaped cookies? How can I pretend that I'm French without cake-y cookies with tons of powdered sugar sprinkled on the top? The Madeleine pan was an investment really, I mean, if you think about it. Kind of. Maybe?

Anyway, there is now a Madeleine pan siting in my pantry, and lots of tiny, delicious, half cake/half cookies on the table waiting for me to devour them. So, it's been a good day.

DSCN0664Besides the fact that these sophisticated little ladies (Because they're obviously girls. All that's missing, really. are mini strands of pearls.) are totally delicious, they are also surprisingly easy to make. I know that I say that so often, but it's for real this time!

DSCN0666

These special cookies are perfect for several occasions, which makes them so fun to have around. I've currently enjoyed them at breakfast time, tea time, after dinner, and a quick snack on-the-go. They're so beautifully light that they can be eaten any time with very little guilt. (Although, you should never feel guilty about dessert. It's sweet for a reason!)


Get yourself a Madeleine pan and try these!


What You'll Need:

  • 1/2 cup (1 stick) unsalted butter, melted and cooled 
  • 4 large eggs, room temperature
  • 1/4 teaspoon salt
  • 1/2 cup sugar
  • 1 teaspoon pure vanilla extract
  • 1 cup sifted all-purpose flour
  • 1/2 teaspoon baking powder

1. Preheat oven to 375 degrees. Butter and flour your Madeleine pan. Set aside.

2. In a bowl, whisk eggs, sugar, and salt together until thick (about 7 or 8 minutes). Add vanilla.

3. Using a rubber spatula, gently, but with a little speed, fold in flour. Next, quickly but gently fold in the melted butter, making sure that it fully incorporates and does not sink to the bottom.

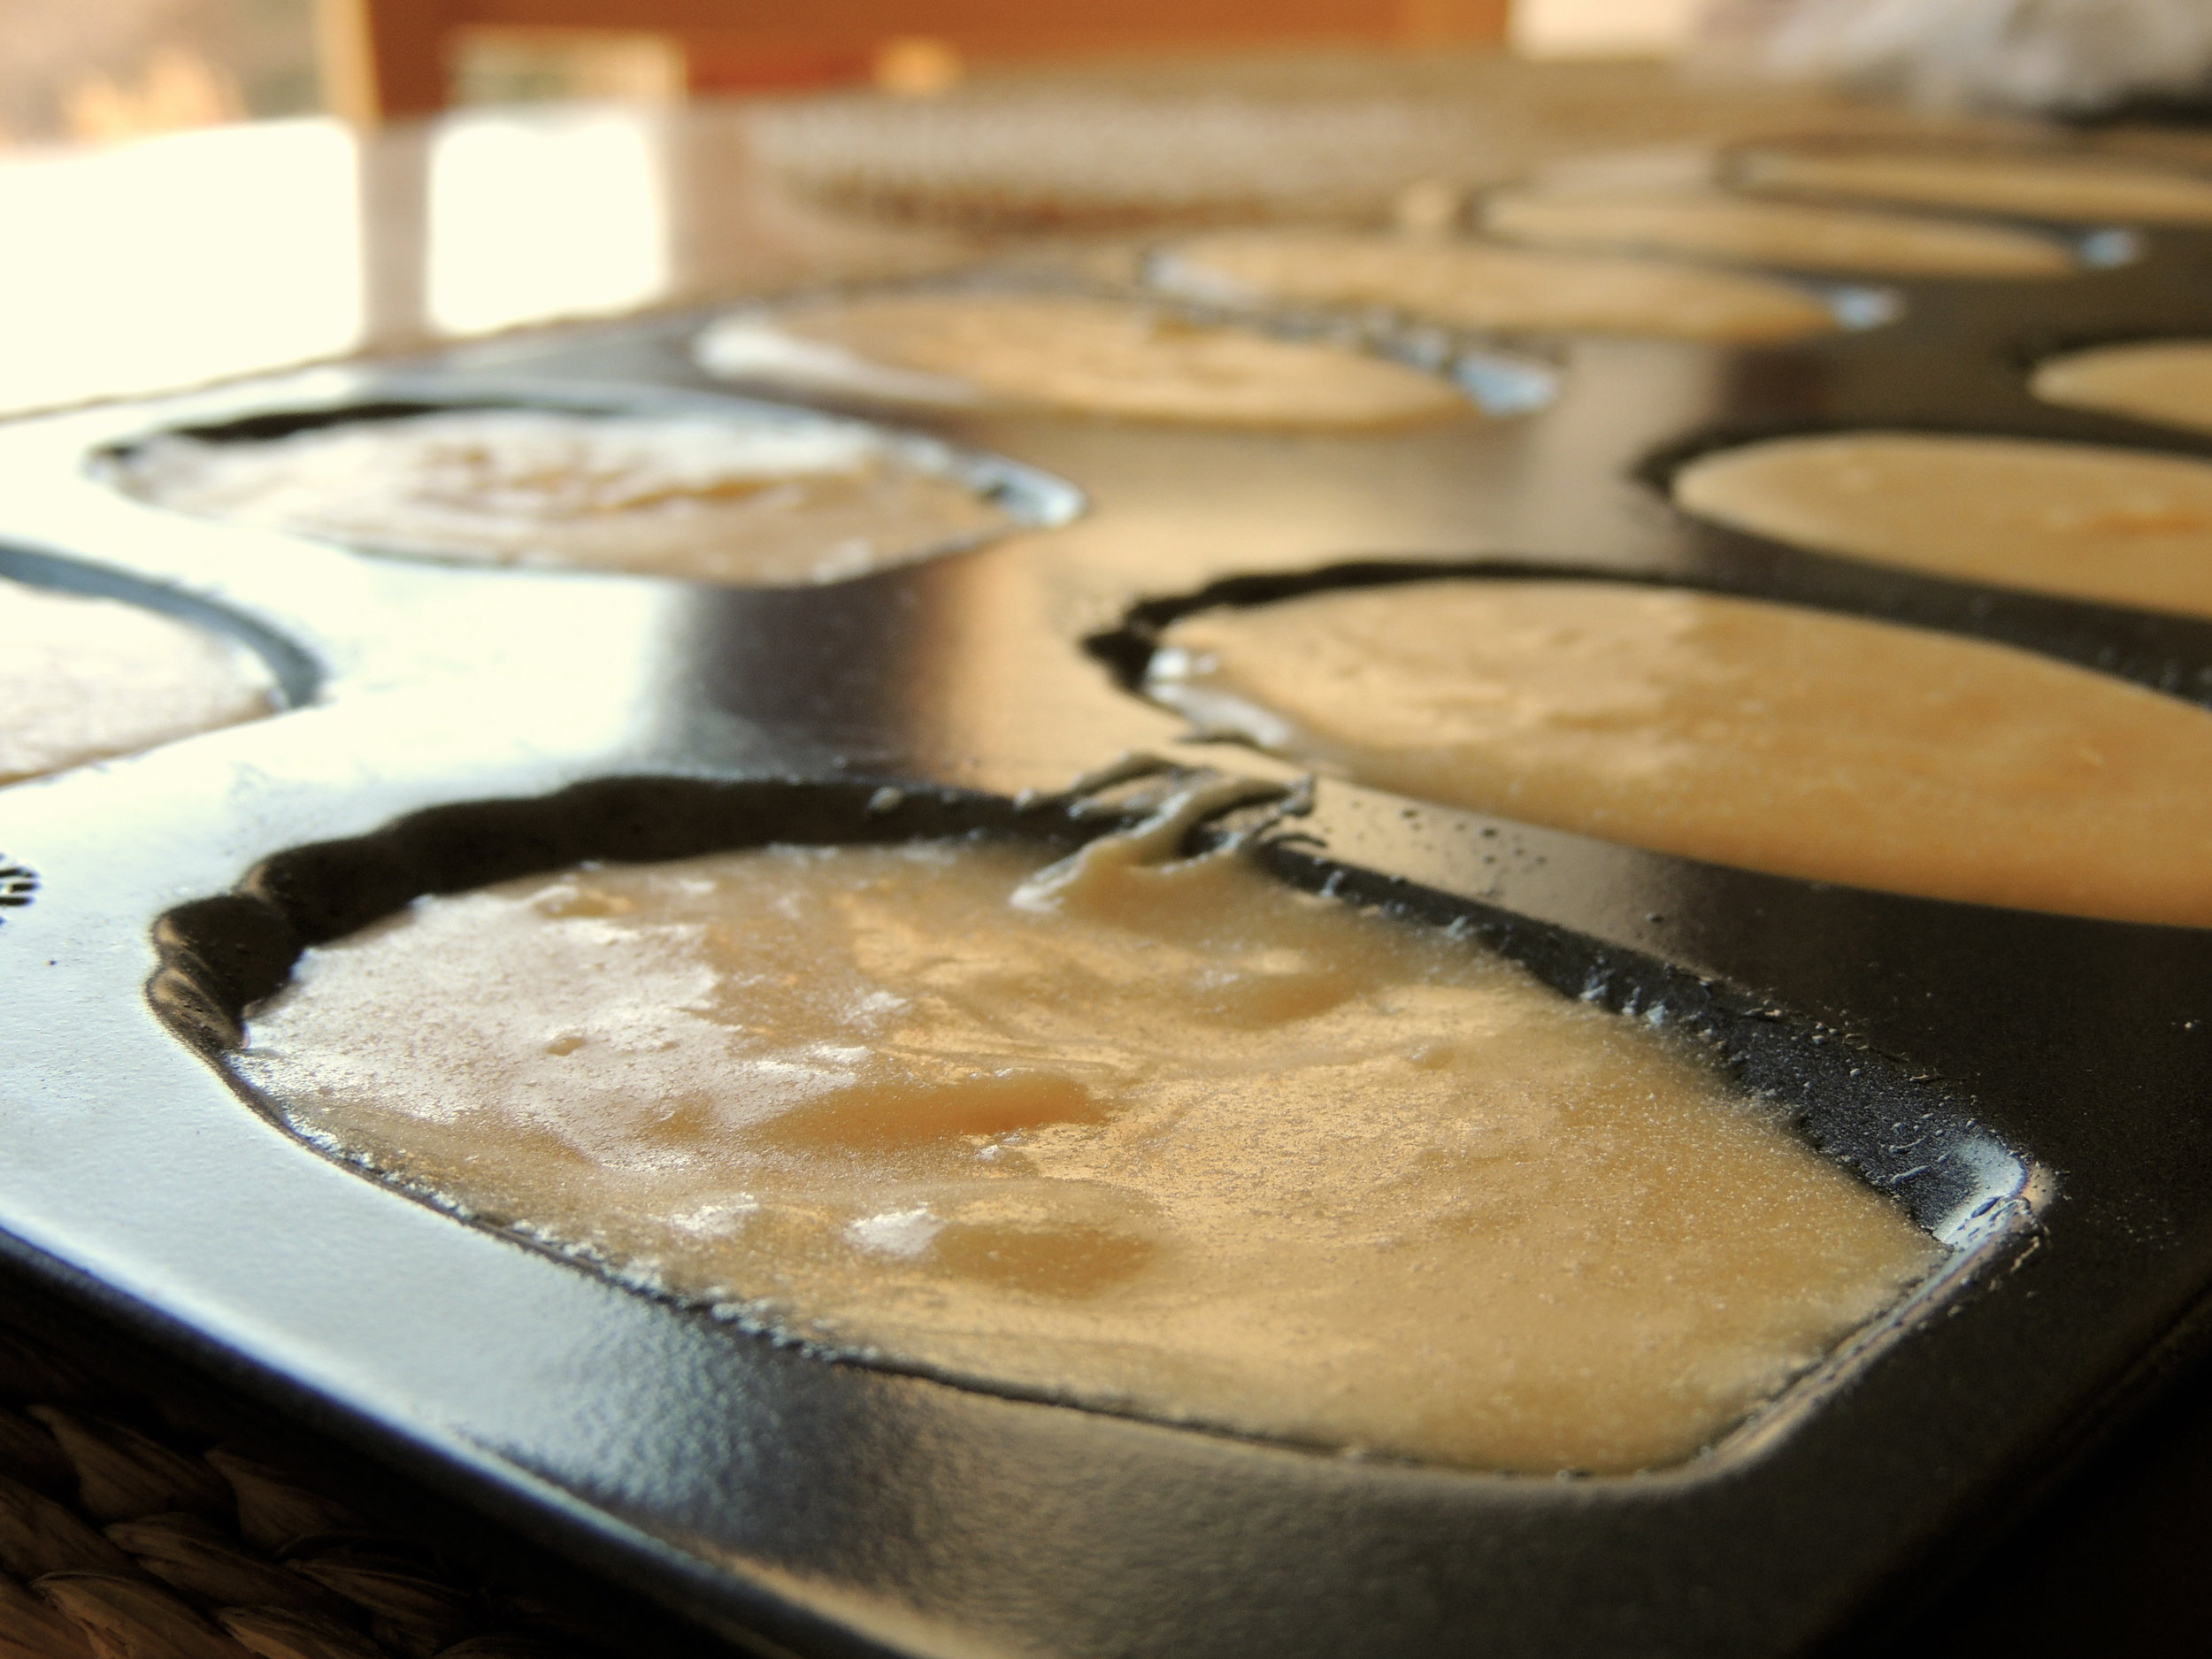
4. Spoon mixture into the Madeleine pan quickly. Make sure that you don't fill the molds more than 3/4 full to avoid overflow. Bake until just golden; About 8-10 minutes. Gently remove from pan and transfer to a wire rack to cool. Repeat this process with the remaining batter.

5. Sprinkle powdered sugar on top to your heart's content!

SOURCE: Martha Stewart 


HAPPY THANKSGIVING WEEK!!!


singature gray

When You're Having a Dinner Party...

photoIt would be wrong of me to ignore the hospitality gene that has been passed down to me from my parents and grandparents. You just can't ignore the need to entertain forever, and I've just decided to give in, once and for all. photo

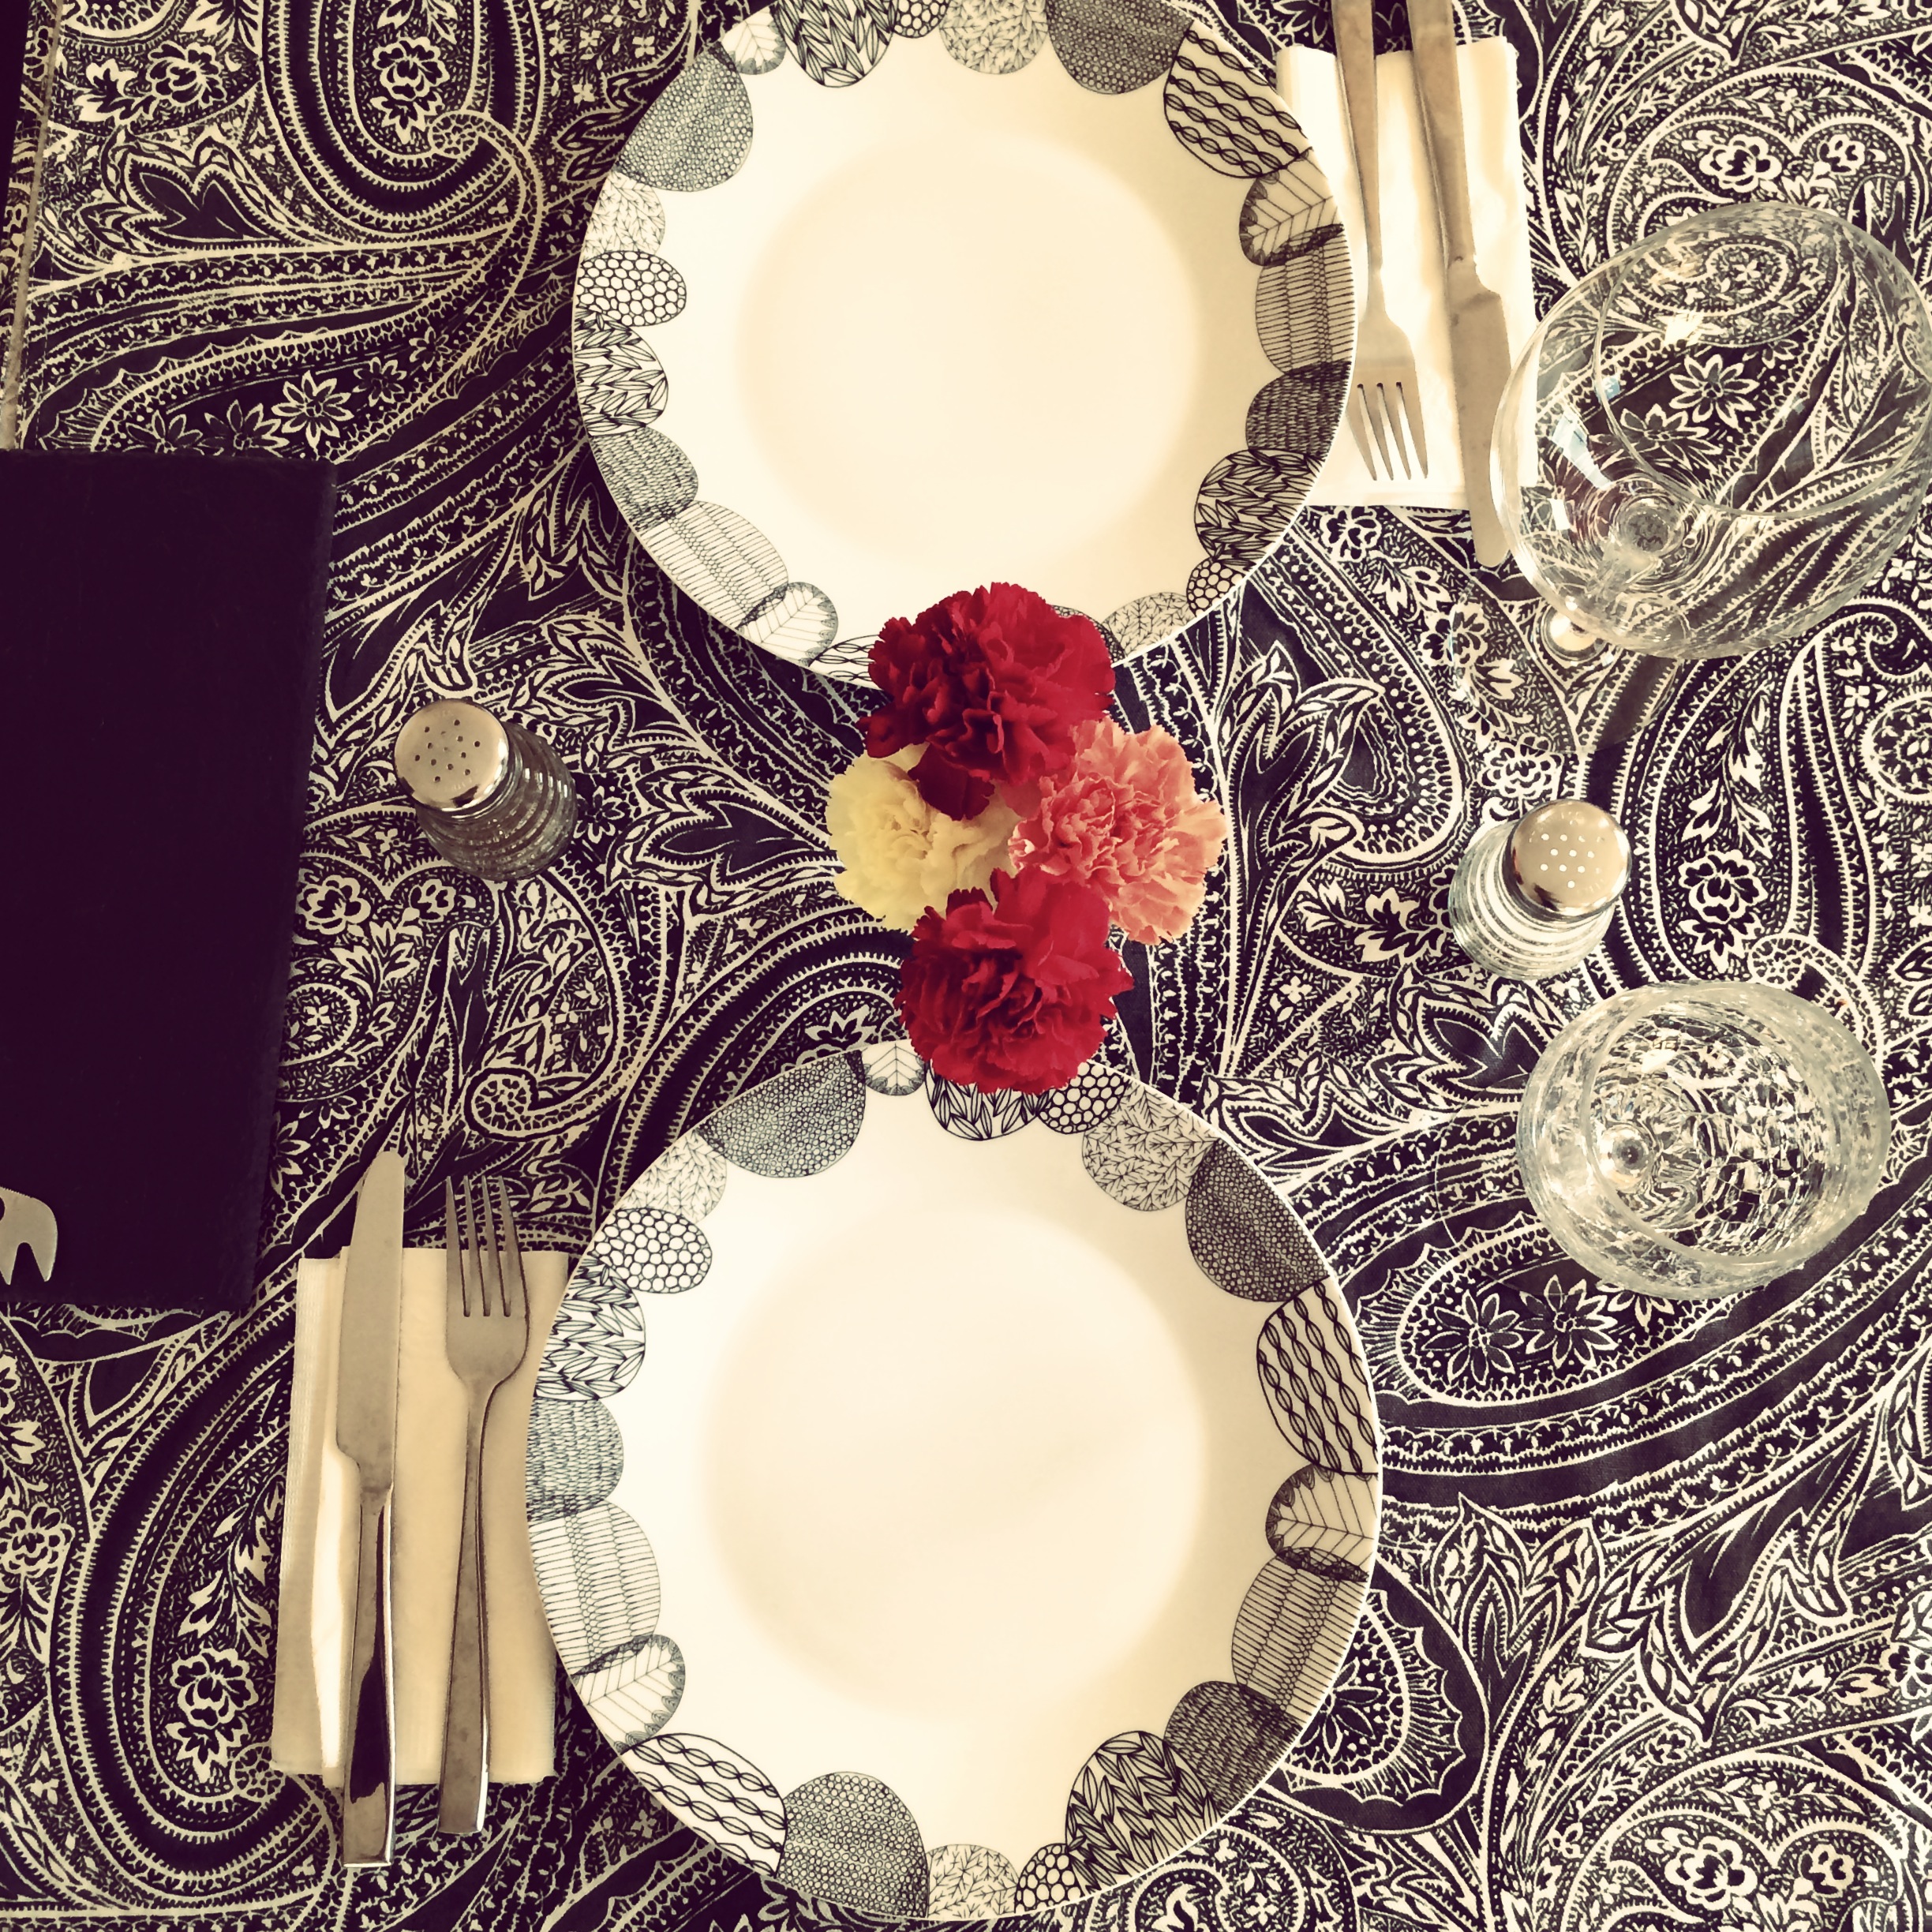
On Saturday night, Anna made the trek all the way across town to my apartment, for a nice, gluten-free gourmet dinner! To spruce the place up, I stopped by Kabloom in Coolidge Corner for some gorgeous, vibrant carnations. (And Anna brought some GORGEOUS pinkish, purplish tulips that are thriving nicely.)  Since I'm big on black and white dish and tableware, I like to add eye-catching pops of color to the table any way I can.

photoOn the menu? California-style BLTs, with a little twist. Instead of bacon, I used proscuitto. I added avocado. AND, for the piece de resistance, I added basil mayonnaise. Believe me when I say, basil mayonnaise can take any good sandwich to an entirely different level.

photo

Side note: shout out to Crate and Barrel for the super cute plates! I paid $5.95 for each, but it looks like I paid much, much more! (When is it appropriate to call myself a Bargain Princess?)

photo

And for dessert? Flourless Chocolate Cake, with a generous dollop of buttercream frosting in the center.

So...I feel like no matter what I write, it actually won't do this cake proper justice. Never in my life have I made something so decadent, so rich, and yet so pleasantly light and airy. With every spoonful you get that sweet choclately taste, which is complimented by the slightly salted, very creamy buttercream frosting. It's like eating a fudgey brownie, but one that's made from chocolate clouds. I may or may not have had one for lunch today. (I did.)

Summertime means more free time, more of my favorite foods, and more dishes to be made and served. BRING ON THE WARM WEATHER THAT BRINGS ME AND MY FRIENDS TOGETHER.

You HAVE to try this basil mayonnaise recipe from The Kitchn, and of course, the Flourless Chocolate Cake from What's Gaby Cooking. But not in that order...unless that's the kind of food combining you're into.


Happy Tuesday!


singature gray

Ladies' Brunch!

  photo

I'd been itching to have a party for a while, so when my friend Grace mentioned an article she'd seen solely devoted to french toast recipes, I knew that a Ladies' Brunch was definitely in order.

As much as I love cooking and baking, I almost never do it for myself. Cooking for one can be a little depressing, so when given the chance to cook for others, I dive head first. All the bases were covered: a cheese plate, (a chalkboard plate I got on sale at Crate and Barrel!) a Florentine Fritata (I got the recipe from Breakfast for Dinner),  delicious and crispy brioche french toast with baked berries and maple syrup (curtesy of Grace!), and last but certainly not least, fresh and giggle-inducing grapefruit mimosas! At my house, you go big with brunch, or you go home.

photo

A good brunch always needs fresh flowers. It brightens up any room, and reminds you that Spring has sprung, and you must embrace it.

photo


Trader Joe's actually has a great selection of cheeses from all over the place, for excellent prices. My local grocery store was trying to charge me almost double, for less product. I don't think so!

photoIt took me 20 minutes to make the mimosas, and I had the best time doing it. Cutting up those grapefruits made the house smell so wonderfully citrusy.


photo

I thank my lucky stars everyday that I decided to keep the champagne glasses I impulse bought at Goodwill last year. I hardly ever use them, but when the time comes, these beauties come in absolute handy.

photo

I've caught the entertaining bug, and I'm thinking a nice, classic dinner party is next!


Grapefruit Mimosas

What You'll Need:

1 750 ml bottle of Prosecco, chilled

4 large grapefruits (should make 3-3.5 cups of grapefruit juice)

Optional Sweetener or Simple Syrup


1. Fill a large pitcher with your freshly squeezed and chilled grapefruit juice, then add the prosecco. (Make sure your pitcher is big enough to handle both the juice, and the contents of the bottle, plus the foam. The foam is what ties it all together!)

2. Add sweetener to taste. (I added a couple spoonfuls of granulated sugar)


Yields about six servings

Source: Jason and Shawnda


If loving brunch is wrong, then I just don't want to be right.

singature gray


Grown-Up Mac and Cheese

DSCN0519People of Earth: I am here to tell you that there is life beyond Kraft Macaroni and Cheese. That being said, sometimes it's just more comforting (and less time consuming) to throw a pot of classic Kraft on the stove with whole milk and a little extra cheddar, but for the sake of this post, we're going to go to the next level.

DSCN0506

What sets this mac and cheese apart in one thing: Béchamel Sauce. Just four ingredients: flour, butter, milk, and salt. And it absolutely makes all the difference in the world. What it does, is add a bit of depth to the cheesiness. It's smooth, creamy, and, mixed with the cheese, the shining light in this classic dish. But keep in mind: you have to do a bit of multi-tasking to make this sauce. While the butter is melting, you have to watch the milk which should bubble, but not boil. And the very second that the butter is melted, you have to add the flour and whisk with all your might. Pay attention while you make it, and the reward will be huge.

DSCN0507Look how rich and creamy that is! The only thing keeping me from diving face first into this pot was my fear of severe burns. That's the only thing.

DSCN0510The wonderful thing about having a recipe for basic mac and cheese is that you can add in your favorite ingredients. For this, I decided on tons of spinach and turkey bacon. The only way you'll get me to eat my vegetables is with cheese (Is that the Midwesterner in me? I'm not sure.), so bring on the spinach...so long as there's a cup of cheddar chasing it into the pot.

To me, an essential part of your basic mac and cheese is that satisfying crunch. Toasted panko is perfect for this. About 1/2 sprinkled on top is just enough to add a little extra texture. Try it. You'll like it.

DSCN0513

Last but not least, don't forget to pop this perfection in the oven for ten minutes. I'm getting hungry just thinking about it. Is it time for dinner yet?

Grown-Up Mac and Cheese with Spinach and Turkey Bacon

Ingredients:

Béchamel Sauce:

  •  3 cups whole milk
  • 1/2 cup unsalted butter
  • 1/2 cup all purpose flour
  • 2 teaspoons kosher salt or 1 teaspoon table salt

Bread Crumb Topping:

  • 1/2 cup panko (Japanese Bread Crumbs)

Mac and Cheese:

  • 1/2 pound dried elbow pasta
  • 2 cups Mac Sauce
  • 1 1/2 cups grated aged white cheddar cheese
  • 1/2 cup grated parmesan cheese
  • 4 strips of turkey bacon, chopped
  • 3 cups baby spinach (But the amount of greens is really up to you!)

Béchamel Sauce Directions:

Heat the milk in a pot over medium heat until it just starts to bubble, but is not boiling, 3 to 4 minutes. Remove from heat.  (Tip: while the milk is heating, get your flour ready!)

Heat the butter over medium heat in a separate, heavy-bottomed pot. When the butter has just melted, add the flour and whisk constantly until the mixture turns light brown, about 3 minutes. Remove from heat.

Slowly pour the warm milk, about 1 cup at a time, into the butter-flour mixture, whisking constantly. It will get very thick when you first add the milk, and thinner as you slowly pour in the entire 3 cups.

Once all the milk has been added, set the pot back over medium-high heat, and continue to whisk constantly. In the next 2 to 3 minutes the sauce should come together and become silky and thick. Use the spoon test to make sure it’s ready. To do this, dip a metal spoon into the sauce-if the sauce coats the spoon and doesn’t slide off like milk, you’ll know it’s ready. You should be able to run your finger along the spoon and have the impression remain. Add the salt.

The Mac Sauce is ready to use immediately and does not need to cool.

Toasting the Bread Crumbs

Preheat the oven to 400 degrees F

Place the bread crumbs on a baking sheet and set in the oven for 5 minutes, or until the crumbs have turned a golden brown. Set aside.

 Preparing the Macaroni and Cheese:

Preheat the oven to 400 degrees F

Cook the pasta according to box instructions. Drain, rinse the pasta with cold water, then drain again.

While your pasta is cooking, now’s a good time to cook your bacon and spinach. What I like to do is: start cooking the bacon first. Once almost cooked through, I add the spinach to the pan. Tip: wring out your spinach as best as you can after rinsing, and before adding to the pan of bacon. It’ll sizzle.

Add the sauce and both cheeses to a large, heavy-bottomed pot and cook over medium heat. Stir until the cheese is barely melted, about 3 minutes. Slowly add the cooked pasta, stir, and continue cooking while stirring continuously until the pasta is hot and steaming, another 5 minutes. Add in the bacon and spinach, and stir. After fully incorporated, remove from heat.

Spoon the mac and cheese into an oven-safe dish, making sure it’s evenly spread. Sprinkle the panko crumbs on top.

Bake in the oven for 10-15 minutes until it starts bubbling on the edges.

Remove from oven, and dig in. You earned it!

Dish serves 4.

SOURCE: Very loosely adapted from the Mac + Cheese Cookbook: 50 Simple Recipes from Homeroom, America's Favorite Mac and Cheese Restaurant 


Is there such a thing as too much cheese? Answer: No, absolutely not.

singature gray

Guacamole: A Game Day Essential

DSCN0459 College Bowls and the Playoffs are in full swing, and I'm PUMPED. The Wisconsin Badgers play in the Capitol One Bowl tomorrow, and THE PACKERS MADE THE PLAYOFFS. It's been a fantastic week so far.

There are two things that you need when watching football: Hope (and lots of it sometimes!), and good food. And what is more essential for a fun game--watching experience than a bowl of fresh, homemade guacamole? It is an absolute staple in my household, and I think it should be a staple in yours! I've been working on the perfect guacamole recipe for a while and, according my father, mouth full of guac, "Oh yeah, this is it. Don't change a THING," I may have found a winner!

DSCN0462

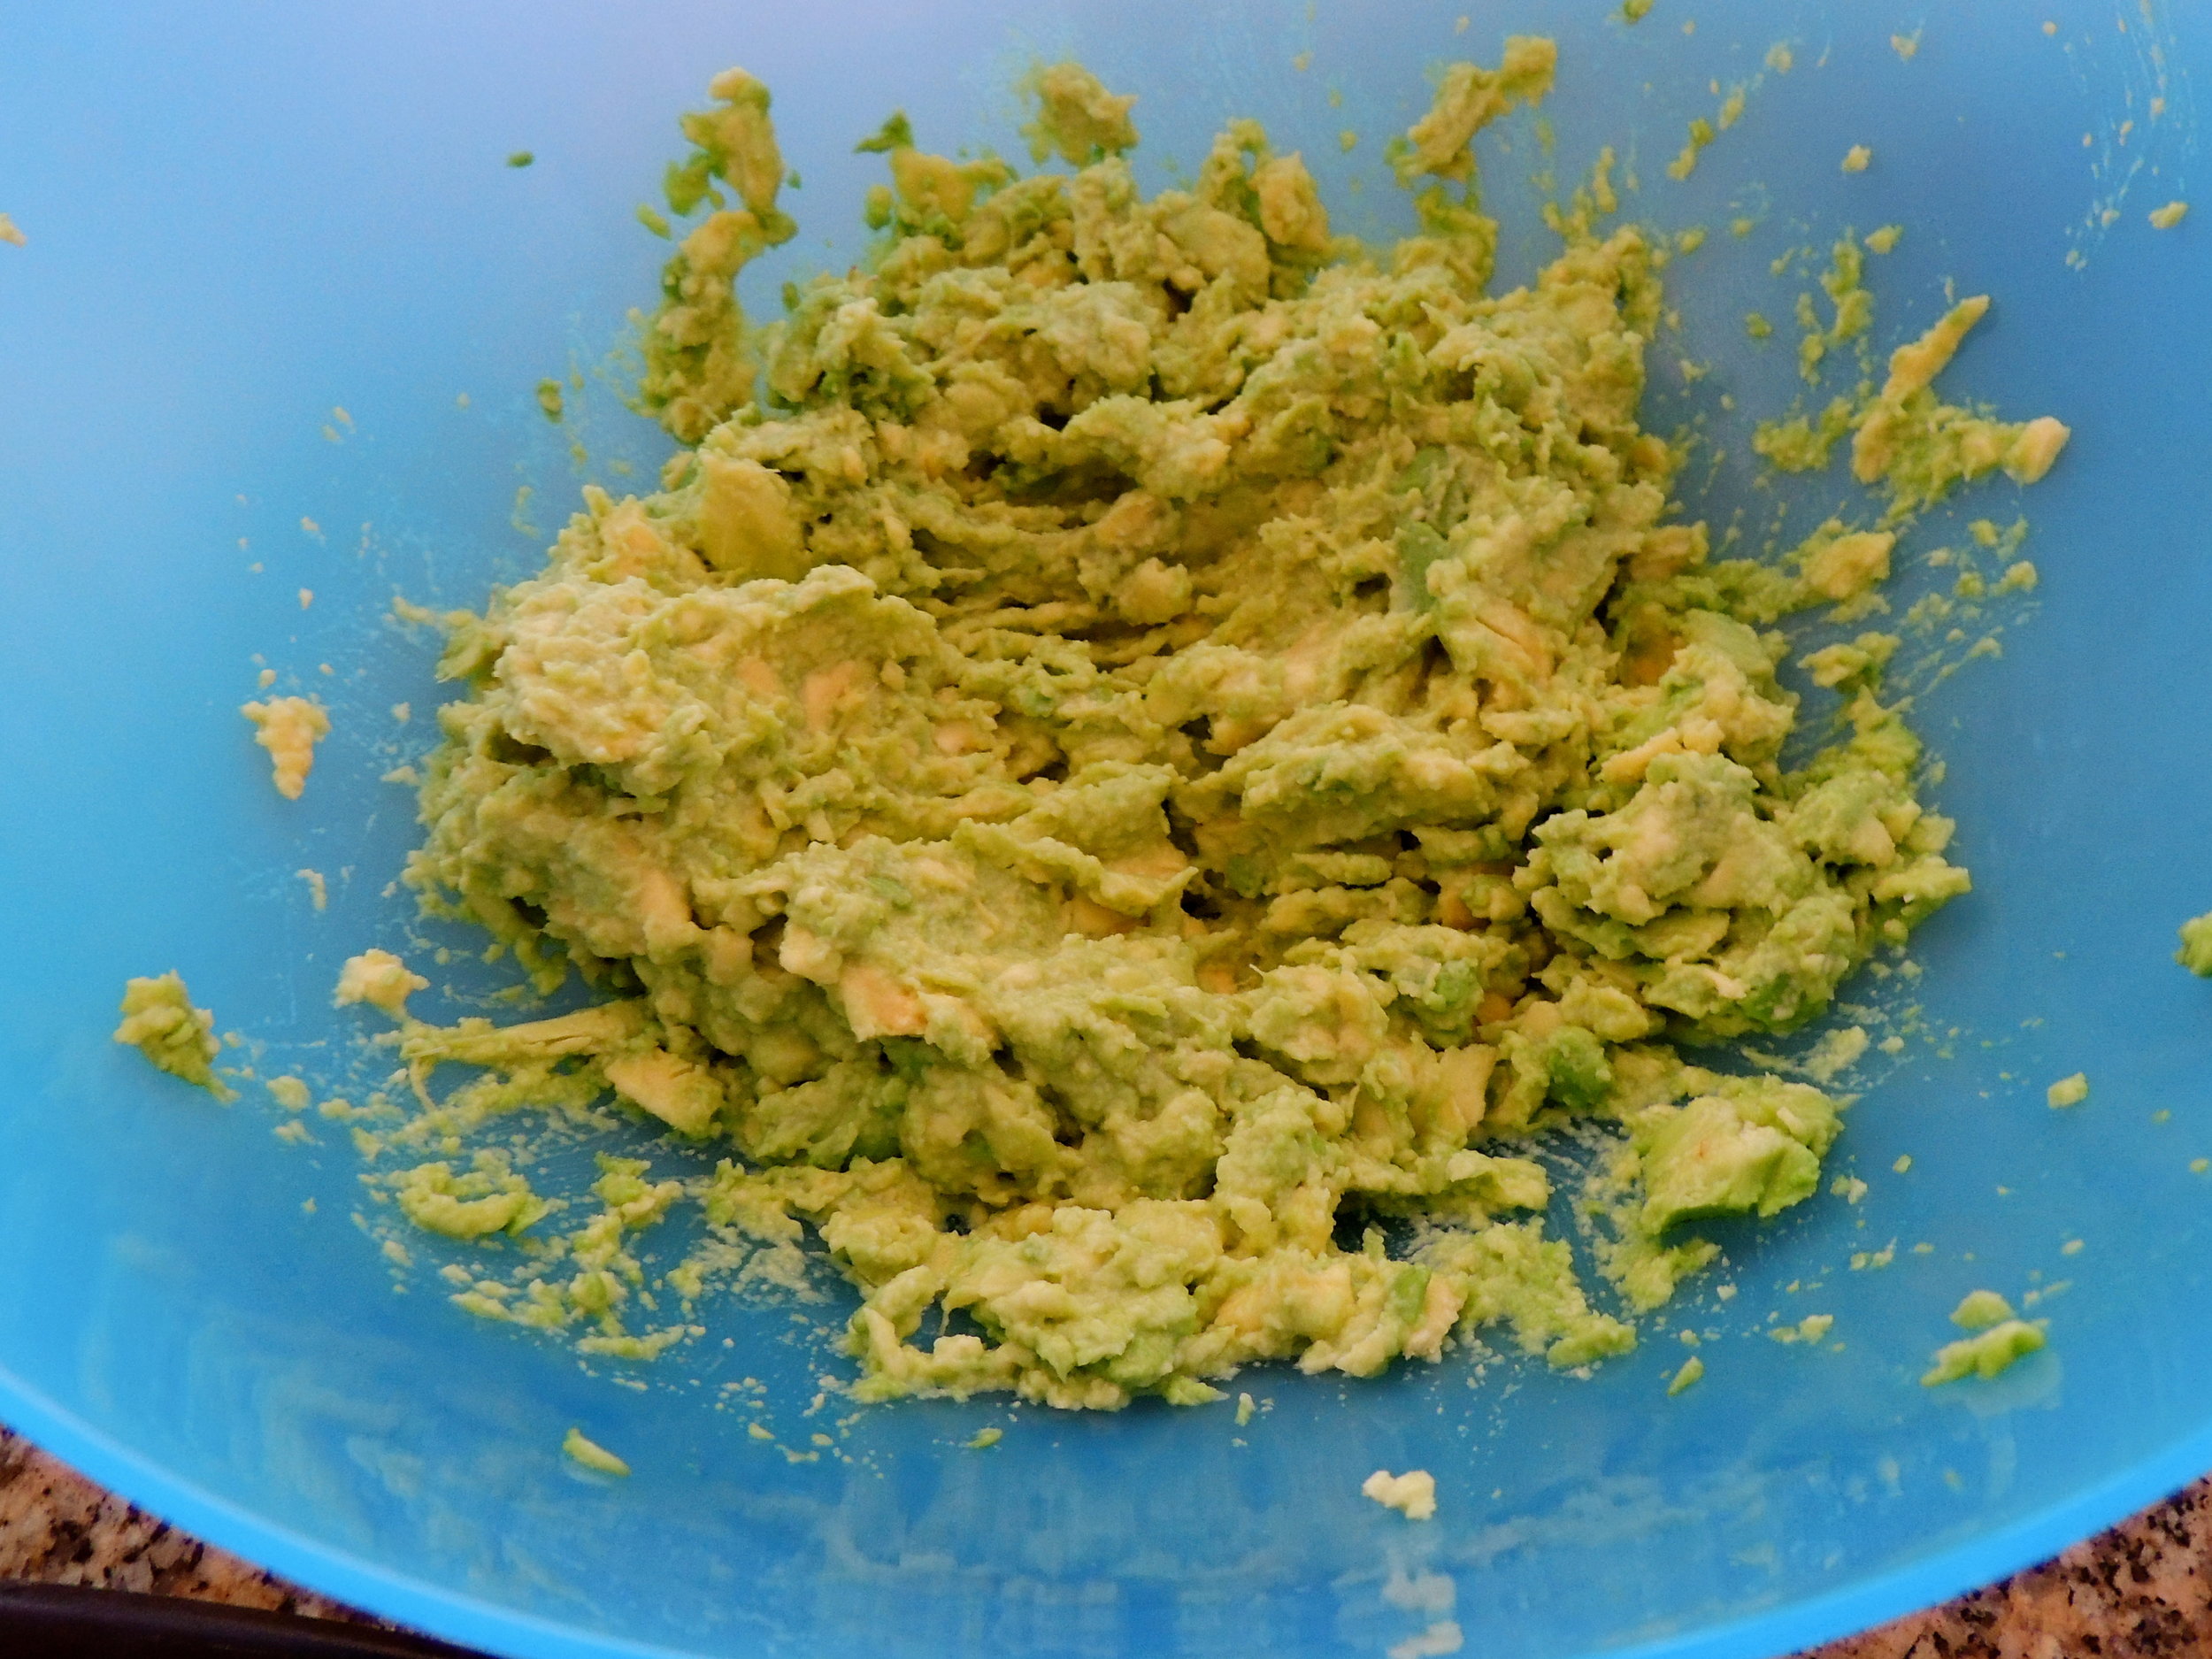
Now, if you're fancy and have a pestle to grind up your ingredients, more power to you! But for me, it's all about the forks, baby. (Until I get a pestle. Then I'm jumping ship.) It takes time to properly mash up guacamole to the consistency that you'd like, but once you've got your rhythm, it's smooth sailing. 

There is one very important thing to remember when making guacamole:

There is never a wrong way to make it.

Some people make it a little spicier, some people use red onions, some use yellow, some add carrots, some think that's a crazy idea. But there's never a wrong way. With avocado as your anchor, many things taste amazing together. Add a little cilantro, a squirt of lime juice, and you're on your way.

DSCN0465

So...LADIES AND GENTLEMAN, I GIVE YOU: Sydney's very first original recipe!

May your bowl overfloweth with guacamole for all eternity.

Sydney's GAMEDAY GUACAMOLE

What You'll Need:

  • 2 Avocados (I used jumbo)
  • 2 cloves garlic, minced
  • About 1/4 cup red onions, diced
  • 1 tomato (your choice of tomato!)
  • The juice and zest of one lime
  • Cilantro (I used about a teaspoon of Cilantro, chopped)
  • Coarse Sea Salt to taste

DIRECTIONS 

Split, then remove contents of two avocados. Mash to desired consistency in a large bowl, using forks.

Mince two cloves of garlic, add to the mixture.

Cut one red onion in half, then in thirds. Dice until you've got just about 1/4 cup. Do the same to your tomato. Add to mixture.

Split one lime in half, then squeeze the juice out of each half into the mixture. Once each half has been firmly squeezed, zest them, and add to the mixture.

Chop up the leaves of your cilantro. I used about a teaspoon, but do what you feel! A little cilantro can go a long way. Add to the mixture.

Sprinkle coarse sea salt into the mixture. Once again, do what you feel! Sea salt helps to bring out the other flavors, so add as little, or as much as you want!

HAPPY NEW YEAR!!

GO BADGERS.

singature gray


OFFICIALLY BAKING SEASON

Finally that time of year where it's getting a little too cold to be outside for long stretches of time, but not too cold to play in the leaves...and eventually snow. Did I hear correctly that Vermont is getting their first snowfall of the year this weekend? If so, good luck, Vermont! We've got a little warmth left here in Boston.  

But as the cold starts to unpack it's belongings for the 4+ months ahead, now is a good time to start making a list of every single thing that I want to bake. You would not believe the amount of recipes I save to my "Bookmarks" everyday, and that's where most of them stay. I save so many that I forget they exist! Well, that's all about to change. And I need your help!


Are there any recipes that you just can't live without?? I'd love to know! Then, we can make it together and giggle a bunch while we pretend that we're not going to have another piece, cookie, bite, etc, but we totally do!


NEW RECIPES. ANNNNDDDDDD....GO!

Cakeland Adventures Continued

DSCN0196 This weekend I decided that I wanted to make a cake.

In my life, I've only made two cakes, whether it be alone, or with a little help. And I have to say it: this is no easy feat, is it? Making a cake is a lot of work, but it's incredibly rewarding (And obviously delicious) in the end, and that makes it all worth it.

Let me first start off by saying that I went all over Boston (Okay, just to Macy's) to find the proper tools for this cake. While I've got buttercream frosting on lock, I didn't have an icing spatula. And while I have plates to serve the cake on, I had no cake stand. These are both very essential to proper cake making. In two years, I want people to come to me asking for me to make them a cake. I HAVE A LONG WAY TO GO, but practice makes perfect, no?

So with my nine-inch cake pans in place, my favorite apron on, and about a million ingredients littering the counters, I set to work on a two-layer, vanilla with buttercream frosting cake. Four hours later (There was a lot of checking, then double-checking, then triple-checking the recipe to make sure I was doing it right. Then I had to wait for the unusually hard unsalted butter to soften)  I had my two-layer cake, and a countertop, and arm, covered in buttercream frosting. But HEY, I made myself a cake, and I'm proud.

DSCN0197

Ahem. Couple things: this isn't the prettiest cake in the world. I know this, I said this several times to my roommate after I set in on the table. BUT IT WAS DELICIOUS.  This was my first time using cake flour instead of all purpose, and I must say, the consistency is interesting! it's a bit lighter, and I like it. I still prefer AP flour, but I like it enough for this cake.

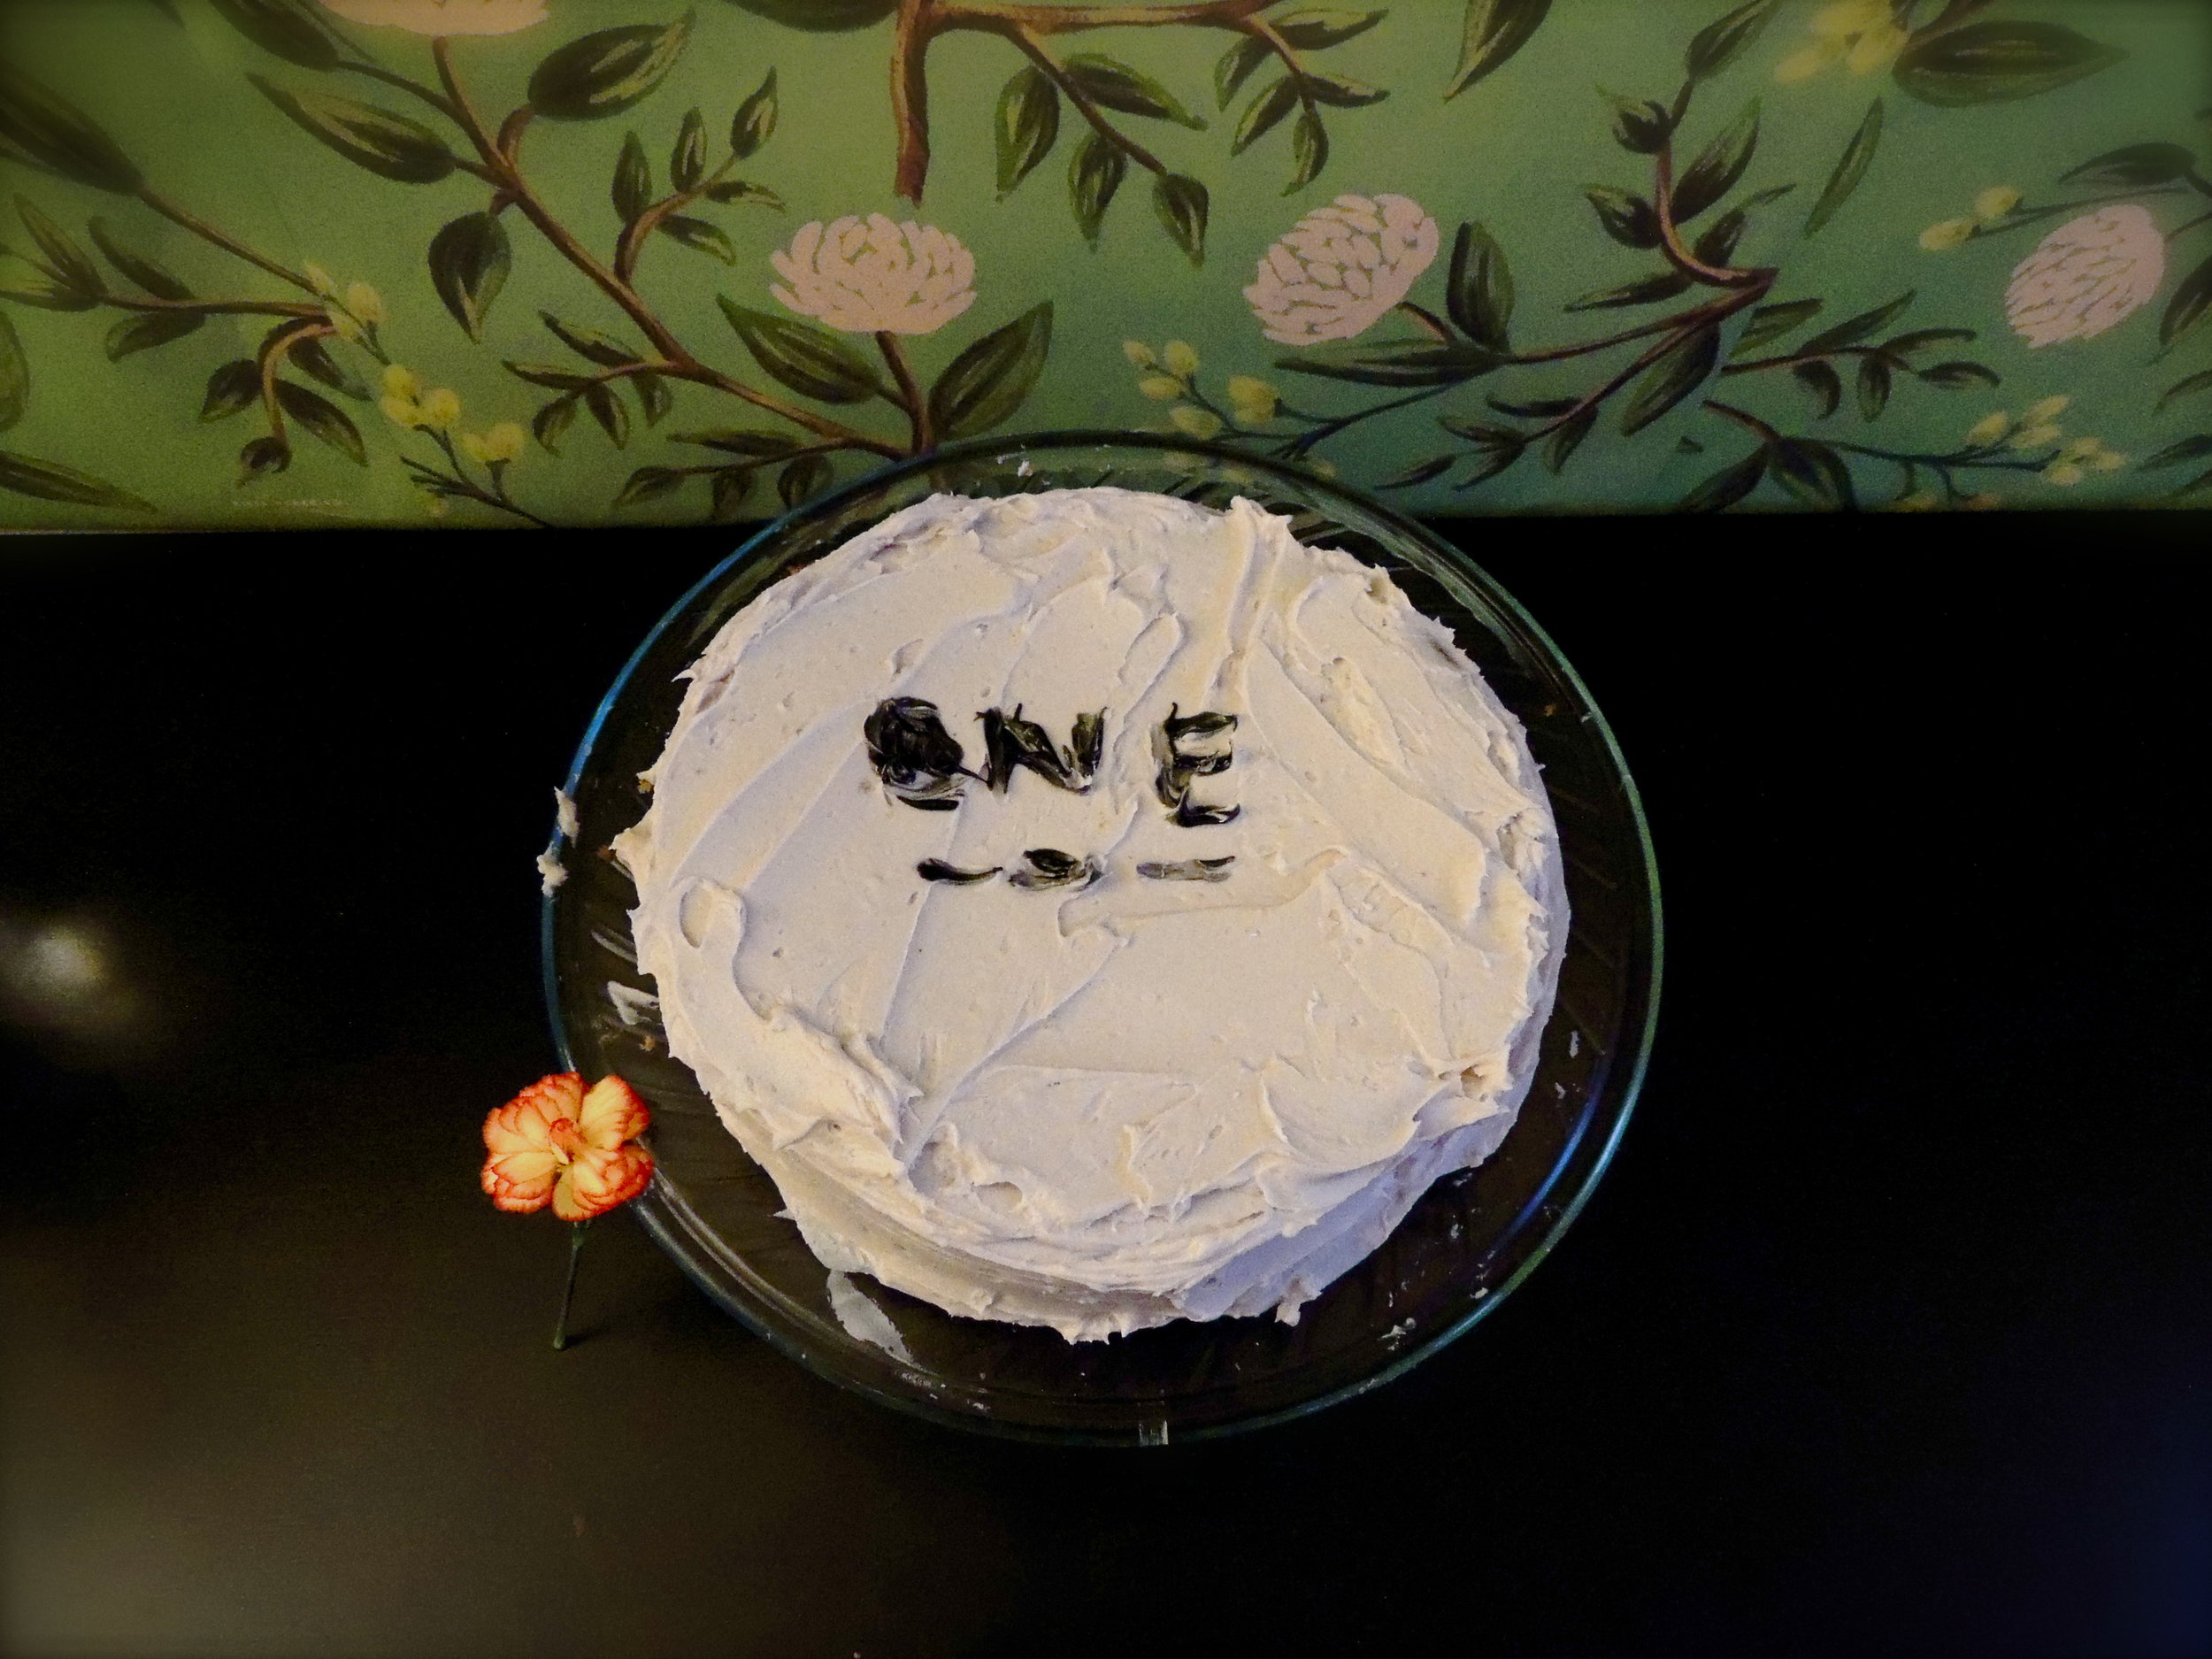
In case you can't tell (icing gel from Betty Crocker is THE. WORST. I had these neat designs in mind for the cake, but couldn't snip the top off the tube like it suggested. After probably a good five minutes of snipping that top, I got a little frustrated and cut off the entire bottom, then filled a squeeze bottle we have for icing. There wasn't enough gel from the tube to fill the squeeze bottle, so I had to change up everything. Bottom line: be careful buying Icing gel from Betty Crocker) I wrote "One" on my cake. This is try number one. And there will be many more tries in the future, and they'll all be documented here.

At the end of the day, I'm still learning. Baking makes me happy. It's something that I love to do, and it's gotten me a few friends along the way. But I'm still learning, and I'll continue to learn until I can't anymore. And that's what DaintyDwellings is about for me. It's about always learning, always trying to better a craft, always trying to learn more about the things I'm passionate about, always trying to build a community with bloggers trying to do the same thing. I want to be the best, so I have to learn from the best.

And I've still got a lot to learn, so keep those challenges coming.

Night, Dwellers!

singature gray


Currently Reading...

photo (33)

You guys.

YOU GUYS.

Buy this book. For real. Buy this book.

And I know it sort of seems like a nonessential kind of cookbook. And honestly, I'm sure you're probably thinking, "who loves Mac and Cheese THAT MUCH that they wrote an entire book highlighting all the various ways to make virtually the same dish?"

But I am telling you as a friend, BUY THIS BOOK AND NEVER LOOK BACK.

Do you know that this evening I made arguably the most restaurant-quality dish that I have ever made at home? Like, I'm pretty sure if I put this on a dish at Noodles and Company (any Midwesterners out there?), they would not know the difference. And at the end of the day, isn't that the ultimate goal of home cooking? You want to be able to feel like you're in a restaurant, but in the comfort of your own home, and preferably in those jammies that your parents have been telling you to throw out for years, but you just can't seem to part with. (Don't even pretend that you all don't have a set like that!)

THIS.

THIS, ladies and gentlemen, is what I made tonight, and will be enjoying tomorrow for lunch:

Mac and Cheese

CLASSIC MAC AND CHEESE WITH BACON AND SPINACH.

And after this beautiful pot of magical, cheesy deliciousness was finally finished, I toasted some panko in the oven five minutes for an extra bit of crunchiness. I personally believe that mac and cheese always needs a little extra push, and toasted bread crumbs are certainly the way to do it.

PANKO

BOTTOM LINE: BUY THE BOOK.

Buy the book, then tell me how it goes.

HAPPY BUYING/ MACARONI AND CHEESE EATING!

singature gray

Confession Time!

Hi, I'm Sydney, and I can't stop buying cookbooks.

Just Purchased:

-Mastering the Art of French Cooking

-Thoroughly Modern Milkshakes

-Tiny Food Party

-The Secret Life of Baked Goods

HELP! I can't stop! They're all just so wonderful.

My lifetime goal: Write a cookbook, host a cooking show, and become the next Julia Child. Or, at least, be the coolest mom on the block when I have kids. Who didn't frequent the house of the kid whose mother couldn't stop baking?

Exactly.

singature gray