Vanilla Almonds

photo 1 You know those special candied almonds you find at farmer's markets or fairs in the super fancy packaging that you love, but never really think you could make yourself? Well, this is the post that is going to prove that theory wrong. Six ingredients are all you need to make these addictive nuts, and I'm fairly certain you've got them in your pantry right now!

You can give these almonds as a gift, eat them between meals, or treat them as a great after dinner dessert. Whichever way you go, one thing is for certain: it is entirely impossible to eat just one. Good thing this recipe makes lots and lots of almonds!

What You'll Need:

  • 1 egg white, beaten
  • 1 teaspoon pure vanilla extract
  • 4 cups whole almonds
  • 3/4 cup sugar
  • 1/4 teaspoon salt
  • 1/2 teaspoon ground cinnamon

Preheat the oven to 300 degrees F.

Beat the egg white and vanilla extract in a large bowl. Once combined, add the almonds and stir around, making sure each almond is coated.

In another smaller bowl, combine the sugar, salt, and cinnamon. Once combined, add to the almonds and stir around.

Place almond mixture in a single layer on a greased baking sheet, or one lined with parchment paper.

Bake at 300 degrees F for about 20 minutes. Remove from oven and transfer almonds to a sheet of wax paper to cool. Once cooled enough to touch, break into clusters.

SOURCE: Kelsey's Essentials 

Mexican Wedding Cookies

DSCN0669 Holiday baking is officially in full swing and there is no one in this world happier about that than I am. There are holiday parties all over the place in the near future, and it means loads of planning, which puts me front-row-center in my happy place. To make things even sweeter, we have a beautiful, fragrant Christmas tree just waiting to be decorated, and of course, the proper way to decorate any tree is with a mouthful of cookies and ornaments in both hands.

DSCN0675

It's always best to ease into the baking season with a simple cookie that's tasty and seemingly complex enough, but takes you very little time in the kitchen to make. After all, you've got a lot of baking ahead of you, and don't want to burn yourself out with the very first batch! That's where these Mexican Wedding Cookies come in. They're simple little things, but they're packed with buttery flavor,  nutty crunch, and so much sugar. They're perfect for any time of year really, but just seem to make everything just a little brighter around Christmastime.

DSCN0676

I used almonds in my cookies, though you can get away with any nut you love, so long as you chop it up finely. No one wants to bite into a cookie with just a little too much crunch. Though if you ask my father, he'd strongly disagree. He's been pushing for weeks for a dessert with nuts, and so far, these haven't disappointed him!

DSCN0674

There is actually no such thing as too much powdered sugar with these cookies, and that is absolutely a fact. It reminds me of the gentle kiss of snow and how much a beautiful winter day can put me in a wonderful mood...you know, if I don't have to drive in it. But looking out the window with a warm cup of cocoa, impossibly cozy socks, and a stack of new cookbooks with spines that crack upon first opening, is my kind of winter's day. Put a plate of these Mexican Wedding Cookies in front of me, and we're talkin' business.


Here's What You'll Need:

  • 1 cup butter, softened
  • ½ cup powdered sugar
  • 1 teaspoon vanilla
  • 2 ¼ cups flour
  • ¼ teaspoon salt
  • ¾ cup finely chopped nuts (pecans, walnuts, or almonds)
  • Powdered sugar for rolling

Find the recipe here at Crazy for Crust!


LET THE CHRISTMAS COOKIE SEASON BEGIN.

singature gray

Making Madeleines

DSCN0668 I'm not usually one to spend money on baking pans that are only designed for one thing (save for the time I bought that donut pan...But that was different because there are hundreds of donut combinations!), but I just couldn't resist those adorable Madeleine pans any longer! How can I have a proper tea party without shell-shaped cookies? How can I pretend that I'm French without cake-y cookies with tons of powdered sugar sprinkled on the top? The Madeleine pan was an investment really, I mean, if you think about it. Kind of. Maybe?

Anyway, there is now a Madeleine pan siting in my pantry, and lots of tiny, delicious, half cake/half cookies on the table waiting for me to devour them. So, it's been a good day.

DSCN0664Besides the fact that these sophisticated little ladies (Because they're obviously girls. All that's missing, really. are mini strands of pearls.) are totally delicious, they are also surprisingly easy to make. I know that I say that so often, but it's for real this time!

DSCN0666

These special cookies are perfect for several occasions, which makes them so fun to have around. I've currently enjoyed them at breakfast time, tea time, after dinner, and a quick snack on-the-go. They're so beautifully light that they can be eaten any time with very little guilt. (Although, you should never feel guilty about dessert. It's sweet for a reason!)


Get yourself a Madeleine pan and try these!


What You'll Need:

  • 1/2 cup (1 stick) unsalted butter, melted and cooled 
  • 4 large eggs, room temperature
  • 1/4 teaspoon salt
  • 1/2 cup sugar
  • 1 teaspoon pure vanilla extract
  • 1 cup sifted all-purpose flour
  • 1/2 teaspoon baking powder

1. Preheat oven to 375 degrees. Butter and flour your Madeleine pan. Set aside.

2. In a bowl, whisk eggs, sugar, and salt together until thick (about 7 or 8 minutes). Add vanilla.

3. Using a rubber spatula, gently, but with a little speed, fold in flour. Next, quickly but gently fold in the melted butter, making sure that it fully incorporates and does not sink to the bottom.

4. Spoon mixture into the Madeleine pan quickly. Make sure that you don't fill the molds more than 3/4 full to avoid overflow. Bake until just golden; About 8-10 minutes. Gently remove from pan and transfer to a wire rack to cool. Repeat this process with the remaining batter.

5. Sprinkle powdered sugar on top to your heart's content!

SOURCE: Martha Stewart 


HAPPY THANKSGIVING WEEK!!!


singature gray

Thanksgiving Decisions (Decisions, Decisions)

DSCN0651Am I the only one who's a little stressed out about what to make for Thanksgiving? Surely, not. One of my favorite holidays is fast approaching, and I'm simply stuck in my research phase, trying to find the perfect dessert to serve. I've spent at least a week poring over dozens and dozens of recipes and food magazines and cookbooks, but there's still no clear winner. Should I make a pie? Cranberry tartlets? Keep it simple with cookies? Create an assortment? Those are just a few of the many burning Thanksgiving questions. I have a total eager-to-please, eager-to-impress personality, and despite the fact that I'm only making this dessert for my family (who will eat it anyway because it's family law to love and support everyone) I just can't seem to switch off the part of my brain that wants to go bigger, better, and completely 100% over-the-top.

And with just a little amount of time remaining before the big show (Thanksgiving Dinner, of course), I've got to start planning.

So, I ask you, all of you out there: What's on your Thanksgiving menu?

singature gray

When Chocolate Chip Cookies Just Aren't Enough

The sad news: My work chum, Kate, had her last day at the office today. The happy news: We ate like champions.

DSCN0614

When Kate told me that this week would be her last, I immediately started brainstorming the perfect going away surprise. But the more i thought about, and the more I scoured my cookbooks for the answer, the less certain I became. So I asked her: What was her favorite go-to dessert? Her answer: chocolate chip cookies. Good. Done.

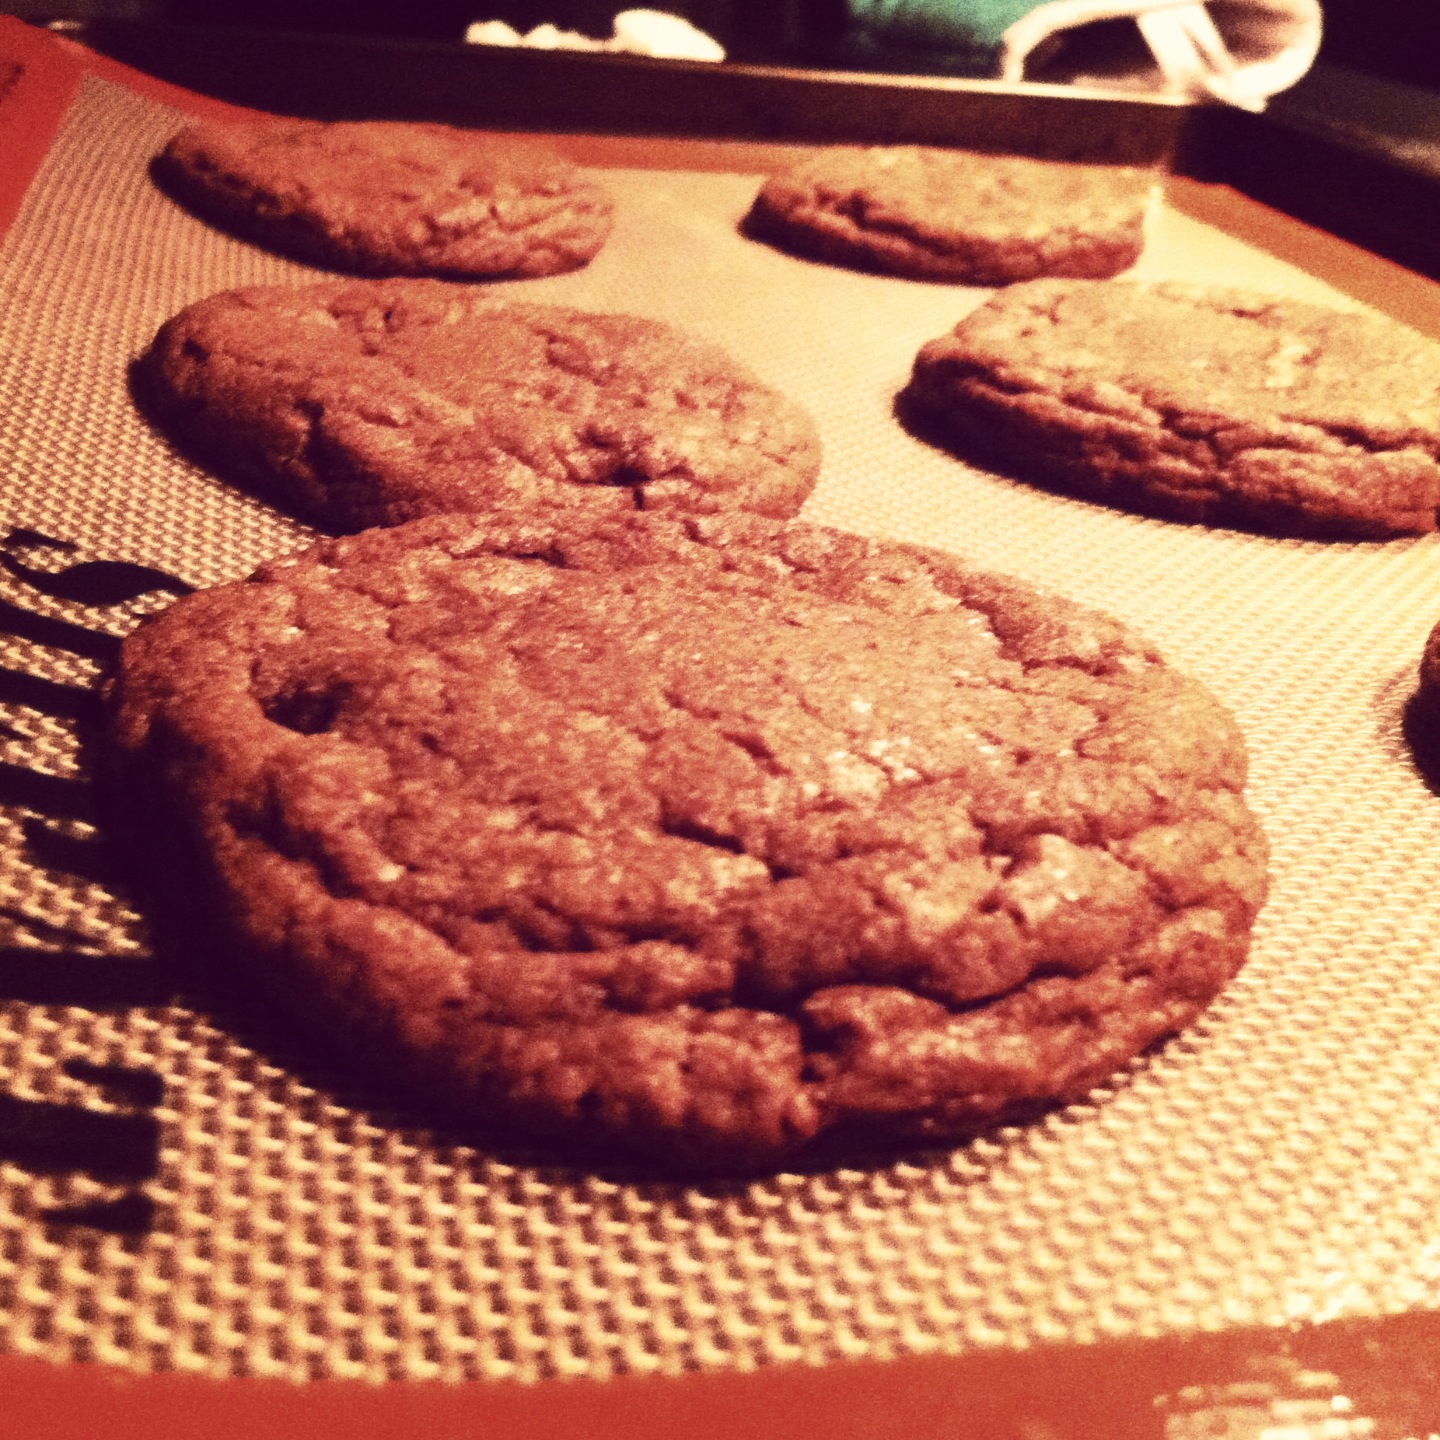
But then I thought about it: chocolate chip cookies are always amazing, and absolutely no one can tell me otherwise, but are they good for goodbyes? I guess it depends on who you ask, but for me, no way. They're the perfect treat to have in hand for hangout sessions, good for break ups, great for sick days, and perfect for when you need a quick pick-me-up. But for goodbyes, they're just not epic enough. So it was time to think outside of the box: how can I stay true to her favorite, while still taking it to the next level? Then it came to me: a chocolate chip cookie cake. 

DSCN0617

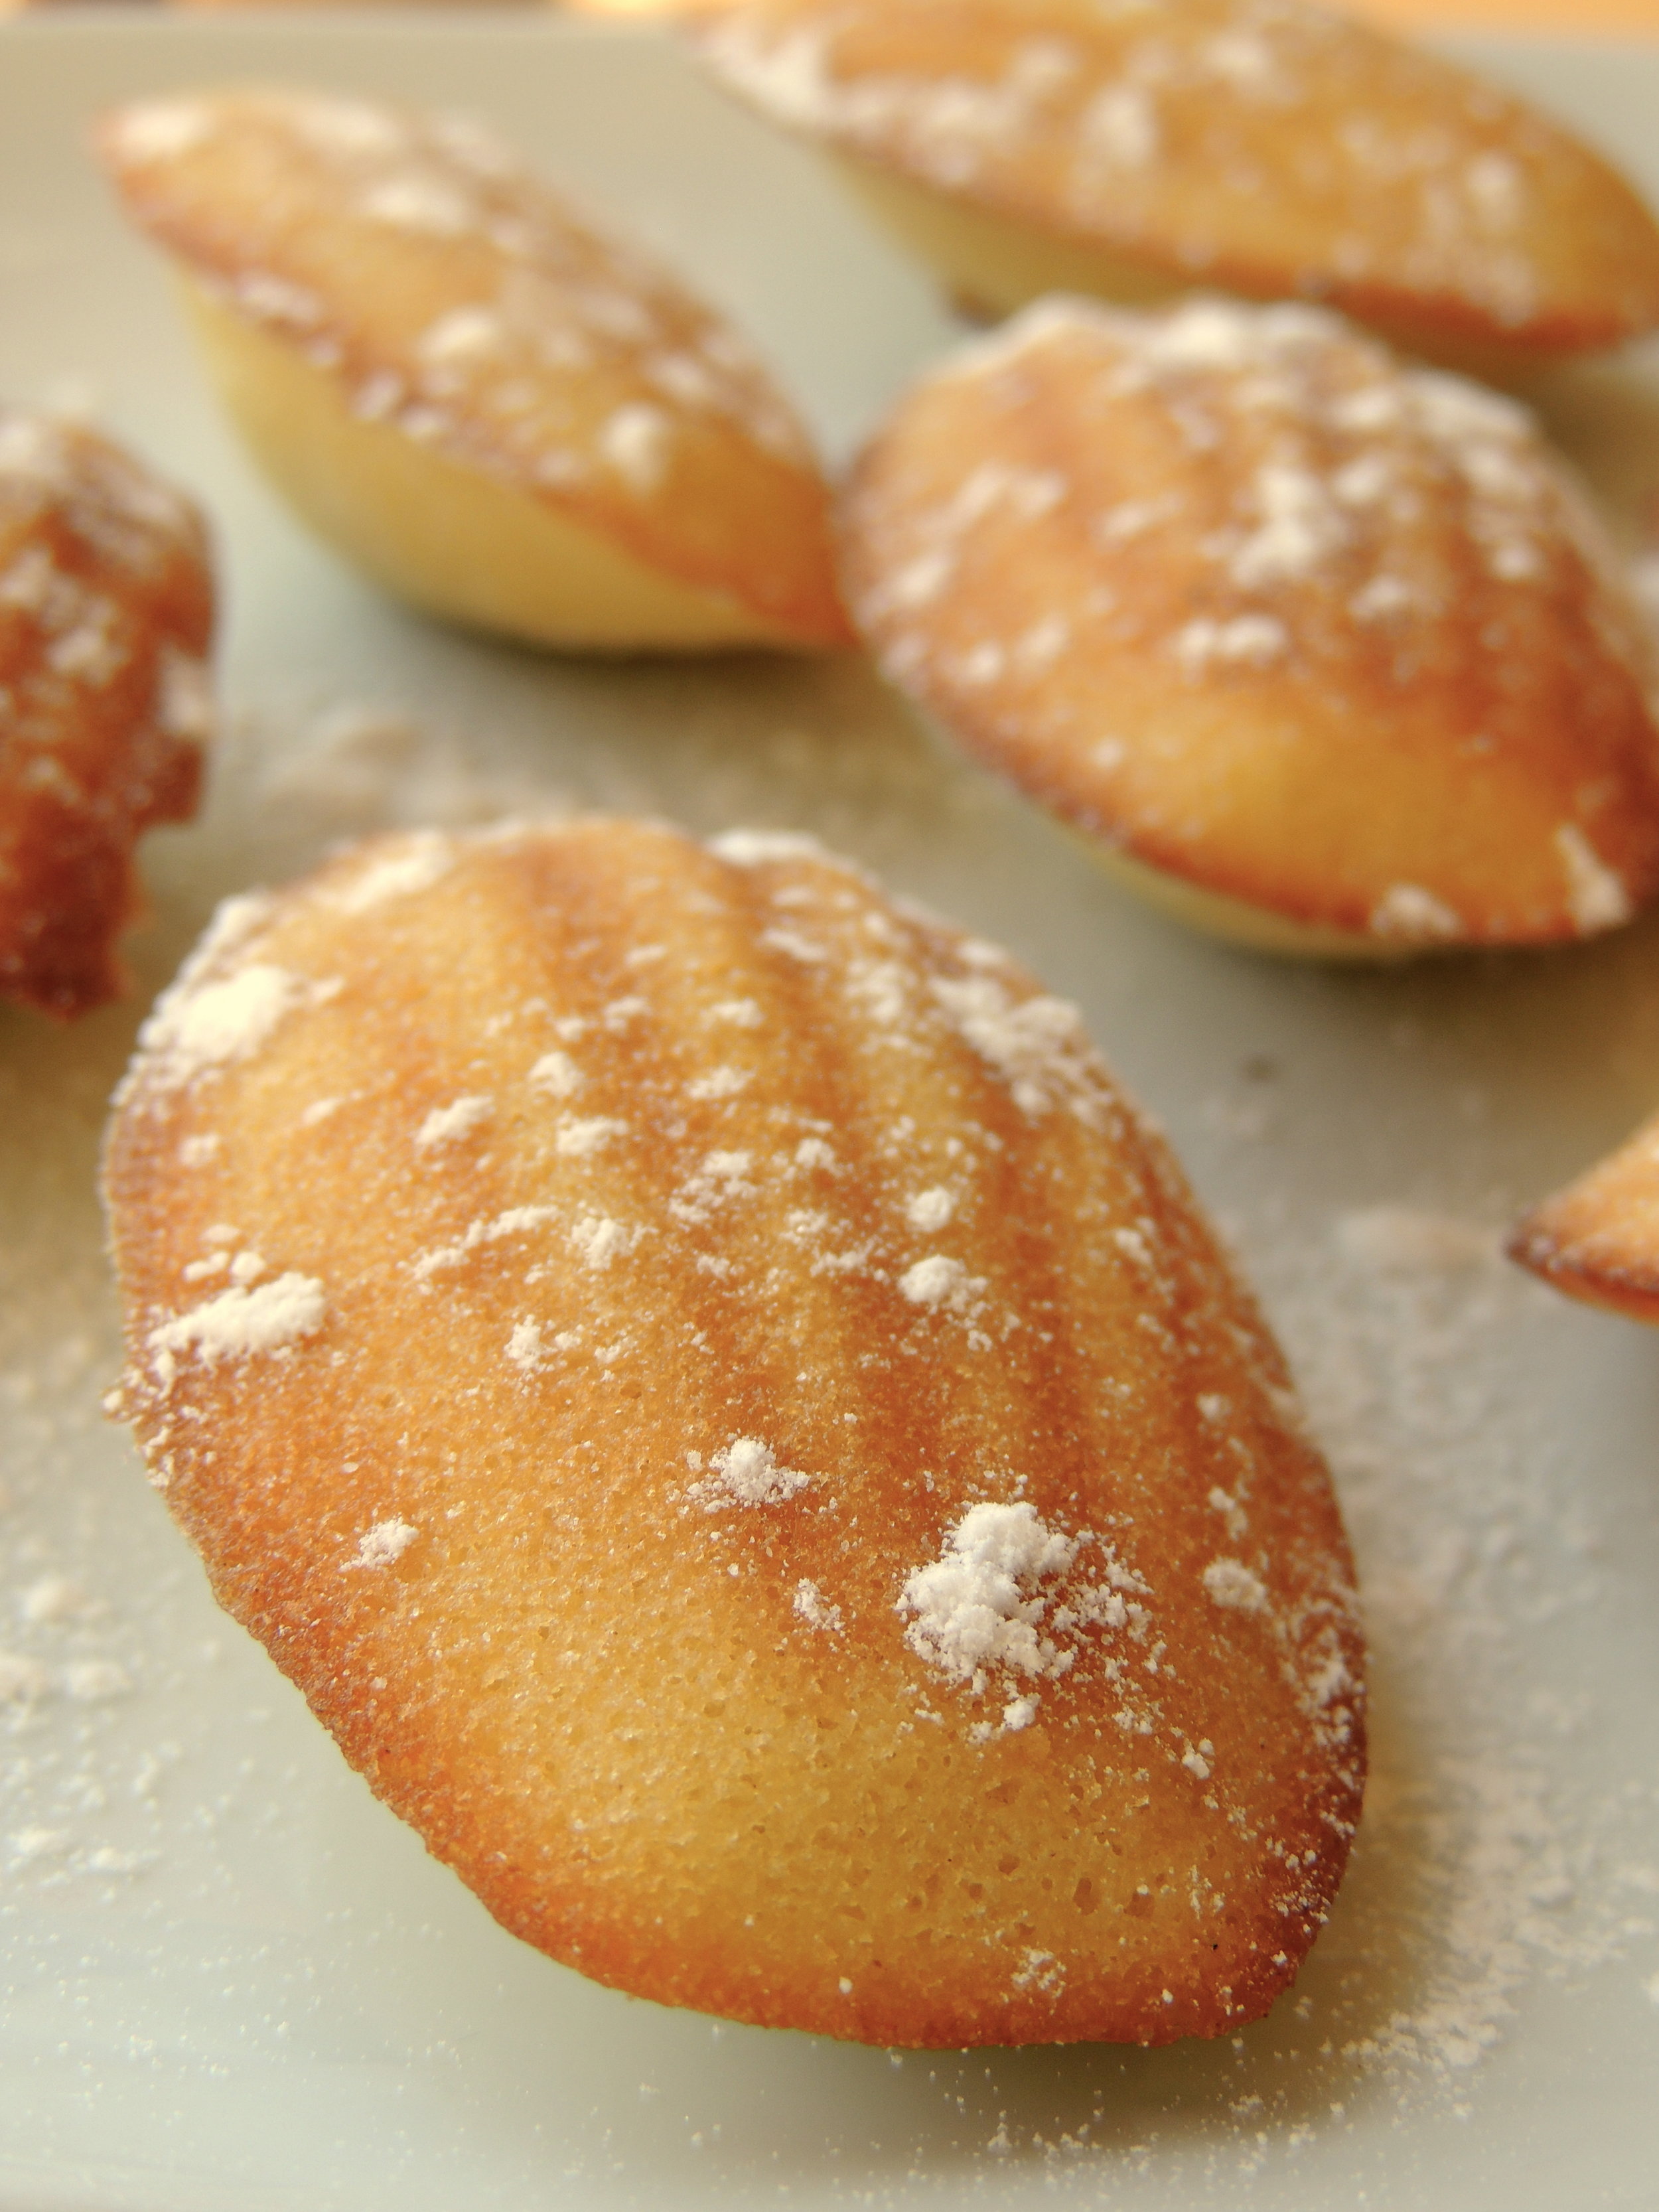
When I was little, my parents got for me one Christmas a Mrs. Fields Cookie Oven. They were just like the Easy Bake Ovens, but way better because it was like having a mall favorite right in your play room. I made tiny cookie cakes and brownies constantly, and as I set out to make Kate's cake, it took me back. What was so good about those cakes, other than the fact that they cooked like magic under a dinky light bulb, was that they always turned out gloriously under-baked. So chewy, so yummy. And now that I'm feeling all nostalgic, I wonder what happened to it...

(Note to self: scour the basement next time I'm home. I've got mini cookies to make.)

photo

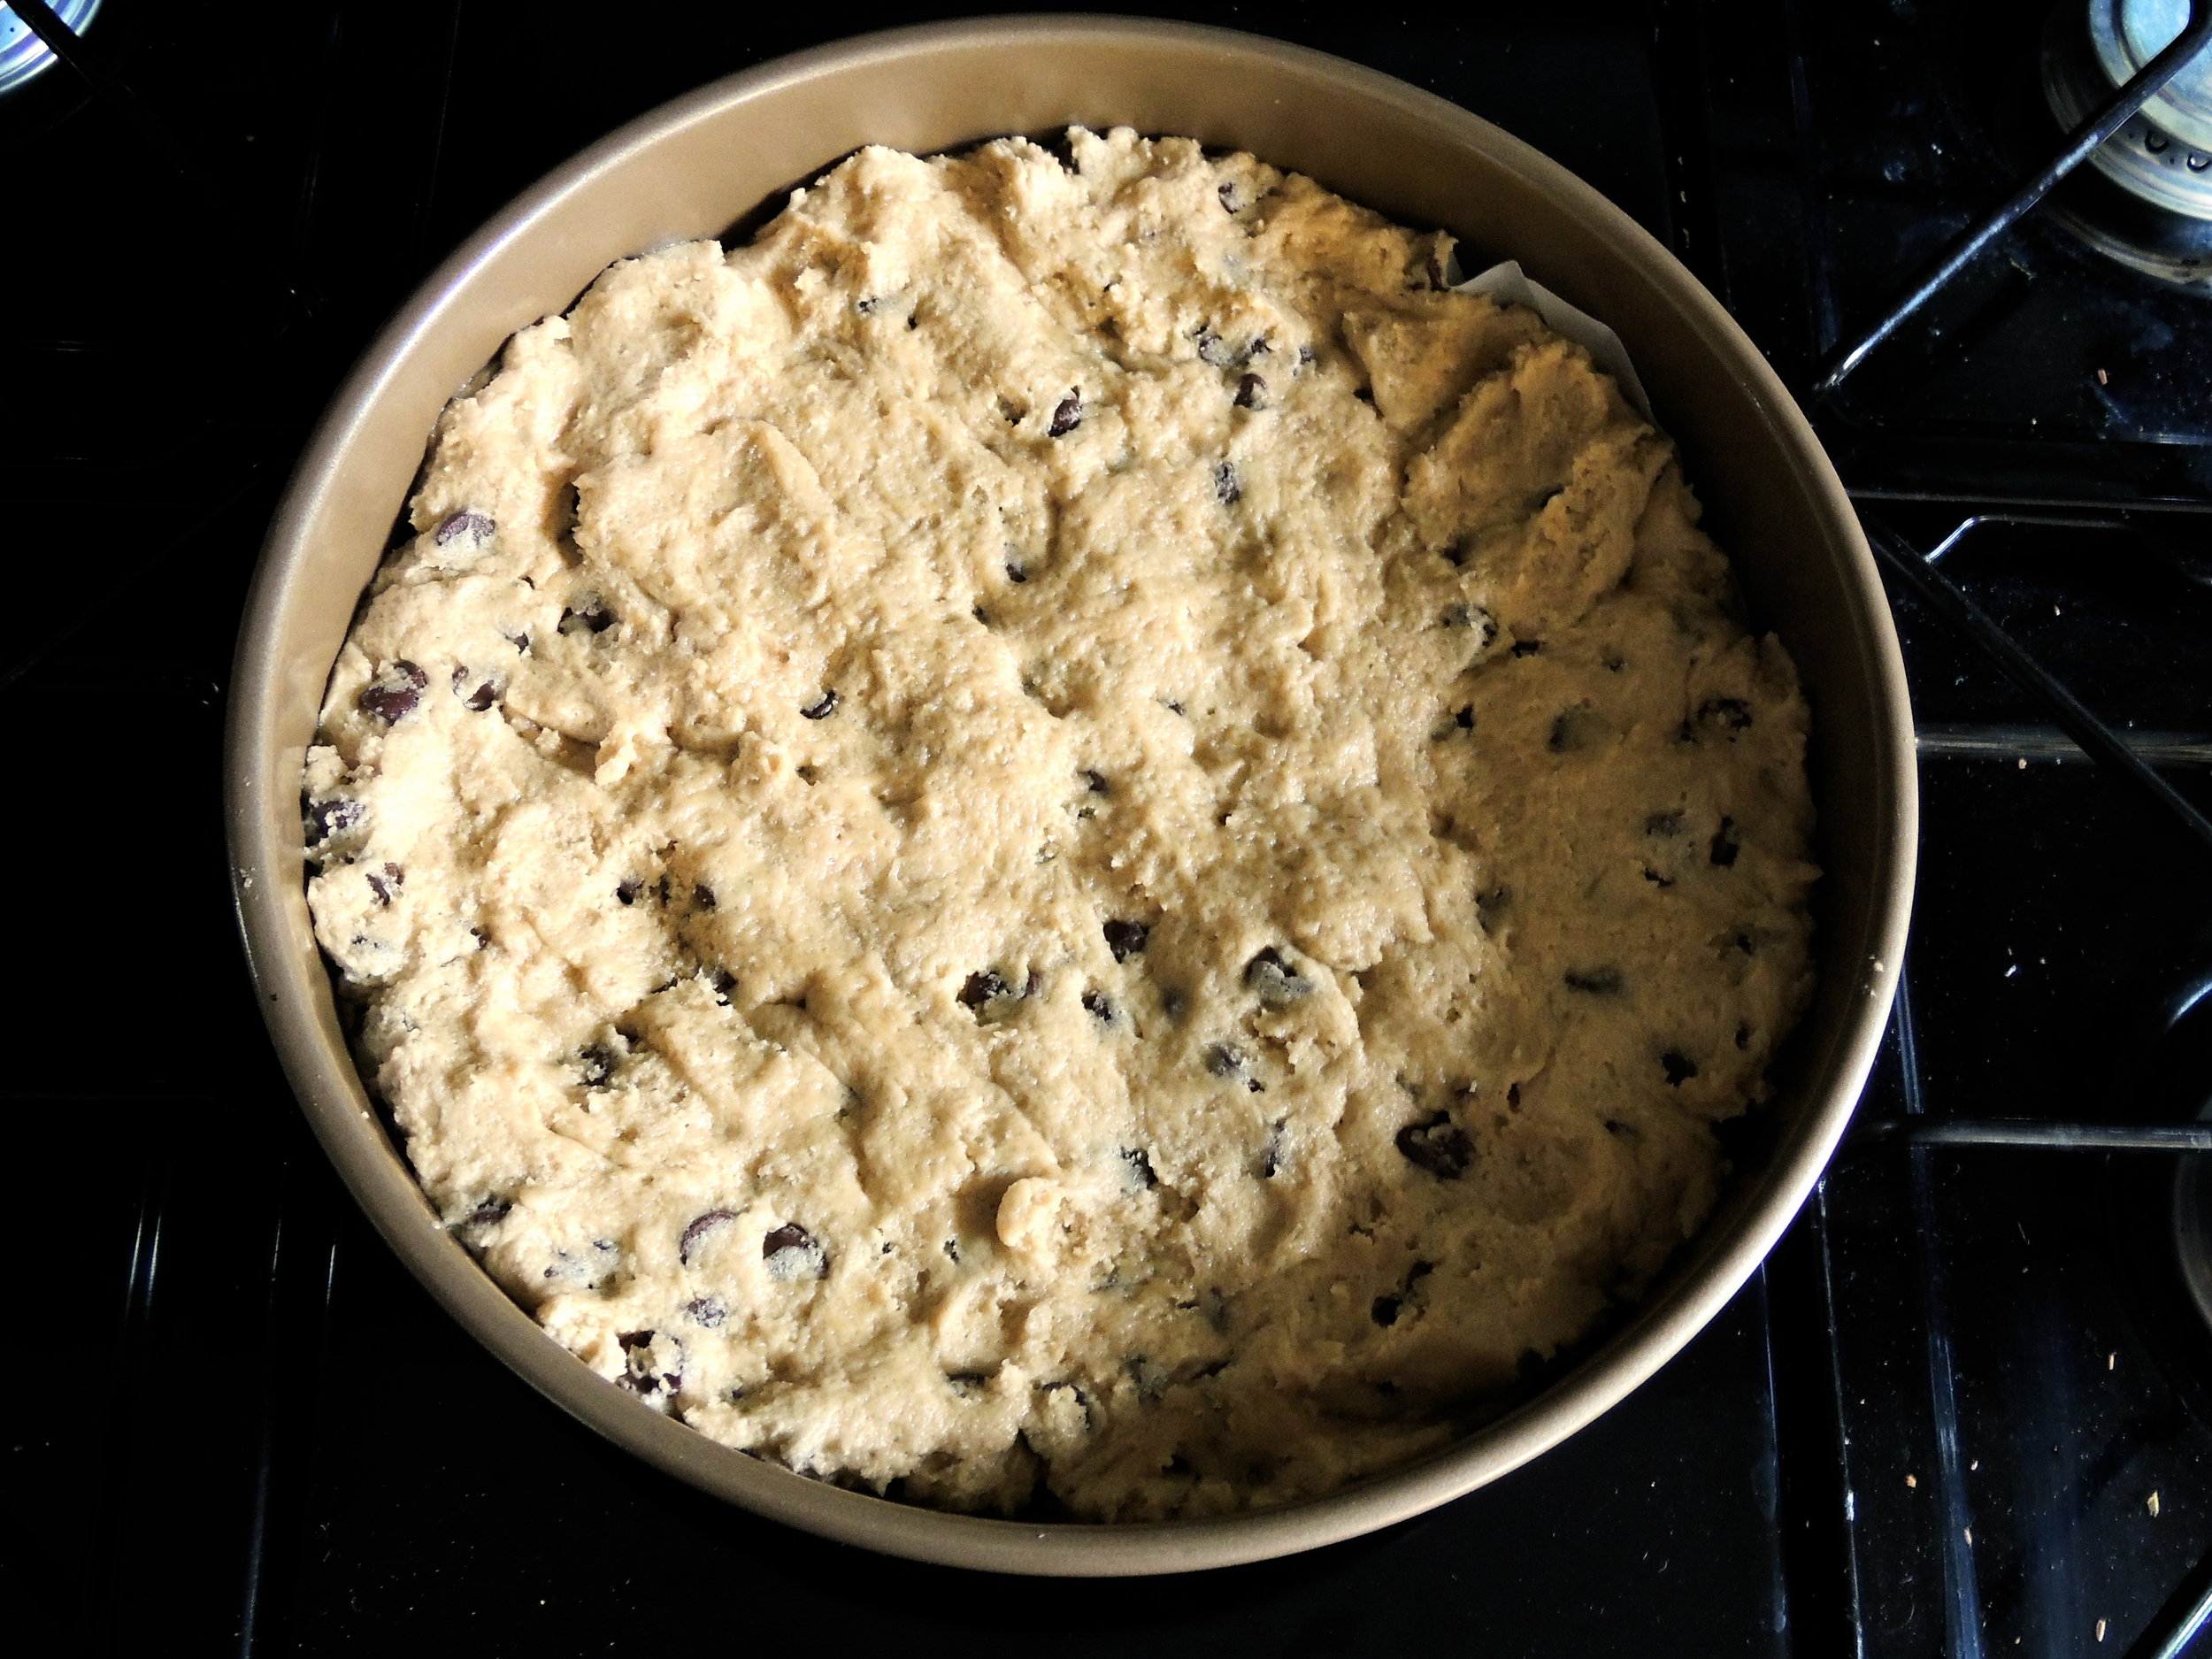
I've got a fun little story to tell you. Last night, I made two of these cakes. And it wasn't because I wanted us to have one at home. It was because I didn't exercise enough patience, and tragically broke Cake # 1.

A word to the wise: If a recipe tells you to wait until something is completely cooled before taking it out of the pan, wait until it is completely cool. In my haste to start frosting this thing, I thought that just leaving the pan on the wire rack for thirty minutes would do the trick. I was wrong. Very, very wrong. Yeah, it came out of the pan alright, but in several very large chunks. Cake #1 was hurled in pieces into both the trash and my mouth. Cake #2 went straight into the freezer as soon as it was out of the oven, and cool enough for me to handle it without an oven mitt on.

I would also like to note that this was my first successful attempt at using a pastry bag! Also, this was my first time using gel-based food coloring instead of liquid. The colors are more vibrant, you don't taste the colors, so to speak, and it just takes a few drops to get the shade you desire. Use gel food coloring. Trust me.

photo

After frosting, cover your cake and pop it in the fridge overnight. It allows the buttercream to set, and makes it taste OUT OF THIS WORLD. Seriously, the buttercream was the best part, and I saved the best part for last.

One piece of this cake, and you're done. But man, is it worth it.


I miss my work chum Kate already, but we had a forced office group hug, so I'm counting today as one of the best I've had in a while.


Chocolate Chip Cookie Cake:

What You'll Need:

  • 2¼ cups all-purpose flour
  • 3/4  teaspoon baking powder
  • 1/2 teaspoon baking soda
  • 1/2 teaspoon salt
  • 12 tablespoons unsalted butter, melted and cooled to room temperature
  • 1 cup light brown sugar
  • 1/2 cup granulated sugar
  • 1 egg  and 1 egg yolk
  • 2 teaspoons vanilla extract
  • 1 cup semisweet chocolate chips

Preheat the oven to 325F. Throughly grease a  9 inch round cake pan, then line the bottom with a piece of parchment paper cut to size. Set aside.

Whisk together the flour, baking powder, baking soda, and salt in a medium bowl. Set aside.

With an electric mixer set to medium speed, beat the butter and both sugars together until combined. Beat in the egg, then egg yolk, one at a time until combined. Then add the vanilla. Slowly add the dry ingredients and beat at a low speed until just combined. Fold in the chocolate chips using a rubber spatula.

Scoop the dough into the prepared cake pan, and use your fingers to evenly press the dough into the pan. Bake until the cake is golden, and the outer edges have started to harden; about 20-25 minutes (Watch out for cracking!) Place on a wire rack to cool COMPLETELY before removing from the pan.

Make sure to throughly wrap in plastic wrap to ensure freshness. If kept at room temperature, this can last for up to five days.


SOURCE Brown Eyed Baker


THE PERFECT BUTTERCREAM FROSTING 

What You'll Need:

  • 2 cups powdered sugar, sifted
  • 5 tablespoons unsalted butter, at room temperature
  • 2 tablespoons whole milk
  • 1/4 teaspoon vanilla extract

Beat the powdered sugar and butter together using an electric mixer on medium speed until the mixture comes together, and is throughly mixed.

With the mixer on low speed, combine the milk and vanilla extract, and slowly stream it into the butter-sugar mixture.

Once fully incorporated, turn the mixer to high speed and beat until the frosting is perfectly light and fluffy, for a minimum of five minutes. (As Joy the Baker says: "The longer the frosting is beaten, the lighter and fluffier it becomes!")

Add dyes into the frosting for the desired color, and beat until fully incorporated.


Next stop: Key Lime Pie for my work chum Brad's 25th!


HAPPY FRIDAY, MY LAMBS!

singature gray

When You're Having a Dinner Party...

photoIt would be wrong of me to ignore the hospitality gene that has been passed down to me from my parents and grandparents. You just can't ignore the need to entertain forever, and I've just decided to give in, once and for all. photo

On Saturday night, Anna made the trek all the way across town to my apartment, for a nice, gluten-free gourmet dinner! To spruce the place up, I stopped by Kabloom in Coolidge Corner for some gorgeous, vibrant carnations. (And Anna brought some GORGEOUS pinkish, purplish tulips that are thriving nicely.)  Since I'm big on black and white dish and tableware, I like to add eye-catching pops of color to the table any way I can.

photoOn the menu? California-style BLTs, with a little twist. Instead of bacon, I used proscuitto. I added avocado. AND, for the piece de resistance, I added basil mayonnaise. Believe me when I say, basil mayonnaise can take any good sandwich to an entirely different level.

photo

Side note: shout out to Crate and Barrel for the super cute plates! I paid $5.95 for each, but it looks like I paid much, much more! (When is it appropriate to call myself a Bargain Princess?)

photo

And for dessert? Flourless Chocolate Cake, with a generous dollop of buttercream frosting in the center.

So...I feel like no matter what I write, it actually won't do this cake proper justice. Never in my life have I made something so decadent, so rich, and yet so pleasantly light and airy. With every spoonful you get that sweet choclately taste, which is complimented by the slightly salted, very creamy buttercream frosting. It's like eating a fudgey brownie, but one that's made from chocolate clouds. I may or may not have had one for lunch today. (I did.)

Summertime means more free time, more of my favorite foods, and more dishes to be made and served. BRING ON THE WARM WEATHER THAT BRINGS ME AND MY FRIENDS TOGETHER.

You HAVE to try this basil mayonnaise recipe from The Kitchn, and of course, the Flourless Chocolate Cake from What's Gaby Cooking. But not in that order...unless that's the kind of food combining you're into.


Happy Tuesday!


singature gray

Ladies' Brunch!

  photo

I'd been itching to have a party for a while, so when my friend Grace mentioned an article she'd seen solely devoted to french toast recipes, I knew that a Ladies' Brunch was definitely in order.

As much as I love cooking and baking, I almost never do it for myself. Cooking for one can be a little depressing, so when given the chance to cook for others, I dive head first. All the bases were covered: a cheese plate, (a chalkboard plate I got on sale at Crate and Barrel!) a Florentine Fritata (I got the recipe from Breakfast for Dinner),  delicious and crispy brioche french toast with baked berries and maple syrup (curtesy of Grace!), and last but certainly not least, fresh and giggle-inducing grapefruit mimosas! At my house, you go big with brunch, or you go home.

photo

A good brunch always needs fresh flowers. It brightens up any room, and reminds you that Spring has sprung, and you must embrace it.

photo


Trader Joe's actually has a great selection of cheeses from all over the place, for excellent prices. My local grocery store was trying to charge me almost double, for less product. I don't think so!

photoIt took me 20 minutes to make the mimosas, and I had the best time doing it. Cutting up those grapefruits made the house smell so wonderfully citrusy.


photo

I thank my lucky stars everyday that I decided to keep the champagne glasses I impulse bought at Goodwill last year. I hardly ever use them, but when the time comes, these beauties come in absolute handy.

photo

I've caught the entertaining bug, and I'm thinking a nice, classic dinner party is next!


Grapefruit Mimosas

What You'll Need:

1 750 ml bottle of Prosecco, chilled

4 large grapefruits (should make 3-3.5 cups of grapefruit juice)

Optional Sweetener or Simple Syrup


1. Fill a large pitcher with your freshly squeezed and chilled grapefruit juice, then add the prosecco. (Make sure your pitcher is big enough to handle both the juice, and the contents of the bottle, plus the foam. The foam is what ties it all together!)

2. Add sweetener to taste. (I added a couple spoonfuls of granulated sugar)


Yields about six servings

Source: Jason and Shawnda


If loving brunch is wrong, then I just don't want to be right.

singature gray


Salted Brown Butter Rice Krispie Treats

DSCN0585 I spend a lot of time looking up really complicated recipes, because I want to challenge myself. But lately, I haven't felt like doing really involved recipes. Maybe it's because  the single-digit temperatures have left me craving comfort over complication. Or maybe, I just have too much cereal in the house.

It's been two weeks since I've made anything for my work chums, which means it's been two weeks since I've practiced my baking. Life has kept me a little busy, and by the time I get a free moment, it's time for bed. But honestly, when you're really passionate about something, you'll find the time. So I carved a few hours out to get myself back into the swing of things. And what better way to get more practice in, than with yummy, crunchy rice krispie treats? But oh no, not just those standard treats you find the recipe for on the back of the cereal box, no. Salted Brown Butter Rice Krispie Treats are a much-needed twist on an old classic. They're like your cool first cousins from Chicago with the same last name as you, but they're way more popular, even with your group of friends.

What's great about these is that the taste is not different, but rather enhanced. Brown butter is a sneakily powerful ingredient. Sure, it's the same as butter, but with a slight twist that takes something basic, and gives it the depth that it's always deserved. And to top that all off, sea salt helps to bring the flavors out even more. If you're a sweet and salty type of person, then this is for you. I will not tell you how many I've had for fear that your jaw will fly open and never close. I'm just glad I have hungry co-workers, because the few that I saved for the house, did not last in the house for very long.

What You'll Need:

  • 1 stick unsalted butter
  • 1 8-inch square cake pan
  • 1 10 ounce bag of marshmallows
  • 1/4 teaspoon coarse sea salt (plus more for sprinkling!!)
  • 6 cups of Rice Krispie cereal (buy on 12 oz box)

Butter (or coat with cooking spray) the bottom and sides of the cake pan. Lay a piece of wax or parchment paper on top, making sure that it properly sticks to the corners and edges.

In  a large pot, melt the butter over medium-high heat. It will melt, then start to foam, and crackle. Once the crackling has subsided, the butter will start to turn a golden color. After a few moments, your butter will start to brown, and should give off a wonderful, nutty aroma. Stir frequently, scraping up any brown bits that are hanging out at the bottom. Do not leave your butter unattended. Brown butter will turn to burned butter in very little time. And no one likes burned butter.

As soon as the butter takes on a nutty color, turn the heat off and stir in the marshmallows. The residual heat from the melted butter should be enough to melt them, but if it is not, turn it back on low until the marshmallows are smooth.

Remove the pot from the stove and stir in the salt and cereal together. Quickly spread into prepared pan. If you're like me, you love the salty-sweet contrast. Evenly sprinkle on as much extra sea salt as you please.

Let cool, then cut into squares, or whatever shape you're feelin'.

SOURCE: Smitten Kitchen 

HAPPY BAKING!

singature gray

My Weekend in Pictures

  photo-3On Friday, my co-worker brought in his cousin's dog to visit because he knew how much it would make my day. His name is Monty, and he's just the sweetest. As soon as I got into work, I was greeted with a nice hug, and an invitation to play a never-ending game of fetch where Monty pretends that he'll give you the ball to throw, but when you reach for it, he slyly pulls away. Monty decides when you throw the ball, not you. At any rate, we had such a blast. He's what's called a Springville Labrodoodle who, despite his size, sat in my lap, cradled like a baby, and now I totally want one.

IMG_1414

On Saturday, I decided that it was finally time to take my roommate, Sophie, to my absolute favorite bookstore in the city: Brookline Booksmith. It's an independently owned shop right in the heart of Coolidge Corner that's been around forever, and is the place where I've met both Jim Gaffigan and John Krasinski. I have never left this place without buying something.I think it's because of the sheer whimsy and quirk of the place that makes you feel right at home. There's also a very impressively stocked used book cellar with amazing bargains. I picked up a used copy of Julie and Julia, (the movie is one of my favorites, so it's about time that I picked up the book) and a brand new copy of Food in Jars, because I really want to start canning! I'm starting small with a batch of vanilla extract, then working my way up. I am TOO AMPED to dive into this book.

I should really visit Brookline Booksmith more often. Seriously guys, if you can shop small, do it. Support your local businesses!photo-5It's funny, I live all the way across the city now, and yet I still very regularly find myself back in Allston. Part of that is because my close friends have remained, and another part is The Avenue. And more specifically: The Avenue Burger. Just picture it: Buttery, toasted bun, perfectly seasoned beef patty, melted swiss cheese, and the tangy deliciousness of the famous "Secret Sauce." I have been trying for months to figure it out, but no such luck. It's really no matter, I'll just have to keep coming back until i do. Also worth noting: Sweet Potato Tots with Maple Bacon Ketchup.

The Avenue is the perfect neighborhood bar, and one that's quiet enough during the day to keep me coming back. They have a TON of amazing beers and ciders on tap, and the waitstaff has always been nothing but friendly. Plus, if you're a sports fan, there's almost a TV for every table, give or take. If you find yourself on Harvard Avenue, find yourself at The Avenue. Burgers are only $1 on Mondays!

photo-4I'm feeling really inspired lately, so I've channeled that into my baking. I'm currently working on a double chocolate cookie recipe of my own, and I found myself diligently working on this Saturday night. I'm almost there, guys!


What did you do this weekend?

singature gray


I Heart Valentine's Day Cookies

DSCN0563I only really like Valentine's Day for the food, so let's get that out of the way now. This year, I decided to make a special surprise for my work chums, to show how much I love that they eat all the food I bring them. Super soft sugar cookies with a thick coating of buttercream frosting should do the trick!

DSCN0573I went to the store a few days ago to get the last of the ingredients for these cookies, and as I went to pick up some sprinkles, I stopped myself. I wanted these cookies to be 100% from scratch, which meant either making the sprinkles myself, or dying a second batch of buttercream, and frosting little designs. But when it came time to actually make the sprinkles, I realized that it might be a little too time-consuming for this go-around. But THEN I was left in a panic because Boston decided to have another snowstorm, and there was no way I was going to trudge in the snow to the market for one tiny package of red sprinkles. Luckily, I found not one, but TWO packages of sprinkles and Red Hots in the back of the cupboard, still good to eat. (I knew there was a reason that I save everything.) Thank goodness, because tan sugar cookies with boring white buttercream wouldn't exactly get everyone sprinting to the cookie tin.

There are a couple of things to note about these cookies. One, make sure you let that buttercream set for a while before you try to transfer these onto a plate, or into the travel carrier. Two, when baking, use your own discretion for the baking time. I have a gas oven, which cooks things much faster. For the first batch, I left them in for the suggested time of seven minutes, and the bottoms and edges were way too brown! I cut it down to five minutes, and even that was cutting it close. Also, make sure you roll out the dough as thin as you can, because these things puff up so much! They can't be tamed, these sugar cookies.

These Lofthouse style cookies are even better the next day, which is a relief, because I was worried that they would lose their pizazz. Although, nothing bad can ever really happen when there's buttercream frosting involved, am I right about it?

Super Soft Lofthouse Style Sugar Cookies

For the Cookies: 6 cups all-purpose flour 1 teaspoon baking soda 1 teaspoon baking powder ½ teaspoon salt 1 cup unsalted butter, at room temperature 2 cups granulated sugar 3 large eggs 2 teaspoons vanilla extract 1½ cups sour cream

For the Buttercream Frosting: 1 cup unsalted butter, room temperature 1 teaspoon vanilla extract 4 cups powdered sugar Pinch of salt 6 tablespoons heavy cream

Food coloring, optional Sprinkles, optional

Directions:

1. In a large bowl whisk together the flour, baking soda, baking powder and salt; set aside.

2. In the bowl of a stand mixer, cream the butter and sugar together at medium speed until light and fluffy. Add the eggs, one at a time, beating until each is incorporated. Add the vanilla extract and sour cream and beat at low speed until combined.

3. Add the dry ingredients and beat at low speed until just combined, scraping down the bowl as needed. Dough will be a little sticky and that is ok. Divide dough into two sections. Flatten into rectangles about 1½ inches thick, then wrap with plastic wrap. Chill in the refrigerator overnight or for at least two hours.

4. Preheat the oven to 425 degrees F. Line large baking sheets with parchment paper or Silpats; set aside.

5. Lightly flour the countertop and the top of the dough. With a rolling pin, roll the dough out to ¼-inch thickness. Using cookie cutters, cut out the cookies and place on prepared baking sheets. Bake for 7 minutes, until cookies are slightly golden around the edges. Immediately transfer cookies to a wire rack to cool. Cook cookies completely before frosting.

6. To make the frosting, in the bowl of a stand mixer fitted with the paddle attachment, cream together the butter and vanilla extract. Slowly beat in powdered sugar and the pinch of salt. Once smooth and creamy, add in heavy cream, 1 tablespoon at a time, then beat at medium-high speed for a minute or two until light and fluffy. Add food coloring, if desired, and beat until combined.

7. Once cookies have cooled completely, frost and add sprinkles, if desired. Allow frosting to set, then store in an air-tight container.

SOURCE: Two Peas in Their Pod

HAPPY VALENTINE'S DAY!

singature gray