Egg-in-a-Hole

DSCN0660 Boy, was I in need of some quick, easy, quality cold-weather comfort food.

This is a cute little dish that I just discovered as I continue my foray into the egg world beyond scrambled. Growing up, we had scrambled eggs with a little salt,, a little pepper, and shredded cheese if you played your cards right. But now, as an adult, I've come to realize that there's a whole world beyond scrambled eggs, and I intend to find it. The fantastic news is: It takes five minutes to make.  Make it for breakfast, make it for a light lunch, or make it for a quick afternoon pick-me-up. It'll pick you up reallll good.

DSCN0655

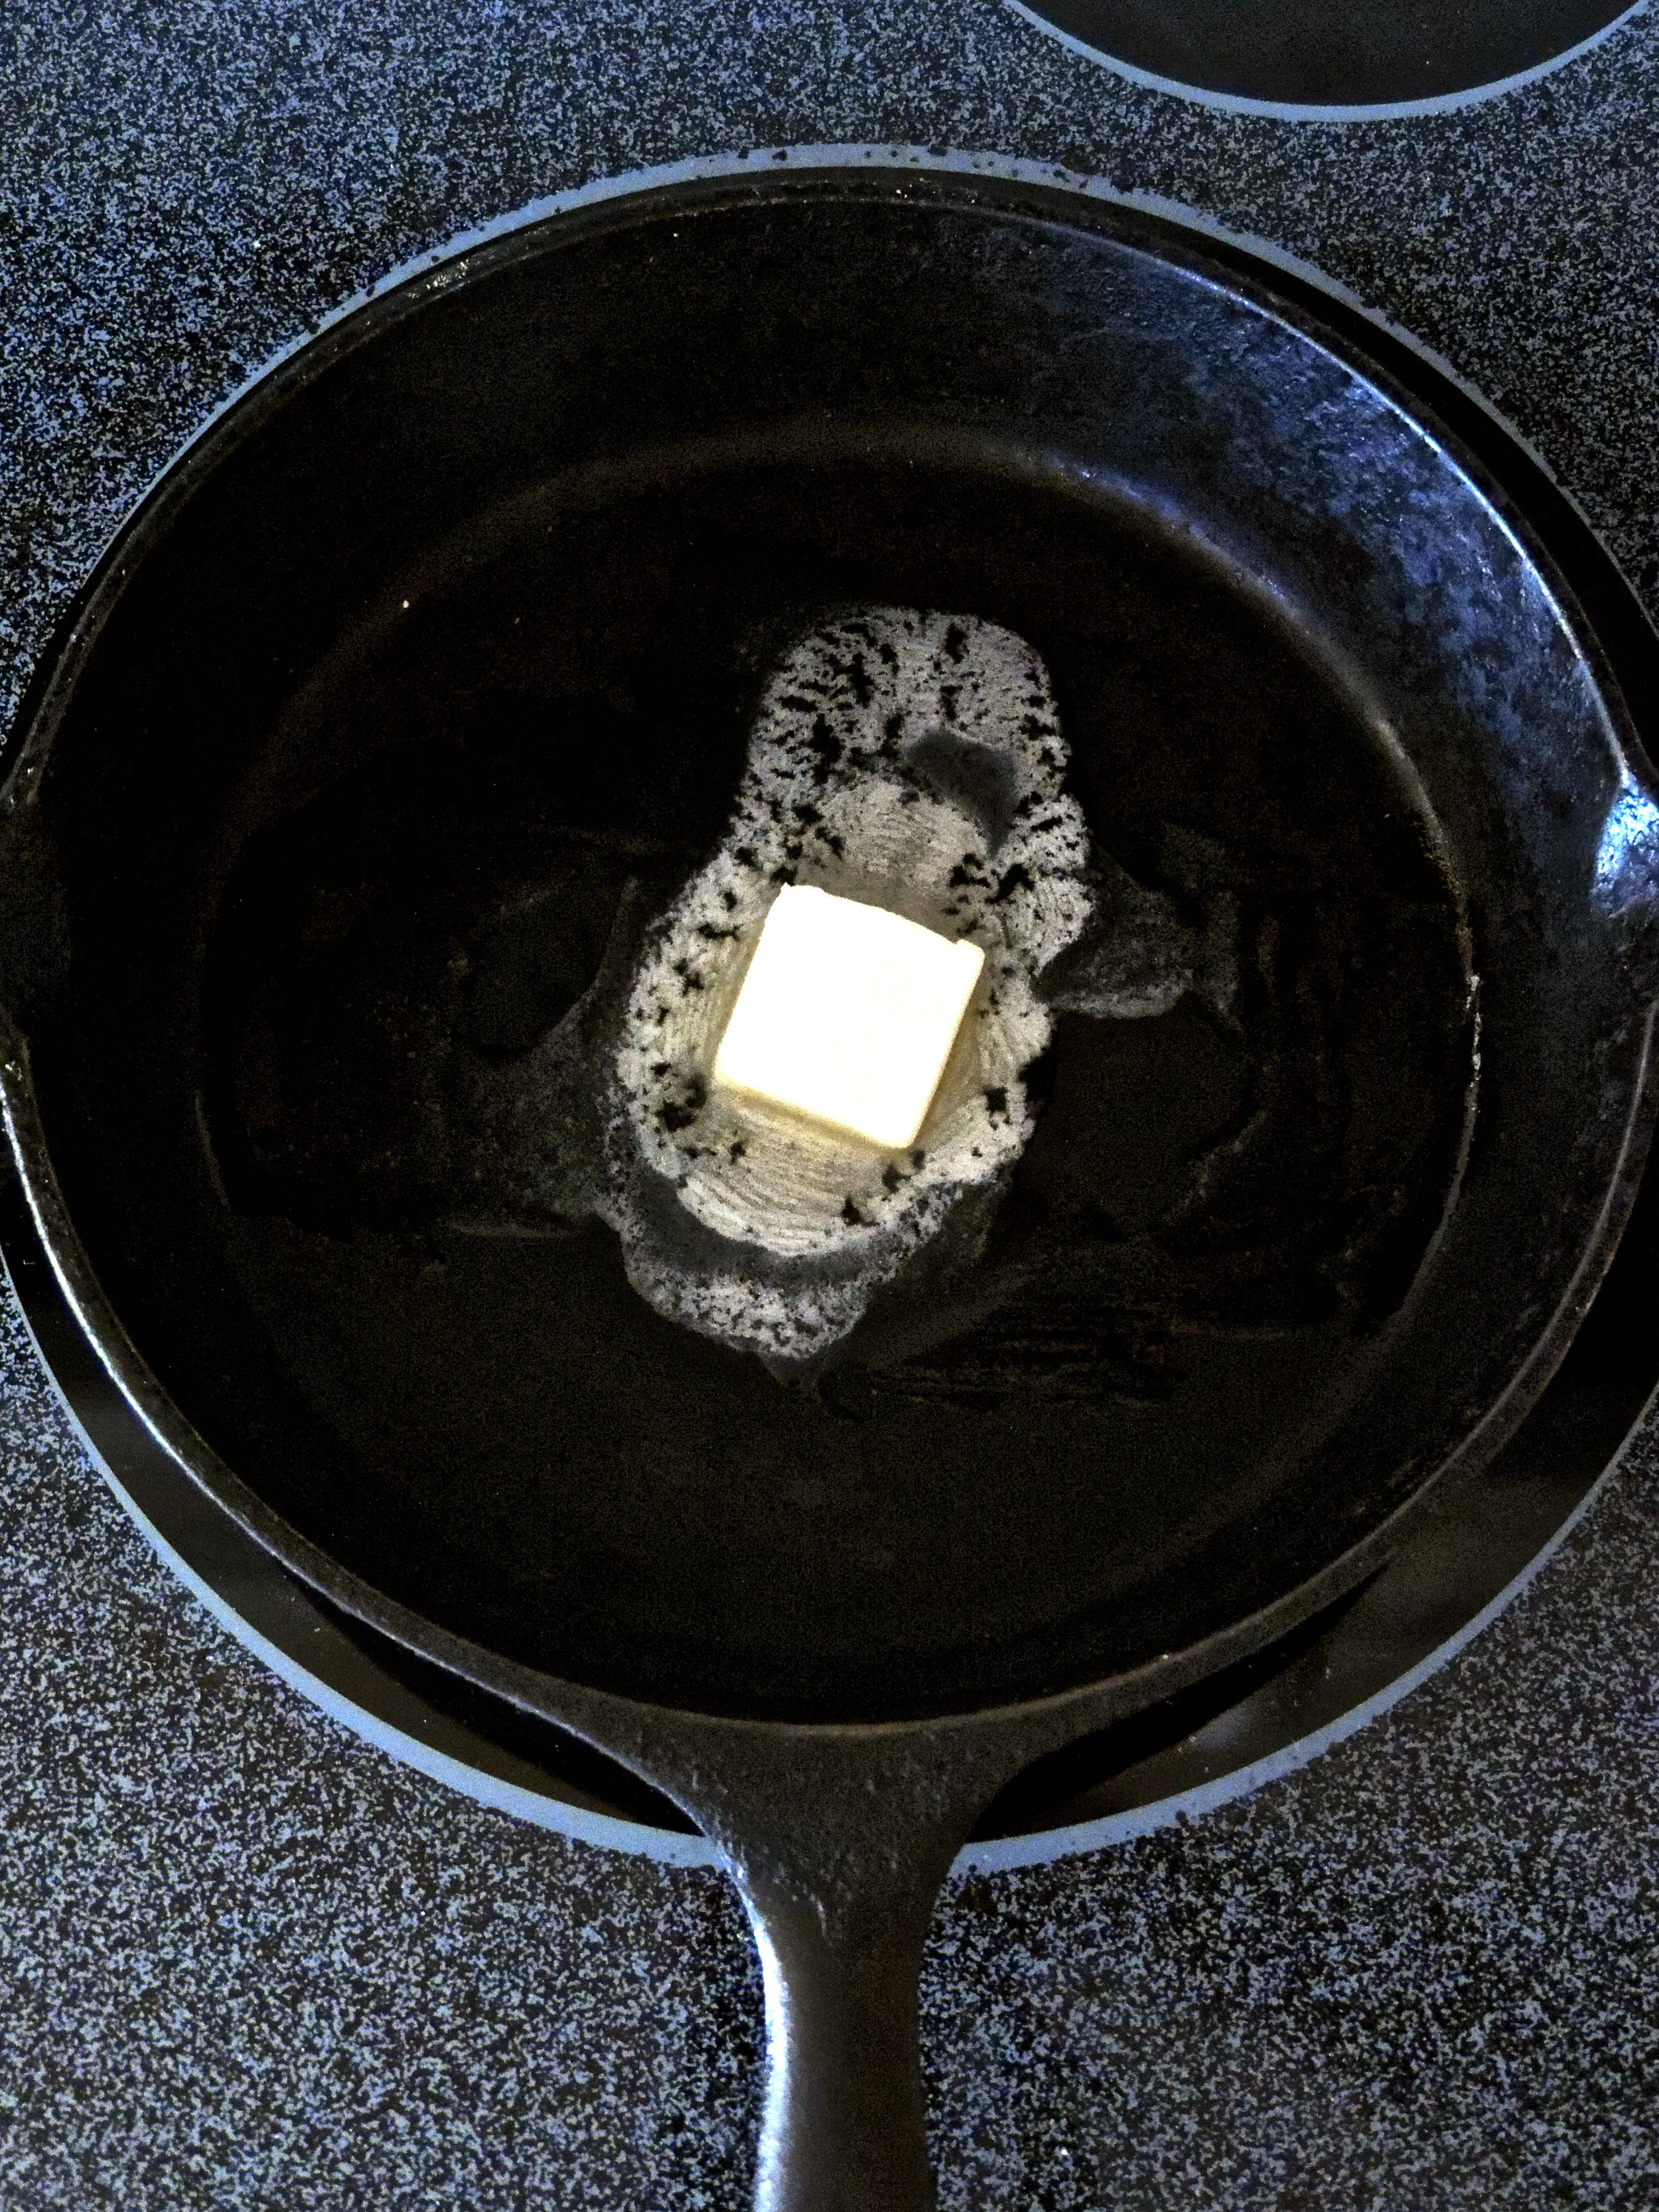
Melt about a tablespoon of butter in a skillet or frying pan. Make sure it's melted all the way and spread out before placing your bread in the pan.

DSCN0656

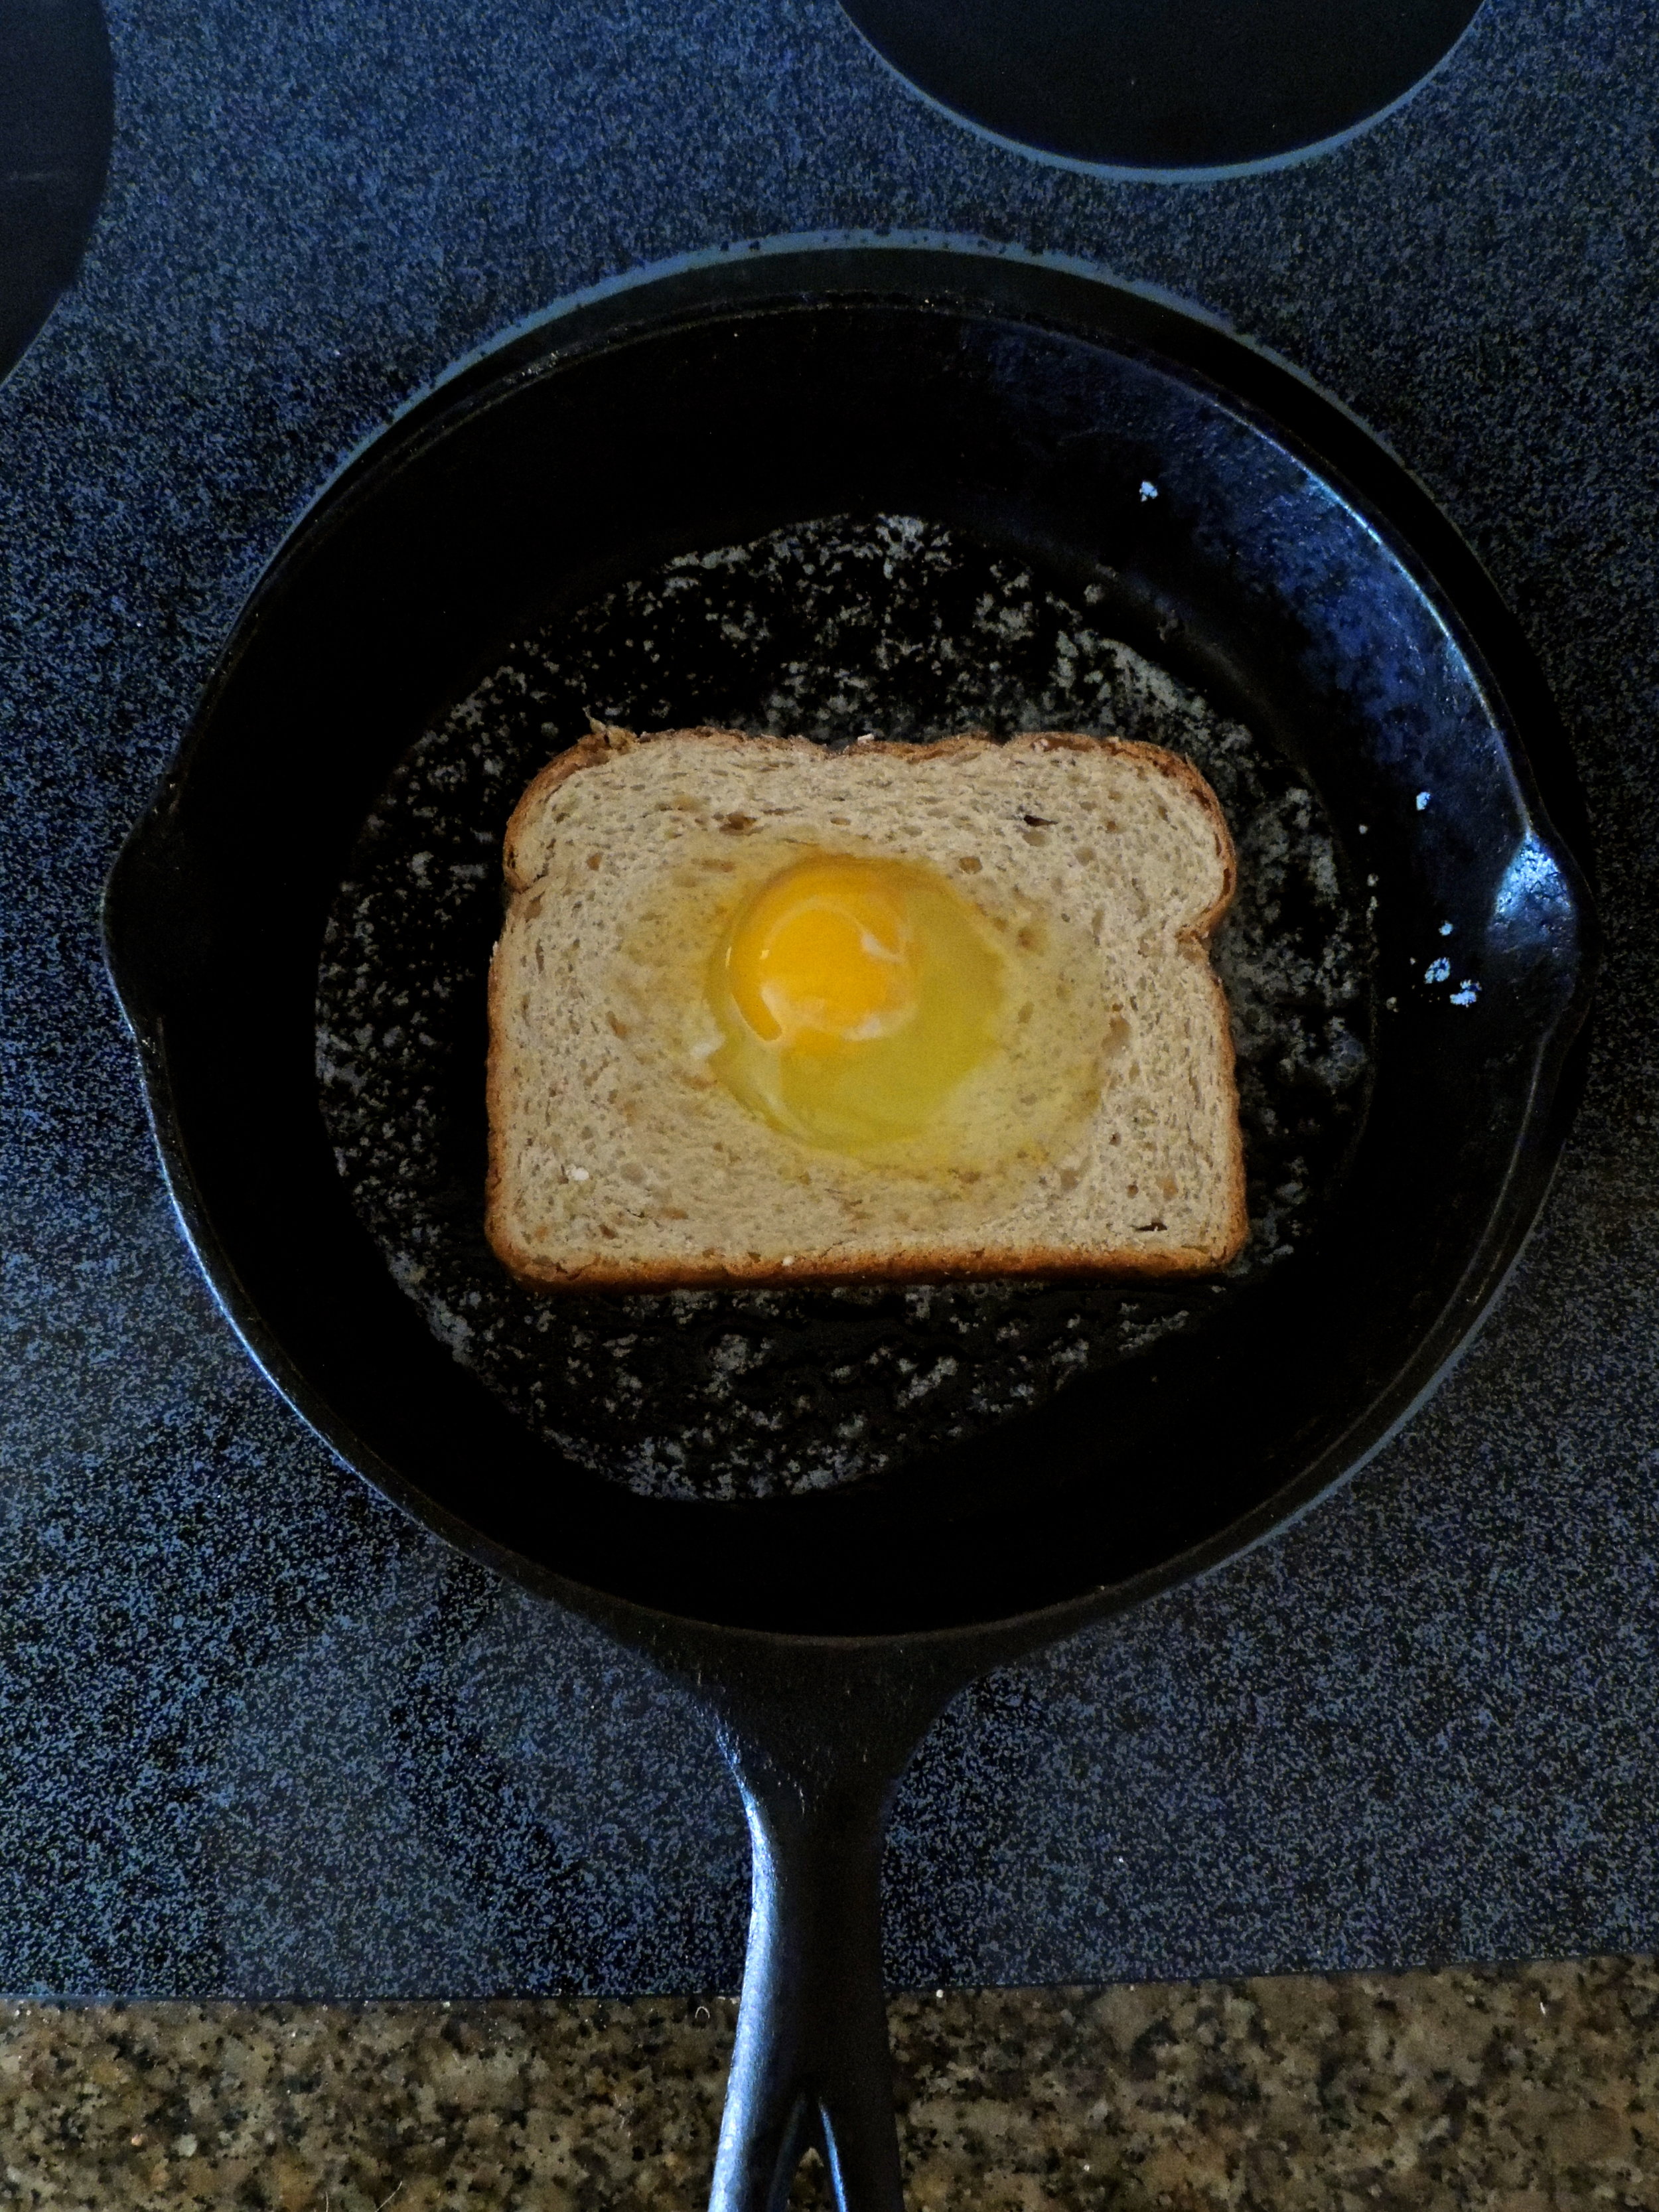
Crack one whole egg into the hole you've made in your bread using a small biscuit cutter (or a small glass). Wait 30-45 seconds before trying to move your bread. Sprinkle salt and pepper to taste.

DSCN0657

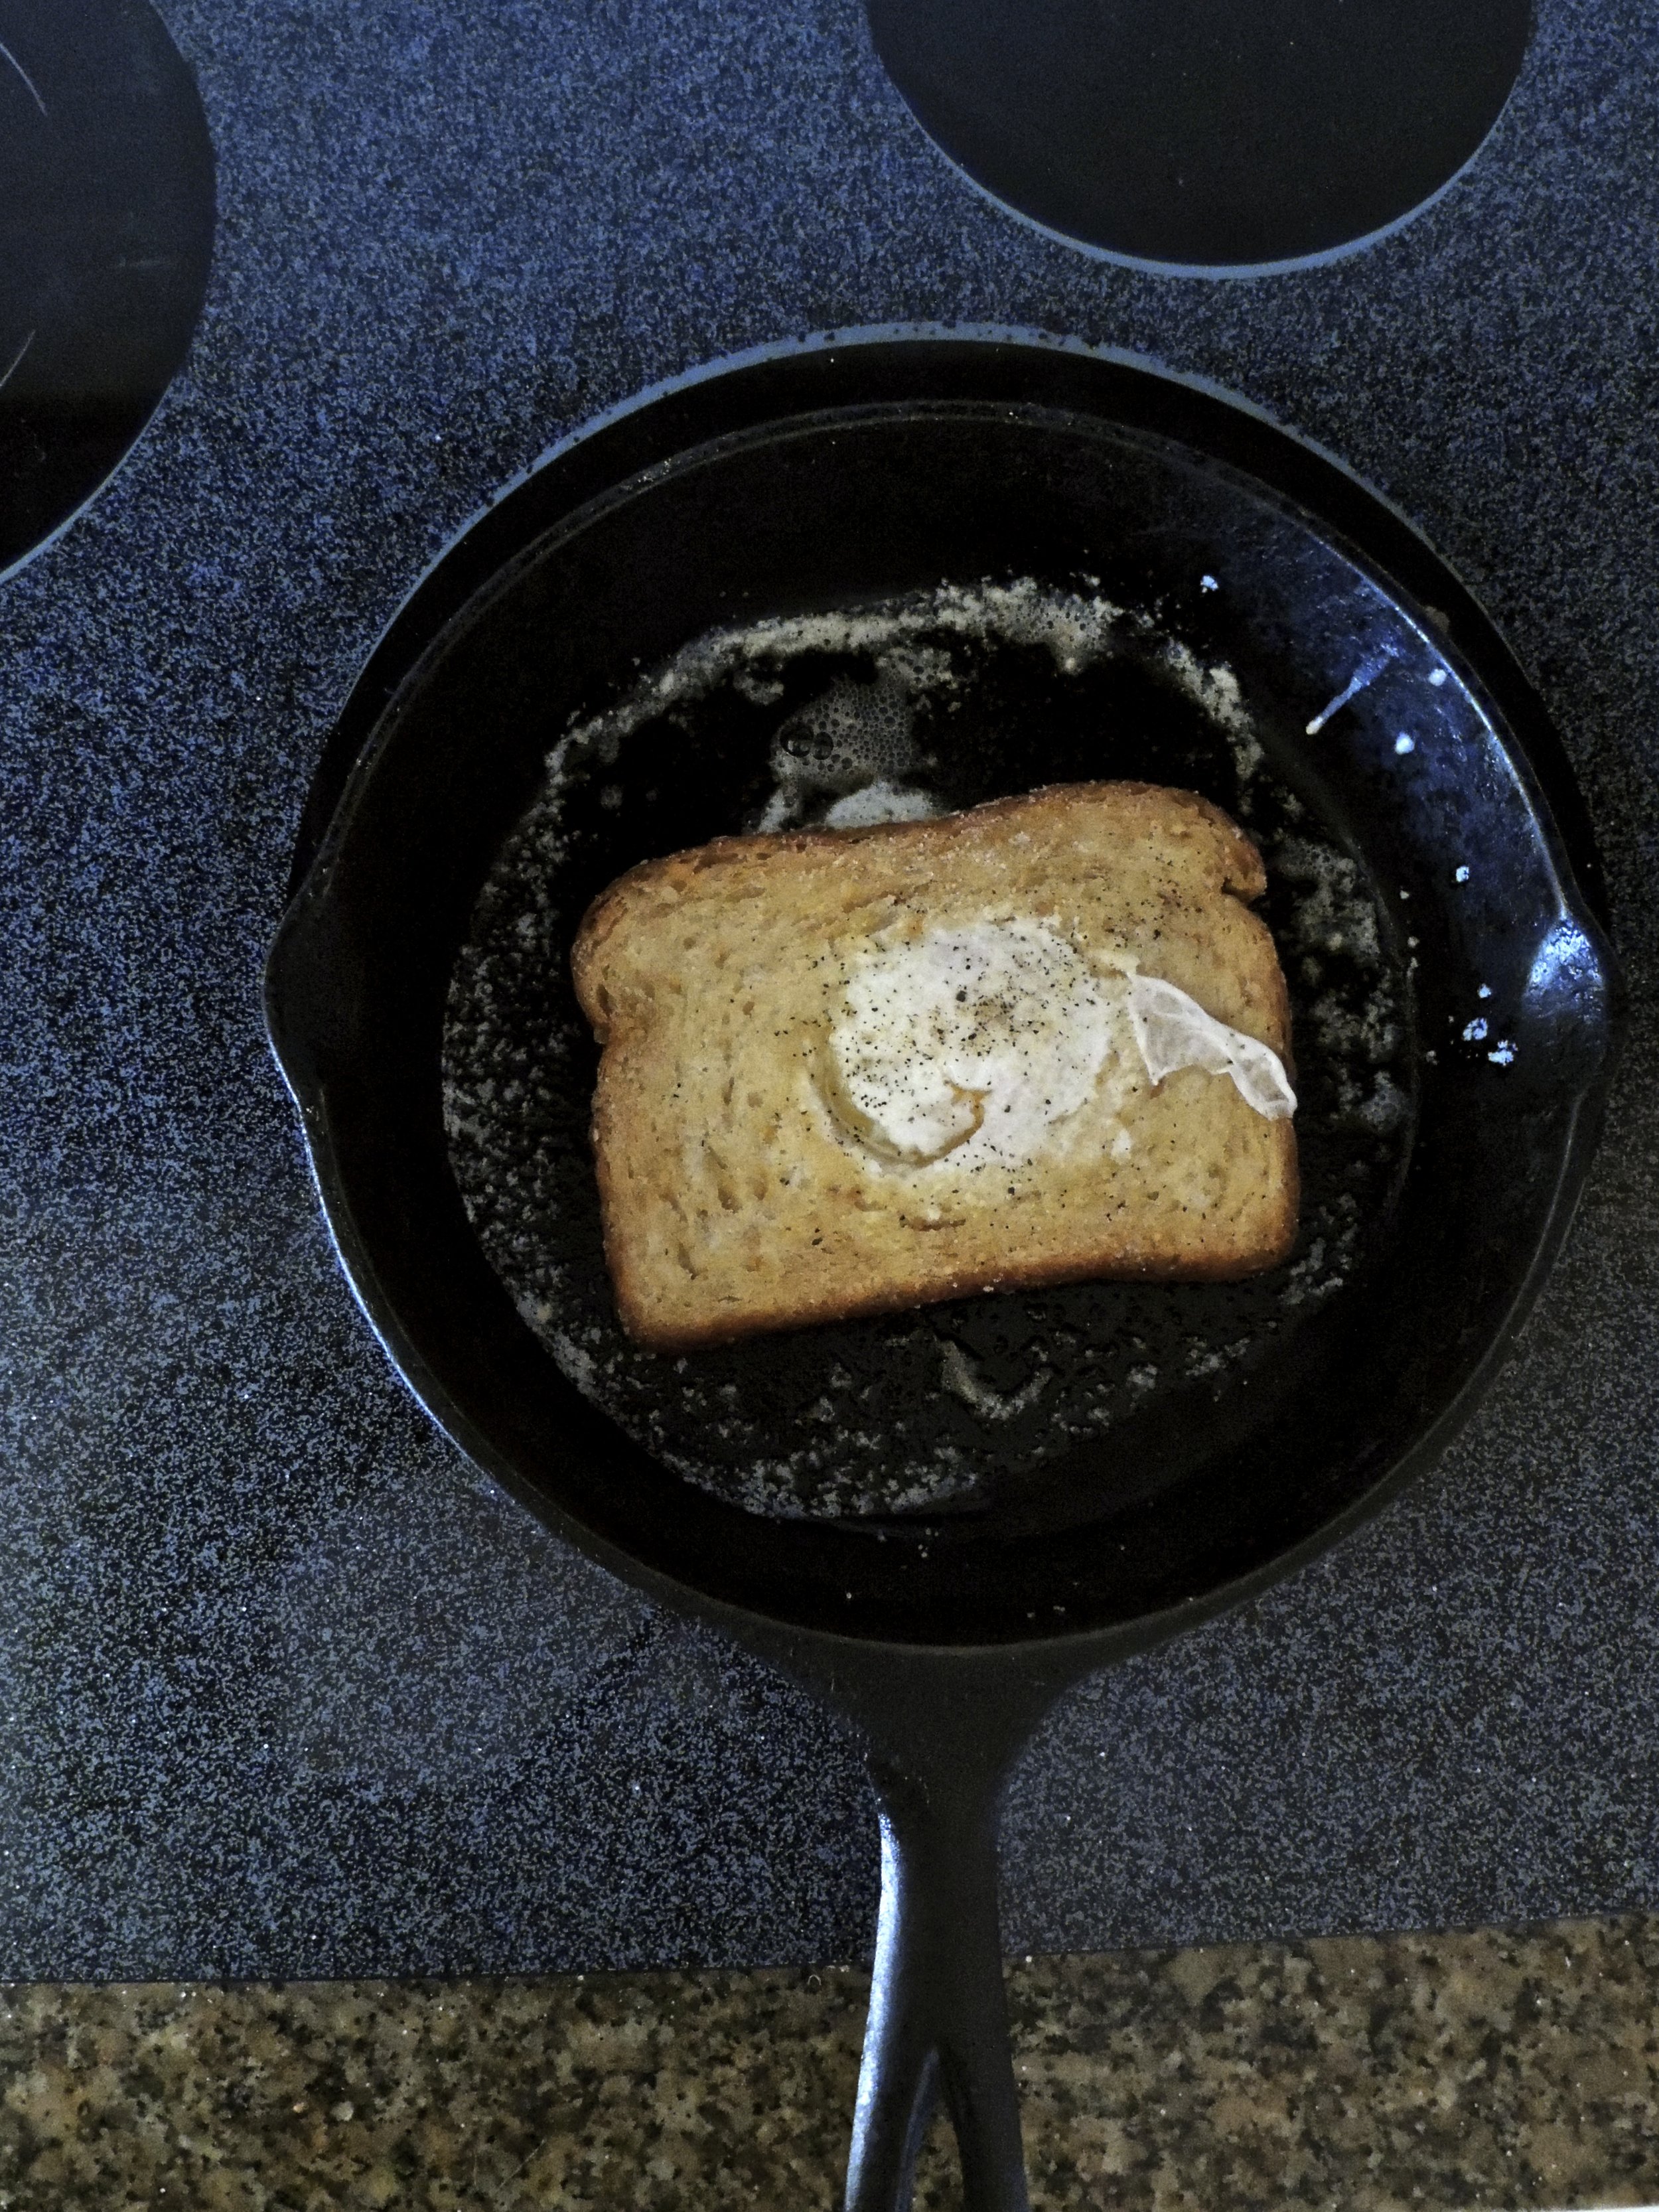
Flip that baby over, and salt and pepper again. Give it another minute. Make sure that bread is soaking up every last bit of the butter in the pan. This bread is crispy, buttery, and what many of my dreams are made of. Make sure your egg yolk jiggles to the touch, but remains intact.

DSCN0659

Eat It up!

It sure is cold up here in the Midwest (and around the country, I've heard!). Sometimes you need a good piece of bread and egg with tons of butter to make you feel just right. Right?

What You'll Need:

  • 1 Slice of Bread (Your choice)
  • 1 Tablespoon of Butter
  • 1 Large Egg
  • Salt to Taste
  • Pepper to Taste

1. Press hole in the center of the bread using a small biscuit cutter or small glass.

2. Heat skillet or frying pan on medium-low heat, and melt your butter.

3. When the butter has melted completely and has spread out, place your bread in the skillet. Crack your egg straight into the center of the hole of your bread. Sprinkle the egg with salt and pepper to taste. Be sure to wait 30-45 seconds before attempting to move your bread.

4. After a minute, flip your bread over with a spatula, then sprinkle salt and pepper again to taste.

5. Make sure your bread is soaking up all of butter in the pan by moving it around the skillet if you can. Let your bread and egg cook until the yoke feels soft to the touch, but remains intact.

SOURCE: The Pioneer Woman 


Why didn't I know about this sooner?

singature gray

Thanksgiving Decisions (Decisions, Decisions)

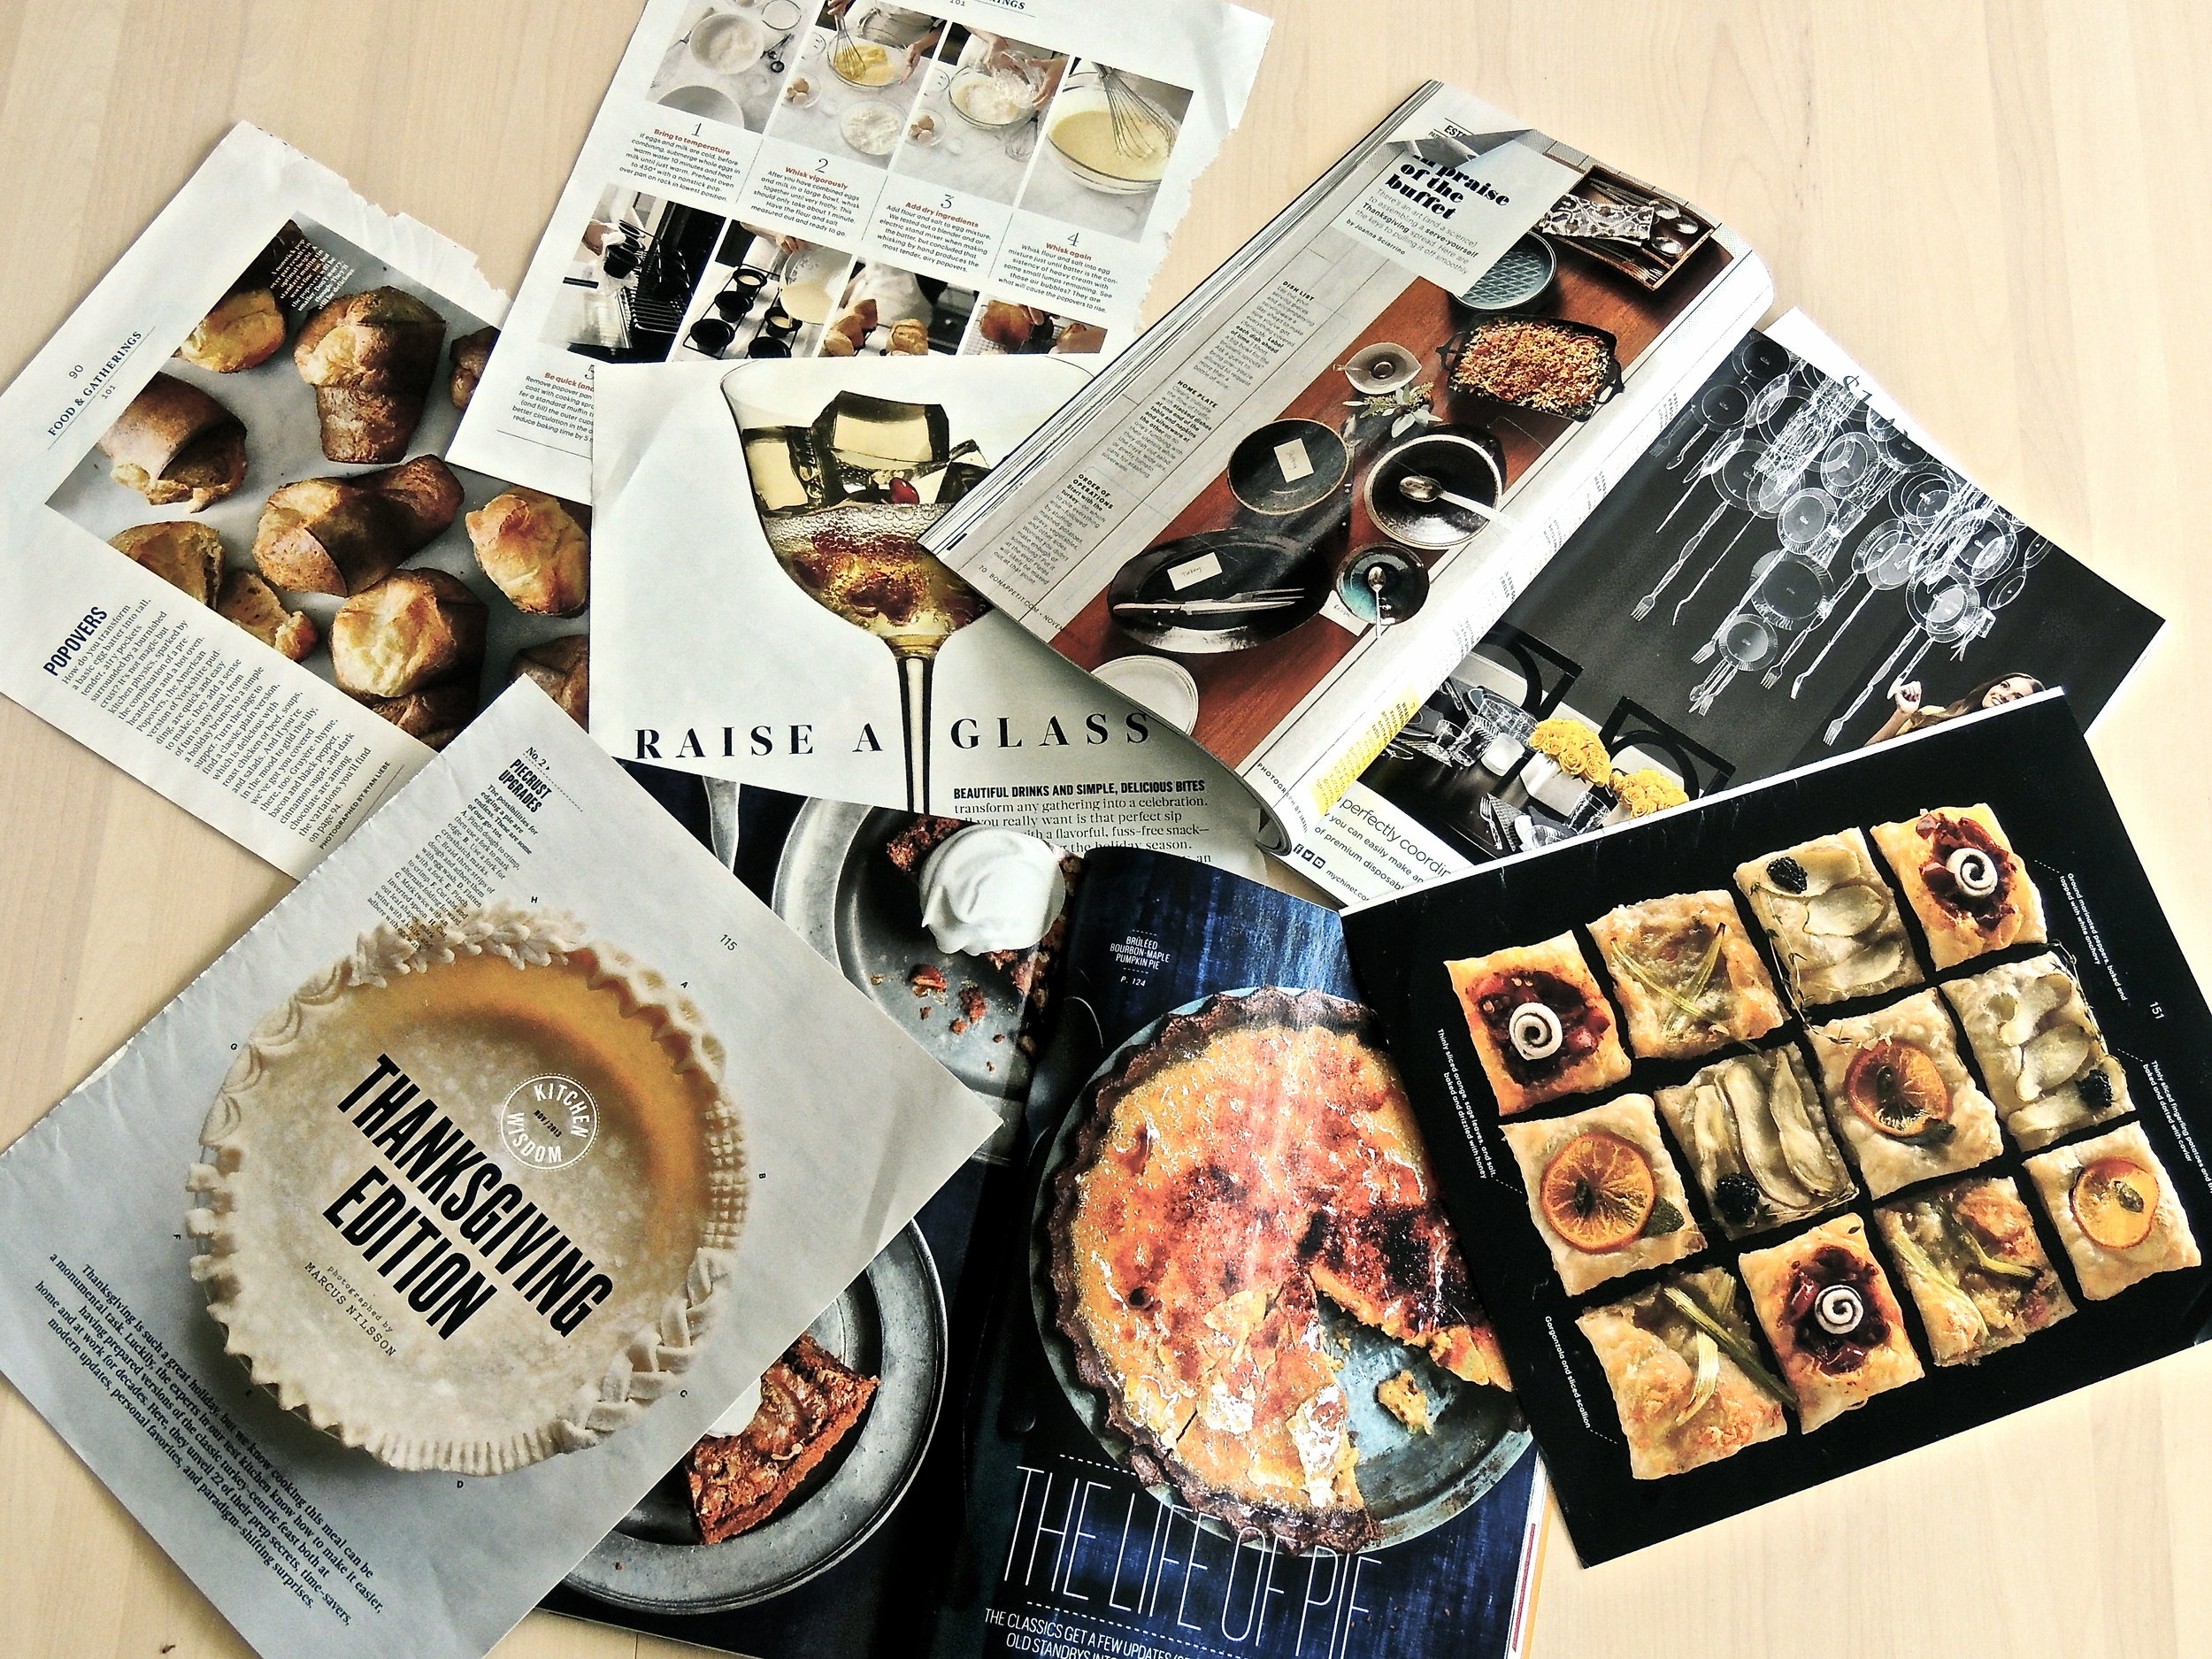
DSCN0651Am I the only one who's a little stressed out about what to make for Thanksgiving? Surely, not. One of my favorite holidays is fast approaching, and I'm simply stuck in my research phase, trying to find the perfect dessert to serve. I've spent at least a week poring over dozens and dozens of recipes and food magazines and cookbooks, but there's still no clear winner. Should I make a pie? Cranberry tartlets? Keep it simple with cookies? Create an assortment? Those are just a few of the many burning Thanksgiving questions. I have a total eager-to-please, eager-to-impress personality, and despite the fact that I'm only making this dessert for my family (who will eat it anyway because it's family law to love and support everyone) I just can't seem to switch off the part of my brain that wants to go bigger, better, and completely 100% over-the-top.

And with just a little amount of time remaining before the big show (Thanksgiving Dinner, of course), I've got to start planning.

So, I ask you, all of you out there: What's on your Thanksgiving menu?

singature gray

When Chocolate Chip Cookies Just Aren't Enough

The sad news: My work chum, Kate, had her last day at the office today. The happy news: We ate like champions.
DSCN0614

When Kate told me that this week would be her last, I immediately started brainstorming the perfect going away surprise. But the more i thought about, and the more I scoured my cookbooks for the answer, the less certain I became. So I asked her: What was her favorite go-to dessert? Her answer: chocolate chip cookies. Good. Done.

But then I thought about it: chocolate chip cookies are always amazing, and absolutely no one can tell me otherwise, but are they good for goodbyes? I guess it depends on who you ask, but for me, no way. They're the perfect treat to have in hand for hangout sessions, good for break ups, great for sick days, and perfect for when you need a quick pick-me-up. But for goodbyes, they're just not epic enough. So it was time to think outside of the box: how can I stay true to her favorite, while still taking it to the next level? Then it came to me: a chocolate chip cookie cake. 

DSCN0617

When I was little, my parents got for me one Christmas a Mrs. Fields Cookie Oven. They were just like the Easy Bake Ovens, but way better because it was like having a mall favorite right in your play room. I made tiny cookie cakes and brownies constantly, and as I set out to make Kate's cake, it took me back. What was so good about those cakes, other than the fact that they cooked like magic under a dinky light bulb, was that they always turned out gloriously under-baked. So chewy, so yummy. And now that I'm feeling all nostalgic, I wonder what happened to it...

(Note to self: scour the basement next time I'm home. I've got mini cookies to make.)

photo

I've got a fun little story to tell you. Last night, I made two of these cakes. And it wasn't because I wanted us to have one at home. It was because I didn't exercise enough patience, and tragically broke Cake # 1.

A word to the wise: If a recipe tells you to wait until something is completely cooled before taking it out of the pan, wait until it is completely cool. In my haste to start frosting this thing, I thought that just leaving the pan on the wire rack for thirty minutes would do the trick. I was wrong. Very, very wrong. Yeah, it came out of the pan alright, but in several very large chunks. Cake #1 was hurled in pieces into both the trash and my mouth. Cake #2 went straight into the freezer as soon as it was out of the oven, and cool enough for me to handle it without an oven mitt on.

I would also like to note that this was my first successful attempt at using a pastry bag! Also, this was my first time using gel-based food coloring instead of liquid. The colors are more vibrant, you don't taste the colors, so to speak, and it just takes a few drops to get the shade you desire. Use gel food coloring. Trust me.

photo

After frosting, cover your cake and pop it in the fridge overnight. It allows the buttercream to set, and makes it taste OUT OF THIS WORLD. Seriously, the buttercream was the best part, and I saved the best part for last.

One piece of this cake, and you're done. But man, is it worth it.


I miss my work chum Kate already, but we had a forced office group hug, so I'm counting today as one of the best I've had in a while.


Chocolate Chip Cookie Cake:

What You'll Need:

  • 2¼ cups all-purpose flour
  • 3/4  teaspoon baking powder
  • 1/2 teaspoon baking soda
  • 1/2 teaspoon salt
  • 12 tablespoons unsalted butter, melted and cooled to room temperature
  • 1 cup light brown sugar
  • 1/2 cup granulated sugar
  • 1 egg  and 1 egg yolk
  • 2 teaspoons vanilla extract
  • 1 cup semisweet chocolate chips

Preheat the oven to 325F. Throughly grease a  9 inch round cake pan, then line the bottom with a piece of parchment paper cut to size. Set aside.

Whisk together the flour, baking powder, baking soda, and salt in a medium bowl. Set aside.

With an electric mixer set to medium speed, beat the butter and both sugars together until combined. Beat in the egg, then egg yolk, one at a time until combined. Then add the vanilla. Slowly add the dry ingredients and beat at a low speed until just combined. Fold in the chocolate chips using a rubber spatula.

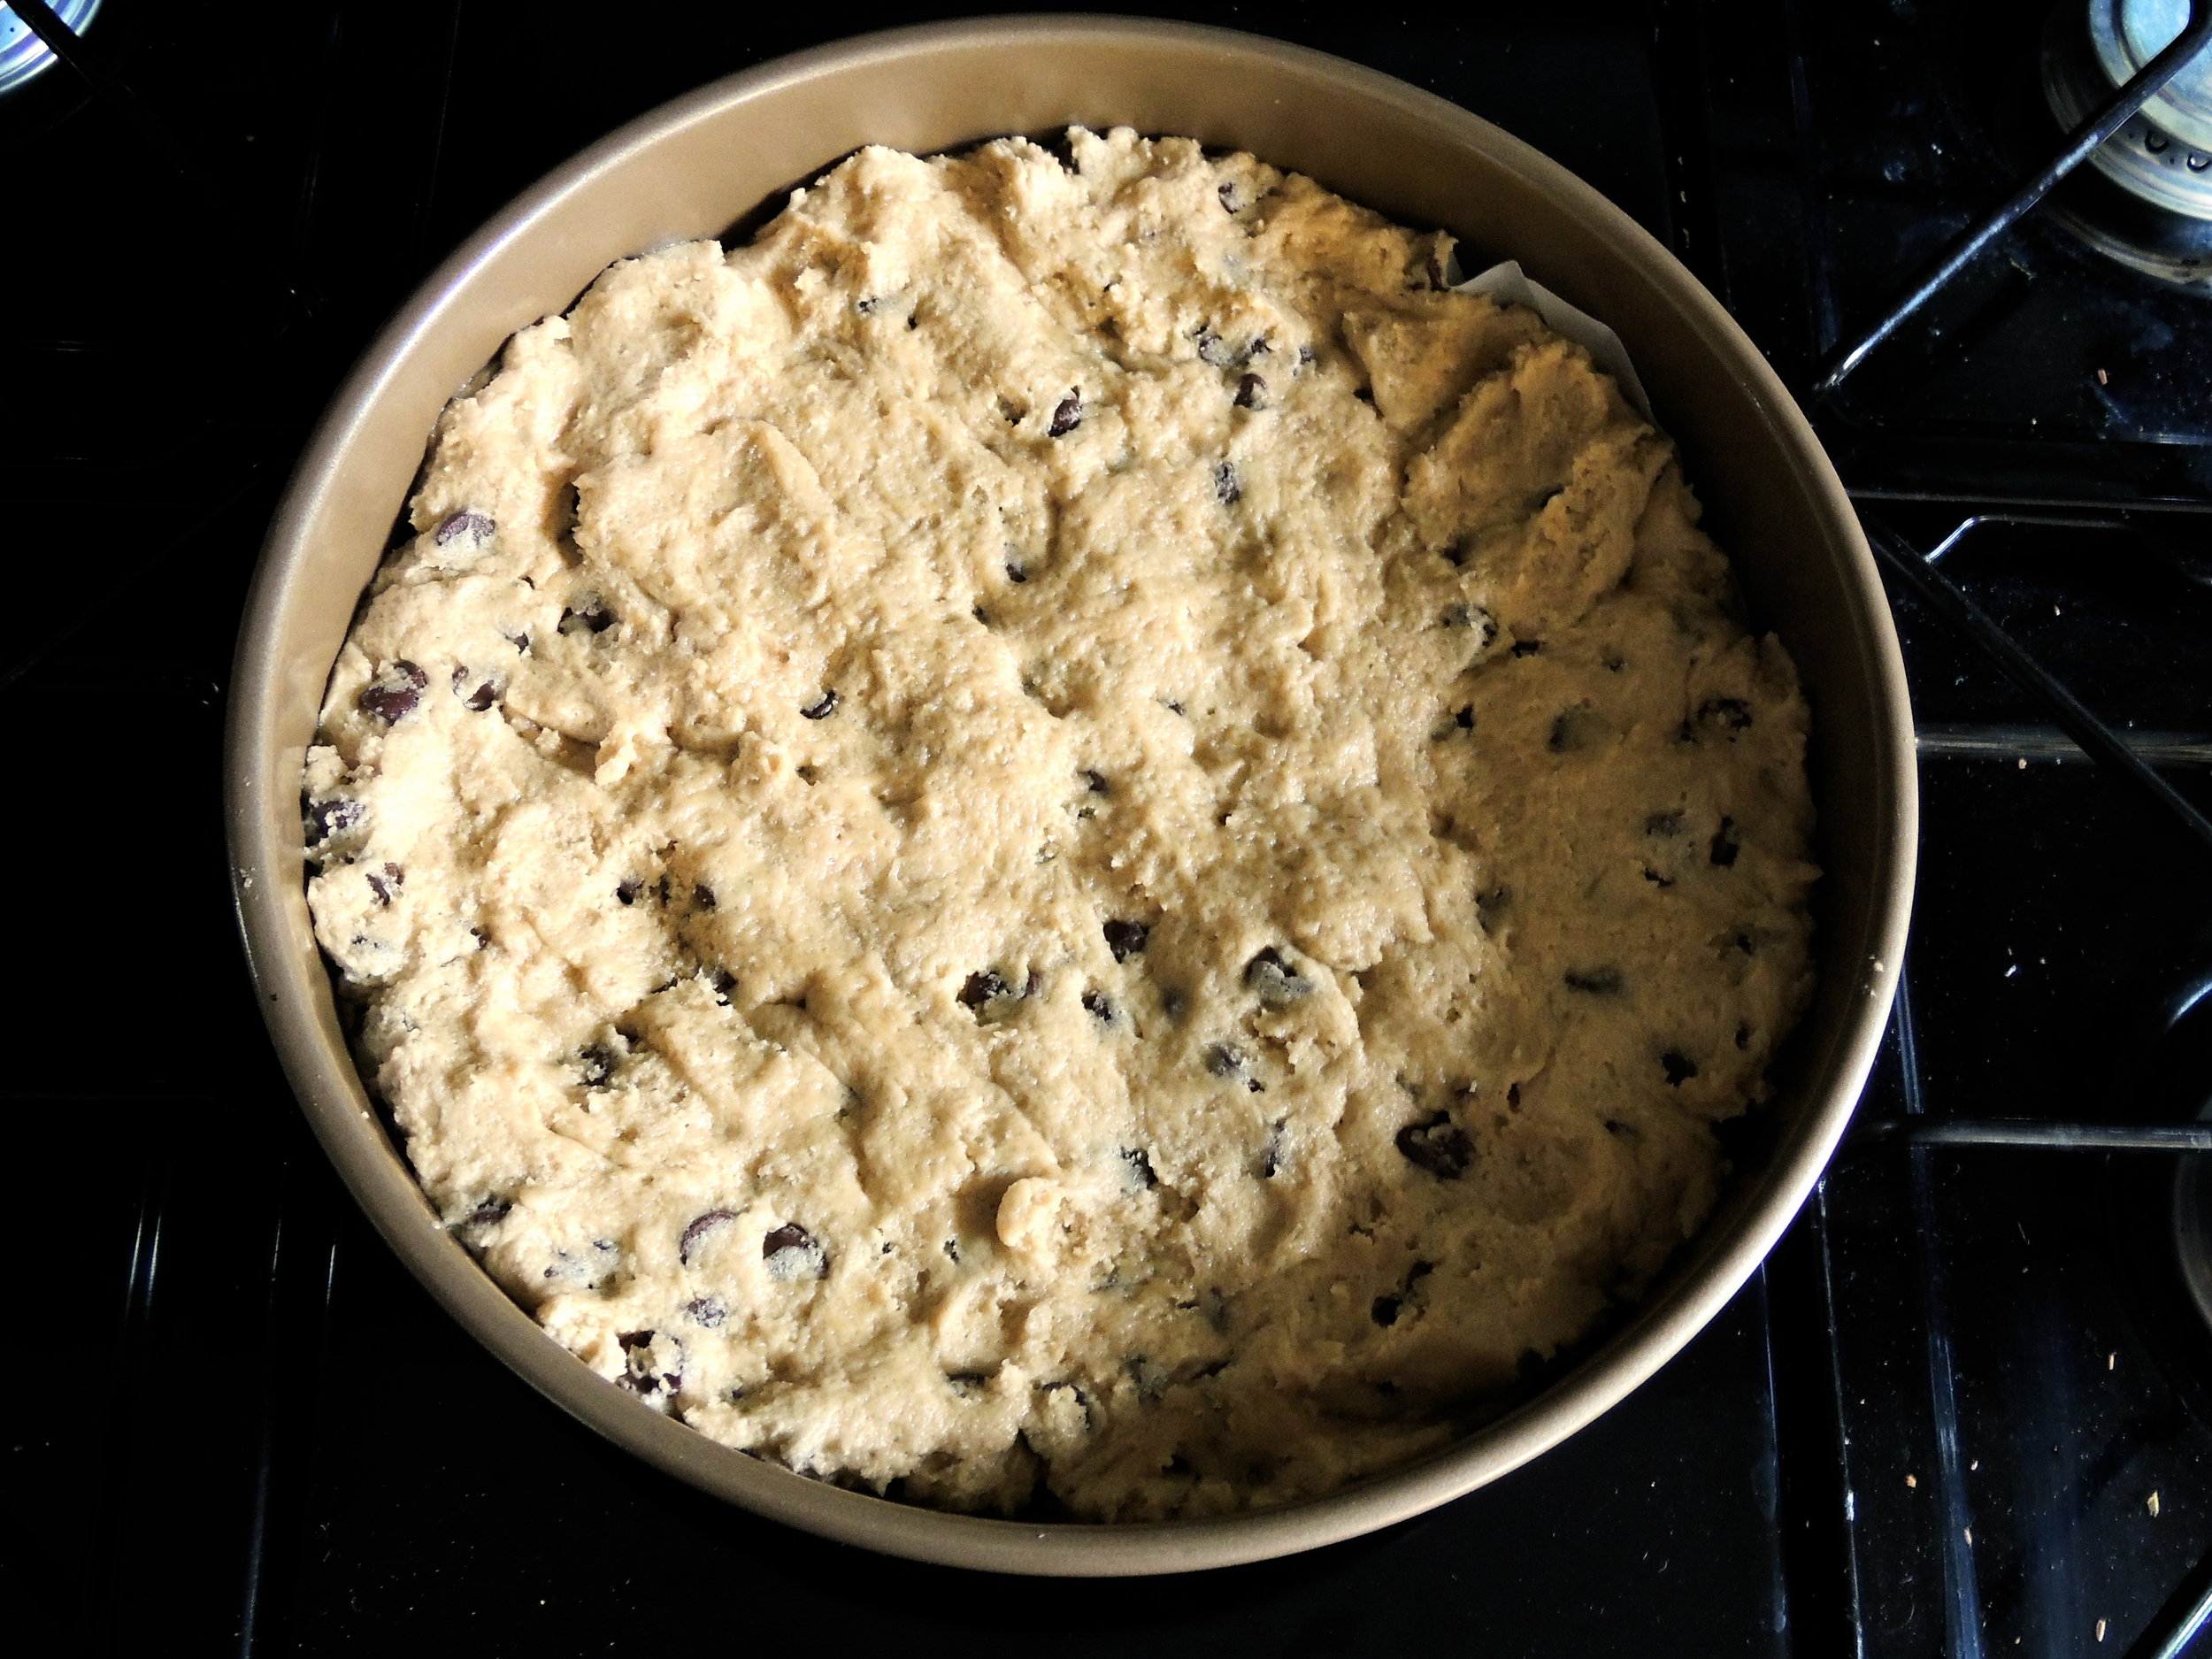
Scoop the dough into the prepared cake pan, and use your fingers to evenly press the dough into the pan. Bake until the cake is golden, and the outer edges have started to harden; about 20-25 minutes (Watch out for cracking!) Place on a wire rack to cool COMPLETELY before removing from the pan.

Make sure to throughly wrap in plastic wrap to ensure freshness. If kept at room temperature, this can last for up to five days.


SOURCE Brown Eyed Baker


THE PERFECT BUTTERCREAM FROSTING 

What You'll Need:

  • 2 cups powdered sugar, sifted
  • 5 tablespoons unsalted butter, at room temperature
  • 2 tablespoons whole milk
  • 1/4 teaspoon vanilla extract

Beat the powdered sugar and butter together using an electric mixer on medium speed until the mixture comes together, and is throughly mixed.

With the mixer on low speed, combine the milk and vanilla extract, and slowly stream it into the butter-sugar mixture.

Once fully incorporated, turn the mixer to high speed and beat until the frosting is perfectly light and fluffy, for a minimum of five minutes. (As Joy the Baker says: "The longer the frosting is beaten, the lighter and fluffier it becomes!")

Add dyes into the frosting for the desired color, and beat until fully incorporated.


Next stop: Key Lime Pie for my work chum Brad's 25th!


HAPPY FRIDAY, MY LAMBS!

singature gray

When You're Having a Dinner Party...

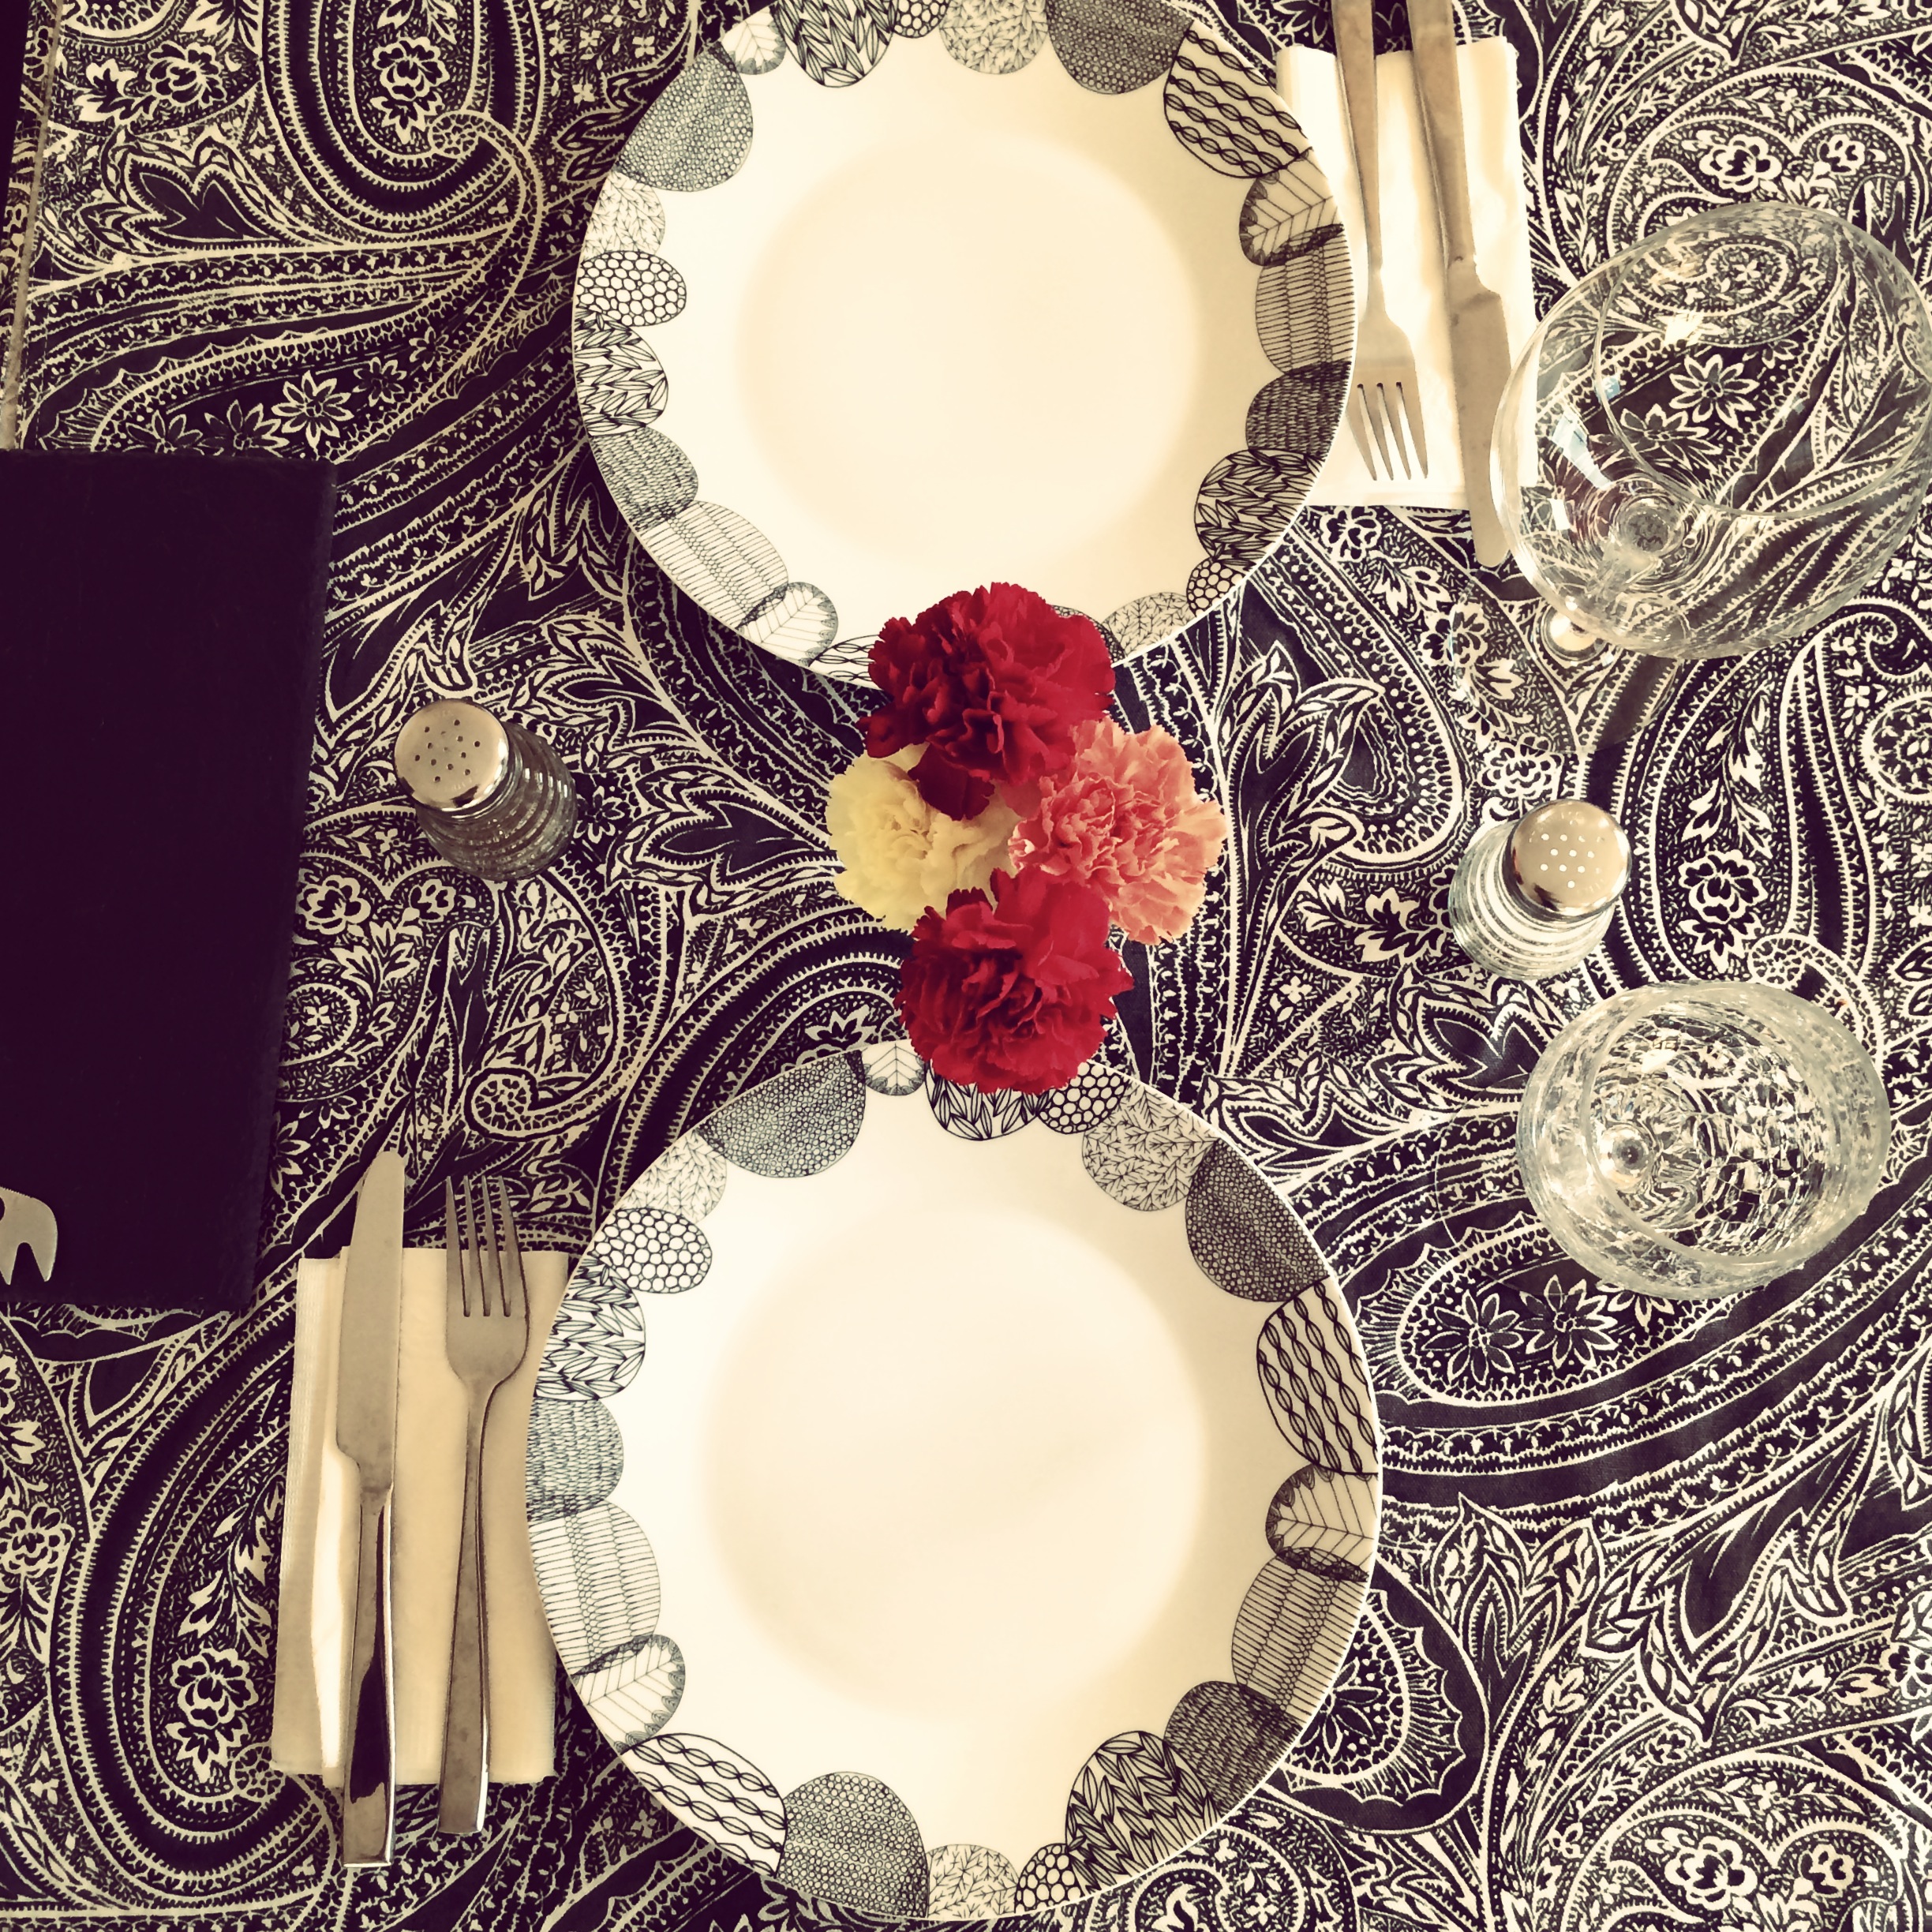
photoIt would be wrong of me to ignore the hospitality gene that has been passed down to me from my parents and grandparents. You just can't ignore the need to entertain forever, and I've just decided to give in, once and for all. photo

On Saturday night, Anna made the trek all the way across town to my apartment, for a nice, gluten-free gourmet dinner! To spruce the place up, I stopped by Kabloom in Coolidge Corner for some gorgeous, vibrant carnations. (And Anna brought some GORGEOUS pinkish, purplish tulips that are thriving nicely.)  Since I'm big on black and white dish and tableware, I like to add eye-catching pops of color to the table any way I can.

photoOn the menu? California-style BLTs, with a little twist. Instead of bacon, I used proscuitto. I added avocado. AND, for the piece de resistance, I added basil mayonnaise. Believe me when I say, basil mayonnaise can take any good sandwich to an entirely different level.

photo

Side note: shout out to Crate and Barrel for the super cute plates! I paid $5.95 for each, but it looks like I paid much, much more! (When is it appropriate to call myself a Bargain Princess?)

photo

And for dessert? Flourless Chocolate Cake, with a generous dollop of buttercream frosting in the center.

So...I feel like no matter what I write, it actually won't do this cake proper justice. Never in my life have I made something so decadent, so rich, and yet so pleasantly light and airy. With every spoonful you get that sweet choclately taste, which is complimented by the slightly salted, very creamy buttercream frosting. It's like eating a fudgey brownie, but one that's made from chocolate clouds. I may or may not have had one for lunch today. (I did.)

Summertime means more free time, more of my favorite foods, and more dishes to be made and served. BRING ON THE WARM WEATHER THAT BRINGS ME AND MY FRIENDS TOGETHER.
You HAVE to try this basil mayonnaise recipe from The Kitchn, and of course, the Flourless Chocolate Cake from What's Gaby Cooking. But not in that order...unless that's the kind of food combining you're into.


Happy Tuesday!


singature gray

Ladies' Brunch!

  photo

I'd been itching to have a party for a while, so when my friend Grace mentioned an article she'd seen solely devoted to french toast recipes, I knew that a Ladies' Brunch was definitely in order.

As much as I love cooking and baking, I almost never do it for myself. Cooking for one can be a little depressing, so when given the chance to cook for others, I dive head first. All the bases were covered: a cheese plate, (a chalkboard plate I got on sale at Crate and Barrel!) a Florentine Fritata (I got the recipe from Breakfast for Dinner),  delicious and crispy brioche french toast with baked berries and maple syrup (curtesy of Grace!), and last but certainly not least, fresh and giggle-inducing grapefruit mimosas! At my house, you go big with brunch, or you go home.

photo

A good brunch always needs fresh flowers. It brightens up any room, and reminds you that Spring has sprung, and you must embrace it.

photo


Trader Joe's actually has a great selection of cheeses from all over the place, for excellent prices. My local grocery store was trying to charge me almost double, for less product. I don't think so!

photoIt took me 20 minutes to make the mimosas, and I had the best time doing it. Cutting up those grapefruits made the house smell so wonderfully citrusy.


photo

I thank my lucky stars everyday that I decided to keep the champagne glasses I impulse bought at Goodwill last year. I hardly ever use them, but when the time comes, these beauties come in absolute handy.

photo

I've caught the entertaining bug, and I'm thinking a nice, classic dinner party is next!


Grapefruit Mimosas

What You'll Need:

1 750 ml bottle of Prosecco, chilled

4 large grapefruits (should make 3-3.5 cups of grapefruit juice)

Optional Sweetener or Simple Syrup


1. Fill a large pitcher with your freshly squeezed and chilled grapefruit juice, then add the prosecco. (Make sure your pitcher is big enough to handle both the juice, and the contents of the bottle, plus the foam. The foam is what ties it all together!)

2. Add sweetener to taste. (I added a couple spoonfuls of granulated sugar)


Yields about six servings

Source: Jason and Shawnda


If loving brunch is wrong, then I just don't want to be right.

singature gray


Cookie Party!

First, I have to apologize for my brief absence. The second I was seated next to a coughing, sneezing, sniffling gentleman on my plane ride back to Boston from Wisconsin, I knew that I was a goner. It took maybe an hour or two for the sickness to sink in, and I was out of commission for a full week. I'm just now starting to feel like myself, and if I ever see my row-mate again, I'm going to cough all over him.

Being sick for ages and ages limited my activity, and the one thing that I wanted the most while I was sick, was the one thing I was too exhausted to make: a cookie. I have a sweet tooth that cannot be denied, and because I refuse to buy anything from bakeries that I can't make myself, I was fresh out of luck. But now, now that I'm feeling better, I set out to complete my mission. And just in time as well, because my co-worker and I decided to throw an impromptu cookie party for the office! Fair, it'll just be us bringing cookies, but there will be cookies, and that's really all that matters.

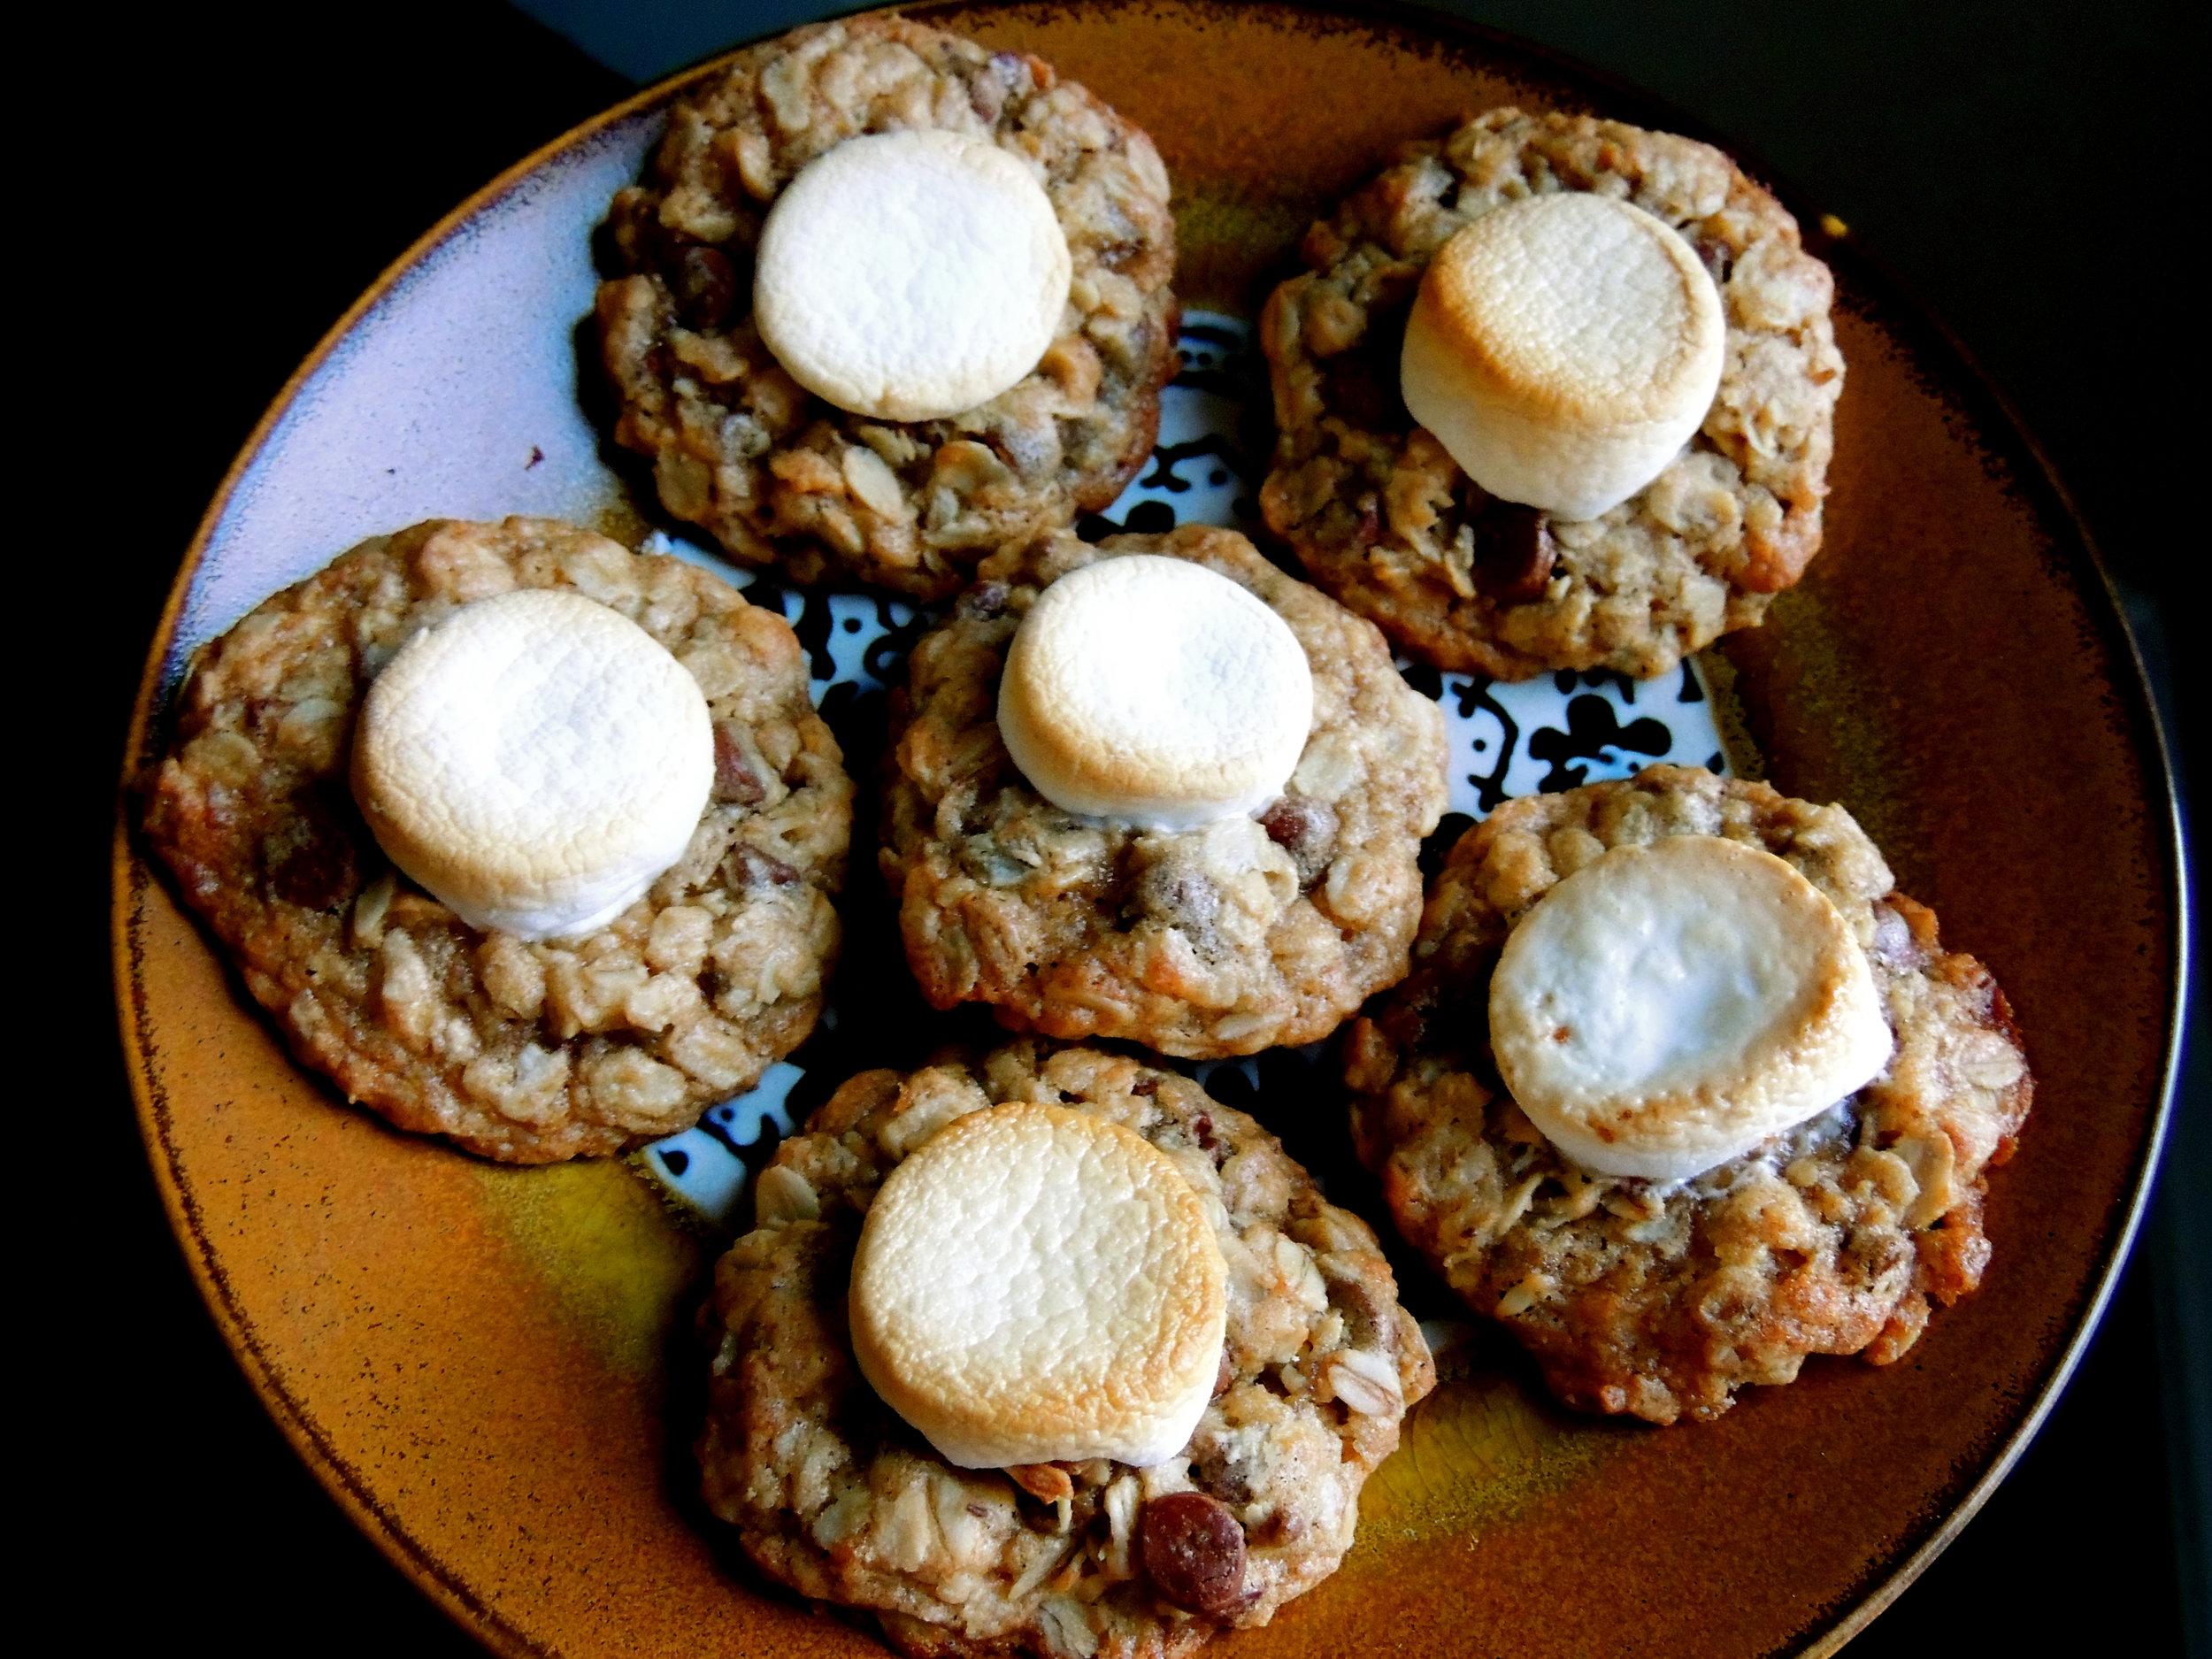
If there's anything you know about me thus far, it's that I collect a lot of recipes, but I hardly ever do anything with them but stick them in my "Recipes" folder. I've got so many that my fingers start to get tired after a while from scrolling through. But today, as I searched and searched for a recipe that was simple enough to make, but still totally impressive, there was one special cookie that screamed out to me: Oatmeal Chocolate Chip S'Mores Cookies. YEAH, S'MORE. I've tasted a s'mores cupcake, but never a s'mores cookie. And today was the day.

Image

And for real, I can't believe how simple these cookies were to make, but also how INSANE THEY TASTED. There are few things better in this world than a toasted marshmallow, and I did it using the broiler on my oven. I tell you, my mind was blown. And I'm going to blow the minds of all my work chums tomorrow, mark my words.

Oatmeal Chocolate Chip S'Mores Cookies: totally into it.

What You'll Need:

  • 1 cup softened salted butter
  • ¾ cup dark brown sugar
  • ¾ cup white sugar
  • 2 eggs
  • 2 teaspoons vanilla extract
  • 1¼ cups all-purpose flour
  • ½ teaspoon baking soda
  • ½ teaspoon salt
  • ¼ cup graham cracker crumbs
  • 2½ cups quick oats
  • 2 cups mini semisweet chocolate chips
  • 12 giant marshmallows, sliced into thirds

Preheat the oven to 325°F. Prepare a baking sheet with parchment paper; set aside.

Using a stand mixer fi tted with the beater attachment, cream the butter and sugars at medium-low speed until well combined.  Add in the eggs, one at a time, beating well after each addition.  Add in the vanilla; combine well.

In a separate bowl, combine the fl our, baking soda, salt, and graham cracker crumbs.

Add the dry ingredients to the wet batter. Mix on low until just combined. Stir in the oats and chocolate chips.

Scoop rounded balls of batter onto the prepared sheets. The batter will spread, so be sure to leave ample space between.  Bake for 13–15 minutes, or until the edges are very lightly browned.

Remove from the oven, and immediately top with a slice of marshmallow.  Allow to cool on baking sheets.  Before serving, place the pan under the oven broiler or use a kitchen torch to toast the marshmallows.

SOURCE: The Cake Blog

The cookies are safely tucked in their tin foil, and ready for a trip to the office tomorrow, and I'm snuggled in my blankets becaause it is positively freezing. And I'm totally slacking on my holiday movie-viewing, so if you'll excuse me, I've got a date with The Santa Clause before bed.

HAPPY BAKING!!

singature gray

Making My Dad's Favorite: Pecan Pie

DSCN0415 Thanksgiving is all about tradition, whether it be old or new. And while I was planning on starting a new tradition at my house (one that included delicious pumpkin pie because there is literally nothing better in this entire world), I was overruled by a standing pie tradition: Southern-style Pecan Pie.

Apparently it's been a staple at our table since I was born, but I never noticed because my grandmothers have been making stellar sweet potato pies, and caramel pies with homemade icings for as long as I can remember. But this year, I spent Thanksgiving with just my immediate family in Wisconsin, and there could only be room for one dessert. And while I was hoping that dessert would be delicious, fall-appropriate pumpkin pie, a dad that only periodically ventured into the kitchen (probably to stay out of the crossfire of my mother and I both being in the kitchen), had other plans. But it's fine, because  when you love to bake, it doesn't always really matter what it is.

DSCN0424And anyway, I was just happy that I:

1) Finally got to contribute to the Thanksgiving Meal

2) Got to practice my pie-making skills!

Fact: a homemade pie crust always tastes better. It just does. Store-bought pie crusts are okay, but there is just no comparison when you taste the love (and butter!!!) that goes into a crust made especially for that pie, completely from scratch. And I have to say: for this being only the third time that I've made the pie crust, things went pretty smoothly.

Joy the Baker first taught me how to make a pie crust (and my first pie). Instead of rolling out the dough, she uses a "press-in" technique where she presses the dough into the pie plate. It's incredibly easy, and eliminates a few steps. But in the rest of my pie cookbooks, it's essential that you roll out the dough, then use the rolling pin as a tool to get it into the pie plate. And you know, the people on Food Network always make it look so insanely easy. Like, the dough always perfectly rolls up onto the rolling pin, and they simply and gracefully place the delicate crust into the plate. Well, I'm here to tell you that it's not that easy, I dropped the pie crust into the plate very ungracefully, and I actually had to flip a section of it that refused to stay on its side of the plate. But I made it without having to take it out and re-roll it, and all was well in the kitchen.

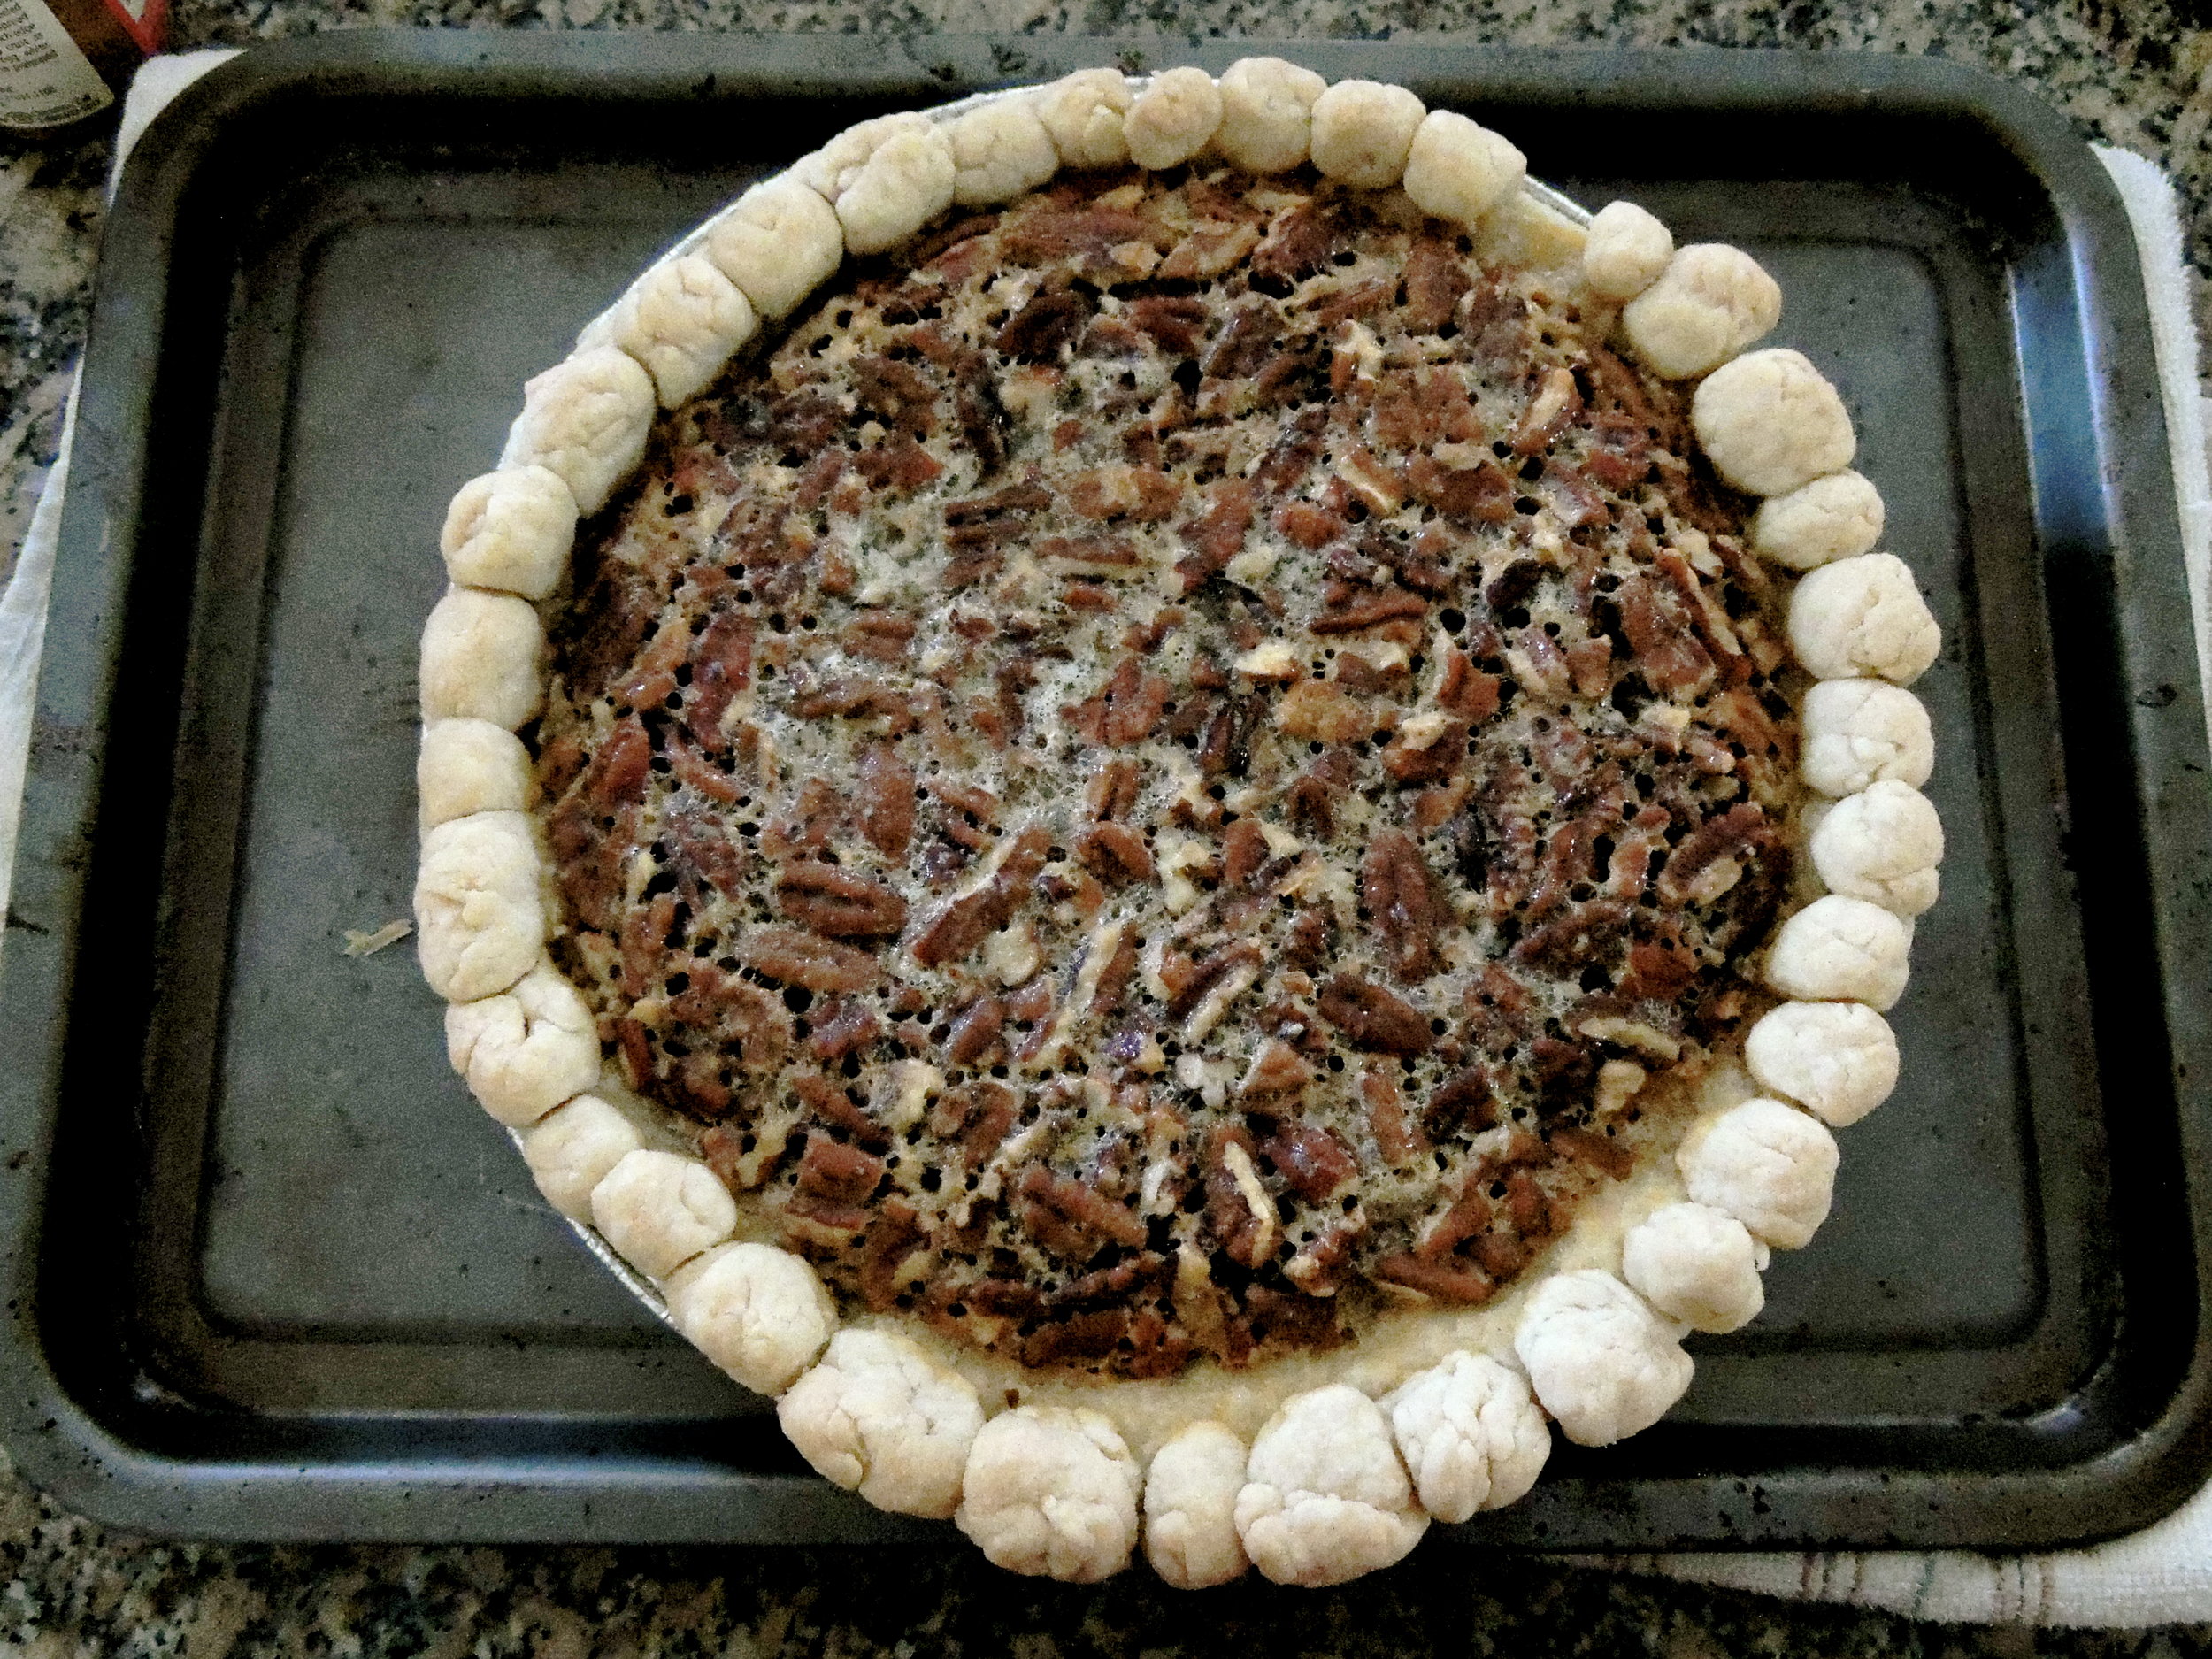
DSCN0427This time around, I even got to take a stab at decorating the crust, something I hadn't tried before. And I loved it! Sure, the balls were all different sizes, and I left fingerprints in the dough, but isn't that what makes homemade crusts charming? Store-bought crusts lack a certain something, and I think that something is charm and character. Maybe even a little personality. That pie crust is totally unique, and I never, ever, will buy a store-bought crust again.

Okay, apparently this post has turned into a love letter for homemade pie crusts...sorry, I'm not sorry.DSCN0430

Pecan Pie is actually really easy to make. You just mix the butter and the sugar together, then literally throw the rest of the ingredients in the mixing bowl, and you're done.

And this pie was a big hit, if I do say so myself.

PECAN PIE:

What You'll Need:

  • 1/2 cup sugar
  • 2 tablespoons butter
  • 3 eggs, beaten
  • 1/4 teaspoon salt
  • 1 teaspoon vanilla
  • 1 cup light corn syrup
  • 1 tablespoon  flour
  • 1 cup pecans
  • 1 unbaked 9 inch pie crust (Preferably homemade!)

-Preheat oven to 350 degrees F

-Cream sugar and butter

-Add remaining ingredients

-Bake for 40 minutes

Each recipe serves 6-8 people

SOURCE: Recipes from Miss Daisy's

I hope you all had a fantastic holiday, and that you're recovering from your food comas well!!

singature gray

Learning How to Get to Nature Valley

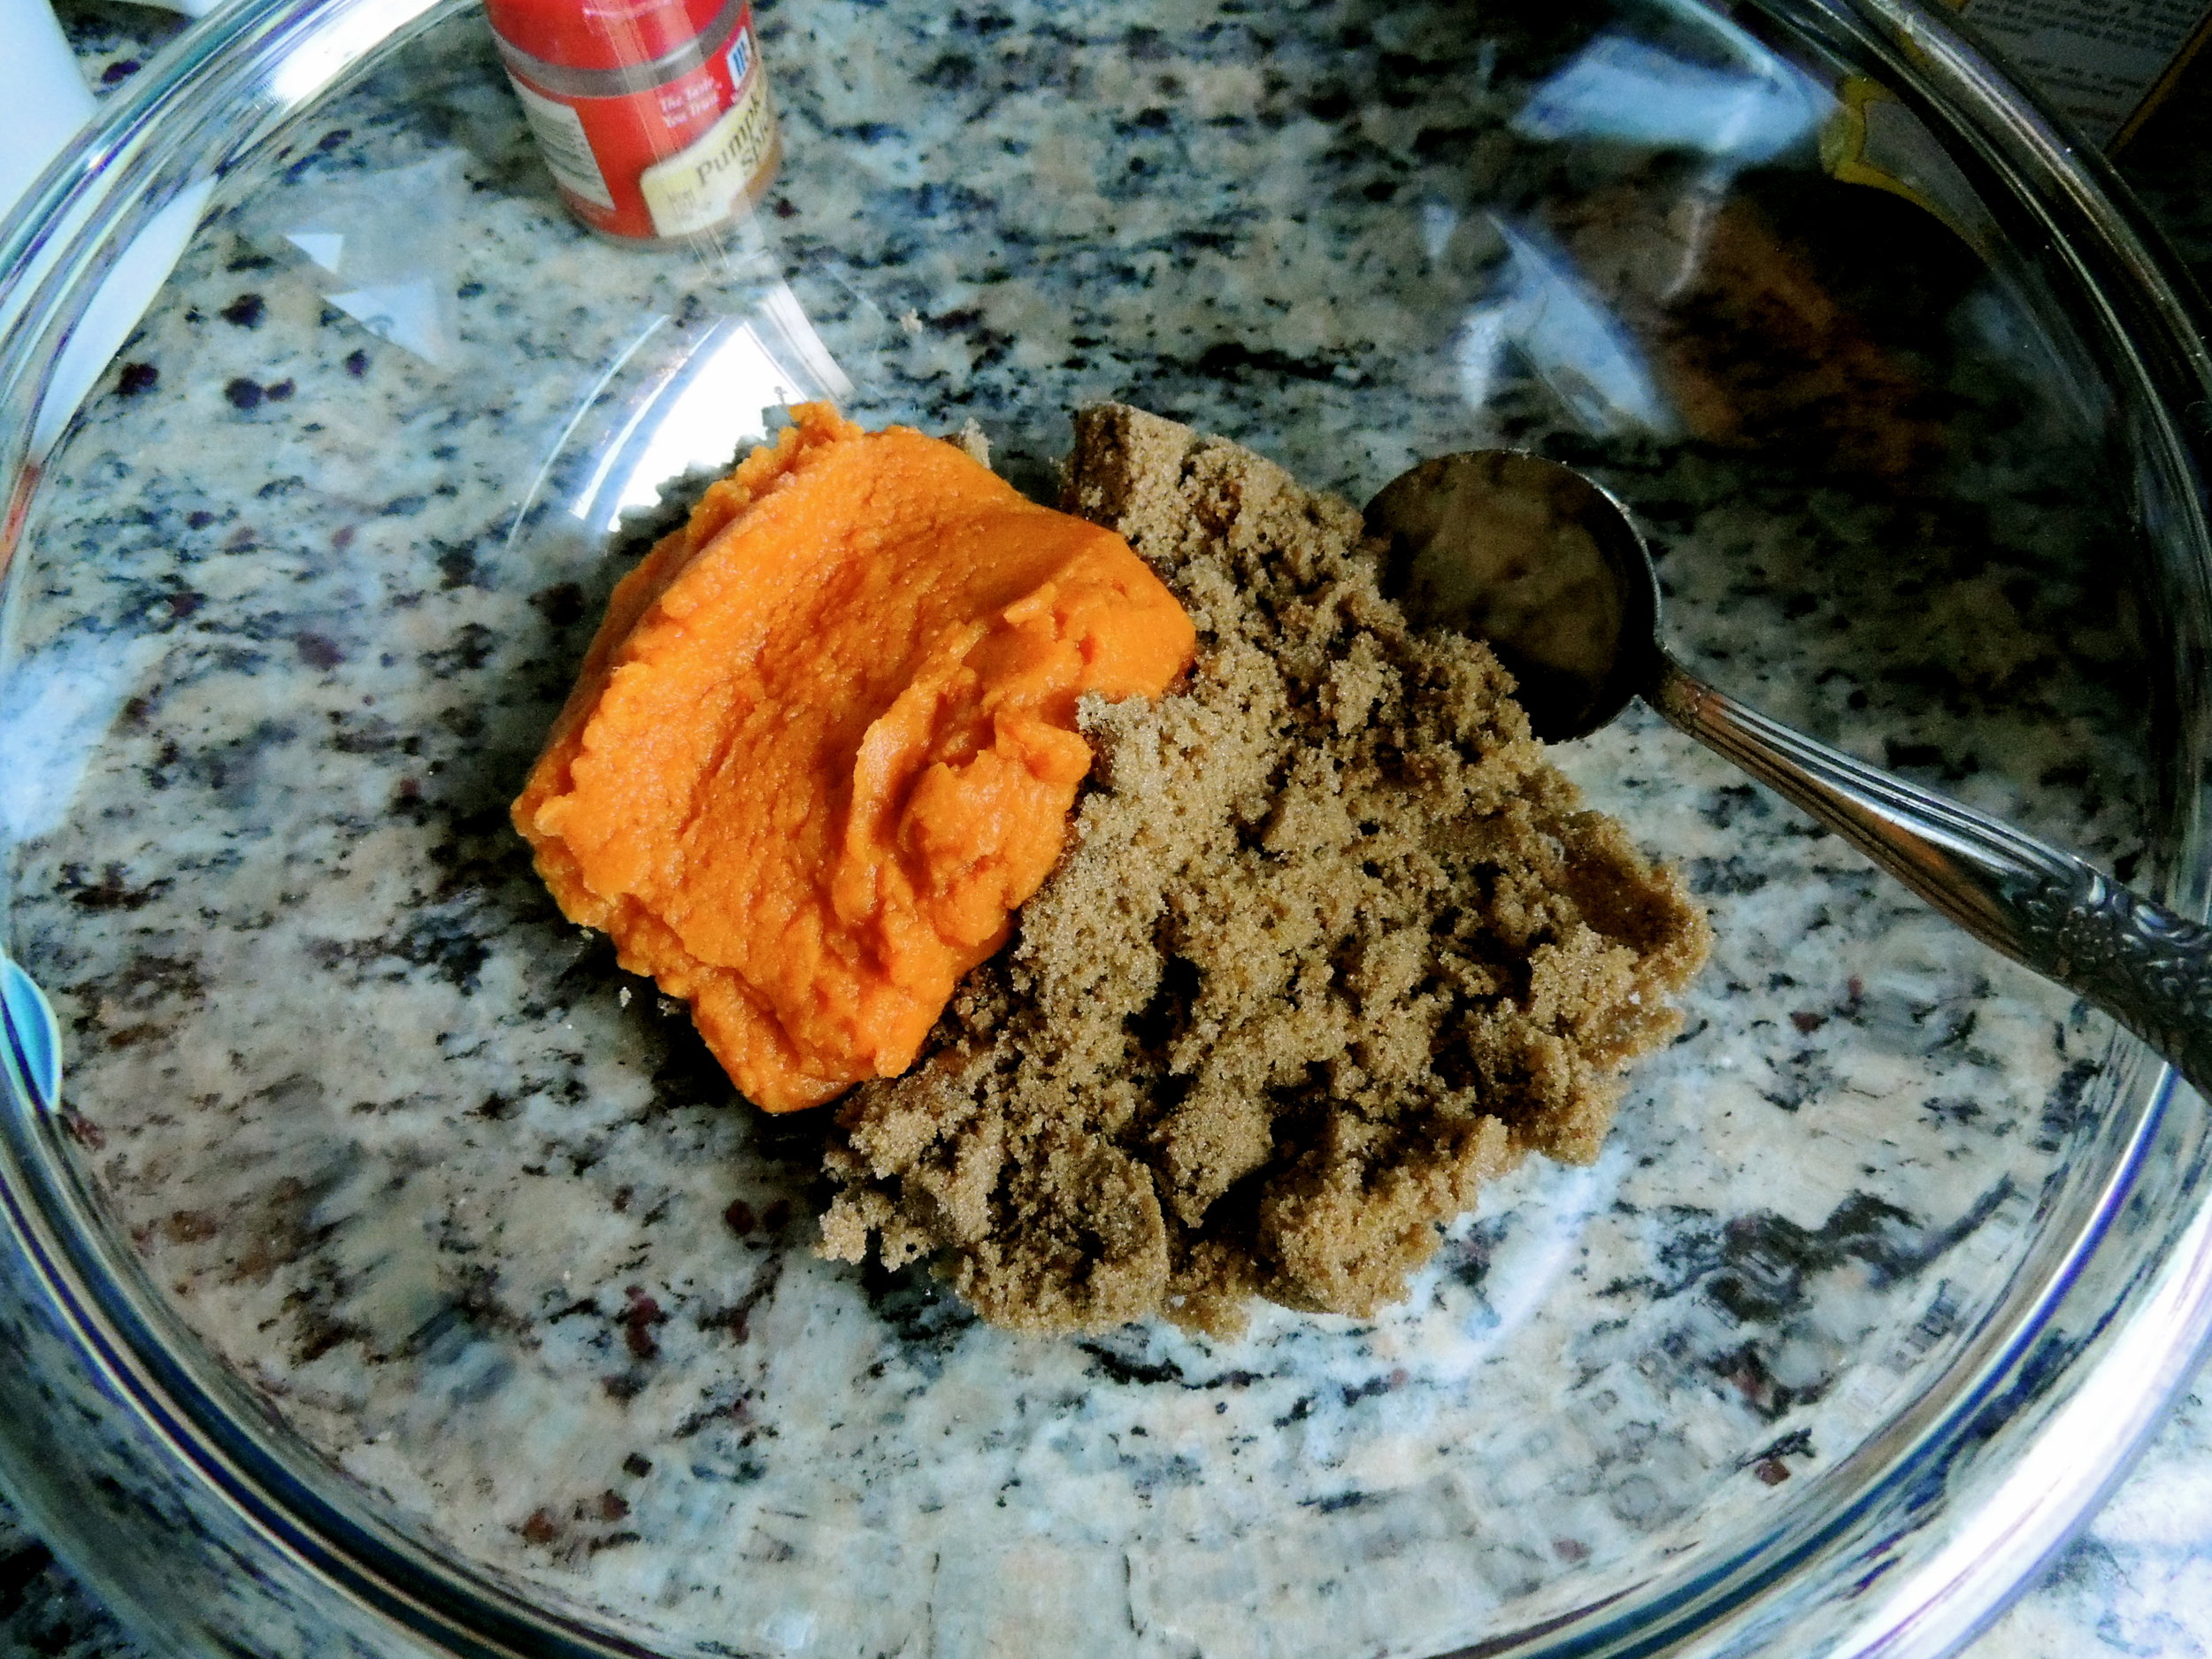
DSCN0373I love granola bars. Love, love, love them. You can find them in my lunch bag as my 3:00 snack, my purse (to stave off the hungry and angry "Bear," that I become when I go shopping), and sometimes as a cereal substitute when I've run out of Cheerios. But stocking up on granola bars can get expensive (unless you're an Extreme Couponer. Seriously, I've been marathoning this show on Netflix, and I CANNOT get over how much these people save on their shopping trips. It's very tempting, but I have neither the time, nor the basement full of floor-to-ceiling shelving units it takes.). And while I'll never quit buying my Nature Valley bars cold turkey, I thought it best to at least give my wallet a rest, and learn to make them on my own for a while. Enter this recipe: Pumpkin Granola Bars. Maybe I chose this recipe because I  can't get enough of Pumpkin...Or maybe it's  because I had a can in the fridge with the perfect amount left...Who knows, it's a mystery of life! (It's because I had a can of pumpkin left. Mystery solved.)

DSCN0364About a month back, our grocery store was having a sale on those big bags of Domino Brown sugar that I couldn't pass up. And in the moment, I was too BLINDED BY A GOOD DEAL, to read the label, and picked up two bags of DARK Brown Sugar, instead of LIGHT Brown Sugar. But by the time I set to work on making these granola bars, and realized my mistake, I had neither the strength, nor desire to walk the 2 minutes back over to the grocery store to buy a box. And anyway, I think my local grocery store is starting to see a little too much of me. So, I decided to substitute dark brown sugar instead, and see what happened. Not bad, I gotta say it.

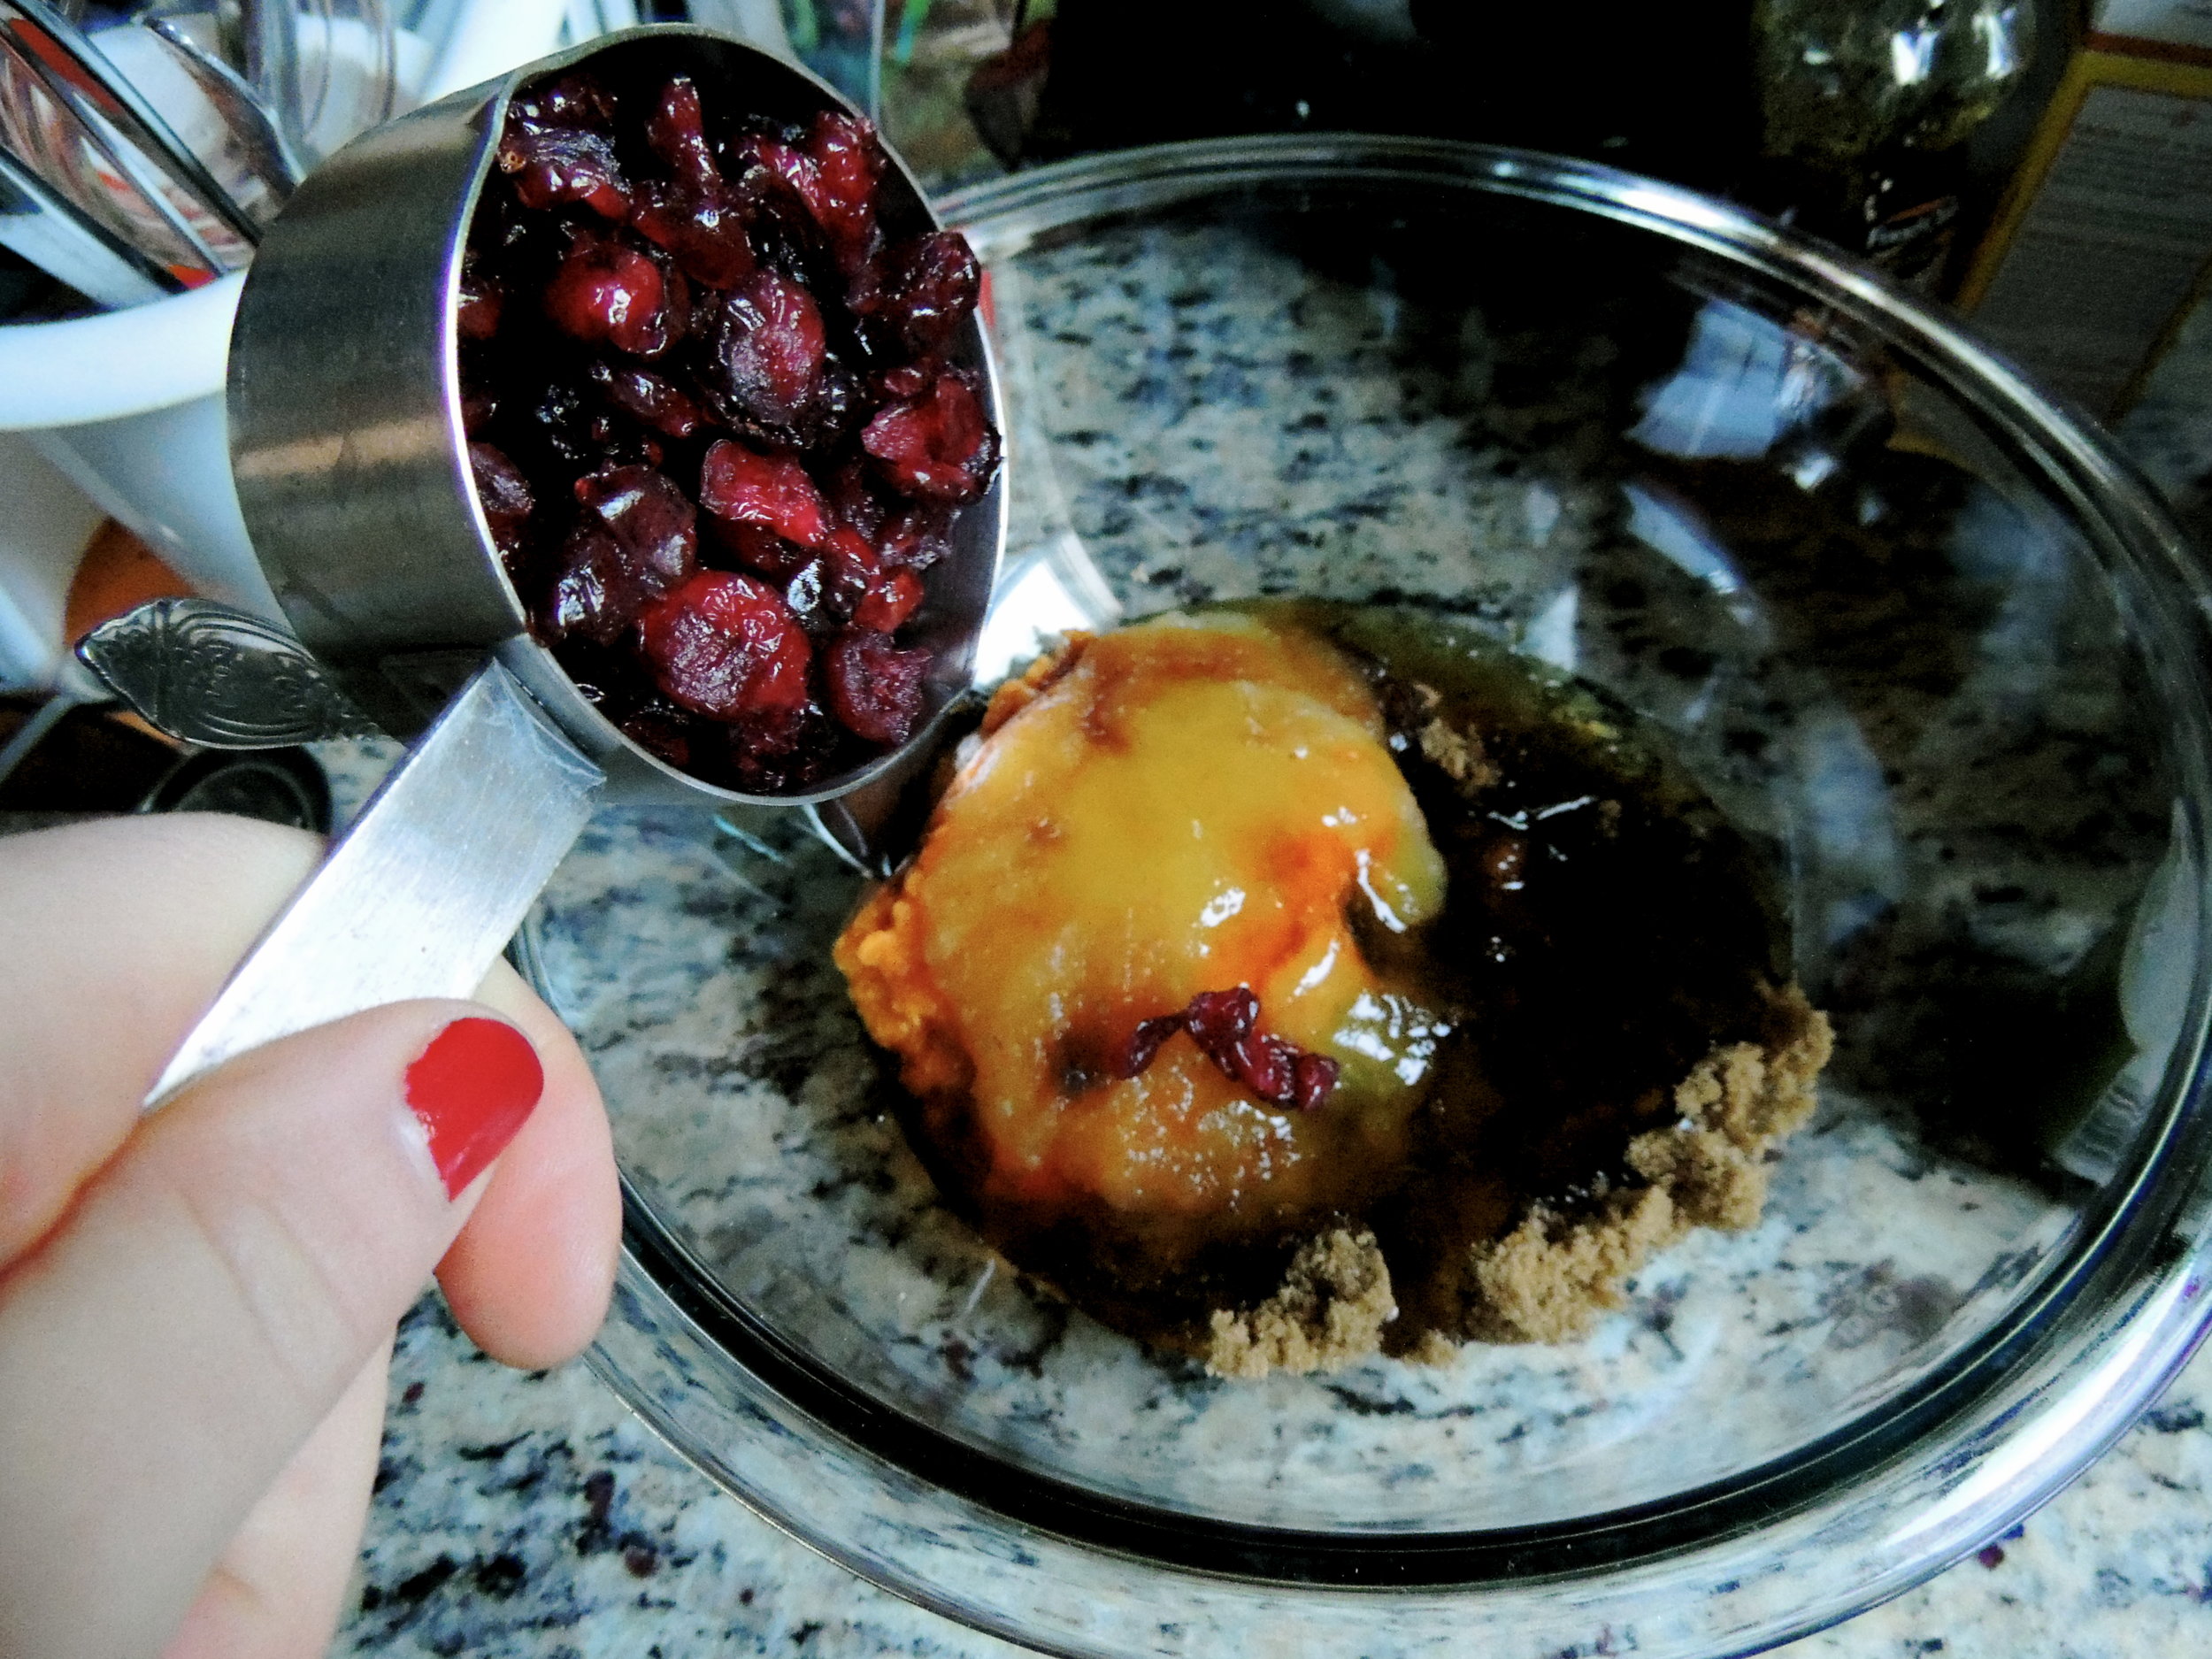
DSCN0374 DSCN0379It was really interesting to learn some of the elements that go into granola bars. I'm not exactly sure what I thought it was that was holding them together, but I didn't realize what a huge part honey plays. It's the glue that binds the whole operation together and without it, you've got mushy, uncooked oatmeal with pieces of fruit in it. Also interesting, this recipe called for 1/4 cup applesauce. It helps keep some of the moisture during baking, and it makes all the difference.

DSCN0386I liked that this recipe called for white chocolate chips for three reasons:

1. White chocolate chips were on sale today for $0.79

2. I don't think I've ever baked with white chocolate before.

3. I like white chocolate a lot. White Chocolate + Granola Mix= A really great idea!

And while the chocolate chip pieces melt away, their memory, and taste, are not forgotten. They add such a special sweetness to the mixture.

DSCN0389I could not stop eating this once it was finished. As a result, I don't really have granola "bars" per se, but instead granola "chunks" or granola "weirdly shaped, unevenly sized pieces." No regrets, it's not for sharing. The only person that will be appreciating this first batch is me, and my taste buds are in no way picky when it comes to presentation.

These granola bars are delicious, were easy to make, and now probably a new staple in my pantry. But bakers beware: this granola is addicting, so keep your wit's about you!

Give it a try!

PUMPKIN GRANOLA BARS:

What You'll Need:

  • 3 cups old fashioned oats
  • 2 teaspoons pumpkin pie spice
  • 1/2 teaspoon salt
  • 3/4 cup packed light brown sugar (or try dark brown sugarIt made things a lot sweeter!)
  • 1/2 cup pumpkin puree
  • 1/4 cup applesauce
  • 1/4 cup honey
  • 1 teaspoon vanilla extract
  • 1/2 cup dried cranberries
  • 1/2 cup white chocolate chips

To Make:

Preheat oven to 350° F. Line a baking sheet (9x9 is suggested, but I think my sheet is 9x11, and it turned out fine. Use what you have!) with foil allowing for 1 inch to hang on the sides of the pan. Spray foil with Pam, or another non-stick cooking spray, and set aside.

In a large bowl, combine oats, pumpkin pie spice, and salt. Set aside.

3. In a medium bowl, whisk together the brown sugar, pumpkin puree, applesauce, honey, and vanilla extract until smooth. Pour over oats and stir until oats are moistened. Stir in the cranberries and white chocolate chips.

4. Evenly press oat mixture onto the prepared baking sheet. Bake for 35-40 minutes, or until golden brown. Be sure not to under bake. Transfer to a cooling rack to cool completely.

5. Use a sharp knife to cut into bars. (Or just, eat it while you're impatiently waiting for it to cool, and make it into fun, unexpected shapes of granola like I did! Yeah!)

Source: Very minimally adapted from My Baking Addiction

Happy baking!

singature gray

Making it My Own: Pumpkin Oatmeal Raisin Cookies

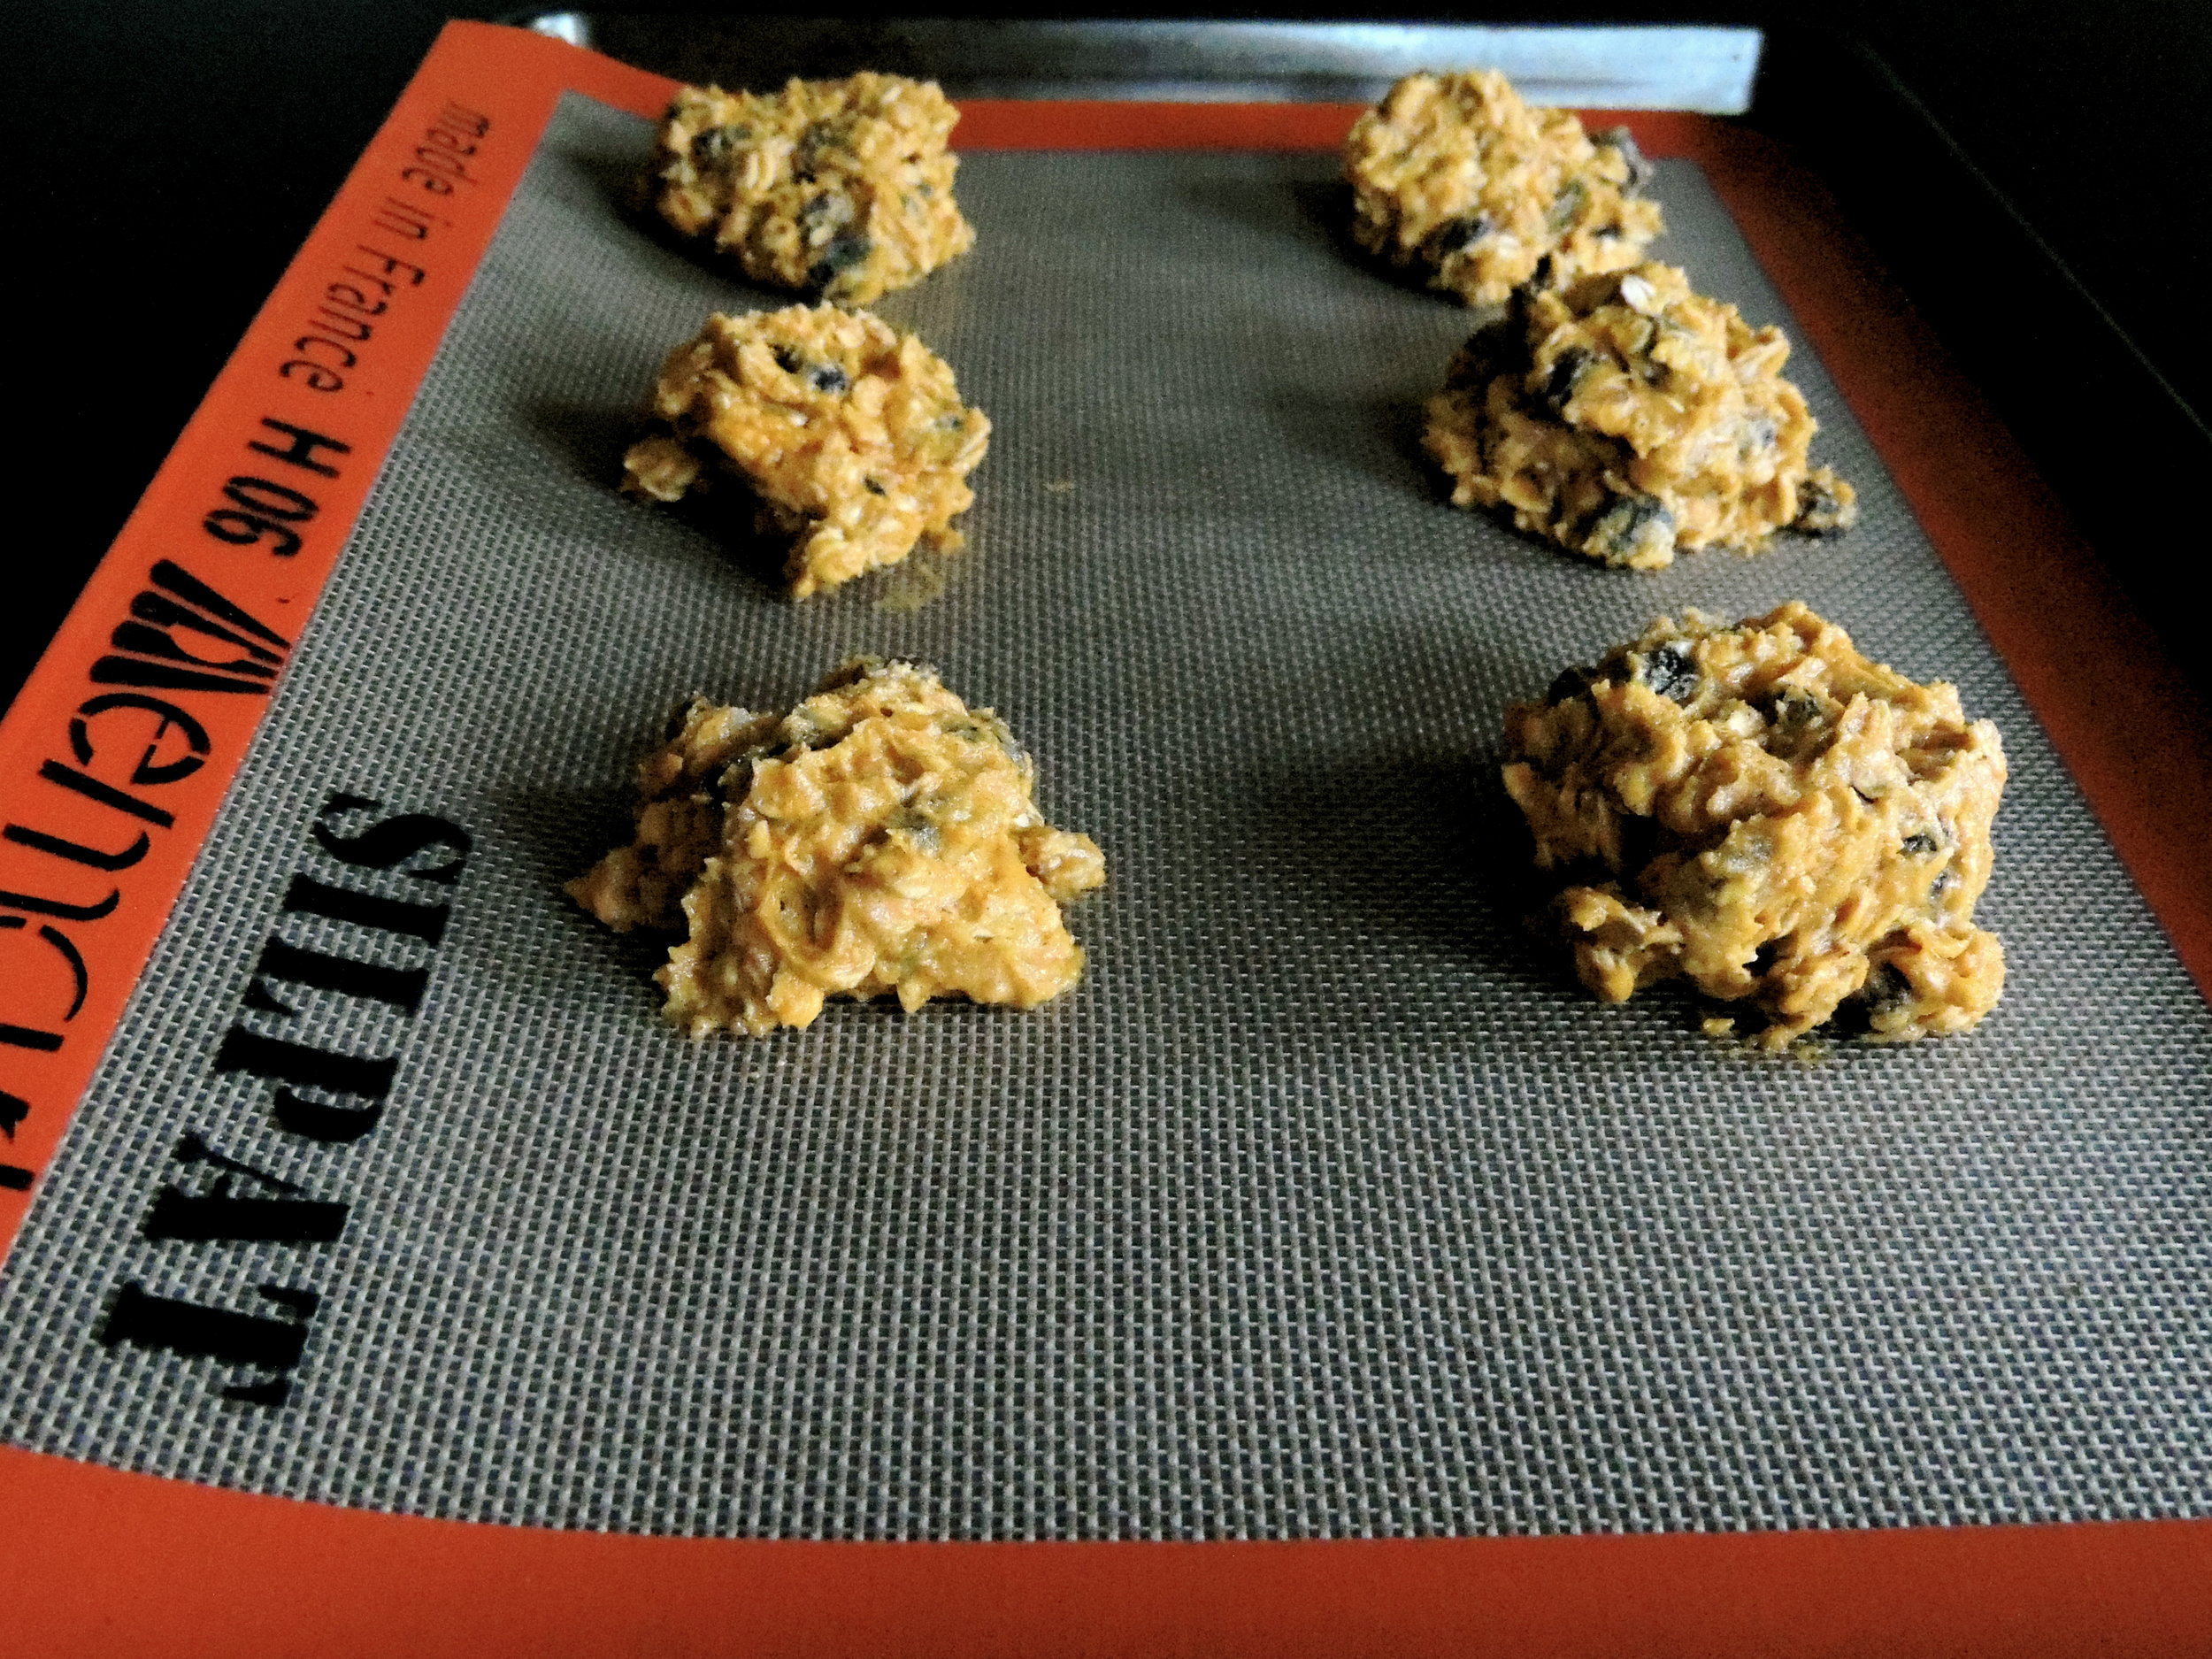
DSCN0308 The story really began on Sunday, when my friend Grace and I decided to hit up the neighborhood bakery, after completely stuffing ourselves at brunch. No regrets, the weekends are the days that I feast. My neighborhood has the CUTEST bakery with tons of handwritten signs everywhere, and a really great pastry selection. What I had in mind for a post-brunch treat was a cannoli because hey, if you're going to have dessert after essentially having dessert, you have to go all out. But these days, I leave cannolis to the experts in the North End, and no where else. Instead, I locked eyes on (well, eye to baked good) a pumpkin raisin cookie. It just so happens that a few days before, I'd heard talk of a pumpkin aatmeal raisin cookie, and I'd been dying to try one ever since. But when I asked the salesperson if the cookie had oats, she shook her head "no," and sort of looked at me quizzically. Well, whatever, there was nothing else in the bakery I wanted more than that cookie, so I paid, and we left. And, I have to say it: I was super disappointed. I mean, I ate the whole thing obviously, but every bite was a reminder that I may have chosen the wrong thing at the bakery. It was missing one very important element: oats.

Honestly, think about it: had there been no pumpkin, it would have just been a raisin cookie. WHO EATS PLAIN RAISIN COOKIES? It's oatmeal raisin, or nothing. So as I took my last bite, I looked over at Grace and said, "I think I'm going to remake this cookie."

So I did.

DSCN0307

I started my baking adventure like I always do: running furiously to the store in search of ingredients that I definetly should have collected before I decided to start baking. And I often embarrass myself once I get there. This particular time, after going up and down two aisles twice looking for raisins, I finally found someone that worked there, who told me to go to Produce. And after looking in Produce for .2 seconds, I decided to ask for help. Now, let me just preface this by saying that my trip to the store yesterday was the first time I'd been out all day, so I was still adjusting to being around other people, and also speaking out loud. Here was my interaction with the (pretty cute, by the way) salesperson in Produce:

Me: Excuse me, could you tell me where the grapes are?

SP: Grapes? Sure they're just------

Me:  OH NOPE. SORRY, I meant raisins! Ha, y'know like OLD GRAPES? HAHA

SP: ...Um. Okay, yeah, they're over here. Follow me...

Me: Yep. okay then...

So yeah, THAT happened. Nevertheless, I got my raisins. And I set to work!

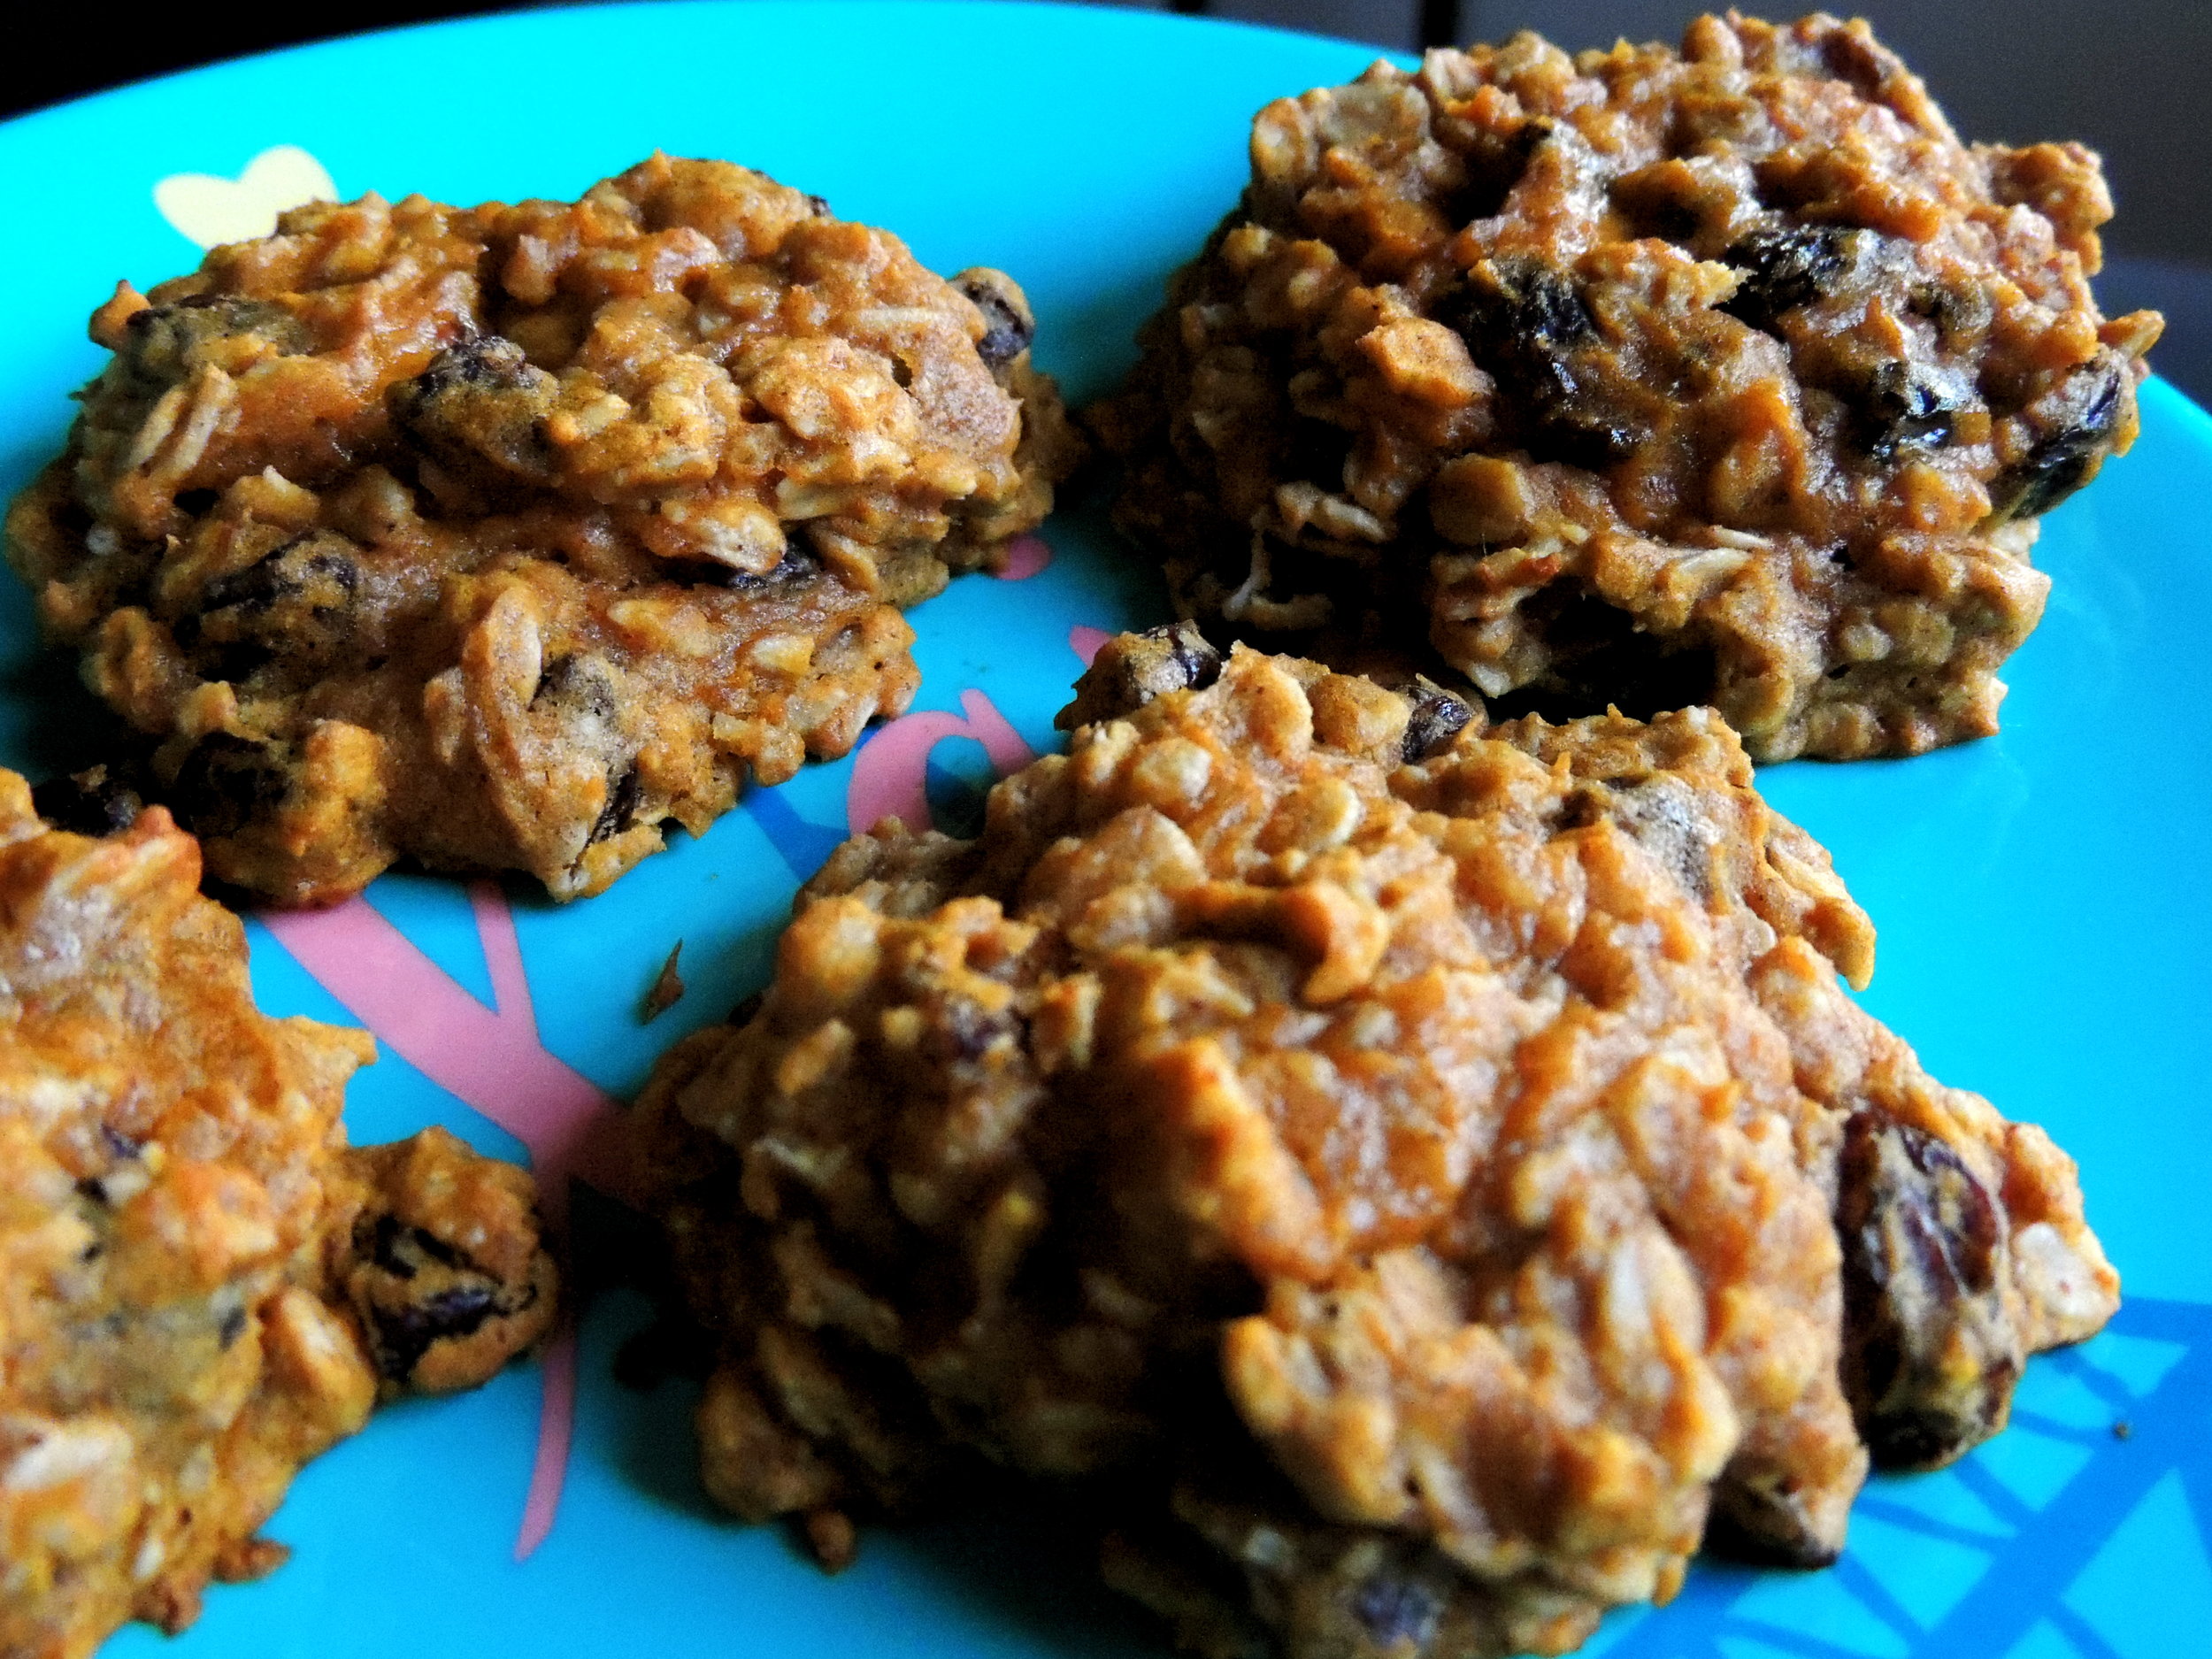
DSCN0316A few hours later, I had warm, chewy, Pumpkin Oatmeal Raisin cookies. And better than the bakery's cookies by a mile, if I do say so myself.

DSCN0329

DSCN0340I'm taking these little pieces of Fall goodness to work with me so that my Official Recipe Tasters (aka my co-workers and roommates) can give me the final word. I'm going to share this recipe, I promise!

HAPPY THURSDAY, GUYS! The weekend's almost here!

singature gray

Adventures in Recipe Testing: The Beginning of a New Baking Chapter

DSCN0287 There comes a time in every young baker's life when he or she has watched enough food-related shows on television and Netflix and decides that maybe it's time to start creating recipes of their very own...

...That time for me came nine months ago, but for the sake of this post, we'll say that it didn't officially start until this weekend.

We've got brand new neighbors upstairs that just moved in about a week and a half ago. In our building, there aren't a ton of units, so for me, it's important that I get to know everyone. The last time I made an introduction with new neighbors, I made doughnuts. Those seemed to be a crowd-pleaser then, so I decided, "You know what? Why break what isn't broken? Doughnuts again it is!" But I didn't want to just make the same doughnuts that I made last time because that makes it a little less special. Instead, I tried to think of things that would compliment the vanilla base, yet still allow it to be unique and creative. I also wanted to dye the glaze a different color, but I'm not always so keen on using food coloring. Then it hit me: what about a strawberry glaze? You get the strawberry flavor, and when mixed with the white glaze, a great color! So I set to work.

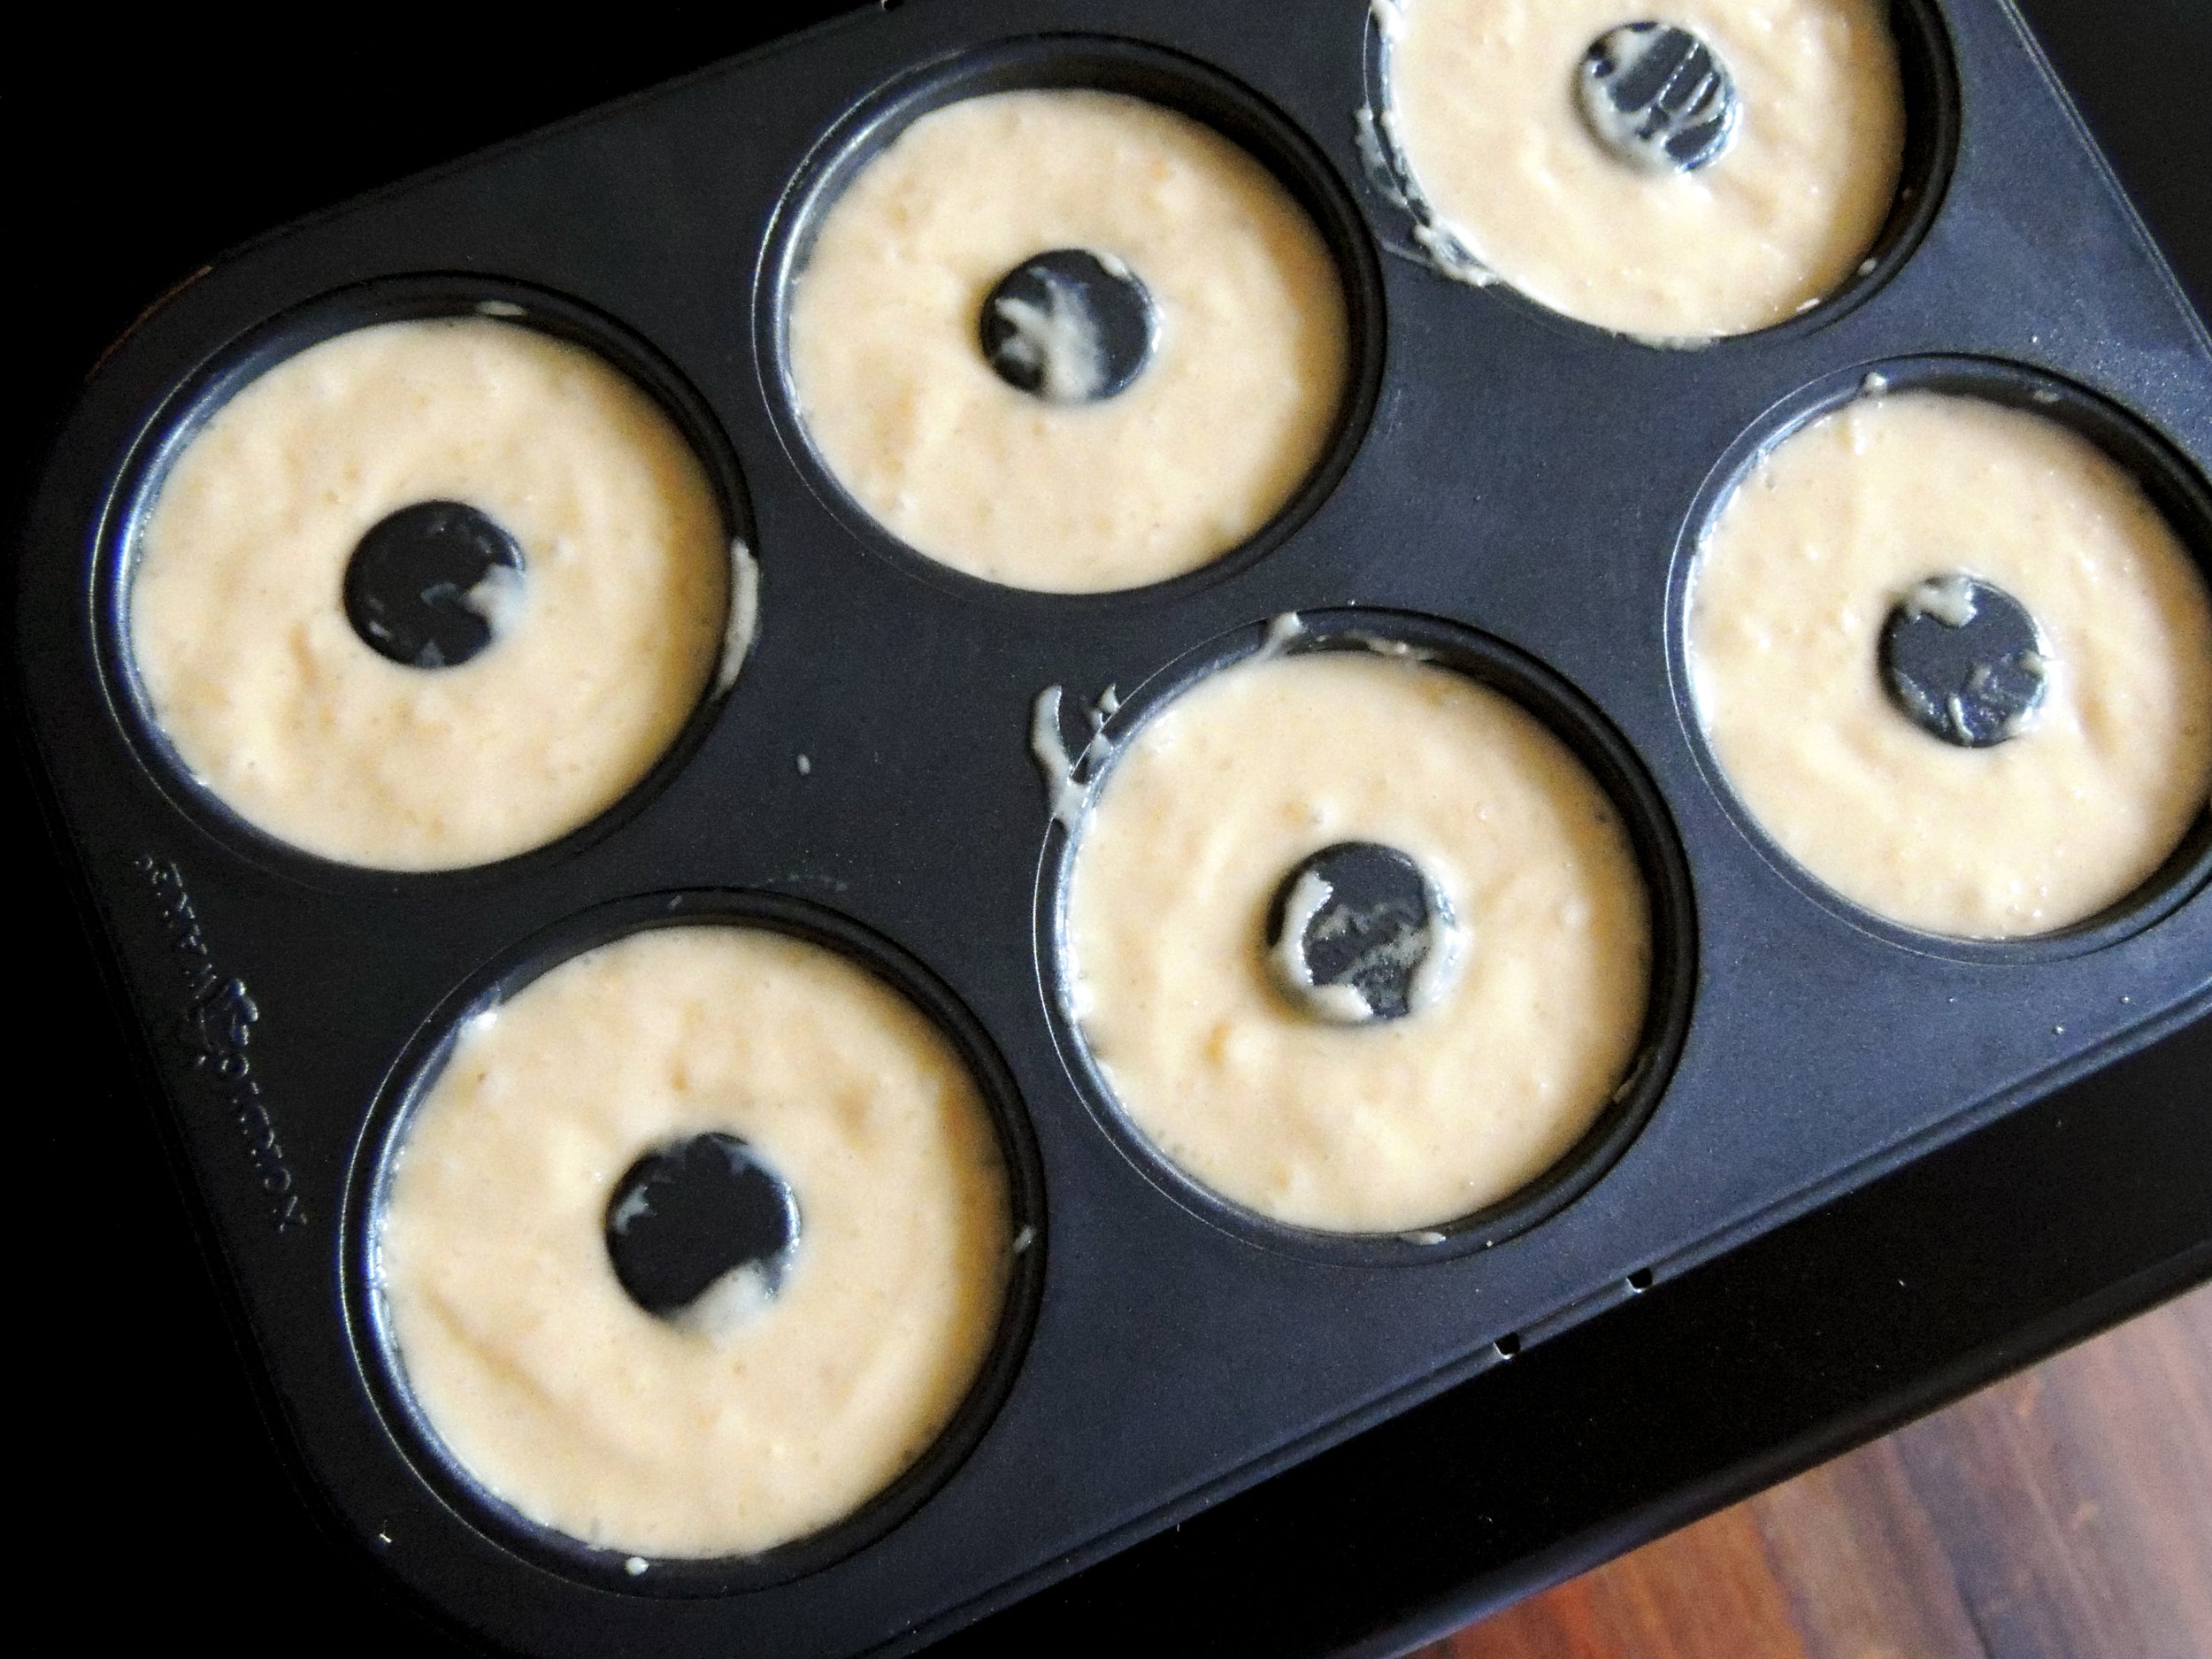
DSCN0286It's always such a breeze putting these babies together. I love that I didn't even have to use my mixer. Clean-up is never fun, so the less I use, the better it is.

DSCN0292Twelve of these round rings of deliciousness later, it was time to start working on a glaze from scratch. No help from other recipes, just pure experimentation.

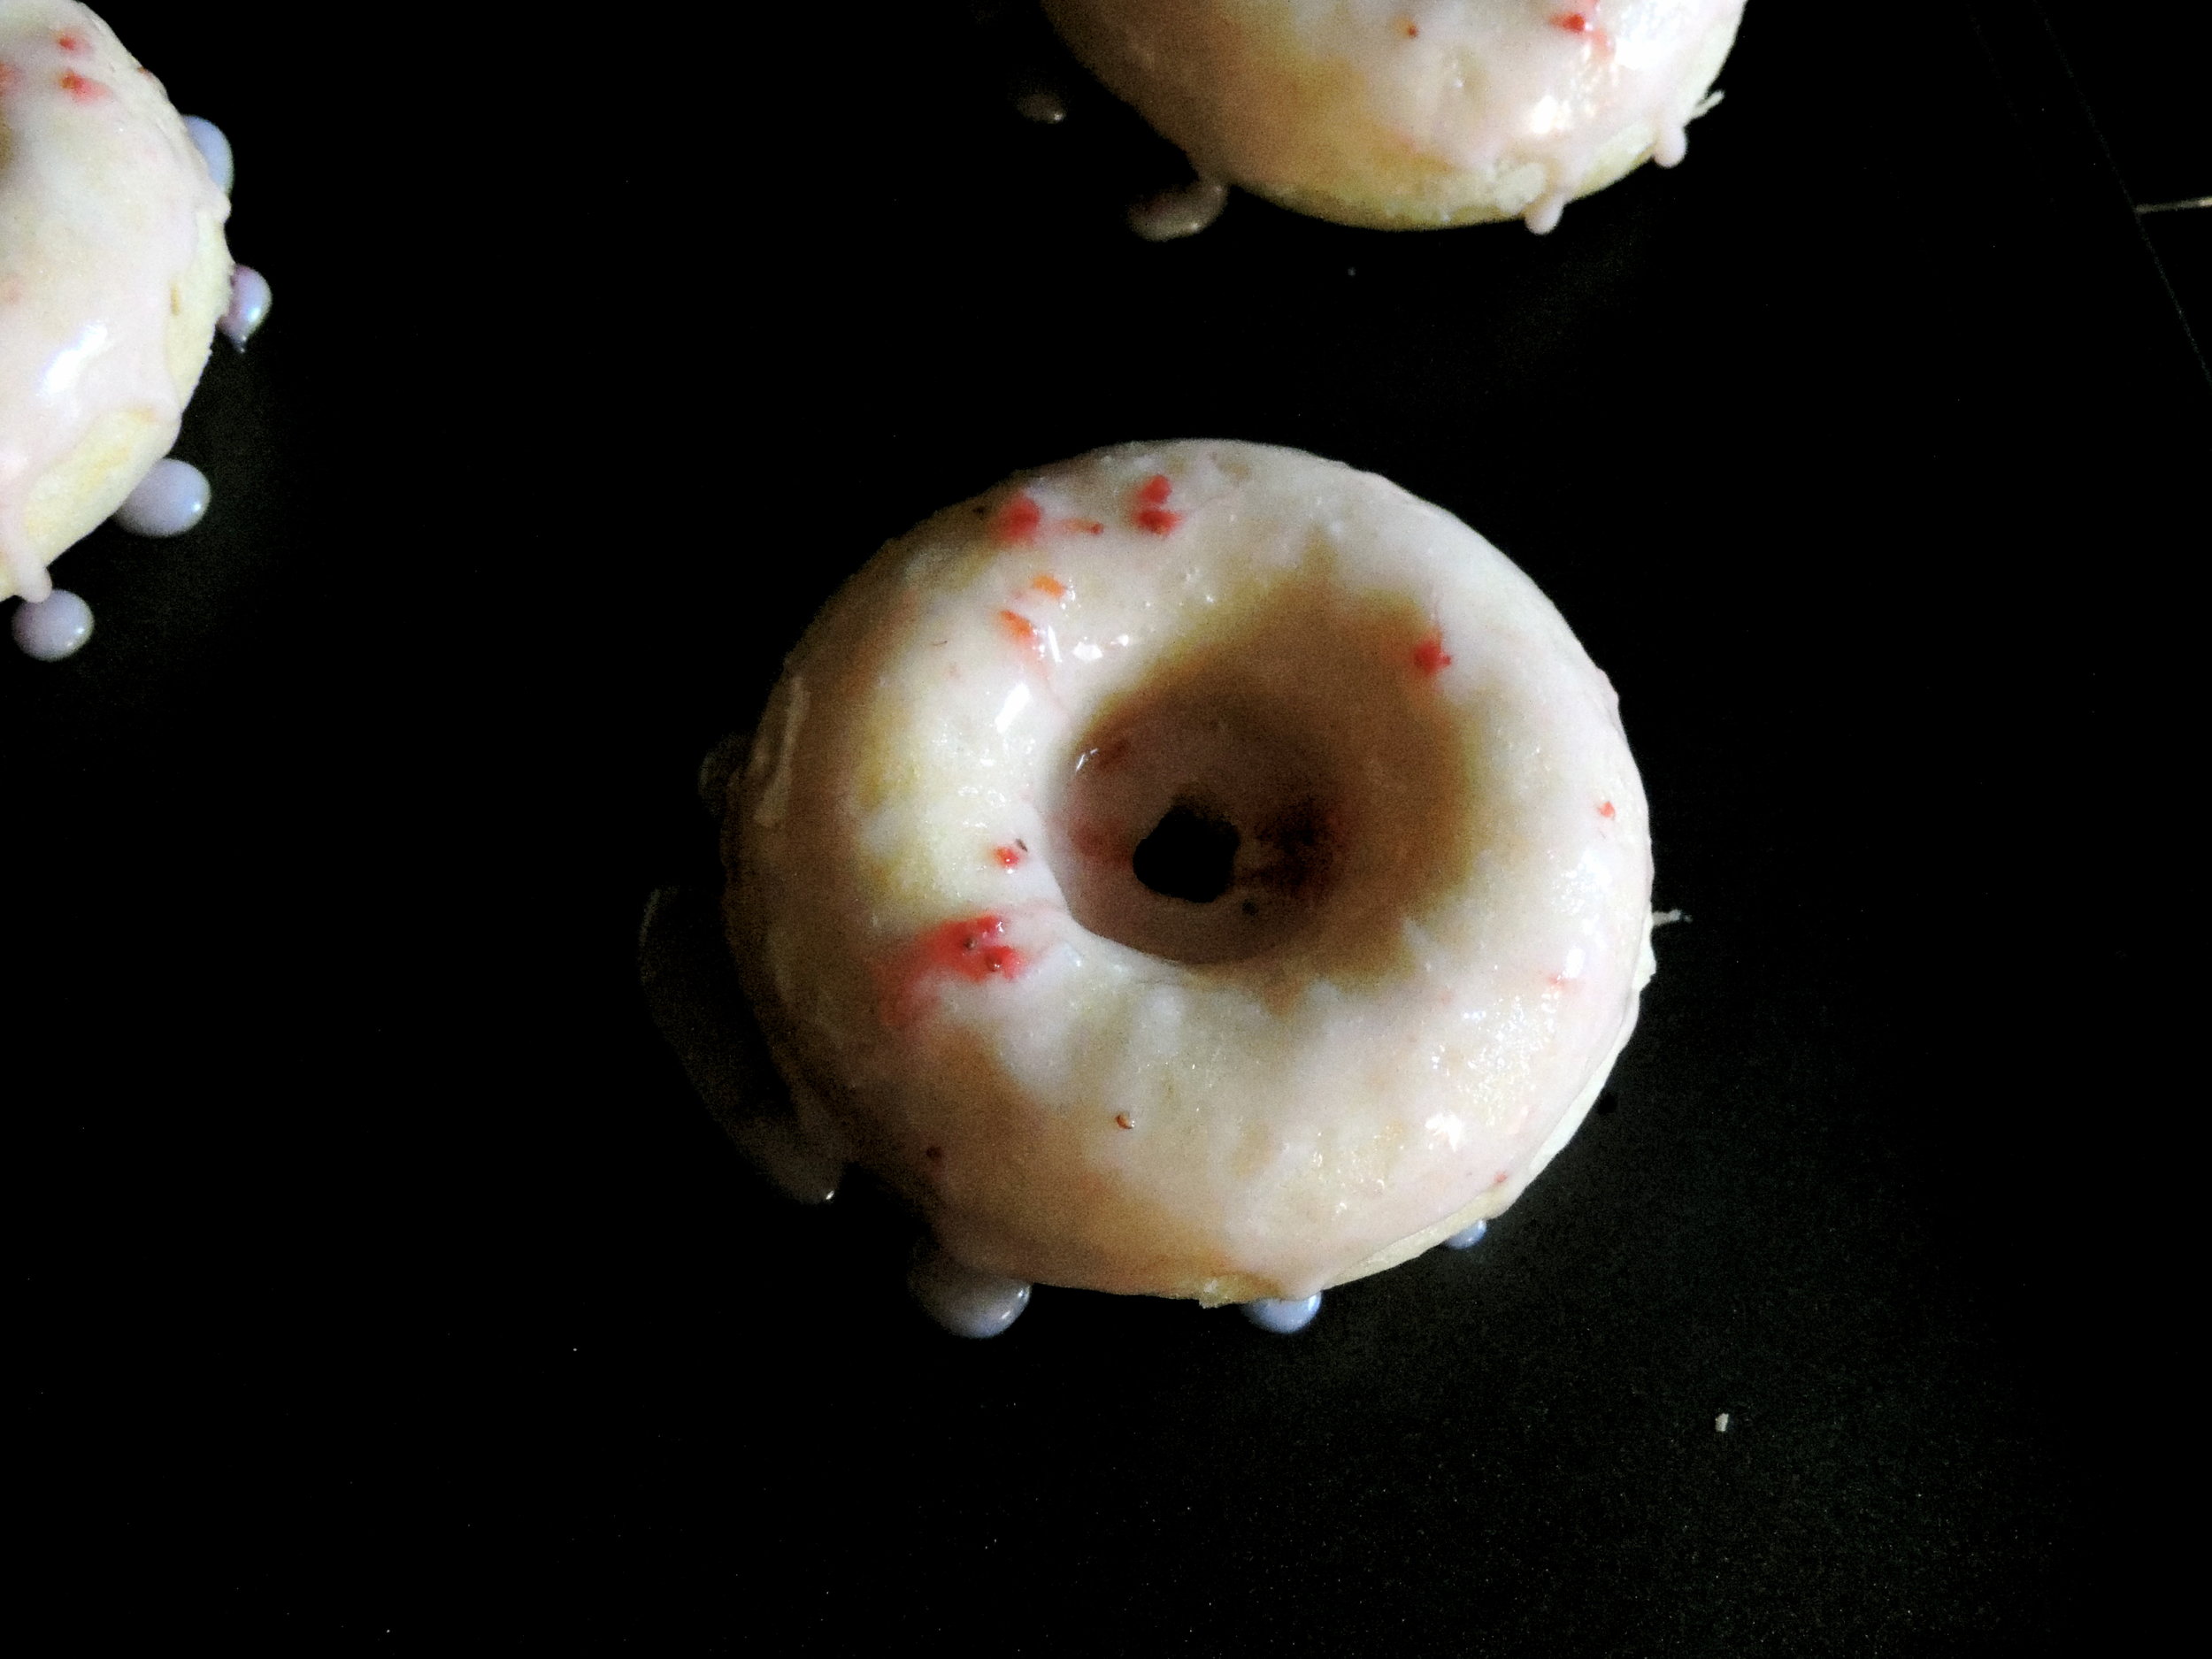
DSCN0295Initially, I tried to think of a way to get the strawberry juice, but none of the pulp. (I suppose you could call it pulp, right?) So I thought about putting the frozen strawberries into a colander, then mashing them up with something to get the juice, and nothing but the juice. But that didn't work out so well at all. The colander's holes were a little too big for such an experiment, and I ended up just straining through mashed strawberry. Then I decided to strain it through a paper towel to at least TRY to get some of the juice, but that was worse. Finally, I decided that the glaze was the exact color that I wanted, so, so what? It's a glaze infused with fruit, and I should just own it.DSCN0298

And "own it" I did! I dipped each doughnut into the glaze, then let it sit for about thirty minutes in the refrigerator. DSCN0299

And I have to say it: It was a pretty great success!

Looking back, there just a few things I would change. For starters, in the doughnut recipe, I was afraid that if I added nutmeg, it might compete with the strawberry flavor. But as I bit into it, I realized that it needed something. So next time, maybe just a little nutmeg. Secondly, I needed WAY more strawberries. The flavor was more subtle that I would've liked. In my opinion, if you're going to say it's a strawberry glaze, it better deliver that strawberry with a punch. And third, maybe add some decoration. I added red sprinkles afterwards which seemed like a good idea at the time, until I realized that when red sprinkles get a little moist, they start to bleed. It messed up my colors!

But my neighbors loved the gesture, and brought us "Thank You" brownies the very next day, special-delivered by THE CUTEST DOG EVER, Piper!

This is the start of a beautiful friendship.

And a beautiful adventure, making my own recipes.

Happy Tuesday, guys!

singature gray

P.S. It's snowing and sleeting today. What's going on in your neck of the woods?