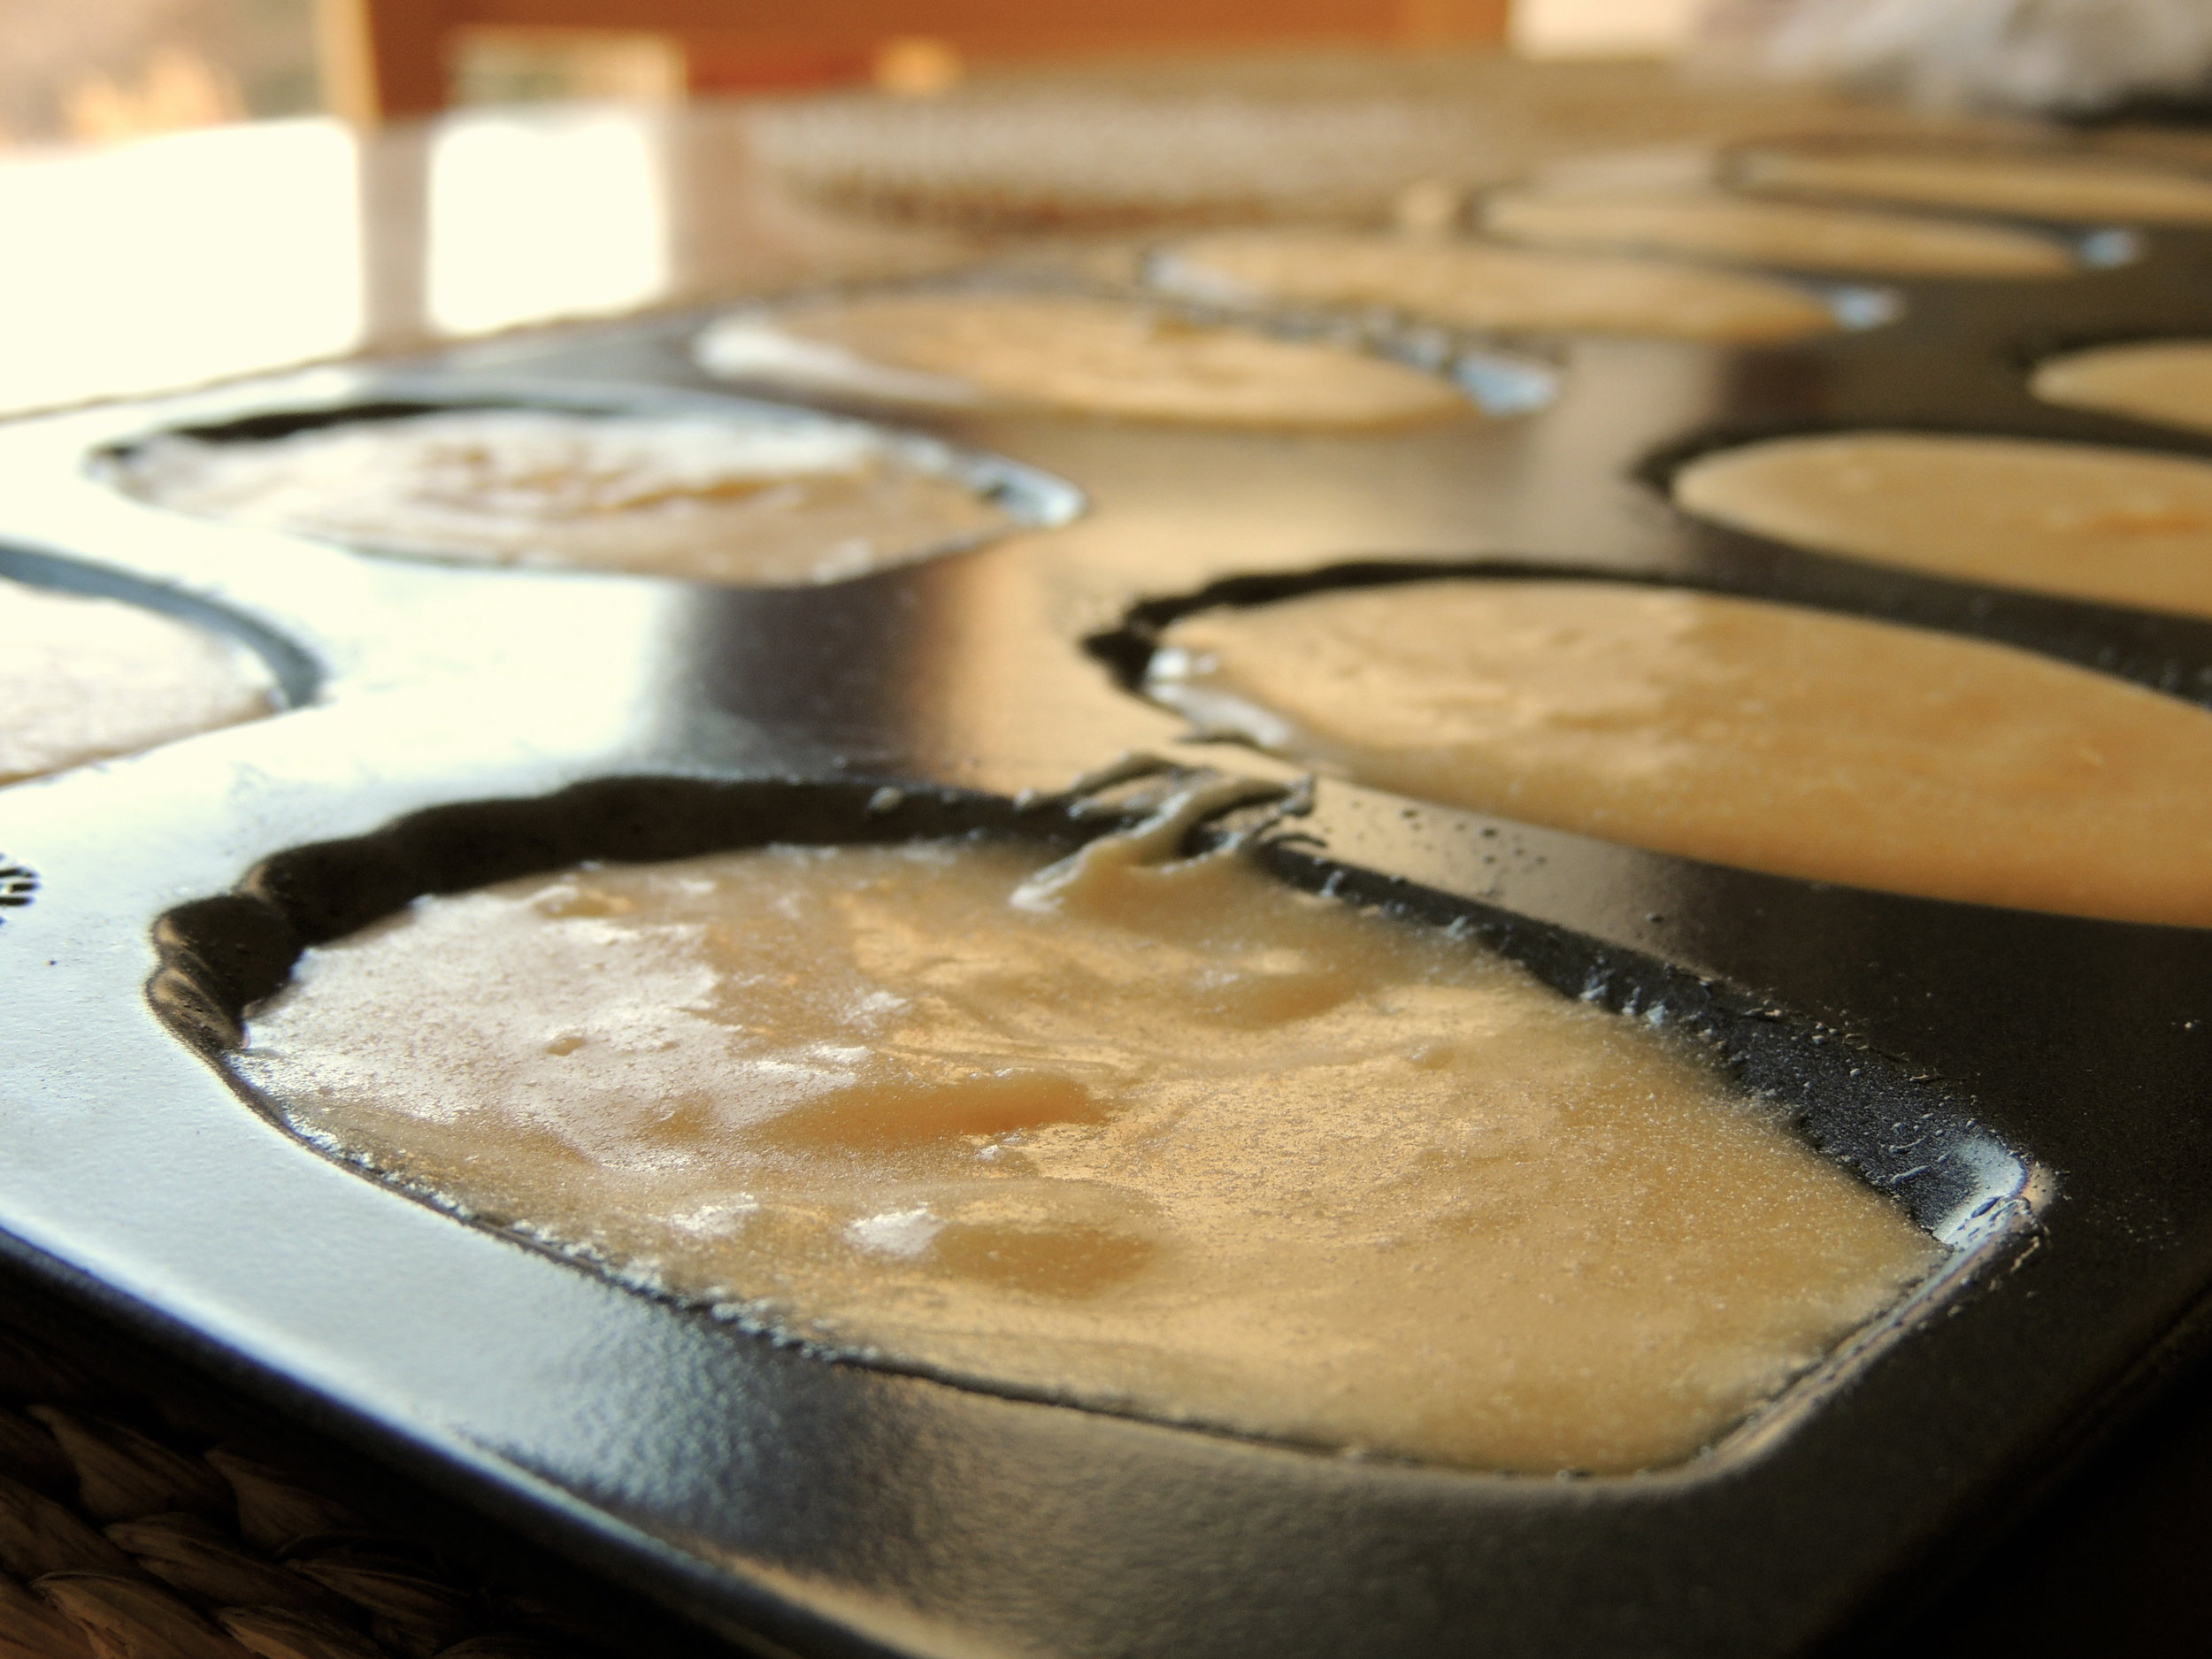
Hot Cross Buns

Hiiiiiiiiiiiii, how was your Easter??  Mine was epic and uplifting, and full of food. Simply the best.

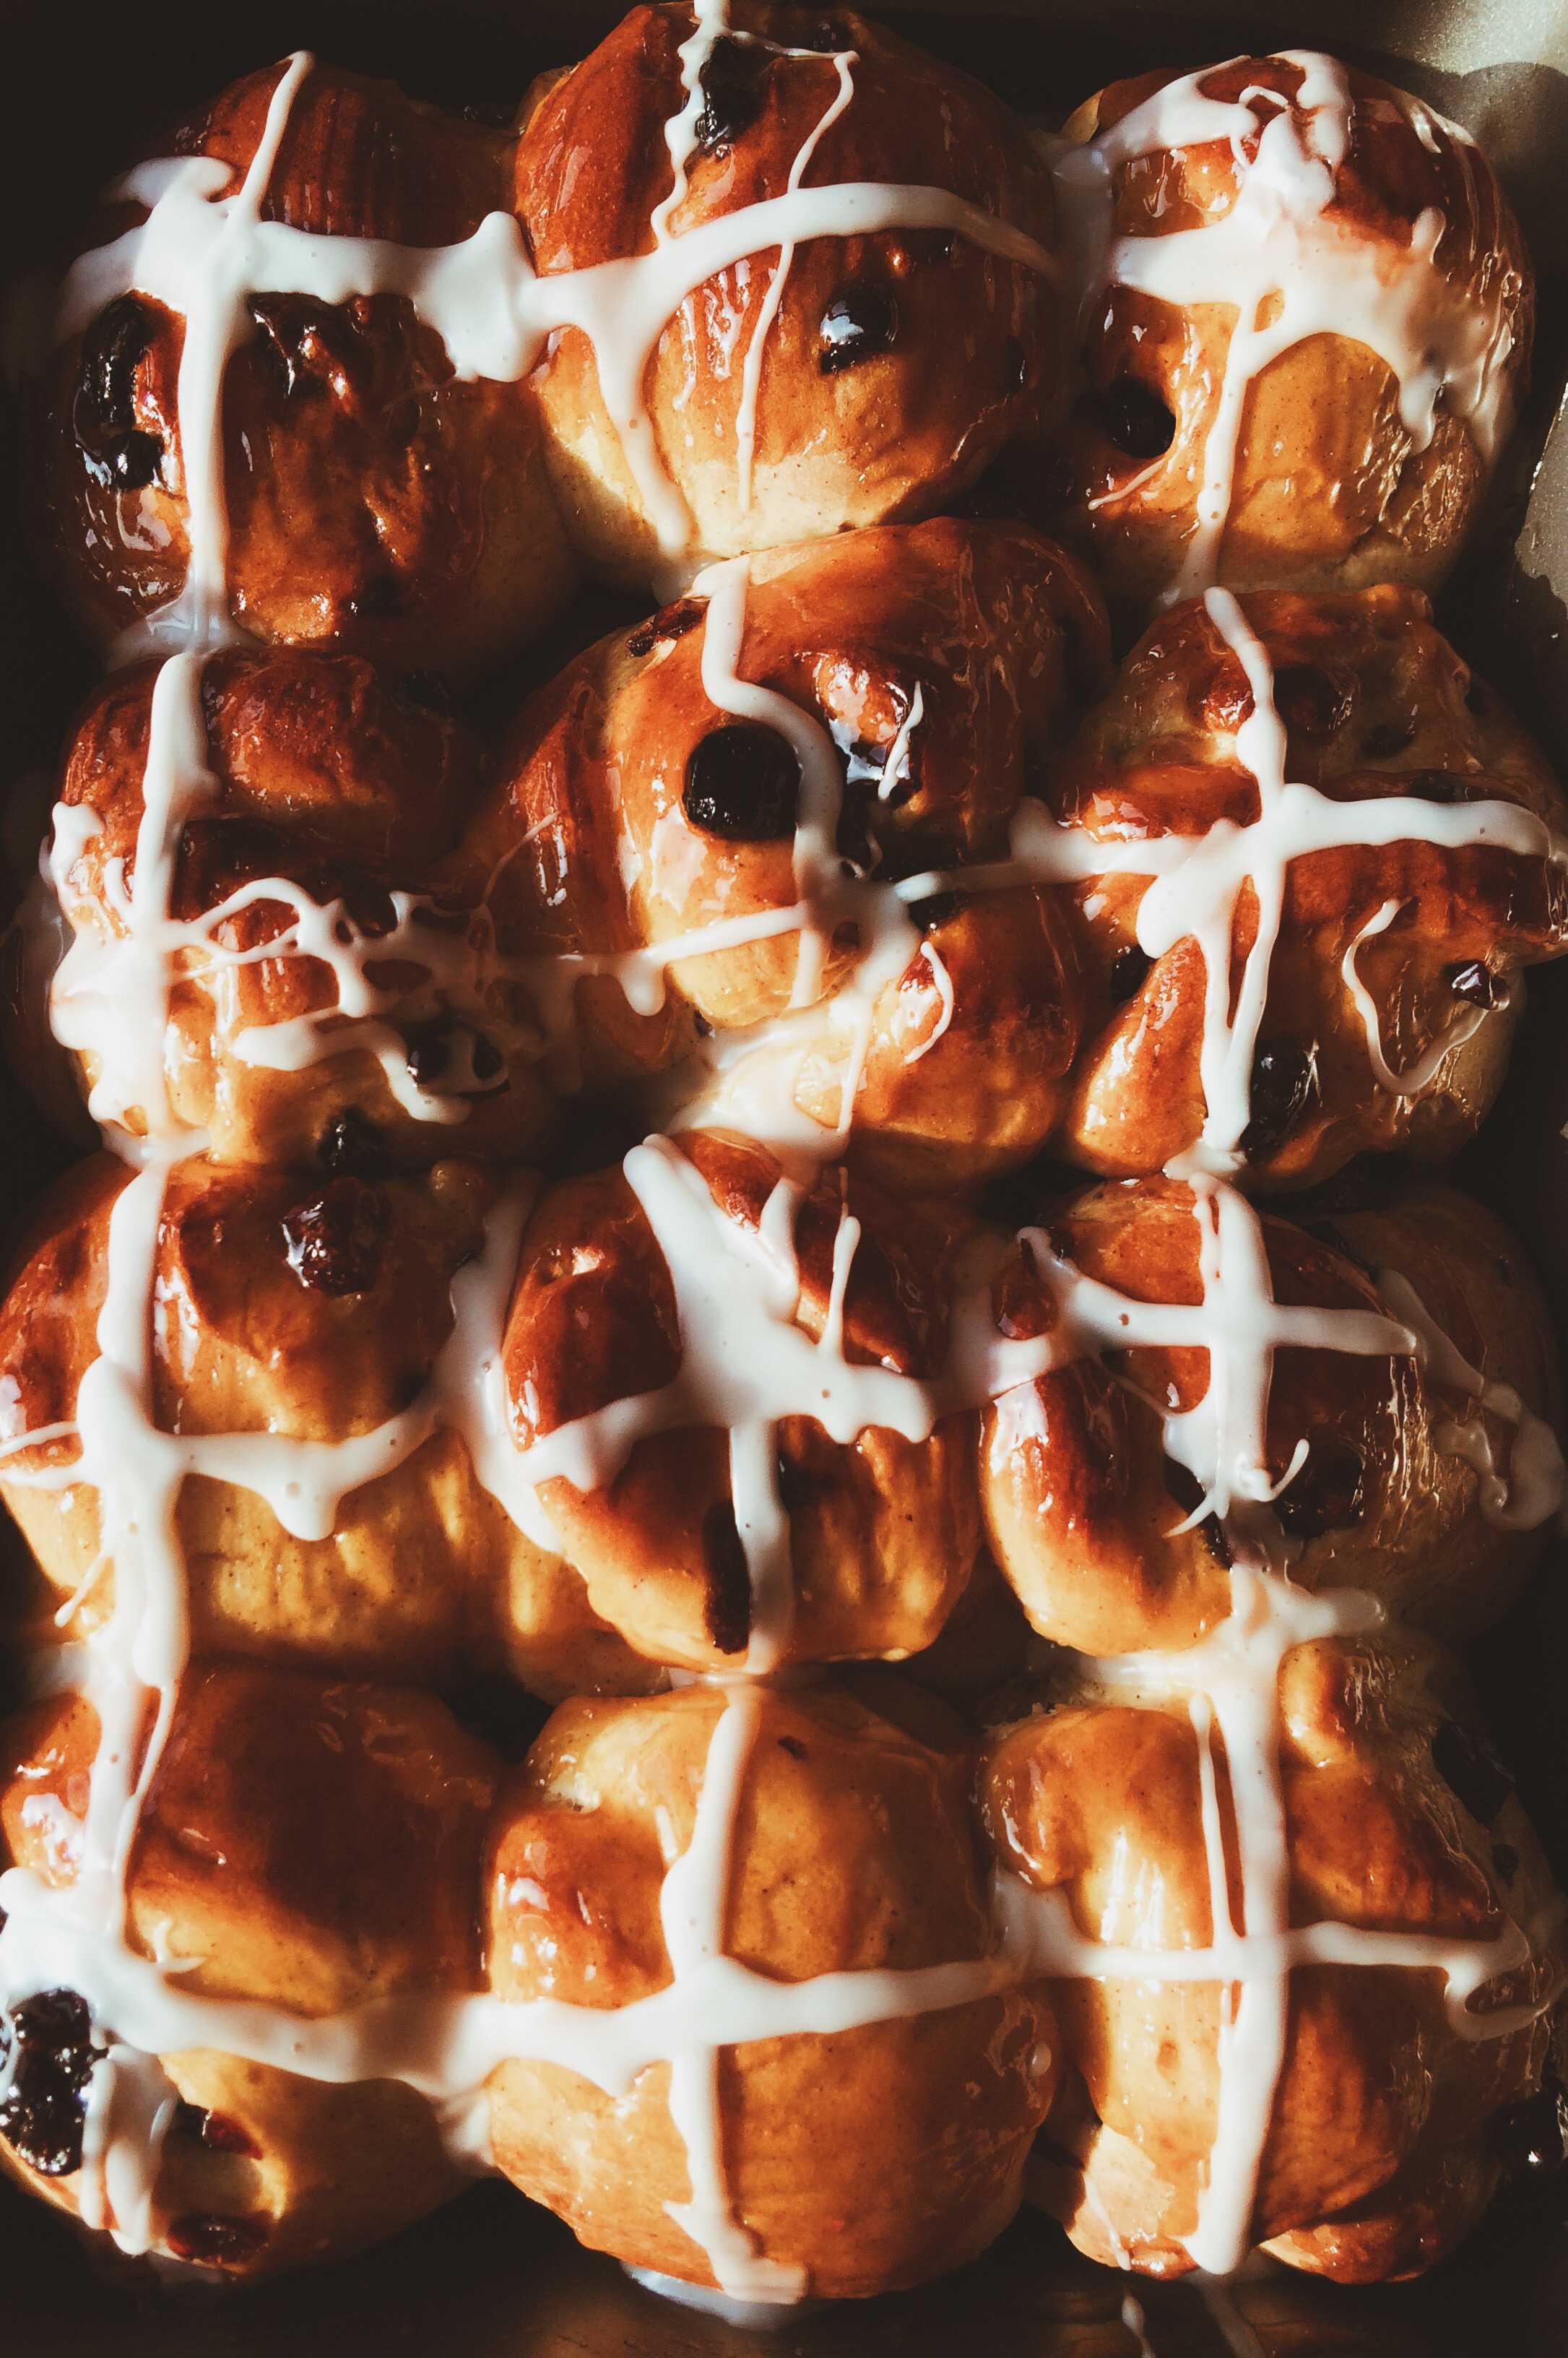
Have you ever had hot cross buns? This was my first year. Before that, my only knowledge of them began and ended with the song of the same name that I was forced to learn on the recorder in 7th grade. That was it. (Fun fact: I haven't picked up the recorder since.) But when you're young, it's almost a necessity that you start your own traditions and/or jump on holiday-specific bandwagons, so here we are. And I have to tell you: I can't believe I've lived my life up until now without hot cross buns. I mean, it's crazy. I can honestly say, in the four years that I have been baking, hot cross buns are the best things to ever come out of my oven. BY. FAR. Easter Sunday's breakfast was just EXCELLENT, you guys.

Best served warm, these buns are yeasty, squishy, icing-topped perfection. Traditionally, hot cross buns are filled with dried fruit like raisins, currants, cherries, or dates, but my grocery store was serisouly lacking in the traditional dried mixed fruit bags. What I found instead was a mix of dried strawberries, blueberries, cherries, and cranberries, and I LOVED that combination when paired with the warmed apricot jam and blend of cardamom and cinnamon spices. And while I enjoyed the little bursts of strawberries I got, next time 'round, I'll try to make my own fruit mix because the cardamom-cinnamon was practically begging for raisins. Either way, fruit in yeast rolls just WORKS.

You may see these most often on Easter, but something tells me these would work extremely well around Christmas time...or just all-year-round in general.


It's never too late for Hot Cross Buns.


Find the recipe HERE from Bon Appetit! 


Heart-Shaped Jammy Sammy Cookies

I know February 14th is long-gone, but I subscribe to Valentine's Day-cutesienss 365 days out of the year.

By the way, how was your Valentine's Day? Mine was surprisingly fun this year, which has freed me from the cycle of weird/awkward/disastrous scenes of Valentine's Day past. I volunteered at the an annual Sweetheart Dinner (last year I made this French Silk Pie), and had a BLAST. There were several courses involved, and no time to take a breath as we were each cooking over our respective dishes (I was on dessert duty but got roped into making seafood Alfredo once we got there). Lots of "behind"-s, and "this is ready to go out!"-s, and "We need more ginger ale for the punch!"-s were thrown out, and it reminded me of how much I love being in a busy kitchen. I live for that hustle and bustle sometimes. I mean, I've never dried so many dishes, or continuously scrubbed the same countertops so many times in my entire life, but MAN was it worth it. It was a really classy affair.

Would you like to know the best bit? These cookies were a BIG HIT!
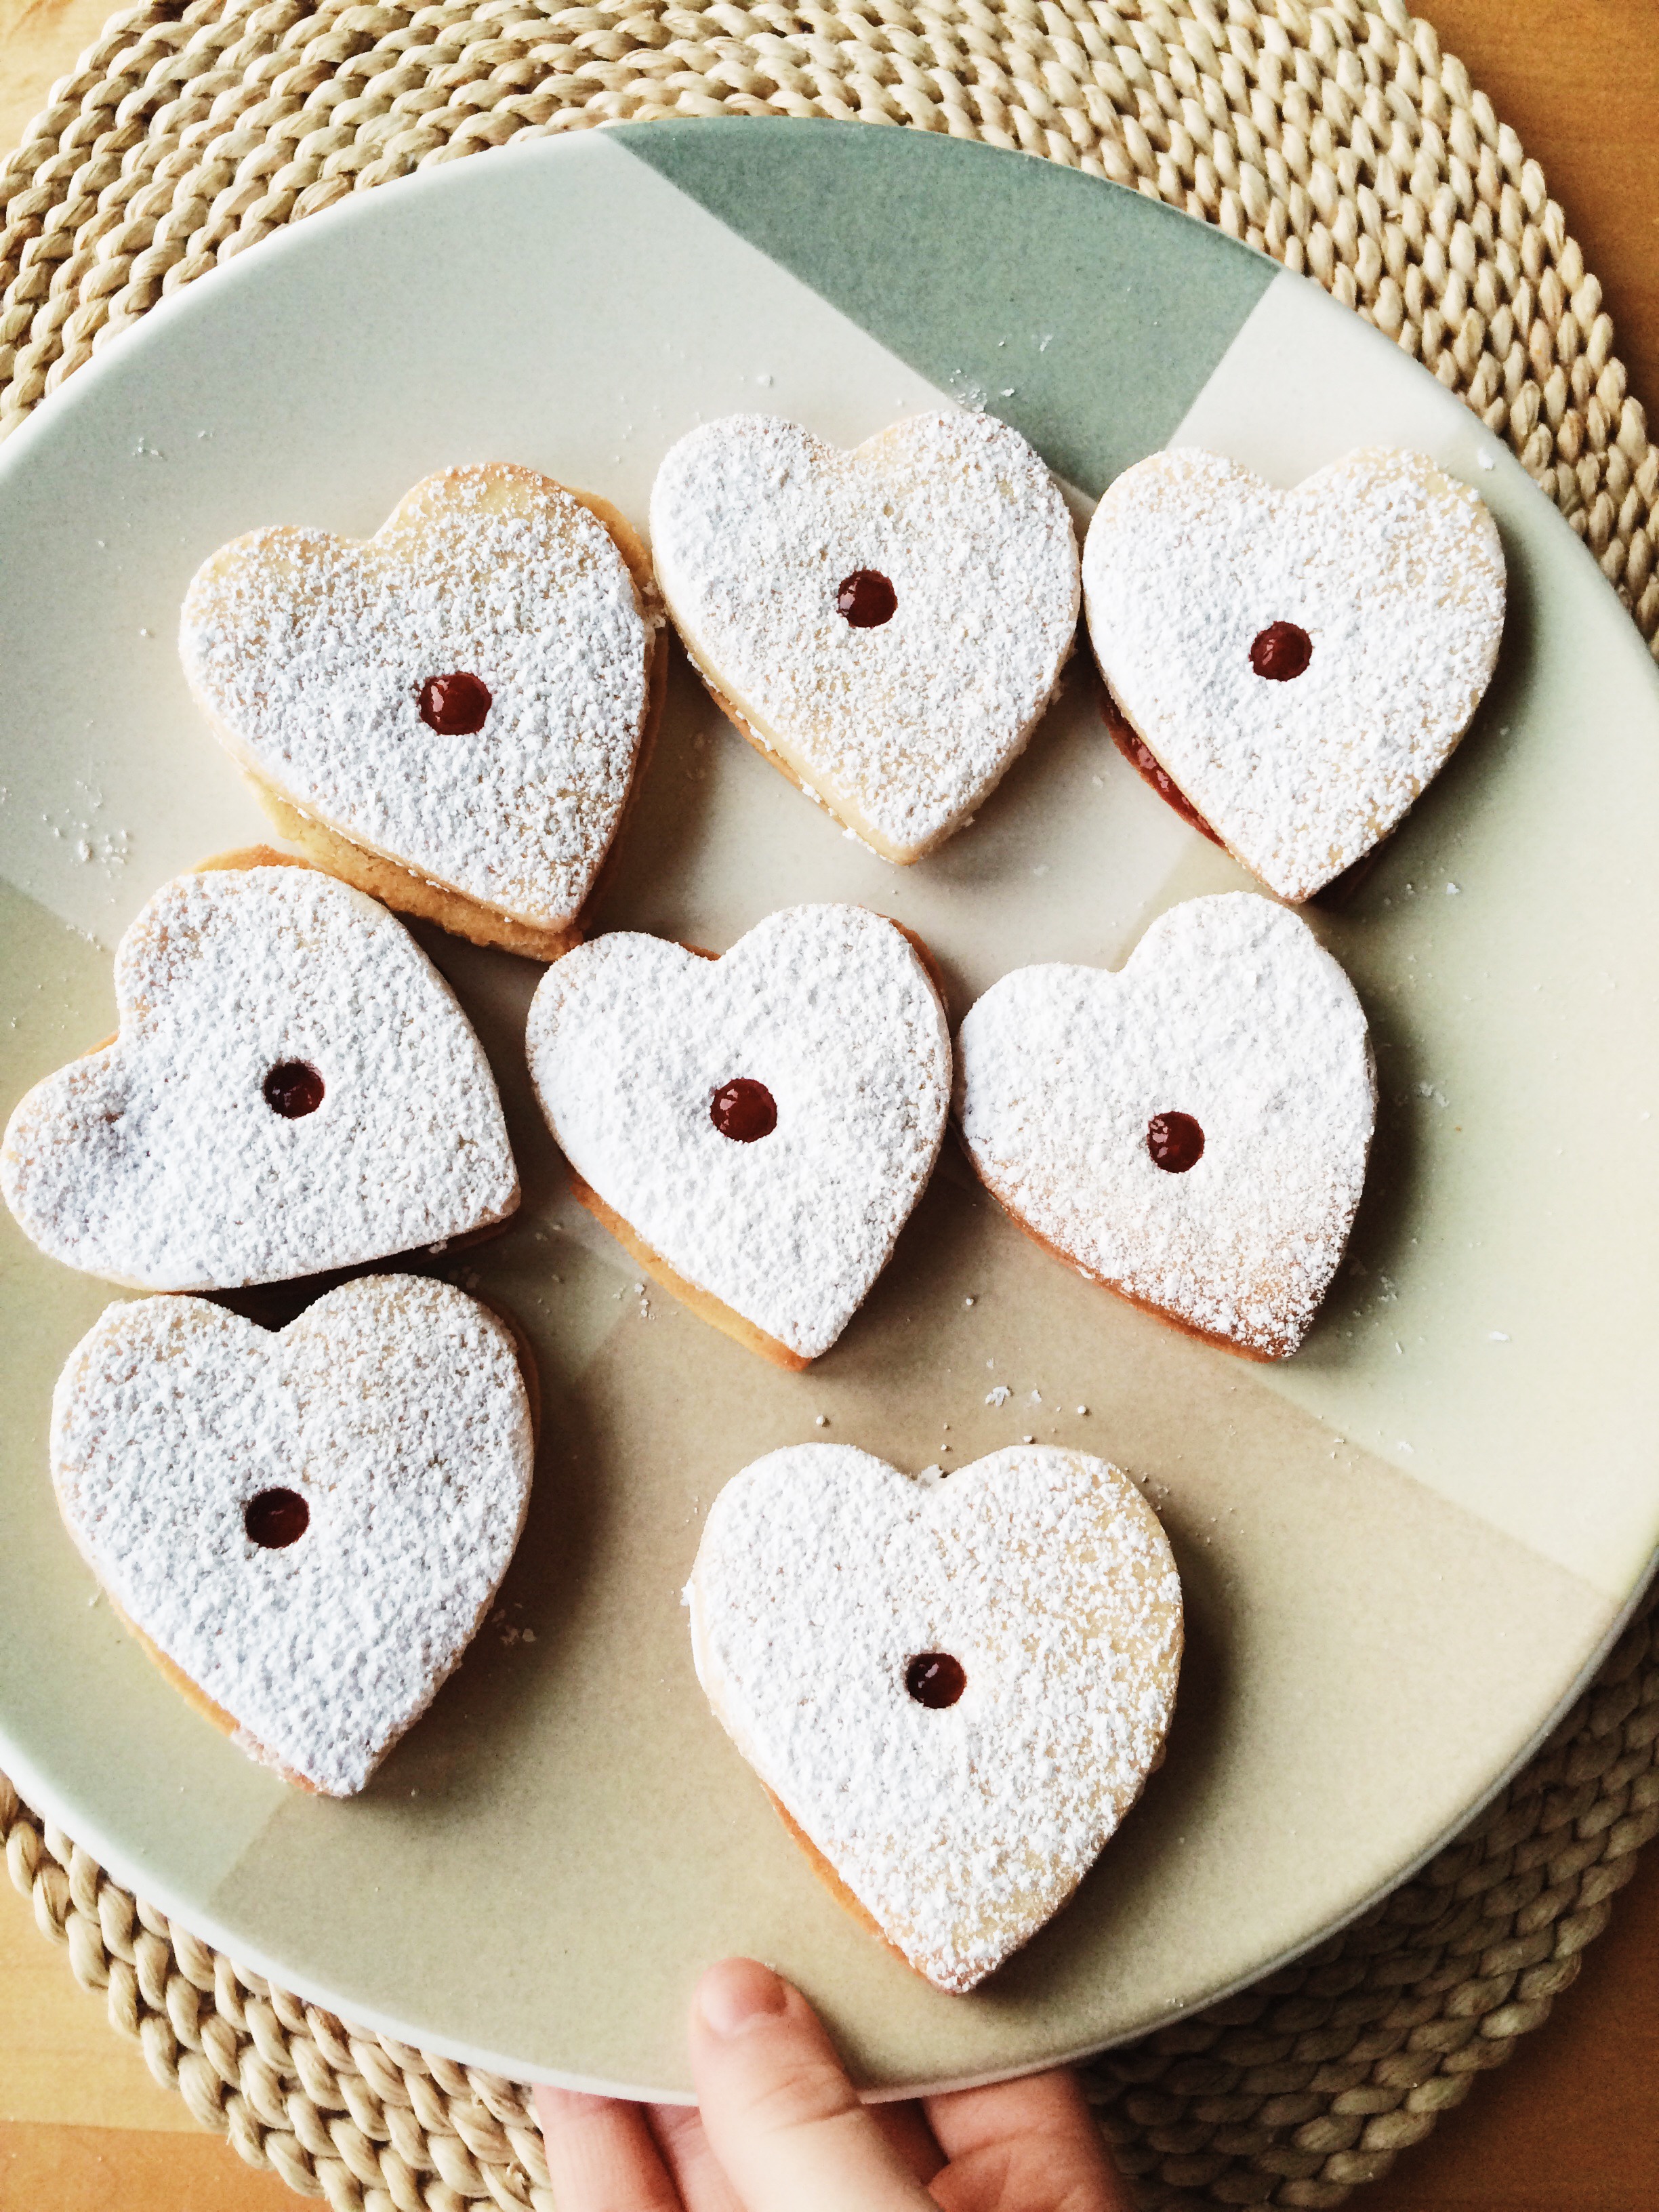
"Jammy Sammie Cookies" is just the name that I wrote to be cute/slightly annoying. You're probably more familiar with the name "Linzer," because of the filling and shape cut out of the center. I generally see Linzer cookies the most during the Holiday Season, but if you ask me, the cookie cutout + filling pairing should be a yearlong affair. And what goes better with a heart shape on Valentine's Day than fresh strawberry jam? Red is like the official unofficial color of V-Day, so the filling of these cookies were required to match accordingly.

Quick question: how do you feel about homemade jam? Me? I'm all about it. I feel like there's nothing that makes me feel cozier than when I'm making jam from scratch. Sure, it takes way less time to just pick a jar off the shelf at your local grocery store, but when you make it yourself you: A) Know exactly what has gone into it, and B) MADE. IT. YOURSELF. Helloooooooo! It's (relatively) fast, (totally) easy, (unbelievably) fresh, and you know it's always made with love.

Now pair that sweet, sweet jam with some deliciously soft shortbread plus a liberal sprinkling of powdered sugar for good measure, and you've got the stuff of dreams, kids. What could be better?

Since you'll definitely have jam left over after filling the cookies, might I make a few suggestions as to what to use it on?

  1. Biscuits
  2. Scones
  3. Toast
  4. Fingers dipped in
  5. By the spoonful
  6. etc. etc.

And let's just quickly talk about the versatility of these cookies, shall we? Yes, they were made for February 14th, but they can go wayyy beyond that. We're talkin' tea parties, birthday parties, bridal showers, picnics, breakfasts, coffee breaks, dates, etc. etc. Cookie hearts filled with homemade jam never go out of season.

It's a beautiful thing.


HEART-SHAPED JAMMY SAMMY COOKIES

What You’ll Need:

For the shortbread:

2 sticks unsalted butter, at room temperature

1 cup granulated sugar

1/4 teaspoon salt

1 large egg + 1 large egg yolk, room temperature

1 teaspoon vanilla extract

2 1/2 cups all-purpose flour

Powdered sugar for sprinkling

For the jam:

32 oz (two 16 oz containers) strawberries

1/2 cup + 1 tablespoon  brown sugar

Pinch of salt

Zest of 1 whole lemon + juice of half a lemon


DIRECTIONS:

First, let’s make the shortbread cookie dough:

 In the bowl of a stand mixer fitted with the paddle attachment (or a hand mixer, or a wooden spoon), add the butter, sugar, and salt and beat until light and fluffy, about 3-5 minutes. Add the egg and egg yolk one at a time, making sure each addition is well combined. Next, add the vanilla extract. Add the flour in three batches, making sure each addition is well combined (but don’t over-mix), before adding more flour. When necessary, scrape down the sides of the bowl using a rubber spatula.

Once your dough has just come together, lay your dough out on a plastic sheet, then divide it in half. Wrap each half tightly in plastic wrap, then shape to form discs. Refrigerate the discs for at least one hour, but best is overnight.

Ok, dough’s done, now let’s make the jam:

Rinse strawberries before using, and let drain completely before getting started.

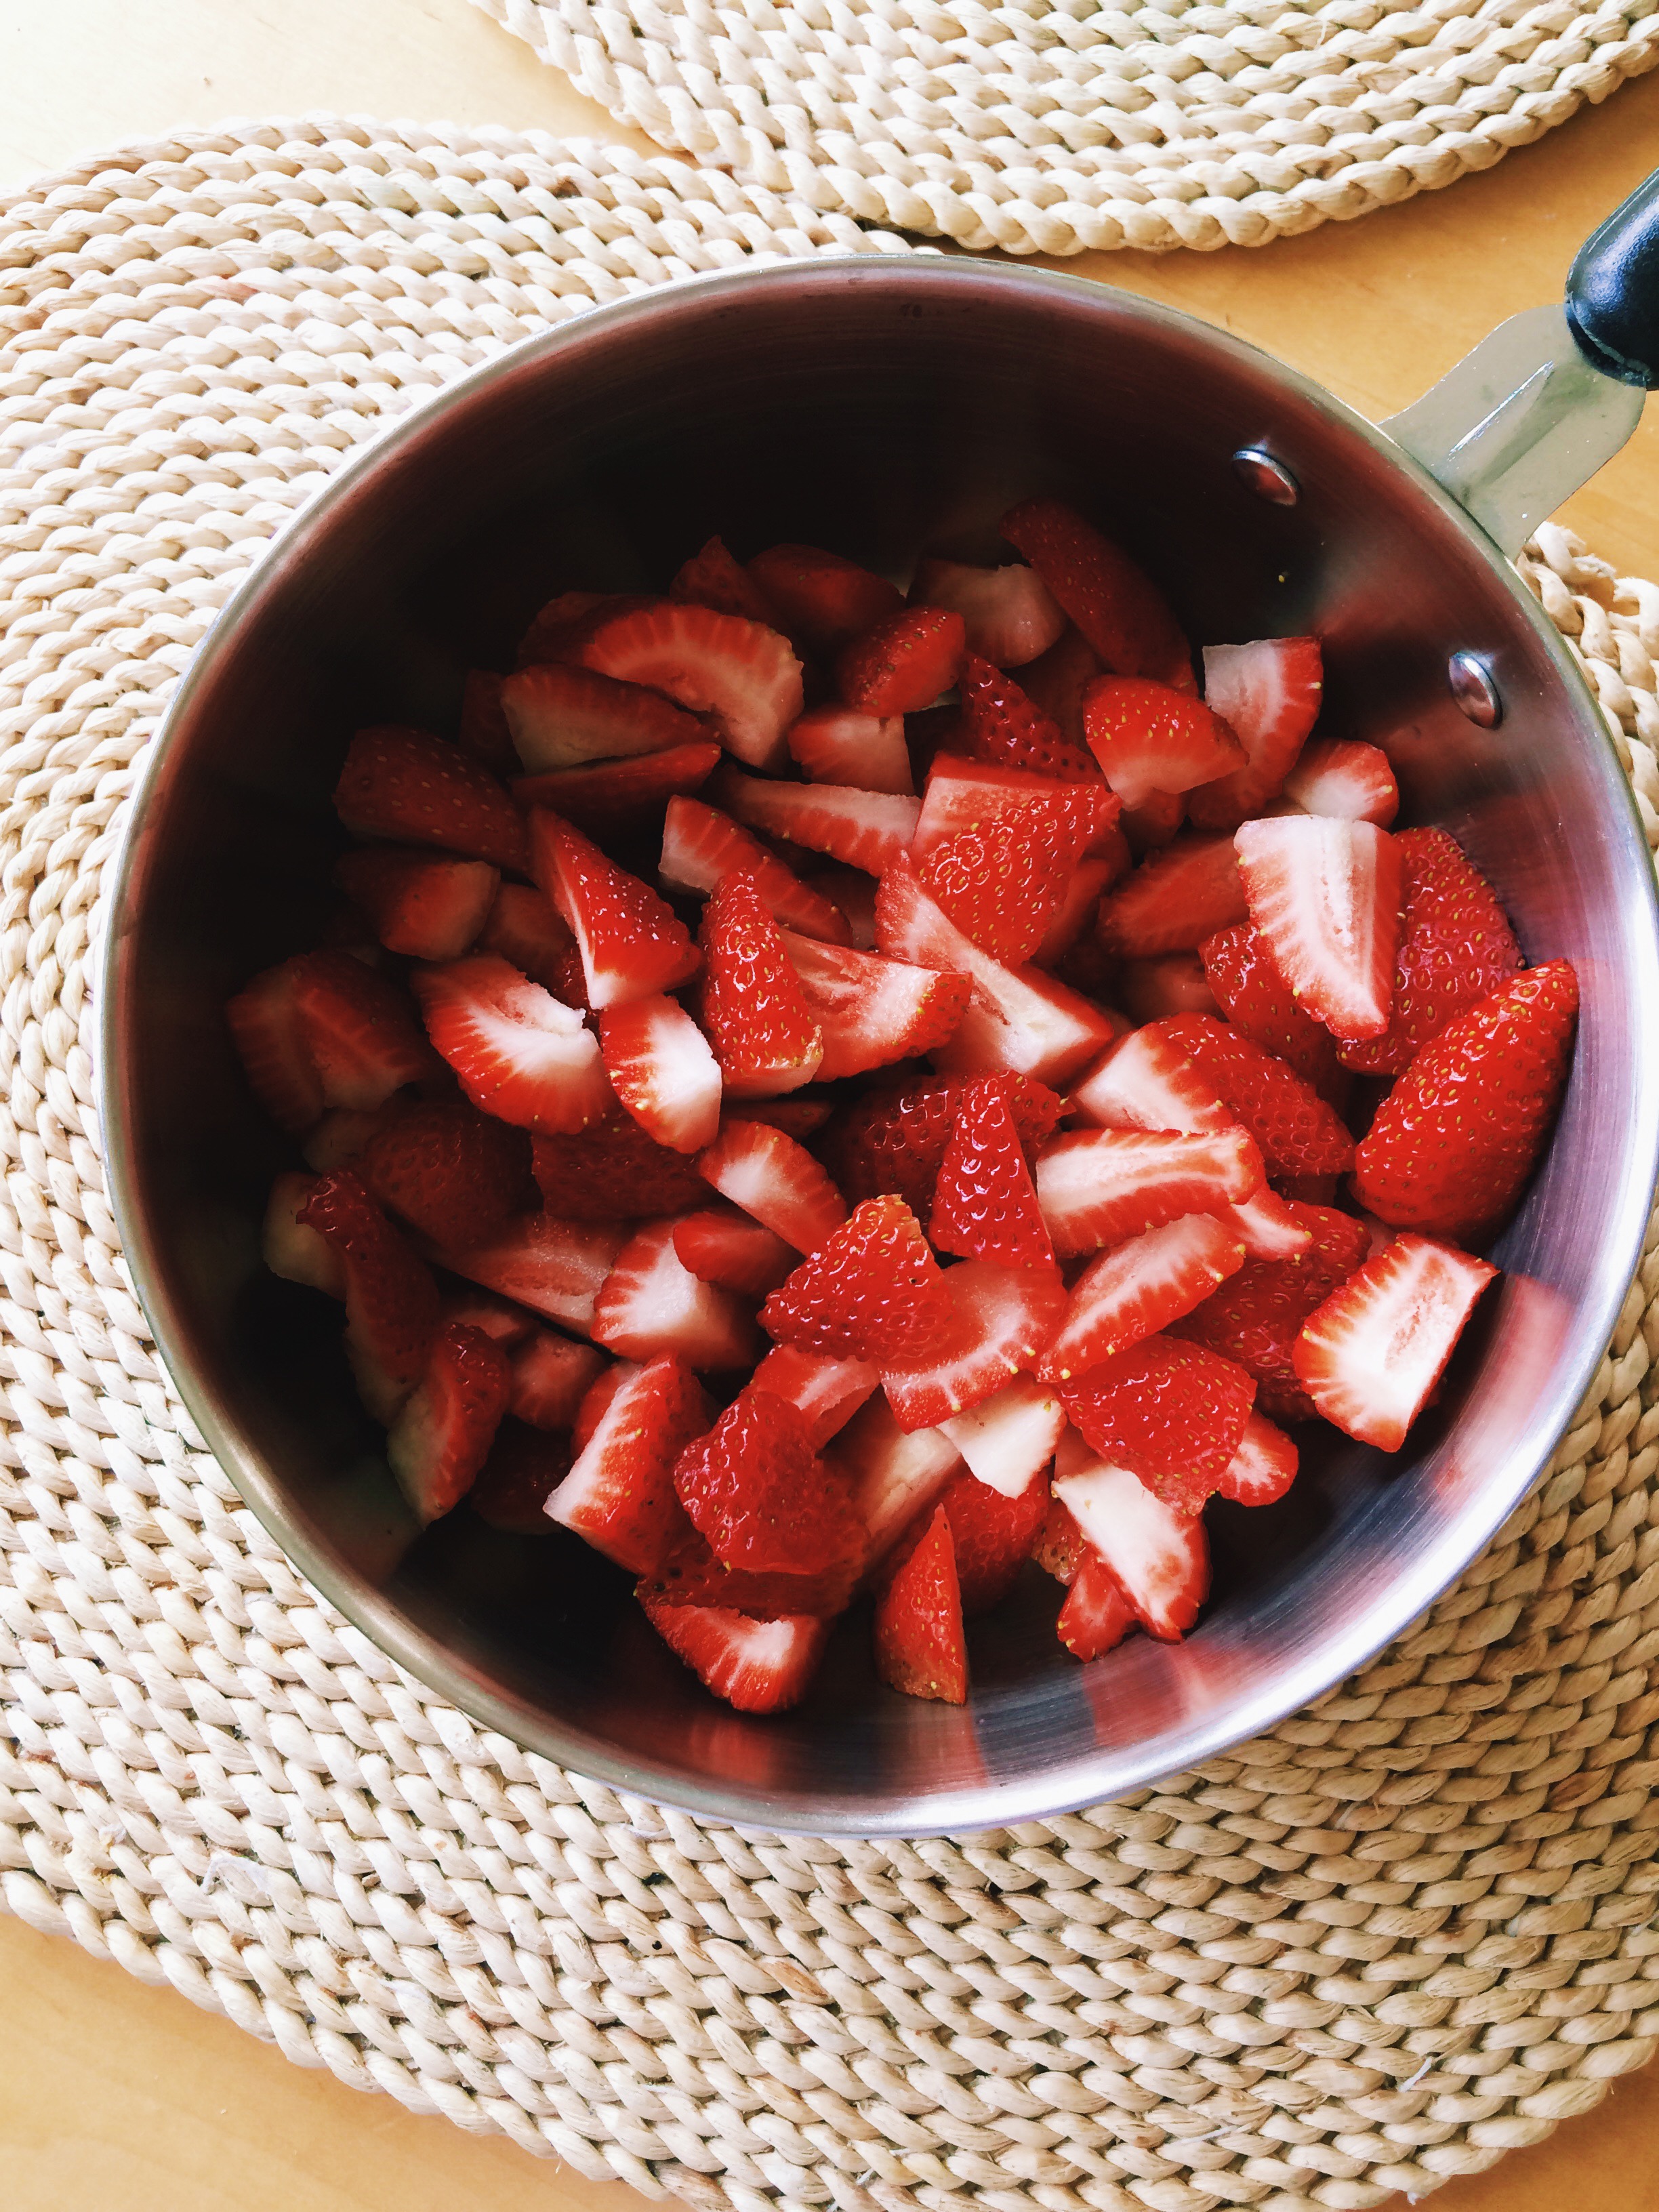
Once your strawberries have been washed, hull each strawberry, then cut into quarters. Place all of your cut up strawberries in a medium sauce pan. Next, add your brown sugar, pinch of salt, lemon zest, and lemon juice. Using a potato masher (or the back of a wooden spoon), muddle all of your ingredients together, making sure that the berries’ juices are starting to release, and your sugar and salt have started to dissolve.

Cook your fruit compote, stirring frequently, over medium-high heat until your jam has thickened, and it passes the line test (a line can be drawn down the center of the spoon without the juices running); On my stove, that takes about 30-35 minutes. Along the way, make sure to give your jam a few taste tests, and adjust the flavors to your liking. The mixture will bubble quite a bit and juice may jump out of the pan occasionally, so watch out for that!

When your jam has come together, take it off the heat and let it cool completely before transferring it to a mason jar or tupperware container.

This jam will last for several weeks refrigerated.

VERY IMPORTANT: DO NOT leave the stove whilst you’re making your jam. One minute it can still be too runny, then the next you’re cleaning burnt strawberry syrup out of the pan until your arms fall off. Trust me. Stay put. Keep stirring.

Ok, my dough has rested. Time to make some cookies!

Preheat the oven to 375 degrees F, and line two baking sheets with parchment paper. Set aside.

Remove the first disc of dough and let sit on a counter for ten minutes; this allows it to come to room temperature, thus making it much easier to roll out.

Liberally flour a rolling pin and work surface.

Roll the cookie dough out to a 1/8 inch thickness, then, using a floured heart-shaped cookie cutter, cut out shapes. Transfer the hearts to the cookie sheets lined with parchment paper, about 1-inch apart. Stamp a hole out of the center of half the cookies using the tip of a circle piping tip. Repeat the process with any remaining scraps, and with the second disc of dough.

Bake the cookies one sheet at a time for 7-10 minutes (depending on your oven),  or until the cookies have started to lightly brown around the edges. Allow the cookies to cool for five minutes on the baking sheet before transferring them to wire racks to cool completely.

Transfer the cookies with the holes cut out of the center to one of the cool baking sheets (keep the parchment paper on). Sprinkle a generous amount of powdered sugar over them using a sifter, mesh strainer, or powdered sugar shaker. (Aren’t you glad you have the parchment paper now to catch the excess sugar?) Flip the bottom cookies (no holes in them) over so that the underside is facing you, then apply about a teaspoon of jam right in the center of each. Place the tops on, then lightly press down so that you create a sandwich. The jam should spread evenly to the edges and through the center hole without overflowing. Enjoy!

To Store: Refrigerate in an airtight container for up to a week.


SOURCE: Adapted from A Cozy Kitchen
How to Make Chicken Stock Without a Recipe (But There's a Recipe!)

Remember that time, just a month ago, when everyone was in awe of the warm weather outside and we thought, "Aw, man. I kind of miss the snow, and that delicious nip of cold in the air..." HOW WRONG WE WERE! I haven't seen the ground in two weeks, and I have an industrial-sized bottle of lotion by my side practically 24/7. But I suppose it could be worse. It could be 2 degrees F outside. OH WAIT. ALSO HAPPENING. Someone wake me when Spring gets here.

I will say this: when I have nowhere to go, there is nothing prettier or more serene than the wintery wonderland I see out my window. It's so peaceful, and so beautiful. It makes the cold almost worth. Almost.

But Midwestern winters aren't all bad; freezing temperatures give me the chance to catch up on all the domestic projects that I keep writing down on my never-ending list. One big one? Making homemade chicken stock!

It's 2016, people. Let's start making our own.

I go through a lot of chicken stock at my house. I use it for burrito bowls and soups, mostly, and I definitely get tired of running to the store all the time to pick up multiple containers. It's so incredibly easy to make at home, PLUS, you're not wasting a thing! All you need is a rotisserie chicken from the grocery store (you can use the meat in sandwiches, salads, on nachos, in soups, etc. etc.) and some of your favorite vegetables and herb seasonings. It's so simple, so economical, and VERY TASTY.

The fun part about making your own chicken stock is that you get to modify it to your particular tastes. If you like things a little spicier, kick it up a notch with a teensy bit of cayenne (a lot goes a long way). If you hate celery, leave it out! And homemade stock is an especially fun thing to make when you have a ton of leftover veggies and nothing to put them in. Waste not, want not.

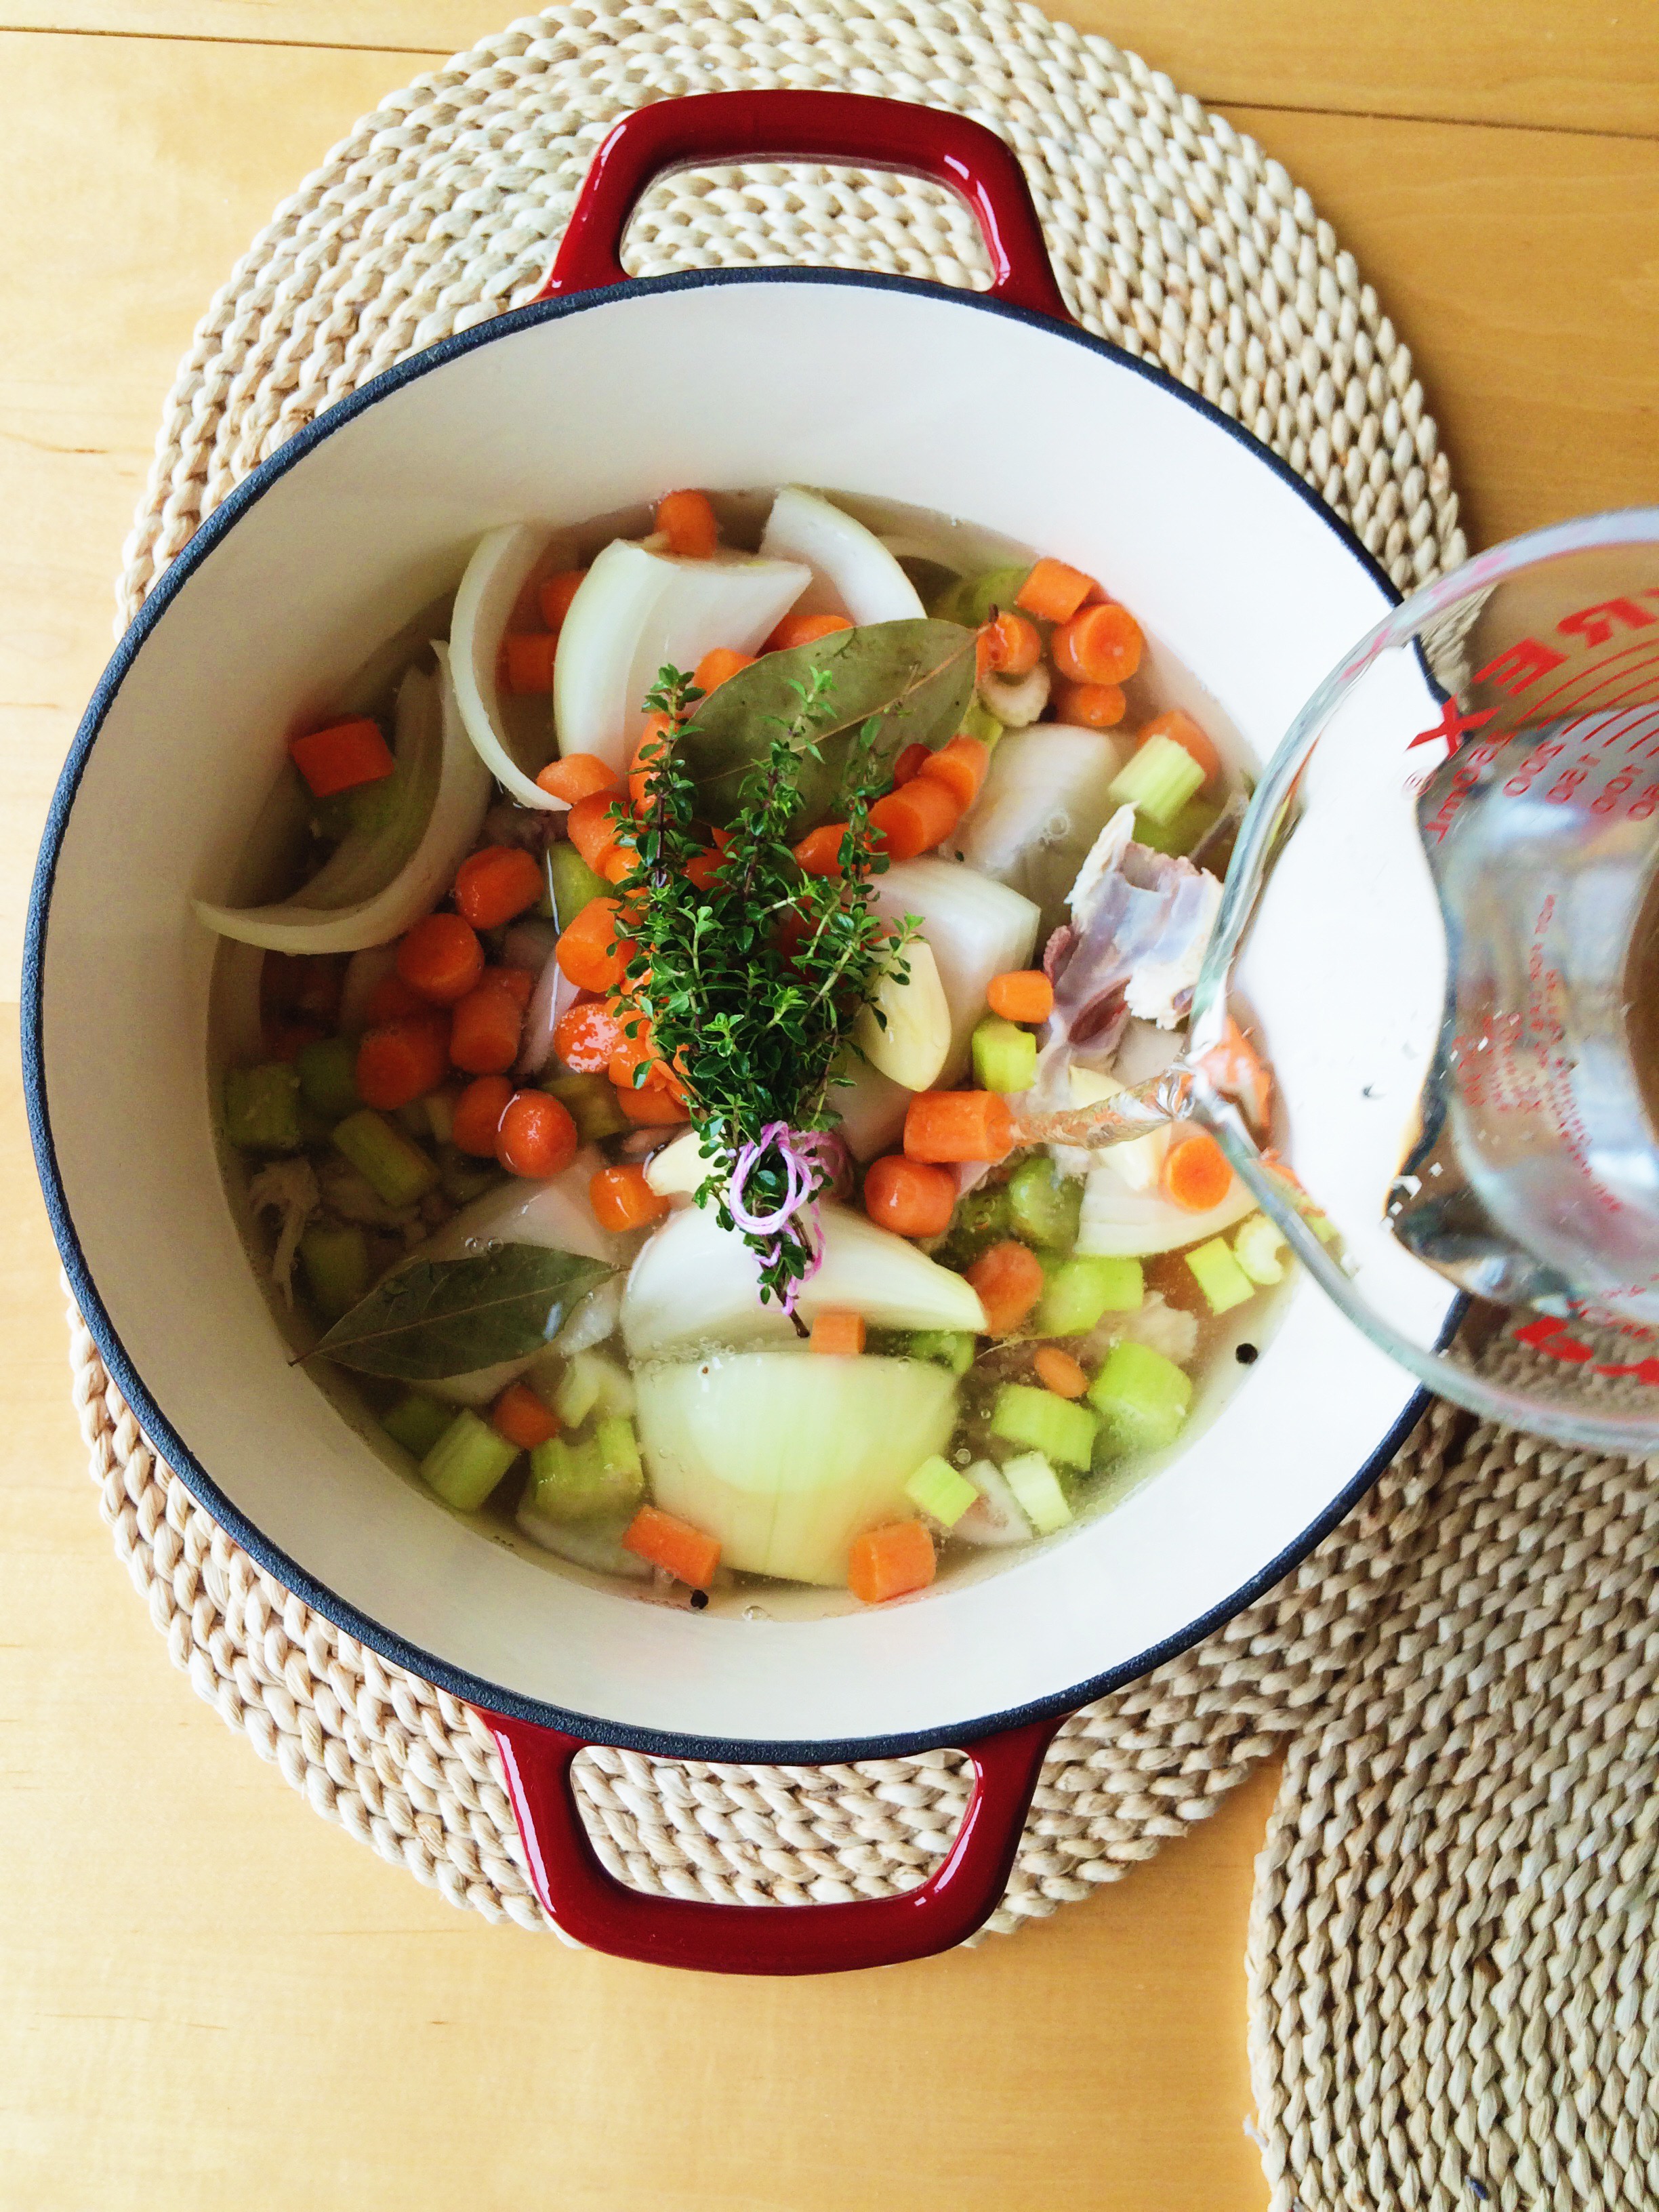
Your main ingredients are: a chicken carcass cut into pieces, water, salt, and pepper. After that, it's up to you! Once you've put the ingredients you like into the pot, fill it with water so that everything is covered by about 1-2 inches, bring it to a boil, then let it simmer for three hours. If at any point you start to see the water level get a little low, simply add more! And that's it. Once your stock is done, skim off any film that's reached the top with a slotted spoon, strain the stock into a large bowl, and discard all the solids. (Here's a tip: When I'm using fresh herbs, I like to tie them all together with a little kitchen twine. That way, once it's time to strain, I can easily fish them out. ) Make sure your stock is completely cool, then separate it evenly into Mason or Weck jars. If you have plans to use it within a week, pop some stock in the fridge. If you've got future plans, pop your jars in the freezer. It lasts indefinitely. Just make sure to defrost it in the refrigerator overnight before you use it!

And there you have it. You can totally make homemade stock without a recipe! But if you're looking for a little guidance, scroll down for what I put in mine.

Everything's better homemade.


HOMEMADE CHICKEN STOCK

What You'll Need:

  • 1 chicken carcass, broken into pieces
  • 2 whole onions, quartered
  • 8+ baby carrots, chopped
  • 5 celery sticks, chopped
  • 3 whole garlic cloves, peeled
  • 1/2 teaspoon whole black peppercorns
  • 2 bay leaves
  • 4+ sprigs of fresh thyme, tied together with kitchen twine
  • Pinch of salt

DIRECTIONS

In the bottom of a pot that is at least 4 quarts, place the broken-up chicken carcass, onions, baby carrots, celery sticks, garlic cloves, peppercorns, bay leaves, thyme, and salt. Make sure that everything is evenly distributed.

Fill the pot with water until all of the contents are covered by at least 1-2 inches of water.Place the pot over medium-high heat, and bring to a boil. Reduce the heat to low, then let simmer for 3 hours. The stock will occasionally bubble, and the contents may shift a little bit. If the water starts to reduce, add more. You want to make sure that everything is fully submersed in water at all times.

Using a slotted spoon, collect and discard any foam or film on the top of  the stock, then strain the stock into a large bowl. Throw away all of the solid pieces that have landed in the strainer. Let the stock cool completely before transferring it evenly into Mason or Weck jars. If you're planning to use the stock within a week, store it in the refrigerator. If not, it will freeze indefinitely. Once you're ready to use it, simply let the frozen stock defrost in the refrigerator overnight.

Hey, you just made chicken stock. 'Grats.


SOURCE: Adapted from The Kitchn Cookbook

Vanilla Bean Cake Doughnuts

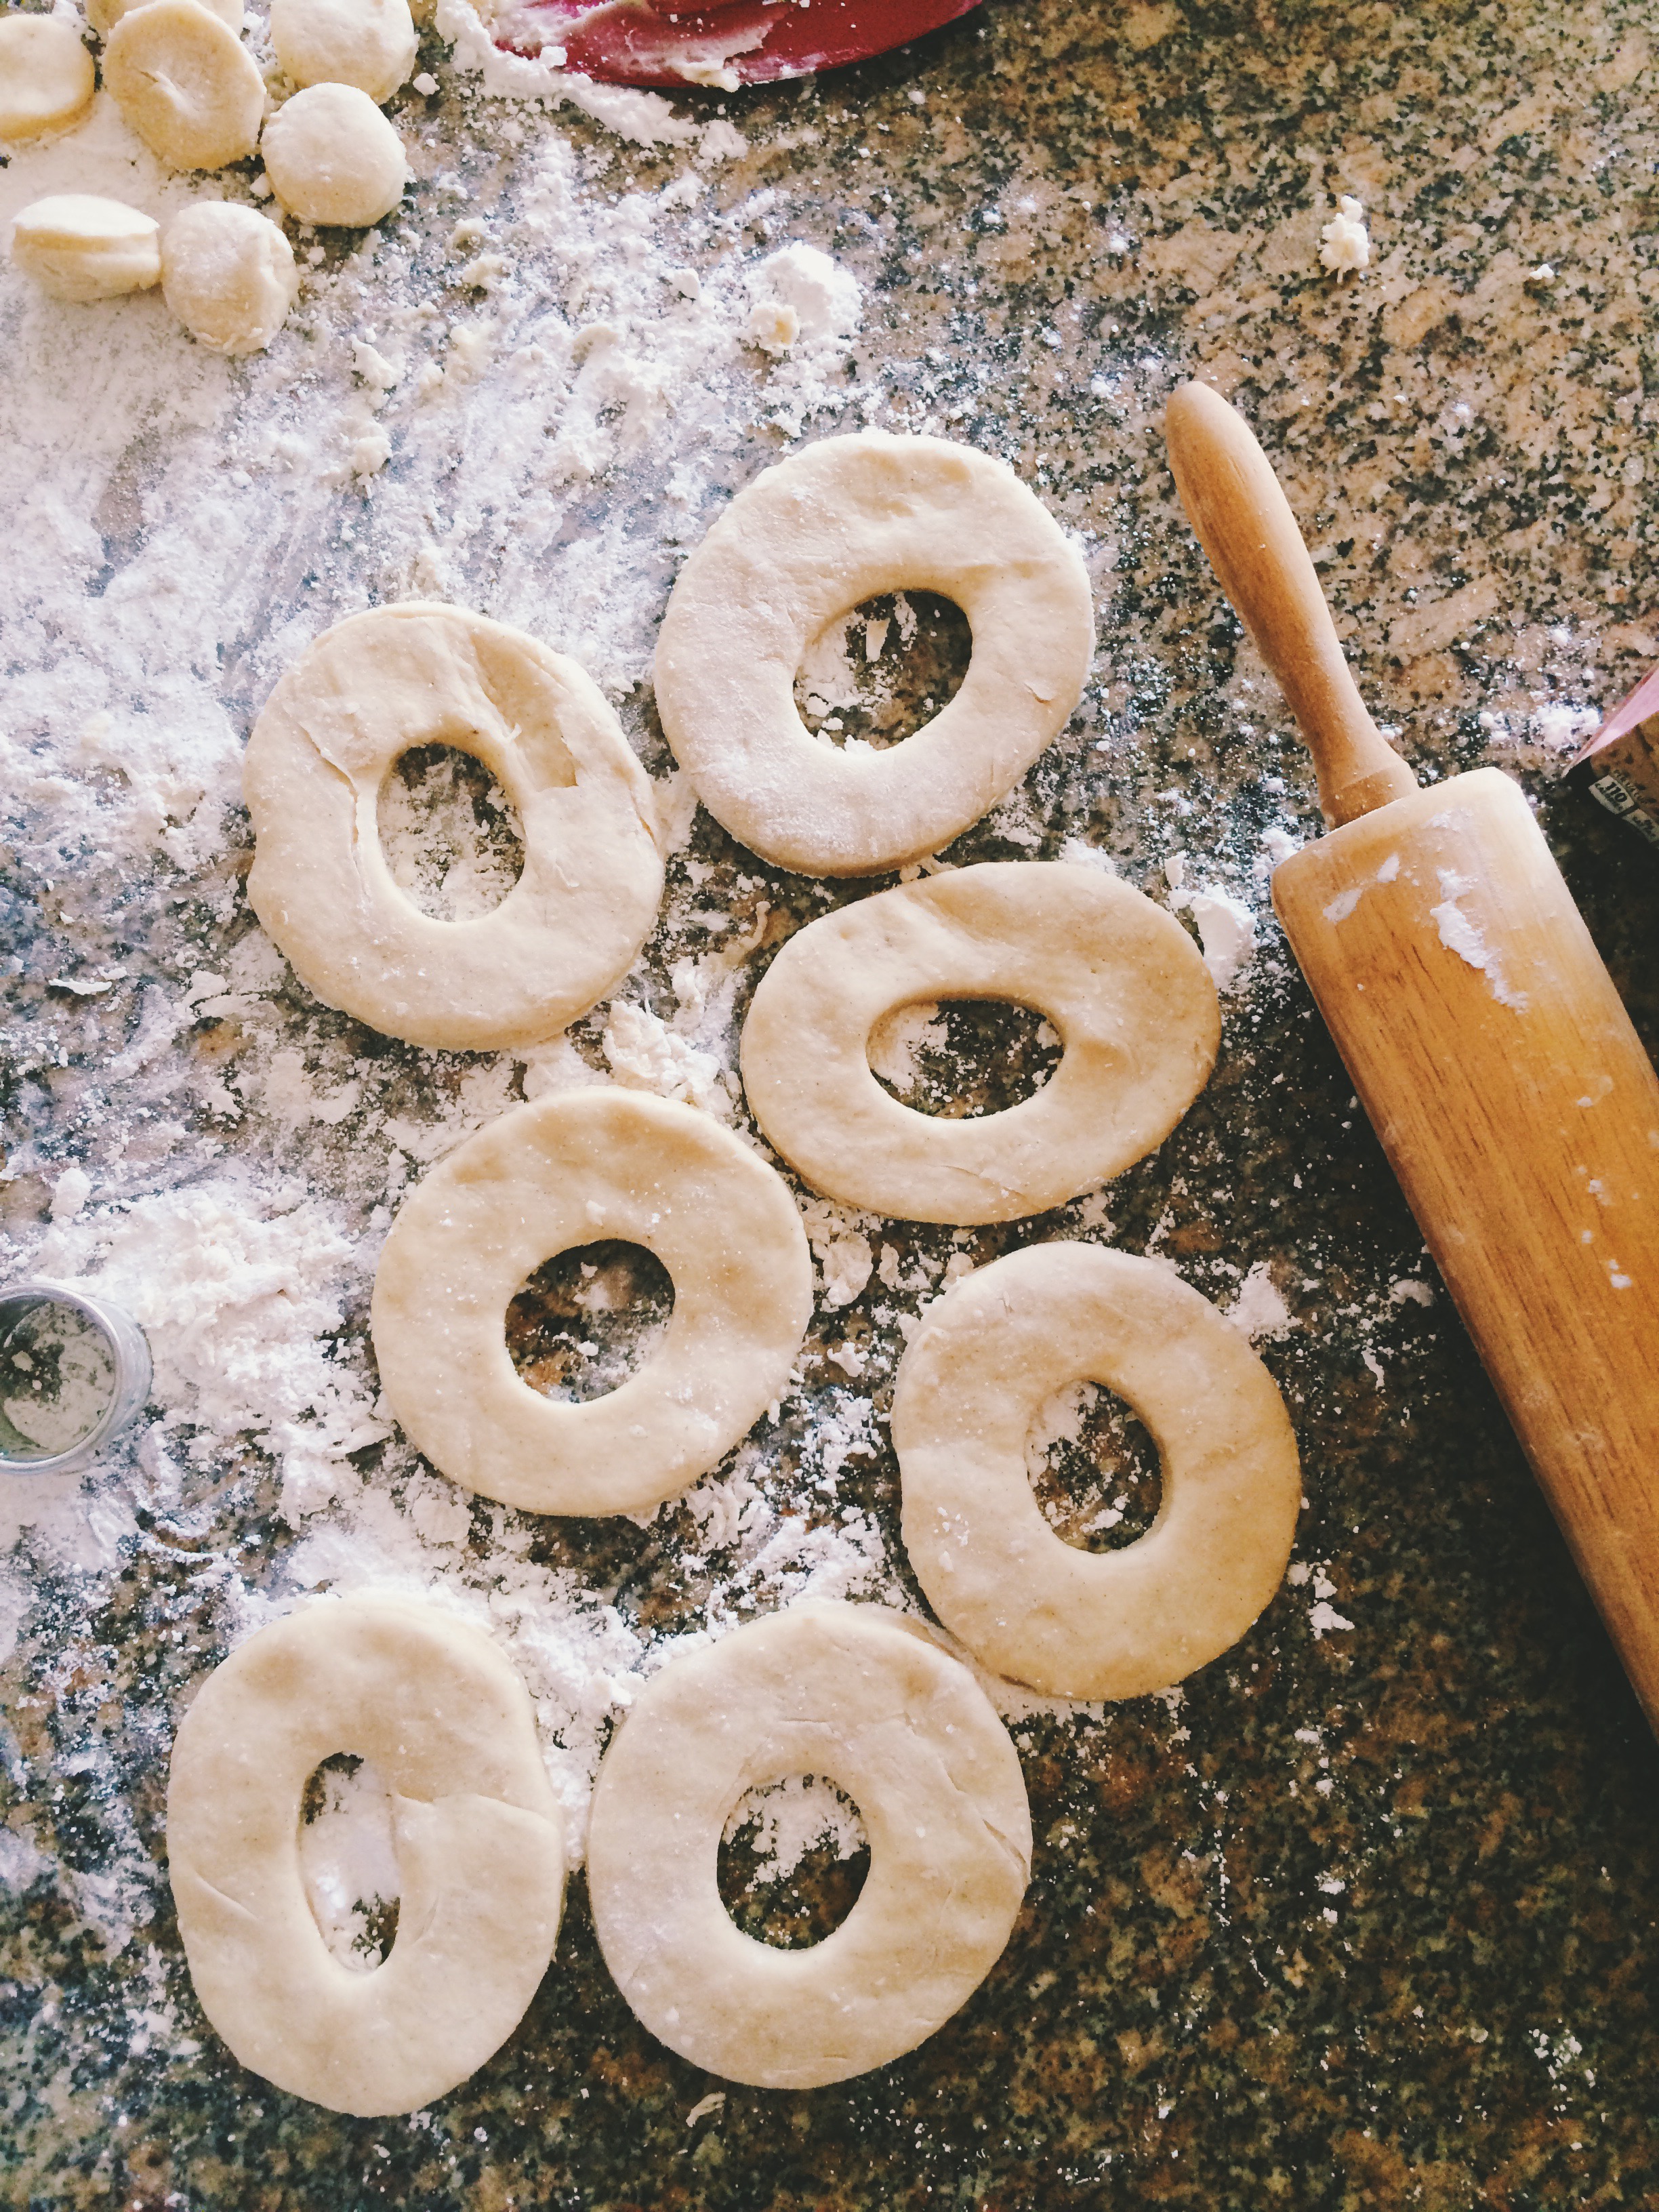
You know what's hard to make? Doughnuts. Seriously, I have so much more respect for the contestants on Donut Showdown now that I've tried it at home. And they're under time constraints! Dough is sticky, flour goes everywhere, oil is HOT, and finding the perfect glaze consistency takes practice. It all takes practice. Is it worth it in the end? You bet. My life was filled with homemade fried dough for several days, and that's all a girl could want.

I've been thinking. I really want my life to look like that scene in Marie Antoinette where all the women do is sit around playing cards, drinking champagne out of coupe glasses, gorging themselves on the most beautiful, fresh-fresh-fresh pastries and candies you've ever seen. And they're doing all this while wearing three pounds' worth of silk, tulle, and ruffles. Oh, and mile-high hair. I've always been a fan of big hair. Ask my beautician. And when I would say "Let them eat cake," no one would be upset with me because I would then immediately follow it up with actual cake. I'd be the most beloved queen in all the land.

Truth be told, it'll be quite some time before I'm Versailles-level good at making doughnuts and other beautifully complicated pastries. I will say though, that for only my second time frying dough in the kitchen, things didn't turn out badly at all. There could've been a little less rolling and re-rolling involved in the dough-cutting stage.. Oh, and I'm still working on my fear of hot oil, but baby steps. Rome wasn't built in a day (and while we're on the topic of Rome, neither is good pizza).

One of my favorite things to get at my local bakery is a classic cake doughnut. More than anything else, I adore a good cake doughnut. Especially when it's Fall and tastes like pumpkins and apple cider and cinnamon sugar. In the summer, I prefer my doughnuts covered in rainbow nonpareils and vanilla glaze. Throw in the comforting speckling of fresh vanilla bean seeds, and you've got me. To be able to make my favorite treat in the comfort of my own home, curlers in hair, 40s Big Band blaring in the background, is such a splendid concept.

Now, I like you, so I won't lie to you and say that it's particularly easy, or that it isn't time-consuming. But I mean, It's REALLY worth it. Your reward is DOUGHNUTS at the end! That's my incentive for everything, but in this scenario, doughnuts is the actual GUARENTEE. Yes, I do have a few new tiny burn marks from absent-mindedly plopping doughnut holes into 350 degree oil, but I just ran one hand under some very cold water, and popped two slightly-cooled doughnut holes in my mouth with the other. I felt exponentially better after that.

Bottom line: make your own doughnuts. Tell me how it goes.

Why don't you try this Vanilla Bean Cake Doughnut recipe from one of my favorite blogs, Apt.2B Baking Co!


Rustic Blueberry-Lemon Ricotta Scones

SCONES- 1 It went past 50 degrees last week and I could hardly believe it. For the first time in months I didn't have to prepare myself for the familiar sting of winter wind hitting every piece of exposed skin. And I even spotted neighbors that I haven't seen in months. The windbreaker is out, the winter coat is buried deep within the wardrobe, and despite what the weather people keep trying to tell me (back to the 40s, sometimes 30s) Spring is here to stay. Why? Because I said so.

The sun is shining so brightly and it's making me think of Summer. And, it should be noted, I don't even like Summer that much. It's just too hot. While most people around these parts relish the feeling of a hot sun on their skin, all I can do is slap on the sunscreen; even while just looking out the window. I'll take 70 degrees and breezy, please. None of that 90 degree business. Anyway, since the sun is shining and it's actually remotely warm, it had me missing the fresh fruit that I practically live on all summer: blueberries. And what goes exceptionally well with blueberries? Lemons, m'dear!

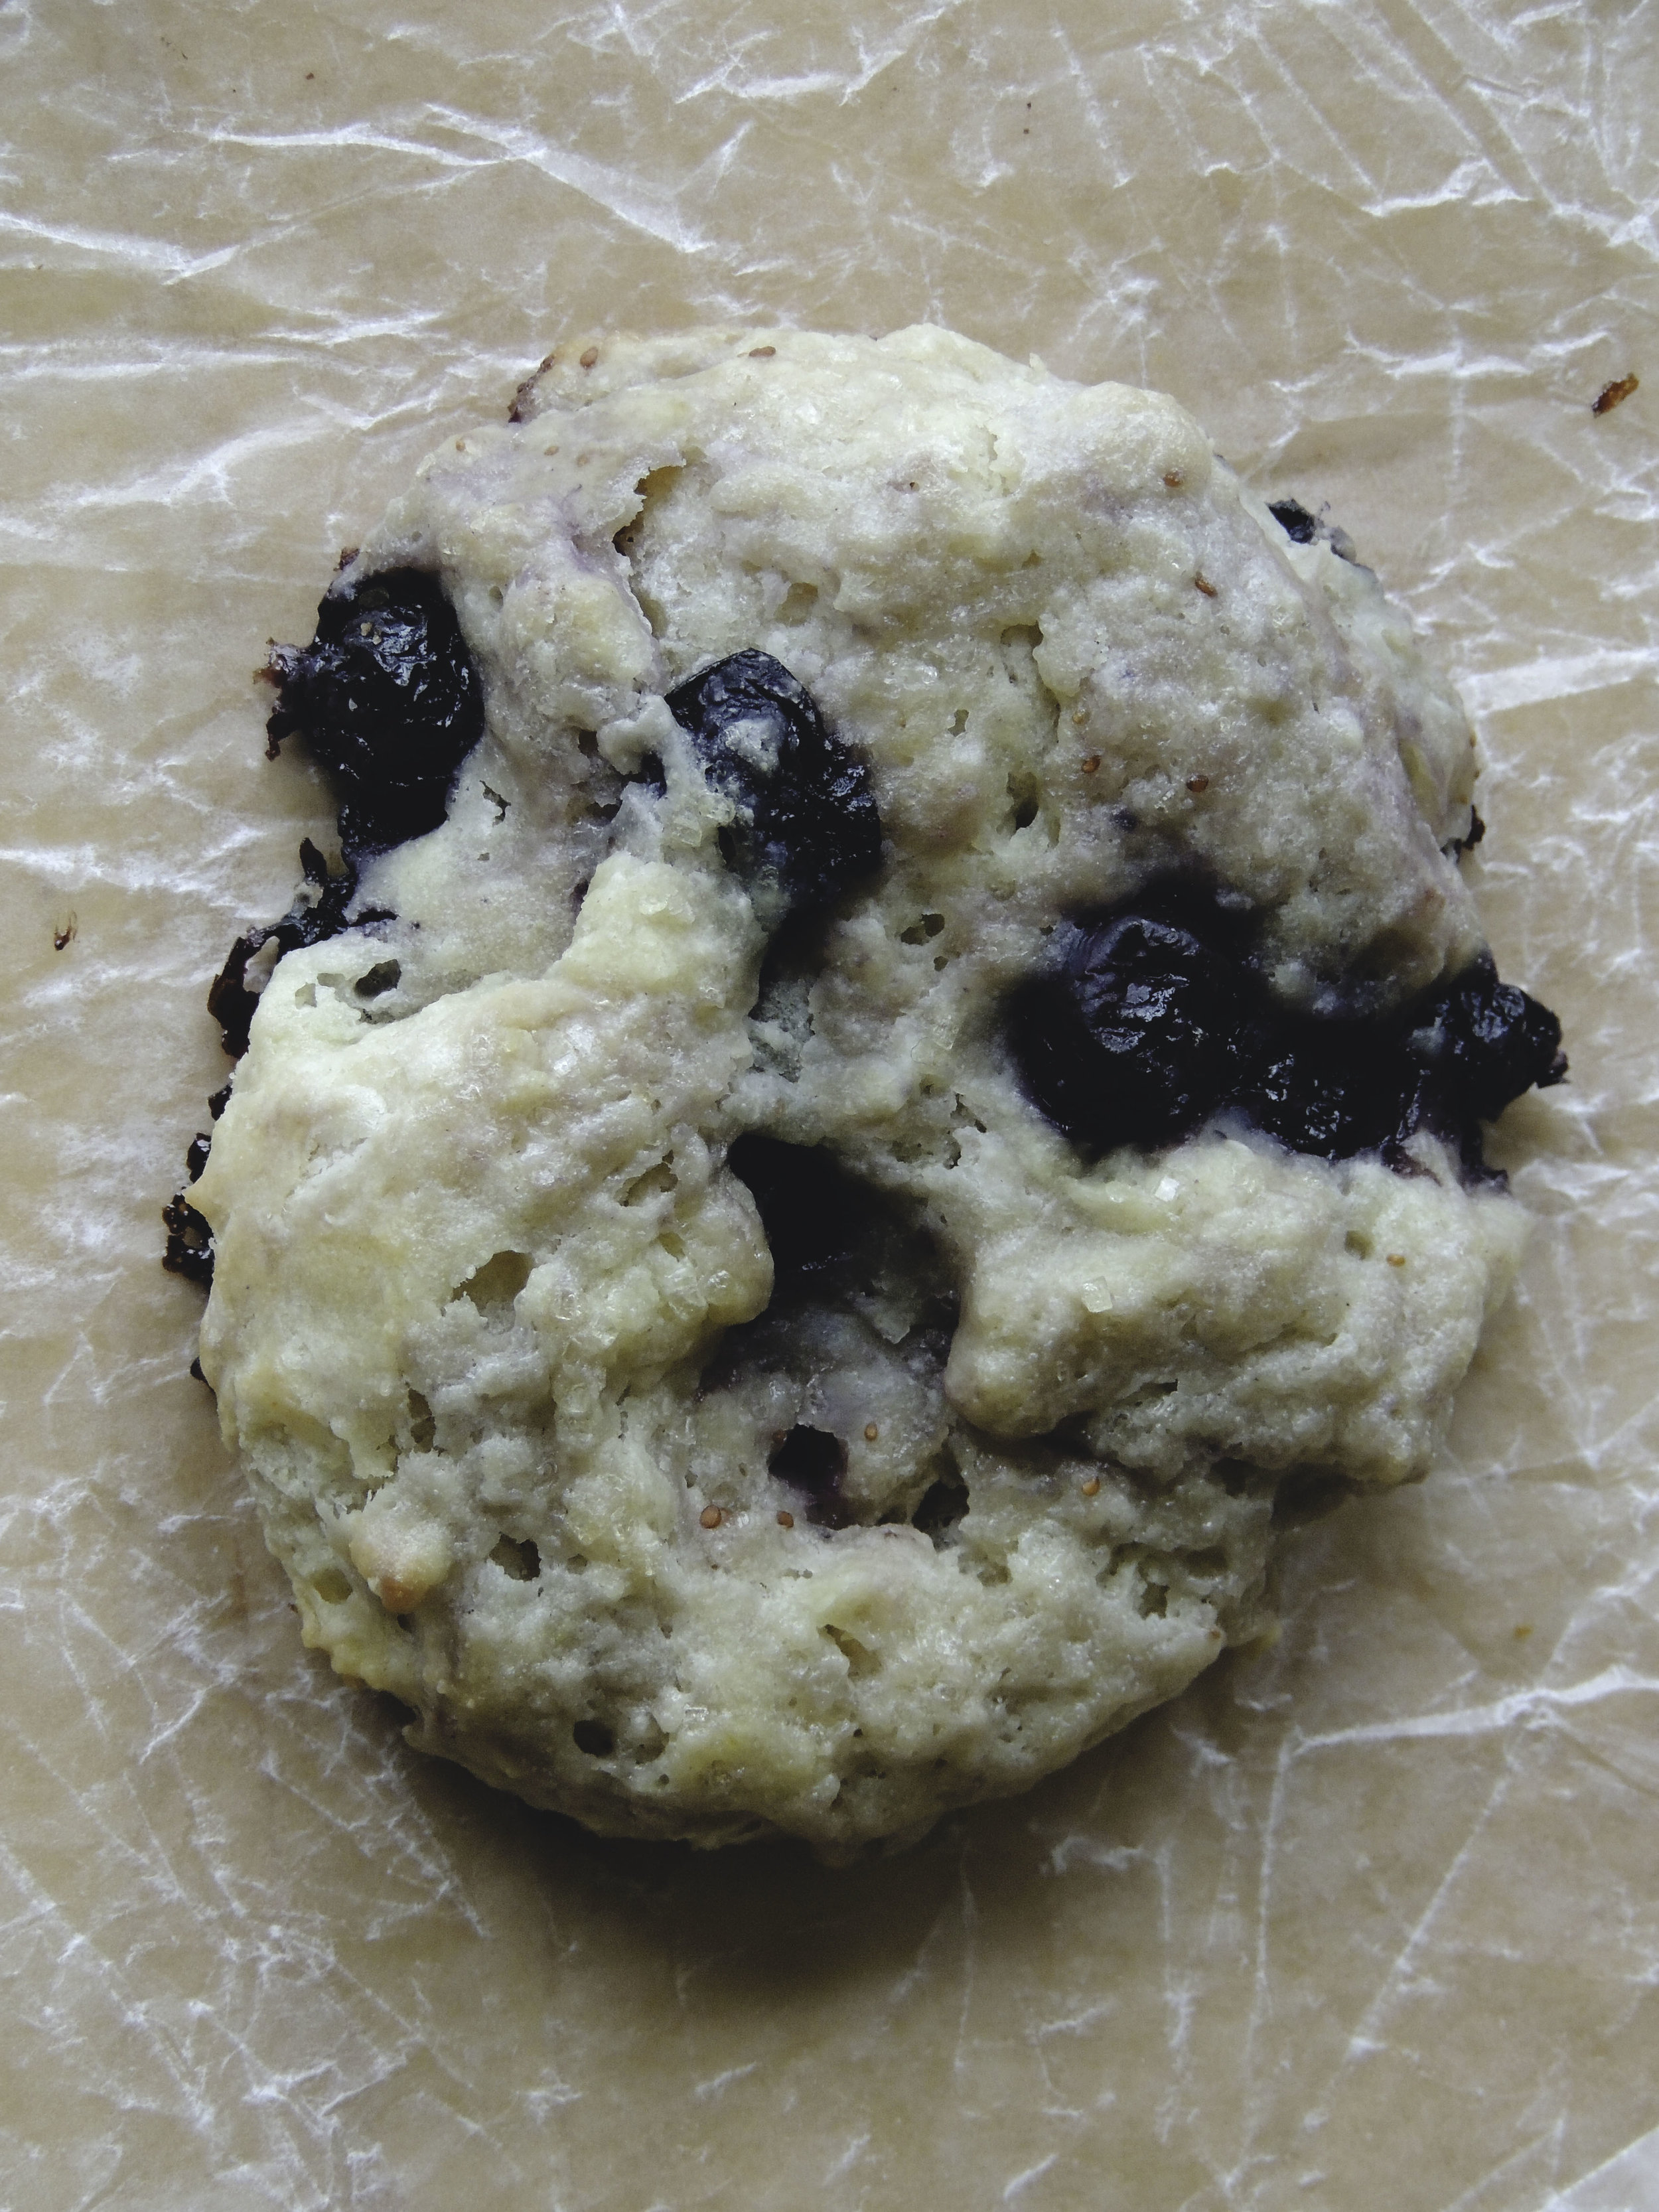
Photo 1--SCONES

I've been trying to think of ways to spice up breakfast lately. The Cheerios just aren't cutting it anymore; not by themselves anyway. Toast is a splendid breakfast companion, but I've just been looking for a little more oomph. That's where these scones come in. Such a simple little thing on its own, the scone. So much potential, just begging to be taken to the next level. And so we shall, little scone. So we shall.

Plus, we had some extra ricotta burning a hole in the fridge. Ricotta cheese shall never, ever be wasted. Not on my watch. SCONES 2

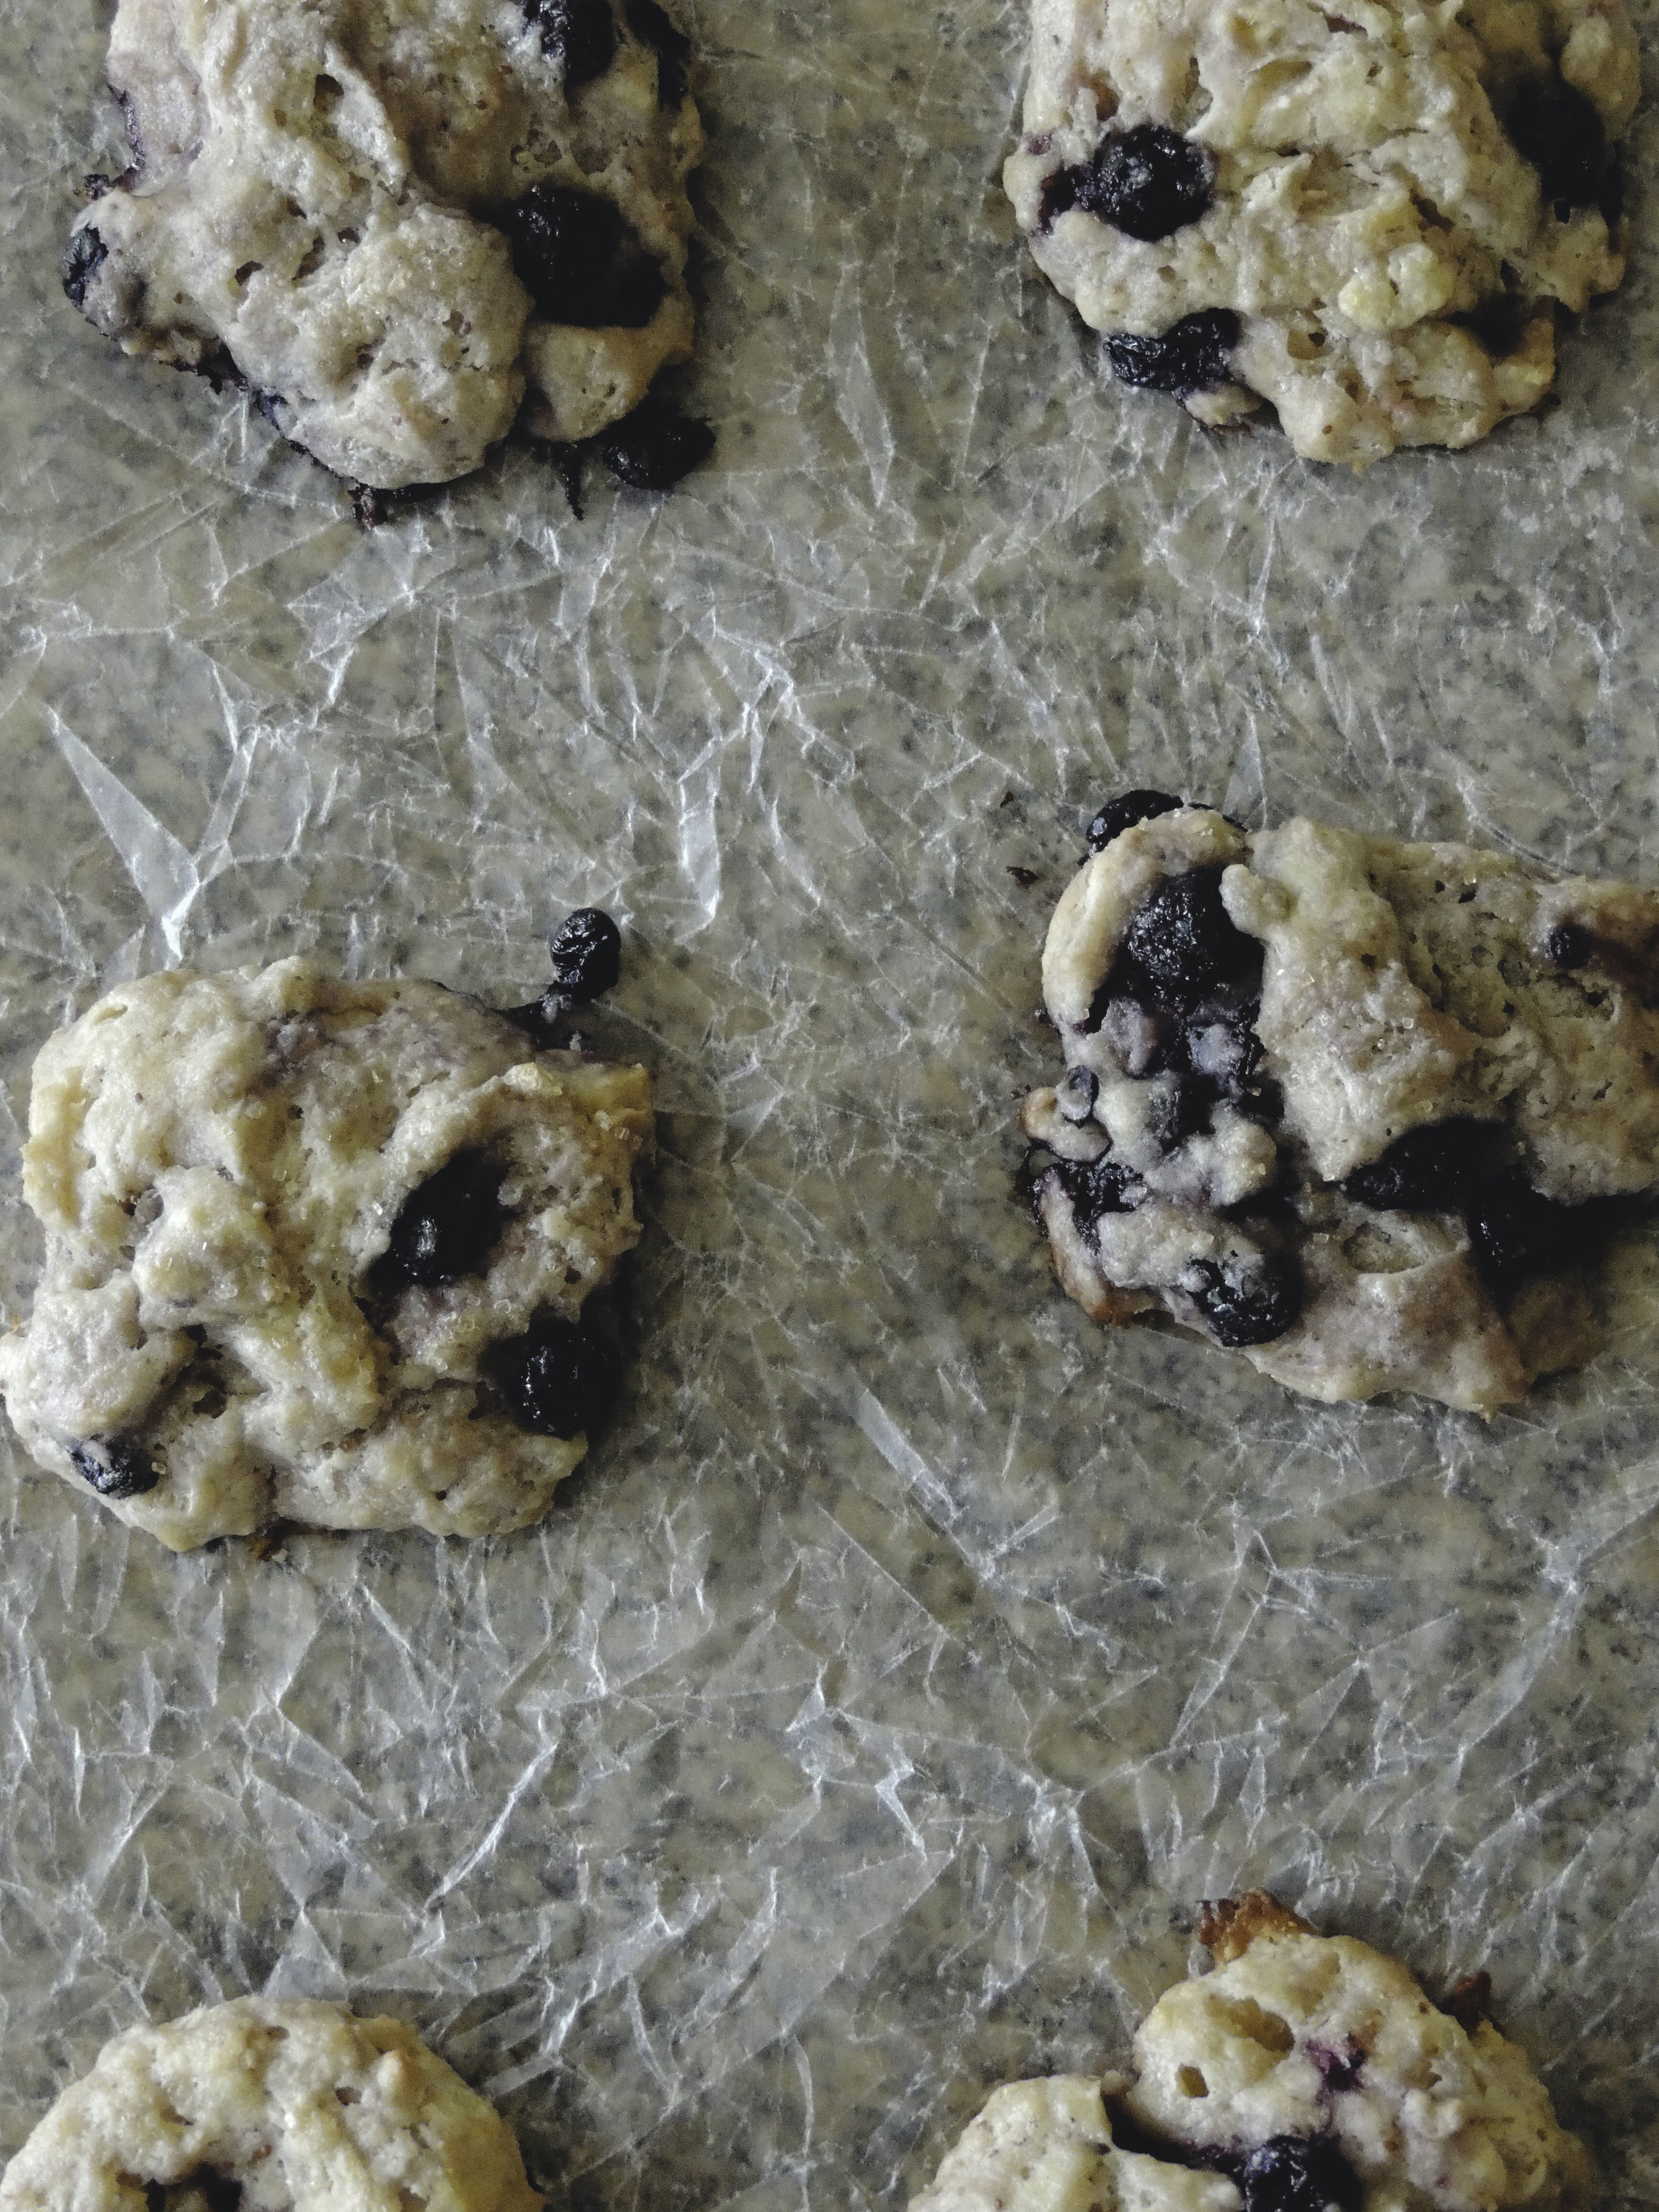
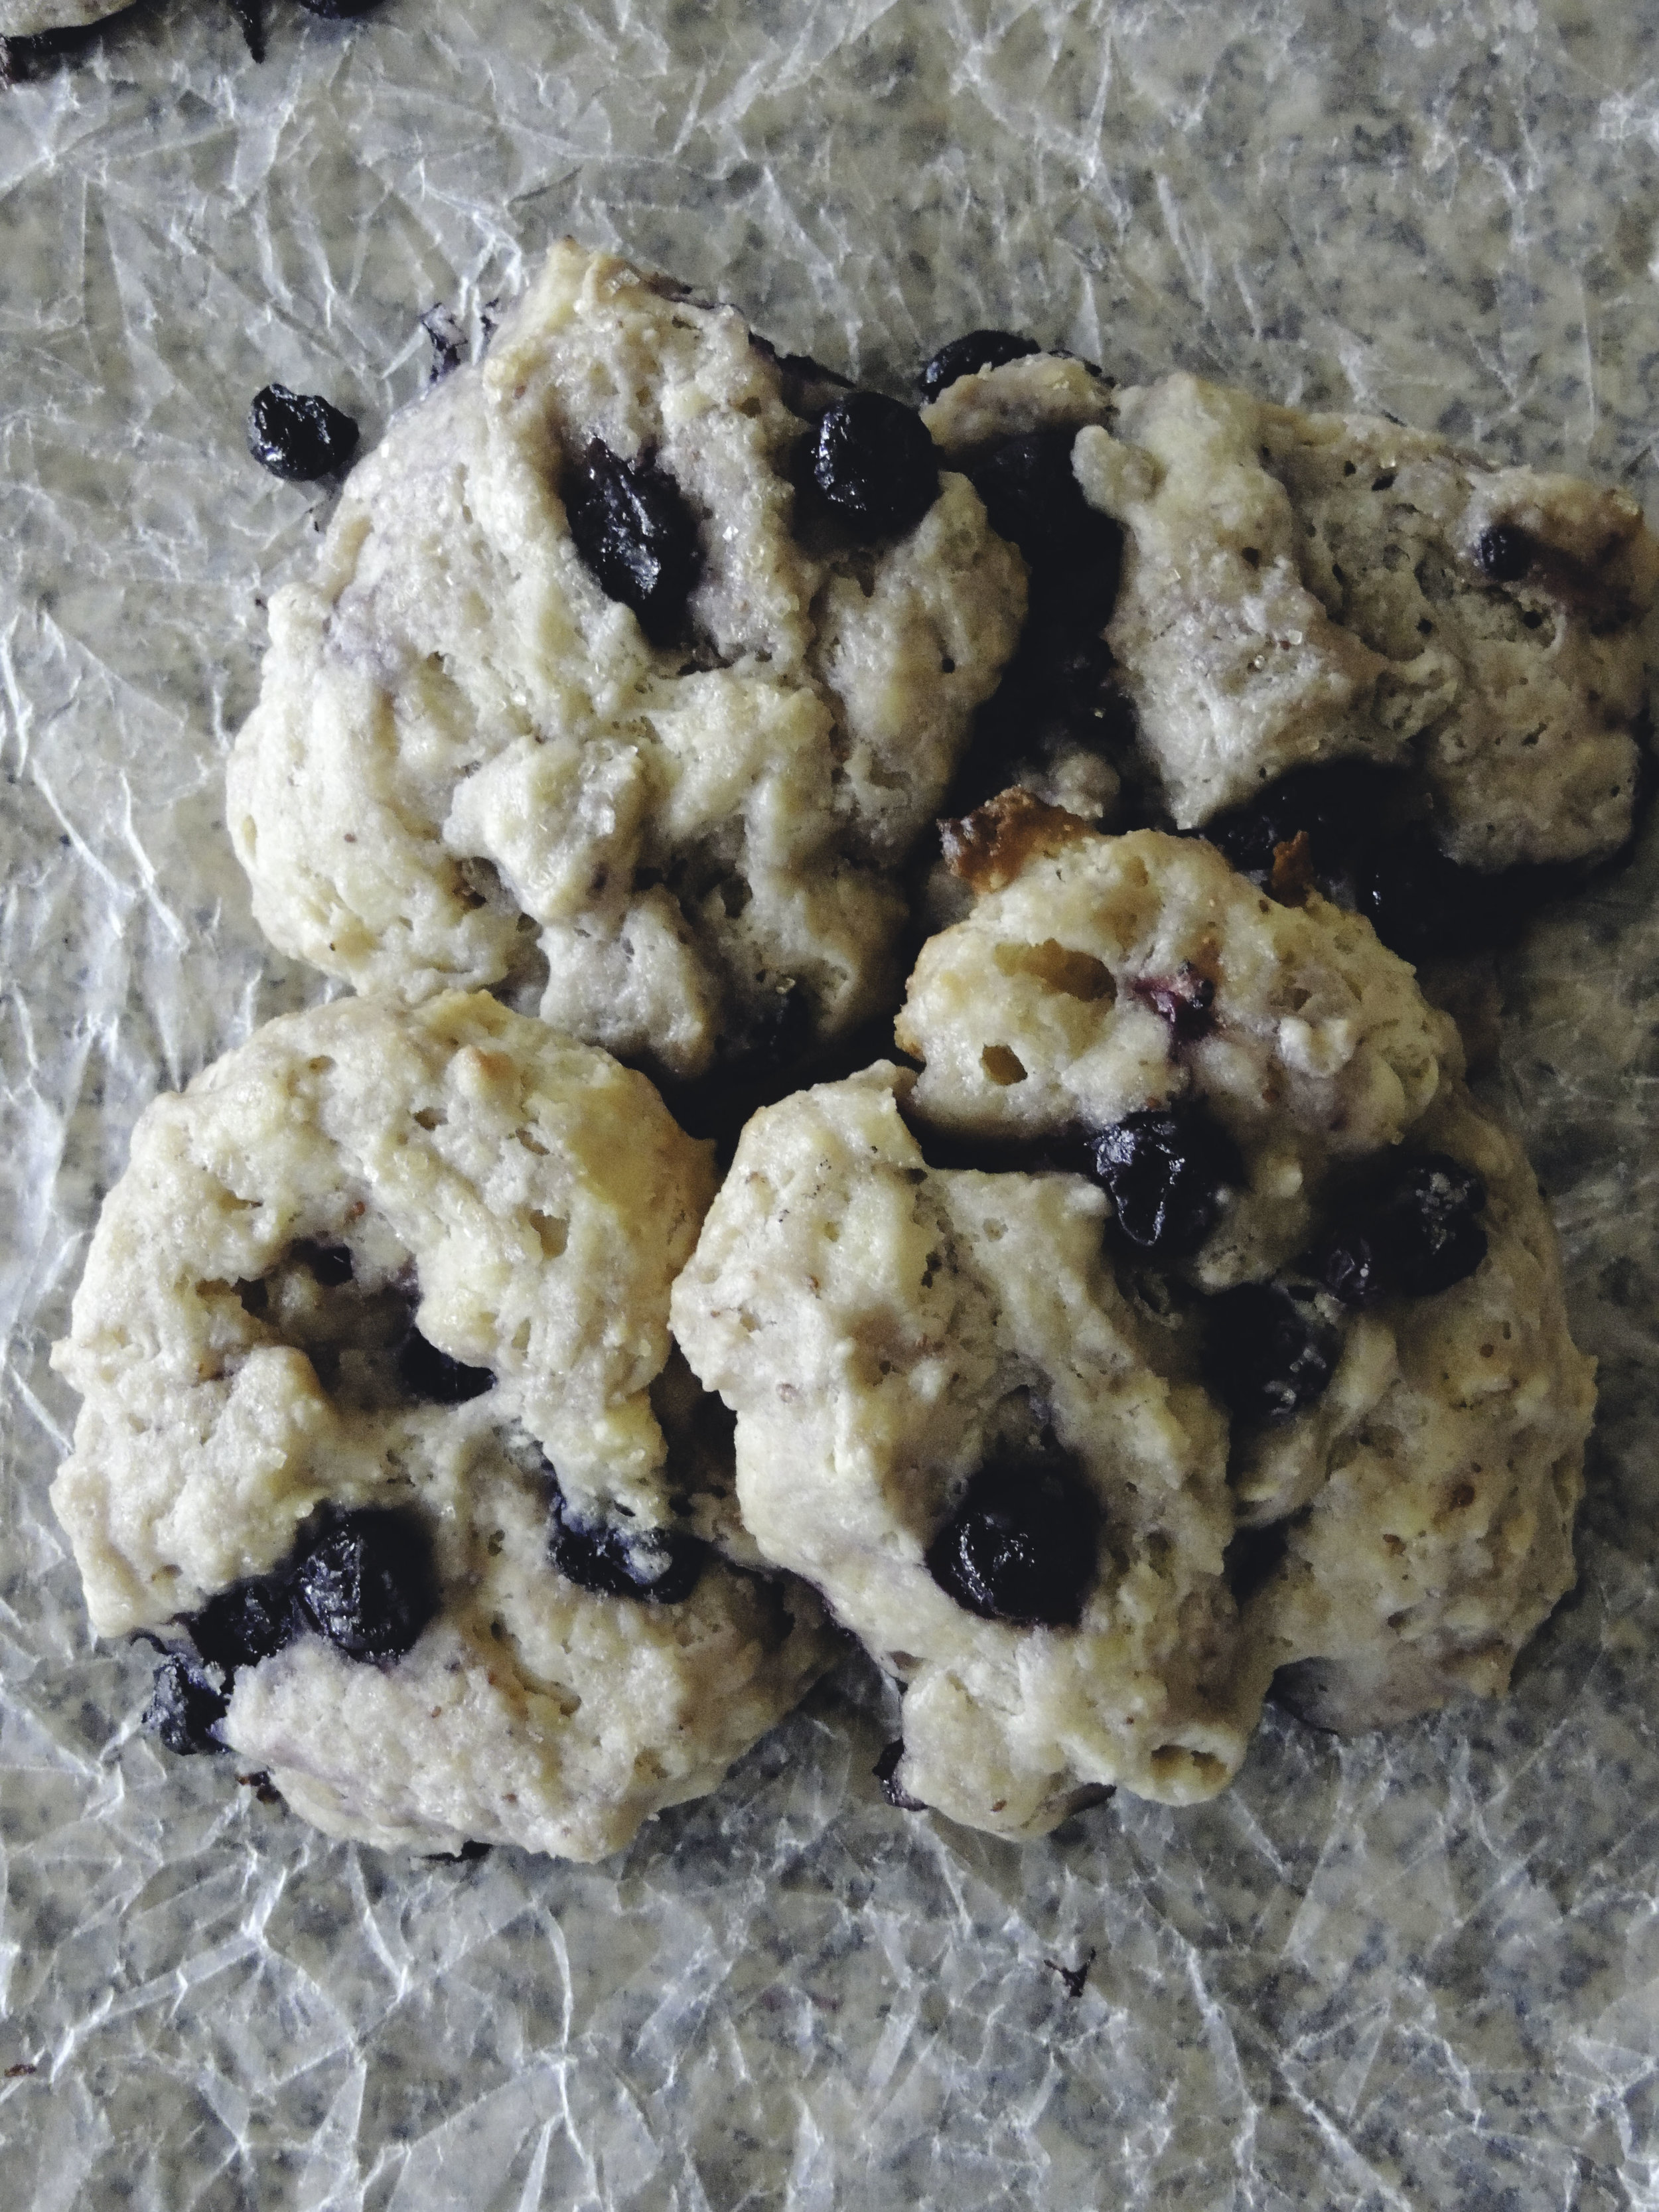
And I know that scones are traditionally wedge-shaped, but we're not going for tradition here. The beauty of a scone (besides the lovely taste) is that it can be wedge-shaped, biscuit shaped, or maybe somewhere in between like I've attempted. Mine sort of resemble drop biscuits with fruit, and you know what? That's what I'm going for. They're rustic. And also incredibly delicious.

These scones are crispy like a good southern biscuit, but still super moist thanks to both the ricotta and blueberries. And just as you start to get into the sweetness of the blueberry, you're greeted by the hint of lemony goodness. Breakfast is going to be really good this weekend.

Scones 3And don't let anyone speak badly about whichever shape you choose. You do you.

What You'll Need:

1 large egg

1/2 cup buttermilk

3 tablespoons fresh lemon juice

1 teaspoon vanilla extract

1/2 cup ricotta cheese

3 tablespoons granulated sugar

zest of one lemon

2 cups all-purpose flour

2 1/4 teaspoons baking powder

1/4 teaspoon baking soda

1/2 teaspoon salt

1/2 cup (1 stick) unsalted butter, cold and cut into small cubes

1 cup fresh or frozen blueberries (thawed if frozen)

Heavy cream for brushing

Turbinado sugar for sprinkling

Directions:

Preheat the oven to 400 degrees F. Line a large baking sheet with parchment paper and set aside

In a medium bowl, whisk together the egg, buttermilk, lemon juice, and vanilla. Once fully combined, add the ricotta. (It's okay if there are still little lumps once you're finished combining.)

Combine the lemon zest and granulated sugar in a small bowl, rubbing the two together with your fingers until it gives off a lovely fragrant smell. Set aside.

In a large bowl,  use a whisk to combine the flour, baking powder, baking soda, salt, and lemon-sugar mix. Add the cut up pieces of butter and gently toss with a fork, making sure each piece of butter is coated with the flour mixture. Using a pastry cutter or fork, incorporate the butter into the flour until you get a mixture of little lumps of butter and flour.

Pour the wet ingredients over the dry ingredients and mix together using a rubber spatula until just combined. Careful not to over-mix. Next, gently fold in the blueberries. Turn out the dough onto a very well-floured surface and gently knead the dough. Add a little flour as you knead if the dough is too sticky. Pat the dough into a 1/2 inch thick disk. Cut into a wedges, or a circles using a biscuit cutter, or for a more rustic look, gently cut a section and carefully shape it yourself. Transfer the pieces onto your prepared baking sheet.

Brush each piece with heavy cream (to help it brown nicely in the oven), and sprinkle scones with Turbinado sugar.

Bake for 15-20 minutes, or until golden brown. Let cool for about 5 minutes, then transfer to a wire rack to cool. Enjoy!

Two things to note:

1. This dough is VERY sticky because of the ricotta cheese. If you need to, add a little flour when kneading, but make sure to be gentle and not over-knead the dough.

2. Depending on your oven, it may take more than 20 minutes for your scones to turn golden. Be patient. They'll get there. But do keep a close eye on them: scones can go from lovely brown to too dark in no time flat.

SOURCE: Adapted from Two Peas and Their Pod

Chocolate Chip Skillet Cake

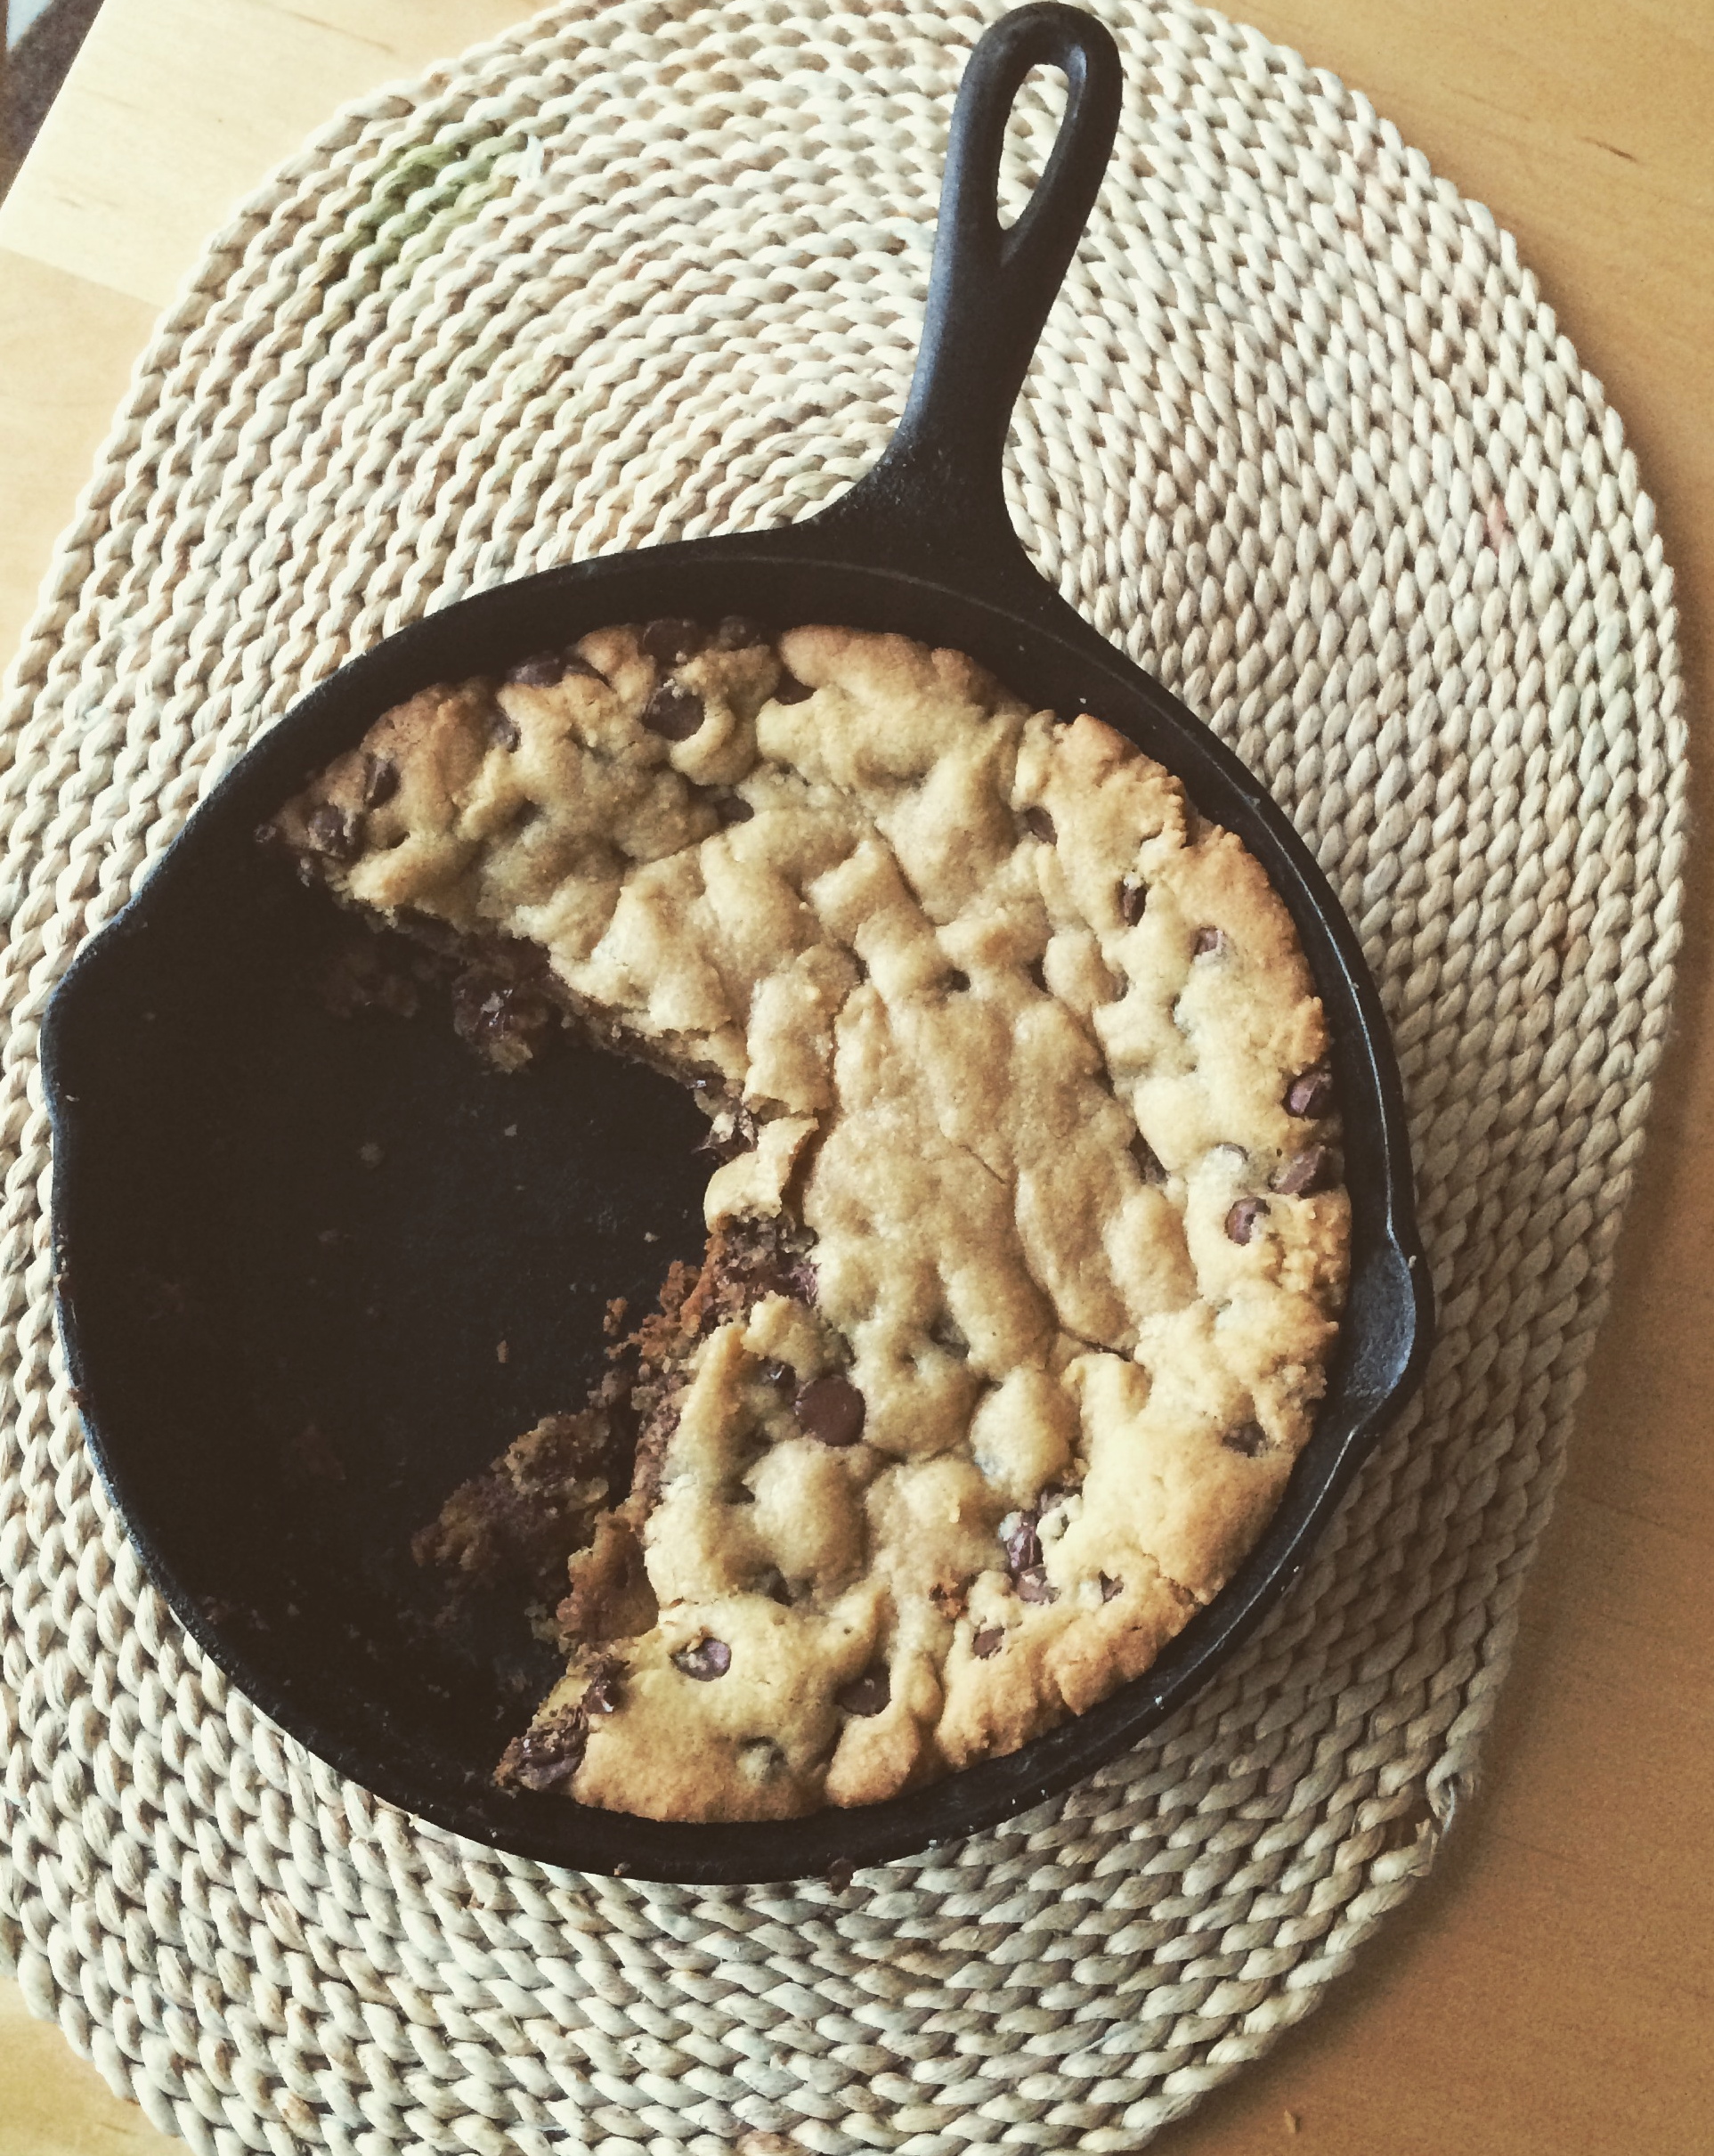
Image 1 skillet cake I've said this so many times before, but it bears repeating now: one should never underestimate the power of a chocolate chip cookie. There's a reason why it's such a classic, go-to dessert. It's soft in the middle, ooey gooey, and oh-so-cholatey. In times of stress, I find myself going back to my favorite chocolate chip recipes, seeking out that comfort that only a good cookie can bring. And when that cookie happens to be 9-inches, baked in a skillet, and slightly under-baked in the center, it's even better. Let's call it an easy reward for surviving Monday, shall we?

photo 2

Never have the words "You deserve a cookie," been more applicable.


What You'll Need:

2 cups AP flour

1 teaspoon baking soda

1/2 teaspoon salt

1 1/2 sticks unsalted butter at room temperature

1/2 cup granulated sugar

1/2 cup light brown sugar

1 large egg

1 large egg yolk

2 teaspoons vanilla extract

1 cup semisweet chocolate chips


Directions:

-Preheat the oven to 350 degrees F. Grease and flour well one 9-inch ovenproof skillet.

-In a medium bowl, whisk the flour, baking soda, and salt.

-In the bowl of an electric mixer fitted with the paddle attachment (or in a large bowl using a wooden spoon, or with a hand mixer) beat the butter and sugars (granulated and light brown) on medium speed until light and fluffy. Reduce the speed to low and add the egg. Add the egg yolk, then the vanilla, and mix well.

-Carefully add the flour mixture a little bit at a time while the mixer is on low speed,  and beat until just combined. Remove the bowl from the mixer and use a rubber spatula to fold in the chocolate chips. Transfer the batter to the prepared skillet, making sure that it is smooth and evenly distributed.

-Bake until the edges are baked and golden, but the center is still slightly under-baked, about 18-20 minutes. Let cool on a wire rack for about 10 minutes before serving.

(This cookie can last for up to three days tightly wrapped, and at room temperature.)


SOURCEJoy the Baker Homemade Decadence: Irresistibly Sweet, Salty, Gooey, Stick, Fluffy, Creamy, Crunchy Treats by Joy Wilson

P.S. Check out my review of this excellent cookbook here!


Valentine's Day Leftovers

photo-11 The only thing better than eating all of the sweets on Earth on Valentine's Day, is discovering that you have extras left over for days and days afterwards. Forget the discounted chocolate (but don't actually because Lindt chocolate ain't cheap when it's just a regular Tuesday), the real edible magic after Valentine's Day are the baked goods. Cupcakes, cookies, brownies, and all heart-shaped. Is it me, or do things just taste better when they're heart-shaped? It's just me? Okay.

My generally sad lunch has an upgrade this week in the form of these sweet sugar cookie hearts.


I keep going back to Bon Appetit's Ultimate Sugar Cookie recipe because it's JUST THAT GOOD.

And don't forget the royal icing!


Happy Valentine's Day Leftovers Week!

French Silk Pie

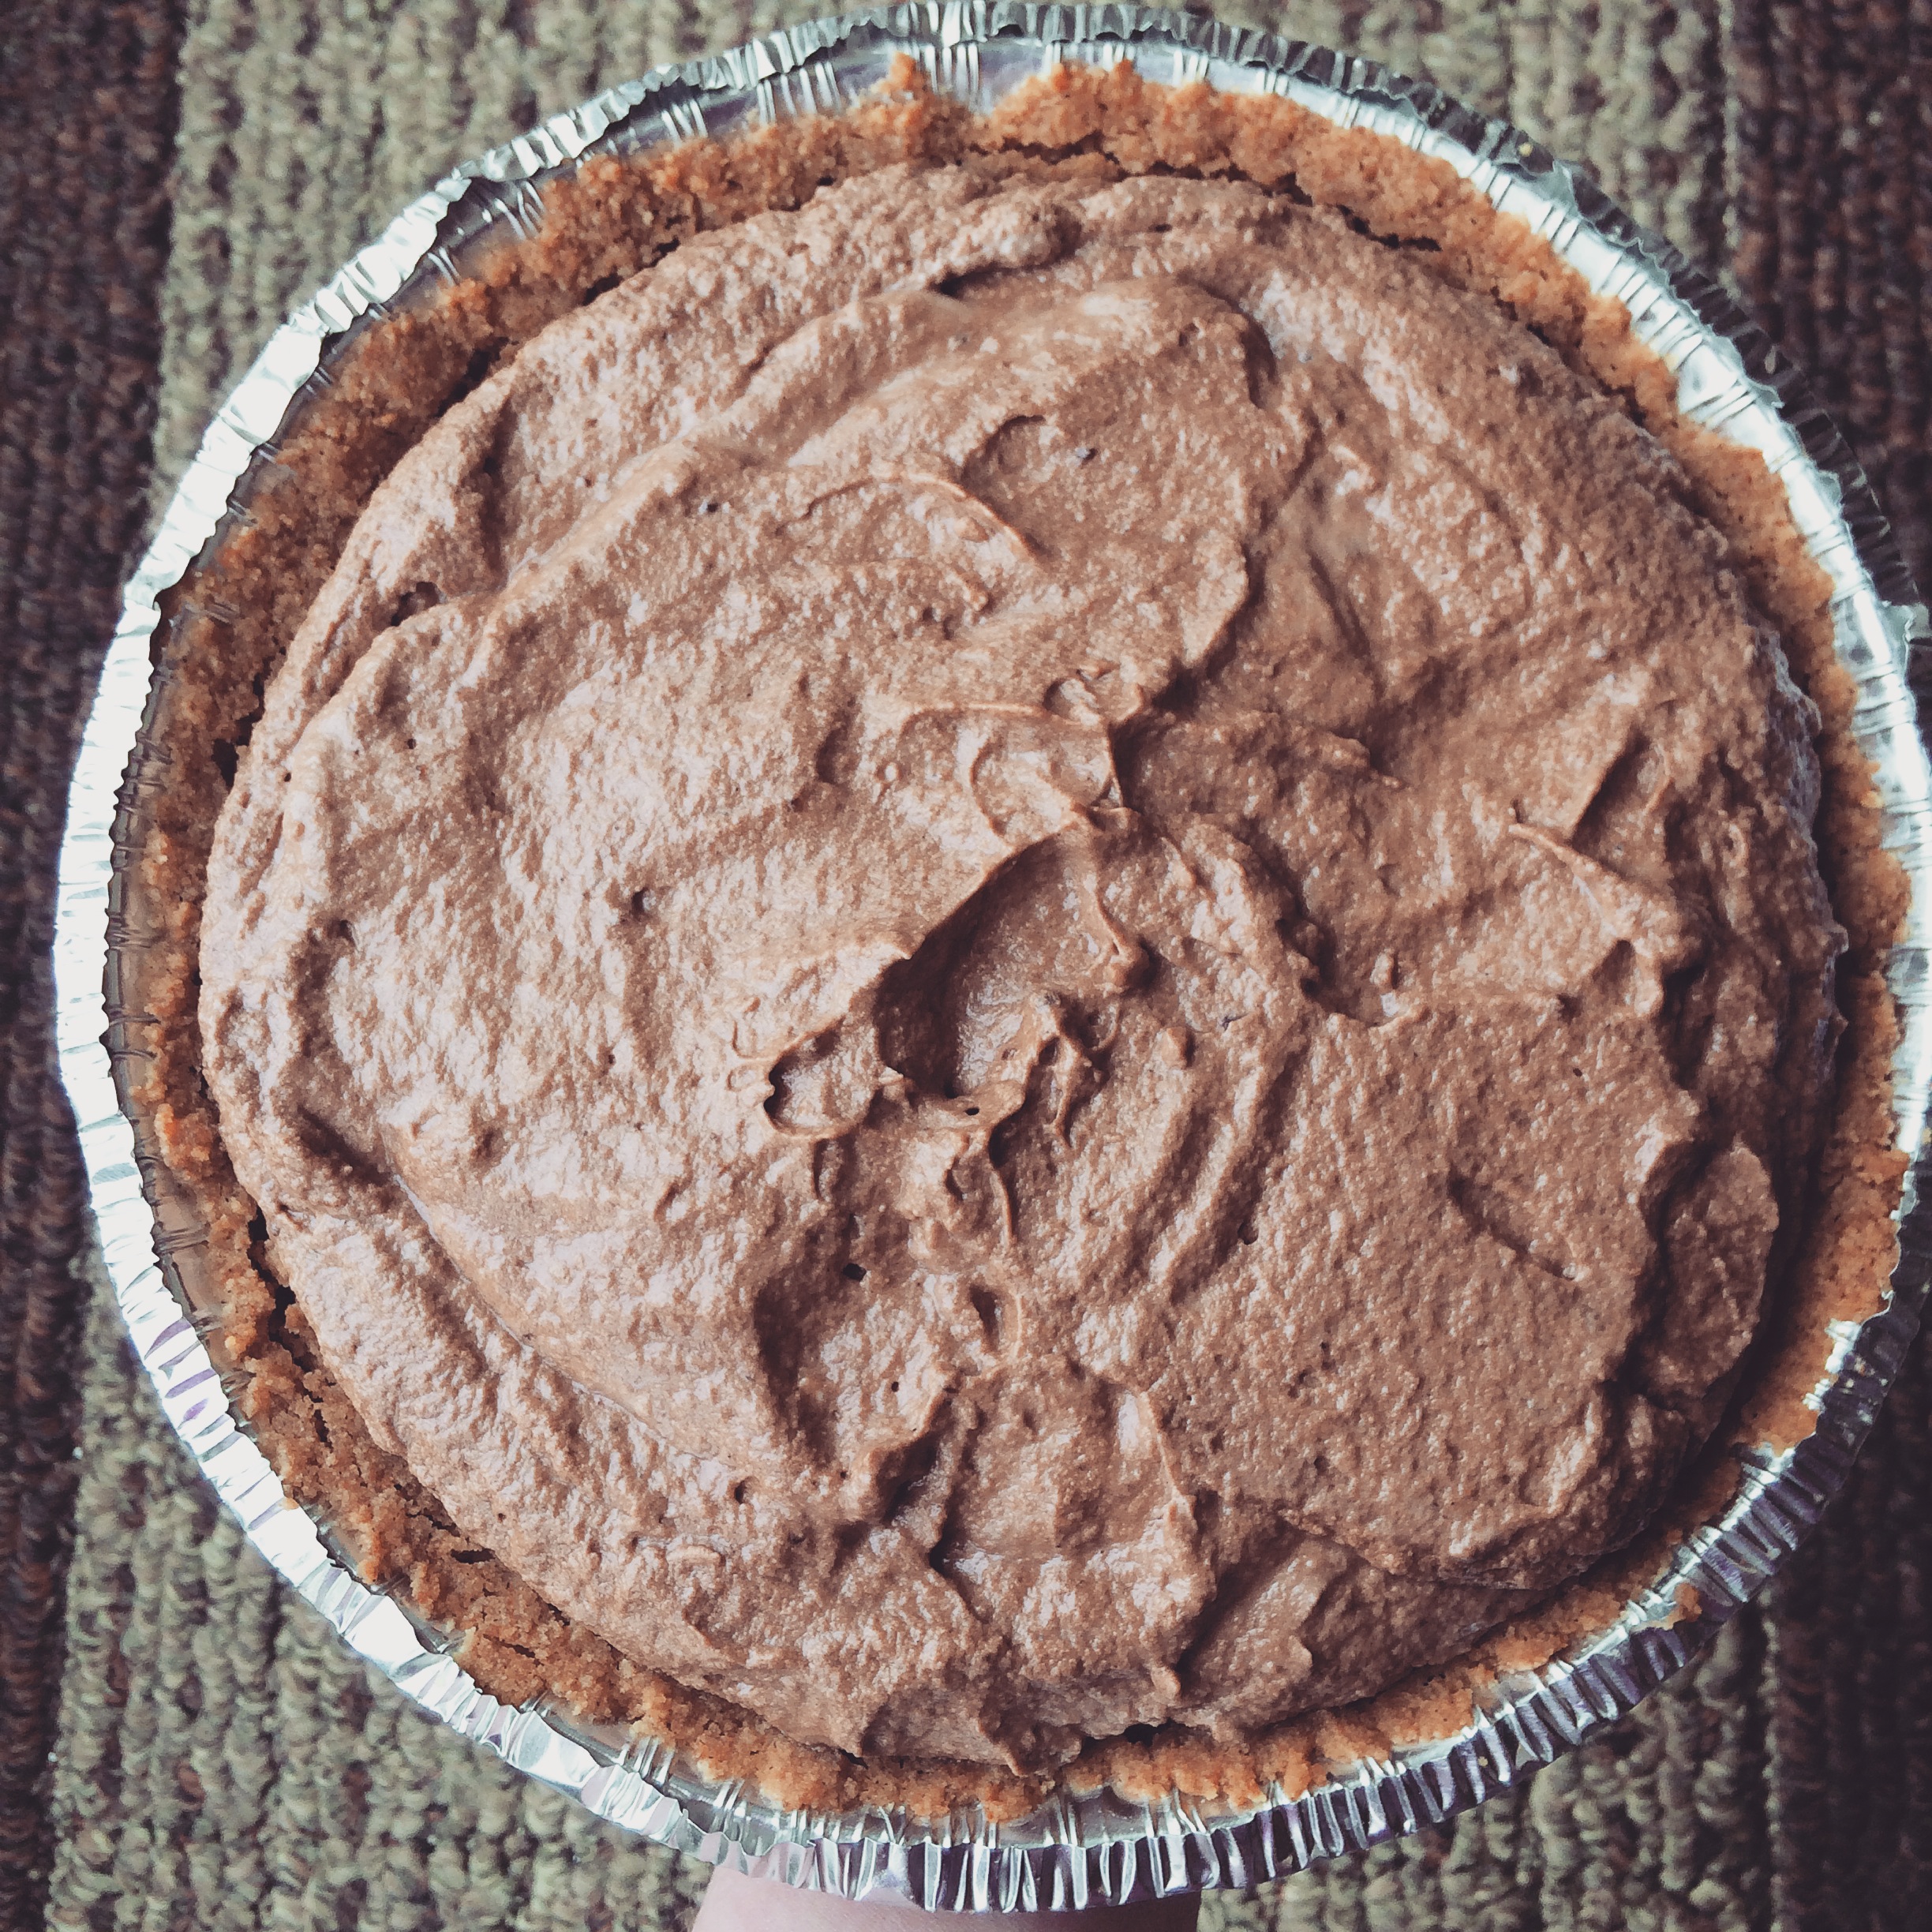
photo-10 Happy Valentine's Day! I love love, and I love chocolate, so let's dive right in.

Ever since my visit to Chicago's Bang Bang Pie, I have been obsessed with french silk pie. I've been told it's a classic diner pie , but this girl has been to her fair share of diners, and no french silk in sight! It's just as well; the first time you have french silk pie has to be a straight up experience, not just another dessert.

People are always likening the things they really, really like to Heaven. You know what I mean? "That massage I just got? HEAVEN." "That shoe place is like HEAVEN." "Those dogs kisses on my mouth? HEAVENNN." It's become so overused. But let me tell you something right now: the only thing better than this pie once it's completely chilled and set, is the actual moment of euphoria that is finding extra filling in the mixing bowl once the pie shell has been filled. That unset, chocolate mousse filling is actual Heaven on Earth. It's silky (hence the name!), chocolaty beyond belief, creamy, and lighter than air. It's silky, chocolaty, creamy air on a spoon. I will not tell you how much of it I ate before I could finally snap myself out of it to transfer the pie to the fridge before there was nothing left but crumbs in a disposable tin. If it wasn't already destined to be dessert at a Valentine's Day party, this french silk pie, along with its identical twin pie brother, would've been gone SO FAST with no regrets.

Alas, they were promised for many other tummies besides mine, so I had to let them go.

There better be leftovers.


What You'll Need:

For the Crust: 60 Vanilla wafers, finely crushed 1/4 teaspoon cinnamon 3/4 cup (1 1/2 sticks) unsalted butter, melted and cooled For the Filling: 3/4 cup superfine sugar 2 large eggs, lightly beaten 2 1/2 ounces bittersweet chocolate, melted 1/2 cup (1 stick) unsalted butter, softened 1 1/4 cup heavy whipping cream 2 teaspoons vanilla extract

Preheat the oven to 350 degrees F

To make the crust: Place your freshly crushed vanilla wafers, cinnamon, and melted butter into a medium sized mixing bowl, and stir together until all ingredients are completely combined.

Pour your mixture into a 9 inch pie plate and press the bottom and sides to create an even layer. You may end up with a little extra once you're finished.

Bake your crust for 10-15 minutes until it's golden brown. Once removed from the oven, set it on a cooling rack to cool completely, then place in the refrigerator until you need it.

To make the filling: Place eggs and sugar in a medium saucepan, continuously whisking together on medium-low heat. You'll know that your mixture is ready when it is thick enough to coat the back of a spoon. This should take 5-7 minutes. While your mixture is cooking, melt the chocolate.

Stir your melted chocolate into the mixture, and continue to stir until it's smooth. Remove from heat, and let it completely cool.

In a stand mixer fitted with the paddle attachment (or in a bowl with a hand mixer, or with a wooden spoon), beat your butter until it is light and fluffy. Add your cooled chocolate mixture, and continue to mix until everything is fully combined. Make sure to scrape down the sides of the bowl occasionally.

In a separate bowl, beat together your heavy cream and vanilla extract until stiff peaks form. Fold your newly whipped cream into your chocolate mixture and mix until it's light and fluffy. (I've found that it's sometimes necessary to help the process by mixing it with a rubber spatula for a few seconds to make sure all of the chocolate is incorporated.)

Remove your chilled crust from the refrigerator, and fill with chocolate filling. (You may end up with some extra filling at the end. I find it best to eat with a spoon). Refrigerate for 4-6 hours (or overnight). Once ready to serve, top with some homemade whipped cream, and enjoy!

SOURCE: Spoon Fork Bacon


Forks up! Everybody have some pie.

Mexican Wedding Cookies

DSCN0669 Holiday baking is officially in full swing and there is no one in this world happier about that than I am. There are holiday parties all over the place in the near future, and it means loads of planning, which puts me front-row-center in my happy place. To make things even sweeter, we have a beautiful, fragrant Christmas tree just waiting to be decorated, and of course, the proper way to decorate any tree is with a mouthful of cookies and ornaments in both hands.

DSCN0675

It's always best to ease into the baking season with a simple cookie that's tasty and seemingly complex enough, but takes you very little time in the kitchen to make. After all, you've got a lot of baking ahead of you, and don't want to burn yourself out with the very first batch! That's where these Mexican Wedding Cookies come in. They're simple little things, but they're packed with buttery flavor,  nutty crunch, and so much sugar. They're perfect for any time of year really, but just seem to make everything just a little brighter around Christmastime.

DSCN0676

I used almonds in my cookies, though you can get away with any nut you love, so long as you chop it up finely. No one wants to bite into a cookie with just a little too much crunch. Though if you ask my father, he'd strongly disagree. He's been pushing for weeks for a dessert with nuts, and so far, these haven't disappointed him!

DSCN0674

There is actually no such thing as too much powdered sugar with these cookies, and that is absolutely a fact. It reminds me of the gentle kiss of snow and how much a beautiful winter day can put me in a wonderful mood...you know, if I don't have to drive in it. But looking out the window with a warm cup of cocoa, impossibly cozy socks, and a stack of new cookbooks with spines that crack upon first opening, is my kind of winter's day. Put a plate of these Mexican Wedding Cookies in front of me, and we're talkin' business.


Here's What You'll Need:

  • 1 cup butter, softened
  • ½ cup powdered sugar
  • 1 teaspoon vanilla
  • 2 ¼ cups flour
  • ¼ teaspoon salt
  • ¾ cup finely chopped nuts (pecans, walnuts, or almonds)
  • Powdered sugar for rolling

Find the recipe here at Crazy for Crust!


LET THE CHRISTMAS COOKIE SEASON BEGIN.

singature gray

Making Madeleines

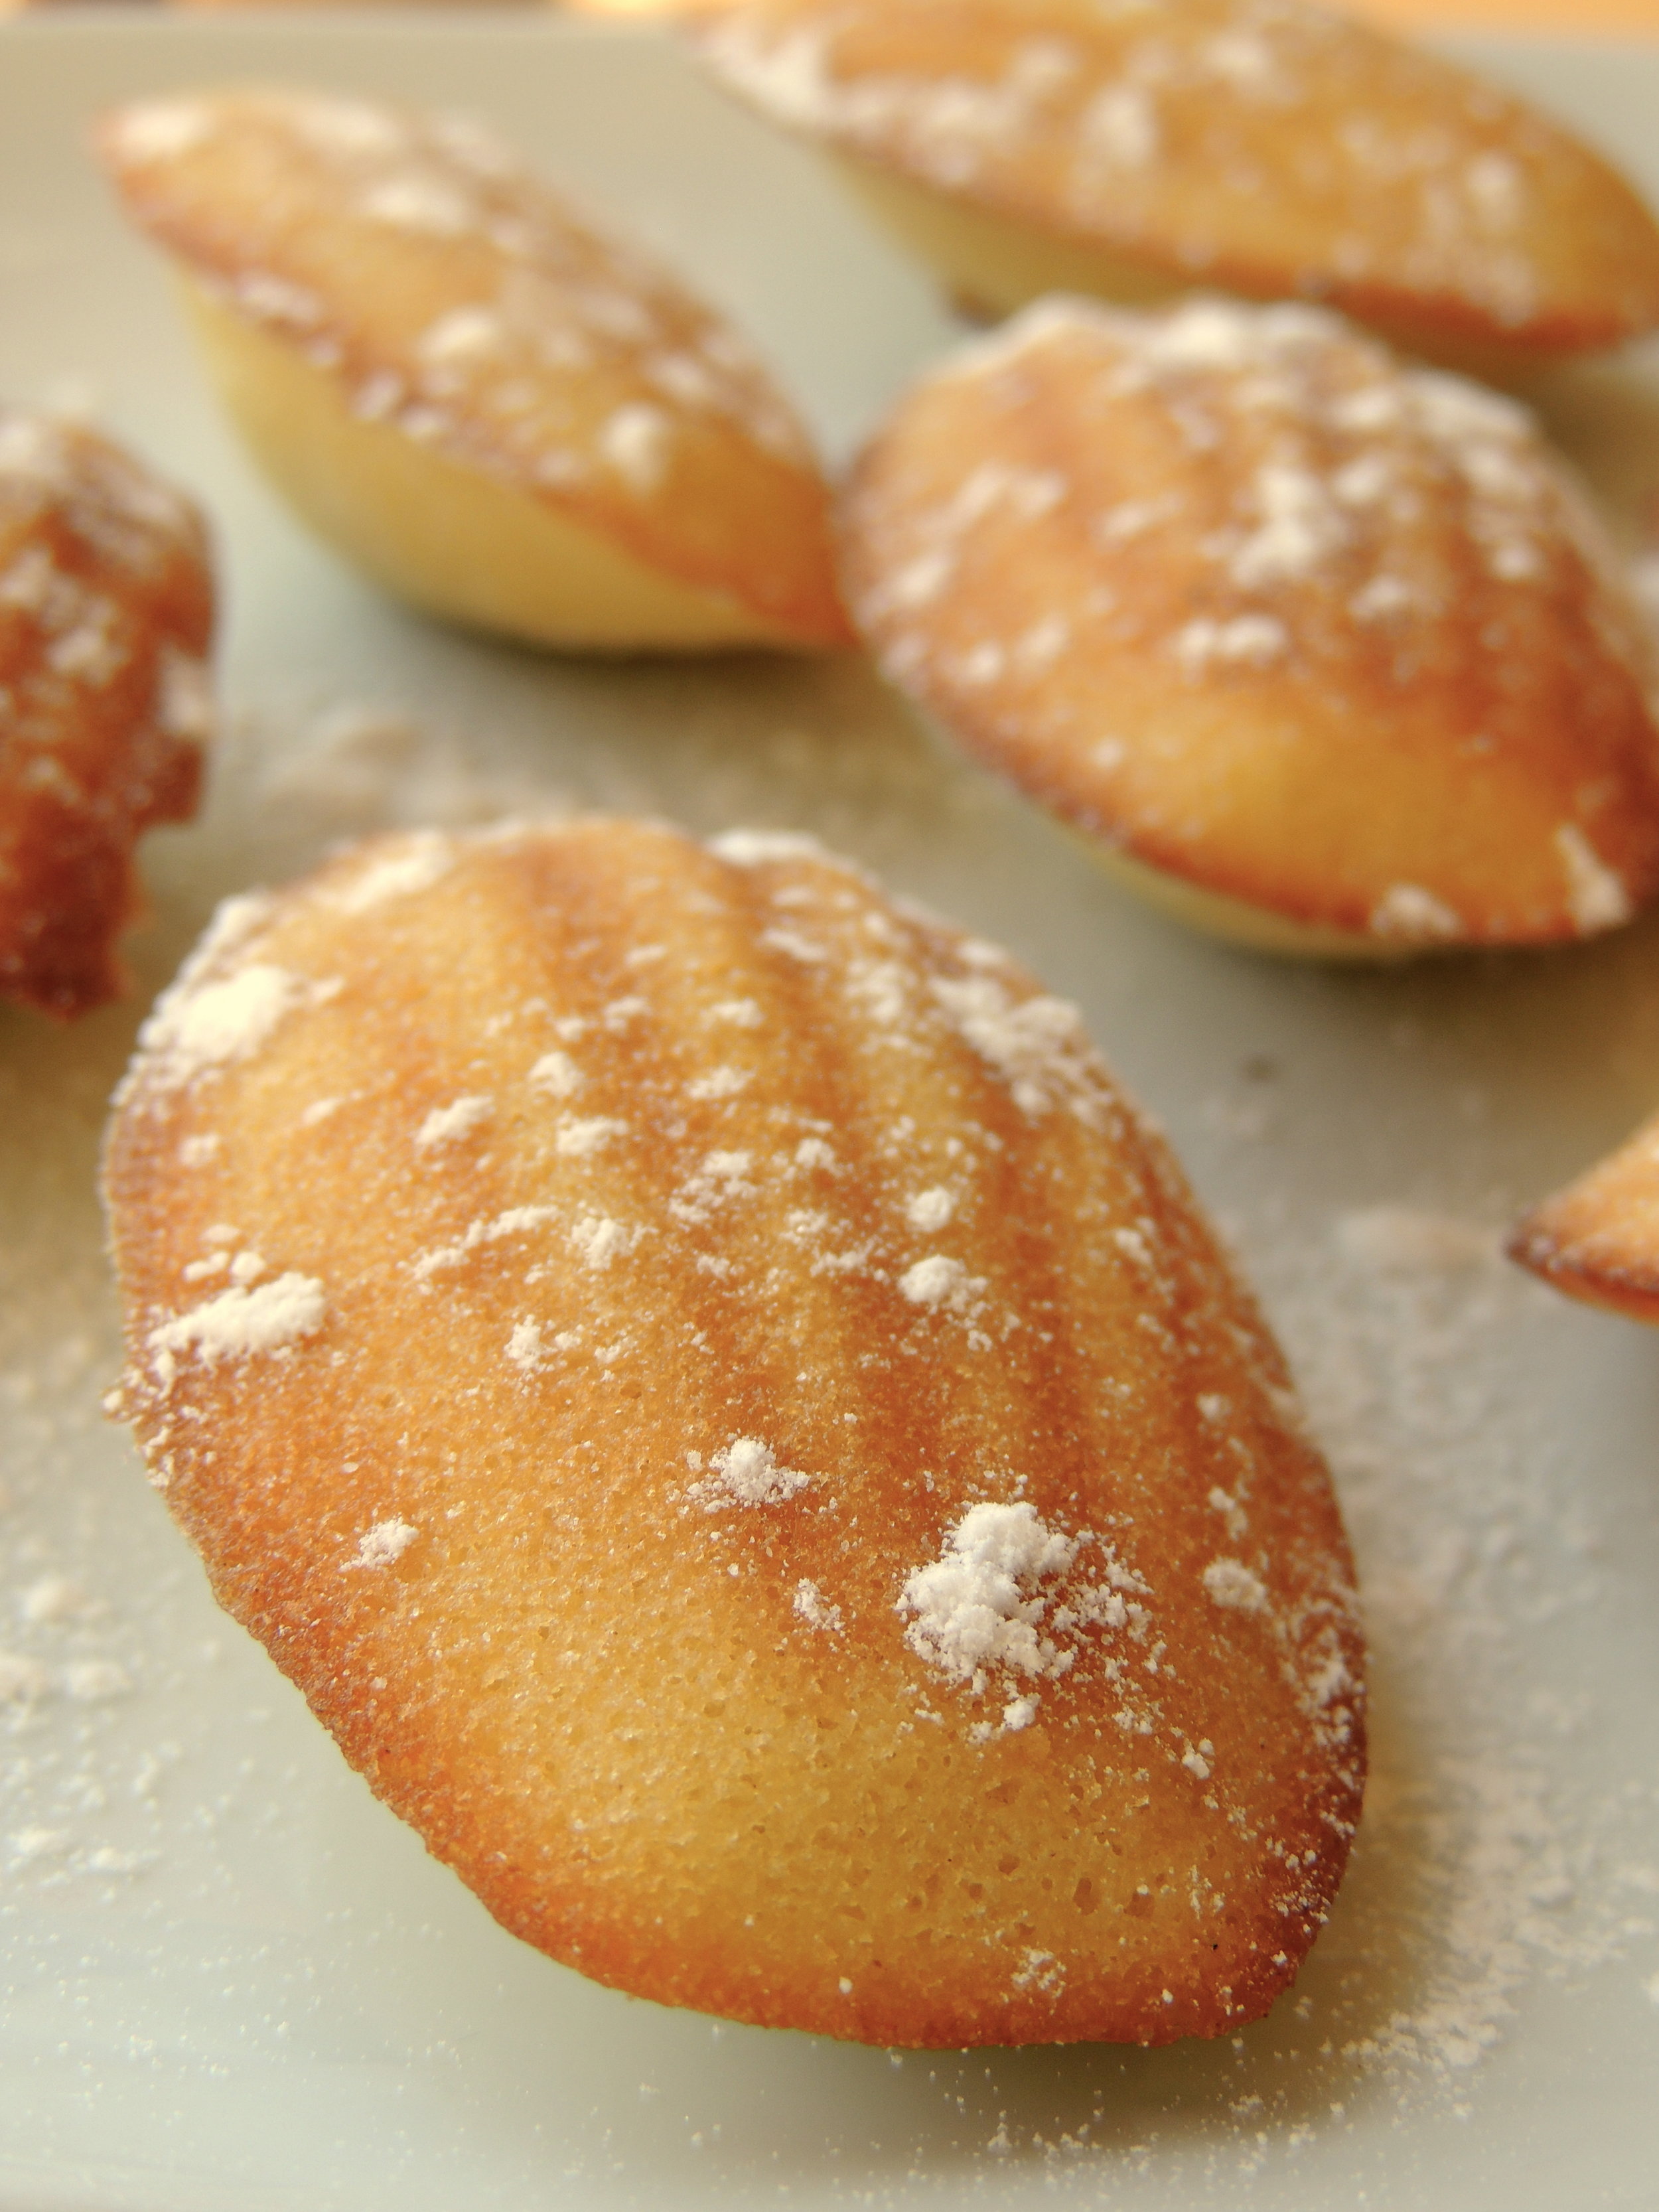
DSCN0668 I'm not usually one to spend money on baking pans that are only designed for one thing (save for the time I bought that donut pan...But that was different because there are hundreds of donut combinations!), but I just couldn't resist those adorable Madeleine pans any longer! How can I have a proper tea party without shell-shaped cookies? How can I pretend that I'm French without cake-y cookies with tons of powdered sugar sprinkled on the top? The Madeleine pan was an investment really, I mean, if you think about it. Kind of. Maybe?

Anyway, there is now a Madeleine pan siting in my pantry, and lots of tiny, delicious, half cake/half cookies on the table waiting for me to devour them. So, it's been a good day.

DSCN0664Besides the fact that these sophisticated little ladies (Because they're obviously girls. All that's missing, really. are mini strands of pearls.) are totally delicious, they are also surprisingly easy to make. I know that I say that so often, but it's for real this time!

DSCN0666

These special cookies are perfect for several occasions, which makes them so fun to have around. I've currently enjoyed them at breakfast time, tea time, after dinner, and a quick snack on-the-go. They're so beautifully light that they can be eaten any time with very little guilt. (Although, you should never feel guilty about dessert. It's sweet for a reason!)


Get yourself a Madeleine pan and try these!


What You'll Need:

  • 1/2 cup (1 stick) unsalted butter, melted and cooled 
  • 4 large eggs, room temperature
  • 1/4 teaspoon salt
  • 1/2 cup sugar
  • 1 teaspoon pure vanilla extract
  • 1 cup sifted all-purpose flour
  • 1/2 teaspoon baking powder

1. Preheat oven to 375 degrees. Butter and flour your Madeleine pan. Set aside.

2. In a bowl, whisk eggs, sugar, and salt together until thick (about 7 or 8 minutes). Add vanilla.

3. Using a rubber spatula, gently, but with a little speed, fold in flour. Next, quickly but gently fold in the melted butter, making sure that it fully incorporates and does not sink to the bottom.

4. Spoon mixture into the Madeleine pan quickly. Make sure that you don't fill the molds more than 3/4 full to avoid overflow. Bake until just golden; About 8-10 minutes. Gently remove from pan and transfer to a wire rack to cool. Repeat this process with the remaining batter.

5. Sprinkle powdered sugar on top to your heart's content!

SOURCE: Martha Stewart 


HAPPY THANKSGIVING WEEK!!!


singature gray