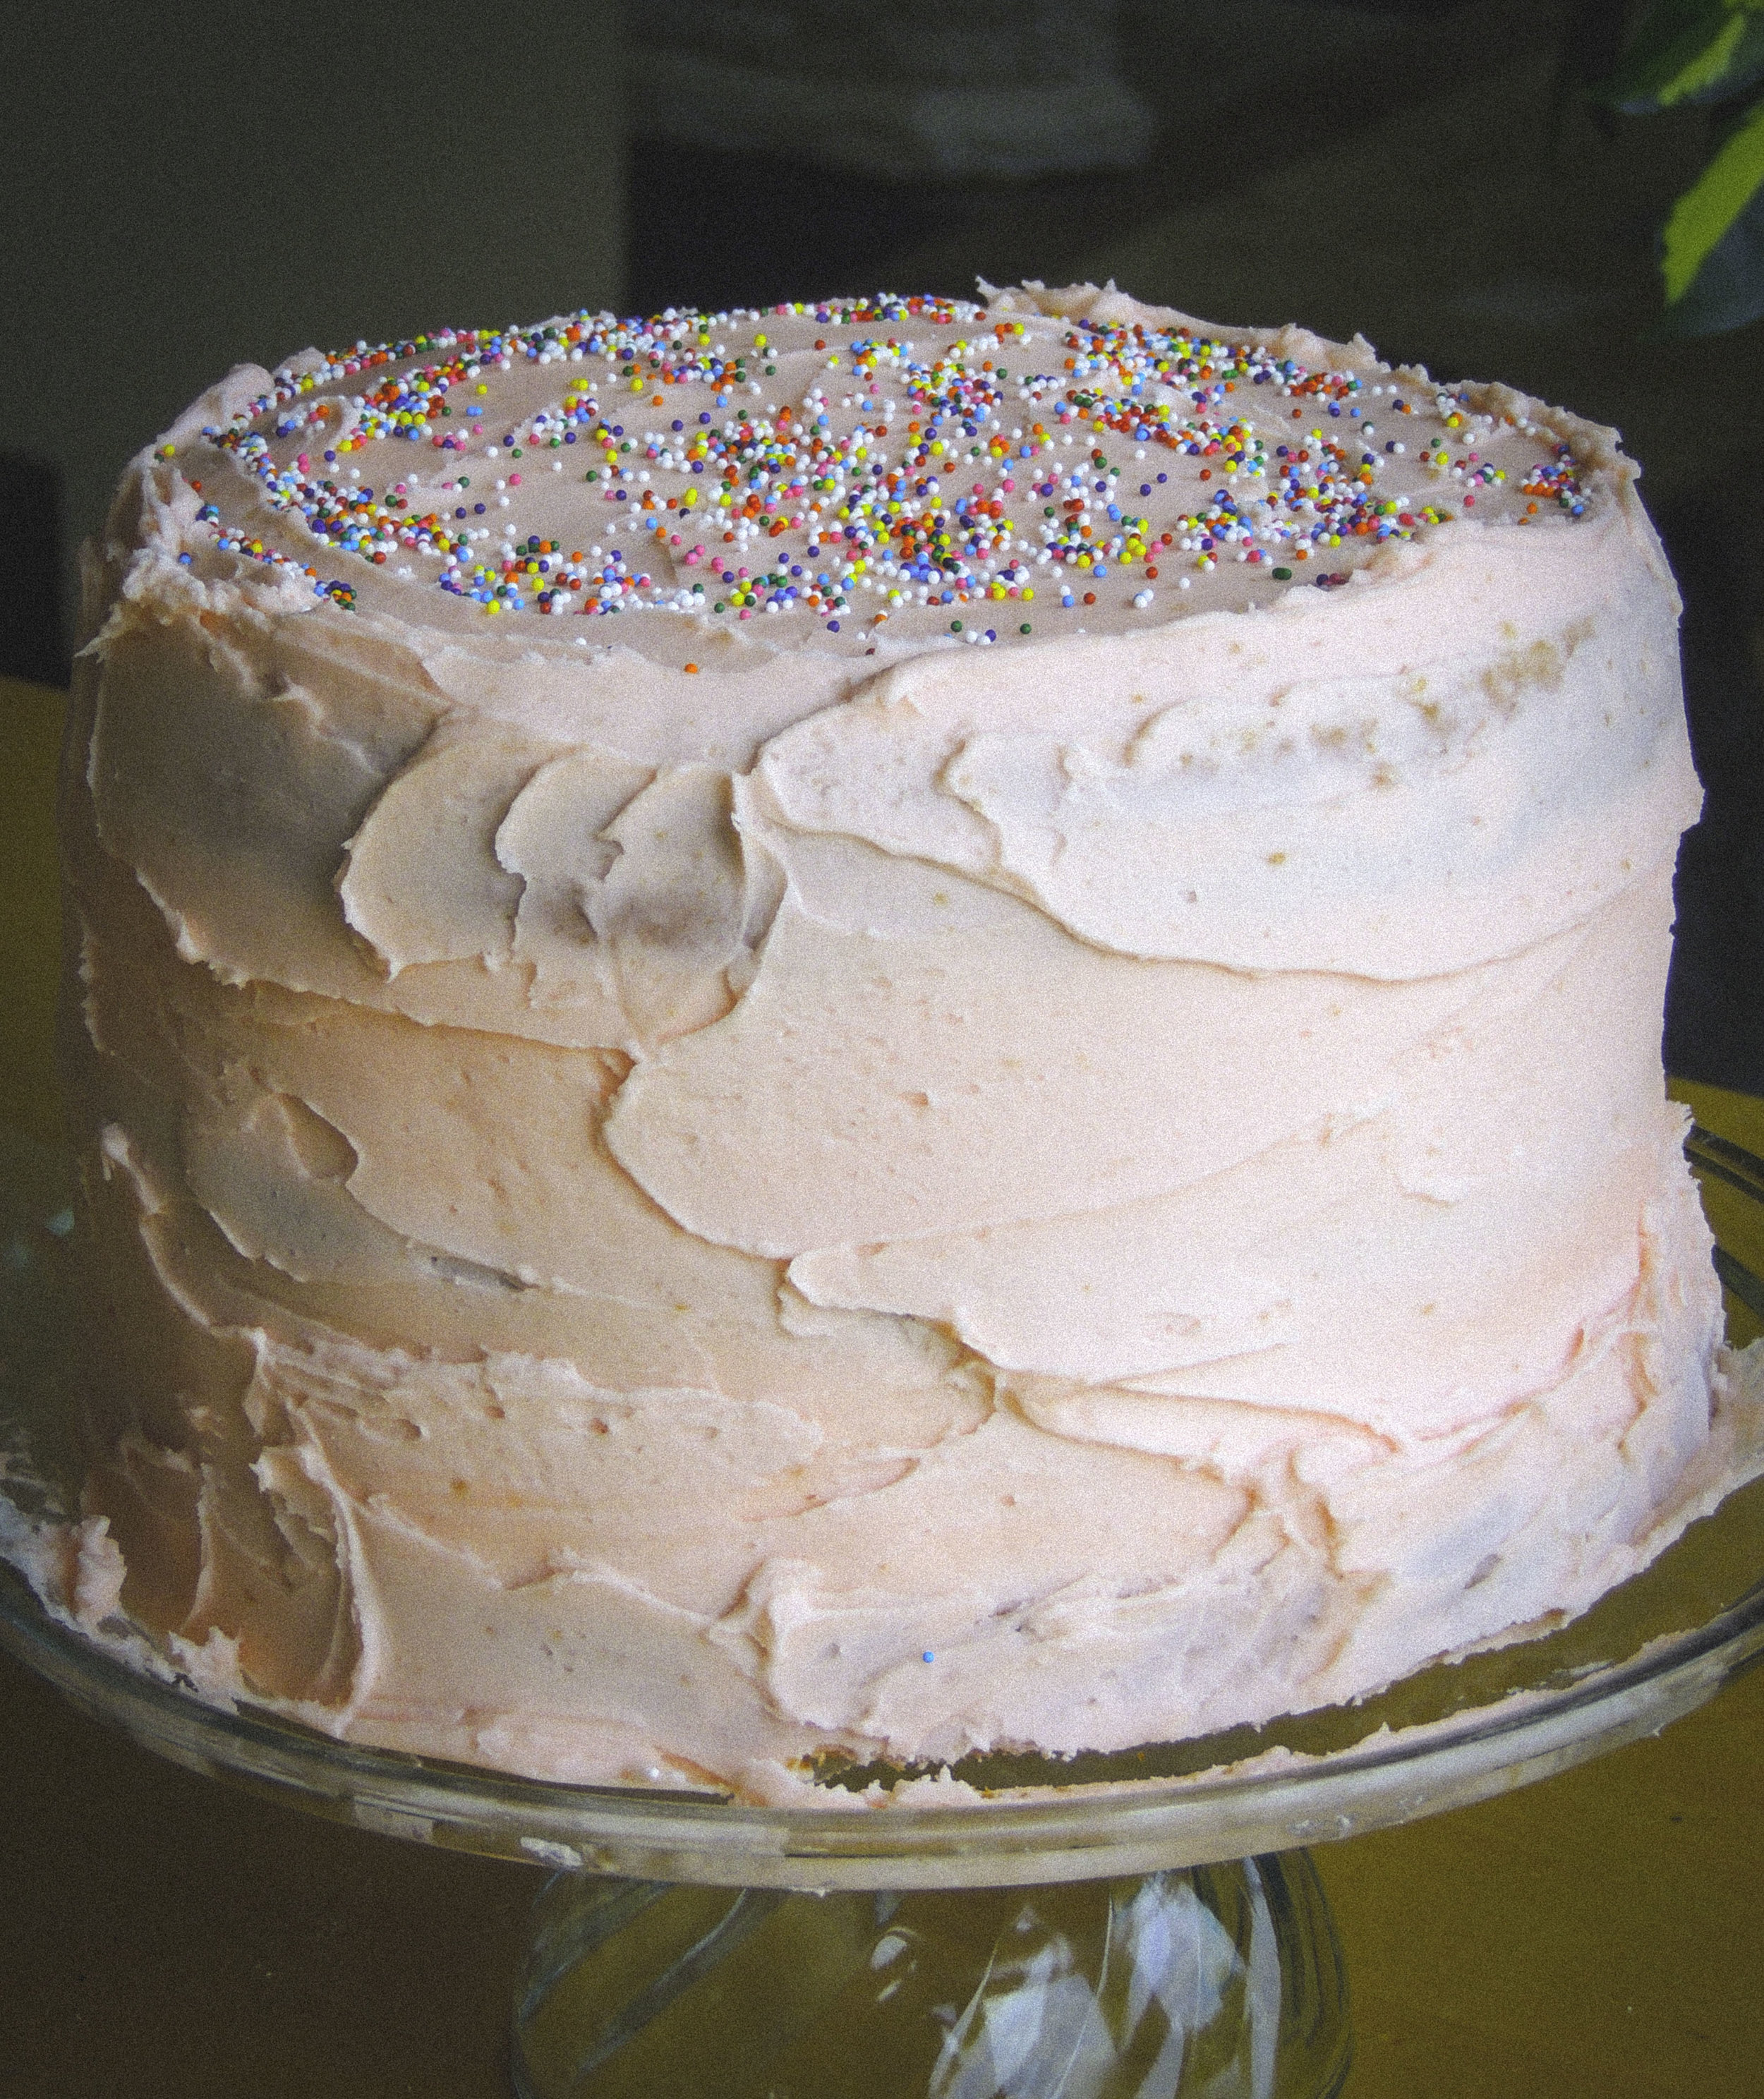
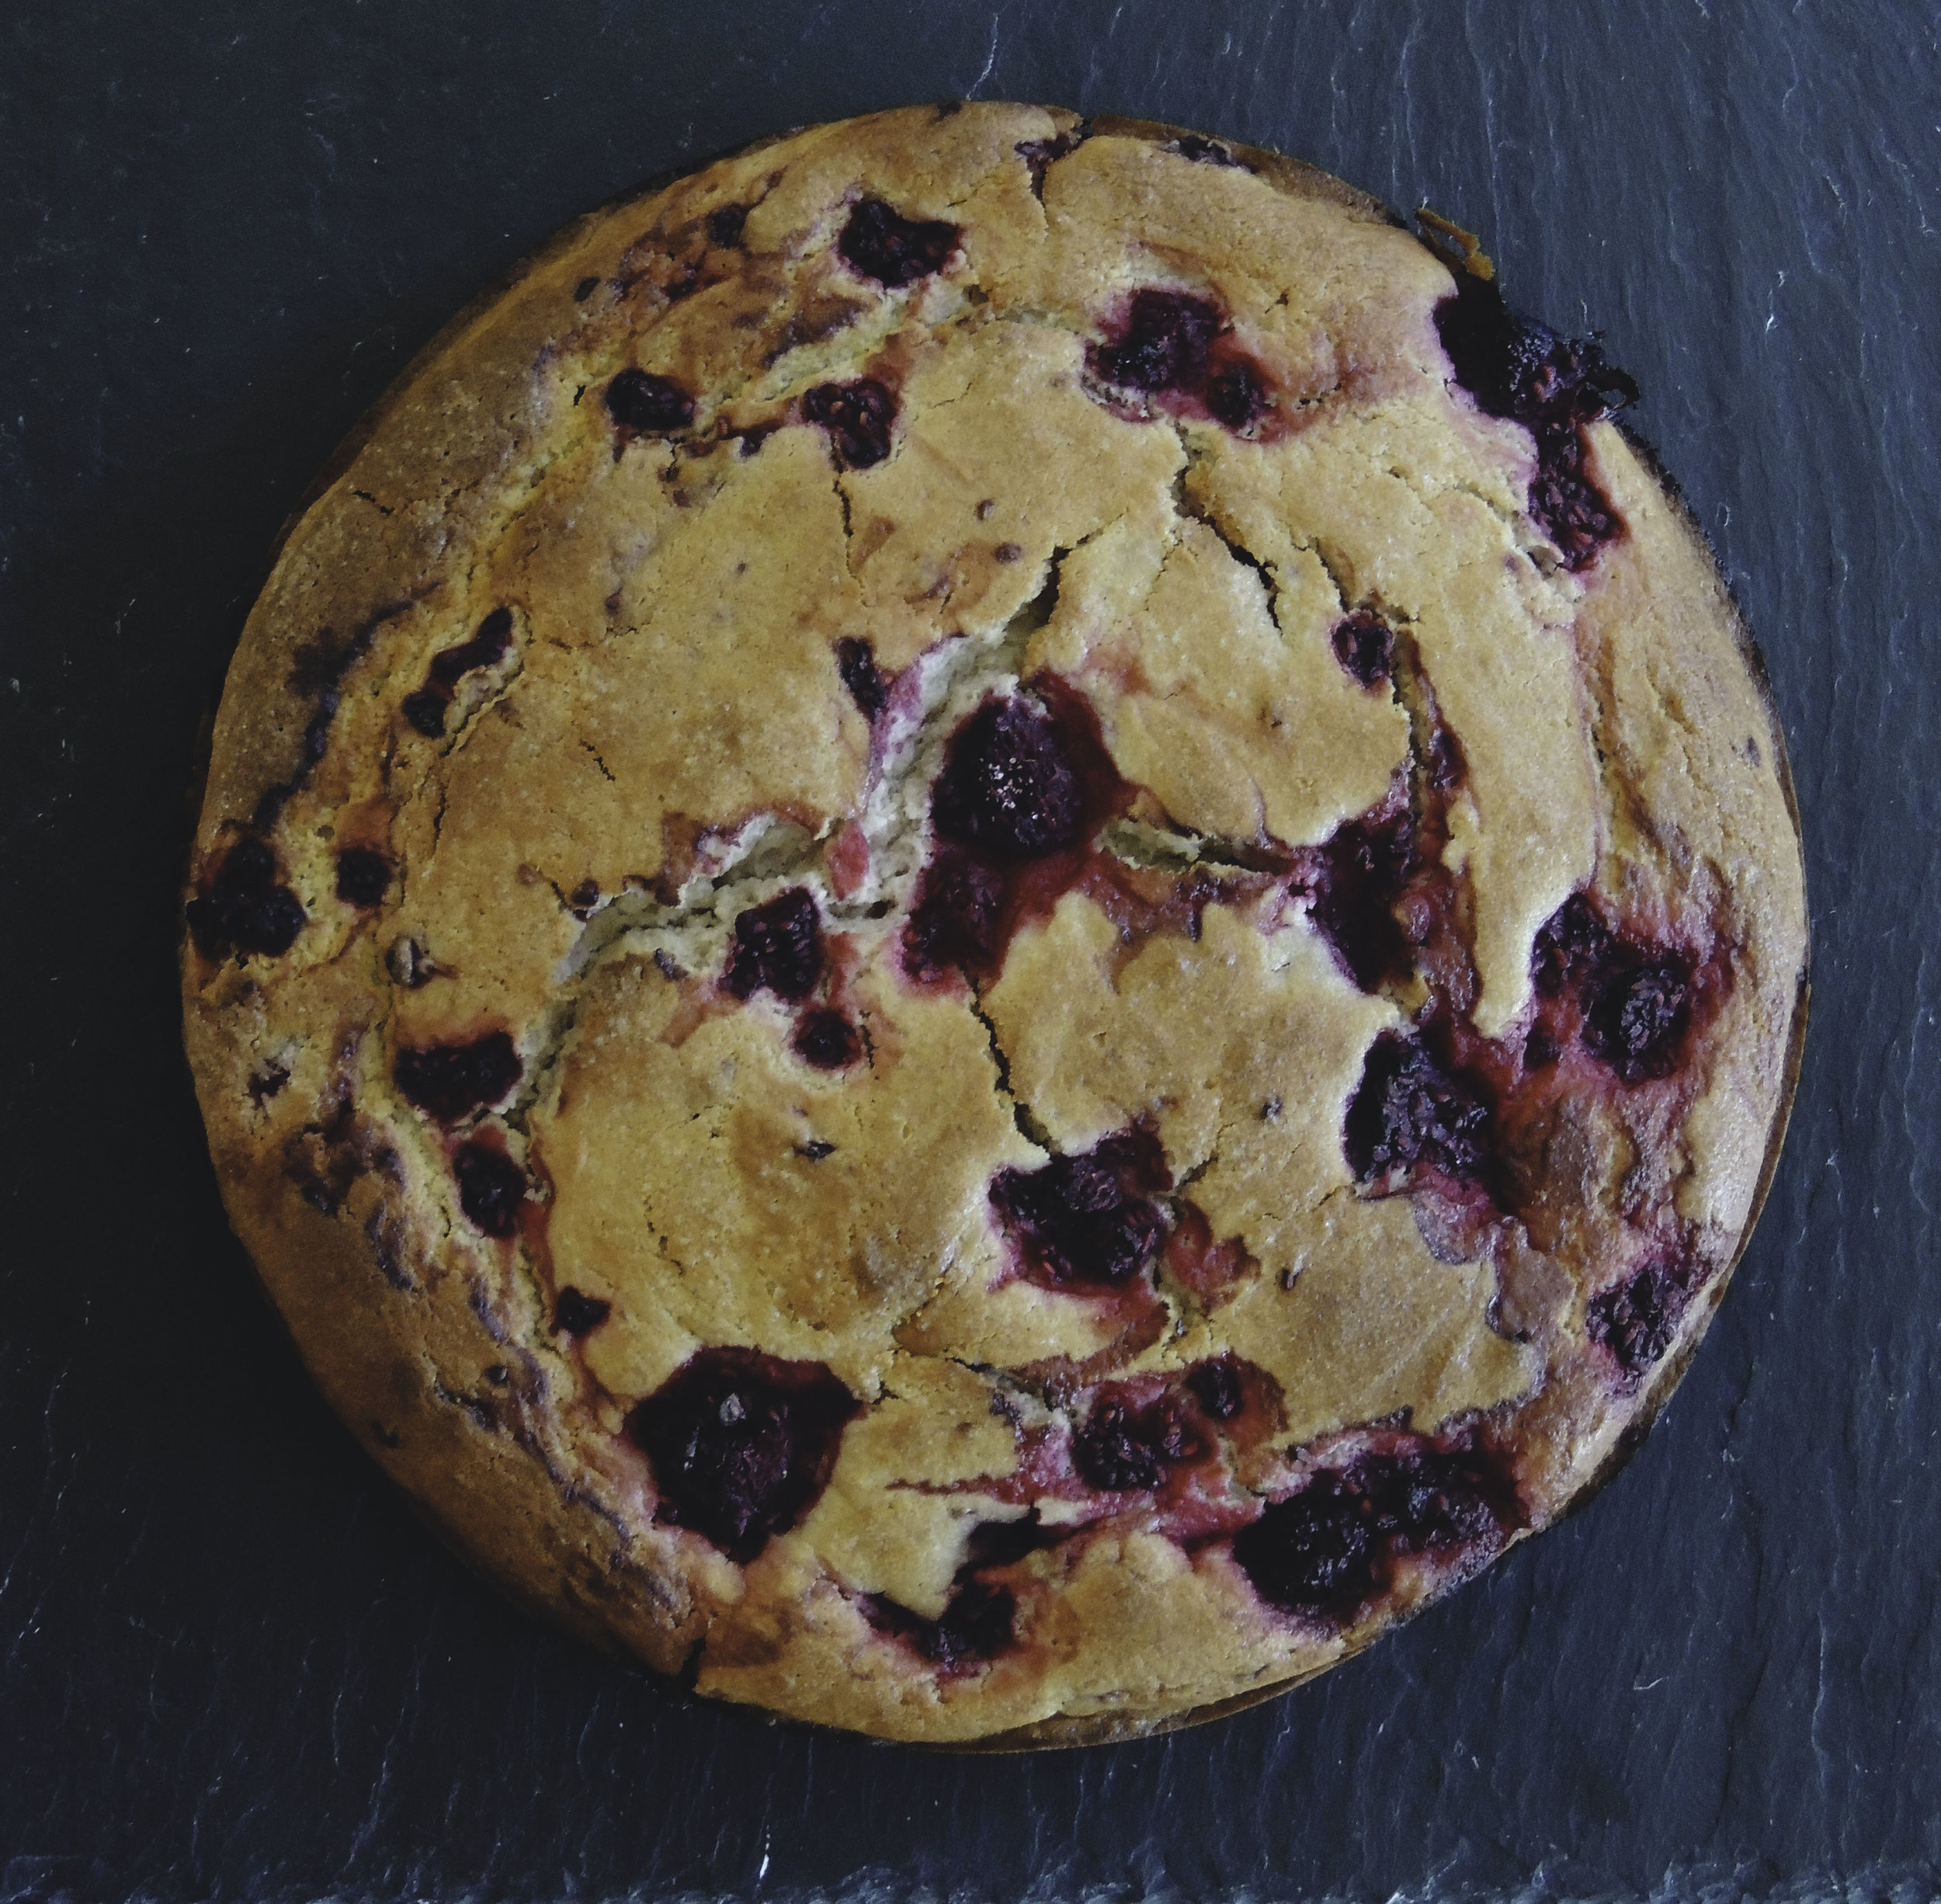
Brown Butter Raspberry-Ricotta Breakfast Cake

Rasp ricotta cake 2Listen, there comes a time in every young woman's (or man's) life where s/he just has to throw every single thing down, and have cake for breakfast. Okay? You just have to have cake for breakfast sometimes. Cereal is my breakfast meal of choice. There are occasions where I or a loved one will have the energy to whip up pretty impressive omelets, but those times are pretty rare on the weekdays. And as much as I do actually genuinely enjoy a crunchy spoonful of cornflakes, sometimes all I want need first thing is a beyond-moist, tender, fruity-flavor-packed slice of cake. And I want to eat it with my hands. Forks are great, but we don't need 'em!

rasp ricotta cake 5

The selection of fruit at the grocery store is very hit-or-miss, which can be very frustrating as all anyone ever talks about in the food world is "embracing seasonality." It's hard to do that when you're looking at crates full of fuzzy raspberries. The great news is, not only is frozen fruit totally welcome in this cake, it's actually a requirement. Thank goodness for the Frozen Foods section.

rasp ricotta cake 4

rasp ricotta cake 3

So, what makes this cake so moist? FULL FAT RICOTTA CHEESE. Don't you dare get that skim nonsense! We're having cake for breakfast, so let's not torture ourselves by trying to make it healthy, alright? And anyway, you want the cake to be as thick and rich as possible, so whole milk ricotta it is!

And let''s just talk about the brown butter for a second. Ohmygosh I love brown butter. It adds a certain depth to any and everything, and I don't even know what I did with my life before I knew how to do it.

rasp ricotta cake 1

It's just been a really good breakfast (and also dessert) week in this house.

And P.S. This is a GREAT choice for your 4th of July Weekend red-white-and-blue-food-eating festivities!! Fourth of July Breakfast Cake is a thing, right?


BROWN BUTTER RASPBERRY-RICOTTA CAKE 

What You'll Need:

  • Nonstick cooking oil spray
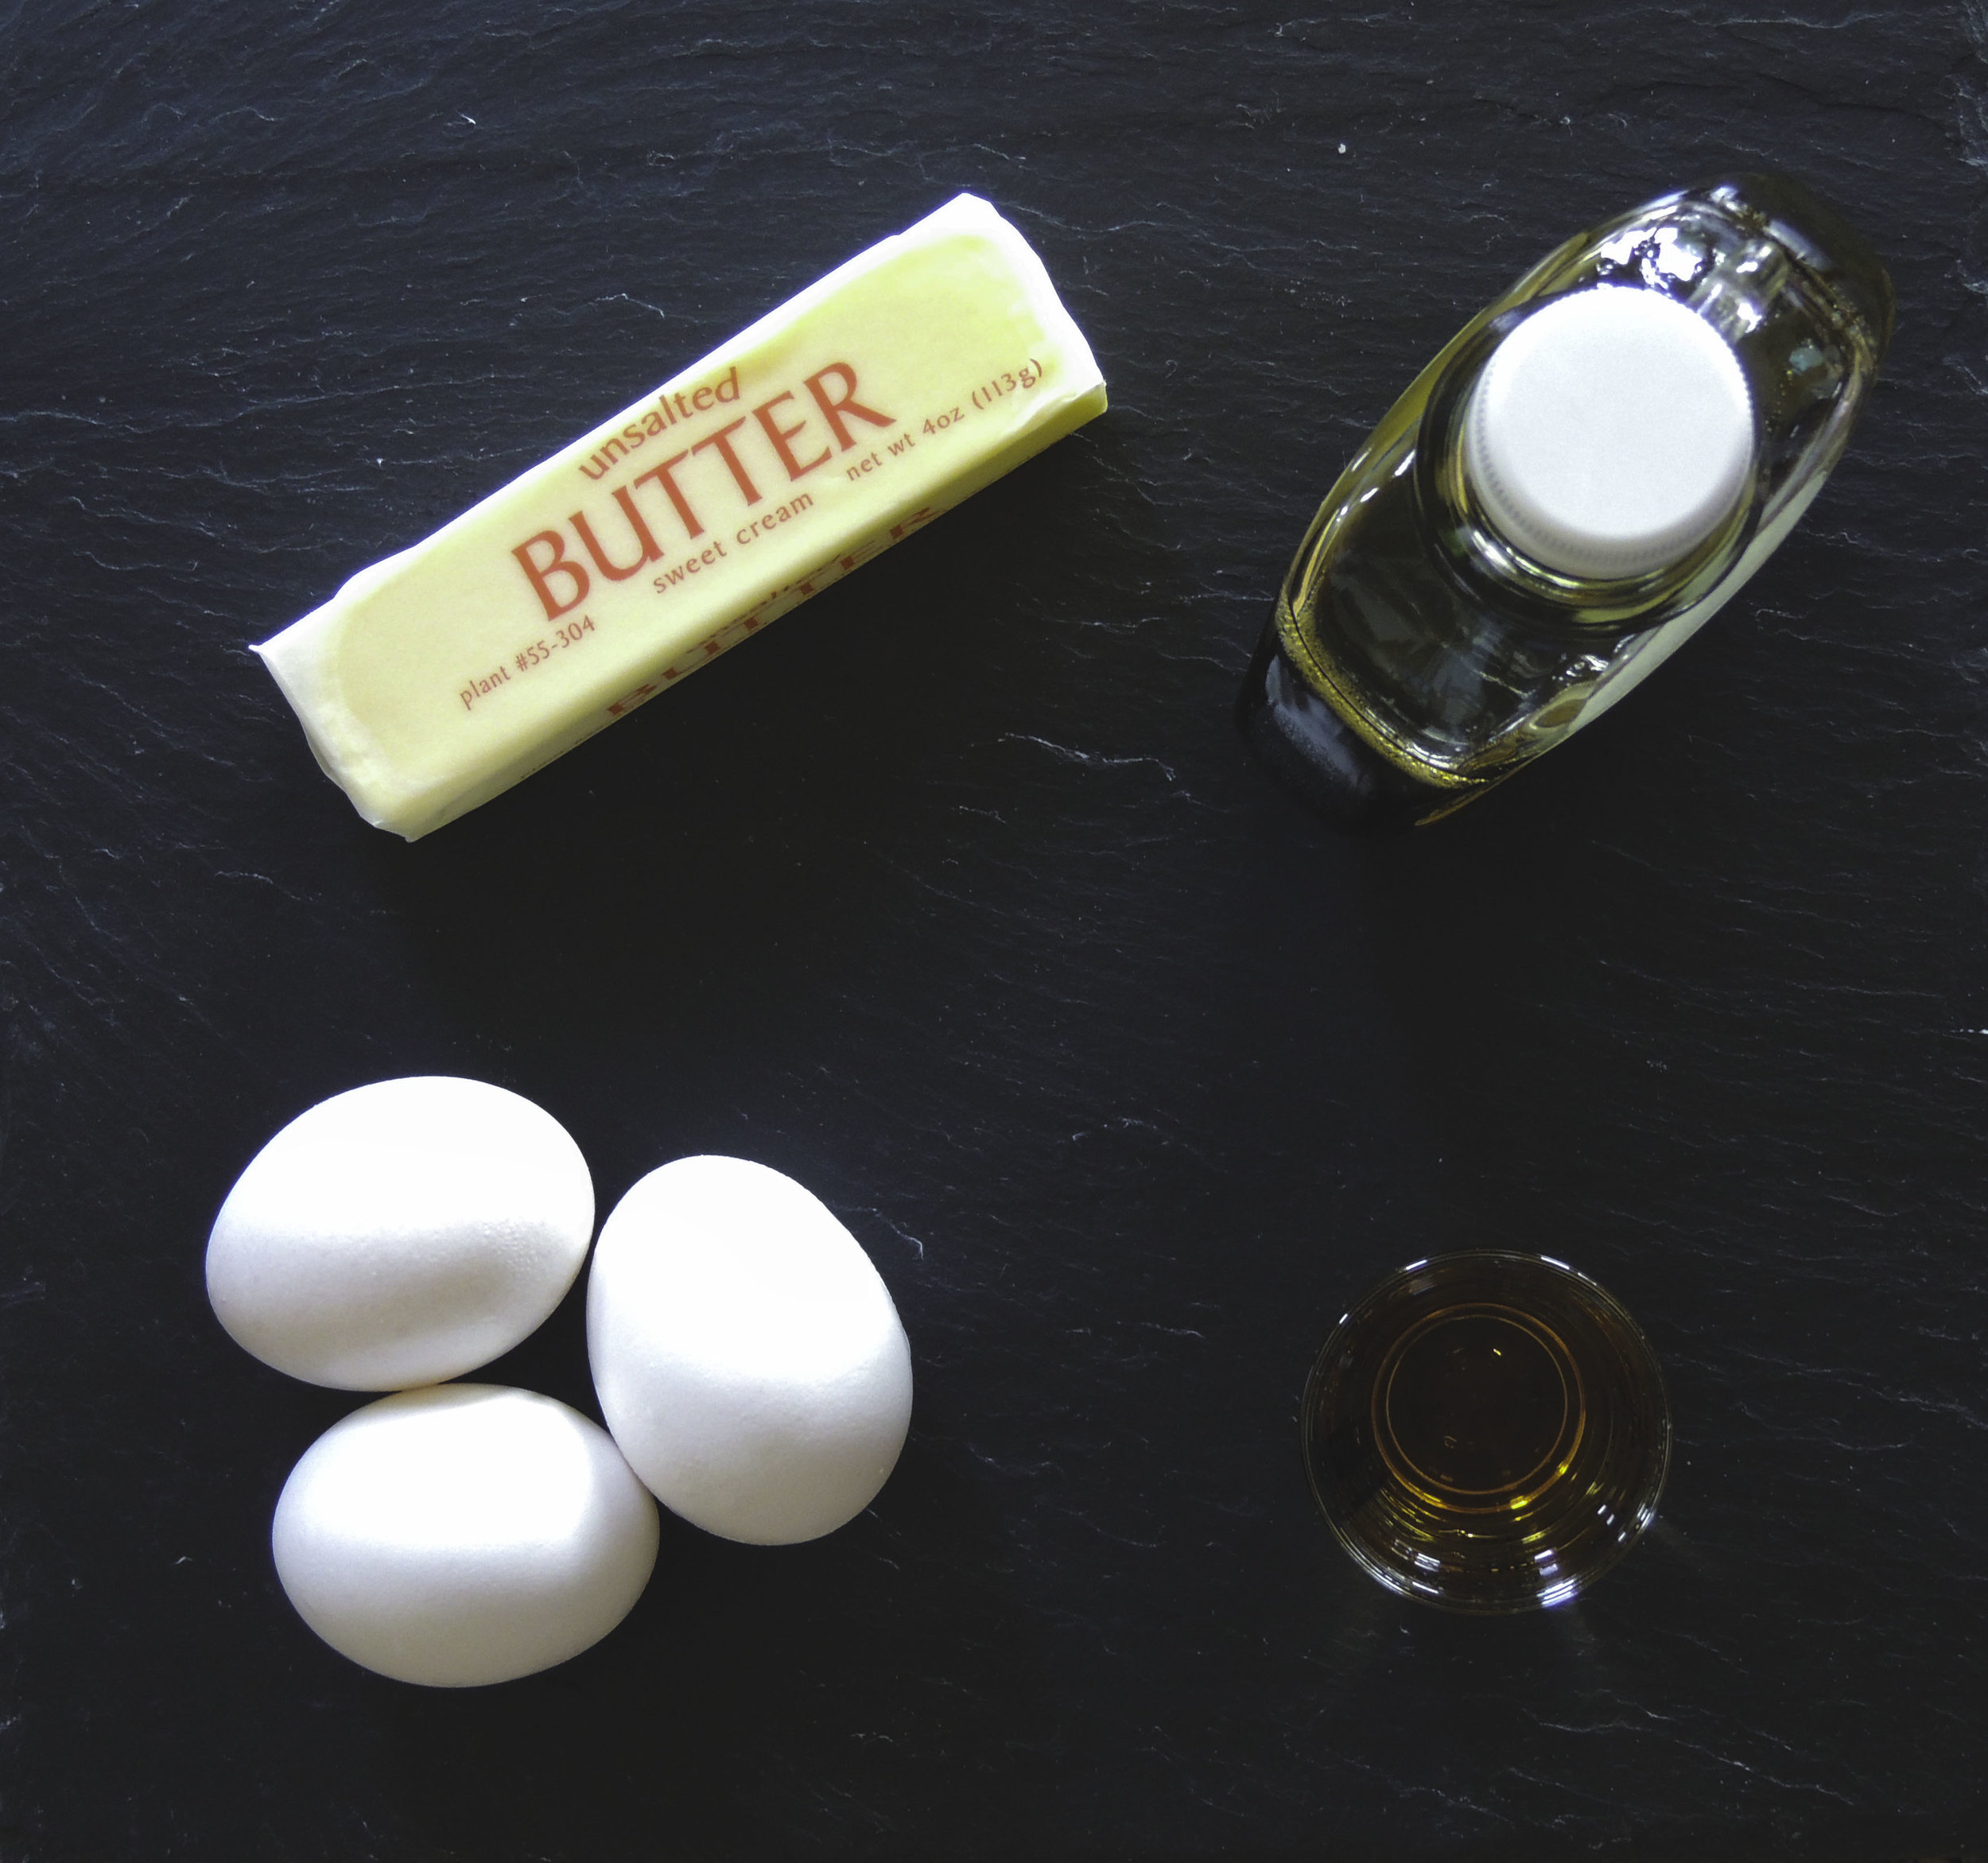
  • 1 stick plus 3 tablespoons unsalted butter
  • 1 1/2 cups all-purpose flour
  • 1 cup sugar
  • 2 teaspoon baking powder
  • 3/4 teaspoon kosher salt
  • 3 large eggs, room temperature
  • 1 1/2 cups ricotta cheese, preferably whole milk
  • 1/2 teaspoon vanilla extract
  • 1 cup frozen raspberries, divided
  • 1 teaspoon lemon juice
  • 1 teaspoon of sugar

DIRECTIONS:

Preheat the oven to 350 degrees F.

Line a 9-inch round cake pan with parchment paper, and lightly spray with nonstick cooking oil spray.

To brown the butter:

In a medium saucepan, melt your butter over medium-low heat. After a few minutes, your melted butter will start to crackle and bubble vigorously; those are the milk solids and water evaporating. After 2-3 minutes of the butter crackling, you should start to smell a nutty aroma coming from the pan, and your butter will start to darken in color. DO NOT leave while the butter is browning as it can go from brown to burnt fairly quickly.  The bubbling and crackling will eventually subside, and your darkened butter should have little brown bits floating around on the bottom. Take the butter off the heat, and let it cool slightly.

Let's make the cake:

In a large bowl, whisk the flour, sugar, baking powder, and kosher salt. Set aside.

In a medium bowl, whisk the eggs, ricotta, and vanilla extract until combined, then fold them into the dry ingredients until they are just combined.

Fold in the melted butter, then VERY GENTLY fold in 3/4 cup of the raspberries, being very careful not to crush any berries.

In a small bowl, gently toss the remaining 1/4 cup of raspberries with the lemon juice and sugar. If the raspberries seem a little too tart, you can sprinkle in a little more sugar to fit your tastes. 

Scrape your cake batter into your prepared pan and scatter the raspberries that you have just tossed with lemon and sugar, over the top. (Get creative with your design!)

Bake your cake until it is golden brown and a toothpick that has been inserted into the center, comes out clean; about 50-60 minutes. (Depending on your oven, your cake may need a little less time, so keep an eye on it when the time gets closer to 50 minutes.)

Let your cake cool for at least 20-30 minutes in the pan, on a wire rack, before unmolding and serving.

To Store:

Wrap the cake TIGHTLY in cling wrap and store at room temperature.


SOURCE: Adapted froBon Appetit 

Fried Green BLTs

Fried Green BLT2 I think we all love a good BLT. I mean, it's a classic. But have you ever felt like you weren't getting that extra element of crunch? Sure, the bacon is supposed to pull triple duty as the salty, meaty, crunchy component to that sandwich, but still, sometimes you just need more. How about frying the tomatoes? Perfect.

On a particularly pleasant day, it's good to throw on your sun hat and shades, and your perfectly dainty fan to keep the heat at bay, and enjoy a nice, Southern-style sandwich out on the back porch. You're meant to enjoy food in warm weather, and you're most definitely not meant to spend a lot of time in the kitchen preparing it.

These fried green BLTs are not only a super-fast, very fresh lunch option, they're also totally perfect for a spontaneous summer picnic. They hold up and travel very well, and I may just be imagining it, but I think they actually taste ten times better when eaten al fresco. That might just me though.

All you need is an egg, unripe green tomatoes, some cornmeal, a little vegetable oil, some nice crispy bacon, some baby spinach, a little mayo, and fresh thick-sliced bread (don't forget to toast it!), and you've got a totally fresh take on a pretty traditional sammie. Now all you need is a tall glass of ice-cold sweet tea to wash it down, and you've got the perfect summer day. Aaaaaahhhhhhh.

Fried Green BLT


FRIED GREEN BLTs

What You'll Need:

  • 4 slices of bacon
  • 1/2 cup all-purpose flour
  • 1 large egg, beaten
  • 1 tablespoon water
  • 1/2 cup yellow cornmeal
  • Salt
  • Fresh black pepper
  • 1 pound unripe green tomatoes, sliced (Note: I've found that using a serrated knife not only makes it easier to cut the tomatoes, but it also keeps them from getting mashed, releasing too much of their juices, and bruising)
  • Canola or Vegetable oil
  • 8 thick slices of your favorite bread, toasted
  • Mayonnaise
  • Baby spinach or arugula

DIRECTIONS

Preheat the oven to 400 degrees F. Line a rimmed baking sheet with two layers of aluminum foil. Lay your bacon on the foil, and bake for 12-15 minutes, or until it has reached your desired level of crispiness. Once out of the oven, drain your bacon on paper towels.

Fill three separate bowels with flour, your egg and water mixture, and cornmeal. Season the cornmeal with plenty of salt and freshly ground pepper. Dip each tomato slice in the flour, then the egg mixture (shaking gently to remove any excess) and then finally into the cornmeal, making sure that every bit of it is covered. Place the slice on a wax-paper lined platter or plate. Repeat the process until all of your slices are perfectly coated.

In a large skillet, heat 1 tablespoon of vegetable or canola oil until it is shimmering. Add the tomatoes, and cook over medium-high heat, turning once, until golden brown and crispy. This should take about five minutes. Drain your tomatoes on paper towels.

To Assemble:

Lay four slices of toasted  bread on a cutting board, and lightly spread some mayonnaise on each. Next, add at least two slices of tomatoes on top. Next, cut your slices of bacon in half, and add two halves of each on top of the tomatoes. Top with a few spinach leaves.

Now, if you like open-faced sandwiches, then you're done! If you like a classic sandwich, top each with another slice of toasted bread, and cut in half. Enjoy!

SOURCE: Delish

Maple-Bourbon Pecan Pie

pecan pie 2 My dad's birthday was Sunday, and birthday cakes just don't fly with him. He'll eat them, but he never request them. Instead, you better be pulling out that pecan pie recipe. (Side note: how do you pronounce "pecan"?  In the Midwest, it's pronounced "pe-cahn." In the South, it's "pee-can" or else. I generally go with the latter, despite my upbringing.)

But ugh, pecan pies can be so boring if you're not careful, and making the same things over and over again can drive a girl crazy. But, it was his birthday, and on his birthday, things have to stay the same...with a few amped up modifications, of course!

pecan pie 1

Enter: bourbon. I love baking with bourbon. I don't like drinking it, but I LOVE the taste of it. It adds a richness, and a bit of sweet vanilla-smokiness that always takes things to the next level. Have you ever tried making vanilla extract with bourbon? Or how about bourbon caramels? I have to tell you, I can never make either any other way again.

pecan pie 3

Not only is bourbon a key component to this new pie, but there's also the addition of a little maple syrup. It's not a large amount, and it definitely doesn't stand out quite as boldly as the bourbon, but it has a very special place: it helps add more depth, and more complexity. Maple syrup is quite subtly-smoky, and so rich. When you add that subtle hint of smokiness, and mix it with the vanilla and oak notes that the bourbon brings, you've got a very flavorful partnership.

This whole pie works. IT JUST WORKS. The pie crust is flaky and soooo buttery, the pecans are crisp, and add that satisfying crunch, and that maple-bourbon combination? Just out of this world. Dad loved it (perhaps more than the traditional?), and was throughly sad to see an empty pie plate once again, a mere three days later. We were all sad to see it go, really.

pecan pie 4


So, OK, it's time to come clean: this pie was an experiment. I knew maple and bourbon would get along famously with the rest of the ingredients, but I was a bit nervous about the measurement modifications. When the expectation after dinner is to be served a slice of something you've grown to love just the way it is, deviations can be tricky. Perhaps this recipe was the real deal, or perhaps I got real  lucky. Either way, it'll take a few more test drives in the ol' test kitchen before it finds itself on DD. 

BUT, I'd never leave you hanging.. Here are some excellent recipes to try in the meantime:

Martha Stewart's Maple Bourbon Pecan Pie 

This simple Bourbon Pecan Pie (with an option to add a teaspoon or two of maple syrup) from Garden and Gun Magazine

OR how about this one from Epicurious?


Whichever you choose, know that I'll be right there next to you in spirit, with a fork in my hand ready to dig in.


Challah French Toast

challah bread 1 What to do when you can't find challah bread in literally any of the bakeries in your town? Make your own. You know what they say, "Desperate times call for desperate measures" blah blah blah. The truth of the matter is, I've always wanted to make challah completely on my own, so I didn't mind so much that I couldn't find it anywhere. It meant that it was up to me, and also that I better be extra careful not to mess it up; I had a date with french toast the next morning.

It absolutely must be said that I am a complete novice when it comes to this sweet and super delicious bread, so I'm going to refer you to this stellar tutorial over on The Kitchn. Really easy to follow, and SO USEFUL. I'm totally attempting the six-braid method the next time I make challah. (Hope it goes well.)

challah 2

If making challah bread has taught me anything it's this: make sure you read the recipe three times before you even get your mise en place. I always read a recipe several times, but after making this bread, the point has been driven home. It's not that this is a particularly difficult bread to make per seit's that making challah is very time-consuming. There's a lot of waiting involved. Like, hours of waiting in fact. So when you make this bread, make sure you've got the TIME to do it! This is not something you whip up in an hour. Just be patient, and you'll have a really pleasant reward.

The recipe called for proofing in a warm place with a clean dish towel over the top, but I had no idea where I could put it. I've let dough proof before on the counter, but it didn't rise like I so desperately wanted it to. Not properly proofing challah dough would guarantee disaster, so I decided to ask the internet for help. The advice that I got was SPECTACULAR: place your covered bowl on a higher rack in an oven that is completely OFF. Next, boil some water and pour it into a heatproof bowl. Place the bowl with water in it onto a lower rack, SHUT THE DOOR, and keep it shut! Now you've got your warm place, and you'll end up with a dough that has doubled in size once the time comes to take it out. It's thrilling.

challah 3

RIGHT, so let's get on to the french toast part of this post, shall we? You may be wondering what I did with my challah loaf after it was finished cooling. Well, in order to get the perfect french toast, you need slightly stale bread. In fact, it's imperative.. So, once my challah was finished cooling (and I'd gone through several  episodes of 'Tia Mowry at Home' on Cooking Channel) I simply left it slightly uncovered and went to bed. It worried me a little bit that it might dry out too much, but by the time I was finished in the kitchen that night, there weren't many hours left before it was time to get up and make breakfast. And everything turned out just fine. (Thank goodness.)

In the morning I sliced up eight very healthily-sized slices of challah, mixed up my custard , and set to work.

. So now, let's talk about how obsessed I am with challah french toast. BECAUSE I AM OBSESSED.

challah french toast

French toast is decadent, I mean, there's a reason why its present on every brunch menu that has ever existed. But there is just something so beyond  about whipping up a batch of challah french toast on a quiet weekend morning with a light sprinkling of powdered sugar on top from one of those unnecessary-for-anything-else shakers, and a drizzling of divinely warm maple syrup just waiting to be soaked up. THAT is decadence. Throw in a hot cup of hazelnut roast coffee, and a little bowl of fruit salad (in this case it was strawberry, blueberry, and mango with lemon juice) and we are TALKIN', my friend. That's what weekend mornings are all about. Be warned: this breakfast is incredibly rich, but oh my GOSH is it ever worth it.

And would you like to know the best part? It's made completely form scratch. Who needs a brunch menu?


CHALLAH FRENCH TOAST 

What You'll Need:

  • 3 large eggs
  • 1 cup half-and-half
  • Pinch of salt
  • 1 tablespoon of sugar
  • 8 slices of challah bread 1" thick, cut from a slightly stale loaf
  • 2-3 tablespoons butter
  • Powdered sugar for sprinkling on top, optional
  • Fresh Fruit, optional

Directions:

Place a large skillet (Mine is 12 inches) over medium-low heat.

Whisk the eggs, half-and-half, salt, and sugar in a large baking pan (I used an 11X13 rectangular cake pan) until everything is fully incorporated.

Place four slices of bread into the custard to soak for at least one minute on each side (I ended up doing a little longer, but it's up to you. Make sure it's at least one minute though! )

While the bread is soaking, melt one tablespoon of butter in the skillet. You'll know it's ready when it starts to foam. When it has started to foam, move it around so that it coats the entire bottom of the skillet.

Move your cake pan with the soaking pieces of bread next to the stove so that there will be no dripping.

Lift one piece of bread and very gently shake it to get rid of any excess custard, then gently place it in the skillet. Repeat this process with each piece of bread.

After 1-2 minutes, check under a slice of bread to see if it has turned golden brown. When it has turned golden brown, flip each piece of bread and continue cooking until they're golden brown on the other side. Be sure to keep an eye on the skillet so that your toast doesn't burn.

Place your finished first batch onto a serving plate, and your final four pieces of bread into the custard for soaking on each side. (Should you run out of custard before you've run out of bread, I've found that whisking another egg, some more half-and-half, a little sugar, and a little salt works nicely!) Place another tablespoon of butter into your skillet, wait until it foams, and repeat the process of cooking your french toast. Once all of your pieces of bread have turned deliciously golden brown on both sides, transfer them to your serving plate.

Sprinkle a little powdered sugar on the top if you're into that, heat up some delicious maple syrup, and cut up some fruit to use as a topping if you;d like. Enjoy!!


SOURCE: Adapted SUPER SLIGHTLY from The Kitchn 


Strawberry-Basil Shortcakes

Shortcakes1 Guys, we totally did it. We're officially in  summer-mode...sort of. It's a bit chilly around these parts, but it's JUNE for crying out loud, and if isn't  summer by now, it'll never be! So let's just call it what we all want it to be, and move on.

In celebration of our new season of warmth and green grass, and also in celebration of strawberries being $1/lb  this week at the market, let's spoil ourselves and have some strawberry-basil shortcake, shall we? It's the perfect weekend dessert because it's really at its finest within 2-3 days, and you can totally get up on Sunday morning, pop one of these babies on a plate, and call it breakfast. No one's going to judge you; it's the WEEKEND.

shortcakes2

This was my first time making a compote, and now I want to compote everything. I've had tomato compote in the past that was tucked into the greatest BLT there ever was, and I'd wanted to replicate it at home, but time went by, other recipes demanded my attention, and I eventually forgot all about it. I'm so glad that my first time attempting the art of the compote was: 1. successful (let's be real.) and 2. the most important part of a seriously good dessert.

And for those of you out there feeling a little taken aback by the utilization of basil in a dessert let me tell you this: it'll blow all those other strawberry shortcakes you have had in the past RIGHT out of the water. Basil leaves often give strawberry desserts that extra UMPH that they need to journey to the next level. The flavor is subtle, but its role is vital in bringing the whole shortcake operation together. I'm telling you, you'll love it.

Go ahead, have some strawberry-basil shortcake this weekend.


STRAWBERRY-BASIL SHORTCAKES

What you'll need:

  • 1/4 cup sugar
  • 1 tablespoon baking powder
  • 1/2 teaspoon kosher salt
  • 2 cups all-purpose flour, plus more for dusting
  • 6 tablespoons chilled, unsalted butter, cut into pieces
  • 1 cup heavy cream
  • 1 large egg, beaten
  • 1 1/2-2 pounds fresh strawberries, hulled, then quartered (about 3 cups or so), then divided
  • 5 tablespoons sugar, divided
  • 2-4 sprigs basil
  • 2 cups heavy cream (this one's for the whipped cream)
  • 1 teaspoon vanilla extract

DIRECTIONS:

To make the shortcakes:

Preheat the oven to 400 degrees F.

Whisk the sugar, baking powder, salt, and two cups of flour in a large bowl. Using a pastry cutter (or your fingers), mix in the butter until the mixture becomes coarse, and there are a few pea-sized pieces of butter remaining. Add the cream and mix until the dough comes together (Be careful not to over-mix. And don't worry, it's supposed to be sticky).

Turn out the dough onto a lightly-floured surface (I always use a clean cutting board), and pat into a rectangle with about 3/4 inch thickness. Using a biscuit cutter, cut out 2 1/2 inch rounds, re-rolling when you need to. You should have eight rounds by the end.

Whisk the egg with one tablespoon of water in a small bowl. That'll be your egg wash.

Transfer your rounds to a lined baking sheet and brush the tops with the egg wash.

Bake until the tops are golden brown, and the shortcakes are fully-cooked, about 15-20 minutes. Make sure to keep a close eye on them!

To make the strawberry-basil filling:

Roughly chop 2 cups strawberries and cook with two tablespoons sugar in a medium saucepan over medium heat, stirring occasionally, for about five minutes. Once the berries have softened, released their juices, and the mixture is thickened, your compote is done. Let it cool completely.

In a medium bowl, toss basil, one tablespoon of sugar, and one cup of strawberries, and let sit until the fruit begins to release its juices. This should take about 10-15 minutes, but I tend to let it sit for longer. The longer the better in my opinion. Once you're ready to assemble your shortcakes,, discard the basil.

To make the whipped cream topping:

Using an electric mixer (or whisk if you want a really good workout) whisk together the heavy cream, two tablespoons of sugar, and vanilla extract until soft peaks form.

Assembly:

Cut each shortcake in half so that there is a top and a bottom.

Place the bottom on a plate. Spoon on some of the compote mixture.

Spoon on some whipped cream.

Over the whipped cream, spoon on some of the basil-infused strawberries.

Add the top part of your shortcake.

Enjoy!

SOURCE: Adapted from Bon Appetit


Chicago Part III


The planets aligned Memorial Day Weekend and I found myself in the Windy City once again. Two times in one month is not too shabby, if you ask me.

This time around, we found ourselves in the South Loop, for a day of fun and learning at one of the best museums in the world: the Field Museum! I've been a few times throughout the years, but I feel like I wasn't old enough to enjoy it. This go-around, I was determined to make the most of everything, read everything, and do everything..We ended up purchasing tickets for the Vikings exhibit which was REALLY cool. Everything was on display from jewelry, to relics, to swords, and even the bare bones of an original ship. I even picked up a recipe for Vikings-era bread which may or may not find its way onto this blog in some sort of theme.

A little advice: if you're going to make a trip to The Field Museum, MAKE SURE you get there nice and early. If you don't, you'll spend more time waiting in line and saying "excuse me, I would like to see as well!" than you will actually seeing and learning about things. We got there after the museum had been opened for about an hour and a half, and it was supremely nice to be able to leisurely look at things without the anxiety of feeling like you're too slow for the people waiting behind you. And it's always so lovely to see the faces of the little ones pressing buttons to see things light up, and of course, looking up in astonishment at the beautiful sight that is SUE.

Once we'd toured the museum until our feet hurt, we decided to venture back out into the city in search of a place to eat. Something quick, something new preferably. But sometimes, it's hard to find hidden city gems when you're actively pursuing them (perhaps why they stay hidden), and after walking around aimlessly on a (semi) hot day, our eyes fell upon the sign for Good Stuff Eatery, and I just couldn't say "no" to going there again. It's fast, inexpensive, and DELICIOUS.  Gourmet fast food at its finest.

We spent the majority of the day at the museum, and by the end of it we were pretty exhausted and ready to go home. But I never, ever leave Chicago without a quick trip to Logan Square to Bang Bang Pie. Maybe that's my thing? At any rate, I finally ventured outside of French Silk and went for the Honey Pie this time, while my mom excitedly ordered the Chocolate Pecan Pie. Phenomenal as always.

Summer is quickly approaching, and that means more trips to the Second City are in the future!

Birthday 2015

birthdaycake1

I've been a new age for exactly one week today. The slider is quickly reaching the middle of the twenty- something scale, and it is a fact that both scares me and excites me, depending on the day.

There are two types of people I've met in this world: people who absolutely looove birthdays, and people who threaten physical harm if there's even so much as a whisper of their birthday in the air. Me? I think I fall somewhere in the middle. I like birthdays, I think they're cool. I think it's important to celebrate each one because you never know how many you're going to get in this world. But I don't really go all out. Honestly, it's partially because they tend to sneak up on me now that I'm no longer in elementary school and there's no longer the obligation of a parent to throw a mini party with enough tiny forks and plates and cups, and copious amounts of brightly-colored frosted cupcakes for each member of my class. I also don't go all about because there's so much hype around birthdays that once it's over, I always feel a little bit of loss because I have to wait another whole year to again be the Birthday Princess.

birthday2

I do exactly what I want, and when I want on my birthday; absolutely no exceptions. If I want to binge-watch an entire season of Friends in an afternoon, there is no judgement. If I want to sing at the top of my lungs to the hits off of The Emancipation of Mimi album in a house full of people, I'm going to do it. AND, if I want to bake my own birthday cake from start to finish and entirely from scratch, well, yeah I'm going to do it. And I did. I baked my own birthday cake. Three layers of very tender vanilla cake, slathered in a LOT of delicious buttercream frosting dyed a decidedly peach-ish tone depending on the angle, and topped with cute little sprinkles. It took me approximately four hours to make in total, and I loved every single second of it. For one, this cake is a GIANT step up from my last attempt to make a very small, very sad excuse for a cake. That very simple cake was hard work manifested. And it was delicious.

The older you get, the more time you spend reflecting. To that affect:

Five Very Important Things I've Learned in My Twenties So Far

  1. Friends come and go, and friendship is a two-way street. Only make the effort for those who make the effort for you. That's what makes it special.
  2. Quality over quantity in all aspects of life.
  3. Listen to your elders when they're trying to tell you something. They've got stories that are better than anything you'll see in theaters, and, apart from the tiny embellishment here and there to keep your attention, they're totally true.
  4. Work hard and have patience. You'll get everything you need and even some of the things you want, but it's probably going to take some time. And you know what? That’s okay.
  5.  Having a plan is great, but don't forget to deviate sometimes and just enjoy the ride. Nothing ventured, nothing gained as they say.

As far as birthdays go, this one was pretty ace.

Here's to many more, eh?

Bronte+Sydney's Chicago Adventures

IMG_1085 This is my friend, Bronte. I've known her for...nine years. Wait, NINE YEARS!? That can't be right. (holy moly, it IS right!) The first time I ever met her was when she came for a school visit the year earlier, and I did everything in my power to get her attention. After all, she was English, had an affinity for Tim Burton movies, had a super cool haircut, and, most importantly, she was NEW. I LOVE new kids. Back when I couldn't bake anything to save my life, I used to use a little self-deprecating humor to get attention. Nowadays, I shove a baked good in their face, and we go from there.

Bronte and I became fast friends. We're often on the same wave length, and like almost all the same things. It's hard to find true connections with people in this world, so when you've found one, you must hold on to it. Though Bronte has since moved back to England, we've never lost contact, and she's shown up in the Midwest several times since then.

When the stars align and I find myself in Chicago, I usually have a plan. It's usually a 2+ page list of activities to ensure that I don't squander even a minute of the opportunity to take a day trip to one of the greatest cities in America. I can also pick up a few harder-to-find baking ingredients whilst I'm in a bigger city, and I generally don't waste those opportunities either.

But this visit was a little different. There was no plan, really, other than when I was to arrive, and when I was to board the commuter train home. This time we had hours and hours to simply wander around the city, pop into shops and bakeries whenever we pleased, and just enjoy each other's company.

Bronte Chicago

We walked around, gabbed about old classmates, grabbed cupcakes and cake samples from Magnolia Bakery, went in search of sunglasses (Bronte), and lamented over the sudden disappearance of curls thanks to some powerful Chicago fog (Sydney).

Walking and continuous laughter can make a couple of gal pals awfully peckish. Since it was the middle of the dreaded lunch hour, and seeing as we were right in the heart of many, many businesses full of hungry office-dwellers, we decided that there was no chance we'd get seats in a restaurant. The best thing to do was grab some bangin' burgers from Good Stuff Eateryand have an impromptu picnic on the steps of the Art Institute. Bronte did a fabulous job of documenting that in the picture above.^^^

IMG_1086

So, OKAY, I fibbed a little. I did have a little bit of a plan: absolutely no matter what else happened, it was essential that Bronte and I find ourselves in the pie garden of Bang Bang Pie Shop. No matter what happens, if my feet are touching the streets of Chicago, those feet must jump on the blue line to Logan Square to get a piece of pie, or else.

And, I will say, I was NOT disappointed. When we arrived, I vowed to get something new; I tend to just venture back to things I like because I know I'll like them. And as I stared at the giant chalkboard filled with new possibilities, I'd made a decision to pick the first thing that sounded good to me. That is, until I noticed that the French Silk Pie was on the menu for the day. As much as I loved it, I just couldn't order it again. I HAD to get out of my comfort zone. But then, I noticed something different: that classic French Silk Pie had been given a Mexican twist. That was new enough for me!

Get this: Chocolate mousse and Ancho Reyes Chili Liqueur, topped with whipped cream and a little lime zest. PHENOMENAL. Now I'm going to have to figure out how to replicate it at home!

We rode the train home in comfortable silence, quite content with our relaxed day of adventures (and quite sleepy as well).

Thanks for a good day, Chicago. I'm going to live in you one day.

Homemade Oreos

oreo5 I've been missing Boston lately. More specifically, I've been missing my local eateries; and there were many. I miss reading about new restaurants opening, and just hopping on the train, hopping in line, and experiencing something first-hand instead of reading about it later. And when I get into a mood like this, I turn to my cookbooks, for they always know how to cheer a girl up. Do you know what also cheers a girl up? Chocolate. Chocolate cookies. Buttercream frosting. Buttercream frosting sandwiched between two chocolate cookies. Oreos. I'm talking about Oreos.

The first time I ever visited Flour Bakery I was amazed by the selection of truly beautiful foods. How could they fit so much loveliness into such limited space? But more importantly, I was amazed by the sheer unpretentiousness of what Flour had to offer. Some of the biggest bakeries in the city try to dazzle you with sophisticated names, bright lights, fancy decorations, and anything else they can think of to draw you in. Don't get me wrong, I like to be dazzled by complicated creations as much as the next food lover, but sometimes I want a no-frills, just great taste, bakery experience. And while Flour did have cases filled to the brim with impressive pastries and sandwiches, it also stayed true to the neighborhood bakery feel with classic cakes and cookies that I grew up eating. I loved that Flour could take a childhood classic, like an Oreo, and make it completely rustic and completely their own. It was that sort of approachability to the classics that made me come back every time.

So, on days when that feeling of missing something just won't go away, I have to slip on the apron, and make it at home. Oreos, here we come.

oreos 1I think the only thing that I was truly worried about when making these cookies was rolling up the dough. I'd never done slice-and-bake cookies before, and perhaps this was unnecessary, but I felt that the task might be a little daunting. What if I didn't roll the log into a smooth enough shape? What if, when I went to slice them, I would slice too thinly or too thickly? What if, in an especially clumsy state, I went to cut the log and the whole thing went rolling to the floor? Two out of three scenarios actually happened. I'll let you guess which ones.

oreo2In all honesty, I probably shouldn't have been so nervous. Though it wasn't the smoothest log that it could've been, it still had a nice shape, and I was able to get great cookies out of it. Yes, I did slice a few too thinly, and also a few slightly thicker than the rest, but the trick is to make sure every cookie has a mate. These are sandwich cookies after all! And as good as these cookies taste on their own, trust me, you'll want that buttercream frosting on every single one. No buttercream shall go to waste!

oreo3

It's almost scary how good these cookies are. They're partially crunchy, partially fudgey, partially creamy, and wholly delicious. And also sooo unbelievably tasty paired with a nice glass of whole milk. They're a little too big for dunking in the average-sized glass, but you can always break them up into pieces should the need for dunking arise.

Boy, am I going to miss these cookies when they're gone.


What You'll Need:

For the Cookies:

  • 1 cup (2 sticks) unsalted butter, melted and slightly cooled
  • 3/4 cup granulated sugar
  • 1 teaspoon pure vanilla extract
  • 1 cup semisweet chocolate chips, melted and slightly cooled
  • 1 egg, room temperature
  • 1 1/2 cups all purpose flour
  • 3/4 cup cocoa powder
  • 1 teaspoon fine kosher salt
  • 1/2 teaspoon baking soda

For the Buttercream Frosting:

  • 1/2 cup (1 stick) unsalted butter, softened and at room temperature
  • 1 2/3 cups confectioners’ sugar
  • 1 teaspoon pure vanilla extract
  • 1 tablespoon whole milk
  • dash of kosher salt

Directions:

In a large bowl, whisk together the melted butter and granulated sugar until well combined. Next, whisk in the vanilla extract and melted chocolate. Add the egg and whisk until well combined.

In a medium bowl, stir together the flour, cocoa powder, salt, and baking soda until well combined. With a wooden spoon, slowly add the flour mixture into the bowl with the chocolate mixture. As you’re mixing, the dough might seem to get a little tougher to work with; don’t worry, that’s normal. Once it comes together, it should have a play dough-like consistency. Let the dough rest at room temperature for one hour to firm up.

Cut out a 15-inch sheet of either parchment or wax paper (I used wax paper), and carefully transfer the dough onto it. With your hands, roughly shape the dough into a log about 10 inches long. Place the log on the end of the sheet of wax or parchment paper, and roll the paper around the log. With the paper fully around the log, roll it into a smoother log shape. (I cut into an old paper towel roll, and used that to roll the log into a smoother shape.) Refrigerate for at least two hours, or overnight.) It may lose its shape while resting in the fridge, so make sure to check on it once in a while and take it out for a re-roll.

When it’s time to bake:

With a rack positioned in the center of the oven, heat the oven to 325 degrees F. Line a baking sheet with a piece of parchment paper. (Depending on how many cookies you slice, you may end up lining several baking sheets.)

Take your log out of the refrigerator, and let sit for a a minute or two to soften a little bit. Cut the log into 1/4 inch thick slices. (It should be noted that I tried to do this, and only managed to slice 1/4 inch slices some of the time. If you end up in the same boat as I was remember this: just try to keep your slices evenly sized, whatever you do.)

Place your slices about 1 inch apart on the baking sheet, as they tend to spread a little bit while baking.

Bake for 20-25 minutes, or until the cookies are firm to the touch. Make sure to keep a close eye on them, and after about 17 minutes, gently poke them in the middle to see if they’re firm. As soon as they’re firm to the touch, take them out of the oven. (Determining how long to keep them in will depend on your oven. For me, they weren’t firm until they’d been in for 21 minutes, so make sure to test your cookies for yourself!)

Let your cookies rest on the baking sheet(s) until they’ve come to room temperature. (It’s important that your cookies have cooled properly. If they’re too warm, the delicious buttercream will melt and slide right off of them. No one wants that.)

While your cookies are cooling, let’s make the filling!

Using a stand mixer fitted with the paddle attachment (or using a hand mixer), beat the butter on low until it’s completely smooth. Add the confectioners’ sugar and vanilla, and beat on low until the mixture is smooth and well combined. Next, add the milk and a dash of kosher salt, and beat until smooth. (Should have a putty-like consistency.)

Scoop about a tablespoon’s worth of filling onto the bottom side of one cookie. Top it with another cookie, bottom side down. CAREFULLY press the cookies together, allowing the filling to spread evenly toward the edges. Repeat until all the sandwich cookies have been made.

*Store in an air-tight container to retain freshness.*


SOURCE: Flour: Spectacular Recipes from Boston's Flour Bakery + Cafe 

Fun-Sized Vanilla Sugar Doughnuts

vanilla dougnuts3 Two weeks ago we escaped to the land of country music, southern hospitality, and...the NRA Convention. But we didn't find out about that last one until we read in the paper that there would be 70,000+ extra bodies in the city at the same time as we were. That's right, we were in Nashville. And I never thought I would enjoy 80 degree weather so much.  I was basking in the warmth of a Southern sun, sweating from the humidity, sneezing because of blasted allergies that never give me peace, and loving every second of it. It's shocking what a torturous winter will do to a person who typically detests hot, humid weather. Truly amazing.

We went down to spend Easter with The Grands and of course, while I was there, I had to see my Nashvillian bestie, Hailey. This go-round, after collecting some supplies from Trader Joe's, we decided to venture into the kitchen and make something sweet: vanilla sugar doughnuts.

vanilla dougnut2

MAN, do I love doughnuts. Not many other things can lift my spirits if I'm having a bad morning like a well-made doughnut. I love them so much that I even splurged once on a special Nordic doughnut pan that can't be used for anything else (I hardly ever buy new bakeware unless it can be used multiple ways). But as much as I love doughnuts of all kinds, up until last week, I'd only made loads and loads of baked ones. Frying doughnuts was an entirely different adventure, and I'm glad Hails was by my side to experience it.

There were so many things I had to learn about doughnut-making. For instance, the name of the game is "patience." We needed a LOT of it. Doughnut dough is very special, and needs much rest in order to become beautiful, and also achieve its full potential. It's like a little baby that must always be warm, cool, and covered. It took forever. We were constantly peeking under the dish towel, then going "IS IT RISING? IT IS. IT IS RISING BECAUSE IT WAS AN INCH SHORTER BEFORE." But a good baker must have patience if said baker wants doughnuts. So we waited. And waited. And peeked under dish towels. And waited.

FINALLY, after literal hours, it was time to ever-so-gently roll out our dough, cut it, and then send circles of it swimming into the 350 degree F oil. I'm glad that Hailey and I both had our reservations about that super hot oil; that way, when I screamed each time in preparation for splash-back, I had someone to scream with me. She's a good friend.

vanilla doughnut 1

In the end, we walked away from Hailey's beautiful kitchen with two bags' worth  of fun-sized vanilla sugar doughnuts, and plans to bake something new, ambitious, and exciting the next time I'm in town.  In the meantime, I'm going into recipe-testing mode to come up with some real winners for you.


P.S. Not only is Hailey beautiful and talented, she's also a wonderful potter! Check out her etsy page, Clay Off 8th! Word on the street is she's got a housewares line in the works!!