Apple Spice Hand Pies

apple hand pies 1 Do you ever wonder, after making something new, how you could have lived without it before? That's how I feel about hand pies. Sure, I've bookmarked dozens of recipes in the never-ending black hole that is my "Recipes" folder, and I've even eaten them, but never had I realized how much I love hand pies, until I had twelve perfectly golden ones cooling on my wire rack. I should say though, that they weren't all for me. Last weekend one of my chums, who's been telling me about Penzey's for months now, decided to surprise me with a cute little jar filled to the brim with a rather hard to find ingredient: apple pie spice! It was a lovely gift, and to repay them, I decided that the best thing to do was make some apple spice hand pies. It was the best idea for all parties involved, really. apple hand pie 2Pies are not my strong suit; let's just throw all the cards on the table now. I once tried to make a savory cheddar and garlic pie with an apple cider vinegar crust, and everything was going pretty well, until I tried pouring the filling into the crust only to discover that I'd rolled the pie crust too thinly, and custardy filling was going everywhere. There was a lot of mopping up of counters and floors, but in the end, what was left was delicious. Will I make it again? Probably not. I dunno, it was pretty good. Never say never. ANYWAY, based on my so-so pie track record, making hand pies for the first time made me a little nervous. I had a limited amount of apples and butter, a pie crust that was a little crumbly when I had made it the night before, and I was missing the necessary 5 1/2 inch cookie cutter that the recipe called for. There was only one shot to get this right, and I was determined to show up the next day with pies in hand. Even if I could just get two, that would be enough. Turns out, I had nothing to worry about! Everything went off without a hitch after I got a little creative with the cookie cutter. Instead of one that is 5 1/2 inches (which is really hard to come by unless you're ready to order it online and wait), I was lucky enough to find an oversized coffee mug that was about 4 1/2 inches. Good enough! I floured the rim, pressed down and carefully wriggled each piece free. Easy. The trick to a good hand pie is finding the perfect balance between filling and pastry. Too little, and you're eating a lot of shell with the occasional bite of filling. Too much, and you're looking at a baking sheet with filling cooking exactly where you don't want it to be: on the outside. Either way, you'll end up with a very empty shell. The key is to put the filling right in the center, leaving room on both sides for folding over and crimping the edges. By adding the filling to the center, you're able to control the amount that goes on with each spoonful. If you feel like you need a little more, you're free to do so. It's much easier to add more than to *attempt* to take some out. And do yourself a favor: use a slotted spoon to scoop out your apple filling from the pan. The last thing you want is extra moisture, TRUST ME. What a mess. If you're wondering which apples to use, I used a mix of Gala and Lady Alice apples. Both worked really nicely. These apple spice hand pies are the buttery and spiced mini pies of your dreams.

What You'll Need:

For the Pie Pastry:

  • 3 cups all-purpose flour
  • 1/4 cup sugar
  • 1-1/2 tsp fine sea salt
  • 2-1/2 sticks (1-1/2 cups) unsalted butter, very cold, cubed
  • 1/3 cup all-vegetable shortening, very cold or frozen, cut into small pieces
  • 6-7 tbsp ice water

For the Apple Filling:

  • 5 cups apples, peeled, cored and diced (about 5 medium apples)
  • 2 tbsp unsalted butter
  • 1/2 cup (packed) brown sugar
  • 1 tsp ground cinnamon
  • 1/4 tsp ground nutmeg
  • 1/4 tsp ground cloves

OR

  • 2 tsp apple pie spice

For Brushing on Top:

  • 1/3-1/2 cup heavy whipping cream
  • Turbinado or Demerara Sugar for sprinkling

TO STORE: Carefully wrap in cling film and keep in a cool place. They taste great when popped back into the oven at a low temperature for 10-20 minutes. Find the recipe on Fork Knife Swoon!

Food 52's Quick Blueberry Jam

Jam1 I think I spoke too soon about Spring. My bad. Historically, when I've made decorations of Spring, and thrown my winter coat into the closet abyss until the next season, that was usually that. I may shiver a bit, but there's usually no turning back. This year, not so much. No sooner had I stopped wearing stockings with my sneakers again that it snowed. Mind you it was a just dusting, but there was snow on the ground again, and a frost in the air that was totally and completely unwanted. Usually I relish in the sound of freshly fallen snow under my boots, but not when those boots were meant to be tucked away in exchange for attractive flats and sandals. Thankfully, it's already melting. Melt faster!

At any rate, despite the fact that I've had to put up with the winter coat for the time being, I've decided to ignore these winter-like conditions where it counts: in my heart. And to that effect, I've continued on in my quest to re-introduce warm weather fruits back into the kitchen any way I can. And I'm still on a blueberry kick. So, this week I've made Food 52's Quick Blueberry Jam. And it was, by all accounts, a real JAM to make....I LIKE PUNS, SUE ME.

Jam2

Jam has been on my extended To-Make List for several years now, but I hadn't gotten around to doing it, nor did I have all the proper accouterments it takes to effectively get the job done. While I still have long-term plans to fill my life and the lives of my loved ones with all the jams you could possibly imagine, until I have all the tools of the trade, this wonderful and easy quick jam is going to do very nicely in the meantime.

Quick Blueberry Jam Goes Well: on toast, rolls, biscuits, crackers, spoons, fingers, straight out of the pan, etc.etc. etc.

What You'll Need:

  • 1 cup fresh or frozen blueberries (if using frozen, make sure that they have completely thawed and come to room temperature)
  • 1/3 cup granulated sugar
  • 1/16 teaspoon kosher salt
  • 1/2 teaspoon lemon zest
  • 1 teaspoon lemon juice (I used upwards of 2 tablespoons, but I like a little bit more lemon with blueberries)
  • 2 tablespoons water

Directions:

Add all ingredients to a medium-sized pan.

Turn the heat to medium, and bring the mixture to a boil, stirring occasionally. As soon as it has come to a boil, turn the heat down to a simmer. The fruit will start to release its juices, and soften.

Cook up to 30 minutes (though I did a few minutes longer). The longer it simmers, the smoother the result at the end.

Store in fridge, and eat within a week.

Note: Because I upped the lemon juice, I also had to adjust the sugar by a few tablespoons, and add a dash more salt. Make sure to alter this to your taste preferences. ABT= Always be tasting. Think it needs a pinch more salt? Go for it! Want a little more acidity? Squeeze it in. It's your jam after all!

SOURCE: Food 52 via Phyllis Grant 

Rustic Blueberry-Lemon Ricotta Scones

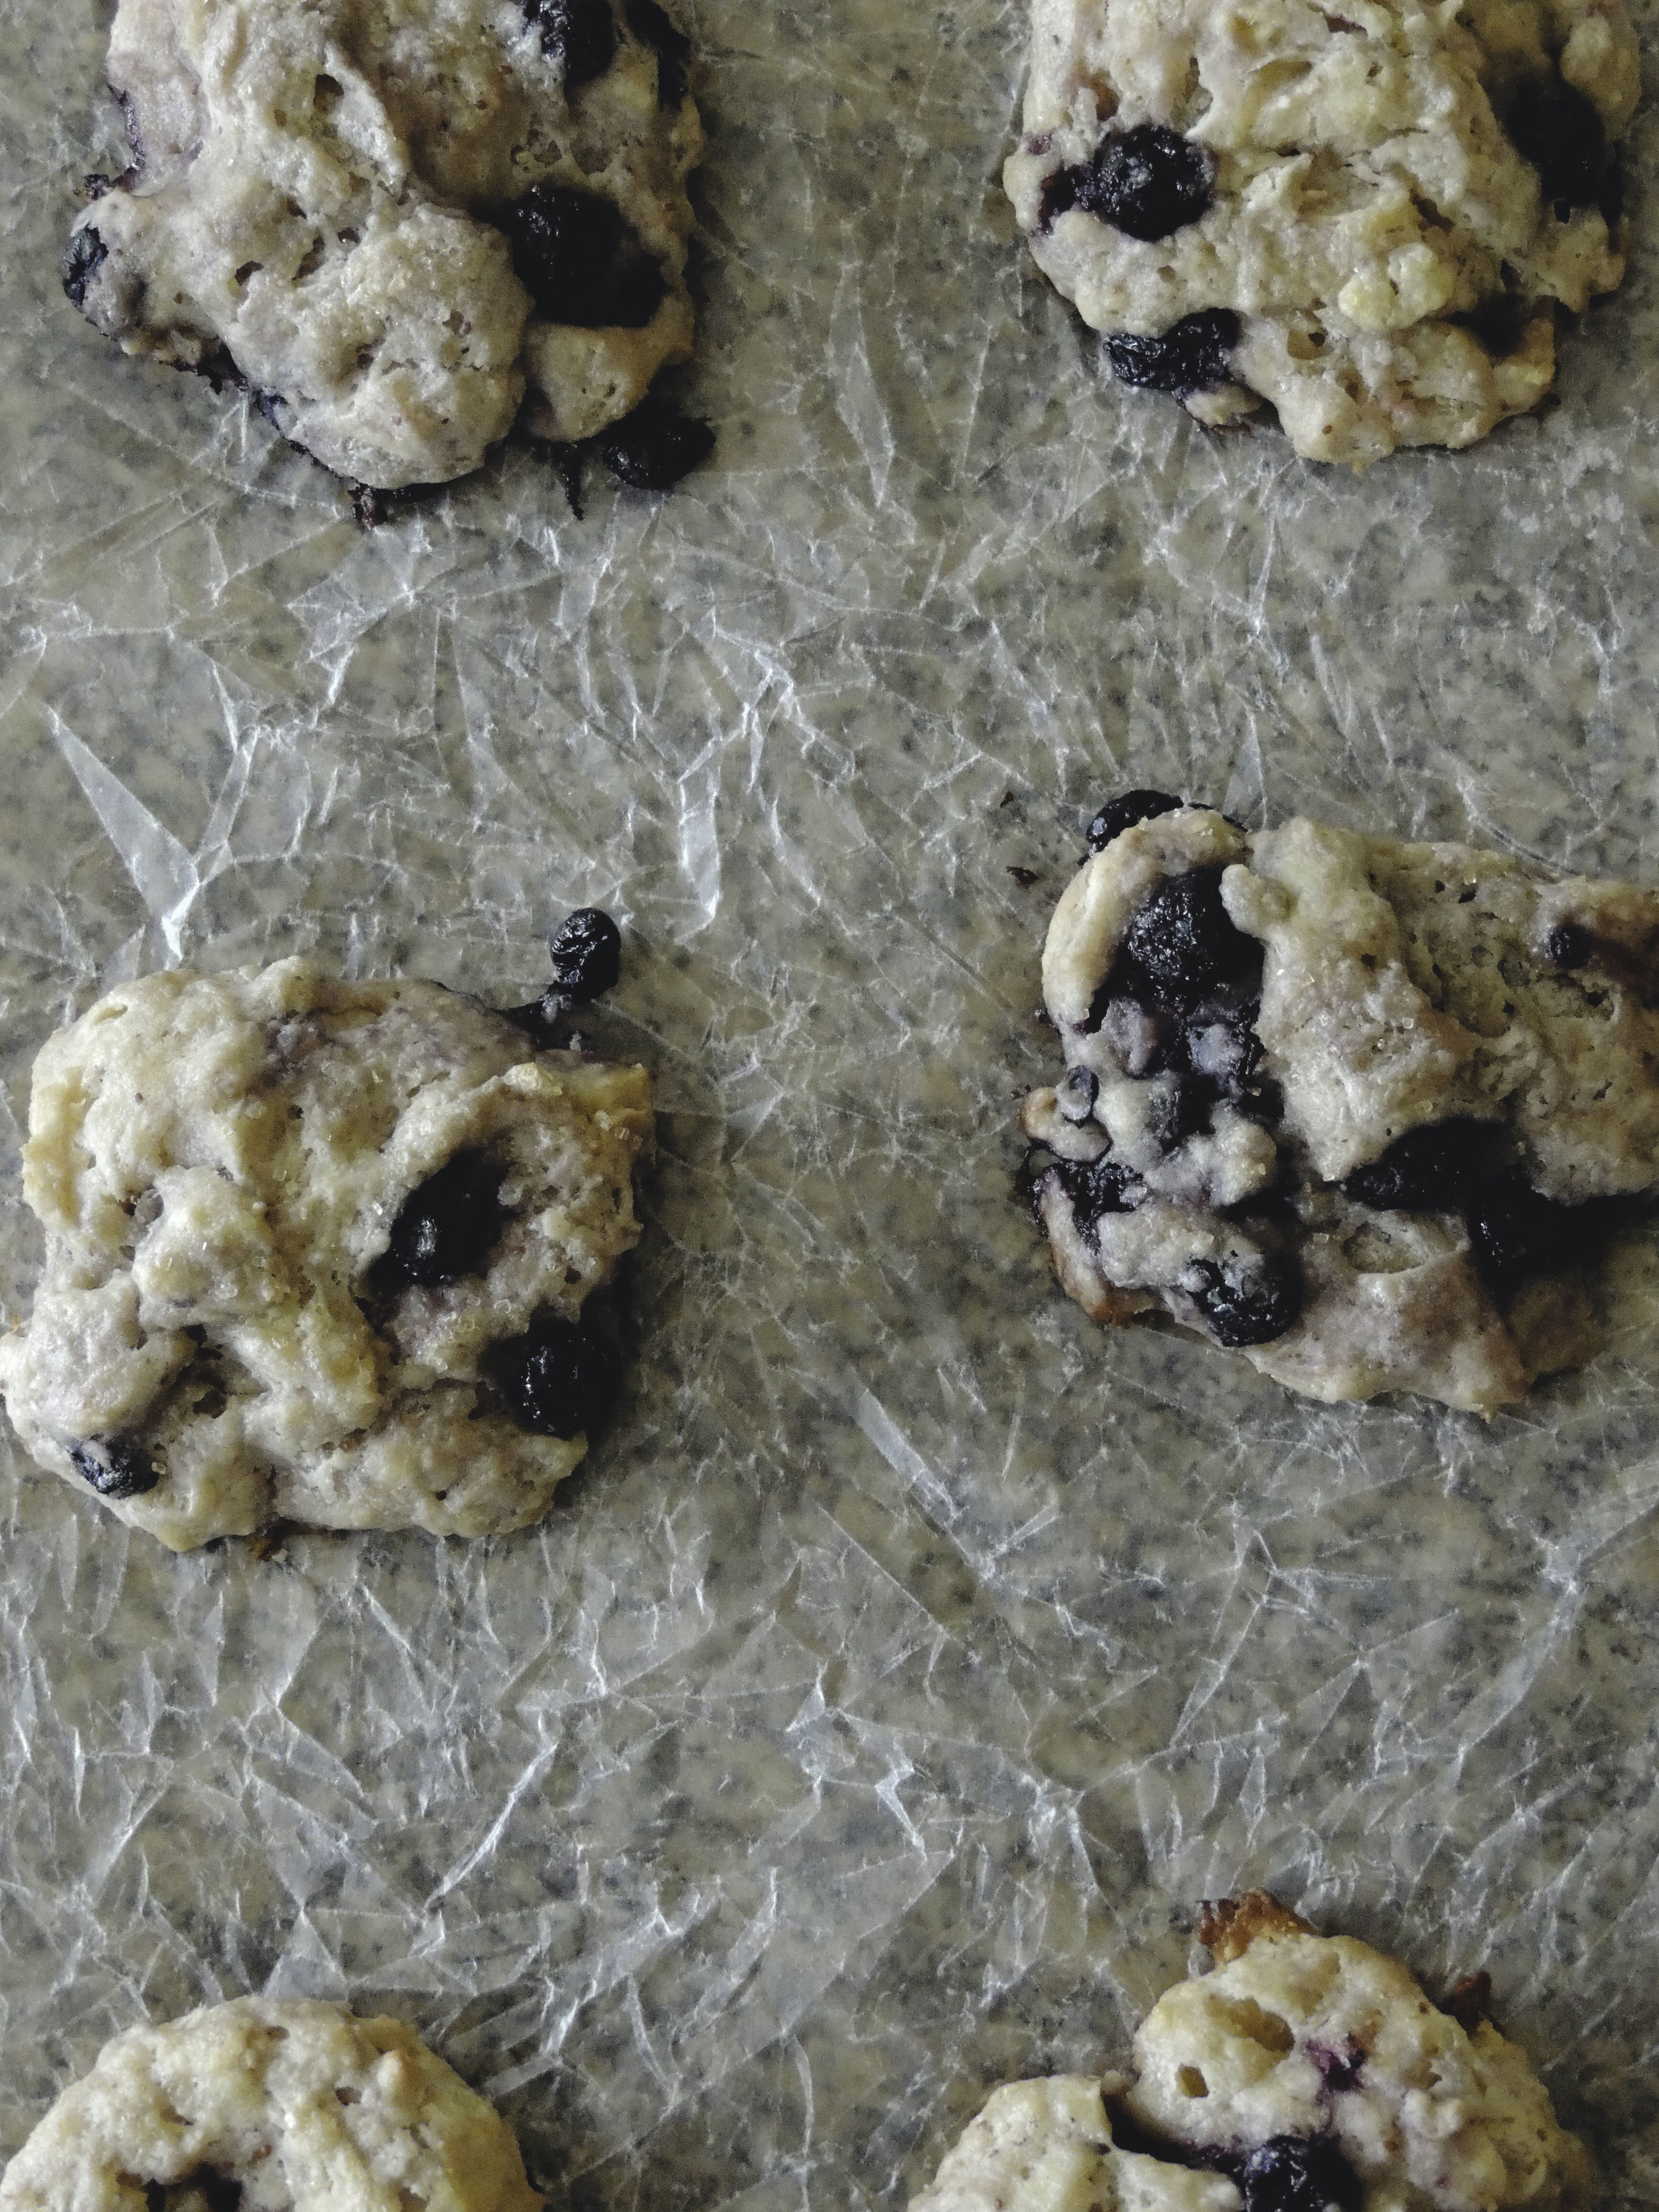
SCONES- 1 It went past 50 degrees last week and I could hardly believe it. For the first time in months I didn't have to prepare myself for the familiar sting of winter wind hitting every piece of exposed skin. And I even spotted neighbors that I haven't seen in months. The windbreaker is out, the winter coat is buried deep within the wardrobe, and despite what the weather people keep trying to tell me (back to the 40s, sometimes 30s) Spring is here to stay. Why? Because I said so.

The sun is shining so brightly and it's making me think of Summer. And, it should be noted, I don't even like Summer that much. It's just too hot. While most people around these parts relish the feeling of a hot sun on their skin, all I can do is slap on the sunscreen; even while just looking out the window. I'll take 70 degrees and breezy, please. None of that 90 degree business. Anyway, since the sun is shining and it's actually remotely warm, it had me missing the fresh fruit that I practically live on all summer: blueberries. And what goes exceptionally well with blueberries? Lemons, m'dear!

Photo 1--SCONES

I've been trying to think of ways to spice up breakfast lately. The Cheerios just aren't cutting it anymore; not by themselves anyway. Toast is a splendid breakfast companion, but I've just been looking for a little more oomph. That's where these scones come in. Such a simple little thing on its own, the scone. So much potential, just begging to be taken to the next level. And so we shall, little scone. So we shall.

Plus, we had some extra ricotta burning a hole in the fridge. Ricotta cheese shall never, ever be wasted. Not on my watch. SCONES 2

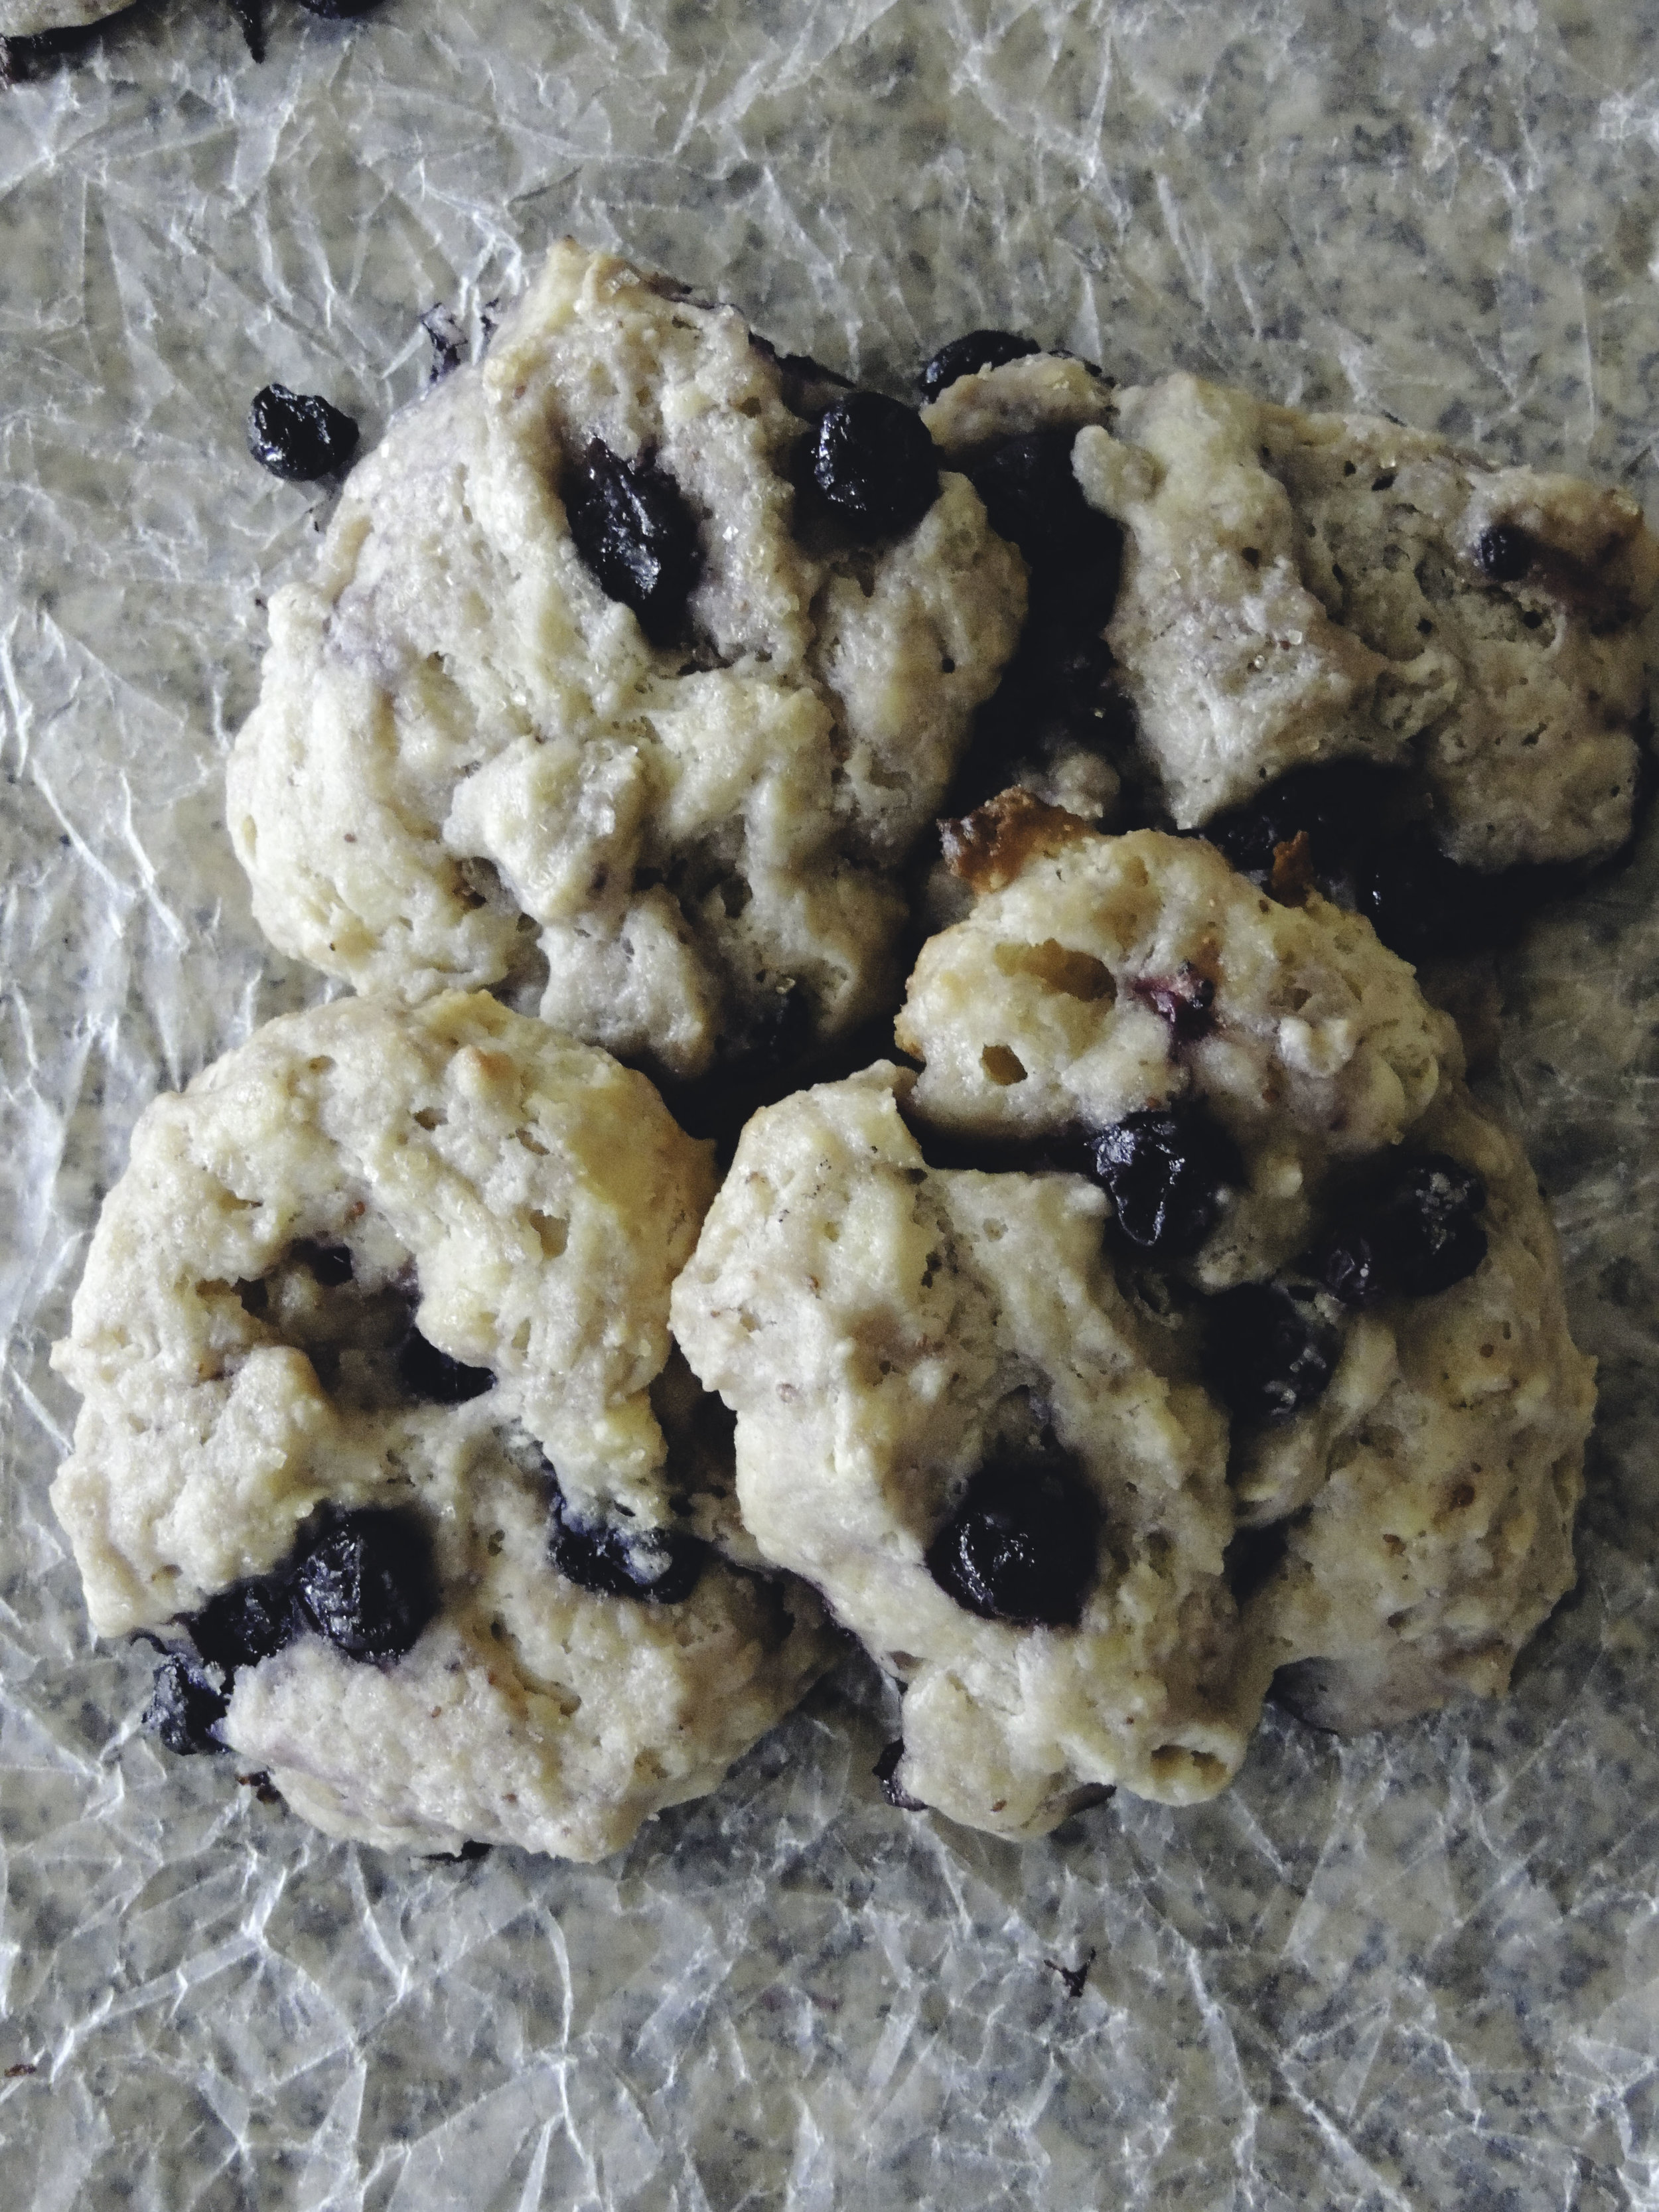
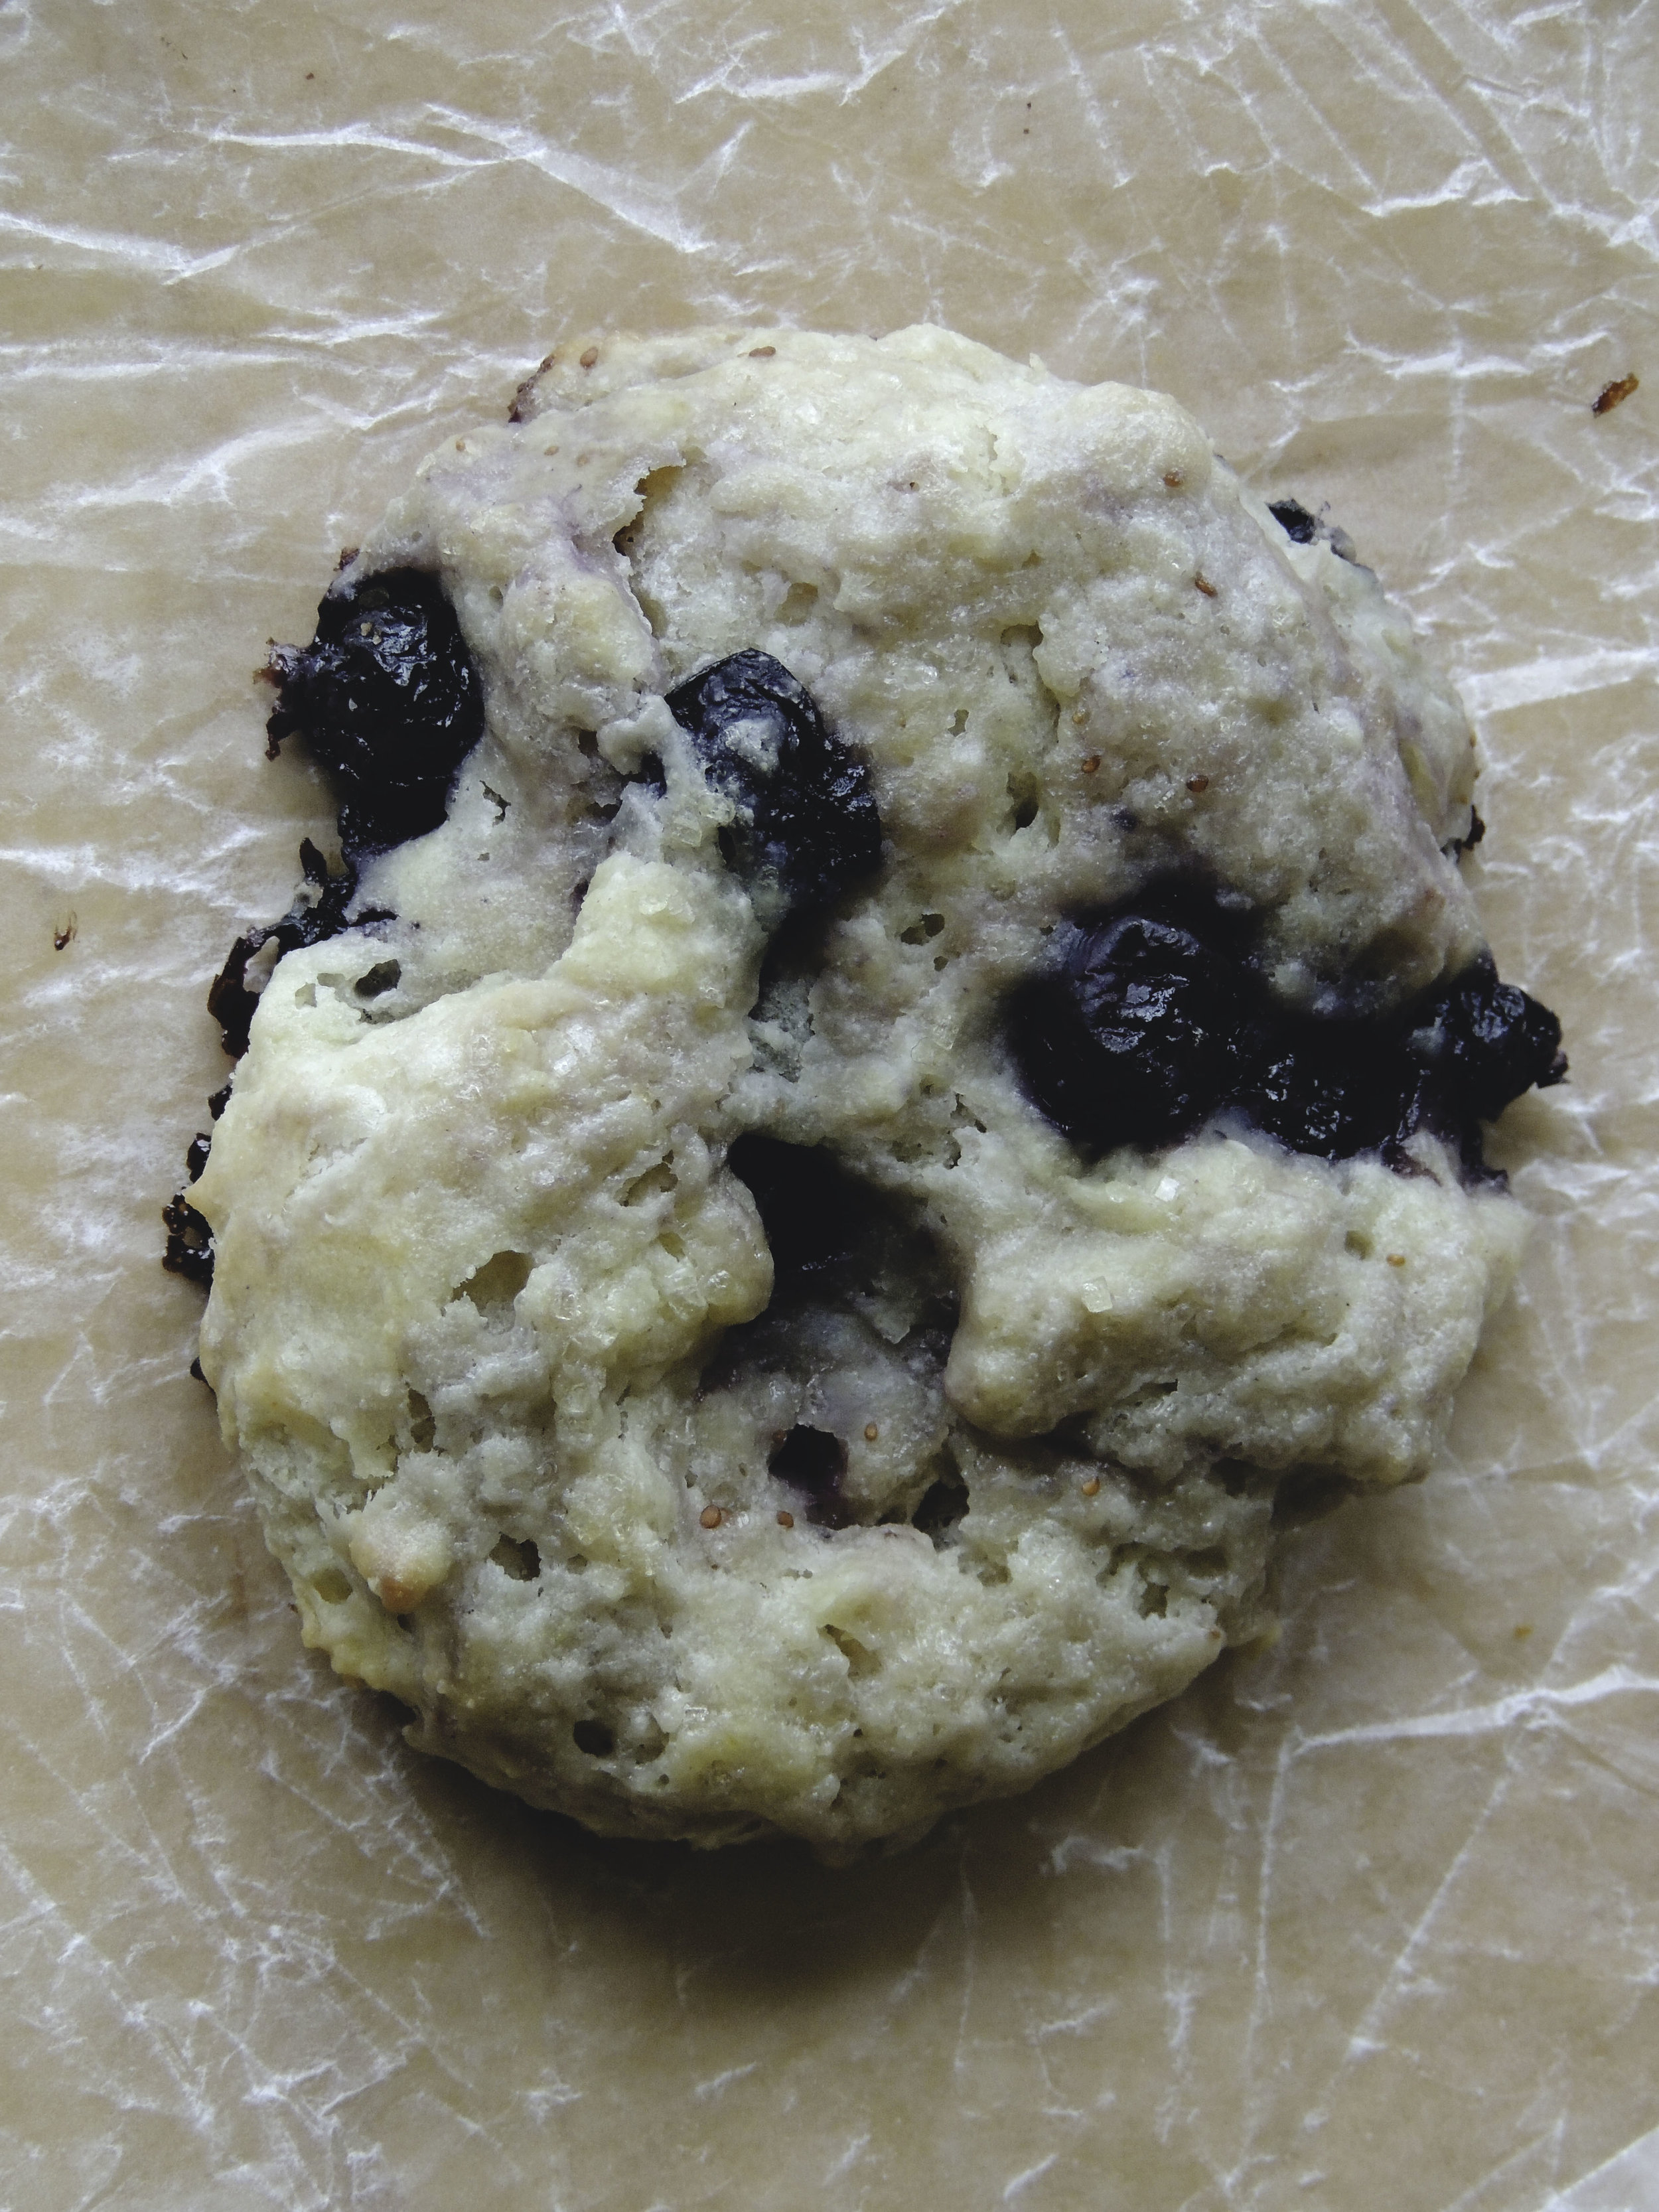
And I know that scones are traditionally wedge-shaped, but we're not going for tradition here. The beauty of a scone (besides the lovely taste) is that it can be wedge-shaped, biscuit shaped, or maybe somewhere in between like I've attempted. Mine sort of resemble drop biscuits with fruit, and you know what? That's what I'm going for. They're rustic. And also incredibly delicious.

These scones are crispy like a good southern biscuit, but still super moist thanks to both the ricotta and blueberries. And just as you start to get into the sweetness of the blueberry, you're greeted by the hint of lemony goodness. Breakfast is going to be really good this weekend.

Scones 3And don't let anyone speak badly about whichever shape you choose. You do you.

What You'll Need:

1 large egg

1/2 cup buttermilk

3 tablespoons fresh lemon juice

1 teaspoon vanilla extract

1/2 cup ricotta cheese

3 tablespoons granulated sugar

zest of one lemon

2 cups all-purpose flour

2 1/4 teaspoons baking powder

1/4 teaspoon baking soda

1/2 teaspoon salt

1/2 cup (1 stick) unsalted butter, cold and cut into small cubes

1 cup fresh or frozen blueberries (thawed if frozen)

Heavy cream for brushing

Turbinado sugar for sprinkling

Directions:

Preheat the oven to 400 degrees F. Line a large baking sheet with parchment paper and set aside

In a medium bowl, whisk together the egg, buttermilk, lemon juice, and vanilla. Once fully combined, add the ricotta. (It's okay if there are still little lumps once you're finished combining.)

Combine the lemon zest and granulated sugar in a small bowl, rubbing the two together with your fingers until it gives off a lovely fragrant smell. Set aside.

In a large bowl,  use a whisk to combine the flour, baking powder, baking soda, salt, and lemon-sugar mix. Add the cut up pieces of butter and gently toss with a fork, making sure each piece of butter is coated with the flour mixture. Using a pastry cutter or fork, incorporate the butter into the flour until you get a mixture of little lumps of butter and flour.

Pour the wet ingredients over the dry ingredients and mix together using a rubber spatula until just combined. Careful not to over-mix. Next, gently fold in the blueberries. Turn out the dough onto a very well-floured surface and gently knead the dough. Add a little flour as you knead if the dough is too sticky. Pat the dough into a 1/2 inch thick disk. Cut into a wedges, or a circles using a biscuit cutter, or for a more rustic look, gently cut a section and carefully shape it yourself. Transfer the pieces onto your prepared baking sheet.

Brush each piece with heavy cream (to help it brown nicely in the oven), and sprinkle scones with Turbinado sugar.

Bake for 15-20 minutes, or until golden brown. Let cool for about 5 minutes, then transfer to a wire rack to cool. Enjoy!

Two things to note:

1. This dough is VERY sticky because of the ricotta cheese. If you need to, add a little flour when kneading, but make sure to be gentle and not over-knead the dough.

2. Depending on your oven, it may take more than 20 minutes for your scones to turn golden. Be patient. They'll get there. But do keep a close eye on them: scones can go from lovely brown to too dark in no time flat.

SOURCE: Adapted from Two Peas and Their Pod

Let's Make: Homemade Whipped Cream

photo-12 There are some people who will tell you that making your own basics is a waste of money because you can just as easily pick up anything at your local supermarket in no time flat. Those people, I can assure you, have never been dazzled by the home-made.

Sure, it's easy to pick up a tub of Cool-Whip (with all those delicious chemicals added in!), but you know what? It's also just as easy to bypass the frozen section entirely and grab yourself a pint of heavy whipping cream. Now go get some vanilla extract and some sugar...good. Now go to checkout and get outta there!

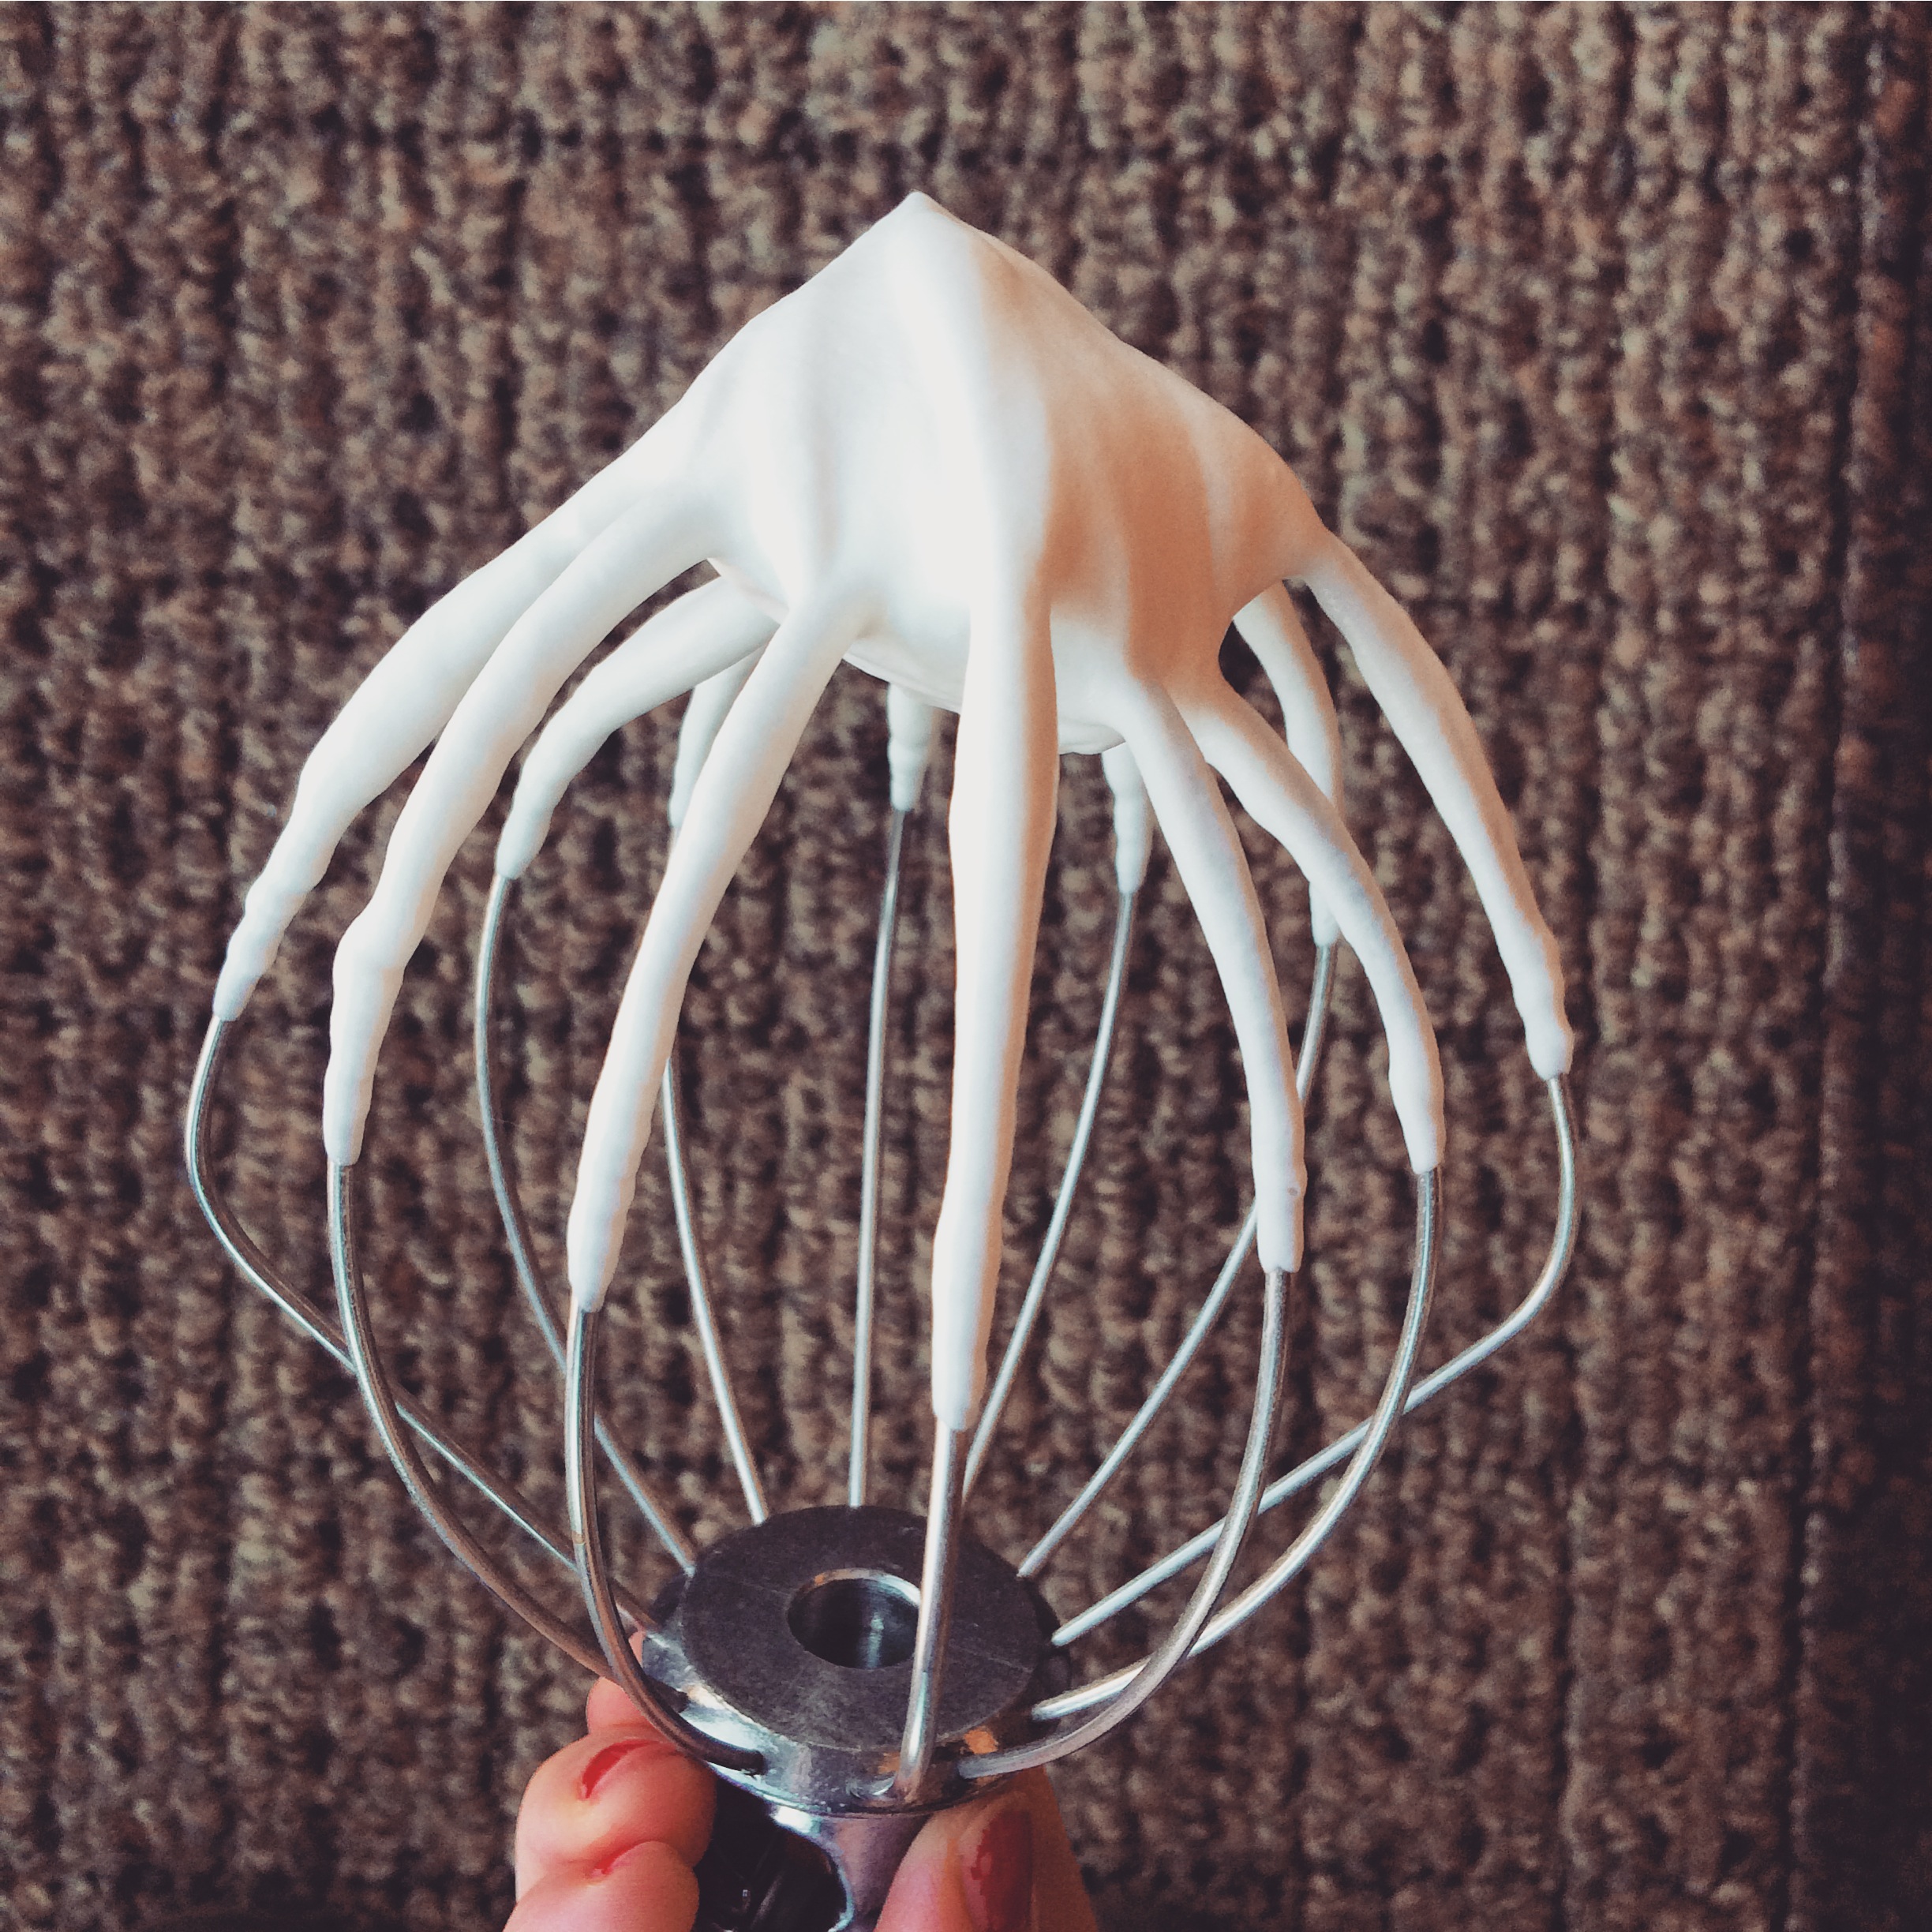
Just three simple ingredients are all you need to have the best whipped cream you've ever tasted in your life. I guarantee it. Oh, and did I mention that it's crazy easy and takes 2 minutes? But keep a watchful eye; whip too much and you're on your way to butter. If you don't whip enough, you've got soup. It's sweet-tasting soup, but not what we're going for.

Basically, this kitchen basic is best homemade.


Crazy Easy Whipped Cream

What You'll Need:

-1 pint cold heavy whipping cream

-4 tablespoons sugar

-1 teaspoon vanilla extract


Directions:

1. Combine all ingredients in the bowl of a stand mixer, or a medium-sized bowl.

2. With the mixer set to high speed, beat until stiff peaks form (should take about a minute if you're using a stand mixer; may take a tad longer with a hand mixer). Try not to over beat.

3. Go forth with the knowledge that life-changing whipped cream can be made in the comforts of your own home. In other words: enjoy!

This will keep for about three days well-covered and refrigerated.

Chocolate Chip Skillet Cake

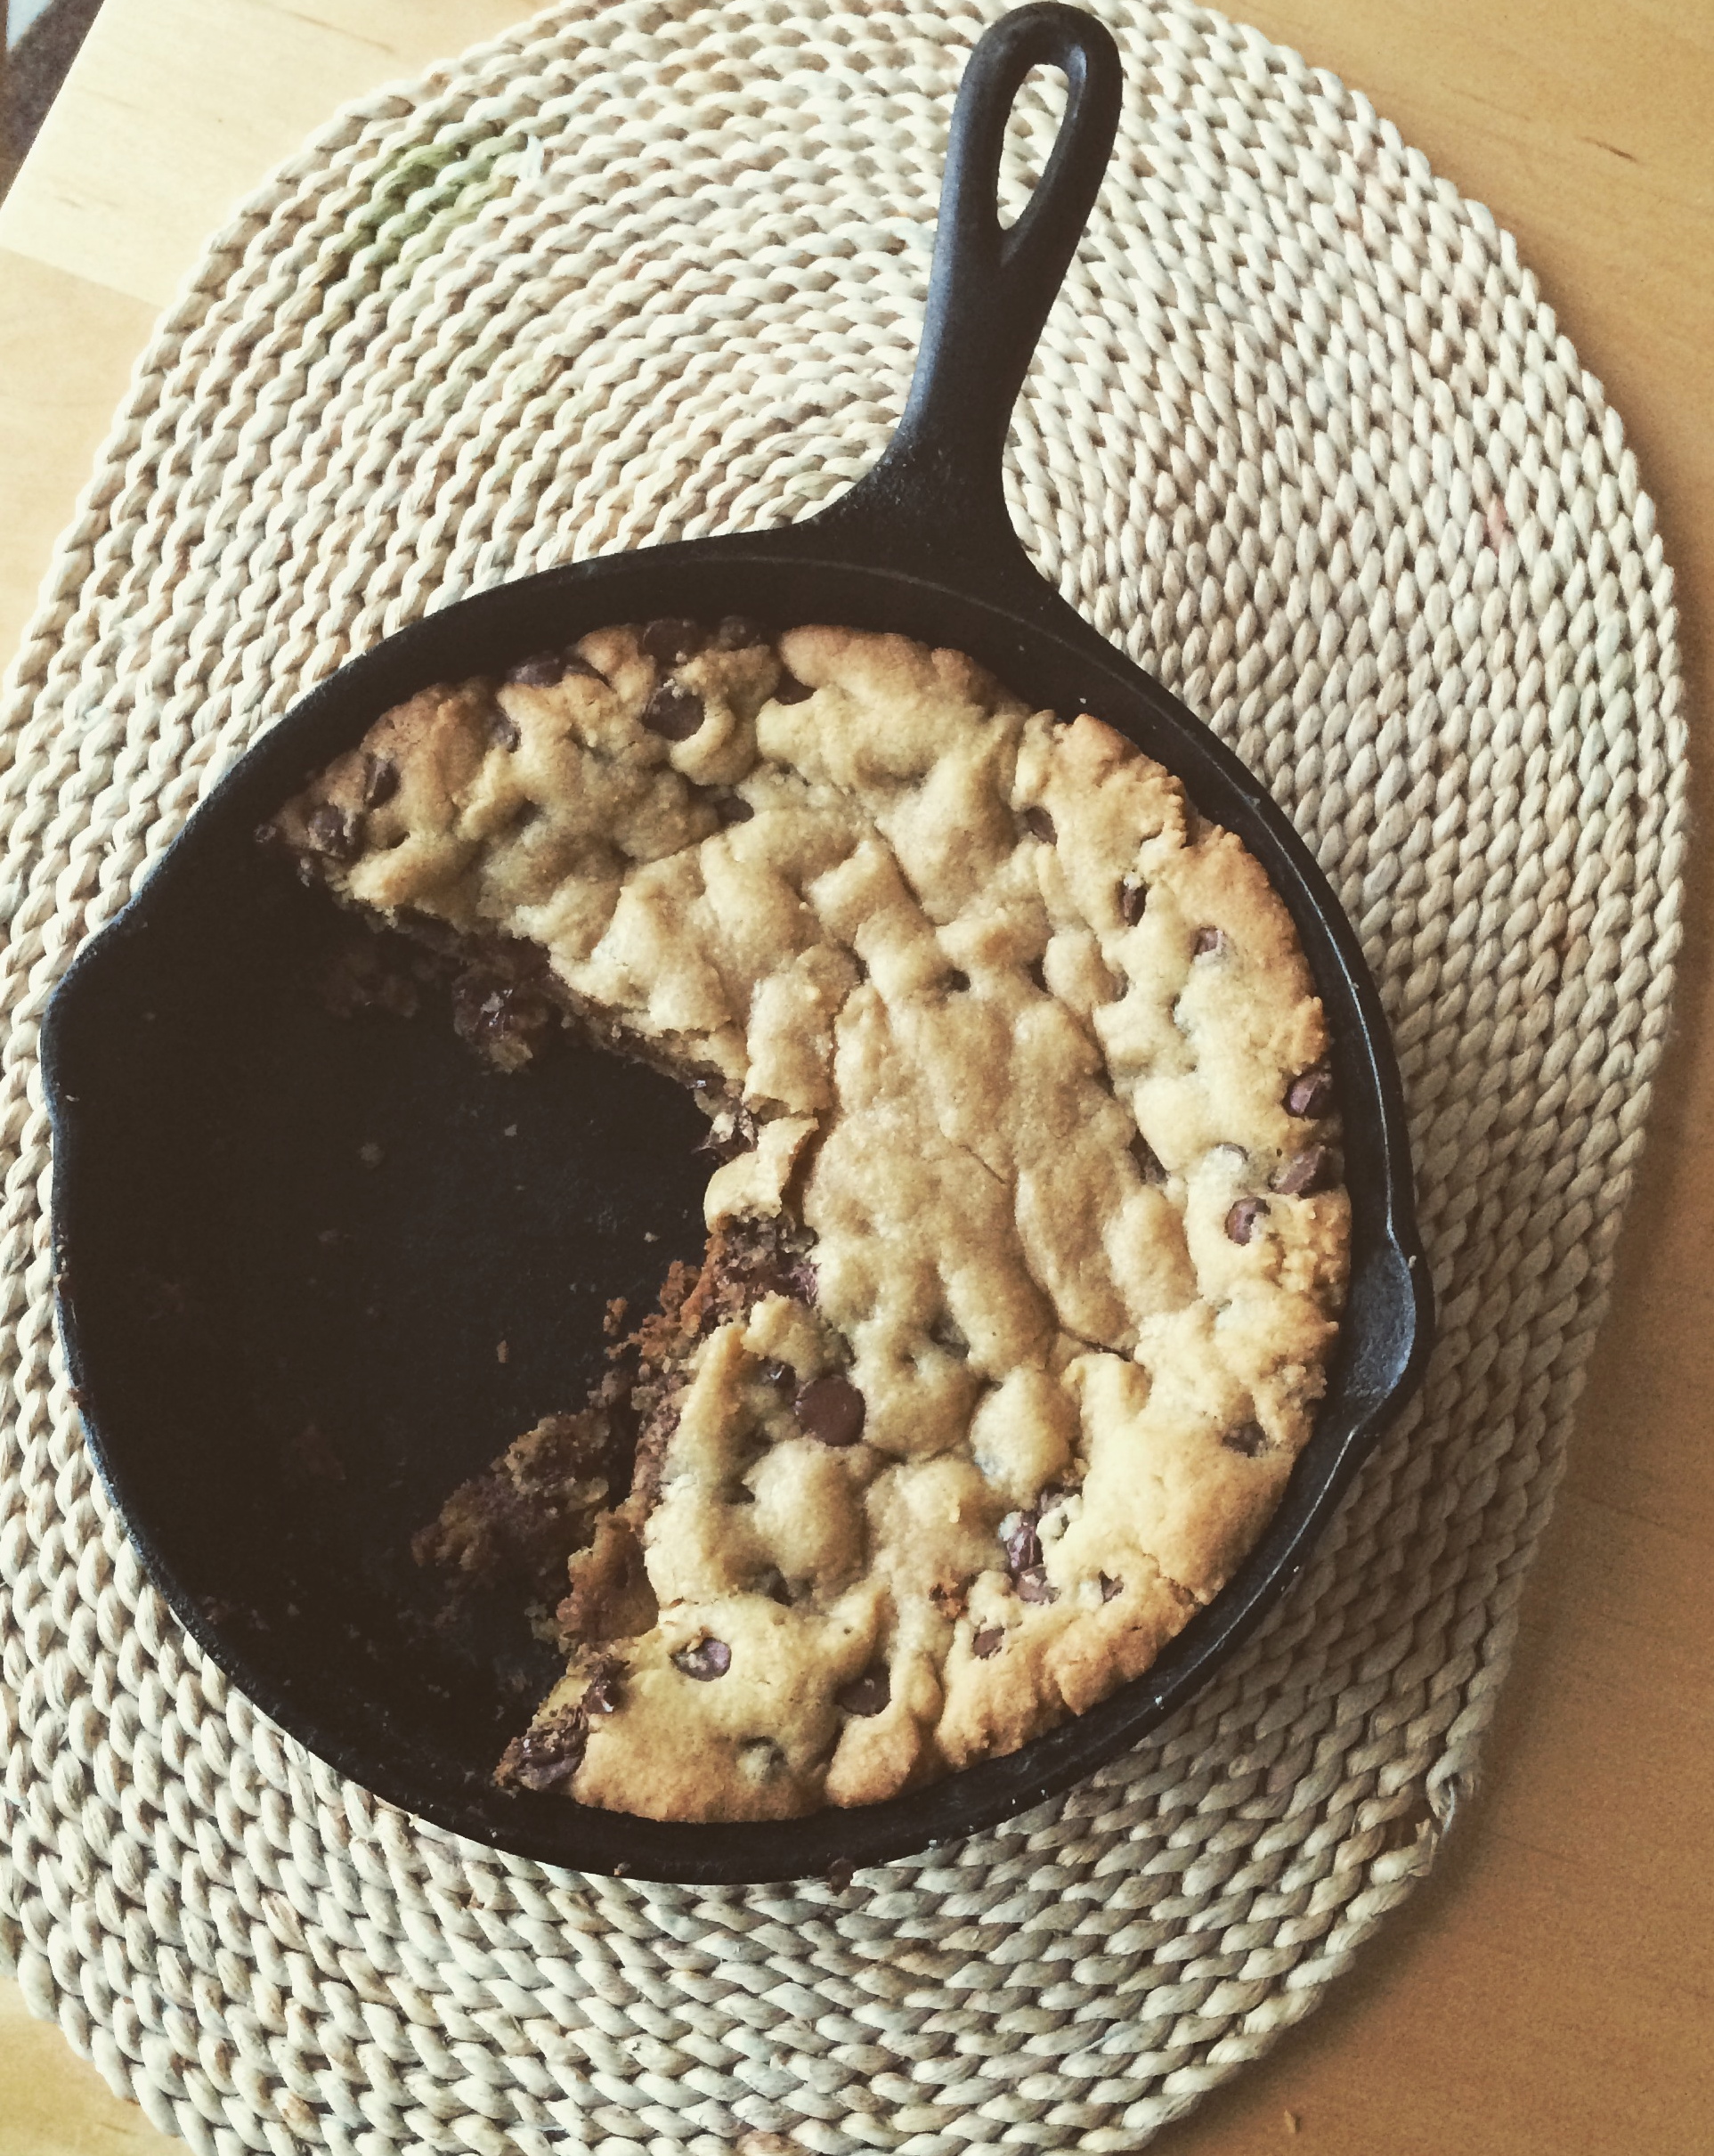
Image 1 skillet cake I've said this so many times before, but it bears repeating now: one should never underestimate the power of a chocolate chip cookie. There's a reason why it's such a classic, go-to dessert. It's soft in the middle, ooey gooey, and oh-so-cholatey. In times of stress, I find myself going back to my favorite chocolate chip recipes, seeking out that comfort that only a good cookie can bring. And when that cookie happens to be 9-inches, baked in a skillet, and slightly under-baked in the center, it's even better. Let's call it an easy reward for surviving Monday, shall we?

photo 2

Never have the words "You deserve a cookie," been more applicable.


What You'll Need:

2 cups AP flour

1 teaspoon baking soda

1/2 teaspoon salt

1 1/2 sticks unsalted butter at room temperature

1/2 cup granulated sugar

1/2 cup light brown sugar

1 large egg

1 large egg yolk

2 teaspoons vanilla extract

1 cup semisweet chocolate chips


Directions:

-Preheat the oven to 350 degrees F. Grease and flour well one 9-inch ovenproof skillet.

-In a medium bowl, whisk the flour, baking soda, and salt.

-In the bowl of an electric mixer fitted with the paddle attachment (or in a large bowl using a wooden spoon, or with a hand mixer) beat the butter and sugars (granulated and light brown) on medium speed until light and fluffy. Reduce the speed to low and add the egg. Add the egg yolk, then the vanilla, and mix well.

-Carefully add the flour mixture a little bit at a time while the mixer is on low speed,  and beat until just combined. Remove the bowl from the mixer and use a rubber spatula to fold in the chocolate chips. Transfer the batter to the prepared skillet, making sure that it is smooth and evenly distributed.

-Bake until the edges are baked and golden, but the center is still slightly under-baked, about 18-20 minutes. Let cool on a wire rack for about 10 minutes before serving.

(This cookie can last for up to three days tightly wrapped, and at room temperature.)


SOURCEJoy the Baker Homemade Decadence: Irresistibly Sweet, Salty, Gooey, Stick, Fluffy, Creamy, Crunchy Treats by Joy Wilson

P.S. Check out my review of this excellent cookbook here!


Valentine's Day Leftovers

photo-11 The only thing better than eating all of the sweets on Earth on Valentine's Day, is discovering that you have extras left over for days and days afterwards. Forget the discounted chocolate (but don't actually because Lindt chocolate ain't cheap when it's just a regular Tuesday), the real edible magic after Valentine's Day are the baked goods. Cupcakes, cookies, brownies, and all heart-shaped. Is it me, or do things just taste better when they're heart-shaped? It's just me? Okay.

My generally sad lunch has an upgrade this week in the form of these sweet sugar cookie hearts.


I keep going back to Bon Appetit's Ultimate Sugar Cookie recipe because it's JUST THAT GOOD.

And don't forget the royal icing!


Happy Valentine's Day Leftovers Week!

French Silk Pie

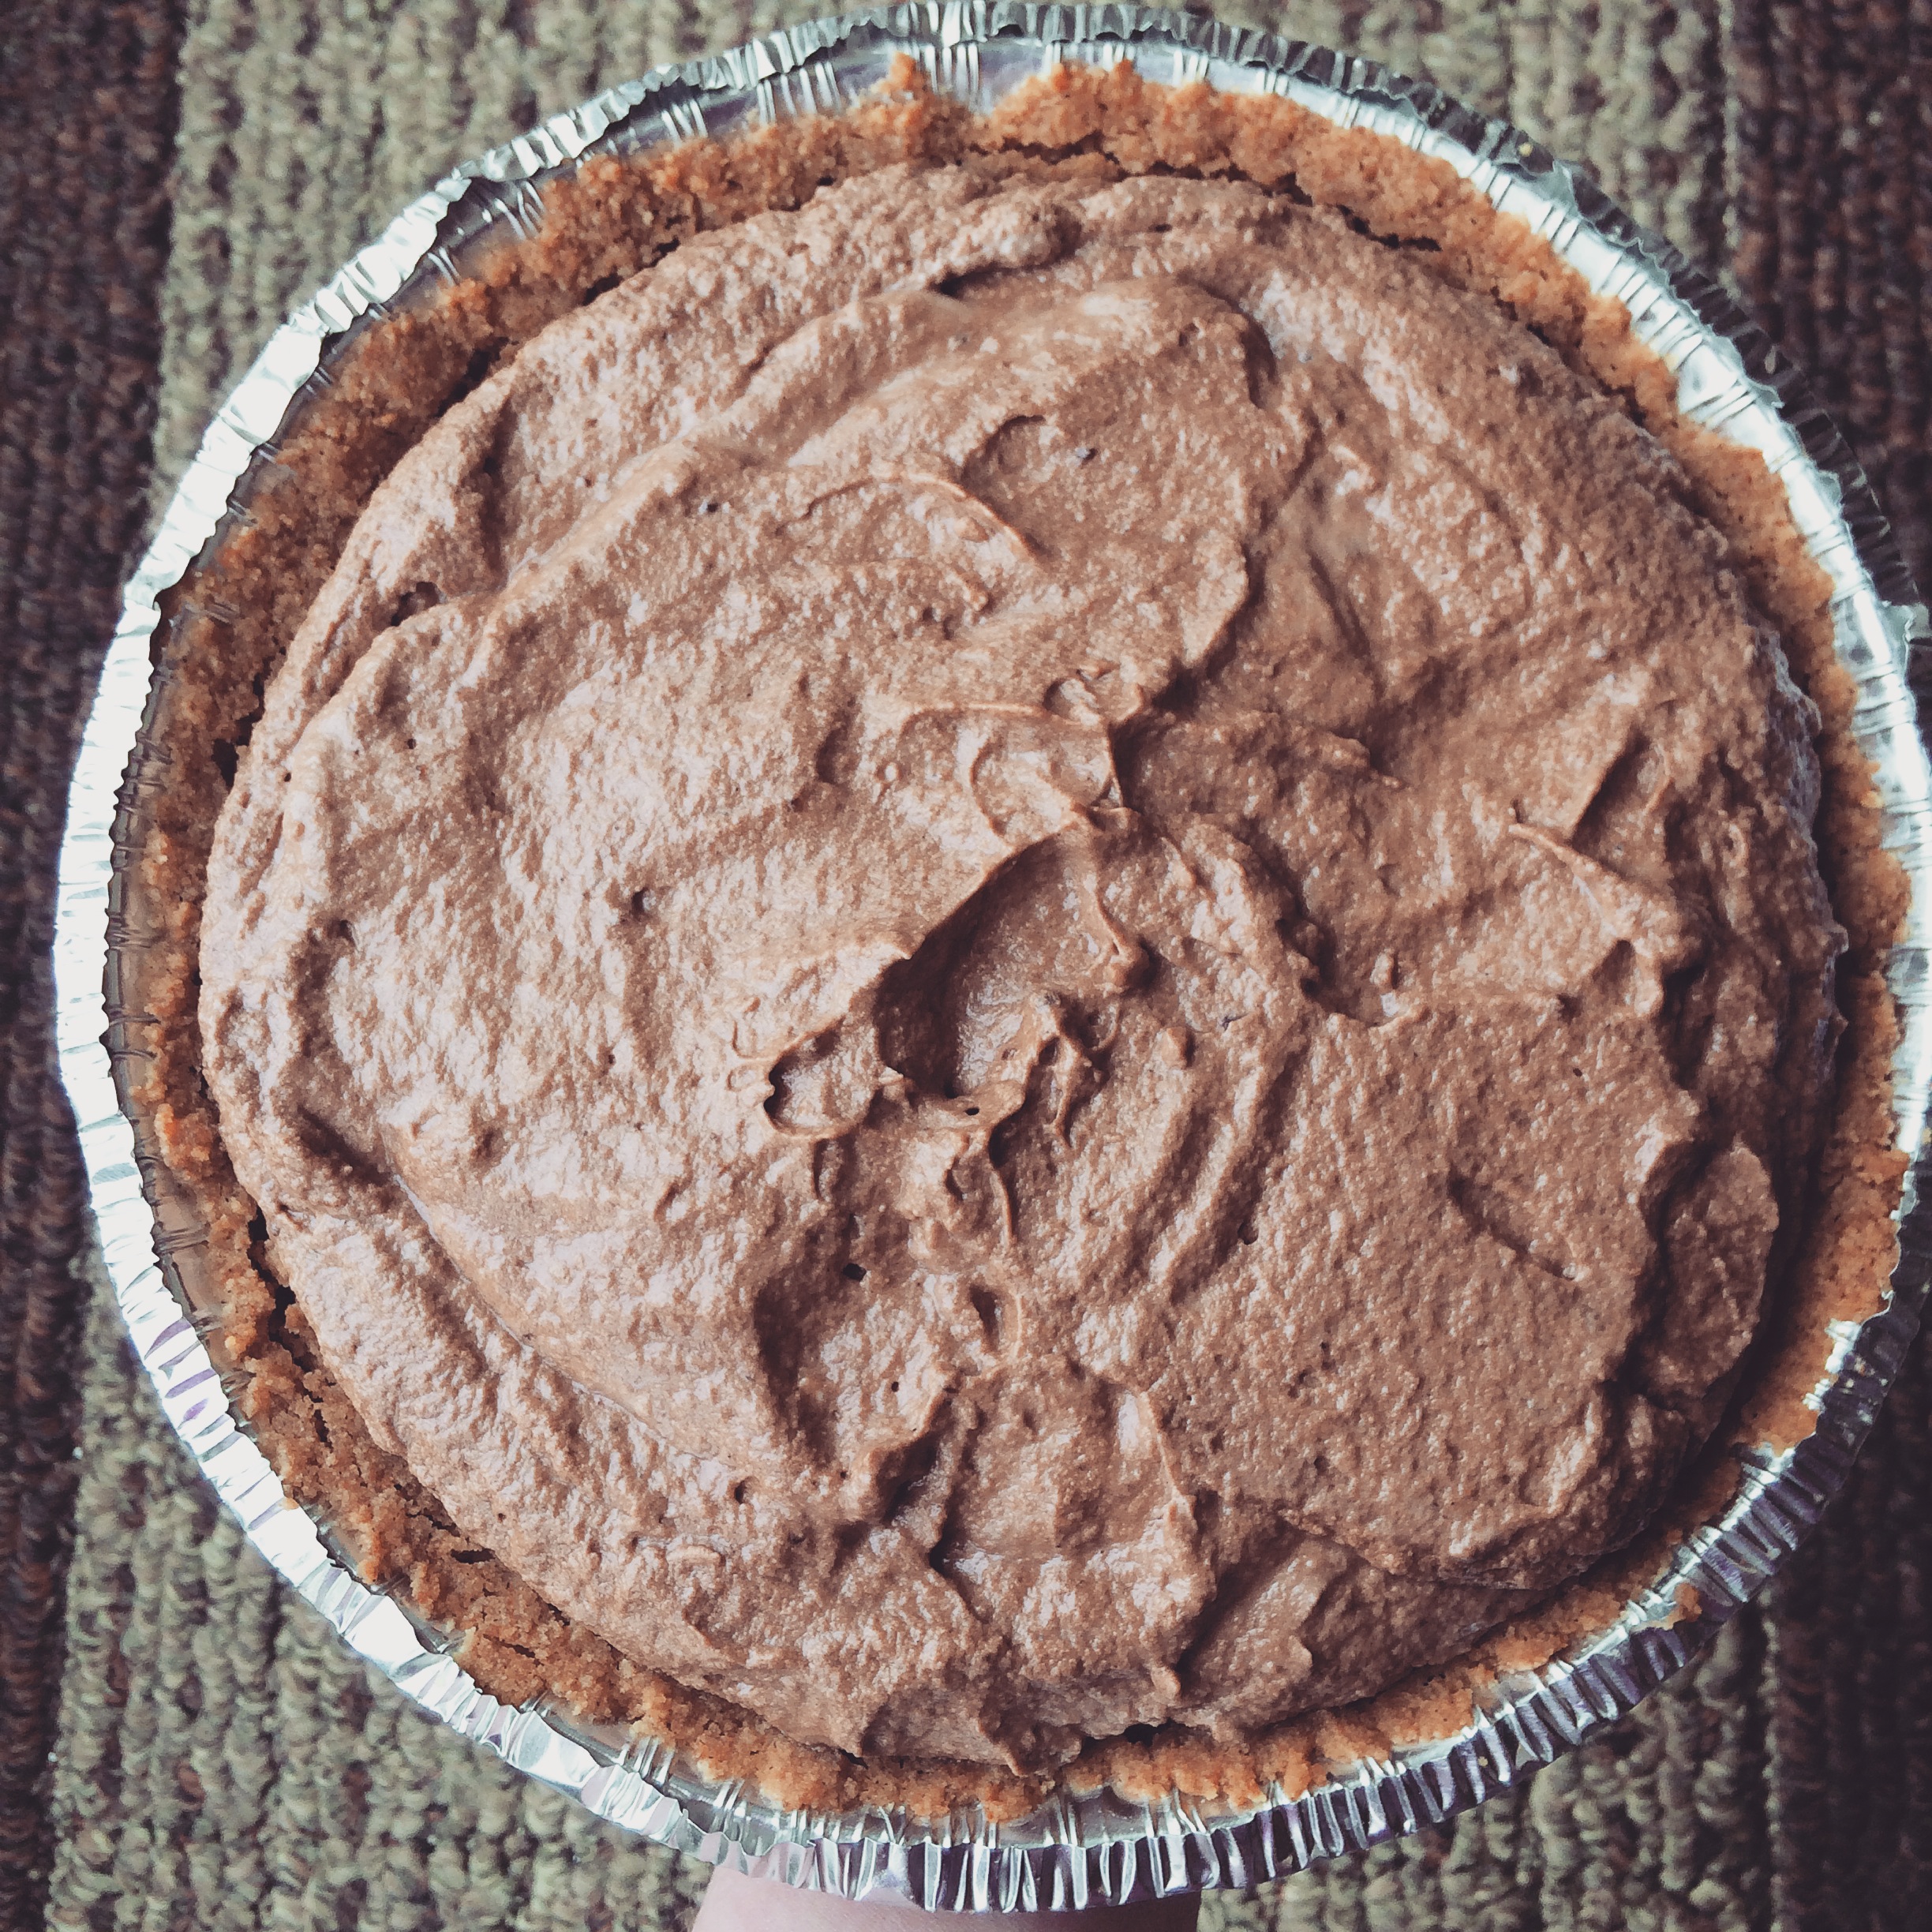
photo-10 Happy Valentine's Day! I love love, and I love chocolate, so let's dive right in.

Ever since my visit to Chicago's Bang Bang Pie, I have been obsessed with french silk pie. I've been told it's a classic diner pie , but this girl has been to her fair share of diners, and no french silk in sight! It's just as well; the first time you have french silk pie has to be a straight up experience, not just another dessert.

People are always likening the things they really, really like to Heaven. You know what I mean? "That massage I just got? HEAVEN." "That shoe place is like HEAVEN." "Those dogs kisses on my mouth? HEAVENNN." It's become so overused. But let me tell you something right now: the only thing better than this pie once it's completely chilled and set, is the actual moment of euphoria that is finding extra filling in the mixing bowl once the pie shell has been filled. That unset, chocolate mousse filling is actual Heaven on Earth. It's silky (hence the name!), chocolaty beyond belief, creamy, and lighter than air. It's silky, chocolaty, creamy air on a spoon. I will not tell you how much of it I ate before I could finally snap myself out of it to transfer the pie to the fridge before there was nothing left but crumbs in a disposable tin. If it wasn't already destined to be dessert at a Valentine's Day party, this french silk pie, along with its identical twin pie brother, would've been gone SO FAST with no regrets.

Alas, they were promised for many other tummies besides mine, so I had to let them go.

There better be leftovers.


What You'll Need:

For the Crust: 60 Vanilla wafers, finely crushed 1/4 teaspoon cinnamon 3/4 cup (1 1/2 sticks) unsalted butter, melted and cooled For the Filling: 3/4 cup superfine sugar 2 large eggs, lightly beaten 2 1/2 ounces bittersweet chocolate, melted 1/2 cup (1 stick) unsalted butter, softened 1 1/4 cup heavy whipping cream 2 teaspoons vanilla extract

Preheat the oven to 350 degrees F

To make the crust: Place your freshly crushed vanilla wafers, cinnamon, and melted butter into a medium sized mixing bowl, and stir together until all ingredients are completely combined.

Pour your mixture into a 9 inch pie plate and press the bottom and sides to create an even layer. You may end up with a little extra once you're finished.

Bake your crust for 10-15 minutes until it's golden brown. Once removed from the oven, set it on a cooling rack to cool completely, then place in the refrigerator until you need it.

To make the filling: Place eggs and sugar in a medium saucepan, continuously whisking together on medium-low heat. You'll know that your mixture is ready when it is thick enough to coat the back of a spoon. This should take 5-7 minutes. While your mixture is cooking, melt the chocolate.

Stir your melted chocolate into the mixture, and continue to stir until it's smooth. Remove from heat, and let it completely cool.

In a stand mixer fitted with the paddle attachment (or in a bowl with a hand mixer, or with a wooden spoon), beat your butter until it is light and fluffy. Add your cooled chocolate mixture, and continue to mix until everything is fully combined. Make sure to scrape down the sides of the bowl occasionally.

In a separate bowl, beat together your heavy cream and vanilla extract until stiff peaks form. Fold your newly whipped cream into your chocolate mixture and mix until it's light and fluffy. (I've found that it's sometimes necessary to help the process by mixing it with a rubber spatula for a few seconds to make sure all of the chocolate is incorporated.)

Remove your chilled crust from the refrigerator, and fill with chocolate filling. (You may end up with some extra filling at the end. I find it best to eat with a spoon). Refrigerate for 4-6 hours (or overnight). Once ready to serve, top with some homemade whipped cream, and enjoy!

SOURCE: Spoon Fork Bacon


Forks up! Everybody have some pie.

Mini Soft Pretzels

photo 5 Can we talk about how good soft pretzels are for everyday life? They're salty, they're bready, they're full of empty calories, and they're always perfectly delicious. Also, soft pretzels are pretty much essential for a proper sporting event experience am I right? Nothing says "Go, team!" like a warm soft pretzel dipped in creamy cheese sauce. Add a little beer to that cheese sauce and now you're speakin' the Midwesterner's Language.

So of course, for Superbowl Sunday I knew that our somewhat bountiful spread just wouldn't be complete without a plate of fresh soft pretzels, and I was determined to make them myself. But I wasn't just making them for the game. Oh no. Sure, the game was an important factor, but it was much more than that. The truth of the matter is, that pretzel stand around the corner won't always be open when the craving arises. And it arises more often than you think. Therefore, it behooved me to learn the craft, hone my pretzel skills, and eat lots of the final product for, you know, research purposes before kickoff...

And while I'm officially on the road to becoming a master pretzel princess, it wasn't without a few (read: many) challenges. First of all, it is not at all easy to twist dough. It's bouncy when you don't want it to be, it springs back, and it most definitely won't go out without a fight. But eventually, it stops fighting you, and you wind up with pretty pretzel butterflies waiting for a quick poaching, followed by a little toasting in the oven until it's perfectly golden brown. When it's all over you'll be exhausted, starving, and completely proud of what you've done. YOU JUST LEARNED HOW TO MAKE SOFT PRETZELS AT HOME.

Let this be your weekend project.

Mini Soft Pretzels

What You'll Need:

2 cups warm water (between 105-110 degrees F) 1 tablespoon plus 2 tablespoons sugar 1 packet active dry yeast 5 to 6 cups all-purpose flour, plus more for dusting 1 tablespoon salt 2 teaspoons canola or other neutral oil (I used vegetable oil) 1/4 cup baking soda 1 large egg Coarse sea salt


Find the recipe for these soft pretzels on Smitten Kitchen!

And here's a fun little video from Joy the Baker in case you want to see the pretzel making magic in action.

Currently Reading: Homemade Decadence

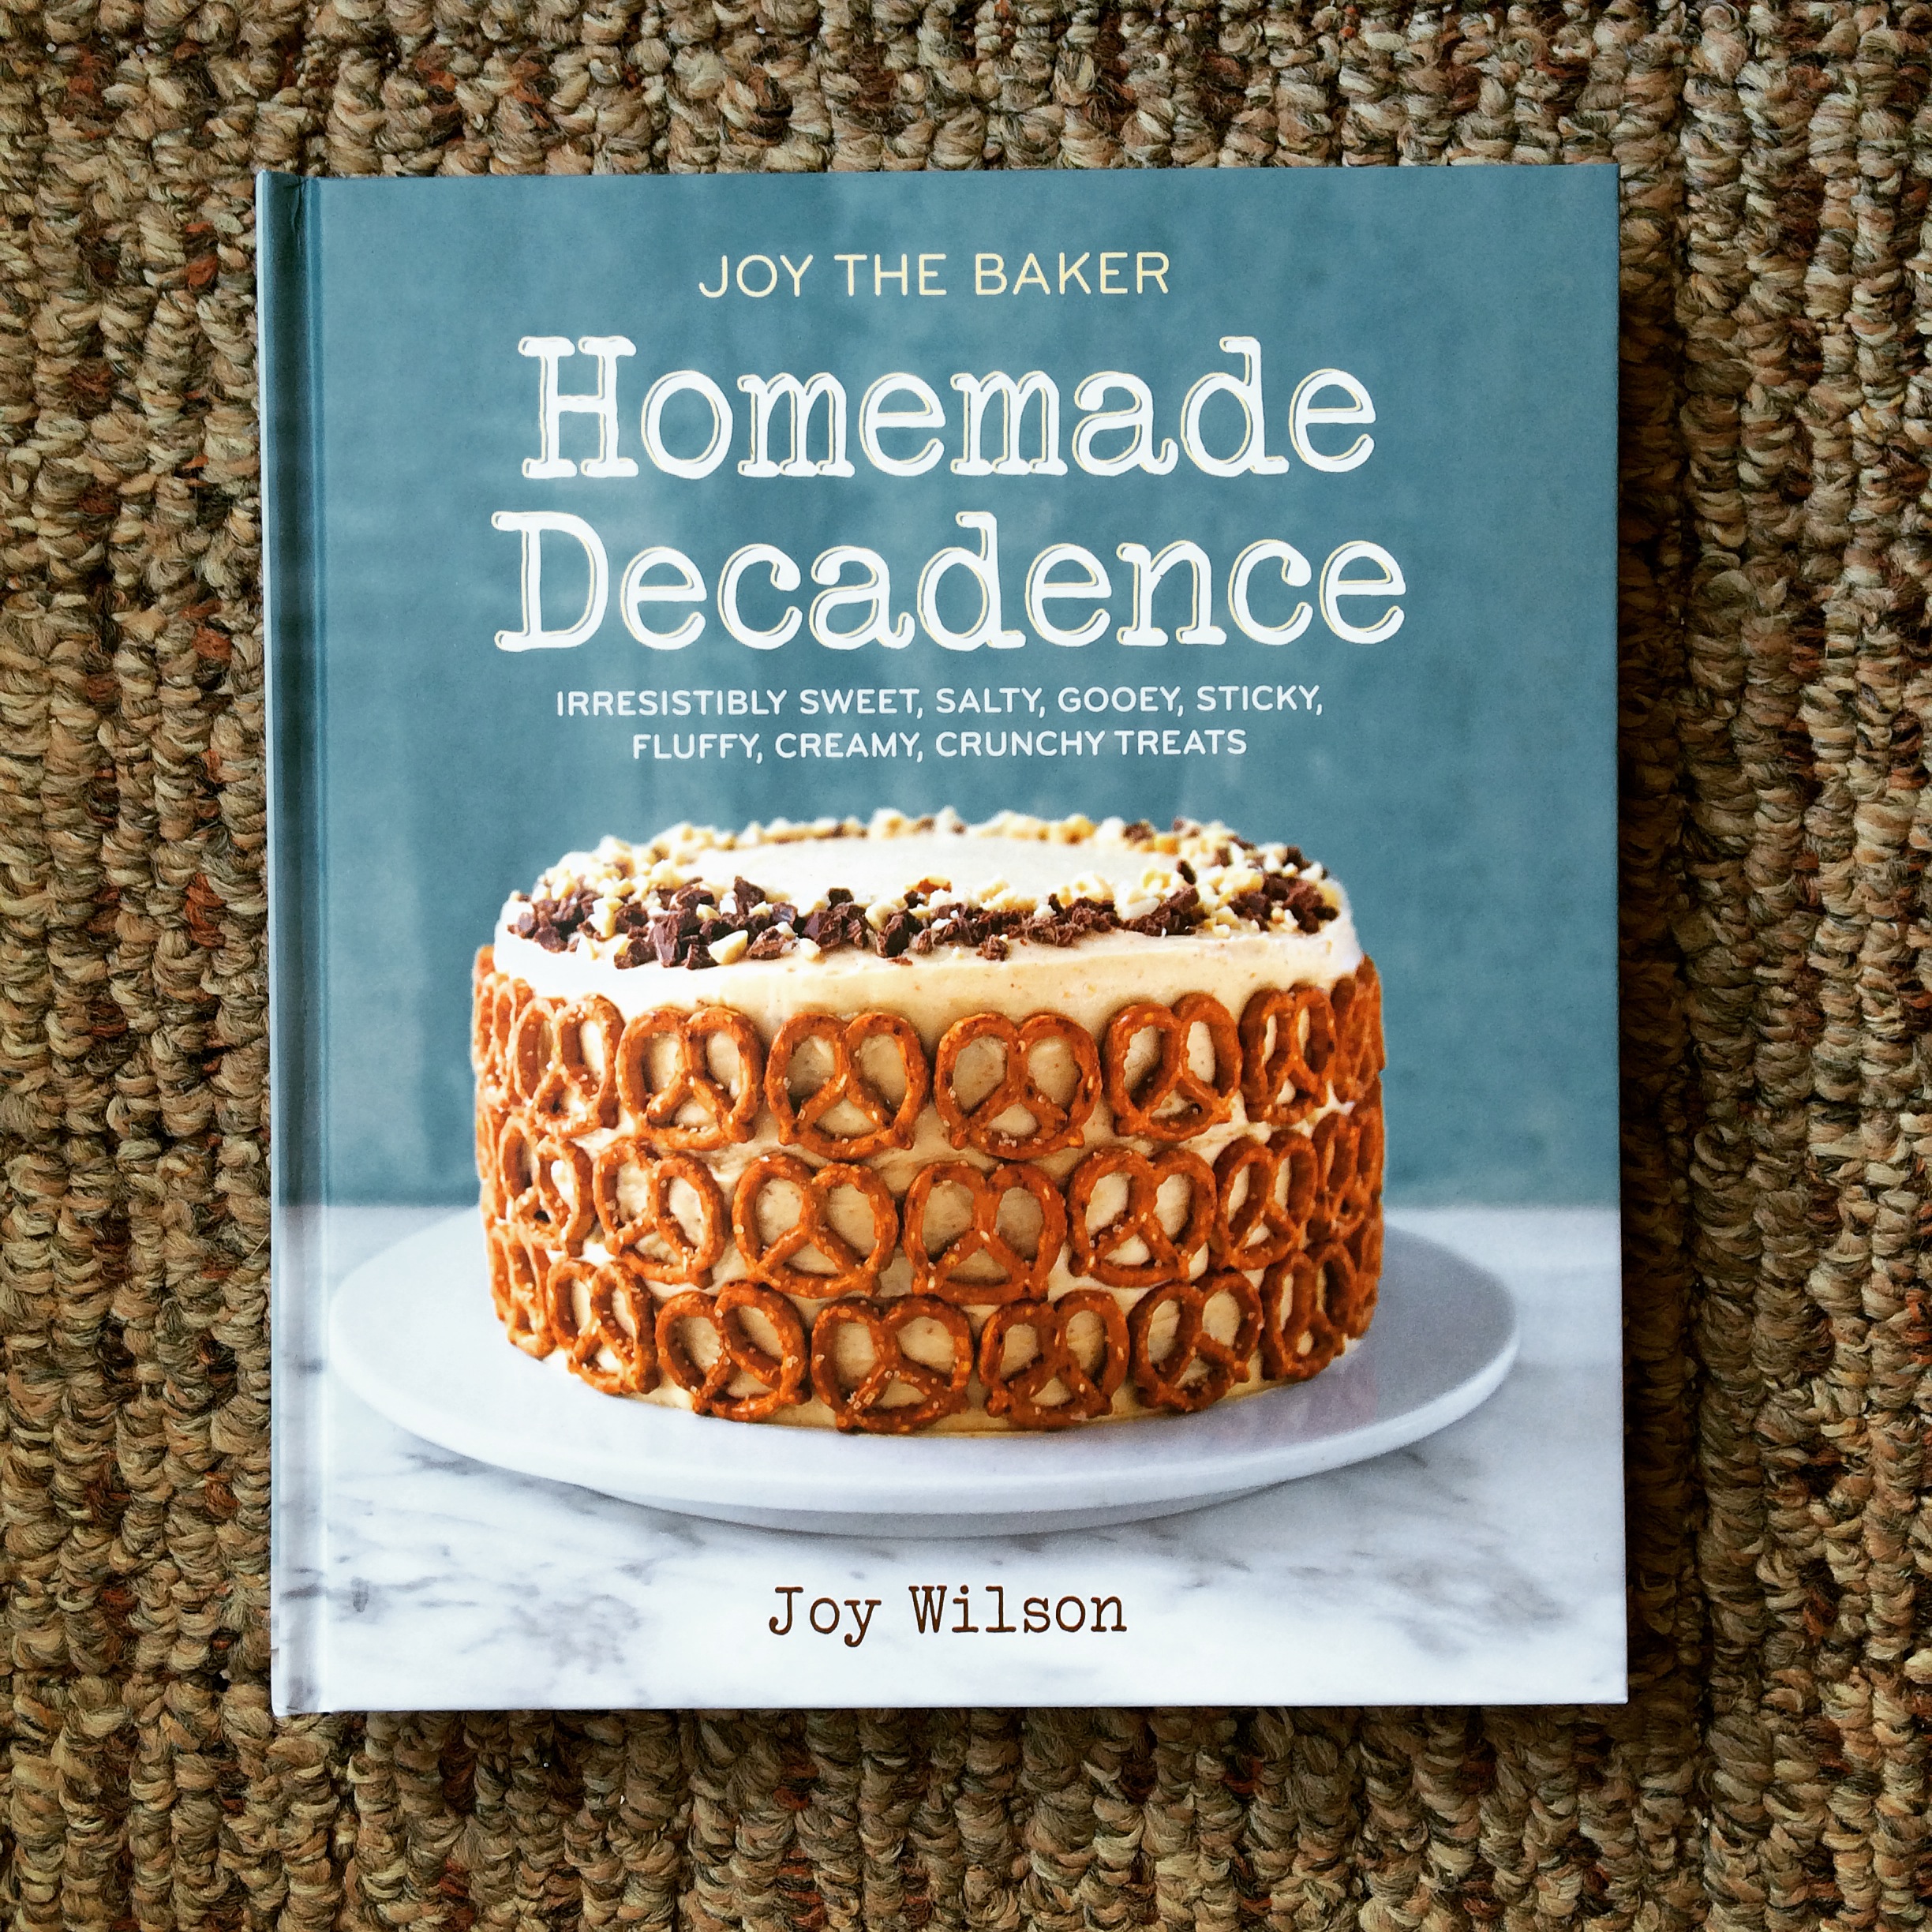
photo 3 Homemade Decadence, written by Joy Wilson of "Joy the Baker" fame, is a book that I've been waiting for with bated breath since the release of her first book, The Joy the Baker Cookbook, all the way back in 2012. And the wait, by all accounts, was totally and completely worth it!

Initial Thoughts: 

The cover design is beautiful and inviting. Also, the idea of a pretzel crust is inspired and will definitely indulge anyone with salty-sweet cravings. And the pictures inside are just as beautiful with easy-to-follow recipes and funny stories to go along with each one.

From the book, Homemade Decadence

REVIEW: 

Joy Wilson is fun. And this cookbook, just like its predecessor, feels like a true extension of the food blogger we've all grown to love. It's colorful, it's vibrant, and it's entirely unpretentious in the most sophisticated of ways. Homemade Decadence encourages you to get creative in your kitchen, and really connect with the world around you. It shows you that fear of failure has no place in the kitchen, so embrace the weird combinations that come to mind. You never know when one day you'll meet a concoction that changes your life. You deserve fancy, out-of-the-box desserts every single day (without necessarily needing a special occasion), and the written words of JTB are there to help guide you. There's everything in this book from cocktails, to doughnuts, to uniquely flavored ice creams, and tons of treats in between. And if you're looking for new ways to re-invent your toast, never fear, because Joy's got a whole page dedicated to it. Breakfast is a serious business after all.

From the book, Homemade Decadence

If you're a fan of JoytheBaker.com, you'll be happy to see some true classics (Lemon Poppyseed Pancakes are now a go-to at my house) as well as loads of new recipes to go along with them (Hello, "Ultimate Pancake Syrup!"), and the exact same amusing conversational tone that makes Joy one of the best bloggers and authors out there. Homemade Decadence is a total win in my book.

Recipes on My "To Try" List: 

Blueberry Pancake Muffins w/ Maple Glaze, Blackberry Pie Cookies, Church Party Peach Cobbler, Brown Sugar-Raspberry Cheesecake, and Lavender-Lime Cucumber Spritzers.

BUY Homemade Decadence HERE

Party Trick: Horseradish-Super Sharp Cheddar Cheese Ball

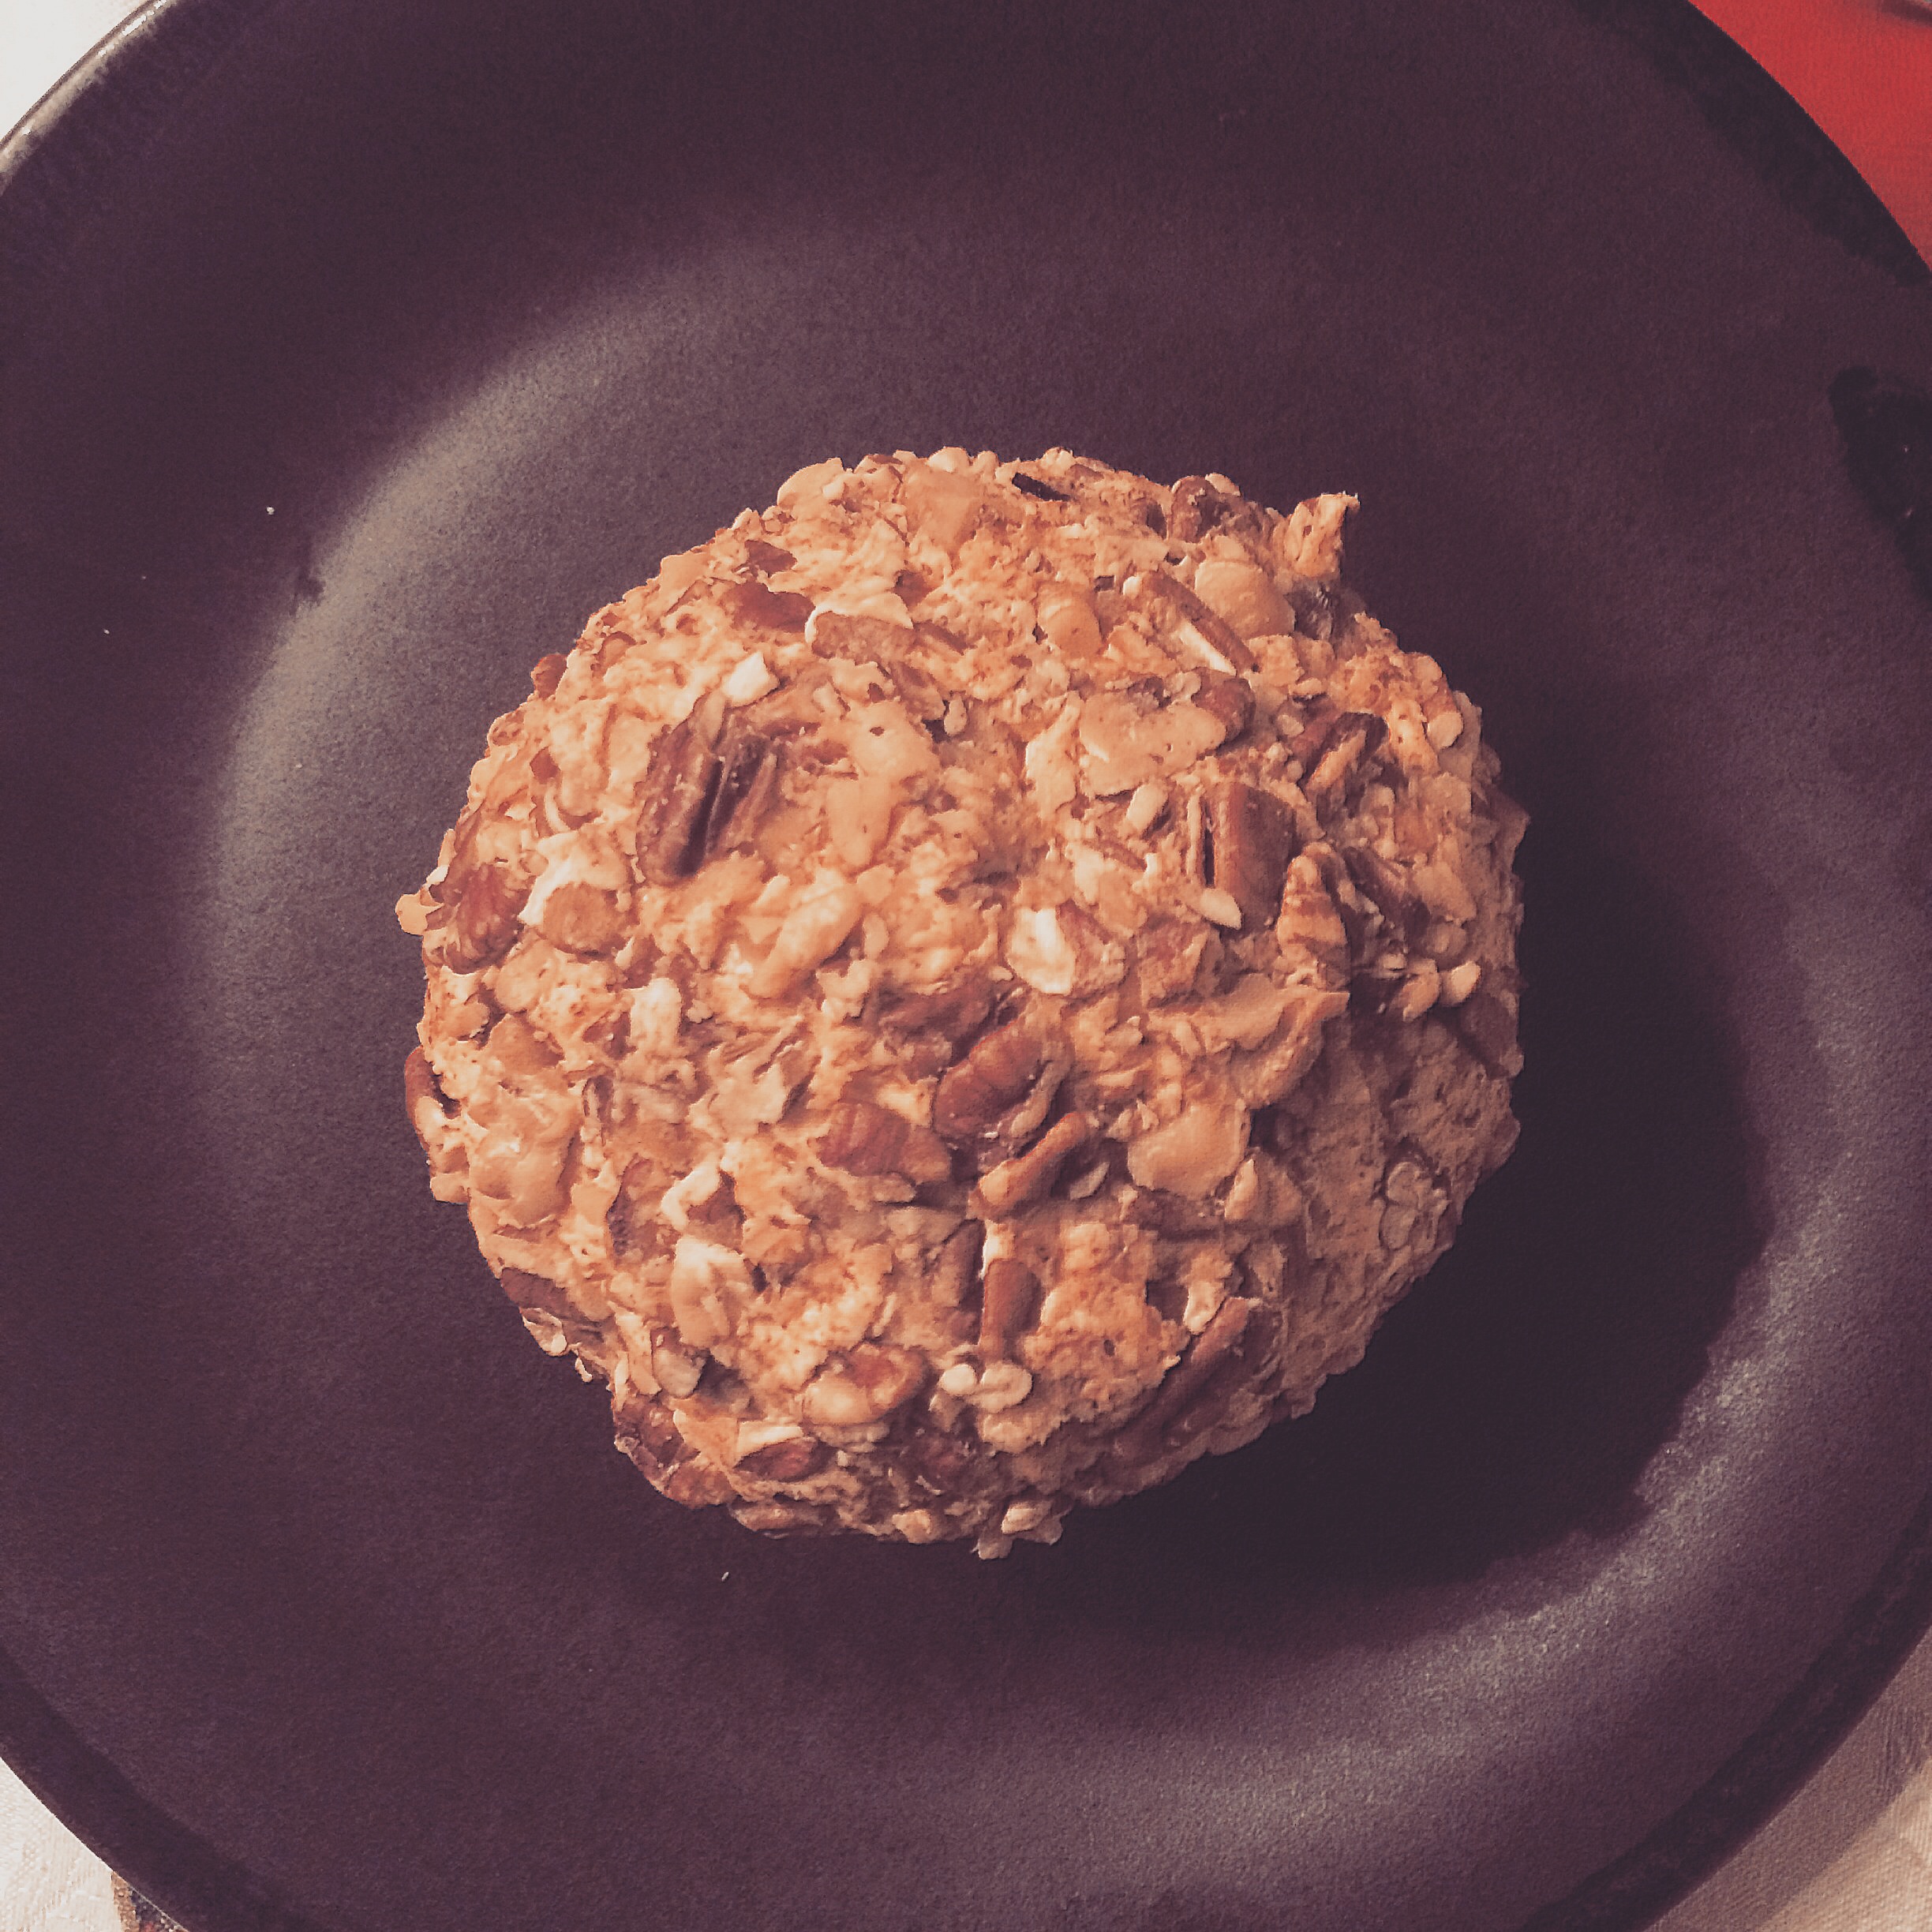
photo 1 The weekend is here, and I'm sure you've got several happening shindigs to grace with your presence. If there is one thing I know for absolute certain, it's to never, EVER come to a party empty-handed. There's always something to bring. Your host or hostess will definitely appreciate it, and you'll totally win extra points. It shows that you appreciate both the invitation, and the people who've invited you into their home. And it doesn't always have to be food. Bring wine, bring flowers, bring napkins, BRING ICE. Bring something useful, and your host will never forget it. There has never been such thing as too many party supplies. Sooner or later, everything gets used. Boy do I love a good party. I don't go to nearly enough of them, and I hardly get invited to fancy dress get-togethers, so when I do, I try to go all out. But when thinking of the perfect arrival gift to my Nashvillian bestie Hailey's house, I had a few things that I needed to consider: One, I'd be in my grandparents' kitchen which meant a limited amount of kitchen tools and appliances, and two, a limited amount of refrigerator real estate. (My Grandmothers are seasoned veterans in the kitchen and there is always something to eat.) Then it hit me: a cheese ball. I'd recently been introduced to the, and best of all, it checked off three very important things on my dish to pass checklist: Screen Shot 2015-01-22 at 3.04.24 PM It took me about 45 minutes to make this cheese ball, and most of that time can be shaved down if you have a food processor. I didn't, so I had to use my trusty pastry blender (a well-deserved Christmas gift to myself. I've got happier wrists now). Your cheesy mix must rest for two hours snugly wrapped in cling wrap, having been delicately shaped into a sphere. Six to eight minutes of your resting time should be spent roasting your walnuts and pecans. The rest of the time it takes to make your cocktail party masterpiece can be used to...paint your nails, pick out a killer outfit, or, in my case, bug your grandmother incessantly to break out the family pictures so that you can pretend to reminisce about an era that you took no part in. And once the two hours are up (though I actually left it in the fridge for four hours or so), just give your walnuts and pecans a rough chop, carefully roll your cheese ball around, and wrap it back up in cling film if you plan on transporting it. Et voila! Your totally easy, yet utterly sophisticated party snack is ready for its closeup. And don't you dare forget the fancy crackers that go along with it! You're sure to amaze, and make some new friends in the process. Who knew a ball of cheese could be such a conversation starter? I ain't mad at it.   Horseradish-Sharp Cheddar Cheese Ball 

  • 8 oz cream cheese at room temperature
  • 8 oz grated super sharp cheddar cheese (about 2 cups)
  • 2 tablespoons horseradish sauce
  • Kosher Salt
  • Black Pepper
  • 1 cup walnuts
  • 1/2 cup pecans

Blend cream cheese, cheddar, and horseradish using a food processor or pastry blender until smooth, then season with salt and pepper to taste.

Place cheese mixture on a piece of cling wrap, then use cling wrap to shape mixture into a ball. Chill until firm for at least two hours.

While the newly formed ball is chilling,  preheat oven to 350 degrees F, and place your walnuts and pecans on a baking sheet lined with a piece of parchment paper. Bake for 6-8 minutes, tossing occasionally. Keep them in the oven until they've darkened a bit, and give off a fragrant aroma. Let cool, then give them a rough chop.

Thirty minutes before serving, roll your ball in the roughly chopped walnut and pecan mixture, and enjoy.

Source: Adapted slightly from Bon Appetit

Party on.